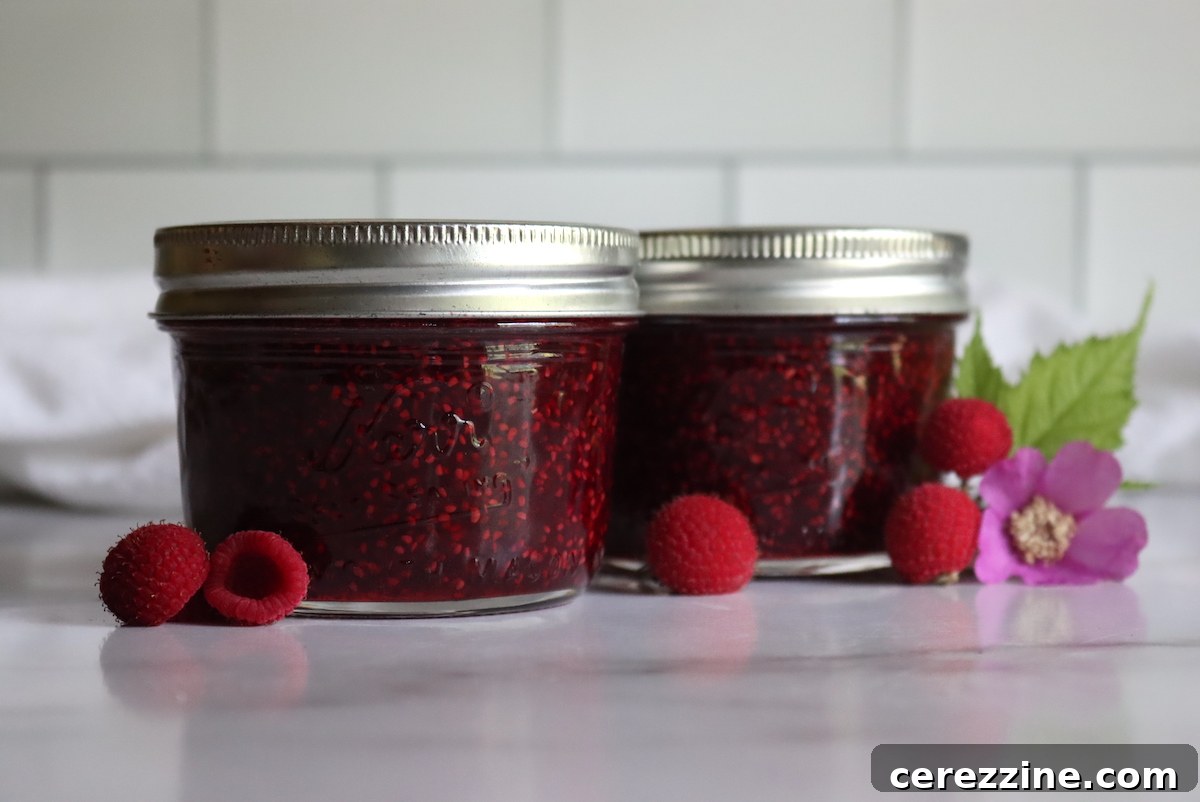
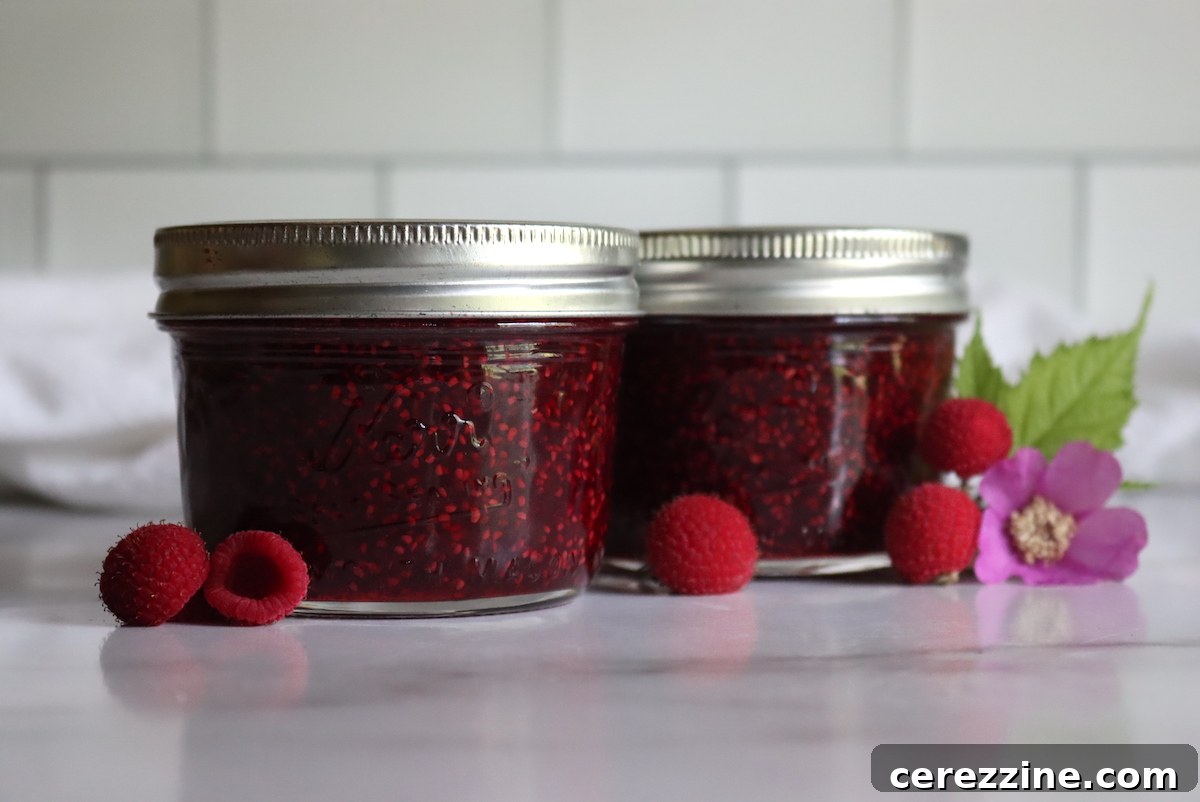
Experience the unparalleled taste of homemade Thimbleberry Jam, a delightful preserve that captures the unique essence of this rare wild fruit. Crafted in minutes with just a few simple ingredients, this jam is a testament to the bounty of nature and a precious addition to any pantry.
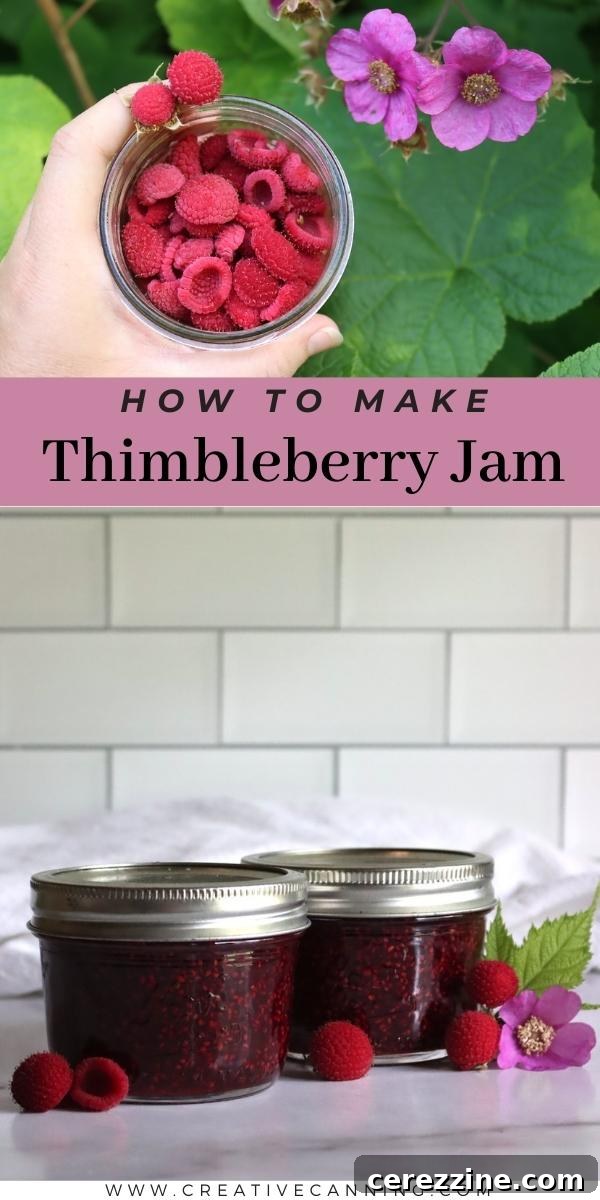
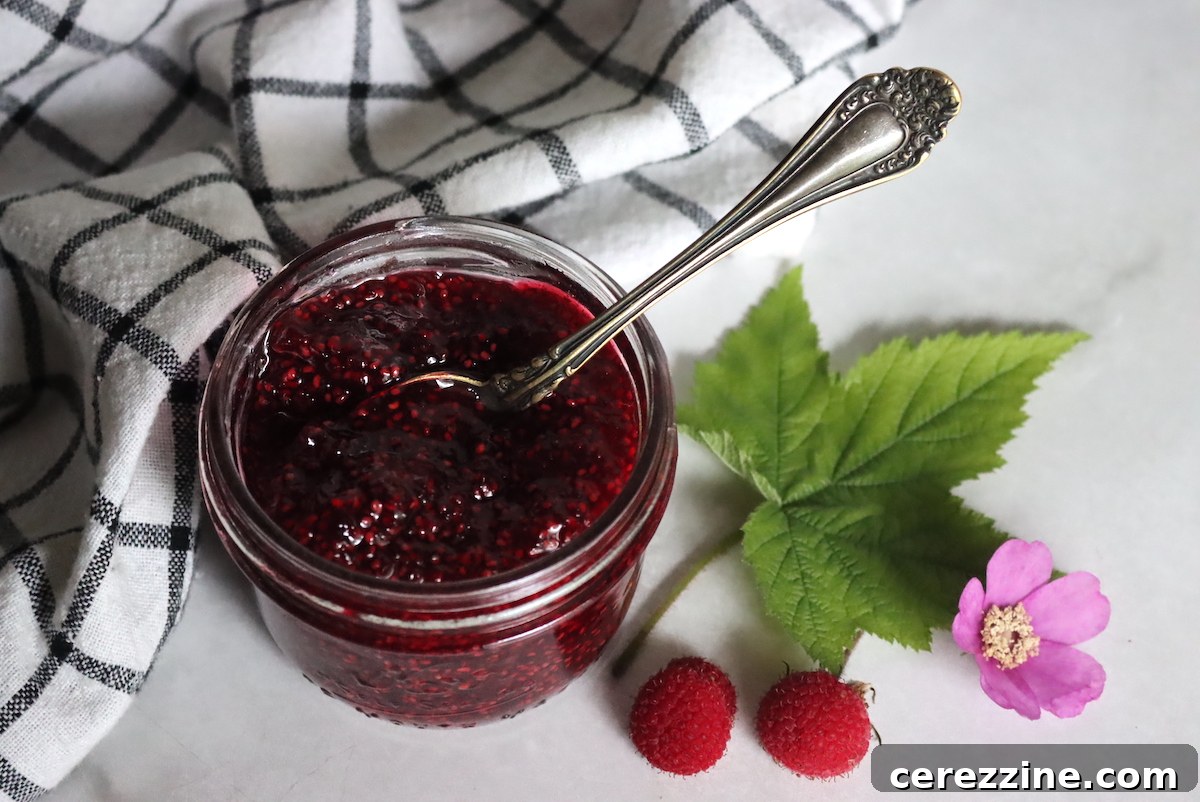
Among the hundreds of exquisite fruits within the diverse raspberry family, the thimbleberry (Rubus parviflorus in the West, Rubus odoratus in the East), often referred to as flowering raspberry, stands out as one of the most uniquely flavored. Its taste is often described as “more raspberry than raspberry,” an intense, almost candy-like raspberry flavor that simply has to be experienced to be believed. This vibrant, subtly tart, and incredibly aromatic berry offers a truly spectacular culinary experience.
Despite its magnificent flavor, the thimbleberry is notoriously short-lived. Its delicate structure means the fruit begins to degrade almost immediately after picking. While refrigeration can extend its life by a day or two, it will spoil within hours at room temperature. This extreme perishability is precisely why you’ll never find fresh thimbleberries in commercial grocery stores, making homemade thimbleberry jam an even more precious and sought-after treat. To enjoy this unique preserve, you must either embark on a rewarding foraging adventure or cultivate your own thimbleberry patch.
Foraging and Harvesting Your Own Thimbleberries
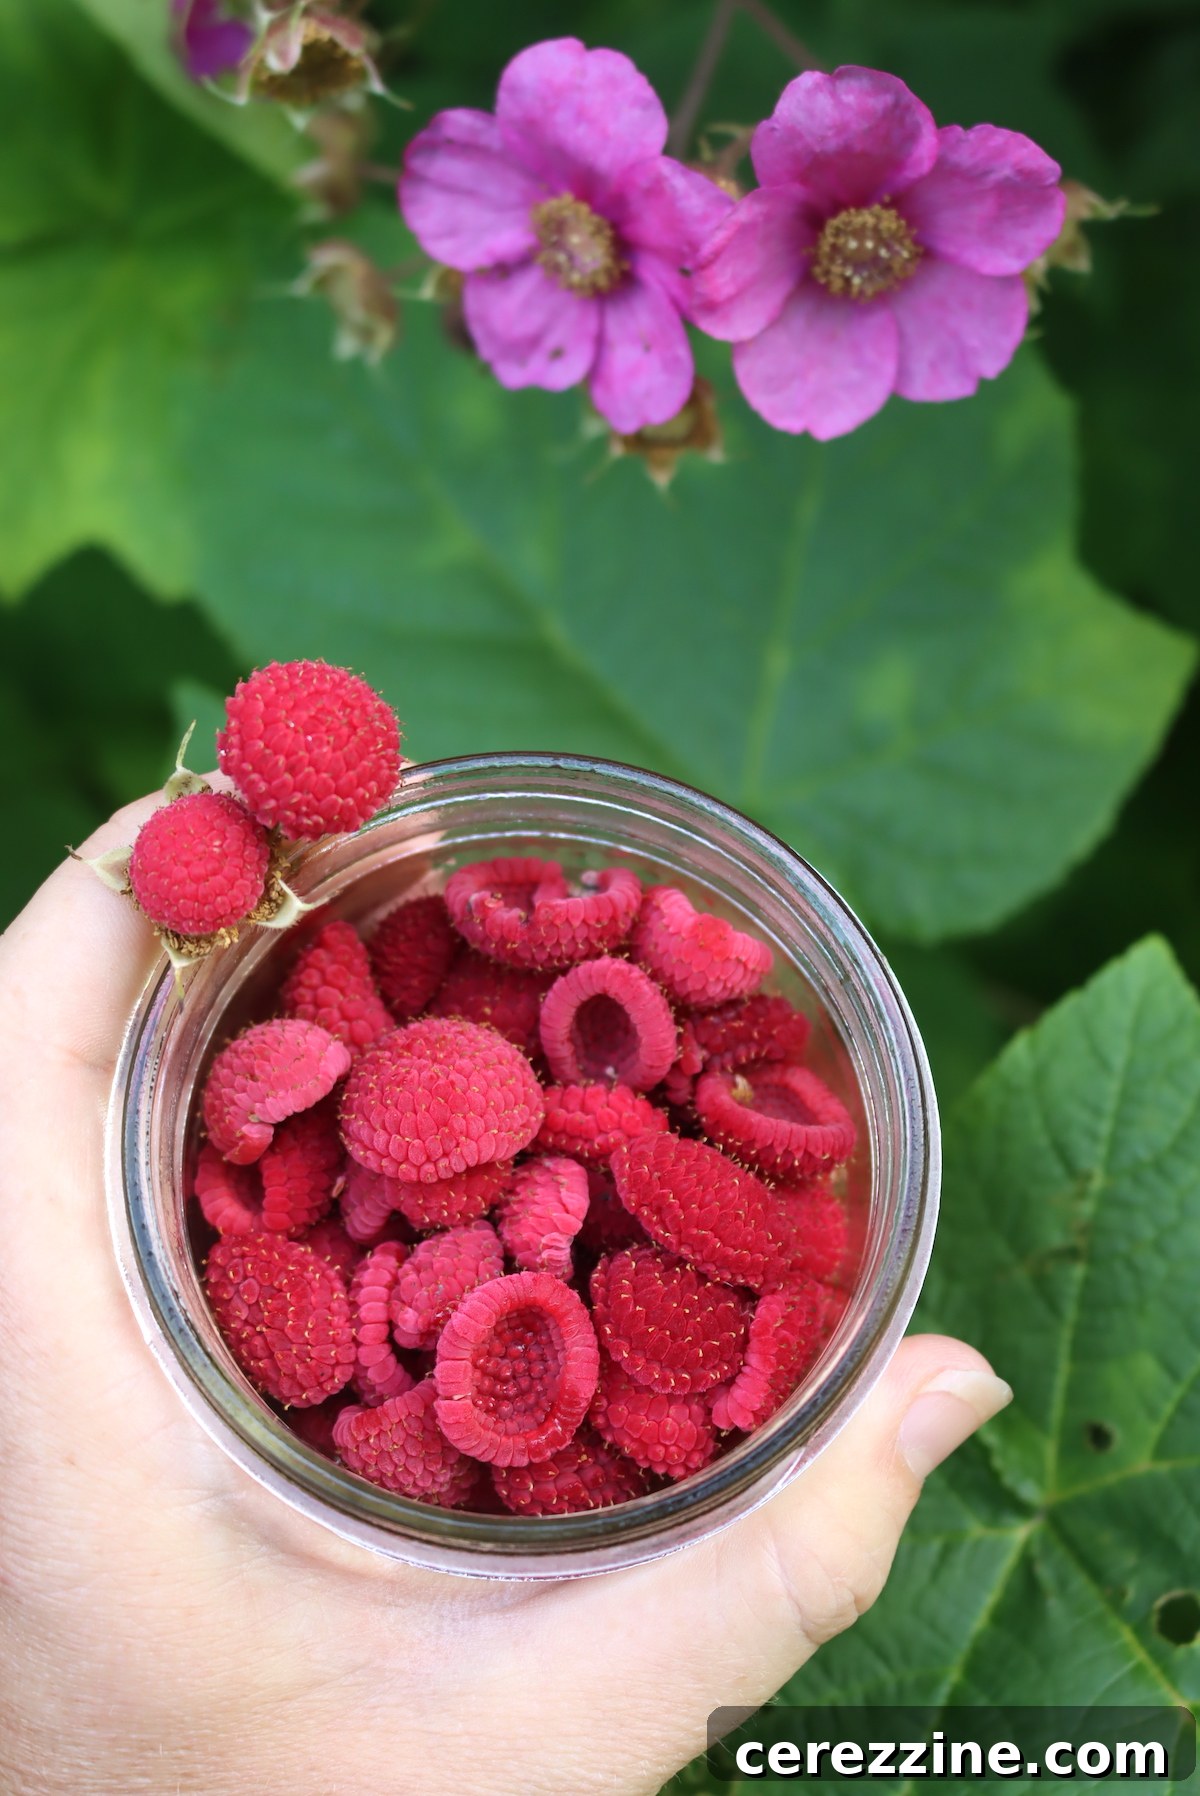
The first and often most challenging step in making thimbleberry jam is gathering enough of these elusive fruits. There are two primary species found across North America: the Western Thimbleberry (Rubus parviflorus), common in western regions, and the Eastern Thimbleberry (Rubus odoratus), often known as “Purple Flowering Raspberries” in the Northeast. Both varieties are highly prized for their flavor, which is strikingly similar and cooks down beautifully into jam.
While sharing a common taste profile, these two thimbleberry varieties differ significantly in their growth habits and ease of harvest. The Western Thimbleberry typically boasts more prolific fruit production, making it easier for foragers in those regions to gather substantial quantities, sometimes by the bucketful. In contrast, the Eastern Thimbleberry, recognized by its beautiful purple-pink flowers (as opposed to the white flowers of its Western counterpart), tends to be less fruitful. Even in a well-established patch, you might only harvest 2 to 3 cups at a time. This eastern variety also has a longer, more staggered ripening season, with only one or two berries from a cluster maturing every few days. This characteristic makes them an exceptionally rare and cherished find, adding to the mystique of thimbleberry jam.
Given their delicate nature and rapid perishability, proper handling during and after harvest is crucial. Thimbleberries should be transported to refrigeration immediately after picking. They maintain their quality for approximately 24 to 48 hours when kept cool, but not much longer. For this reason, many thimbleberry jam recipes, including this one, are designed for small batches, utilizing just a few cups of these precious berries at a time. This approach minimizes waste and allows you to enjoy the freshest possible flavor from each small harvest.
Understanding Thimbleberry Jam Yield and Ratios
When preparing thimbleberry jam, understanding the fruit-to-sugar ratio is key to achieving the perfect consistency and flavor balance. Starting with approximately 3 cups of fresh thimbleberries, this recipe is designed to yield about two 8-ounce jars of exquisite jam, which translates to roughly 2 cups of finished product. This small-batch approach is ideal for working with the modest quantities of thimbleberries typically harvested.
This recipe is adapted from a standard berry jam framework, which often uses a 3-to-2 ratio of mashed berries to sugar. For whole thimbleberries, which are quite airy and have a unique structure, the ratio adjusts slightly. Three cups of whole thimbleberries will yield roughly 1.5 cups of mashed fruit. Based on this, you’ll need approximately 1 cup of sugar for 3 cups of whole thimbleberries. If you’re fortunate enough to have a bumper crop of thimbleberries, perhaps from a prolific Western patch, a good general guideline is to use 1 pound of sugar for every 2 pounds of whole fruit. This ratio ensures a firm set and rich flavor, allowing the natural essence of the thimbleberries to shine through while providing enough sweetness for preservation.
Essential Ingredients for Perfect Thimbleberry Jam
While the basic sugar ratios are crucial, a small but significant adjustment makes this thimbleberry jam truly exceptional: the addition of lemon juice. Although thimbleberries possess a good amount of natural pectin and are reasonably acidic on their own, lemon juice serves multiple beneficial purposes, enhancing both the cooking process and the final flavor profile.
- Provides Necessary Liquid: Thimbleberries are notably dry compared to other berries. Without a little added liquid at the start, they can easily scorch in the pot as they begin to cook. While water can prevent scorching, lemon juice offers a superior flavor contribution.
- Brightens Flavor: The acidity from lemon juice acts as a natural flavor enhancer, bringing out the vibrant, complex notes of the thimbleberries. It balances the sweetness of the sugar and prevents the jam from tasting flat.
- Boosts Pectin and Set: Lemon juice is naturally high in pectin. Even though thimbleberries have their own pectin, adding lemon juice can significantly improve the jam’s final set, ensuring a beautifully firm yet spreadable consistency without the need for commercial pectin. This contributes to a more reliable yield and a consistently good texture.
While the addition of lemon juice is highly recommended for these benefits, it is technically optional. If you prefer to omit it, you can substitute a small amount of water to prevent scorching at the beginning of the cooking process. However, for the best flavor, texture, and a more robust set, we strongly suggest including it. For every 3 cups of fresh thimbleberries (approximately 3/4 pound), incorporate 1 tablespoon of fresh or bottled lemon juice into your recipe.
How to Make Exquisite Thimbleberry Jam
Crafting thimbleberry jam is a straightforward process, but a few key steps ensure a perfect result every time. The goal is to maximize flavor and achieve a beautiful set, allowing this unique berry to truly shine.
Begin by combining your fresh thimbleberries with the measured sugar and lemon juice in a large, heavy-bottomed jam pot. Gently mash the berries. This initial mashing helps to release their natural juices and break down the fruit, creating a more uniform texture in the final jam. After mashing, allow the mixture to sit for 5 to 10 minutes before applying heat. This crucial “maceration” period serves two important functions: it further draws out the fruit juices, which prevents scorching when cooking begins, and it helps dissolve the sugar. Since this jam cooks relatively quickly, ensuring the sugar is well-dissolved from the start prevents a grainy texture in the finished product.
Once macerated, place the jam pot over high heat and bring the mixture to a rapid, rolling boil. It’s essential to stir continuously during this phase to prevent the jam from sticking to the bottom of the pot and scorching. Thimbleberries are known for their relatively dry texture and high natural pectin content, meaning they thicken quite rapidly. You’ll likely find that the jam reaches its setting point within a short timeframe, typically 5 to 8 minutes of vigorous boiling. However, cooking times can vary based on the moisture content of your specific thimbleberries (influenced by recent rainfall and freshness). Very fresh fruit generally has more pectin and will set quicker.
Do not rely solely on the suggested cooking time; testing for the set is paramount to avoid overcooking and ending up with an overly thick or hard-to-spread jam. There are two reliable methods for testing the set:
- The Plate Test: Before you begin cooking, place a couple of small ceramic plates in the freezer. When you suspect the jam is nearing its set point, remove a plate from the freezer, spoon a small amount of hot jam onto it, and return it to the freezer for a minute. Then, push the jam with your finger; if it wrinkles and holds its shape, it has set.
- The Temperature Test: For a more precise method, use an instant-read thermometer. Jams typically set at 220 degrees Fahrenheit (104 degrees Celsius) at sea level. Keep in mind that for every 500 feet of elevation above sea level, the setting temperature drops by approximately 1 degree Fahrenheit. For instance, at 1,000 feet elevation, the jam would set at 218 degrees Fahrenheit. Cook the jam, stirring frequently, until it reaches the appropriate temperature for your elevation.
As soon as the jam reaches its set point, remove the pot from the heat immediately. Any further cooking can degrade the fresh flavor and lead to an undesirable texture. Carefully ladle the hot jam into your prepared jars, whether for immediate enjoyment or for canning.
Preserving Your Harvest: Canning Thimbleberry Jam
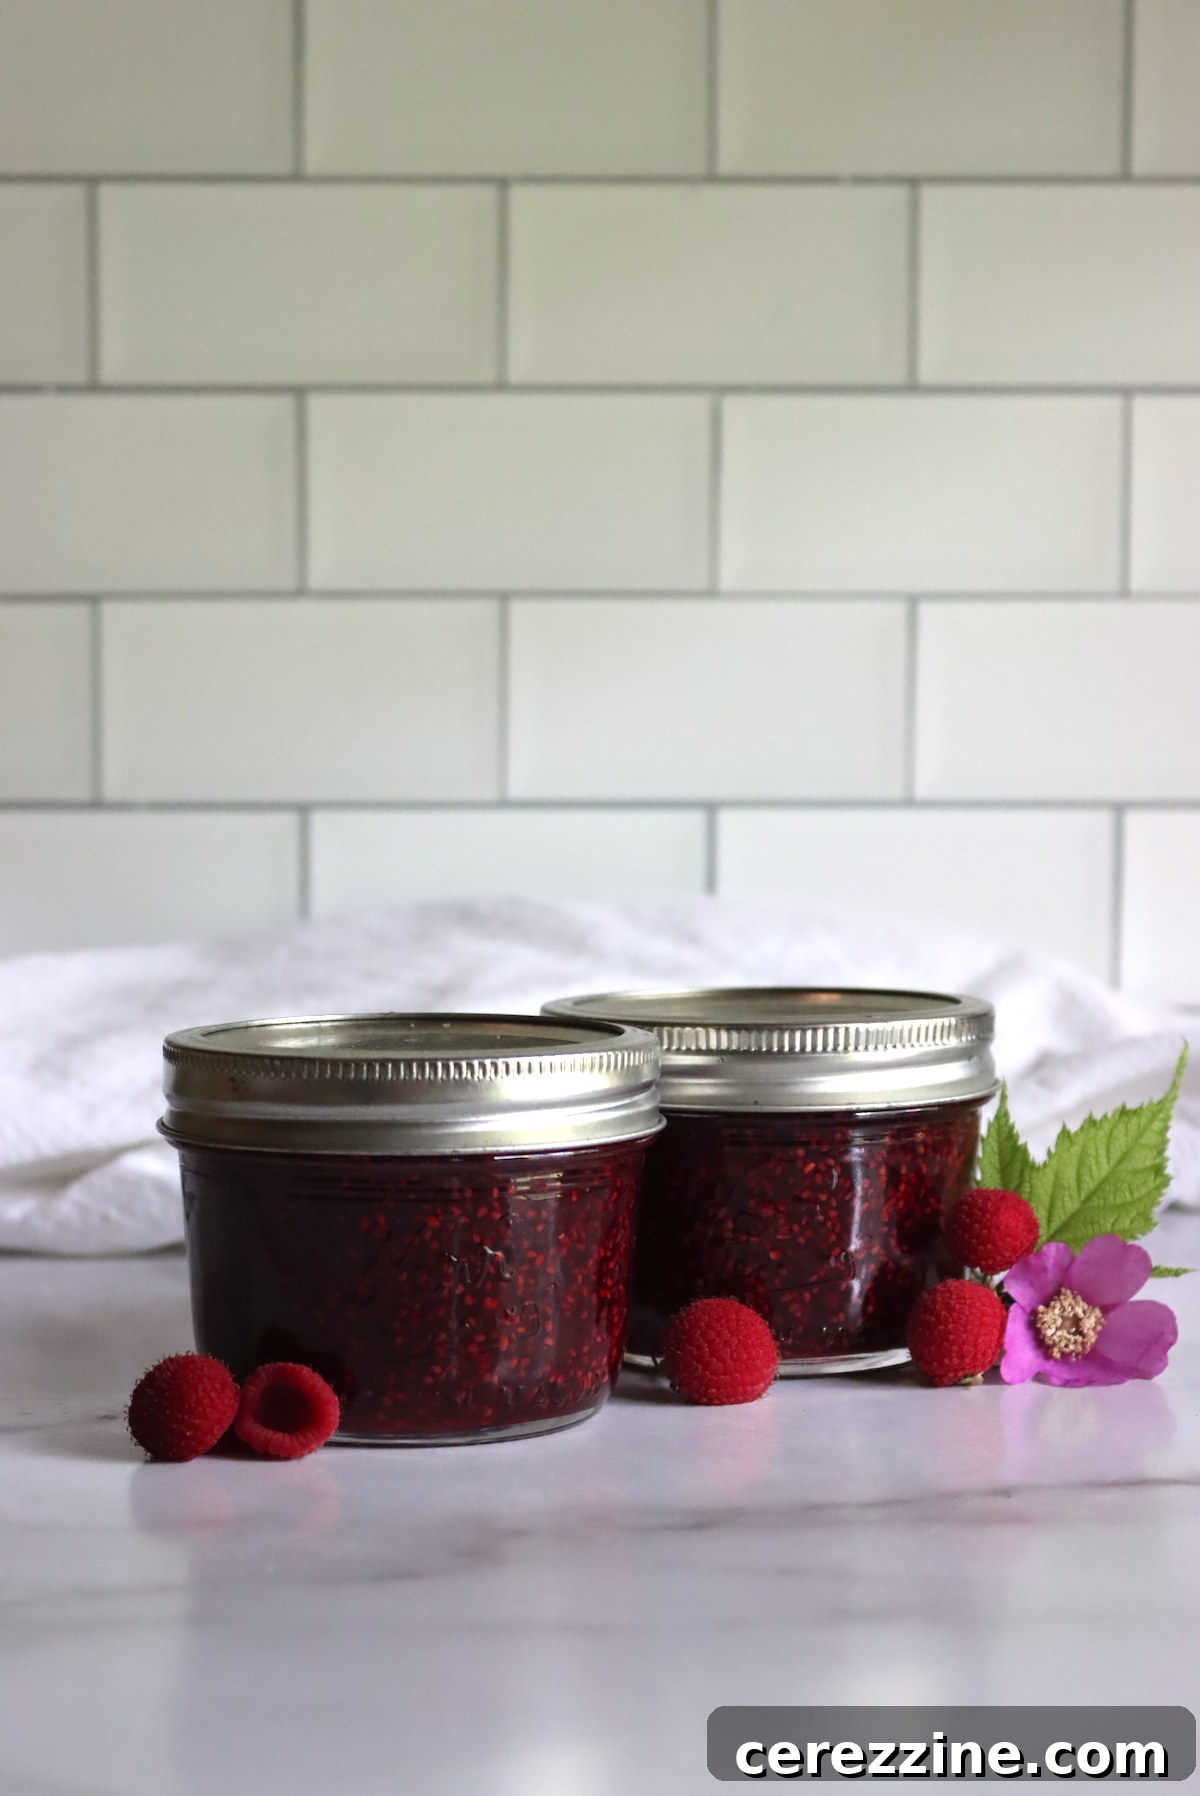
While this thimbleberry jam recipe can certainly be enjoyed as a refrigerator or freezer jam—lasting for several weeks in the fridge or up to 6 months in the freezer—water bath canning offers the unparalleled satisfaction of preserving the vibrant flavors of the season directly on your pantry shelf. A properly sealed jar of home-canned jam will maintain its quality for at least 18 months and remain safe to eat for even longer, provided it remains unopened. Once a jar is opened, it should be refrigerated and consumed within a few weeks.
The process of canning thimbleberry jam in a water bath canner is straightforward and ensures long-term stability. Before you even begin cooking your jam, it’s essential to prepare your canning equipment: a water bath canner, clean canning jars, new lids, and bands. Sterilize your jars by immersing them in simmering water (not boiling) in the canner, or according to your canner’s instructions. Keep them hot until ready to fill.
Once your thimbleberry jam has reached its setting point, remove it from the heat. Carefully ladle the hot jam into the hot, prepared canning jars. It’s crucial to leave precisely 1/4 inch of headspace between the top of the jam and the rim of the jar. This specific amount of space is vital for creating a proper vacuum seal. Wipe the rims of the jars clean with a damp cloth to ensure no sticky residue interferes with the seal. Place a new lid on each jar, followed by a screw band, tightening it fingertip-tight (just until you feel resistance).
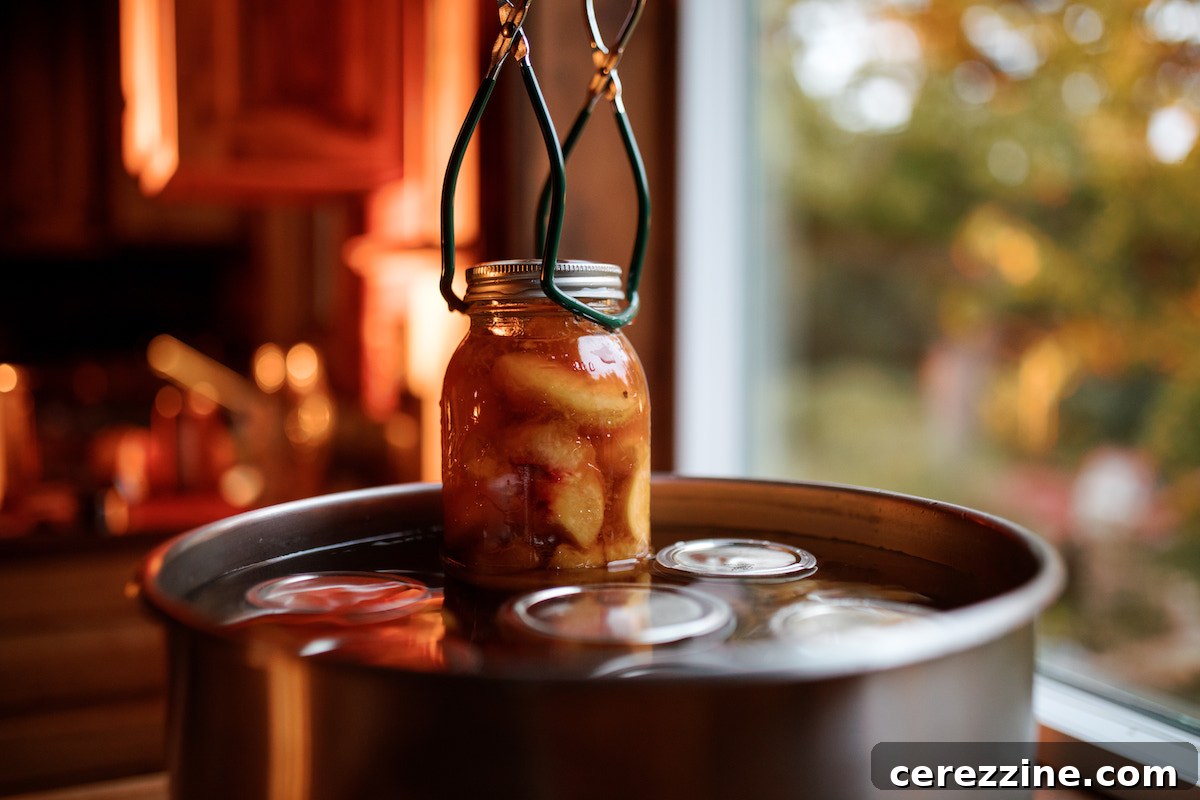
Using a jar lifter, carefully place the filled jars into the simmering water bath canner, ensuring they are fully submerged by at least 1 to 2 inches of water. Cover the canner with its lid and bring the water to a full, rolling boil. Once boiling, process the jars for 10 minutes. If you are canning at an elevation above 6,000 feet, increase the processing time to 15 minutes to compensate for the lower boiling point of water. After the processing time is complete, turn off the heat but leave the jars in the hot water for an additional 5 minutes. This allows the internal temperature of the jars to equalize slowly, which can help prevent siphoning (loss of liquid from the jars).
Finally, remove the jars from the canner using your jar lifter and place them on a clean towel on your counter, spaced apart, to cool undisturbed for 12 to 24 hours. During this cooling period, you should hear the satisfying “ping” sound as the lids seal. After 24 hours, check the seals by pressing on the center of each lid; it should not flex. Any unsealed jars should be stored in the refrigerator for immediate consumption. Properly sealed jars can then be stored in a cool, dark pantry until you are ready to enjoy this rare and delicious thimbleberry jam.
Ways to Enjoy Thimbleberry Jam and Fresh Thimbleberries
Thimbleberry recipes can be a delightful challenge to discover, primarily because these berries are an uncommercialized gem, rarely found in grocery stores. However, their distinctive flavor and unique texture make them incredibly versatile in the kitchen. While thimbleberry jam is fantastic on toast, scones, or yogurt, the fresh berries themselves and the jam can be incorporated into many creative dishes.
Fresh thimbleberries have a drier texture compared to other berries, which is a huge advantage in baking. Unlike juicier fruits that can make cookies or cakes soggy, thimbleberries add an intense burst of flavor without compromising the texture of your baked goods. They are particularly well-suited as a direct substitute for raspberries in most recipes, but truly excel in specific applications:
- Cookies: The drier nature of thimbleberries makes them ideal for cookies, preventing excessive moisture. Imagine Thimbleberry White Chocolate Chip Cookies, where the fruit’s tartness beautifully contrasts with the sweet chocolate.
- Ice Cream: Swirl thimbleberry jam or gently mashed fresh thimbleberries into homemade vanilla ice cream for a vibrant, fruity treat without making the ice cream icy.
- Cakes and Muffins: Incorporate thimbleberries into your favorite cake or muffin batter. A Thimbleberry Cake offers a delicate crumb with pockets of intense berry flavor.
- Sauces and Glazes: Reduce thimbleberry jam with a splash of balsamic vinegar or orange juice to create a sophisticated sauce for roasted meats, poultry, or even pancakes and waffles.
- Cocktails: Muddle fresh thimbleberries or use a spoonful of jam to infuse unique flavor into summer cocktails or mocktails.
Thimbleberry Jam
Pin
Rate
Equipment
-
Water Bath Canner
Ingredients
- 3 cups Thimbleberries, about 1.5 cups mashed, or 3/4 pound fruit
- 1 cup sugar
- 1 Tbsp lemon juice, fresh or bottled
Instructions
-
If canning, prepare a water bath canner and jars before beginning. Canning is optional, and the jam will keep in the refrigerator for several weeks without canning, or for up to 6 months in the freezer.
-
Mash the thimbleberries with the sugar and lemon juice and allow the fruit to macerate for at least 10 minutes.
-
Place the mixture into a jam pot on the stove and bring the mixture to a hard boil over high heat, stirring continuously to prevent scorching.
-
Cook the jam on high heat until it reaches its set point. You can test for set on a plate that’s been placed in the freezer, or use an instant-read thermometer. Set point is 220 degrees F at sea level, and drops by 1 degree for every 500 feet above sea level. For example, at 1,000 feet the set point would be 218 F.
-
Once the jam reaches its set point, remove the pot from the heat and ladle the jam into prepared jars.
-
If canning, make sure you leave 1/4 inch headspace (no more and no less). Seal with 2-part canning lids and use a jar lifter to place the jars in a simmering water bath canner. Bring the canner to a hard boil and process the jars for 10 minutes (or 15 minutes above 6,000 feet in elevation). Turn off the heat and allow the jars to sit for 5 minutes before removing them with a jar lifter to cool on a towel on the counter. After 12-24 hours, check seals and store any unsealed jars in the refrigerator for immediate use. Properly canned and sealed jars will keep on the pantry shelf for 18 months.
Nutrition
Nutrition information is automatically calculated, so should only be used as an approximation.
Enjoy your homemade Thimbleberry Jam! We’d love to hear how it turned out. Feel free to leave a comment below.
More Old-Fashioned Jam Recipes
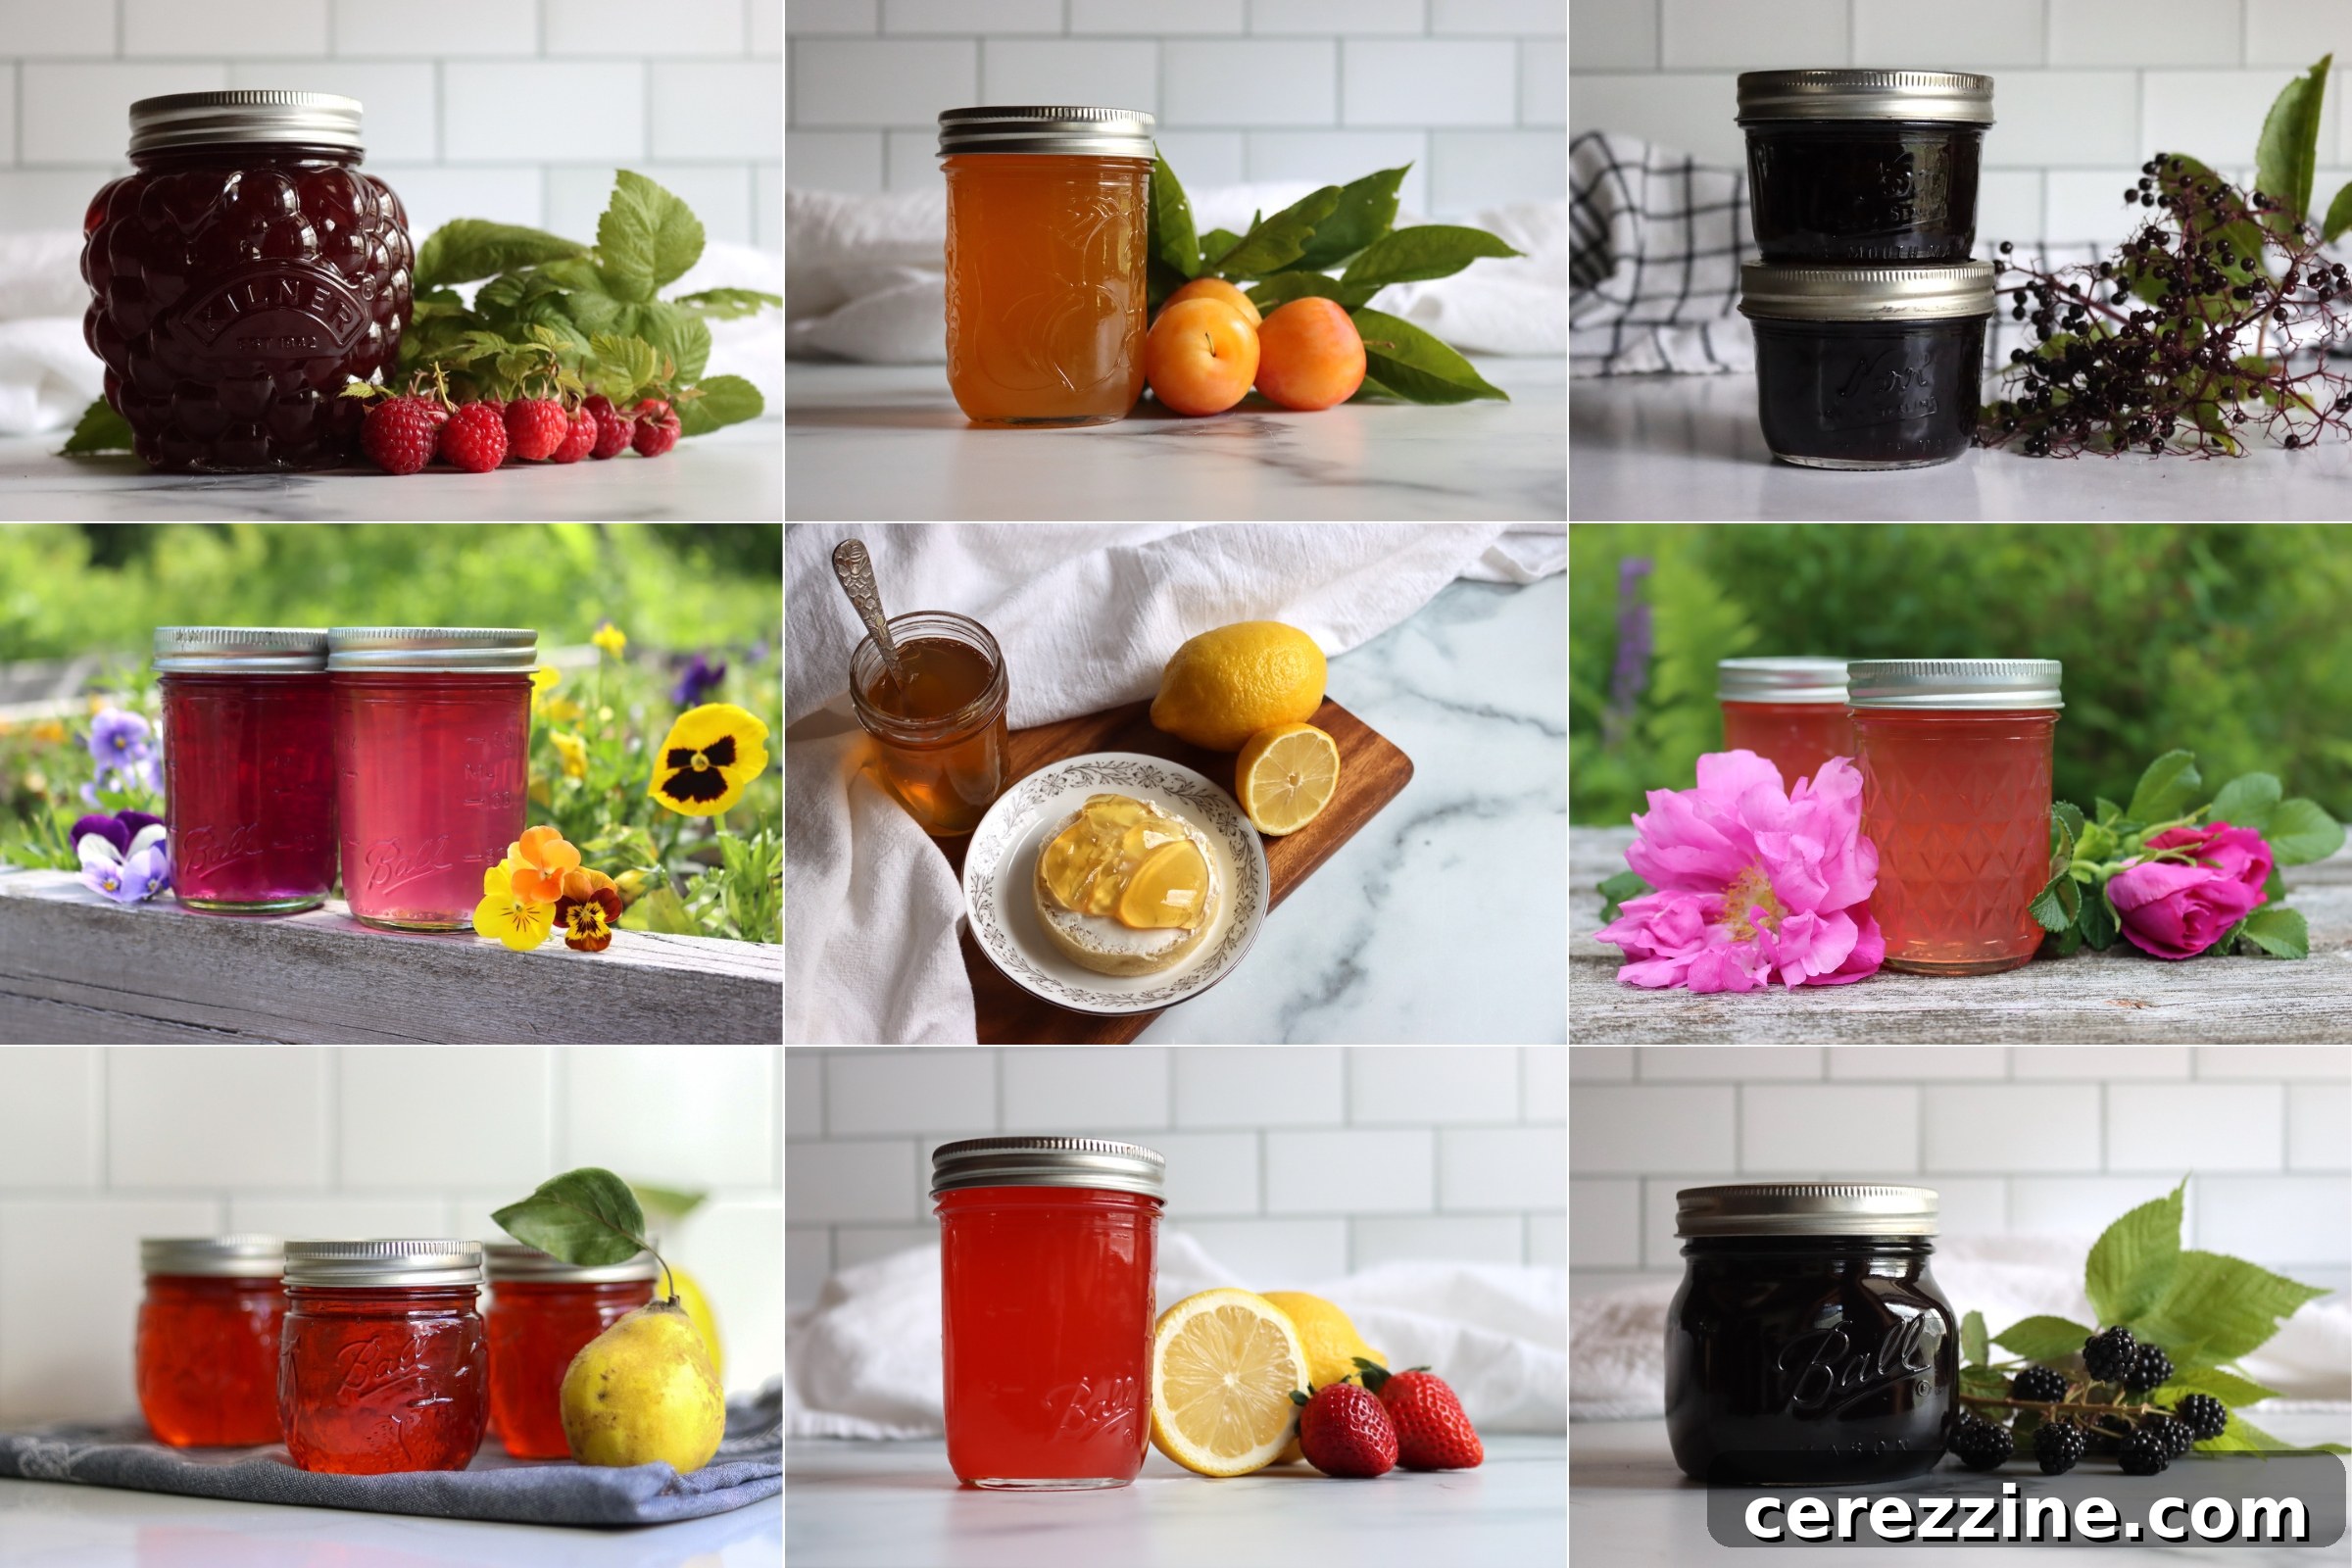
If you’re looking for more easy, old-fashioned jam recipes that deliver incredible flavor without the need for added commercial pectin, explore these delightful options:
- Old Fashioned Grape Jam
- Old Fashioned Strawberry Jam
- Easy Raspberry Jam
- Blackberry Jam
- Nectarine Jam
Beyond Jam: Fruit Canning Recipes
Jam is just one fantastic way to preserve the goodness of fresh fruit! Expand your canning repertoire with these other delicious fruit canning recipes:
- Canning Raspberries
- Canning Gooseberries
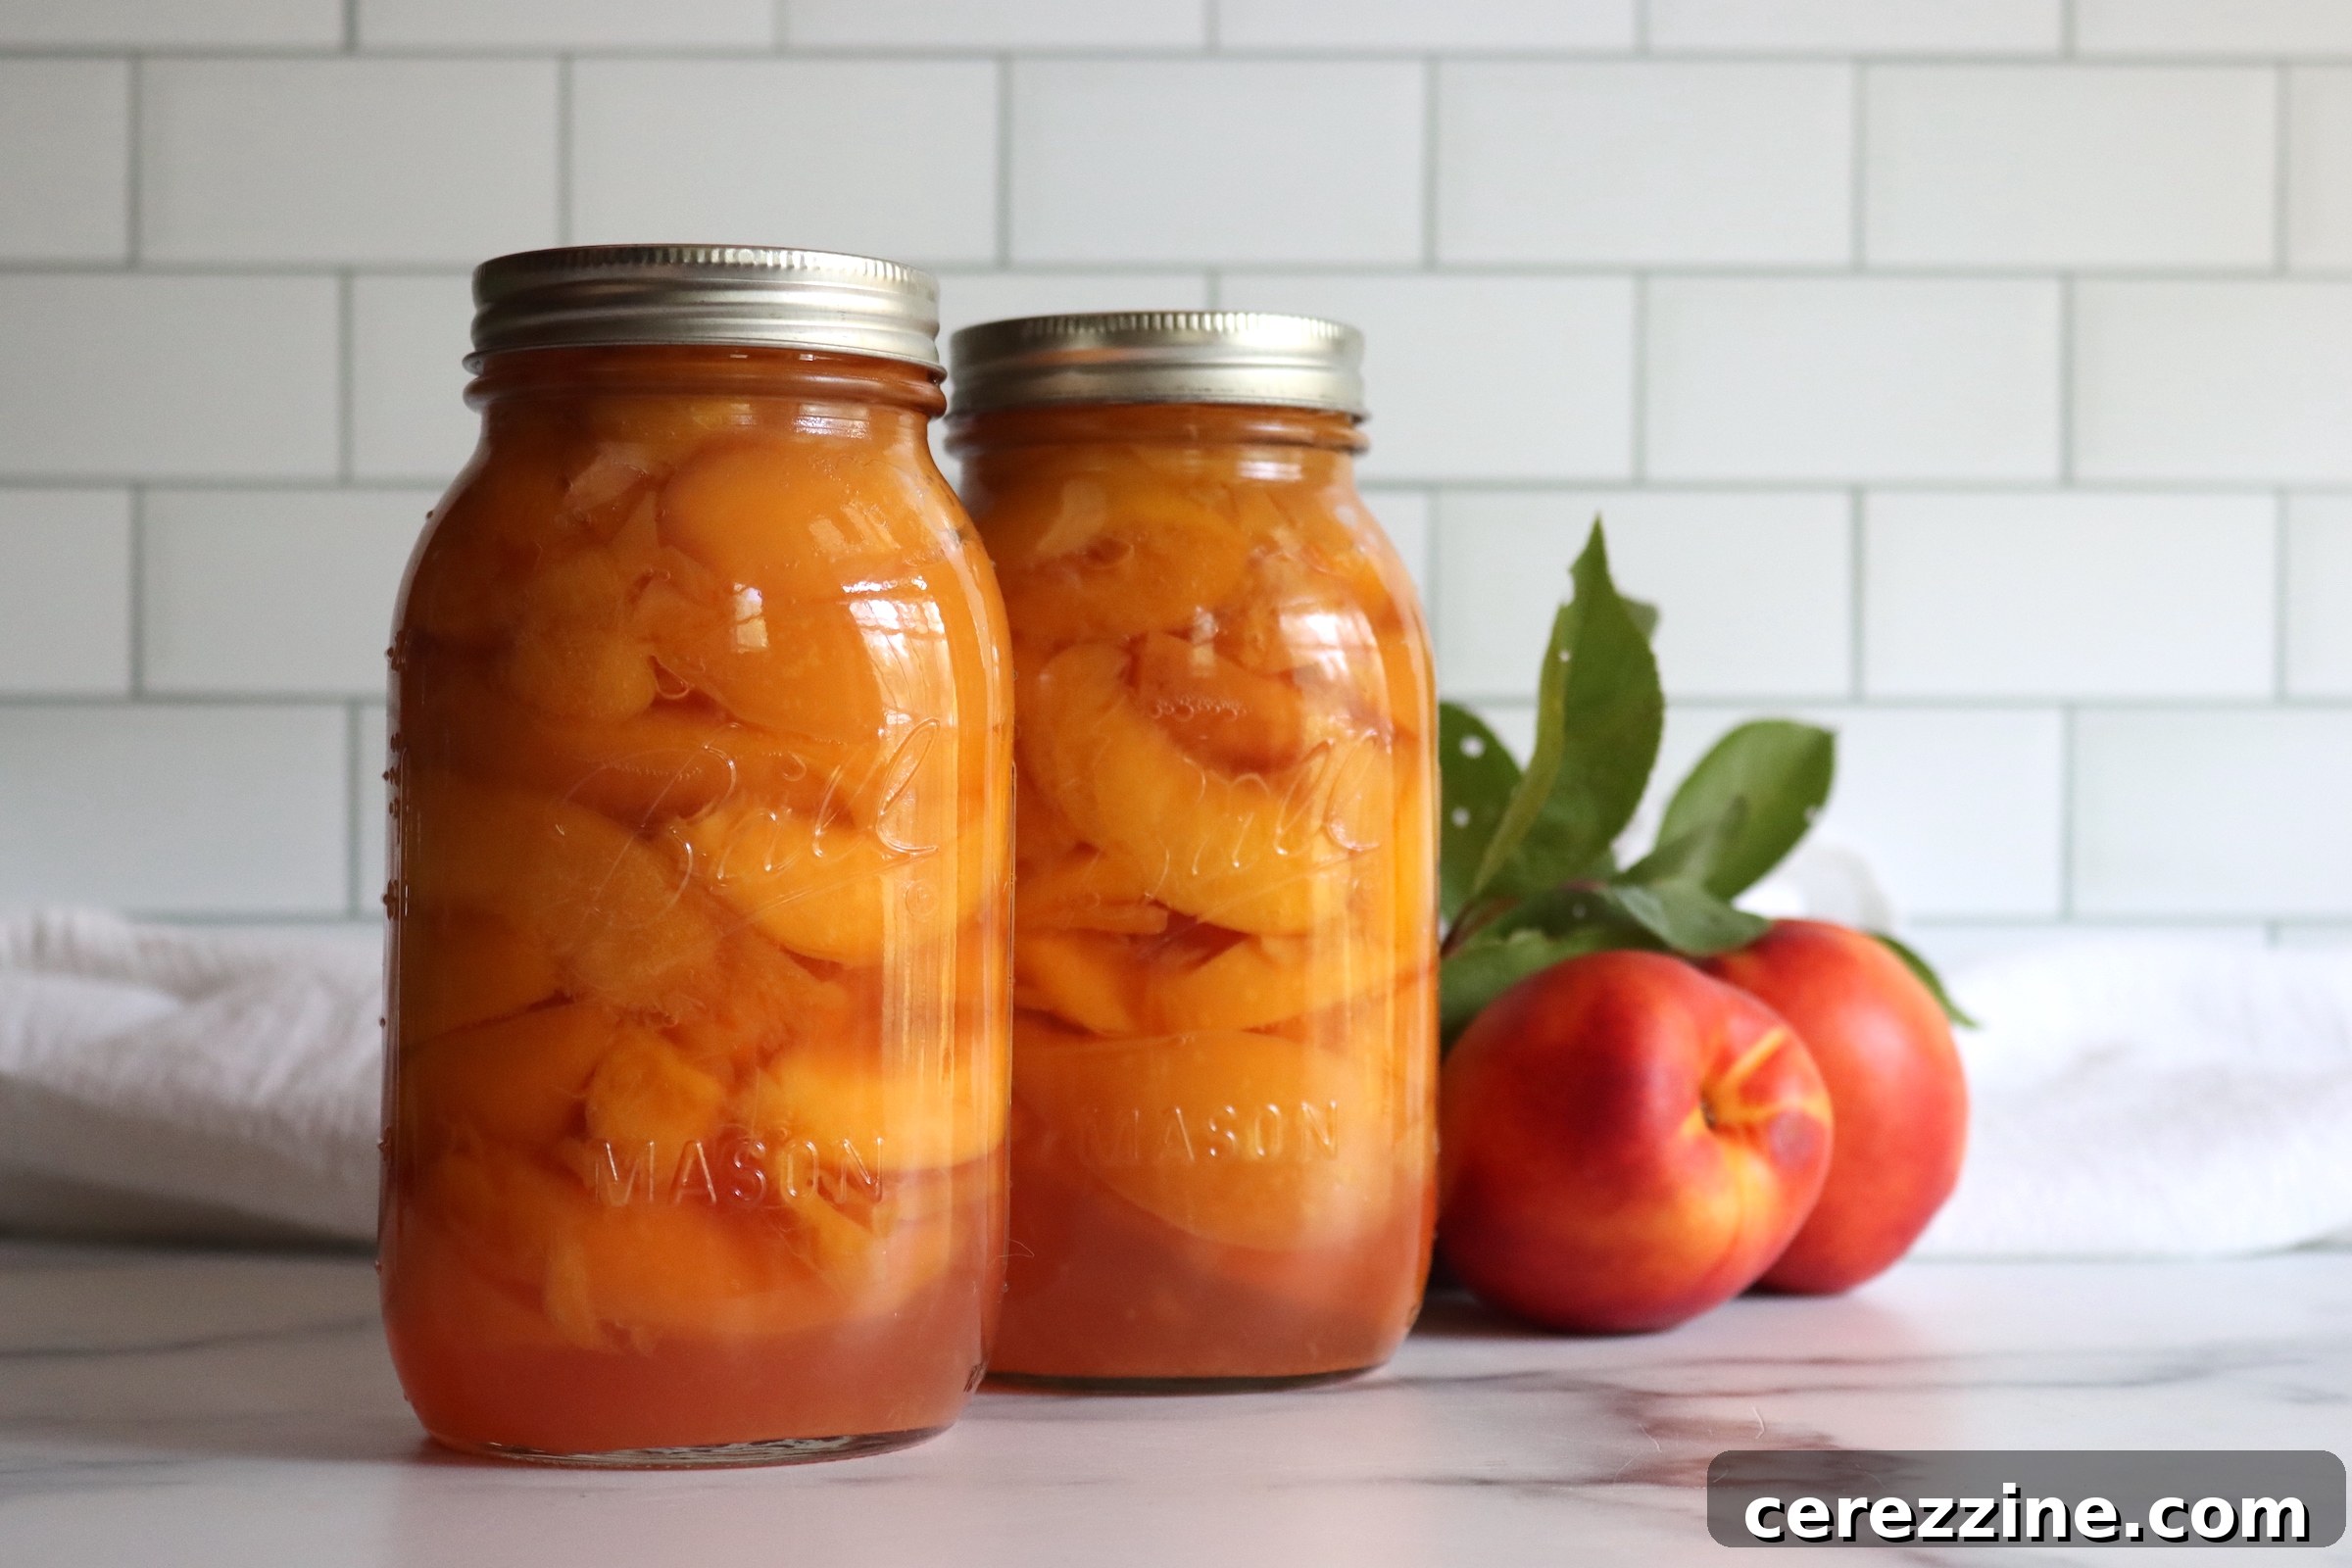
- Canning Peaches
- Canning Blackberries