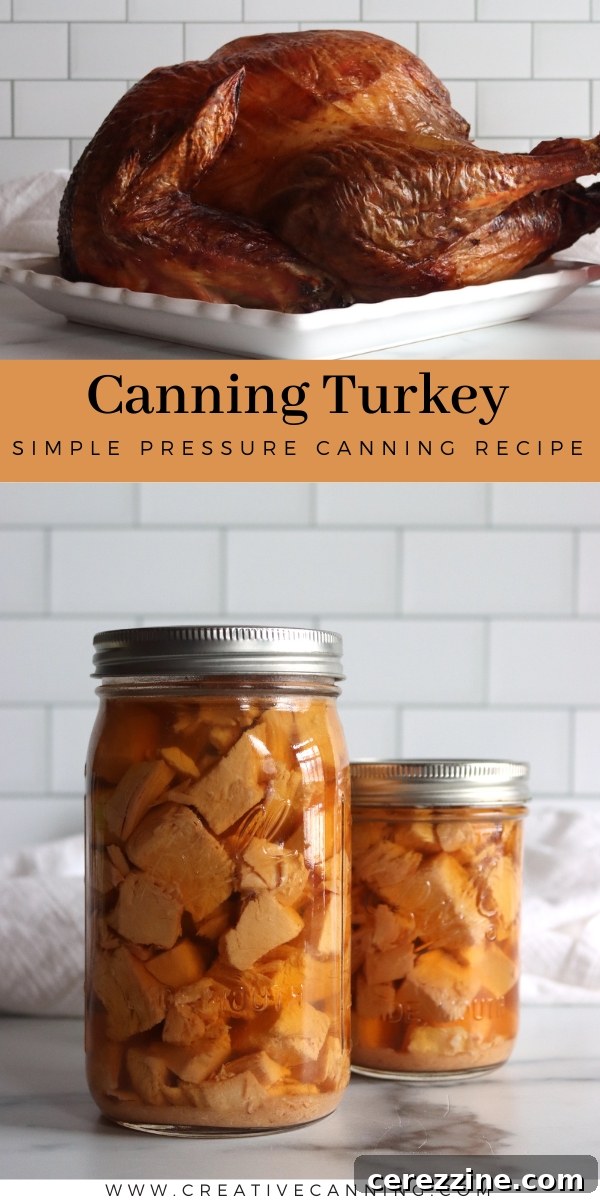
Canning turkey is a brilliant and efficient method to preserve your delicious leftover holiday turkey, ensuring you have ready-to-eat, wholesome meals available throughout the entire year. This time-honored preservation technique offers unparalleled peace of mind, eliminating concerns about power outages or freezer malfunctions that can compromise frozen goods. The most appealing aspect? Your turkey is already perfectly cooked and tender, making it incredibly simple to just heat and serve directly from the jar, transforming busy weeknights into effortless culinary experiences.
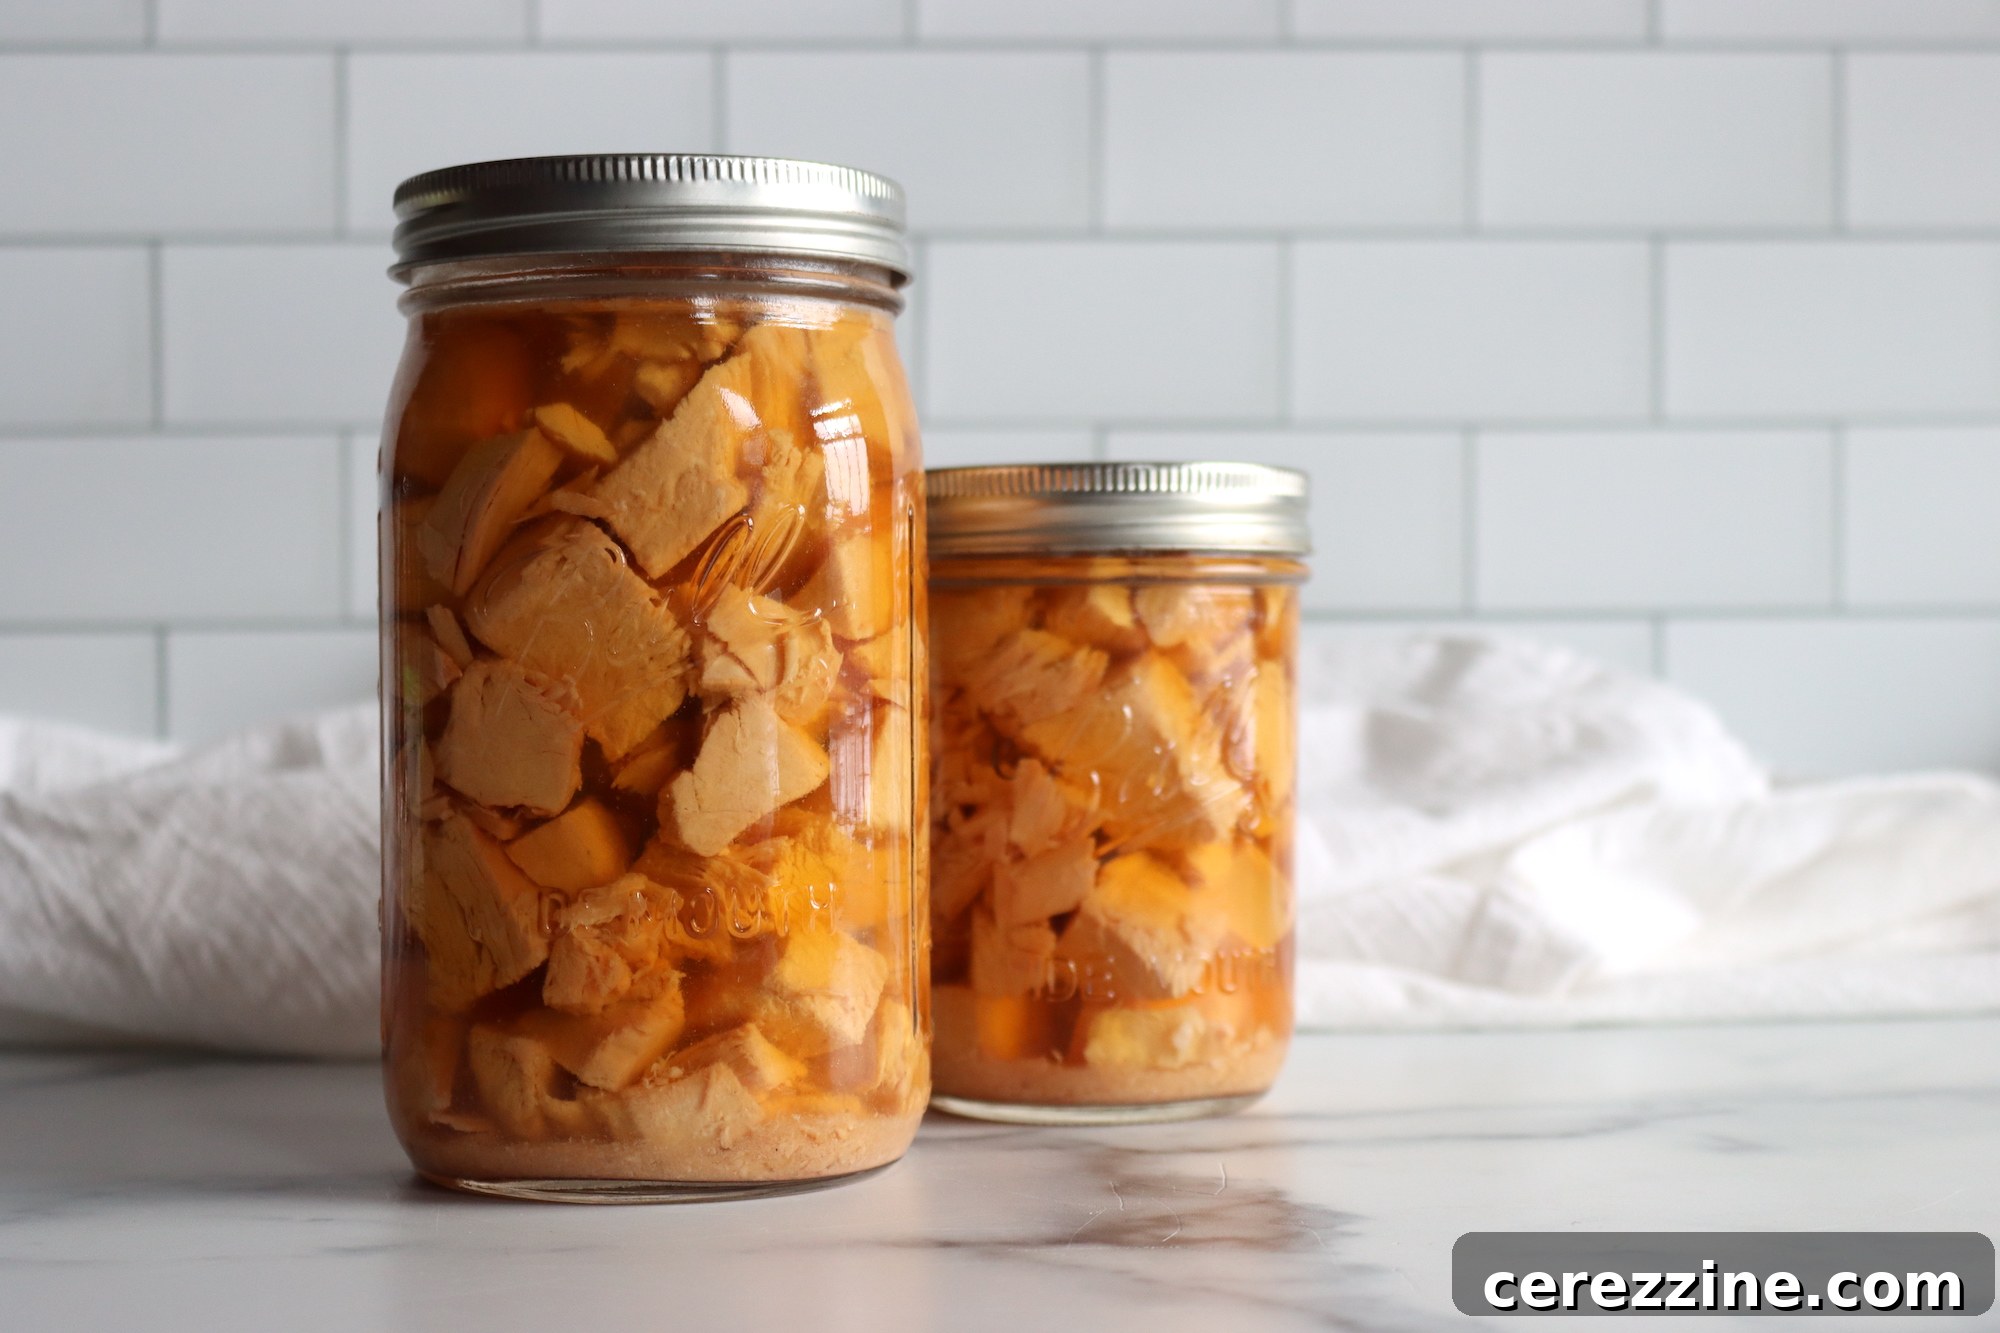
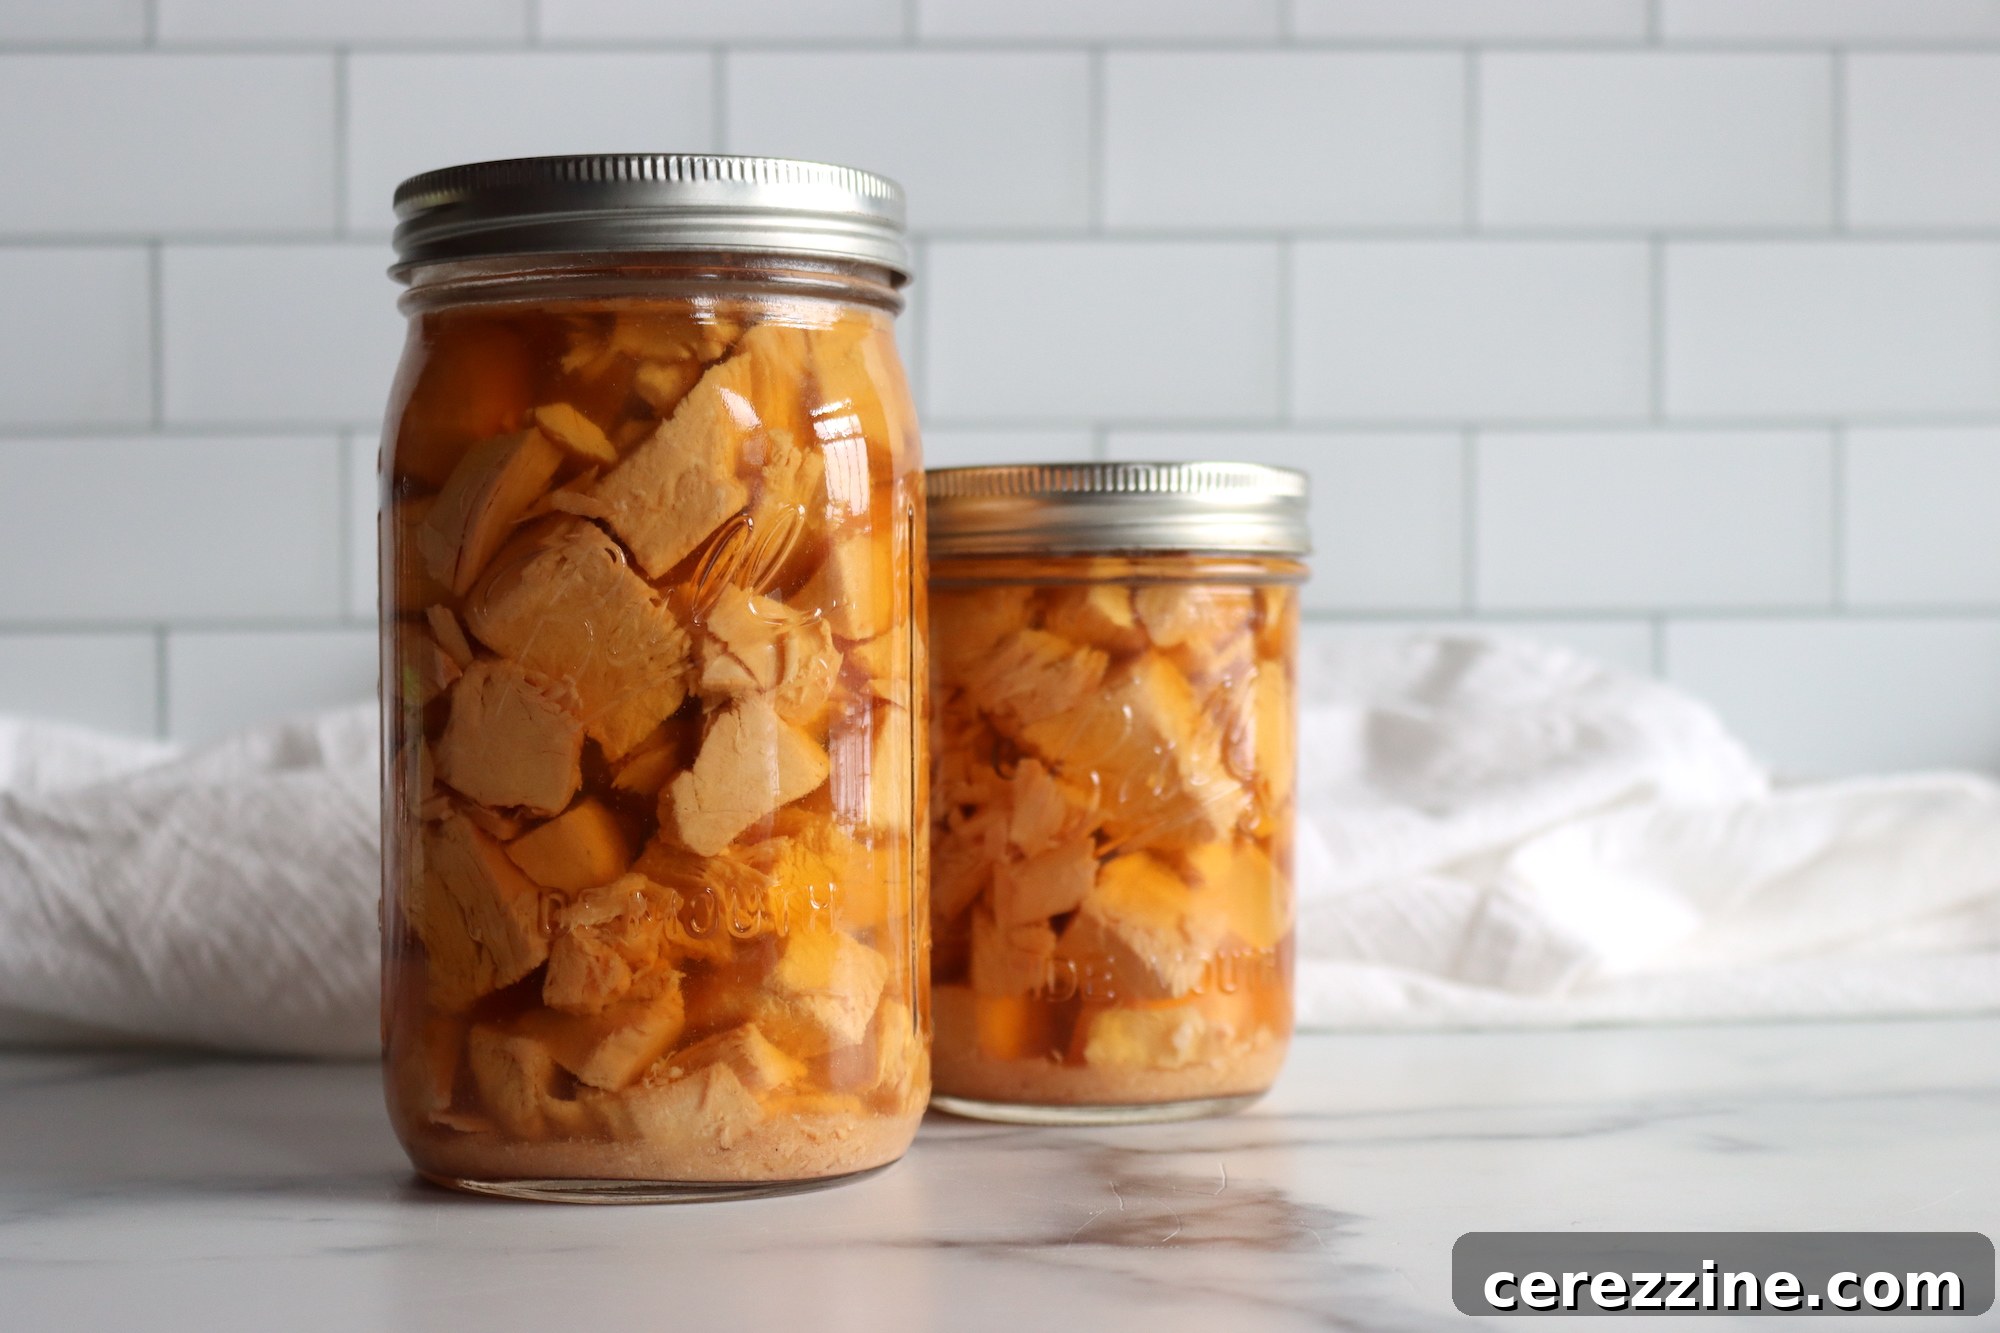
For anyone striving for a more self-sufficient lifestyle or simply seeking to streamline meal preparation, pressure canning recipes are invaluable. By canning your turkey, you effectively prep and safely store entire meals right on your pantry shelf. Imagine the convenience of having a supply of delicious, cooked turkey at your fingertips, ready to be incorporated into countless dishes at a moment’s notice. Whether you’re preserving the abundant turkey from Thanksgiving, Christmas, or any other festive occasion, you’ll be astonished by how practical, safe, and flavorful this method truly is. It’s not just about preserving food; it’s about preserving time and ensuring a consistent supply of nutritious protein for your family.
Why Canning Turkey Stands Out from Other Meats
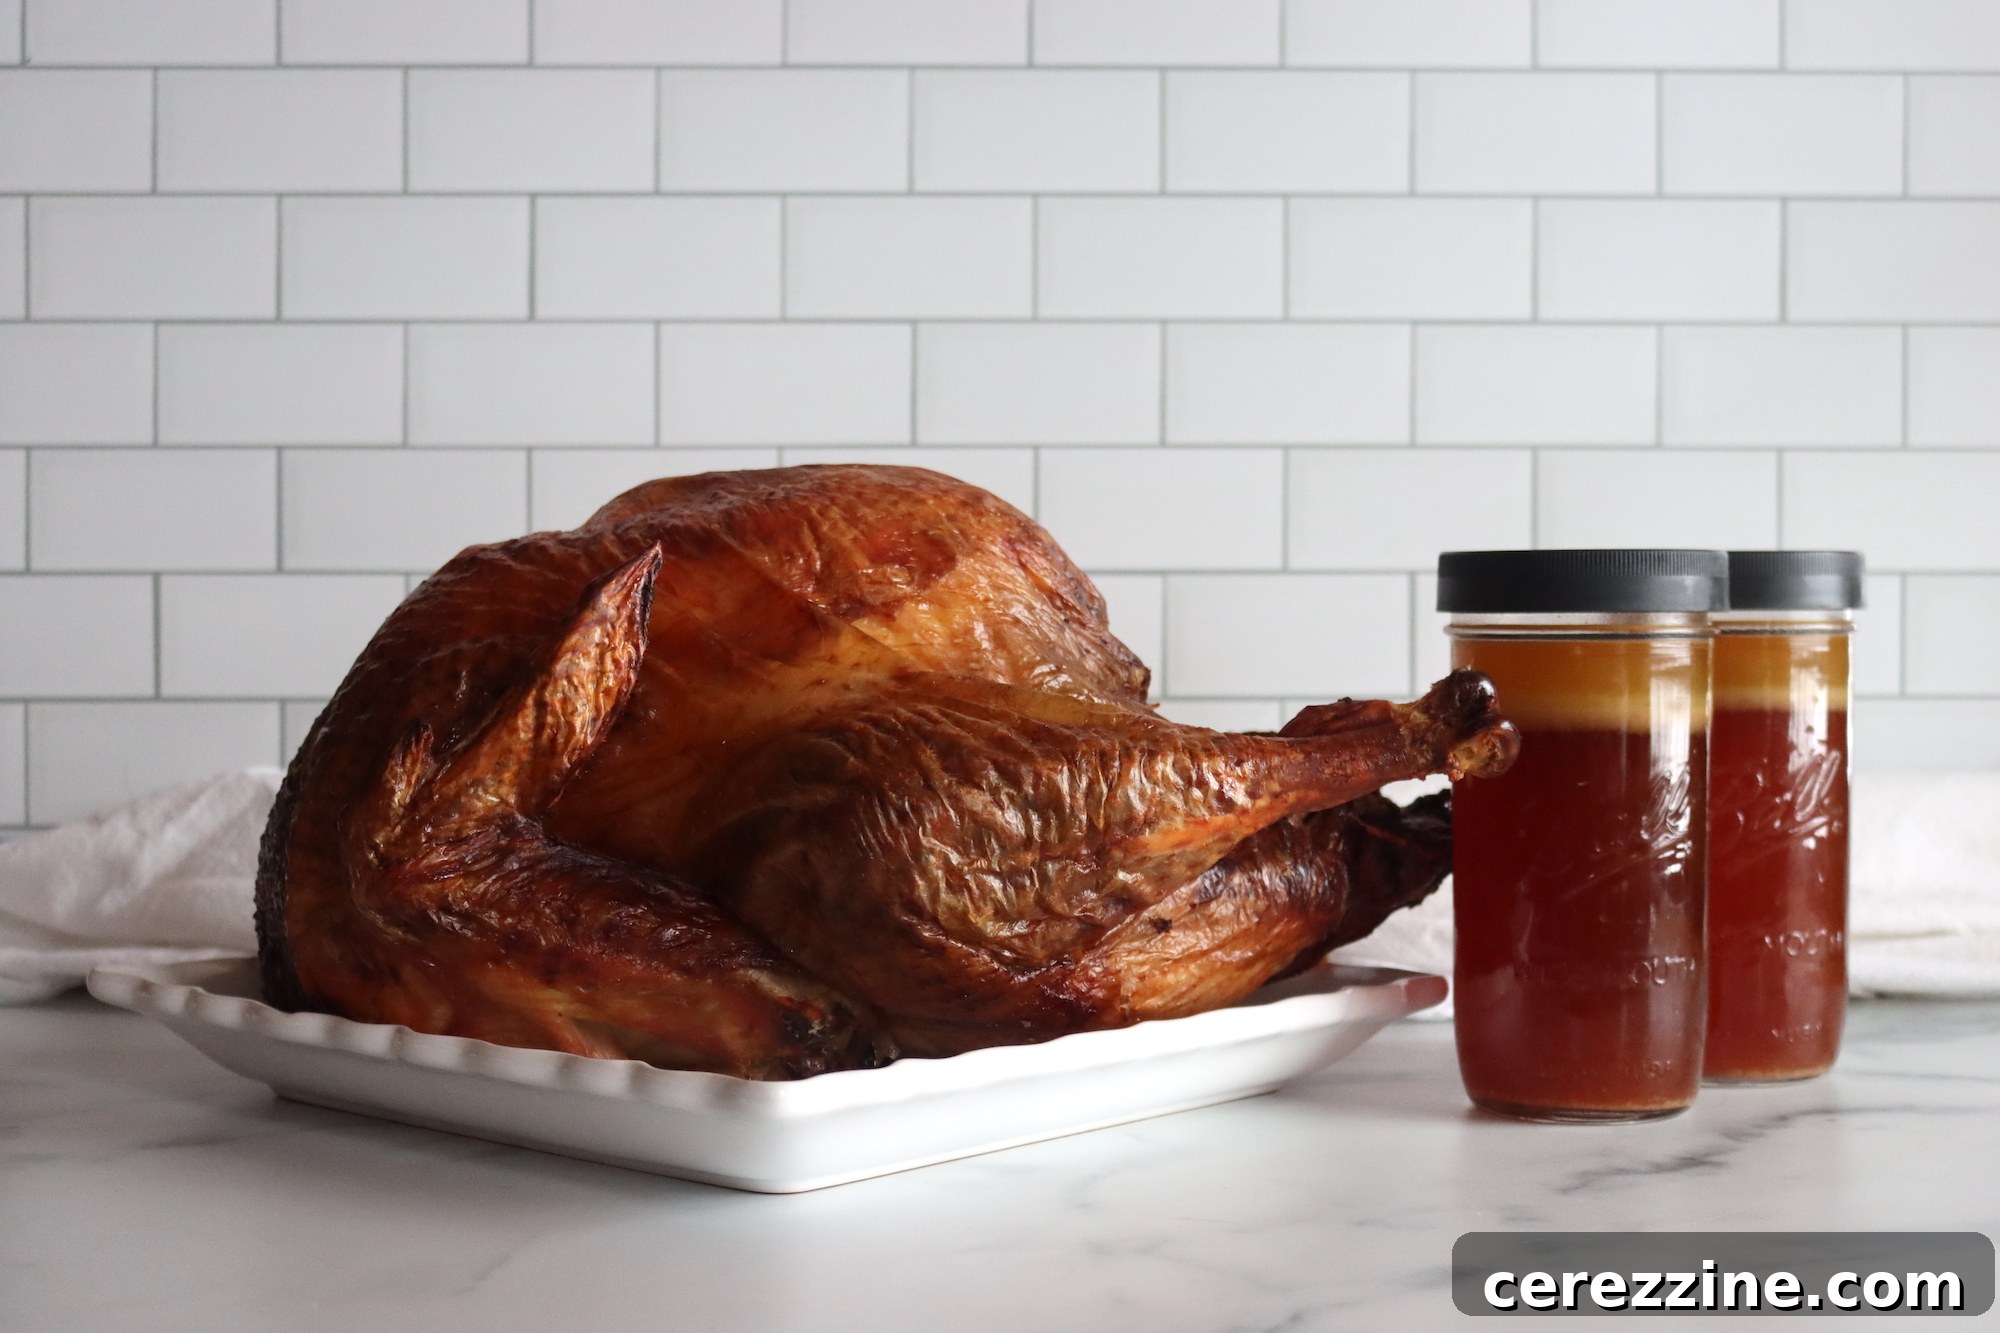
While the fundamental principles of pressure canning meat remain consistent, canning turkey often presents a unique advantage compared to other poultry like canning chicken or canning duck. Most enthusiasts choose to can turkey using the succulent, already cooked meat left over from a holiday feast. This means the turkey is typically fully cooked, tender, and incredibly flavorful right from the start, significantly simplifying the canning process.
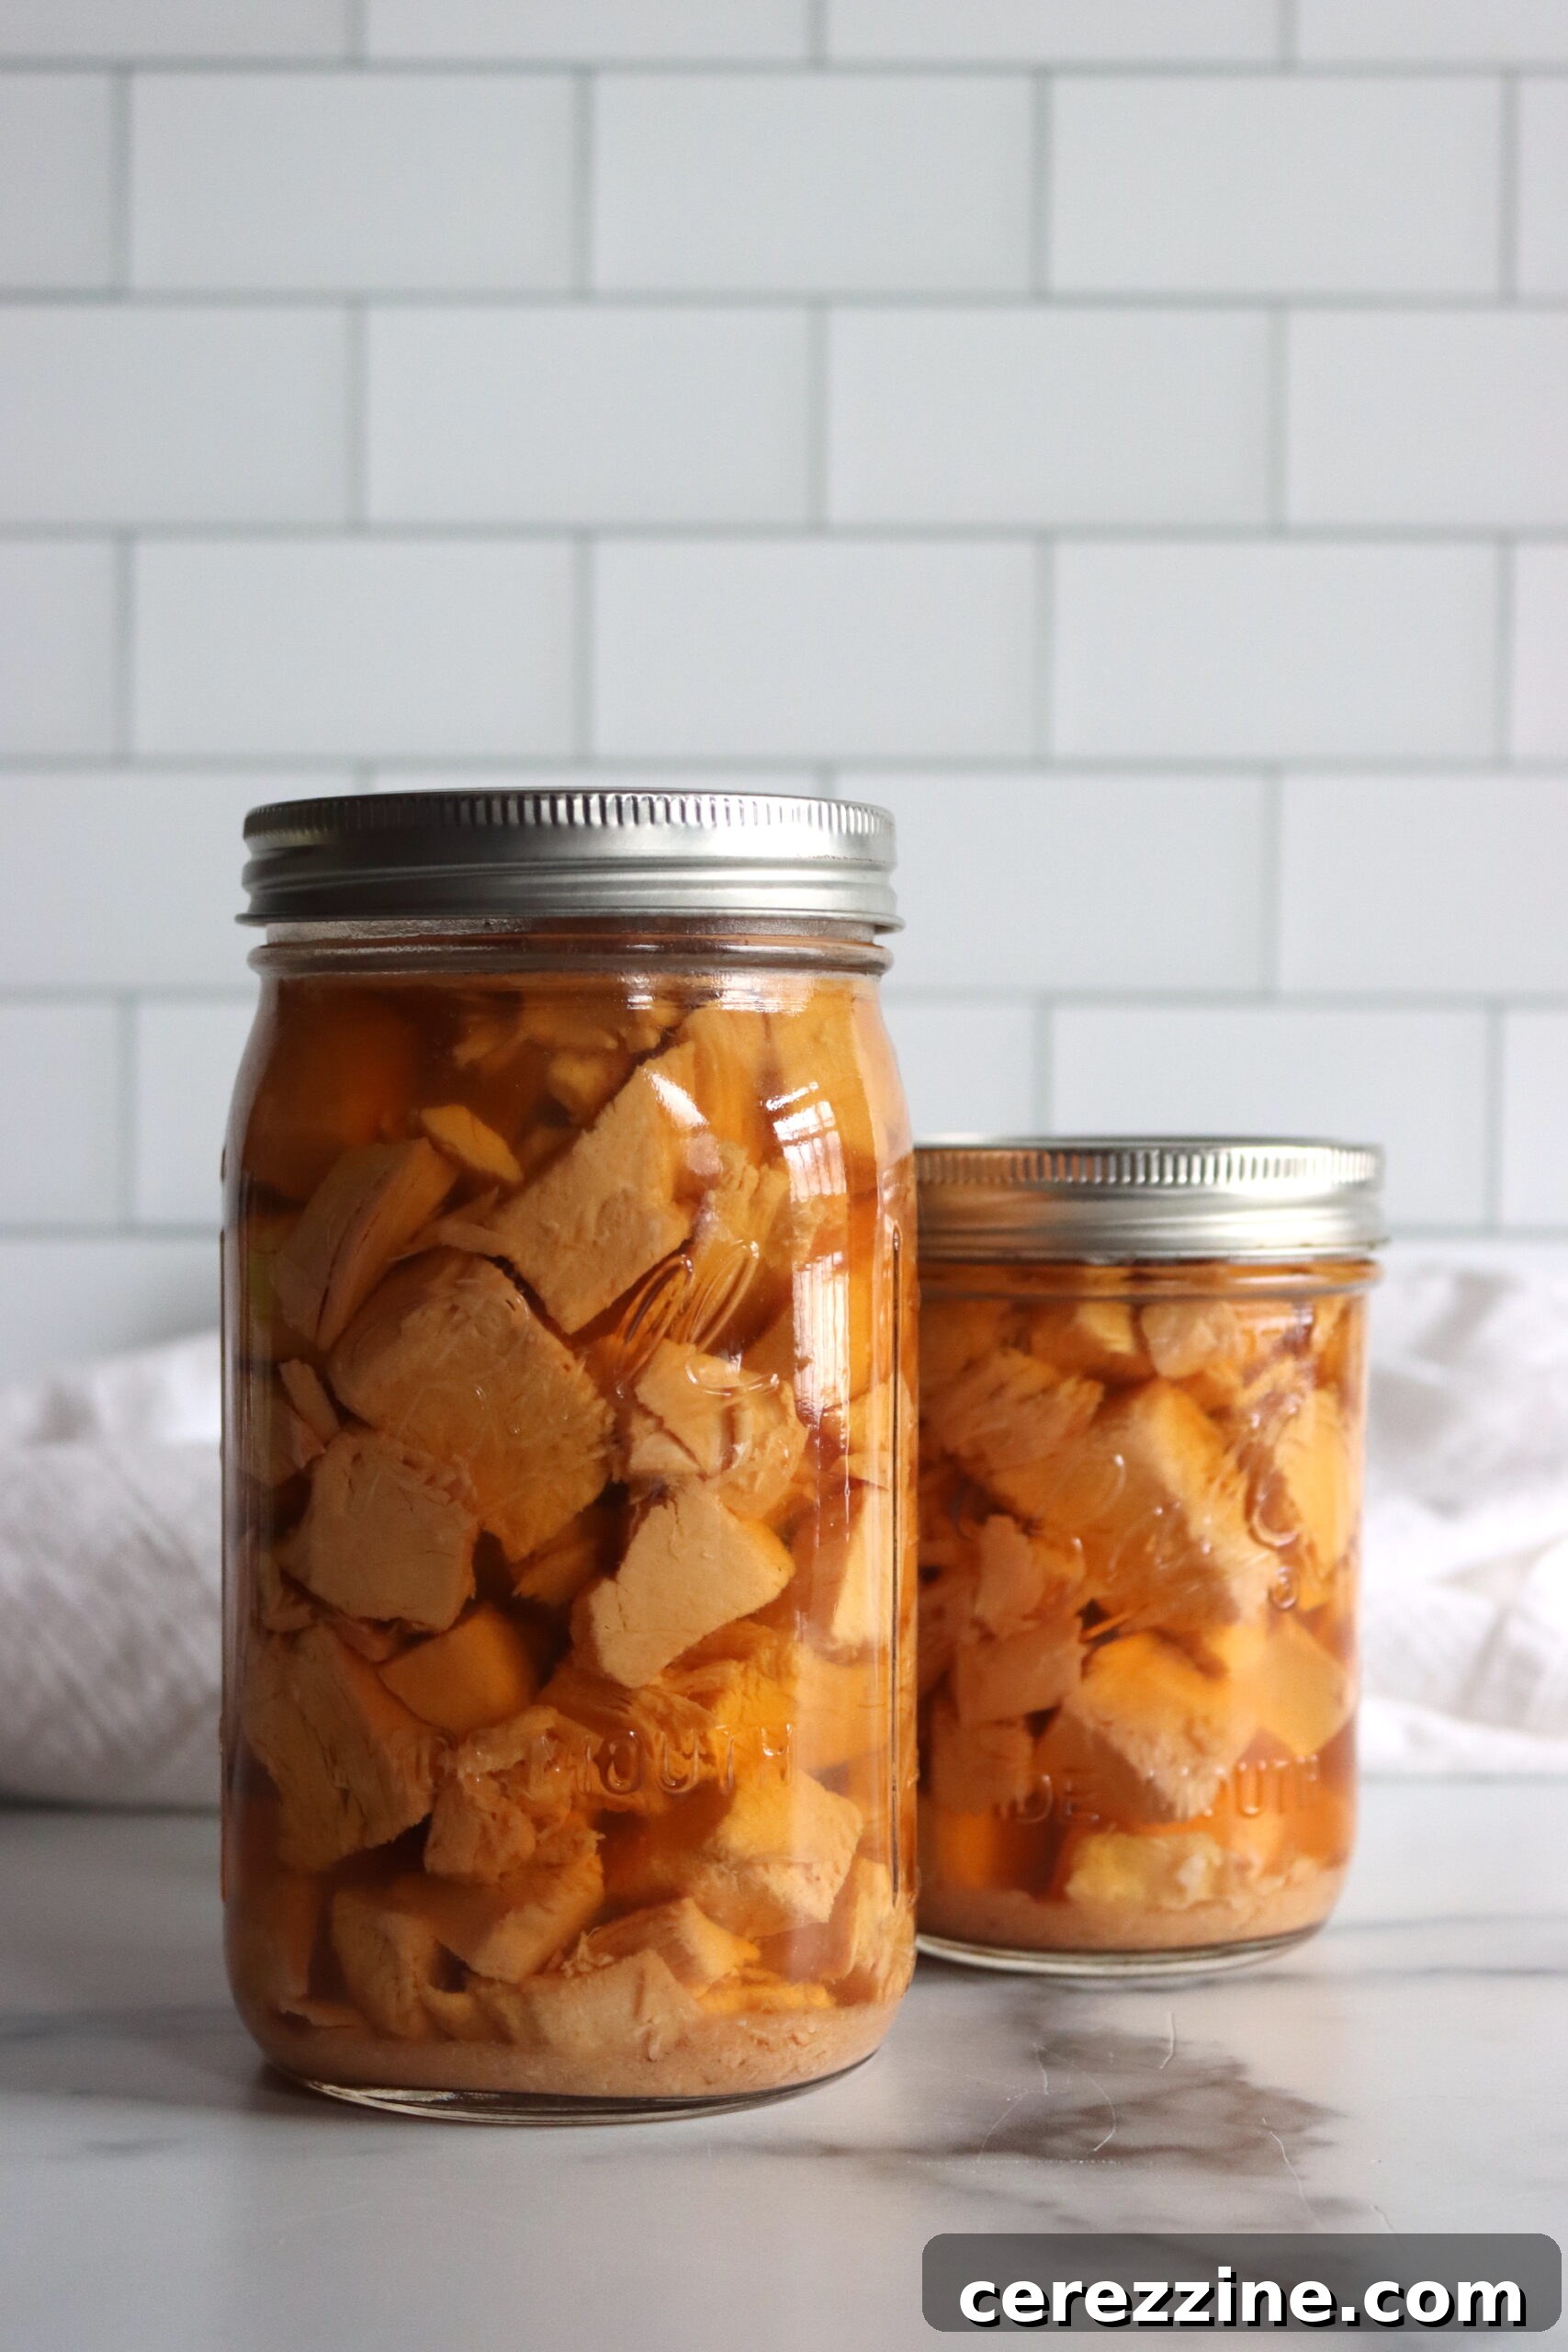
You have the flexibility to debone the turkey, shred it into fine strands, or cut it into convenient cubes before placing it into jars. The greatest benefit of working with pre-cooked turkey is eliminating the need to handle raw meat extensively or dedicate additional time to cooking. Instead, you simply pack the prepared turkey into sterile jars, cover it with a rich broth, and then safely pressure can it. This method not only saves time but also ensures maximum flavor retention and a consistently tender product.
(It’s worth noting that turkey can often be substituted for chicken in almost any chicken canning recipe, and similarly, most turkey canning recipes can be adapted for chicken, duck, or goose with excellent results, offering remarkable versatility in your home canning endeavors.)
Your Quick Guide to Canning Turkey
- Recipe Name: Pressure Canned Turkey
- Recipe Type: Meat Canning Recipe (Poultry)
- Canning Method: Pressure Canning (Mandatory for meat)
- Preparation Time: Approximately 15-30 Minutes (depending on turkey preparation)
- Processing Time: 75 Minutes for Pint Jars, 90 Minutes for Quart Jars
- Estimated Yield: Varies significantly based on turkey amount and jar packing density
- Recommended Jar Sizes: Pint or Quart Jars
- Essential Headspace: 1 1/4 inches
- Key Ingredients: Cooked or raw turkey, turkey/chicken/vegetable broth, and optional canning salt.
- Safe Canning Guidelines: Based on NCHFP Poultry Canning Guidelines (National Center for Home Food Preservation)
- Difficulty Level: Easy! Primarily involves packing meat and broth, then following precise pressure canning steps.
- Similar Processes: Very comparable to home canning other poultry and meats, such as canning chicken or canning duck.
SAVE THIS RECIPE FOR LATER!
Preparing Your Turkey for Safe and Delicious Canning
Before you embark on the canning journey, a few key decisions regarding your turkey’s preparation will ensure the best results. Since you’ll most likely be working with turkey that has already been cooked to perfection, your primary choices revolve around how to handle the meat and what liquid to use.
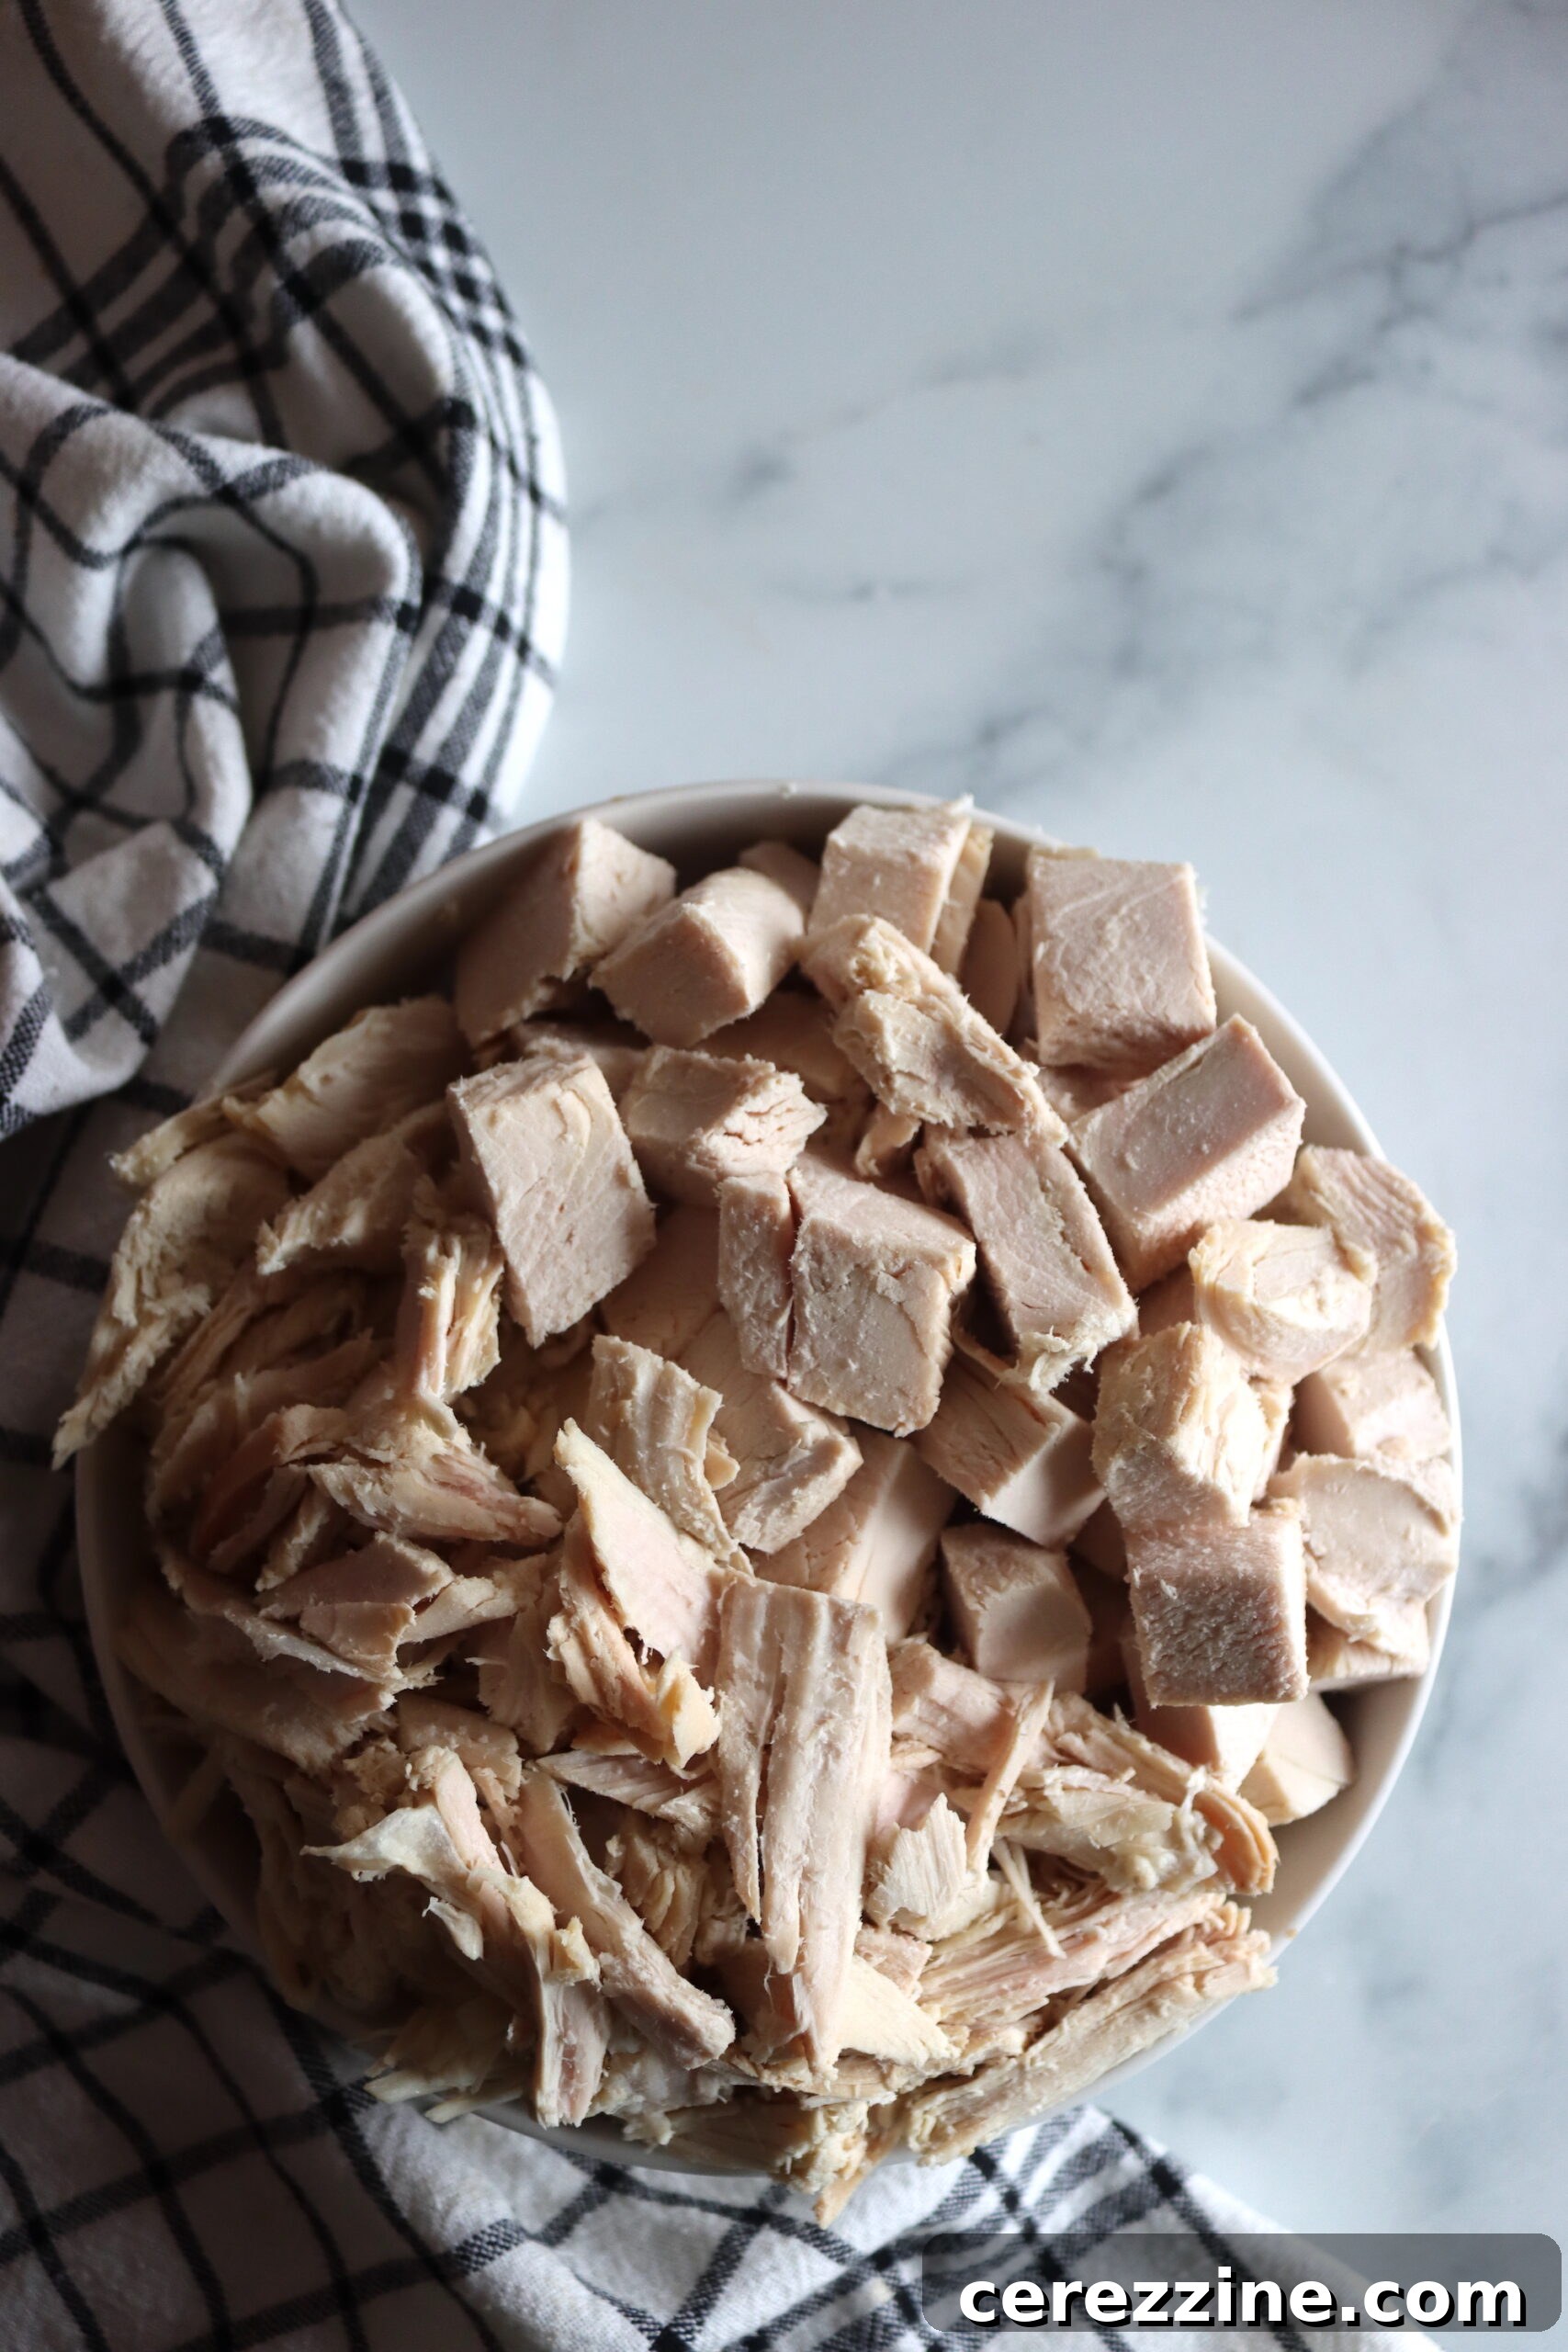
- Shredded or Cubed: Consider how you plan to use your canned turkey. Do you envision it in tacos, sandwiches, or casseroles, where shredded meat excels? Or perhaps in hearty soups, stews, or salads, for which neat, bite-sized cubes are ideal? Both options are perfectly viable for canning, so choose based on your culinary preferences.
- Bones or Boneless: While technically safe to can with bones, I strongly recommend deboning your turkey for a far more convenient and space-efficient product. Turkey bones are considerably larger and more irregular than chicken bones, making them difficult to fit efficiently into standard canning jars. Furthermore, since your turkey is likely already cooked, the meat typically separates easily from the bone, making deboning a straightforward task. Boneless canned turkey offers greater versatility and ease of use in future meals.
- Broth or Water for Superior Flavor: The liquid you choose to fill your jars with plays a crucial role in the final flavor profile of your canned turkey. Canning turkey in its own rich turkey broth will undoubtedly impart the deepest and most authentic flavor. If turkey broth isn’t readily available, quality chicken broth makes an excellent substitute. In a pinch, vegetable broth can also be used, though it will alter the flavor slightly. While plain water is safe for canning, it will result in a less flavorful product. Always opt for broth if possible to maximize taste.
If you’re starting with delicious holiday leftovers, begin by carefully picking all the meat from the bones (if not already done). Then, determine your desired presentation for the canned meat:
- Shred the turkey: Use two forks or your hands to pull the meat apart into smaller, tender pieces. This is excellent for pulled turkey sandwiches or soft fillings.
- Cube the turkey: Cut the turkey meat into uniform bite-sized chunks, typically 1/2 to 1 inch pieces. This is ideal for stews, salads, or standalone servings.
- Larger pieces: While possible, leaving meat in very large pieces is less space-efficient within the jars and may lead to uneven heating or less tender results. Stick to shredded or cubed for optimal outcomes.
Once your turkey is thoroughly deboned and meticulously cut into your preferred pieces, it’s ready for the next exciting step: packing into clean canning jars!
Understanding Raw Pack vs. Hot Pack for Canning Turkey
When it comes to canning turkey, you have two primary methods for preparing the meat: the raw pack method or the hot pack method. Understanding the differences is crucial for both safety and achieving your desired quality. The hot pack method is predominantly used for turkey that is already cooked (like your holiday leftovers), while the raw pack method is designed for completely raw meat that has not been pre-cooked.
- Raw Pack Method: This technique involves placing raw turkey meat directly into your canning jars without any prior cooking. During the pressure canning process, the meat will release its own juices, but you will still need to add hot broth or water to fill the remaining space in the jars. The raw pack method is quicker in terms of initial preparation, as it skips a cooking step. However, it often results in a less appealing appearance in the jar, as the meat can shrink and create a larger “siphoned” liquid loss or a less uniform texture. Many experienced canners prefer to lightly brown raw meat before canning for enhanced flavor and a more attractive presentation.
- Hot Pack Method (Recommended): With this method, you use turkey that is already fully cooked (such as leftover roasted turkey) or you lightly brown raw turkey meat before packing it into jars. The hot pack method is generally recommended for the best quality and safest results when canning poultry. Pre-cooking or heating the turkey helps to retain its flavor, moisture, and ensures a more consistent pack, which minimizes liquid loss (siphoning) during processing. If your turkey is already fully cooked from a holiday meal, you can simply skip any additional cooking steps and proceed directly to heating it in broth before packing. This method results in a firmer texture and a more visually appealing product.
Step-by-Step Guide: Canning Leftover Turkey (Hot Pack Method)
The hot pack method is ideal for preserving your already cooked, flavorful leftover turkey. Follow these detailed steps to ensure a safe, delicious, and shelf-stable product:
- Prepare the Turkey: Begin by shredding or cubing your leftover turkey according to your preference (as discussed above). Place the prepared turkey meat into a large stockpot. To enhance flavor and ensure the meat is thoroughly heated, you can simmer it briefly (about 5-10 minutes) in homemade or store-bought turkey or chicken broth. This step not only re-heats the meat but also infuses it with additional savory notes.
- Utilize Turkey Drippings (Optional but Recommended): If you have leftover turkey drippings from roasting your turkey, these can serve as an exceptionally flavorful canning liquid. Drippings are essentially concentrated broth and will impart incredible depth of flavor to your canned turkey. Crucially, ensure that no non-canning-safe ingredients (like bread stuffing, butter, or thickeners) are present in the drippings. Strain the drippings thoroughly to remove any solids.
- Skim the Fat: Turkey drippings often contain a significant amount of fat. Excess fat is not suitable for canning as it can interfere with proper jar sealing and reduce the shelf life of your product. An easy and efficient way to skim the fat is to pour the drippings into a jar or container and refrigerating them. Once chilled, the fat will solidify on top, allowing you to easily spoon it off. Reheat the defatted drippings just before using them for canning.
- Prepare Canning Equipment: Thoroughly wash and sterilize your canning jars, lids, and rings. Keep the cleaned jars warm in hot water until you are ready to fill them. This prevents thermal shock and potential breakage when hot turkey and broth are added.
- Pack the Jars: Once the turkey is heated through and tender, carefully pack it into your warm canning jars. Do not overpack the jars; leave approximately 1 1/4 inches of headspace from the rim of the jar. This critical space allows for the expansion of food and liquid during processing and ensures proper circulation of heat and liquid, which is essential for safe canning.
- Add Broth: Pour hot turkey broth (or chicken/vegetable broth, or water) over the packed meat, ensuring it covers the turkey completely. Maintain the 1 1/4 inch headspace. Use a clean, non-metallic spatula or a de-bubbler tool to gently remove any trapped air bubbles from between the pieces of meat. Air bubbles can lead to false headspace readings and an improper seal. If the liquid level drops after de-bubbling, add more hot broth to restore the 1 1/4 inch headspace.
- Clean Jar Rims: Before sealing, meticulously wipe the rims of each jar with a clean, damp cloth or paper towel. Any food residue, grease, or broth on the rim can prevent a proper seal, leading to spoilage.
- Apply Lids and Rings: Place a sterilized lid onto each jar, centering it carefully. Then, screw on the canning rings, tightening them only to “finger-tight.” This means tightening until you feel resistance, then giving it just a slight extra turn. Over-tightening can prevent air from escaping during processing, hindering the sealing process, while too loose a fit may cause liquid loss (siphoning).
Canning Raw Turkey (Raw Pack Method)
While the hot pack method is generally preferred for quality and appearance, you can also preserve raw turkey using the pressure canning method. The process is similar, but with a few distinct differences:
- Prepare Raw Turkey: Debone the raw turkey and cut it into uniform pieces (shredded or cubed). For superior quality and flavor, it is highly recommended to lightly brown the raw turkey pieces in a skillet with a little oil before packing them into jars. This step develops flavor and reduces the amount of liquid the meat will release in the jar. If you prefer to skip browning, you can pack the meat completely raw.
- Pack into Jars: Loosely pack the raw (or browned) turkey pieces into clean, warm canning jars, leaving 1 1/4 inches of headspace. Do not press the meat down tightly, as this will prevent proper heat penetration and liquid circulation.
- Add Hot Liquid: Pour hot turkey or chicken broth (or water) over the raw turkey, ensuring it covers the meat and maintains the 1 1/4 inch headspace. The hot liquid helps to jumpstart the heating process in the jar.
- De-bubble and Clean Rims: Use a de-bubbler to remove air pockets and wipe the jar rims thoroughly.
- Apply Lids and Rings: Place lids and screw rings on finger-tight.
Proceed with pressure canning exactly as described in the “Pressure Canning Turkey” section below. Keep in mind that raw-packed turkey might result in a slightly tougher texture and more liquid loss compared to hot-packed turkey, but it remains a safe preservation method when done correctly.
The Essential Step: Pressure Canning Your Turkey
Once your jars are meticulously packed and sealed, it’s time for the critical process of pressure canning. This step is absolutely mandatory for canning low-acid foods like meat to ensure the destruction of harmful bacteria, including those that cause botulism.
- Prepare Your Pressure Canner: Carefully follow your specific canner’s manufacturer instructions. Typically, this involves adding 2-3 inches of water to the bottom of the canner and placing the bottom trivet or rack. Bring the water to a gentle simmer (around 180°F or 82°C) while you finish preparing your jars.
- Load the Jars: Using a jar lifter, carefully place the prepared, lidded jars onto the rack in the canner. Ensure the jars do not touch each other or the sides of the canner to allow for proper heat circulation. For most canners, you can double-stack pint jars with another rack in between, but never double-stack quart jars.
- Secure the Lid and Vent: Place the canner lid onto the pot, aligning it according to your canner’s instructions. Lock the lid into place, but at this stage, do not add the weighted gauge or close the petcock (vent pipe) if your canner has one.
- Vent the Canner: Turn the heat to high. As the water boils, steam will begin to escape vigorously from the vent pipe. Allow the canner to vent a steady stream of steam for a full 10 minutes. This crucial step removes all the cool air from inside the canner, ensuring that the entire interior reaches the required temperature for safe processing.
- Reach Pressure: After 10 minutes of venting, place the weighted gauge on the vent pipe or close the petcock, allowing pressure to build inside the canner. Monitor your canner closely and bring it up to the correct pressure for your altitude and canner type (refer to the altitude adjustments section below).
- Process the Jars: Once the desired pressure is reached, begin your processing time. Maintain a consistent pressure throughout the entire processing duration.
- Pint jars: Process for 75 minutes.
- Quart jars: Process for 90 minutes.
Adjust the heat as necessary to keep the pressure steady. Do not fluctuate the pressure excessively.
- Cool Down Naturally: Once the processing time is complete, turn off the heat completely. Allow the pressure canner to cool down naturally and completely until the pressure gauge reads zero and the lid can be safely opened. This can take anywhere from 30 to 60 minutes or even longer, depending on your canner and the amount of heat. Never force cool your canner by running cold water over it, as this can be dangerous and cause jar breakage or seal failures.
- Remove Jars and Check Seals: Once the canner is fully depressurized, carefully remove the lid, tilting it away from your face to avoid hot steam. Using a jar lifter, remove the hot jars and place them on a towel-lined counter or a wire rack, ensuring they are not touching each other. Let them cool undisturbed for 12 to 24 hours. After cooling, check that the lids have sealed properly. A sealed lid will be concave (curved inwards) and will not flex when pressed in the center. If a lid pops back or feels loose, the jar did not seal. Refrigerate any unsealed jars and consume their contents within a few days.
- Store Properly: Once confirmed sealed, remove the rings (they can trap moisture and cause rust), wipe the jars clean, label them with the contents and date, and store them in a cool, dark, dry place away from direct sunlight or extreme temperature fluctuations.
Critical Altitude Adjustments for Pressure Canning Turkey
Altitude significantly impacts the boiling point of water and, consequently, the pressure required for safe canning. It’s imperative to adjust the pressure according to your elevation to ensure sufficient heat penetration and safety. The processing time, however, remains constant regardless of altitude.
For Dial Gauge Pressure Canners (e.g., Presto, Mirro brands):
- For elevations from 0 to 2,000 feet, maintain 11 pounds of pressure.
- For elevations from 2,001 to 4,000 feet, maintain 12 pounds of pressure.
- For elevations from 4,001 to 6,000 feet, maintain 13 pounds of pressure.
- For elevations from 6,001 to 8,000 feet, maintain 14 pounds of pressure.
- For elevations above 8,000 feet, maintain 15 pounds of pressure.
For Weighted Gauge Pressure Canners (e.g., All American brand):
- For elevations from 0 to 1,000 feet, use a 10-pound weighted gauge.
- For elevations above 1,000 feet, use a 15-pound weighted gauge.
Always consult your canner’s manual and cross-reference with updated NCHFP guidelines for the most accurate information specific to your location and equipment.
How Long Will Home Canned Turkey Remain Safe and Delicious?
Properly canned turkey, stored under optimal conditions, will maintain its safety and quality for an impressive duration. You can confidently store sealed jars of canned turkey on your pantry shelf for 12 to 18 months, provided the seals remain intact and the jars are kept in a cool, dark, and dry environment. Once a jar has been opened, any unused turkey should be immediately refrigerated in an airtight container and consumed within 3-4 days, just like any other cooked poultry.
For the absolute best quality in terms of flavor and texture, it is generally recommended to use your home canned turkey within one year of processing. While the turkey will still be safe to eat beyond this timeframe (assuming the seal holds), you may notice a gradual degradation in its texture and a slight fading of flavor over extended periods. Always inspect jars for any signs of spoilage (bulging lids, mold, off-odors) before consumption, and if in doubt, throw it out.
Expert Tips for Successful Turkey Canning:
- Maintain Proper Headspace: The 1 1/4 inch headspace is crucial. Too little headspace can lead to siphoning (liquid loss during processing) and potential seal failure. Too much headspace can result in unpreserved food at the top of the jar or weaker seals. Use a ruler to measure if unsure.
- Avoid Over-packing Jars: While it’s tempting to maximize jar capacity, avoid compressing the turkey meat too tightly. Loose packing allows the hot broth to circulate efficiently around all the meat pieces, ensuring uniform heat penetration and thorough sterilization.
- Prioritize Homemade Broth: For an unparalleled depth of flavor, always opt for homemade turkey or chicken broth. The richness of homemade broth significantly elevates the taste of your canned turkey. However, if time is a constraint, a good quality store-bought broth (low sodium is often preferred) works perfectly fine. Water is a safe alternative but will yield a blander product.
- Seasoning Considerations: You have the flexibility to add seasonings like canning salt, herbs (e.g., thyme, sage), or a touch of garlic or onion powder to your turkey before canning. Remember that flavors can intensify during the pressure canning process, so start with a lighter hand and adjust to your family’s preferences in subsequent batches. Salt is optional for safety but recommended for flavor and texture.
- Handling Bones: While it is technically safe to can turkey with bones, be aware that the bones can become quite soft and brittle after processing, and they take up valuable jar space. For ease of use and maximum meat per jar, deboning is highly recommended.
- Preventing Siphoning: Liquid loss (siphoning) can occur due to fluctuations in canner pressure, inadequate venting, or over-packing. Ensure a steady heat, vent for the full 10 minutes, and maintain proper headspace to minimize siphoning.
- Cool Jars Slowly: After processing, let the canner cool naturally until pressure returns to zero. Rapid cooling can cause siphoning and potentially compromise seals.
- Check Seals Thoroughly: Always confirm seals after jars have cooled for 12-24 hours. A good seal produces a concave lid that doesn’t flex. If a jar doesn’t seal, refrigerate immediately and use within a few days.
Creative Culinary Uses for Your Home Canned Turkey
Once your turkey is safely canned and nestled in your pantry, a world of culinary possibilities opens up! Canned turkey is incredibly versatile, offering a convenient and nutritious protein source for a vast array of dishes, transforming meal prep into a breeze:
- Shredded Turkey Applications: This form is perfect for quick tacos, hearty sandwiches (think hot turkey sandwiches with gravy!), flavorful enchiladas, comforting casseroles (like turkey tetrazzini or shepherd’s pie), or as a topping for baked potatoes.
- Cubed Turkey Delights: Cubed turkey works exceptionally well in robust soups (chicken noodle soup, but with turkey!), warming stews, vibrant pasta dishes, and crisp, fresh salads. It’s also excellent for a quick turkey hash or a simple skillet meal with vegetables.
- Turkey Wings (if canned separately): If you’ve canned turkey wings or larger pieces, they can be gently browned in a pan for a quick, tender meal, or added directly to your favorite sauces or gravies for an instant boost of flavor and protein.
- Instant Main Course: Of course, the simplest pleasure is to gently reheat a jar of canned turkey and serve it alongside classic comfort foods. Imagine a plate of creamy mashed potatoes, perfectly seasoned home canned green beans, and a dollop of tangy homemade cranberry orange sauce. A complete, delicious meal ready in minutes!
By taking the time to can your leftover turkey, you’re not just preserving food; you’re creating a valuable, ready-to-go protein that simplifies your cooking and ensures delicious meals are always within reach. Enjoy the bounty of your pantry all year long!
Explore More Poultry Canning Recipes
Canning Chicken Pot Pie Filling
Canning Chicken
Canning Chicken Soup
Canning White Chicken Chili
Canning Turkey Recipe
Bookmark this page or print for your recipe collection!
Equipment
- Pressure Canner
- Canning Jars (Pint or Quart)
- Two-Part Canning Lids and Bands
- Large Stockpot (for heating turkey/broth)
- Jar Lifter
- Headspace Ruler
- Non-metallic Spatula or De-bubbler
- Clean Cloths
Ingredients
- Leftover cooked turkey, shredded or cubed, all bones removed. (Approx. 1 lb per pint jar; 2 lbs per quart jar)
- Turkey broth, chicken broth, or water. (Approx. 3/4 to 1 cup per pint; 1 1/2 to 2 cups per quart)
- Salt, optional, 1 tsp per quart or 1/2 tsp per pint.
Instructions
- Begin with fully cooked, leftover turkey. Carefully debone the turkey and cut it into desired chunks or shred it.
- Ensure all skin and bones are removed. (Alternatively, raw turkey can be diced and packed raw or browned first for better flavor, then processed similarly.)
- Bring your chosen turkey or chicken broth to a boil in a separate pot. If using homemade broth, it will enhance the flavor significantly.
- Prepare your pressure canner by adding 2 to 3 inches of water and placing the bottom rack. Preheat it to a gentle simmer while you ready your jars.
- Carefully pack the shredded or cubed turkey into warm, sterilized canning jars. Leave a precise 1 1/4 inch of headspace from the rim. Pack the meat loosely to allow broth circulation.
- (Optional) Add canning salt: 1 teaspoon per quart jar or 1/2 teaspoon per pint jar. Salt is for flavor and texture, not preservation.
- Pour the hot broth (or water) over the turkey in each jar, maintaining the 1 1/4 inch headspace. Use a clean, non-metallic de-bubbler tool to remove any air pockets. Adjust broth level if needed.
- Wipe the jar rims meticulously with a clean, damp cloth to remove any food particles or grease, which could interfere with sealing.
- Place sterilized two-part canning lids on the jars, ensuring they are centered. Screw on the bands until they are “finger-tight” – snug but not overly tightened.
- Load the filled and lidded jars into your preheated pressure canner using a jar lifter. Follow your canner’s loading instructions.
- Secure the canner lid, but do not seal the vent or add the weighted gauge yet. Turn the heat to high.
- Once a steady, strong stream of steam begins to escape from the vent, allow it to vent for a full 10 minutes. This purges all air from the canner.
- After 10 minutes of venting, seal the vent (e.g., place weighted gauge or close petcock) to allow pressure to build. Bring the canner up to the recommended pressure for your altitude and canner type (refer to notes below).
- Process pint jars for 75 minutes and quart jars for 90 minutes. Maintain constant pressure throughout the entire processing time, adjusting heat as necessary.
- When processing is complete, turn off the heat. Allow the pressure canner to cool down naturally and completely until the pressure gauge reads zero. Do NOT rush this cooling process.
- Once depressurized, carefully remove the canner lid. Using a jar lifter, transfer the hot jars to a towel-lined surface or wire rack, spaced apart. Allow them to cool undisturbed for 12 to 24 hours.
- After cooling, check all jar seals. Lids should be concave and not flex when pressed. Remove rings, wipe jars clean, label with contents and date, and store in a cool, dark place.
Notes
Yield Estimation
For planning, expect to need approximately 1 pound of deboned turkey meat per pint jar, or about 2 pounds per quart jar. The amount of liquid required also varies: pint jars typically need 3/4 to 1 cup of broth, while quart jars need 1 1/2 to 2 cups. These volumes depend on how densely you pack the turkey. Raw-packed turkey often requires less liquid as the meat shrinks and releases its own juices during processing.
Salt for Flavor and Texture
The addition of salt to your canned turkey is entirely optional and serves no purpose in the safety of preservation. However, salt significantly enhances both the flavor and the final texture of the canned meat, making the finished product much more enjoyable. Consider it for taste preference.
Liquid Choice: Water or Broth
While plain water is a safe and acceptable liquid for canning turkey, using a flavorful broth will vastly improve the taste. Chicken broth is an excellent choice for a rich flavor profile if turkey broth isn’t available. Vegetable broth can also be used. Always heat your chosen liquid before adding it to the jars.
Raw Pack vs. Hot Pack Considerations
For the highest quality canned turkey, with superior texture and appearance, the hot pack method is strongly recommended, especially for pre-cooked holiday leftovers. If you opt for the raw pack method (using uncooked turkey), simply dice and pack the raw meat into jars, then top with hot broth while maintaining 1 1/4 inches of headspace. The processing times and pressures remain identical for both methods.
Crucial Altitude Adjustments
Always adjust pressure based on your local altitude to ensure safe processing.
For Dial Gauge Pressure Canners:
- 0 to 2,000 feet: 11 pounds of pressure
- 2,001 to 4,000 feet: 12 pounds of pressure
- 4,001 to 6,000 feet: 13 pounds of pressure
- 6,001 to 8,000 feet: 14 pounds of pressure
- Above 8,000 feet: 15 pounds of pressure
For Weighted Gauge Pressure Canners:
- 0 to 1,000 feet: 10 pounds of pressure
- Above 1,000 feet: 15 pounds of pressure
Nutrition Information (Approximate)
Nutrition information is automatically calculated and should be used as an approximation only. Actual values may vary.
Like this comprehensive guide? Share your thoughts and questions by leaving a comment below!
More Delicious Poultry Canning Recipes
Remember the versatility! Turkey can be safely and deliciously substituted for chicken in many canning recipes. Expand your home canning repertoire with these fantastic poultry options:
- Hearty Chicken Pot Pie Filling
- Zesty Chicken Chili Verde
- Classic & Comforting Chicken Soup
For those specifically seeking traditional Turkey Canning Recipes, we have even more tailored guides to help you make the most of your holiday bounty or fresh turkey!