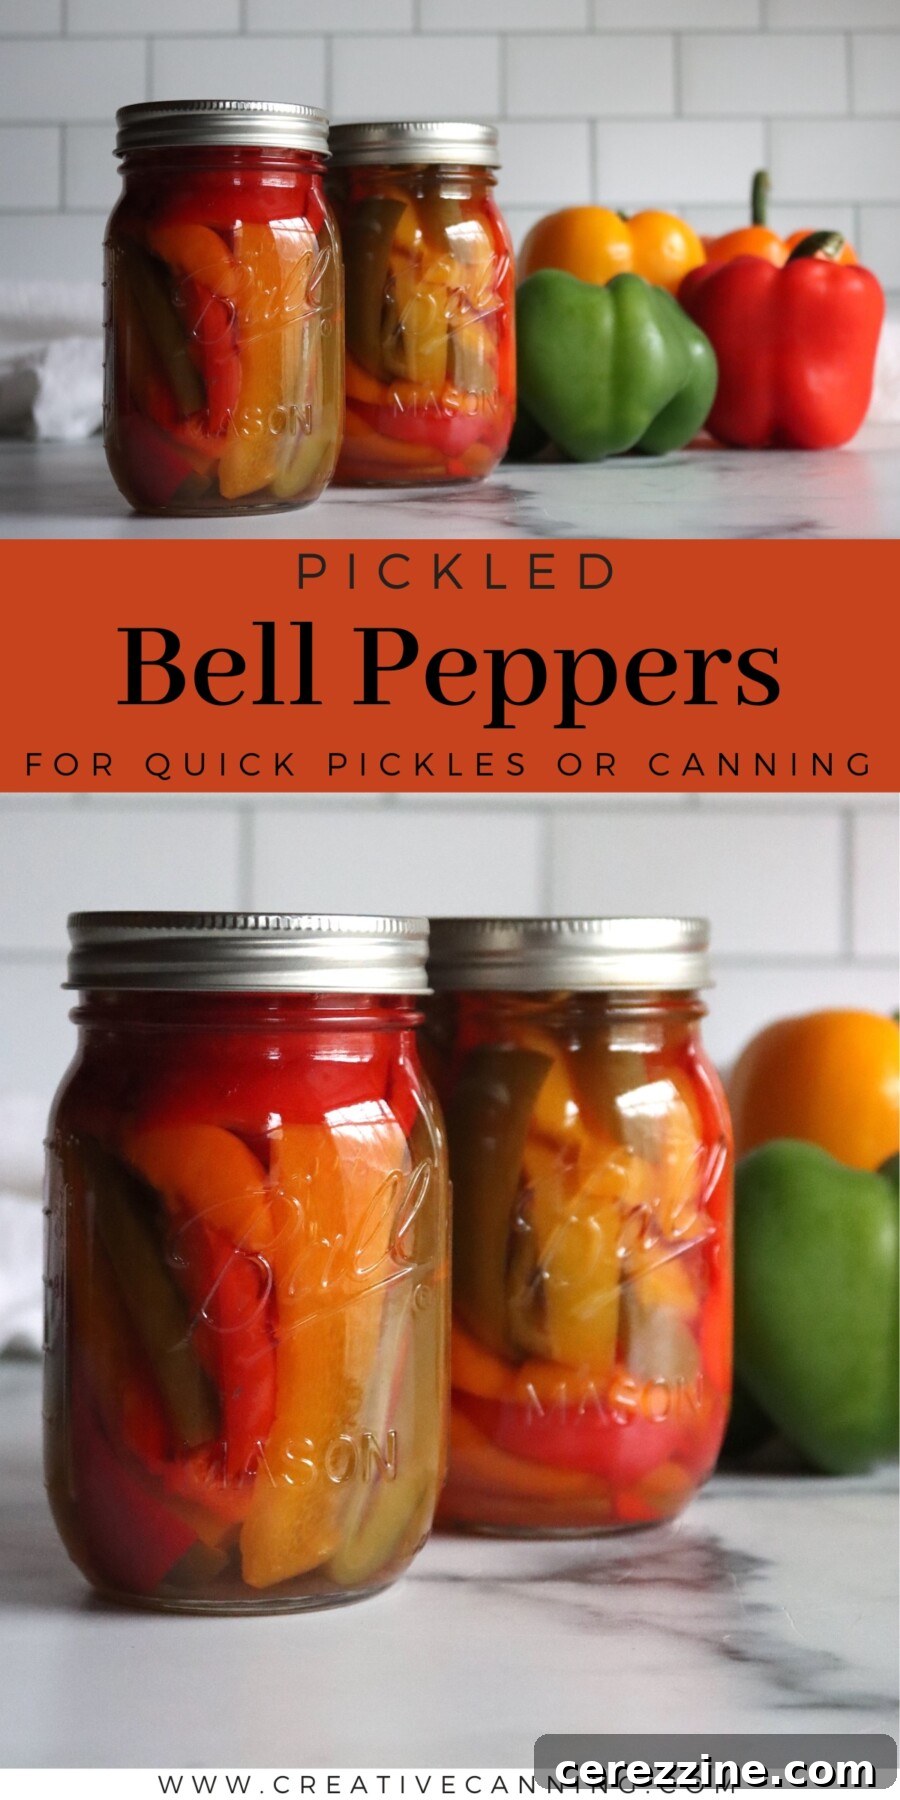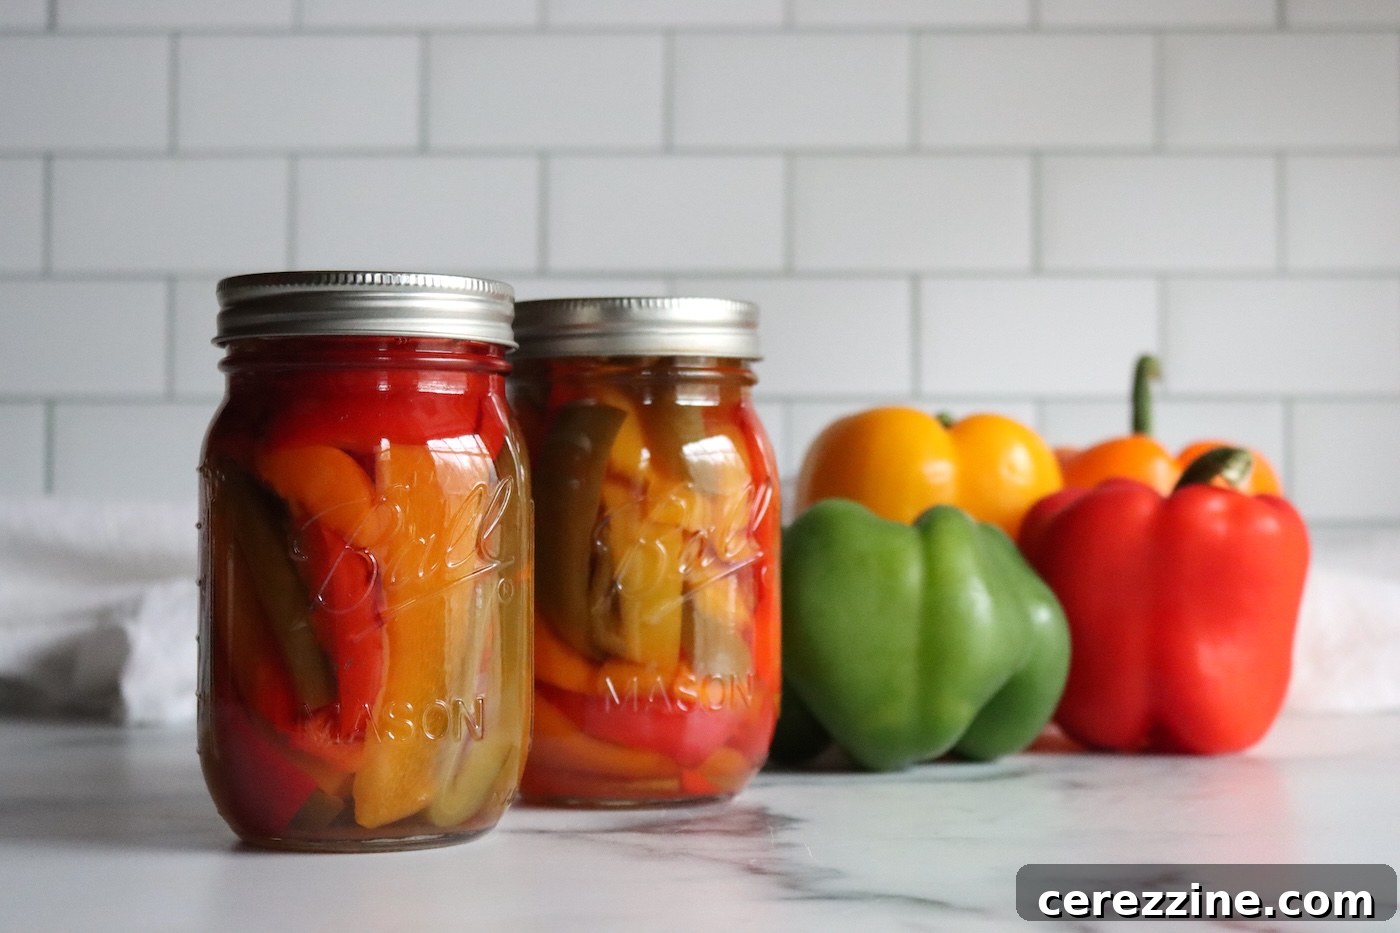
Pickled bell peppers transform an end-of-season surplus into sweet, tangy strips you can pull from the pantry all winter long. A single batch takes about an hour of hands-on time and yields jars that sit between bread-and-butter pickles and marinated antipasto peppers — perfect on sandwiches, in grain bowls, or straight onto a cheese board.
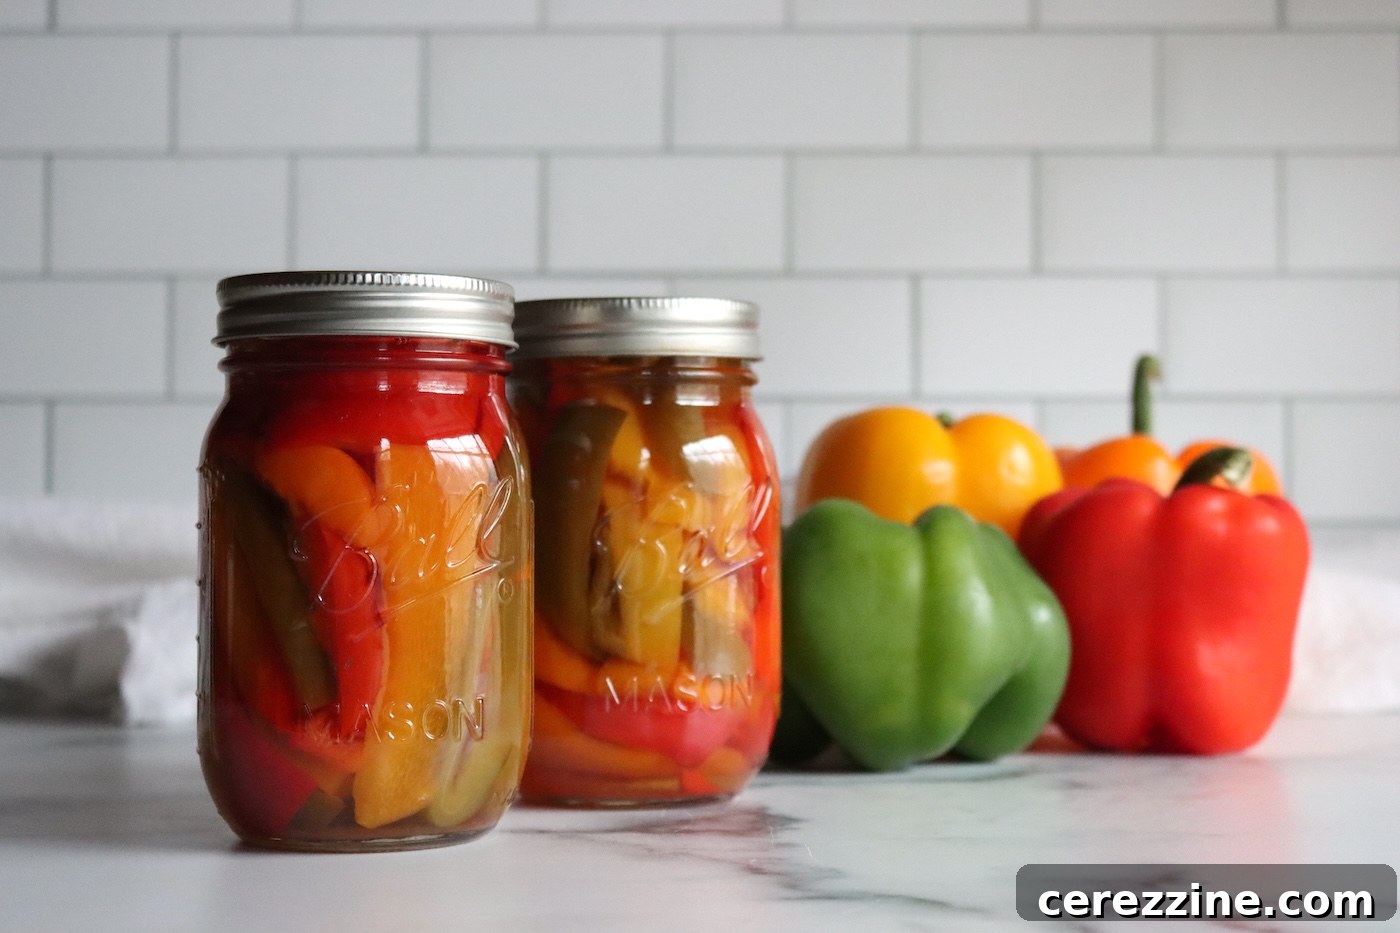
This recipe has been reviewed for safety and accuracy by a Master Food Preserver certified through the University of Cornell Cooperative Extension.
The recipe follows the tested guidance from the National Center for Home Food Preservation and appears in the USDA Complete Guide to Home Canning. The brine is a standard 1:1 vinegar-to-water ratio with sugar added to soften the sharpness; the finished jars taste more like deli-style sweet pepper strips than dill pickles.
Notes from My Kitchen

Bell peppers often arrive all at once in my garden: slow growth followed by a hot stretch and then a glut. Slicing the peppers is the slowest step — I put a cutting board out, queue up something to listen to, and work through the pile. Cut strips about 1/2 to 1 inch wide; thinner strips tend to fall apart during processing.
I can in pint jars because my family goes through them quickly. A seven-pound batch yields roughly nine pints and requires a good afternoon of slicing. If that’s too much, halve the recipe — it scales down cleanly. Important: wait two weeks before opening a jar so the syrup fully penetrates the strips.
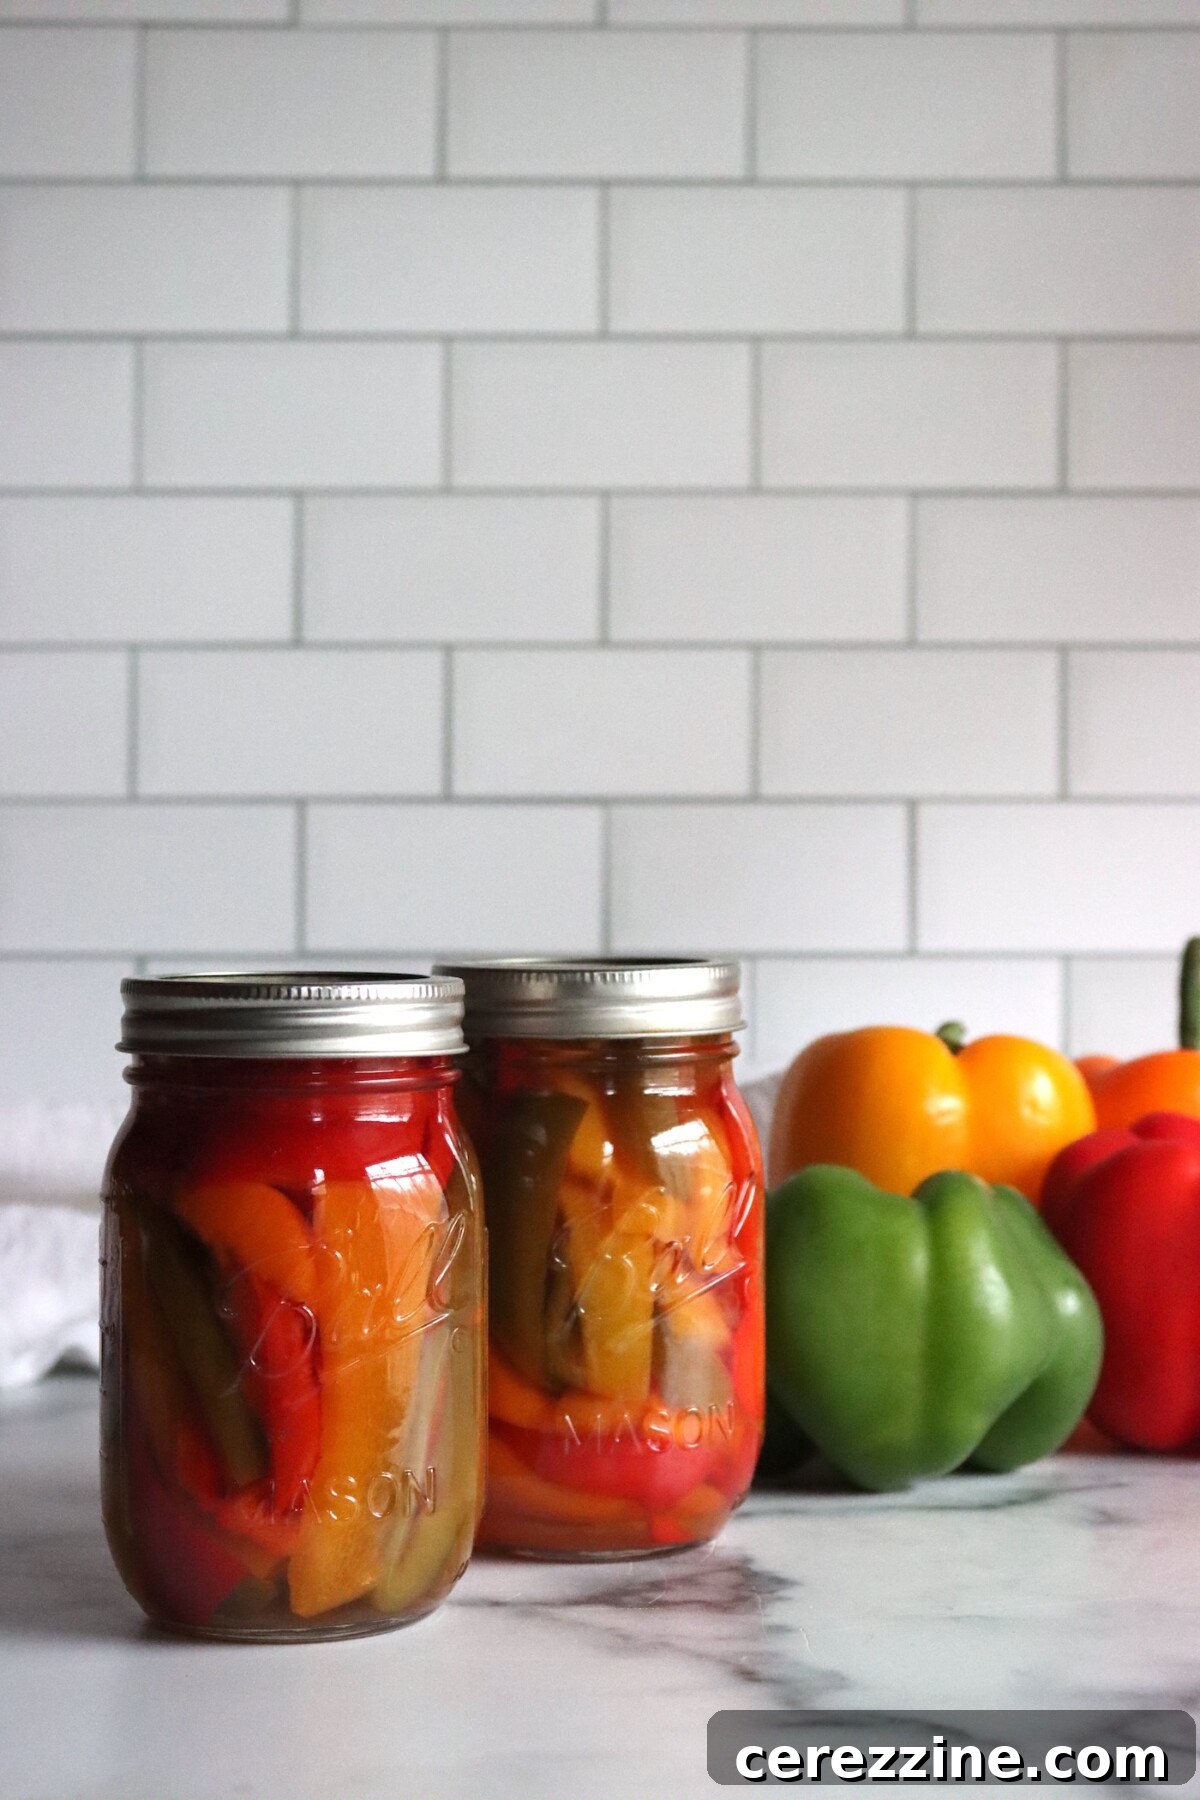
Quick Look at the Recipe
- Recipe Name: Pickled Bell Peppers
- Recipe Type: Pickles
- Canning Method: Water bath canning
- Prep Time: About 40 minutes
- Cook Time: About 10 minutes for the pickling syrup
- Canning Time: 10 minutes (adjust for altitude)
- Yield: About 9 pints (seven-pound batch)
- Jar Sizes: Half pints or pints
- Headspace: 1/2 inch
- Ingredients Overview: Bell peppers, vinegar (5% acidity), water, sugar, garlic, pickling salt
- Difficulty: Easy
Choosing Bell Peppers
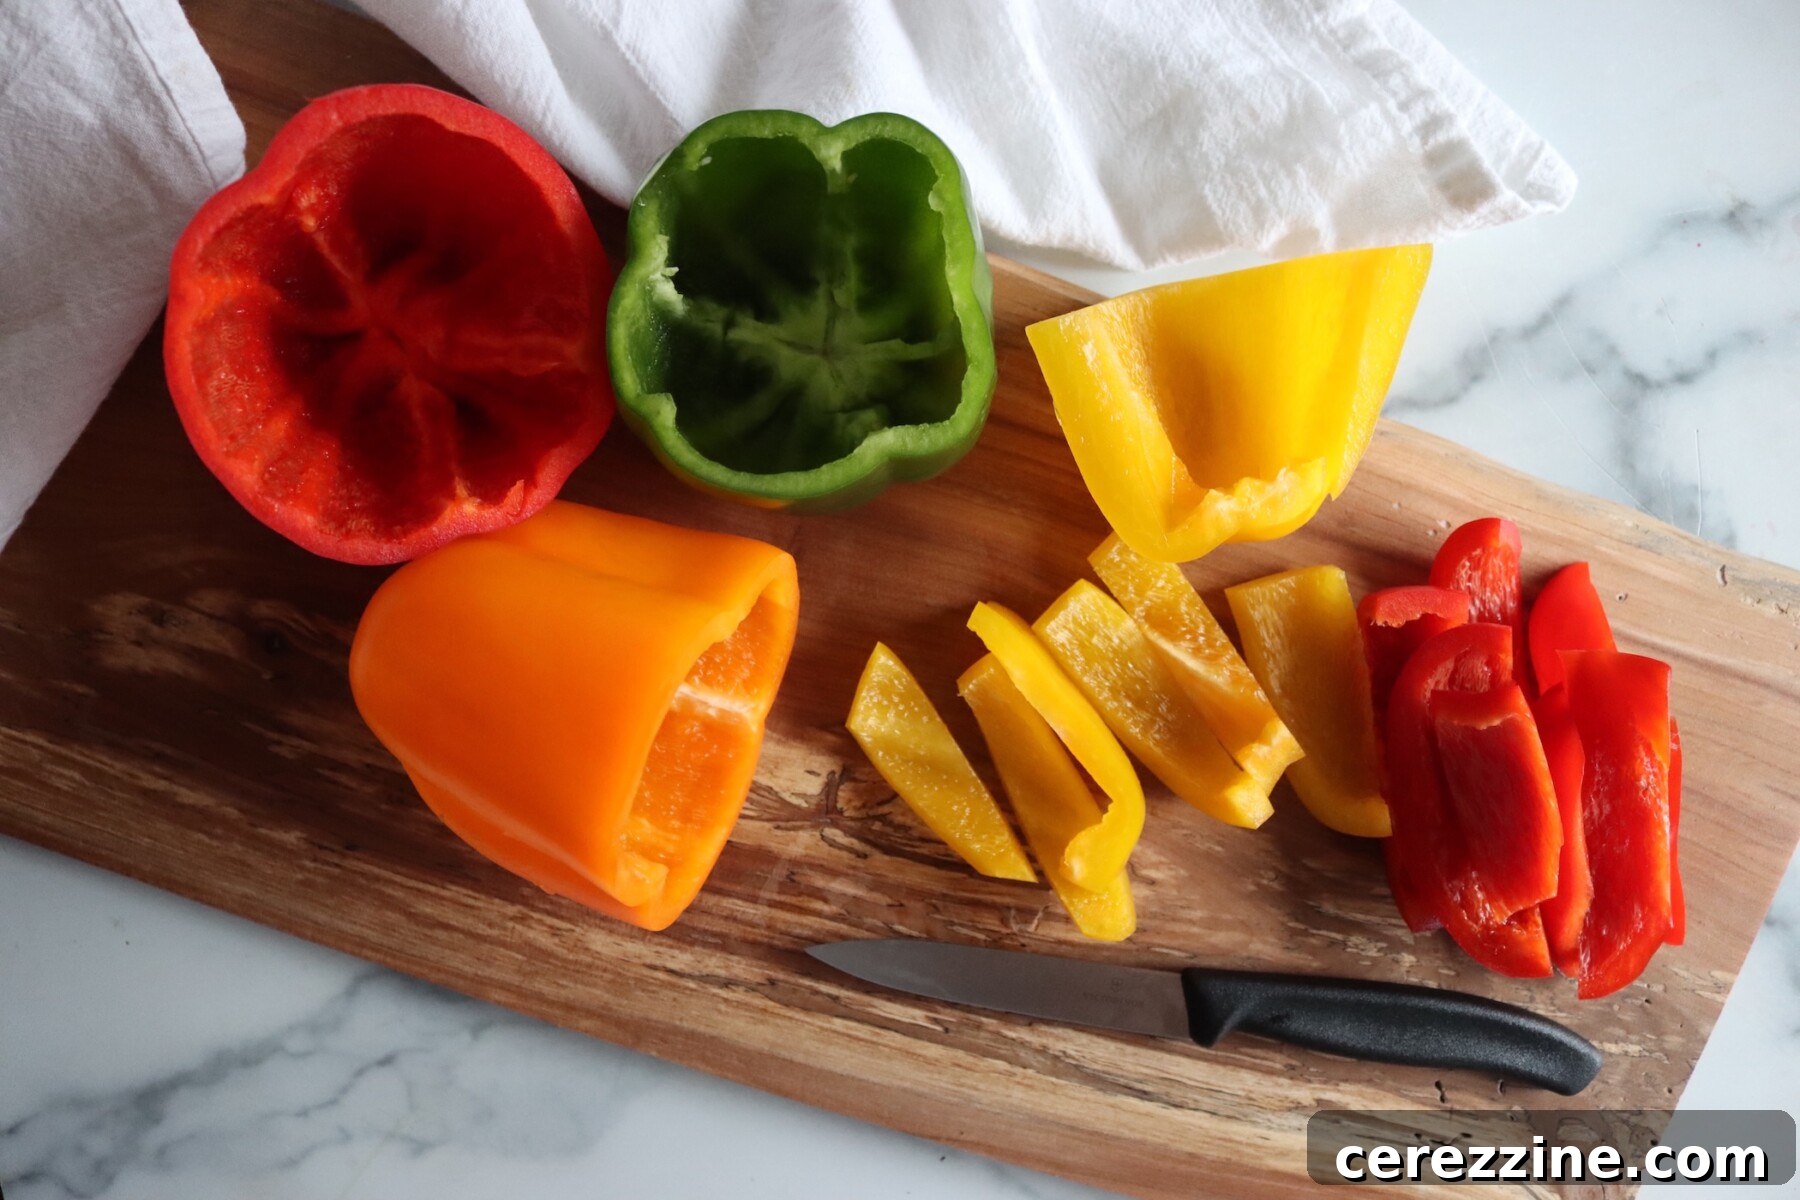
Select firm peppers with thick walls and taut skin. Avoid peppers with soft spots or wrinkles at the shoulders; those will collapse in the jar. Any color works — red, orange, yellow, green, even purple — and different colors can be mixed in the same batch. Ripe red and orange peppers are sweeter, while green peppers hold their shape better and bring a sharper note that balances the sugar.
Blocky, box-shaped peppers are easier to slice evenly, but tapered peppers work fine. Use peppers within a day or two of picking and store them in the crisper drawer if you need to hold them briefly. Trim away any blemishes and bruised patches as you cut so only firm pieces go into the jars.
Ingredients for Pickled Bell Peppers
Each ingredient has a purpose. The exact quantities are given below in the recipe, but here’s what each contributes and where you can safely adjust:
- Bell Peppers: Firm, thick-walled peppers, cored, seeded, and cut into strips. Weigh after trimming if possible.
- Vinegar: Use white or apple cider vinegar at 5% acidity. This acidity level is required for safe shelf-stable canning; do not dilute the vinegar with extra water.
- Sugar: Granulated sugar is boiled into the vinegar and water to balance the acid and body the syrup. Sugar affects flavor, not safety.
- Pickling Salt: Use pickling or canning salt (not iodized table salt) to keep the syrup clear. Salt is added to the jars, not the pot.
- Garlic: Fresh cloves divided among the jars. Optional for flavor.
- Pickle Crisp (calcium chloride): Optional; firms the strips without affecting acidity or processing time.
Brine Strength and Substitutions
Maintain the tested 1:1 vinegar-to-water ratio using 5% acidity vinegar. This ratio is the safety control for shelf-stable jars. You can substitute bottled lemon or lime juice measure-for-measure if you prefer, since those are at least as acidic. Salt, sugar, garlic, and small amounts of dry pickling spices affect only flavor, so adjust them to taste but do not change the vinegar proportion.
How to Make Pickled Bell Peppers
The process runs in three parts: prepare peppers and jars, make the pickling syrup and briefly blanch the peppers, then pack and process. Work efficiently when the syrup is boiling hot so the peppers only return to a boil and do not overcook.
Prepare the Peppers
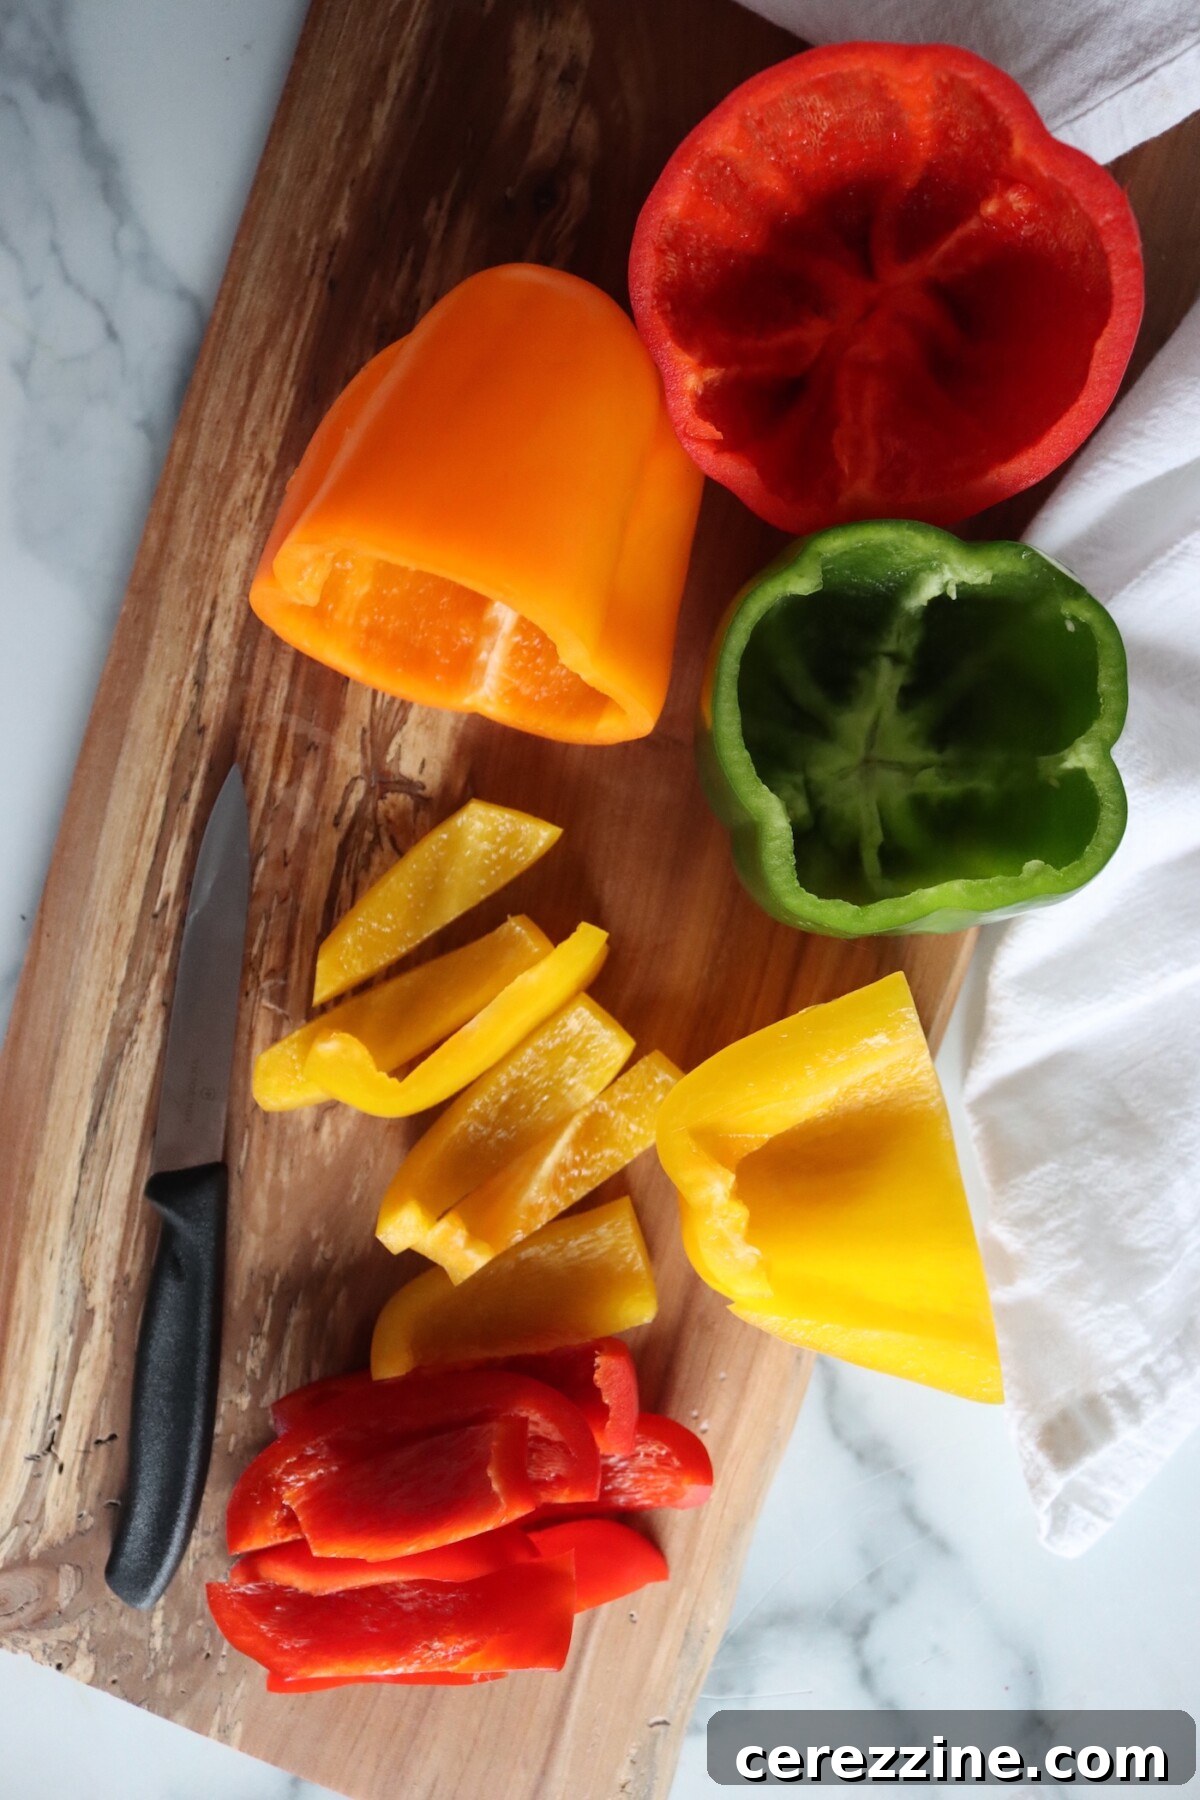
Wash seven pounds of bell peppers. Cut each into quarters, remove cores and seeds, trim any blemishes, and slice lengthwise into strips about 1/2 to 1 inch wide. Peel garlic cloves and measure pickling salt so jars can be filled without delay.
Make the Pickling Syrup
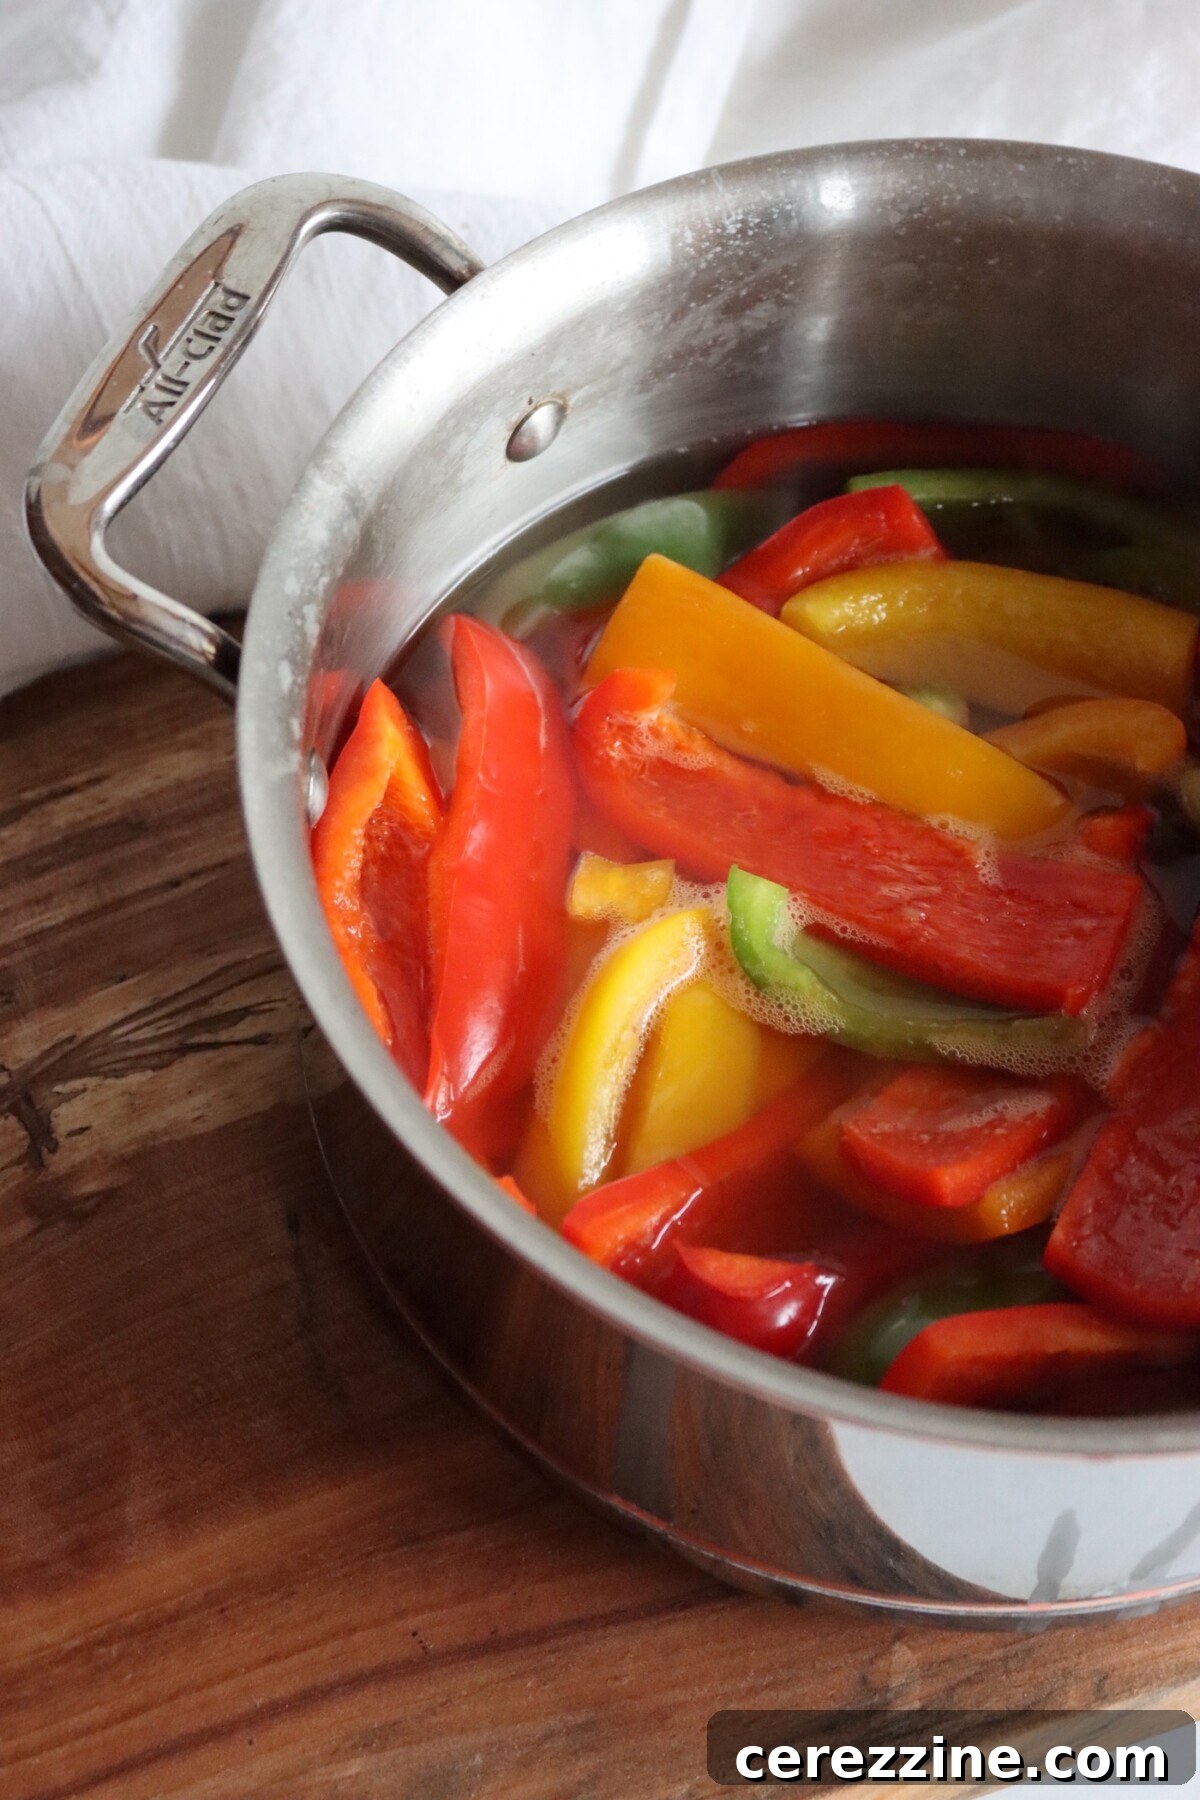
In a large non-reactive pot combine sugar, vinegar (5% acidity), and water. Bring to a boil, stirring until the sugar dissolves, and boil for 1 minute. Add all the pepper strips, bring the pot back to a boil quickly, then remove from heat. The peppers should still have some resistance when lifted from the liquid.
Pack and Fill the Jars
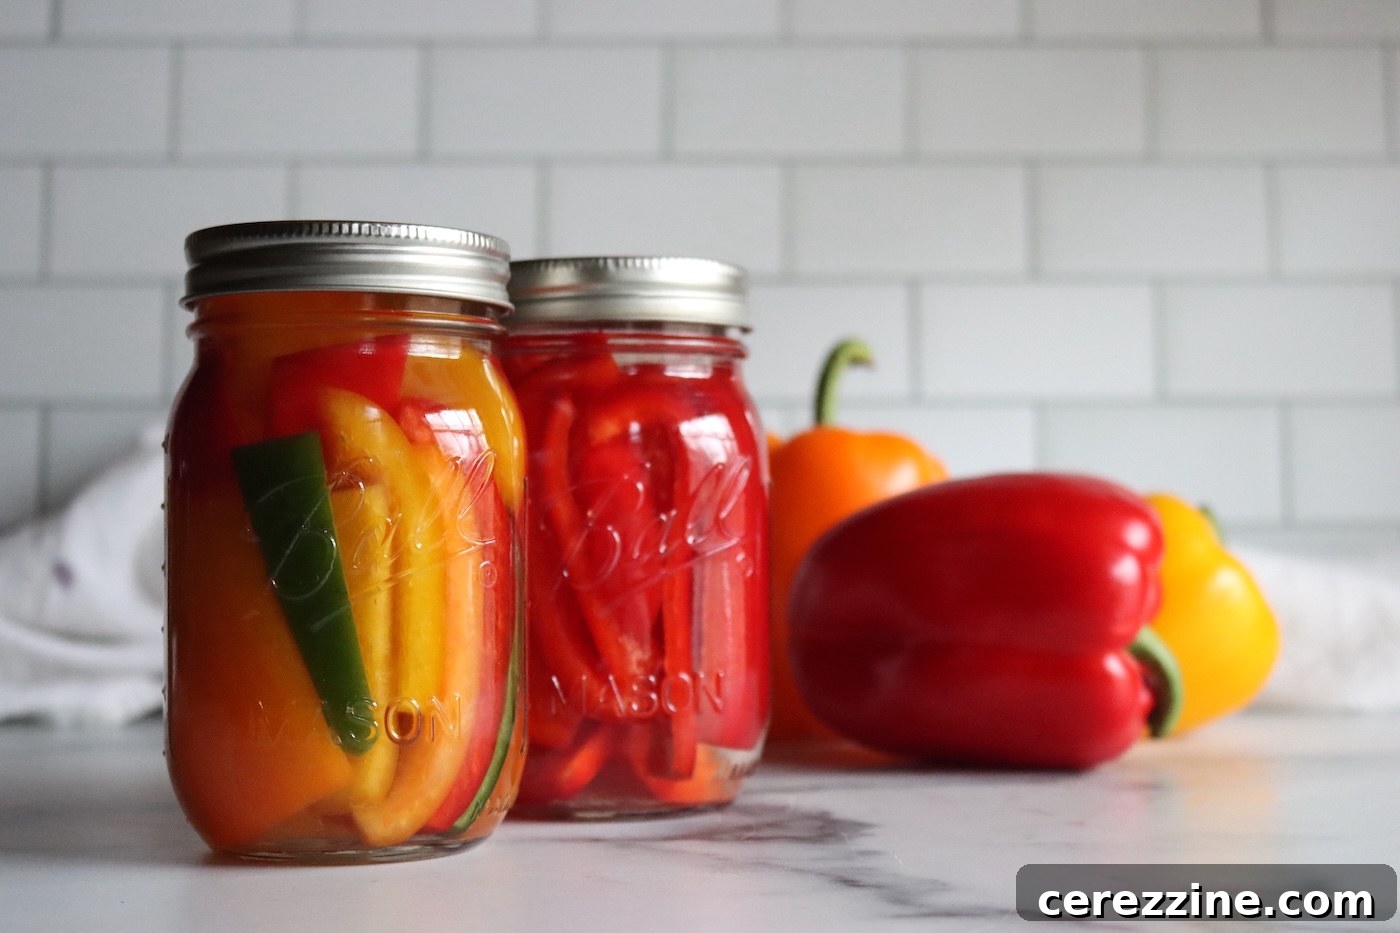
Into sterilized jars place garlic and pickling salt (about 1/2 clove and 1/4 tsp salt per half pint; 1 clove and 1/2 tsp salt per pint). Pack hot pepper strips upright so they fit tightly, then ladle boiling syrup over them leaving 1/2 inch headspace. Remove air bubbles, recheck headspace, wipe rims, and apply lids fingertip tight.
Canning Pickled Bell Peppers
You may refrigerate filled jars for short-term use (a month or two) without processing, but water bath processing makes them shelf-stable. Lower jars into simmering water ensuring at least 1 inch of water above lids. Bring to a full rolling boil and start timing when boiling. Process pint or half-pint jars for 10 minutes at 0–6,000 feet; increase to 15 minutes above 6,000 feet. After processing, remove the lid, let jars sit 5 minutes, then cool undisturbed 12–24 hours. Check seals, label, and store in a cool, dark place.
Wait two weeks before opening to allow the syrup to penetrate the pepper strips.
Altitude Adjustments
- 0 to 6,000 feet: 10 minutes
- Above 6,000 feet: 15 minutes
Tips for Crisp Pickled Peppers
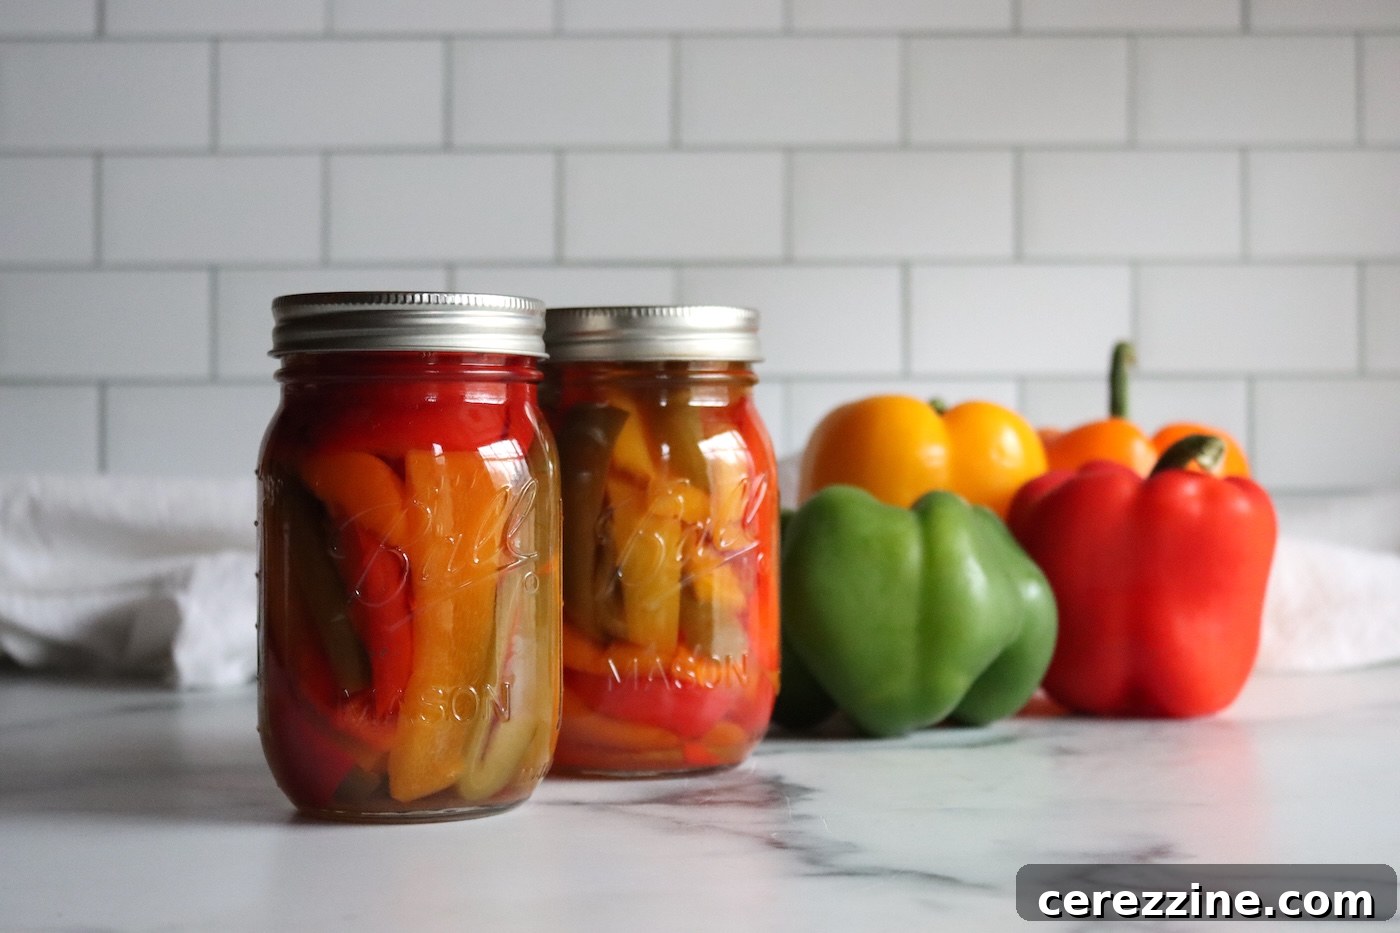
Start with firm, thick-walled peppers picked recently. Slice strips about 1/2 inch wide to retain texture. Briefly return peppers to a boil in the syrup instead of simmering them long. If you want extra firmness, add calcium chloride (Pickle Crisp) at about 1/8 teaspoon per pint; it does not affect acidity or processing time. Avoid outdated lime or alum soaks — they are unnecessary with this method.
Ways to Use Pickled Bell Peppers
These peppers excel on sandwiches, layered under melted cheese, or on burgers in place of pickled banana peppers. Drain and chop them into tuna, egg, or potato salads, or add them to beans for brightness. A jar on a snack board alongside olives and hard cheeses is ready-to-serve.
Keep the syrup after the peppers are gone: it makes a lively salad dressing when whisked with olive oil and mustard, or use it to deglaze a pan for sausage or pork chops. Do not reuse the syrup for canning another batch because its acidity and composition have changed.
Yield Notes
Seven pounds of bell peppers yield about nine pints. The exact number can vary with pepper variety and how tightly you pack the strips. The recipe halves cleanly for smaller harvests; if you have more than about 14 pounds, run two separate batches rather than one very large one to avoid overcooking the peppers at the bottom of a crowded pot.
Pickled Bell Peppers FAQs
No. The vinegar at 5% acidity in a one-to-one ratio with water is the safety control for shelf-stable jars and must not be reduced or diluted.
Yes. Any color works, and different colors can be mixed in the same jar. Red, orange, and yellow are sweeter; green peppers are firmer and slightly sharper.
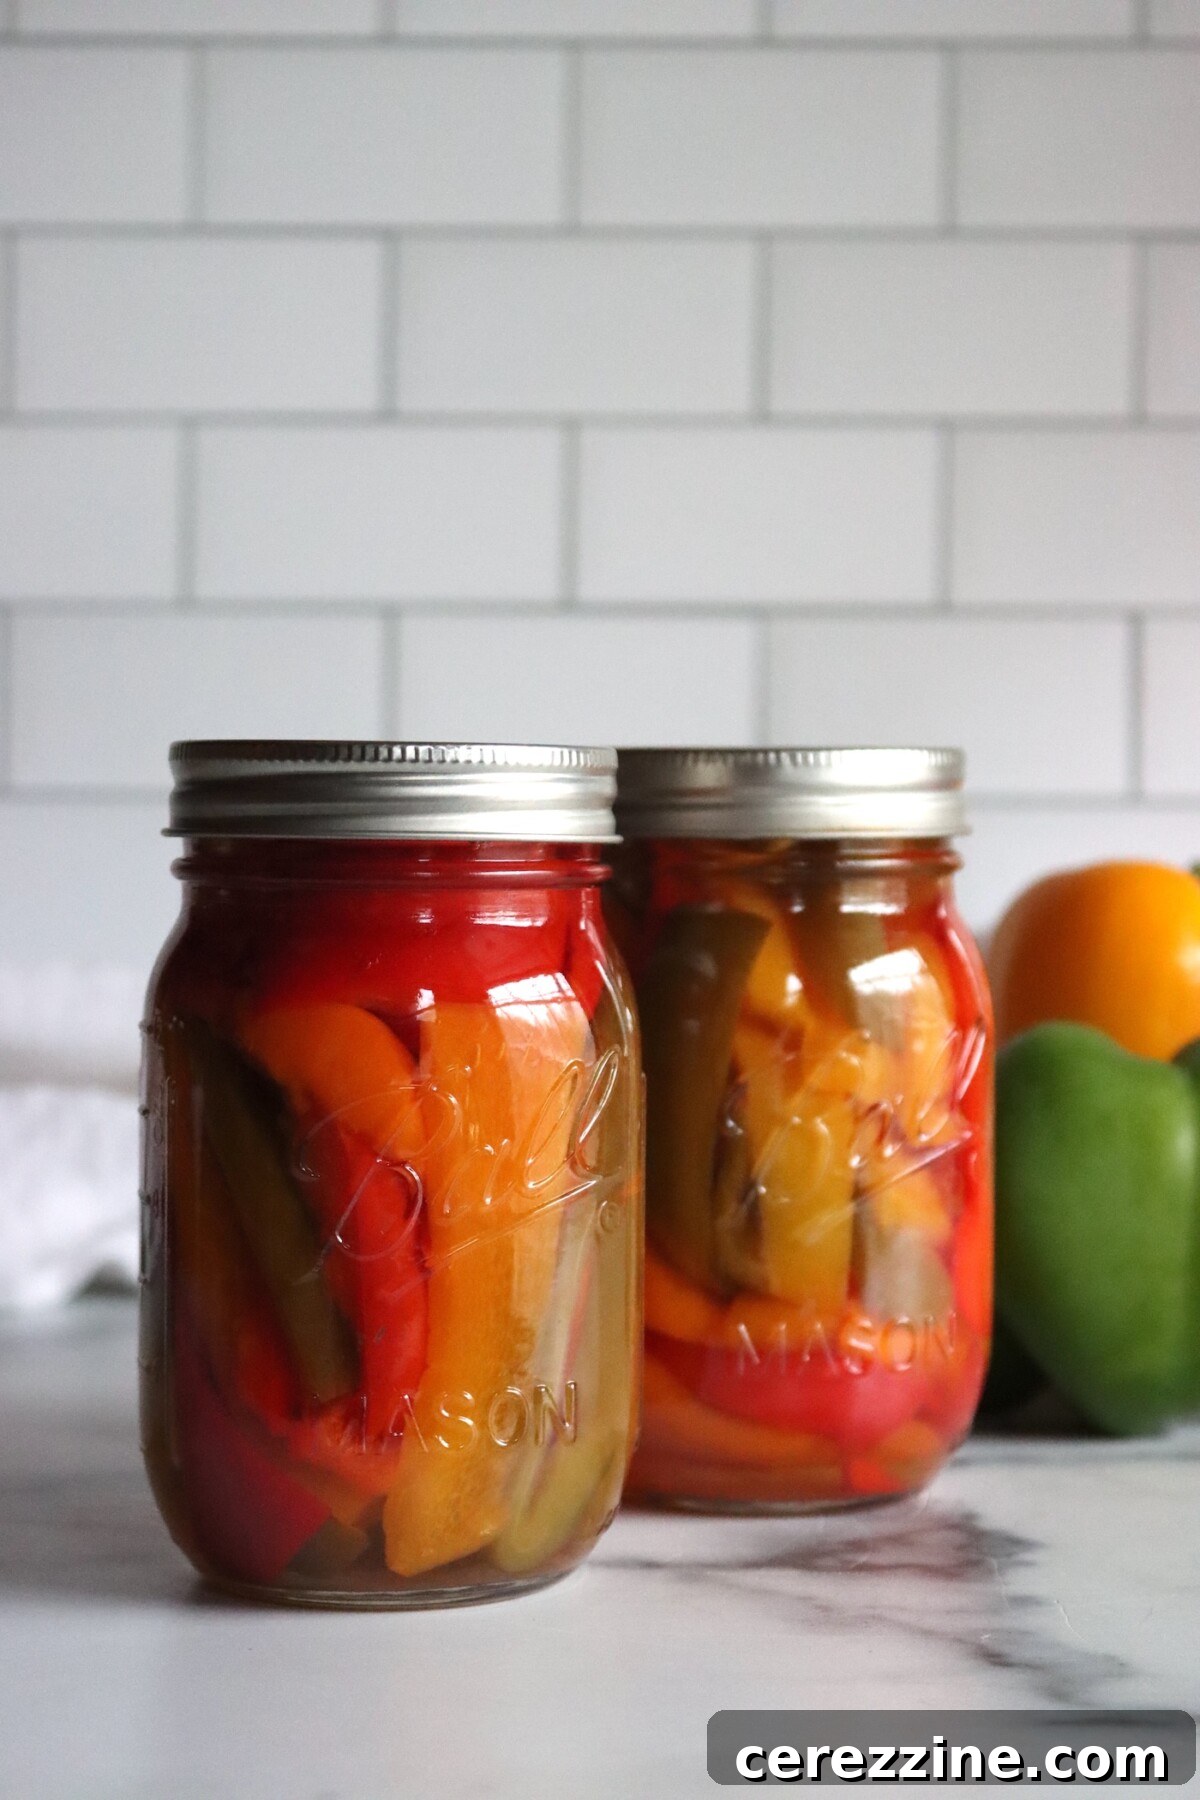
Properly processed and sealed jars keep about 12 to 18 months in a cool, dark place. Let them sit two weeks before opening so the syrup fully flavors the strips. After opening, refrigerate and use within a couple of months.
Ingredients (seven-pound batch, about 9 pints)
- 7 lbs firm bell peppers, cored, seeded, and cut into 1/2–1″ strips
- 9 cloves garlic (about 1 clove per pint)
- 4 1/2 tsp canning or pickling salt (1/2 tsp per pint)
- 1 1/8 tsp Pickle Crisp (optional, 1/8 tsp per pint)
- 3 1/2 cups granulated sugar
- 3 cups vinegar (5% acidity)
- 3 cups water
Instructions
- Wash and trim peppers; slice into strips about 1/2–1″ wide.
- Combine sugar, vinegar (5% acidity), and water in a large non-reactive pot. Bring to a boil, stirring until sugar dissolves. Boil 1 minute.
- Add pepper strips to the boiling syrup and return to a boil briefly. Remove from heat once they come back to a boil and still have some resistance.
- Place garlic and salt in each sterilized jar (1/2 clove + 1/4 tsp salt per half pint; 1 clove + 1/2 tsp salt per pint). Add Pickle Crisp if using.
- Pack hot pepper strips into jars, ladle boiling syrup over them leaving 1/2″ headspace, remove air bubbles, wipe rims, and apply lids fingertip tight.
- Process jars in a boiling water bath: 10 minutes at 0–6,000 ft; 15 minutes above 6,000 ft. After processing, remove lid, let jars sit 5 minutes, then cool undisturbed 12–24 hours. Check seals and store.