Preserve the Taste of the Sea: A Comprehensive Guide to Pressure Canning Fish Chowder Base
Imagine the comforting aroma of rich fish chowder filling your kitchen on a chilly evening, all without the hours of preparation. This dream becomes a delicious reality with our simple pressure canning recipe for fish chowder base. It’s a culinary hack that lets you capture the essence of this classic comfort food, ready to be transformed into a hearty meal in minutes. Just warm, add cream, and serve!
Unlock Culinary Convenience: Why Can Your Own Fish Chowder Base?
In our fast-paced lives, finding time to cook wholesome, homemade meals can be a challenge. That’s where canning your own fish chowder base becomes a game-changer. A fish chowder base is a concentrated blend of key ingredients, carefully preserved to form the foundational flavors of a hearty, satisfying chowder. By having this base ready on your pantry shelf, you’re not just saving time; you’re investing in peace of mind, knowing a delicious, nourishing meal is always within reach.
This method allows you to quickly whip up a gourmet-quality bowl of chowder by simply adding a few fresh components when you’re ready to eat. It’s the ultimate solution for busy weeknights, unexpected guests, or simply when you crave a taste of home without the fuss. Whether you’re a seasoned home cook, an avid canner, a health-conscious eater, or someone looking to optimize their meal prep, this guide will empower you to create and safely preserve your very own fish chowder base. Get ready to enjoy the rich, savory goodness of homemade chowder anytime you desire!
Essential Ingredients for Your Long-Lasting Fish Chowder Base
This pressure canning recipe adheres to the University of Alaska’s robust Hearty Soup canning protocol, which provides tested guidelines, times, and pressures for safely creating your own soup recipes. For a canner batch yielding six pints of delicious fish chowder base, you’ll need the following high-quality ingredients:
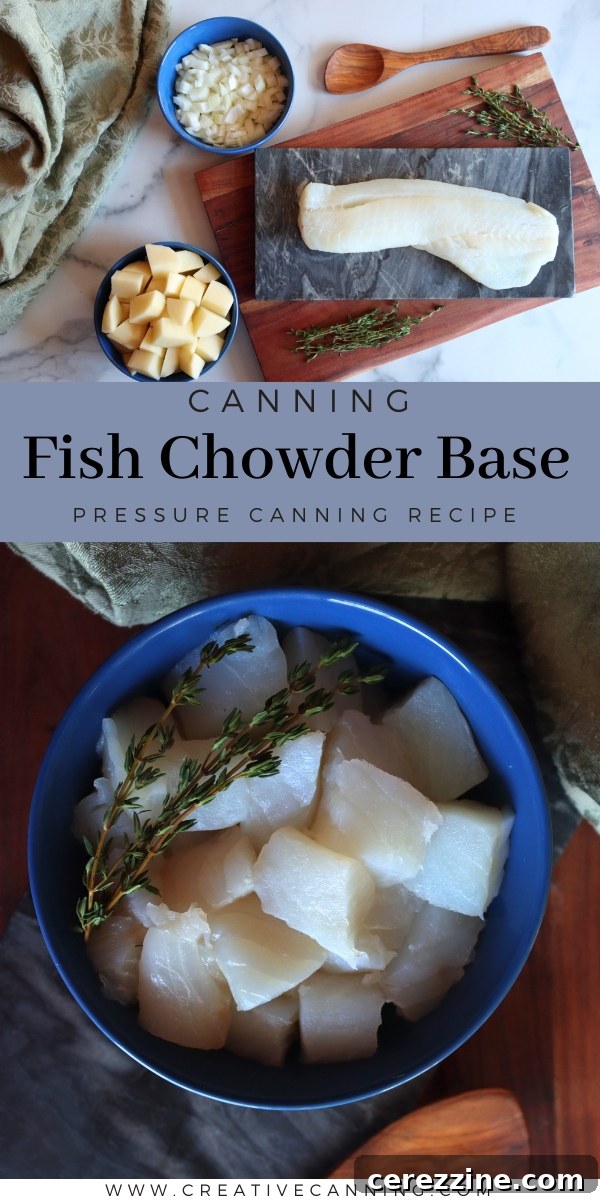
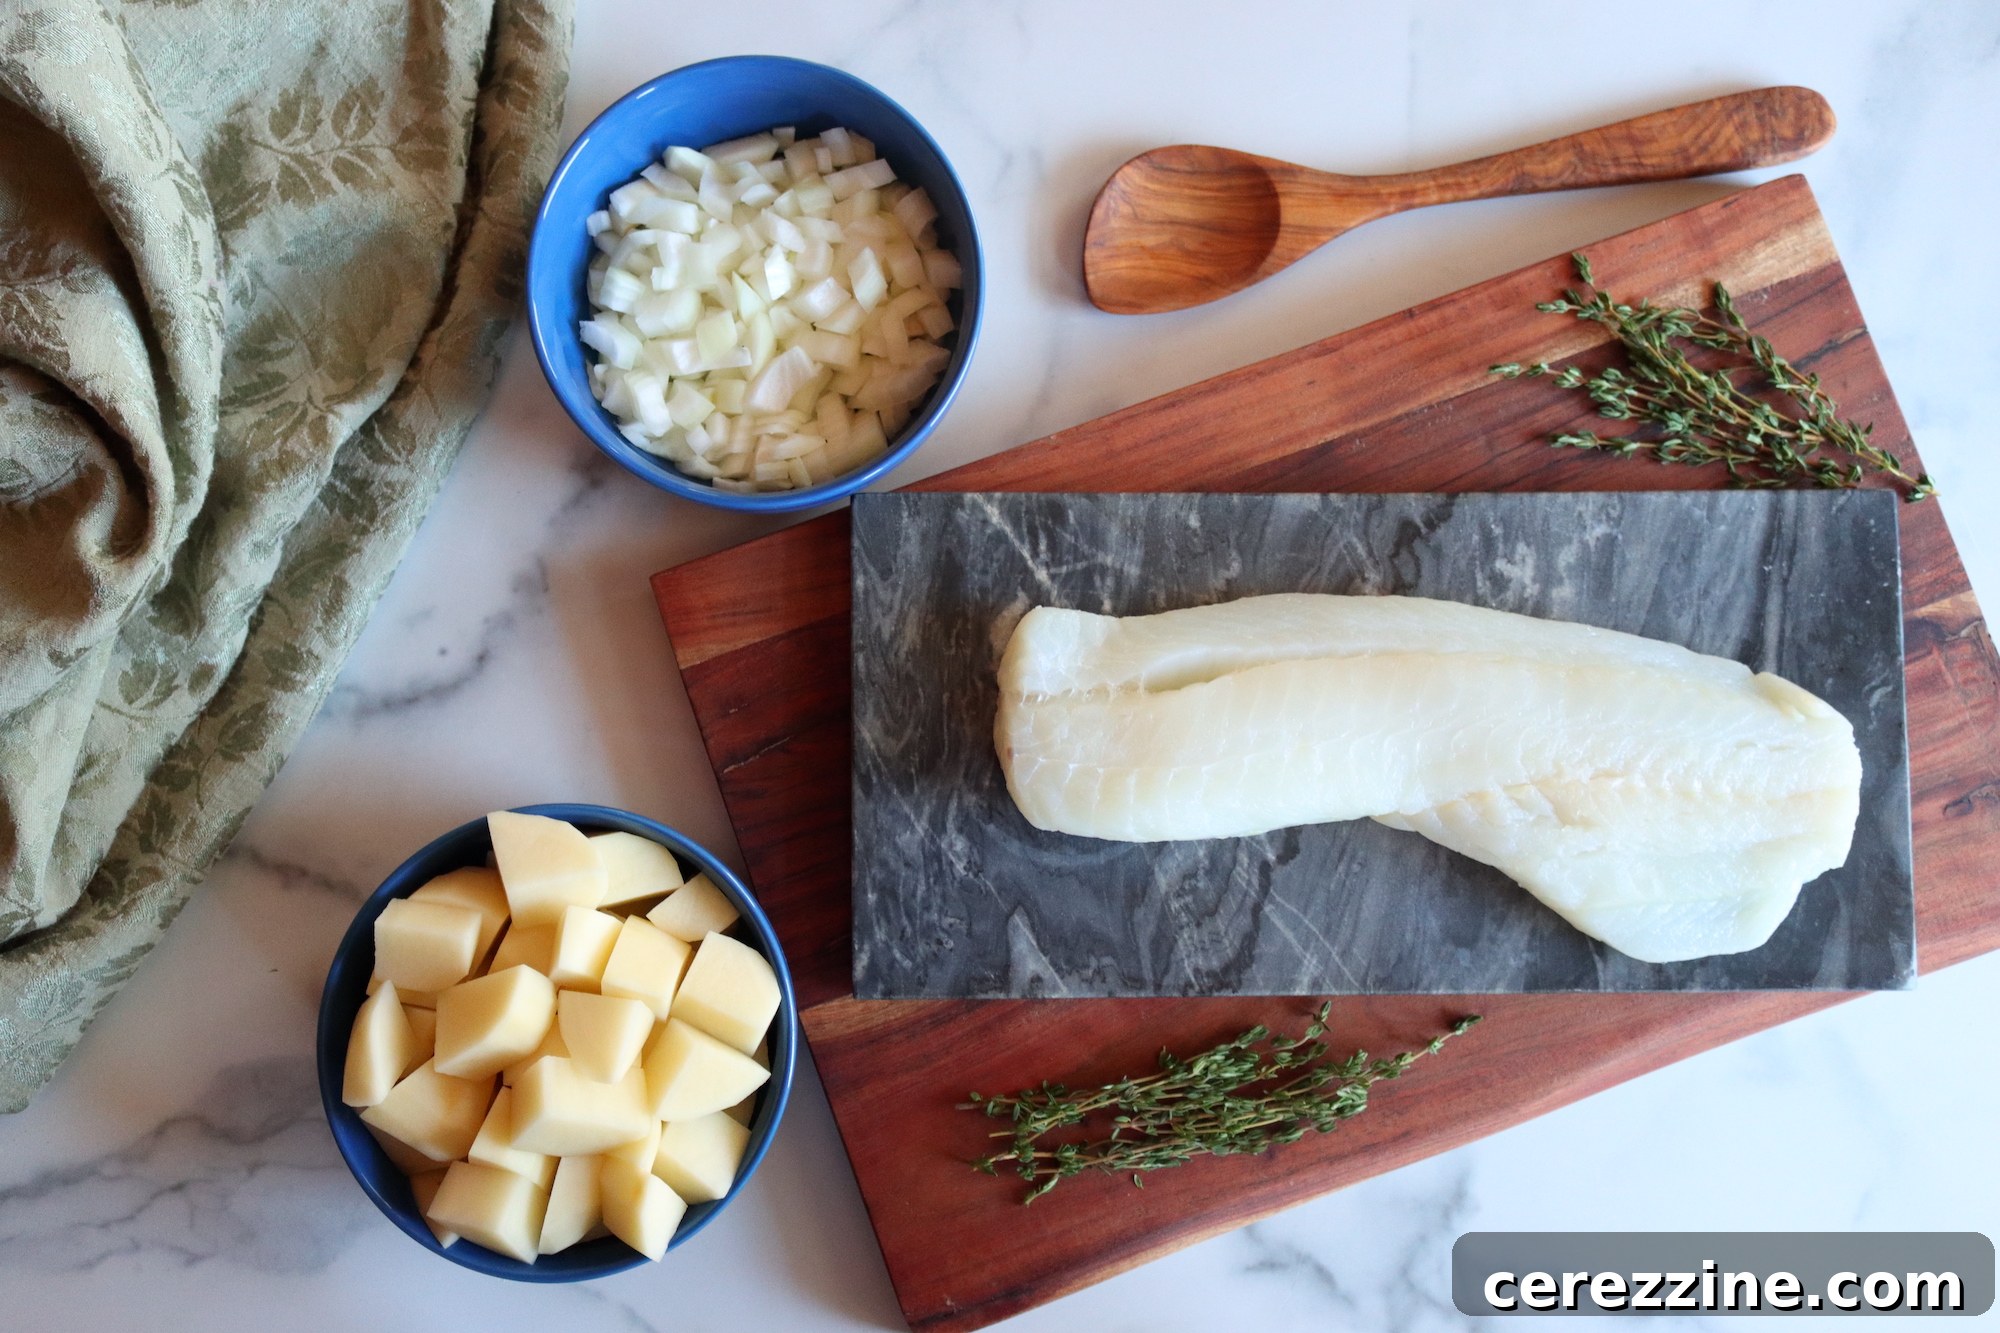
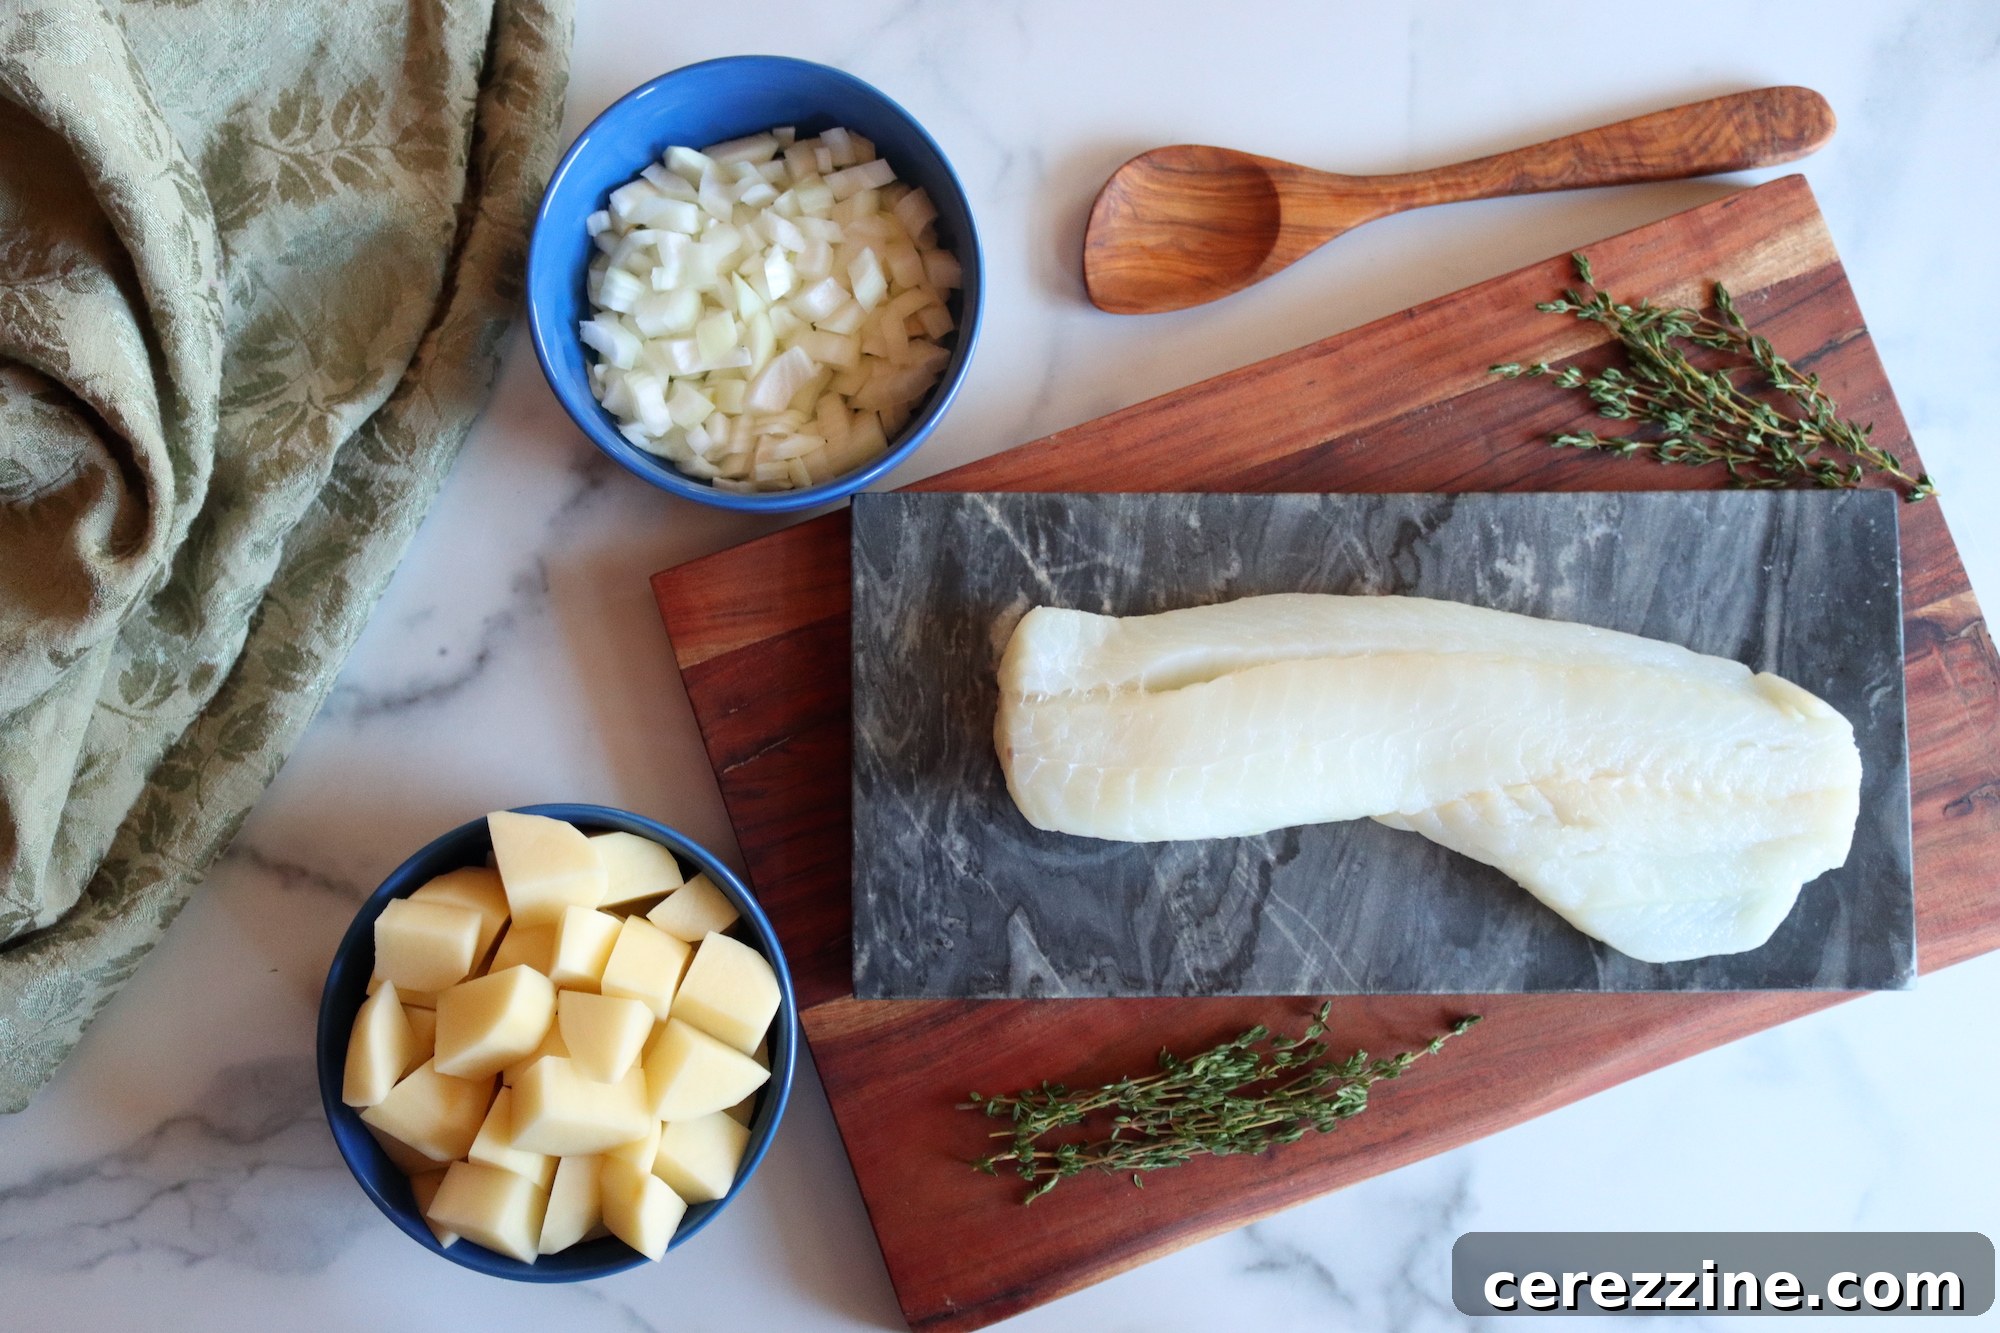
- 1 ½ lbs cod (or other firm white fish)
- 3 cups potatoes, peeled and diced (uniform pieces for even cooking)
- 2 cups onion, peeled and diced
- ½ cup dry white wine (adds depth of flavor)
- 4 cups stock (fish stock for authentic flavor, or chicken broth, or vegetable broth for versatility)
- 1 tsp dried thyme
- 2 teaspoons Old Bay seasoning (optional, for a classic seafood flavor; substitute with a pinch of paprika and a dash of cayenne pepper for a similar profile)
- 2 tsp salt (essential for seasoning and preservation)
- ½ tsp garlic powder (mellows beautifully during canning)
Ingredient Notes and Substitutions for Perfect Flavor
While cod is a popular and excellent choice for its mild flavor and firm texture, feel free to substitute it with other firm white fish like haddock, halibut, or pollock. The key is to select fresh, high-quality fish for the best results. Similarly, feel free to choose the stock that best suits your preference or what you have on hand – fish, chicken, or vegetable broth will all create a fantastic base.
The integrity of this recipe relies on maintaining the balance of flavors and the specified quantities. Always ensure your ingredients are fresh and of the highest quality to achieve a truly delicious and safe canned product. Remember that some flavors, particularly herbs and spices (excluding garlic), will intensify during the pressure canning process, so seasoning judiciously is important.
Mastering the Art of Pressure Canning Fish Chowder Base
Pressure canning is the safest and most recommended method for preserving low-acid foods like fish chowder base. Following these detailed steps precisely will ensure a delicious and safely stored product for your pantry.
Preparation is Key
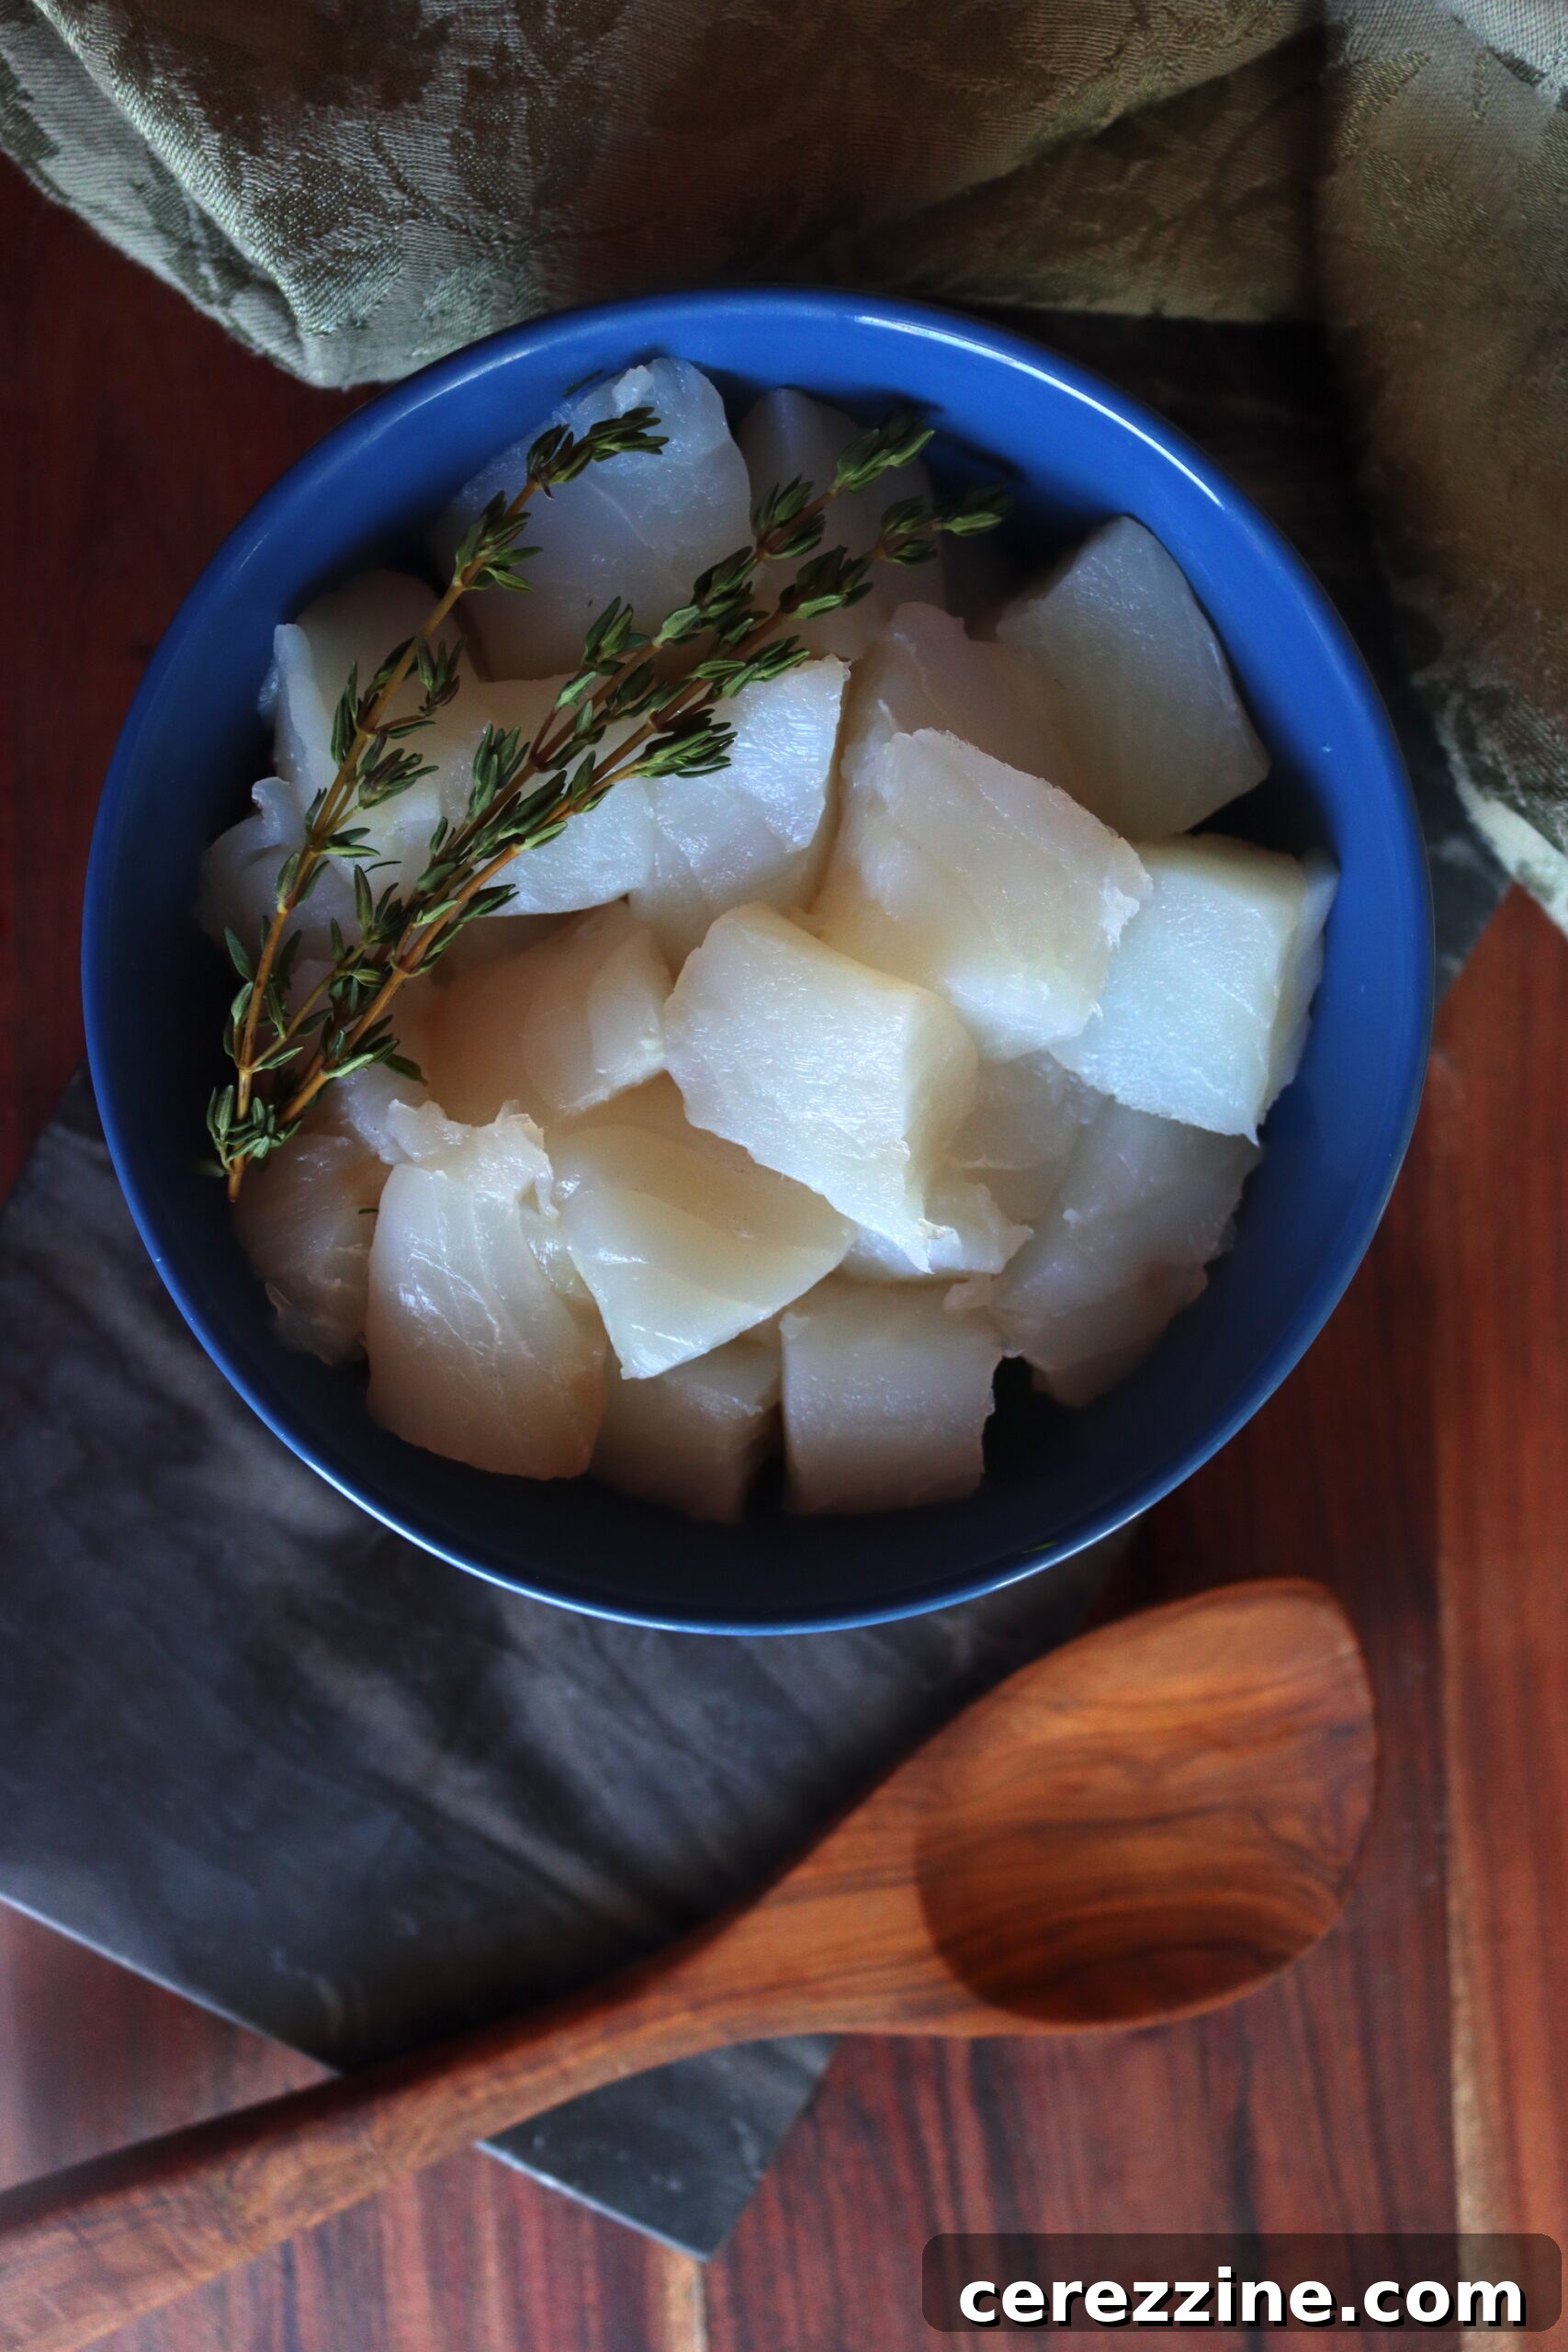
Begin by preparing your main ingredients. Cut the fresh cod into uniform, bite-sized pieces. Don’t be concerned about small bones; the intense pressure and heat of the canning process will soften them to the point of being undetectable. Next, peel and dice your potatoes and onions into small, consistent pieces. Uniformity in size ensures even cooking and prevents any ingredients from becoming over or undercooked during the initial boil.
Measure out your liquids – the white wine and stock. These will serve as the rich liquid foundation, helping to meld all the flavors together during the cooking and canning stages. Finally, gather your seasonings: thyme, Old Bay (if using), salt, and garlic powder. Keep in mind that flavors will concentrate during canning, so a balanced approach to seasoning is best. Garlic, in particular, tends to mellow out, while other spices may become more prominent.
Cooking and Filling Your Jars
- Combine and Cook: Place all your prepared fish, vegetables, and seasonings into a large, sturdy pan. Pour in the white wine and stock. If needed, add enough hot water to just cover the ingredients. Bring the entire mixture to a rolling boil and allow it to cook actively for five minutes. This critical pre-processing step ensures that all ingredients are thoroughly heated before canning, contributing to food safety.
- Prepare Canning Jars: While the chowder base simmers, ensure your canning jars are hot and meticulously clean. You can sterilize them by running them through a dishwasher hot cycle or keeping them in hot water until ready to fill.
- Fill Jars with Care: Carefully ladle the hot fish chowder base into your prepared jars, leaving precisely one inch of headspace. This headspace is paramount for proper sealing and to prevent liquid siphoning or overflow during the pressure canning process. Too little headspace can prevent a proper seal, while too much can affect vacuum formation.
- Clean Rims: Wipe the rims of each jar thoroughly with a clean, damp cloth to remove any food particles. Even a tiny speck can compromise the seal.
- Apply Lids and Rings: Place a clean, new canning lid on each jar, followed by a screw band, tightened only to “fingertip tight.” This means tight enough to secure the lid, but not so tight that air cannot escape during processing.
Pressure Canning Process
This is where the magic of preservation happens, requiring precision and attention to detail for safety.
- Heat the Canner: Place your filled jars into your pressure canner on the rack. Add the recommended amount of water to the canner according to your manufacturer’s instructions, typically 2-3 inches. Secure the canner lid.
- Vent Steam: Turn the heat to high. Allow the canner to vent a steady stream of steam for a full 10 minutes. This crucial step purges all air from the canner, ensuring that the internal temperature reaches the required level for safe processing.
- Add Weight and Process: After venting, place the weighted gauge or close the petcock (for dial gauge canners). Allow the pressure to build to the recommended level for your altitude: 11 lbs for dial gauge canners or 10 lbs for weighted gauge canners. Once the correct pressure is reached, begin your timer.
- Processing Time: Process pint jars for 100 minutes. Throughout this time, monitor the pressure carefully. If at any point the pressure drops below the specified level, you must reset your timer and restart the entire processing period from the beginning. This is critical for ensuring the safety and shelf stability of your canned goods.
- Cool Down: Once the 100-minute processing time is complete, turn off the heat. IMPORTANT: Do not remove the lid or attempt to open the canner. Allow the pressure canner to depressurize naturally until the pressure gauge reads zero. After it has fully depressurized, wait an additional 10 minutes before carefully removing the lid, tilting it away from your face to avoid steam burns.
- Final Cooling and Checking Seals: Using a jar lifter, carefully remove the hot jars from the canner and place them on a clean towel on your counter, ensuring they are not touching each other. Allow them to cool undisturbed for 24 hours. After cooling, check each jar for a proper seal. The center of the lid should be concave and not flex when pressed. If any jars haven’t sealed, refrigerate them immediately and use them within a few days.
- Store Properly: For properly sealed jars, remove the screw bands, wipe down the jars, and label them with the date and contents. Store your canned fish chowder base in a cool, dark, and dry place. When stored correctly, your homemade fish chowder base can last up to one year, offering you convenience and comfort whenever you need it.
Altitude Adjustments for Pressure Canning
When pressure canning, the processing times remain constant regardless of altitude, but the required pressure must be adjusted to ensure food safety. Please consult the following guidelines based on your elevation:
For Dial Gauge Pressure Canners:
- 0 to 2,000 feet in elevation – 11 lbs pressure
- 2,001 to 4,000 feet in elevation – 12 lbs pressure
- 4,001 to 6,000 feet in elevation – 13 lbs pressure
- 6,001 to 8,000 feet in elevation – 14 lbs pressure
For Weighted Gauge Pressure Canners:
- 0 to 1,000 feet in elevation – 10 lbs pressure
- Above 1,000 feet – 15 lbs pressure
Serving Your Versatile Fish Chowder Base
The true beauty of a canned fish chowder base lies in its incredible versatility and ease of serving. Once you’re ready to enjoy a delicious bowl of chowder, simply heat the base on the stove over medium heat until it reaches your desired temperature. From there, your culinary creativity can take over! The base provides a perfect canvas for countless variations.
Here are some delectable suggestions to inspire your next meal:
- Classic Creamy Fish Chowder: For a traditional, indulgent experience, stir in a generous splash of heavy cream, half-and-half, or milk once the base is hot. Garnish with fresh chopped dill or parsley and a crack of black pepper. For extra richness, consider adding cooked bacon or salt pork bits at the end.
- Hearty Seafood Medley: Elevate your chowder by adding other cooked seafood favorites like plump clams, succulent shrimp, or luxurious lobster meat. Simmer gently until just heated through to avoid overcooking the delicate seafood.
- Corn and Bell Pepper Chowder: Introduce a touch of sweetness and vibrant color by stirring in fresh or frozen corn kernels and finely diced bell peppers (red or yellow work wonderfully) during the final heating stage.
- Rustic Potato and Leek Chowder: Enhance the potato content and add a subtle oniony sweetness with finely sliced leeks. Sauté the leeks beforehand for deeper flavor, then add them along with extra diced potatoes to create a thicker, more substantial chowder.
- Spicy Fish Stew: For those who enjoy a kick, transform your chowder into a zesty stew. Incorporate diced tomatoes, green chilies, and a dash of your favorite hot sauce. A squeeze of lime juice at the end will brighten the flavors.
- Creamy Mushroom and Fish Chowder: Sauté sliced mushrooms (cremini or button work well) until golden brown, then stir them into the hot chowder base along with a touch of heavy cream for an earthy, umami-rich variation.
- Nutritious Vegetable-Packed Chowder: Boost the nutritional value by adding a colorful mix of diced carrots, celery, and green beans. These vegetables add texture and a fresh garden taste.
- Smoky Fish Chowder: For an incredibly deep and complex flavor, integrate some flaked smoked fish (like smoked haddock or salmon) in addition to the cod base. This adds a wonderful smoky depth that is truly gourmet.
- Thai-Style Coconut Fish Soup: For an exotic twist, stir in coconut milk, a squeeze of fresh lime juice, and a teaspoon of red curry paste. This creates a fragrant, mildly spicy, and uniquely flavorful soup that transports your taste buds.
No matter how you choose to customize it, a bowl of this hot, flavorful chowder pairs beautifully with a slice of crusty bread, warm dinner rolls, or even oyster crackers. These are perfect for soaking up every last drop of the rich broth, completing a satisfying meal that feels both easy and special.
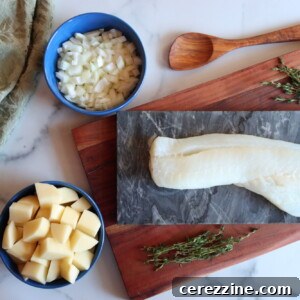
Canning Fish Chowder Base
By Ashley Adamant
Fish chowder is a classic comfort food, and this simple pressure canning recipe allows you to cook a fish chowder base to save time on busy weeknights. Just warm, add cream, and serve!
Servings: 12 servings, Makes 6 pints
Prep Time: 10 mins
Cook Time: 10 mins
Canning Time: 1 hr 40 mins
Total Time: 2 hrs
Equipment
- Pressure Canner
Ingredients
- 1 ½ lbs cod
- 3 cups potatoes, peeled and diced
- 2 cups onion, peeled and diced
- ½ cup white wine
- 4 cups stock (fish stock, chicken broth, or vegetable broth)
- 1 tsp thyme
- 2 tsp Old Bay (optional – use a little paprika and a dash of cayenne instead)
- 2 tsp salt
- ½ tsp garlic powder
- 4 oz salt pork, optional (add after canning for serving only)
Instructions
- Cut cod into bite-sized pieces.
- Dice potatoes and chop onions into uniform pieces.
- Combine all ingredients in a large pan and cover with hot water, broth, or wine. Bring to a boil and cook for five minutes.
- Fill hot, clean canning jars with the mixture, leaving one inch of headspace.
- Process pints for 100 minutes at 11 lbs pressure (dial gauge canner) or 10 lbs pressure (weighted gauge canner), adjusting pressure to altitude (see notes).
Notes
This recipe is based on the University of Alaska’s Hearty Soup canning protocol. That guidance allows you to create your own soup canning recipe, provided you use their specific guidelines, times, and pressures. Fish and recipes that include fish aren’t approved for canning in quart jars, so stick with pint jars for this recipe.
Altitude Adjustments for Pressure Canning:
With pressure canning, the processing times stay the same at higher altitudes, but the pressures change. Here are the altitude adjustments for pressure-canning fish chowder base:
For dial gauge pressure canners:
- 0 to 2,000 feet in elevation – 11 lbs pressure
- 2,001 to 4,000 feet in elevation – 12 lbs pressure
- 4,001 to 6,000 feet in elevation – 13 lbs pressure
- 6,001 to 8,000 feet in elevation – 14 lbs pressure
For weighted gauge pressure canners:
- 0 to 1,000 feet in elevation – 10 lbs pressure
- Above 1,000 feet – 15 lbs pressure
Nutrition (Approximate per serving)
Calories: 176kcal, Carbohydrates: 13g, Protein: 12g, Fat: 8g, Saturated Fat: 3g, Polyunsaturated Fat: 1g, Monounsaturated Fat: 4g, Cholesterol: 33mg, Sodium: 990mg, Potassium: 509mg, Fiber: 2g, Sugar: 2g, Vitamin A: 208IU, Vitamin C: 13mg, Calcium: 27mg, Iron: 1mg
Nutrition information is automatically calculated, so should only be used as an approximation.
Expand Your Canning Repertoire: More Fish and Seafood Canning Recipes
Once you’ve mastered the art of canning fish chowder base, you’ll discover a world of possibilities for preserving the bounty of the sea. This versatile base serves as an excellent starting point for various hearty meals. Why stop there? Explore other exciting seafood canning recipes to stock your pantry with delicious, ready-to-use ingredients and meals.
Consider diving into related recipes like Canning Salmon Chowder Base for a richer, more distinct flavor profile, or embrace the unique regional tastes with the delightful Canning Nordic Salmon Soup. For more fundamental seafood preservation, learn how to prepare and can staples such as Canning Tuna or Canning Shrimp, both of which can also be excellent additions to your homemade chowders or other dishes.
To explore an even broader spectrum of aquatic delights, check out our comprehensive guide to 12+ Fish Canning Recipes, which includes options for crab and various types of salmon, ensuring your pantry is always well-stocked with homemade seafood goodness.
Beyond Seafood: Explore More Delicious Soup Canning Recipes
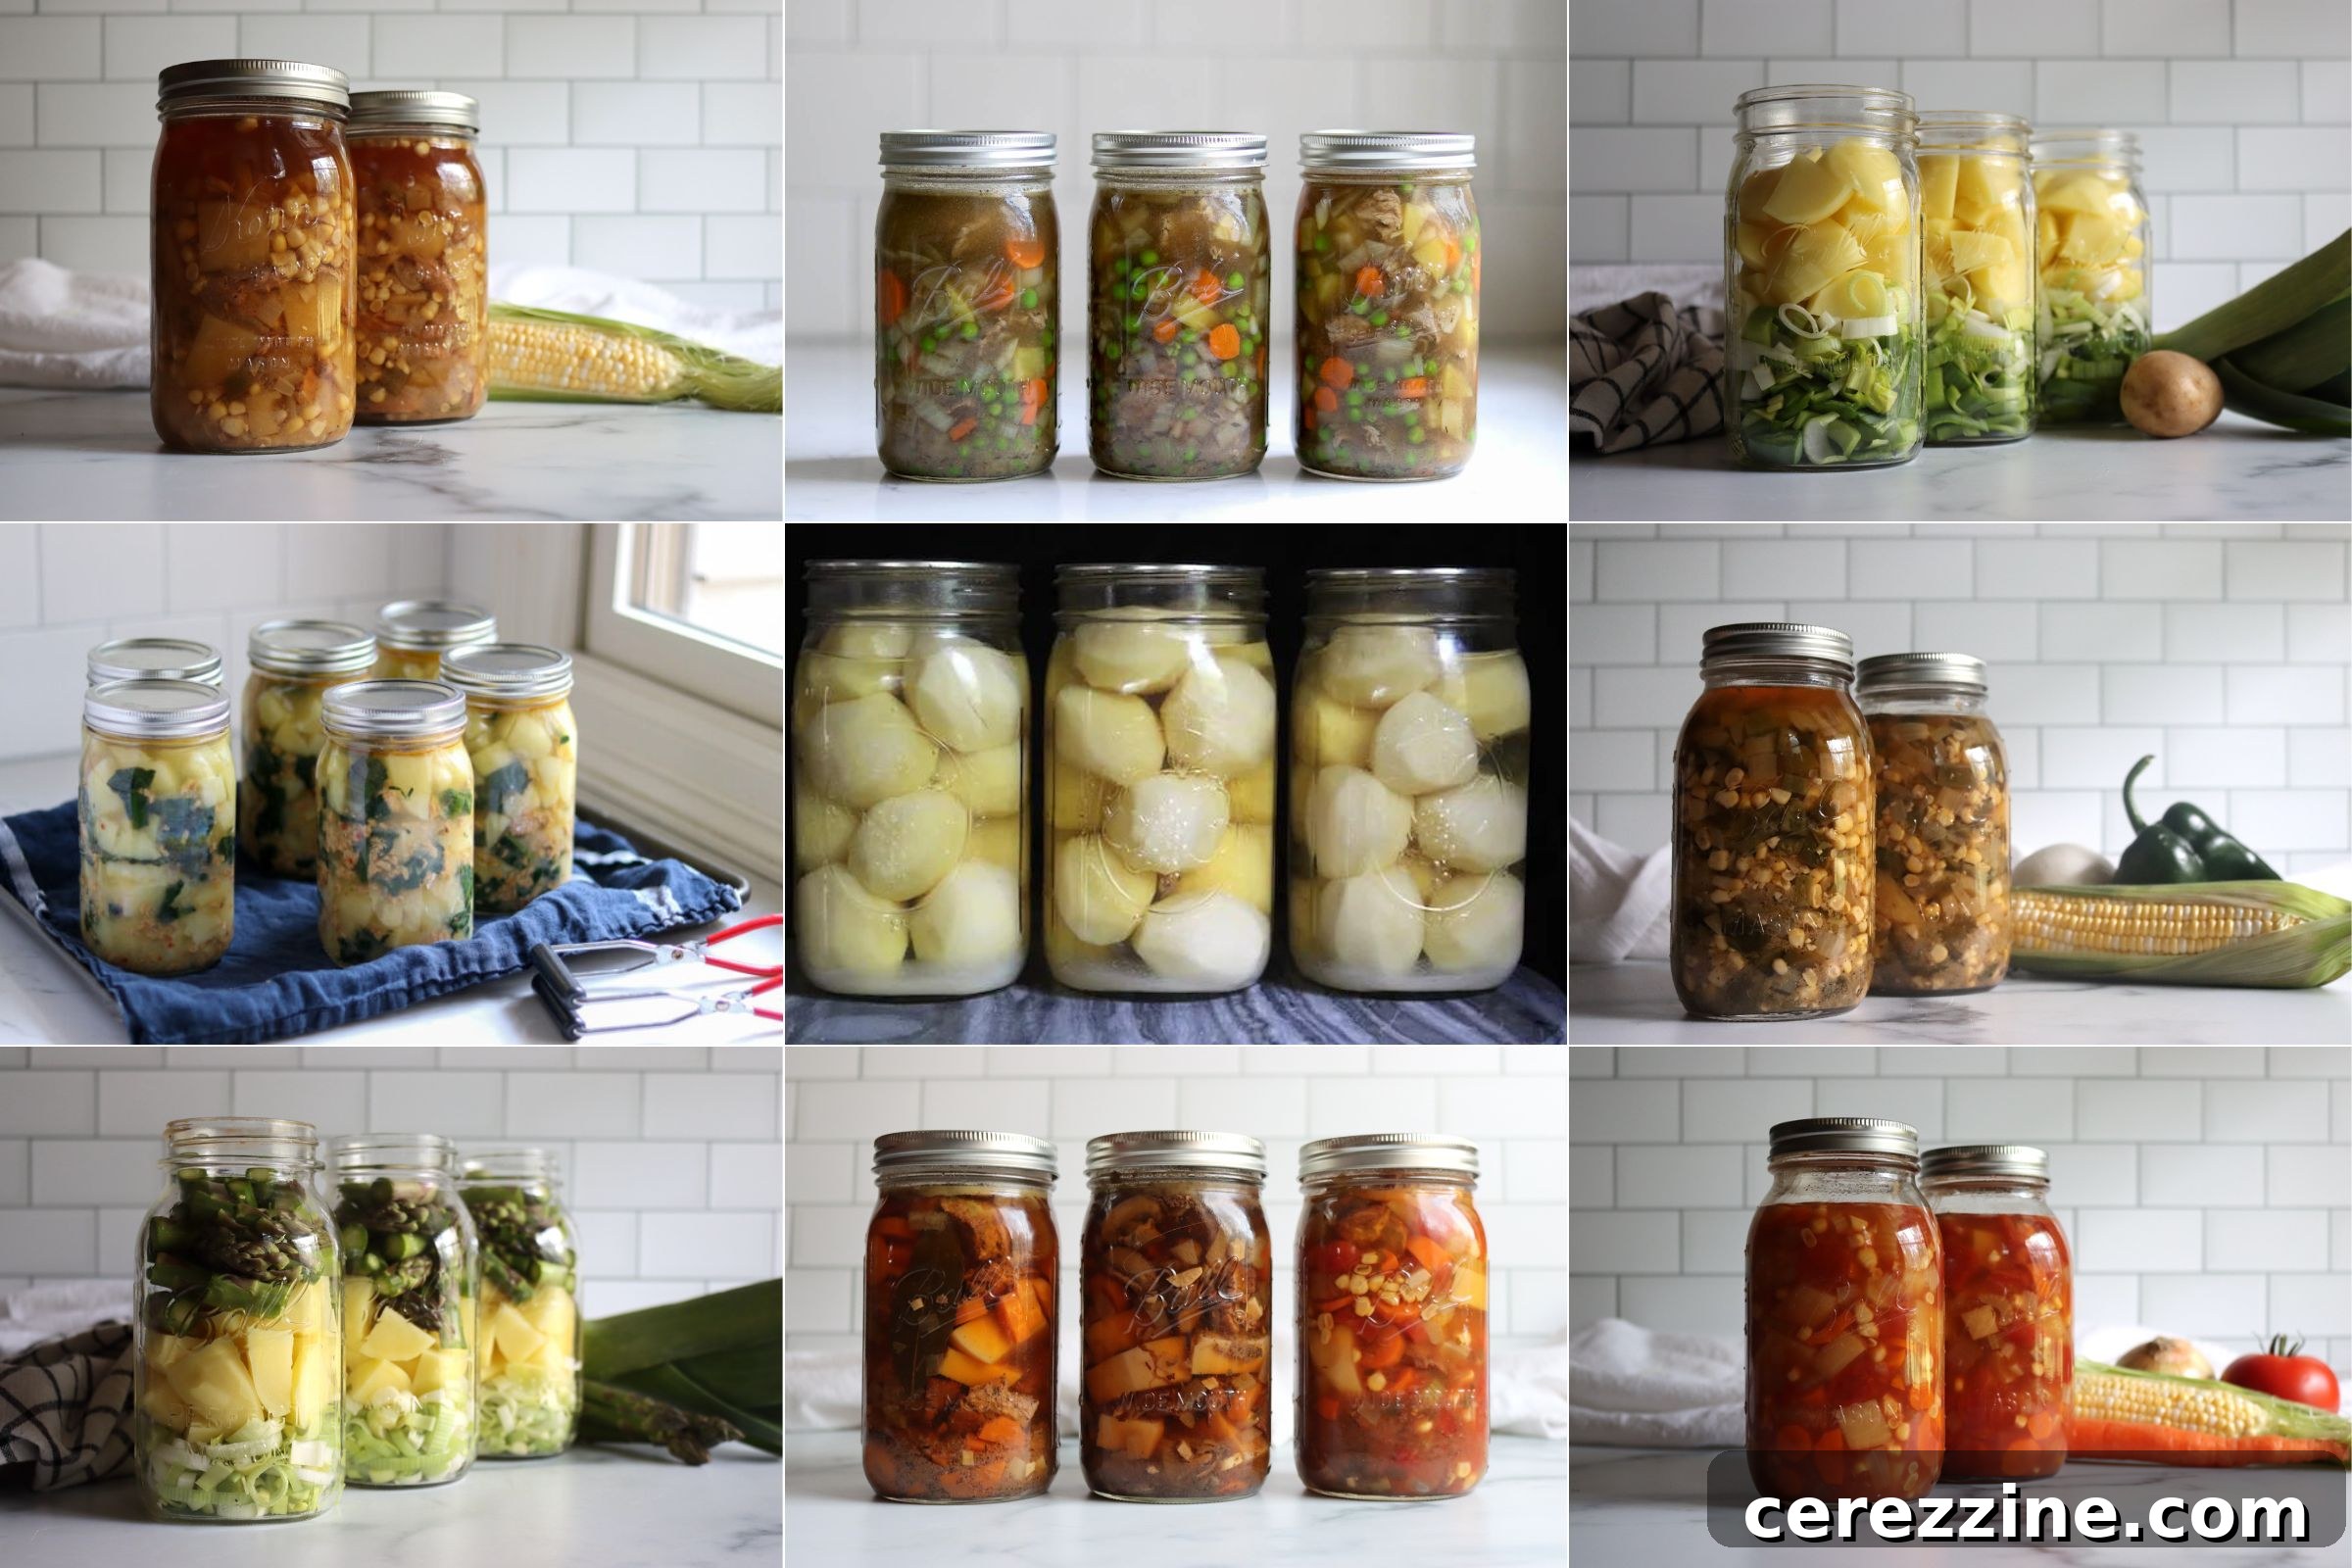
If you’re eager to continue your journey into convenient, homemade soup preservation, there are many other delightful “soup-in-a-jar” canning recipes waiting to be discovered. Stock your pantry with these easy and comforting options, perfect for quick and nourishing meals.
- Canning Carrot Soup
- Canning Split Pea Soup
- Canning Sausage, Potato and Kale Soup
- Canning Chicken Soup