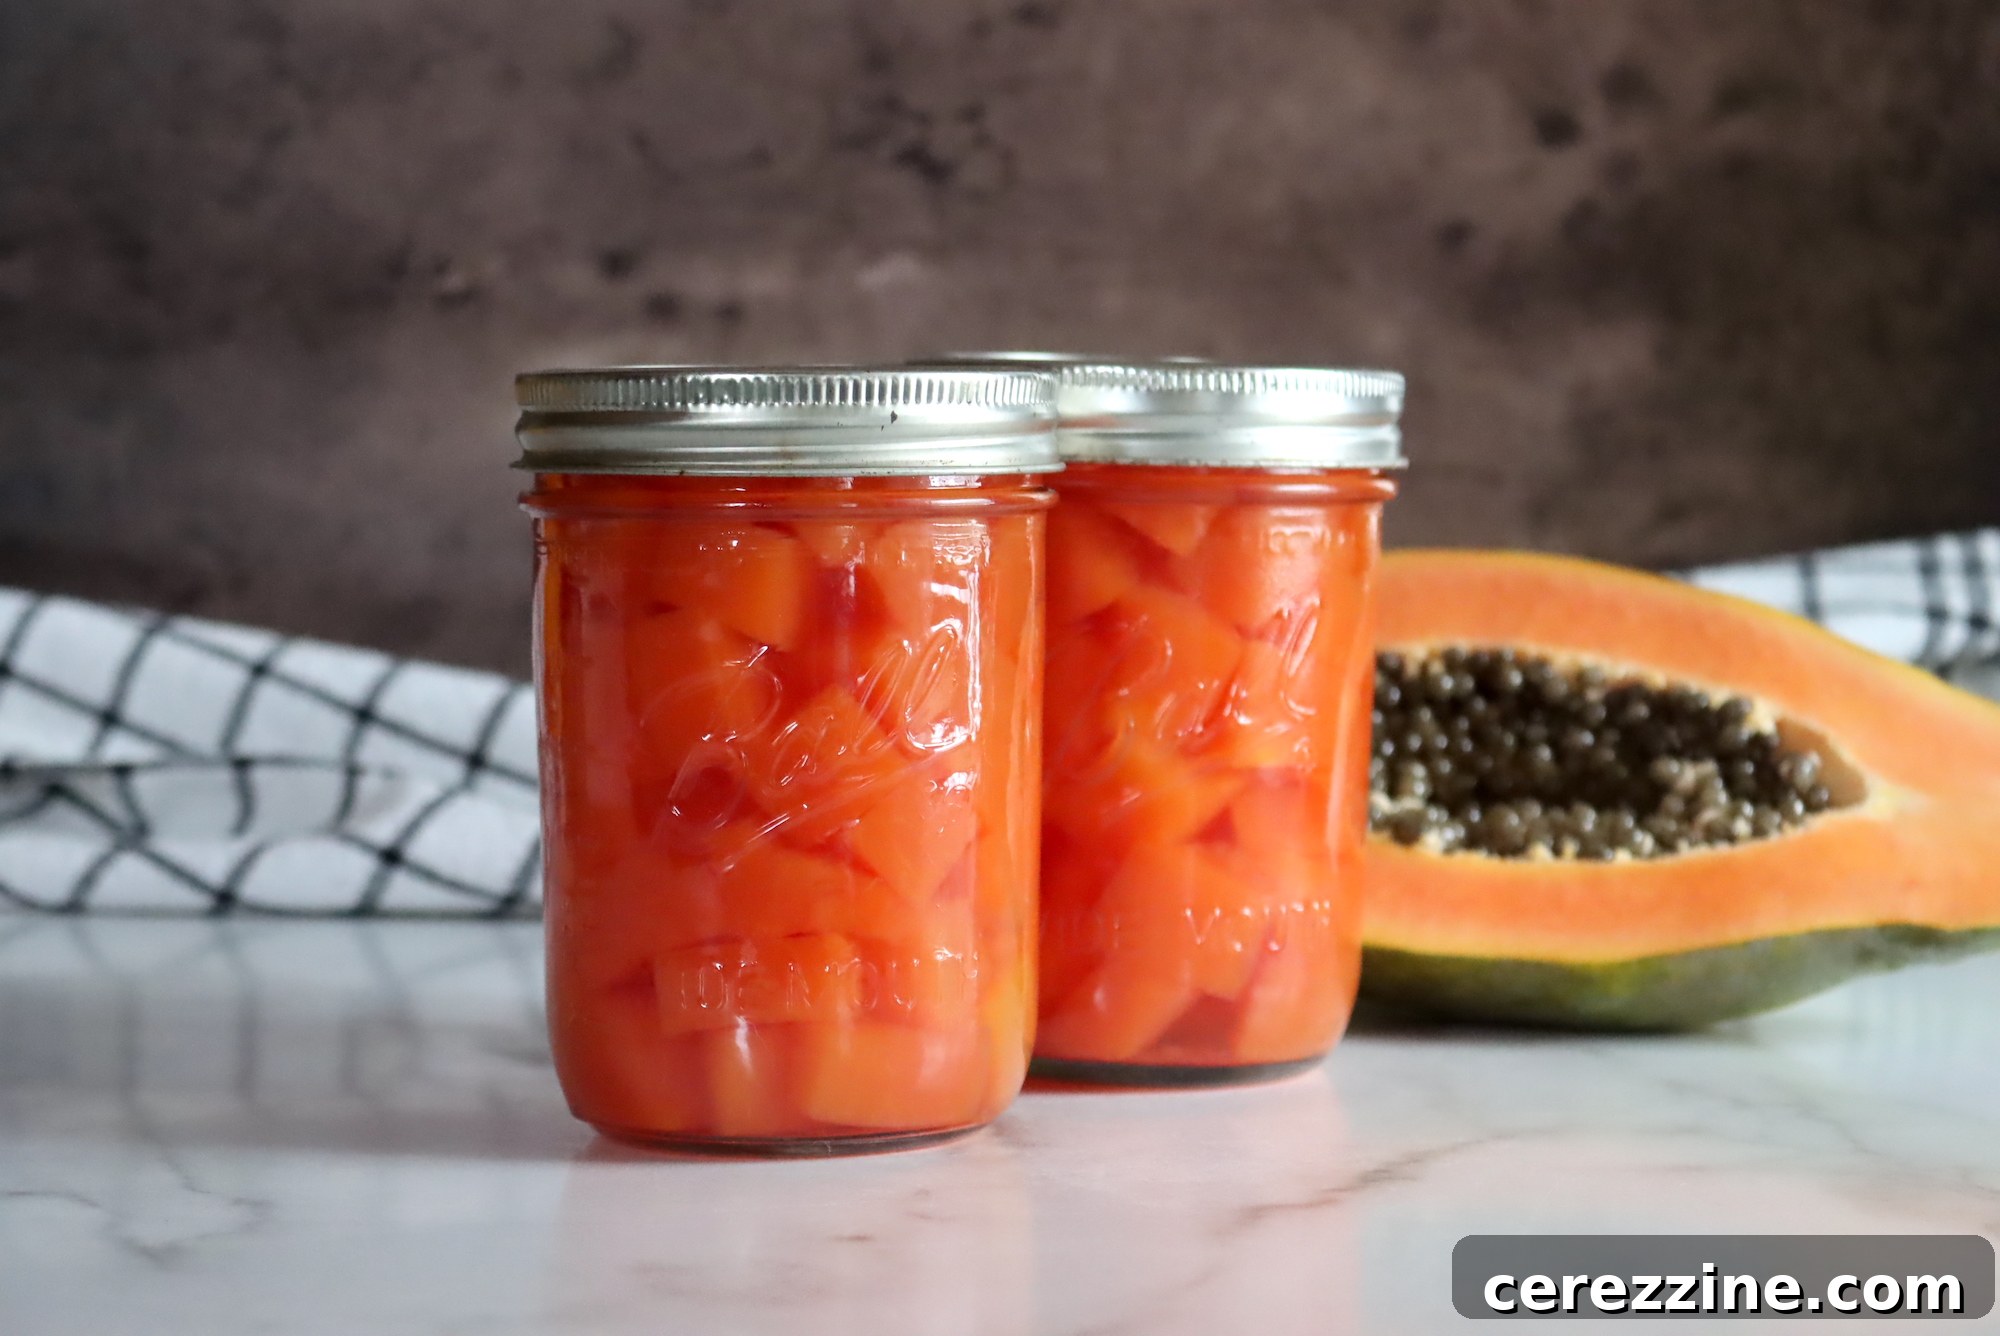
Unlock the vibrant flavors of the tropics all year round by mastering the art of canning papaya right in your own kitchen! This delightful, versatile fruit, known for its sweet, buttery flesh and distinctive aroma, can be a cherished addition to your pantry. Imagine enjoying a taste of sunshine even on the coldest winter day – that’s the magic of home food preservation. It’s not just a treat; it’s a testament to the satisfying tradition of preserving nature’s bounty.
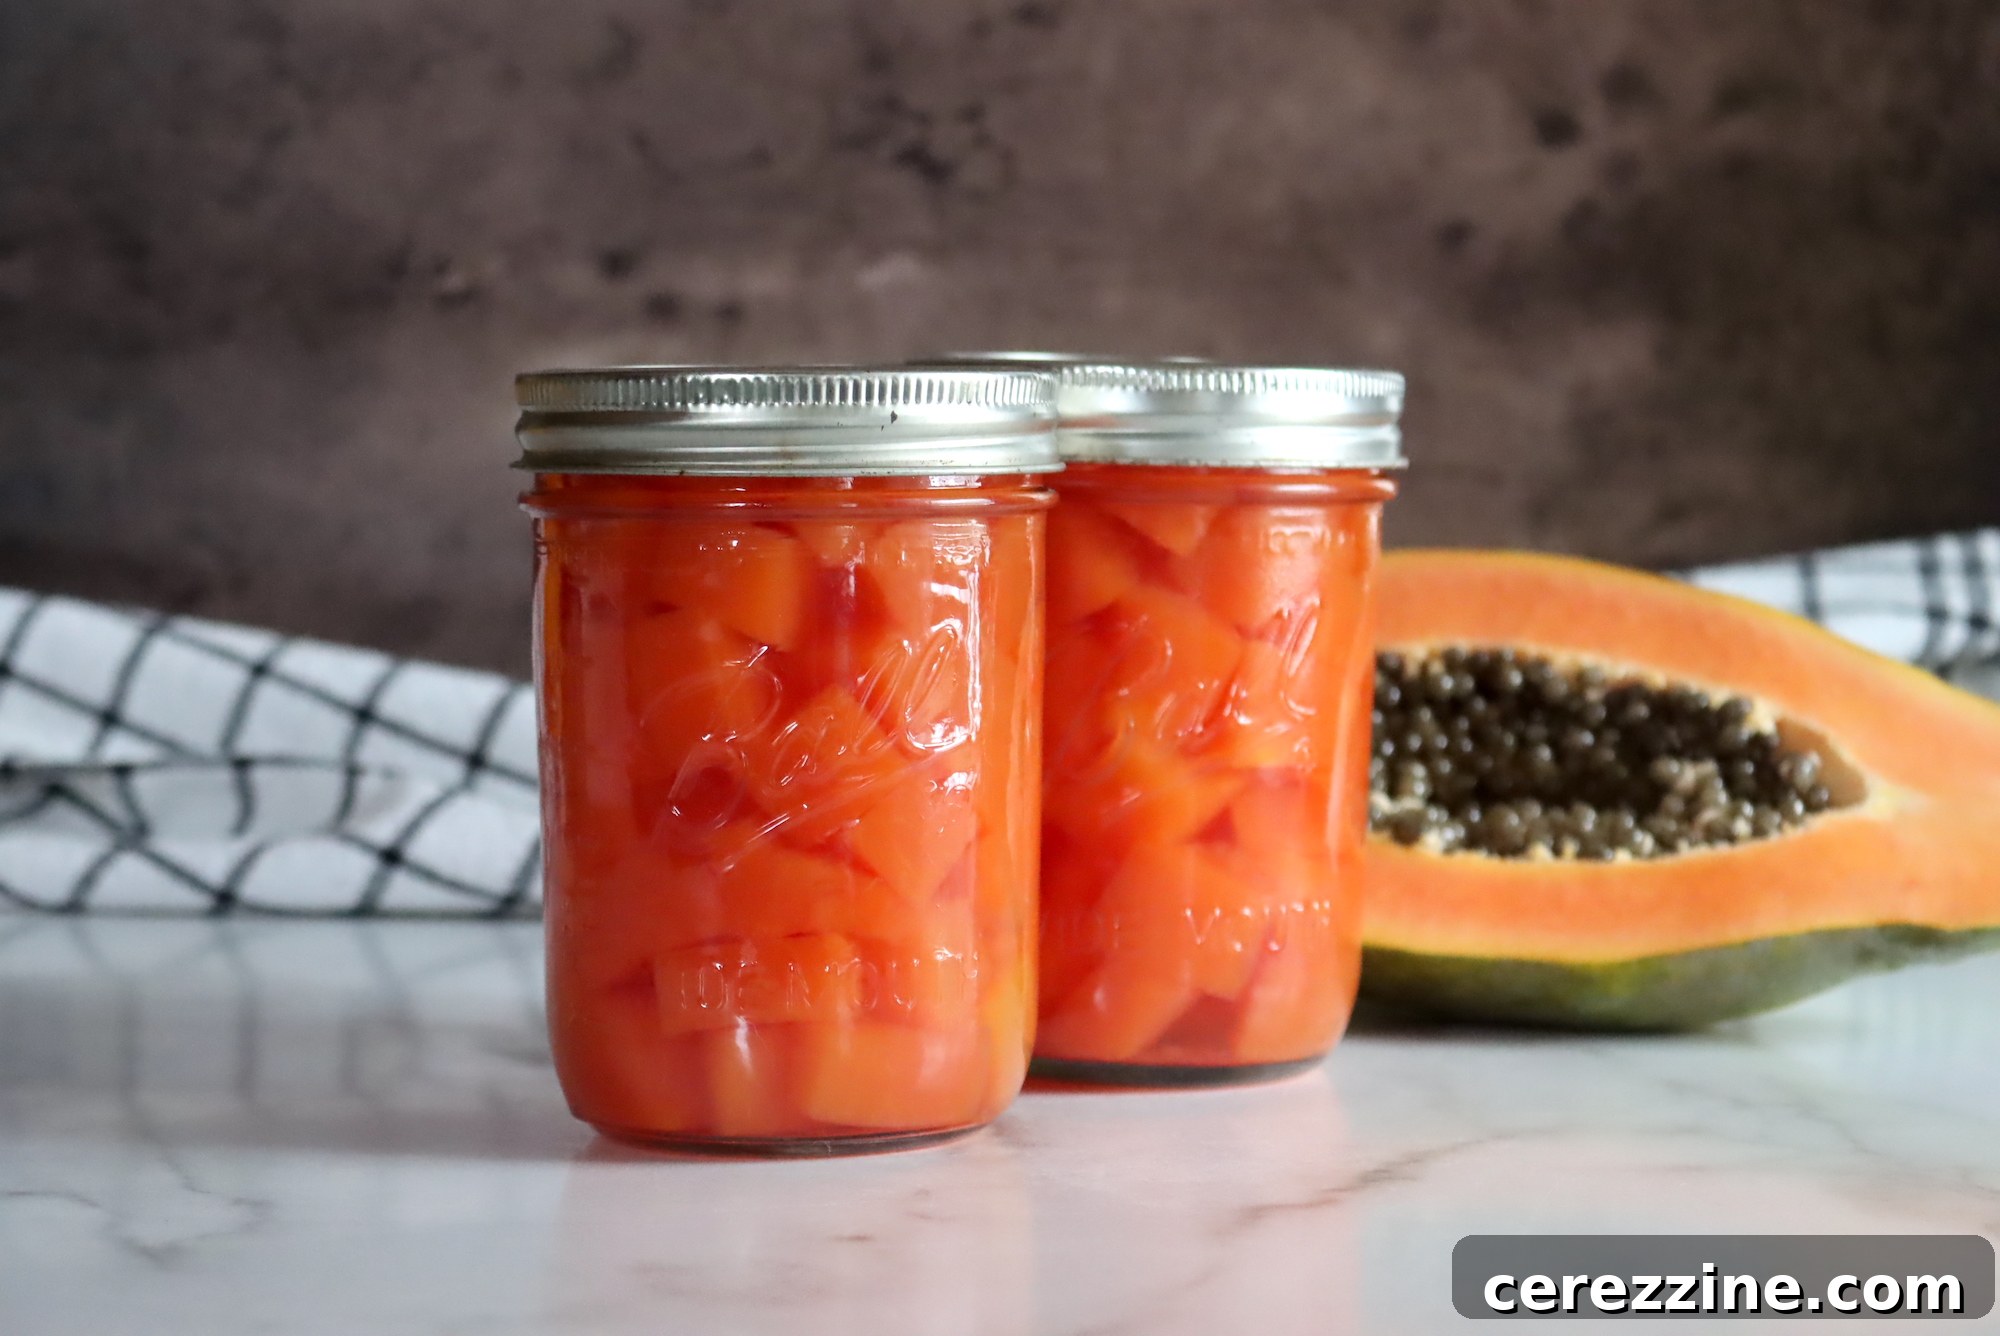
Why Preserve Papaya? Enjoy Tropical Flavors Year-Round
Papaya, with its unique sweetness and smooth texture, is a fantastic candidate for home preservation. While readily available in tropical regions, finding fresh, perfectly ripe papayas in other parts of the world can be challenging or costly, especially out of season. Canning allows you to capture its peak freshness and flavor, ensuring a supply for months, even years. Whether you’ve stumbled upon a great deal at your local market or are blessed with a bountiful harvest from your own backyard tree, canning offers a practical and rewarding solution to enjoy this tropical gem anytime.
Beyond simply enjoying it straight from the jar, home-canned papaya elevates fruit cocktails, desserts, and even savory dishes with its distinct tropical essence. It provides a healthy, preservative-free alternative to store-bought canned fruits, giving you complete control over the ingredients, particularly the sugar content. This method not only helps you reduce food waste by preserving seasonal gluts but also ensures you have a delicious, ready-to-eat fruit on hand for various culinary uses.
Selecting the Perfect Papaya for Canning
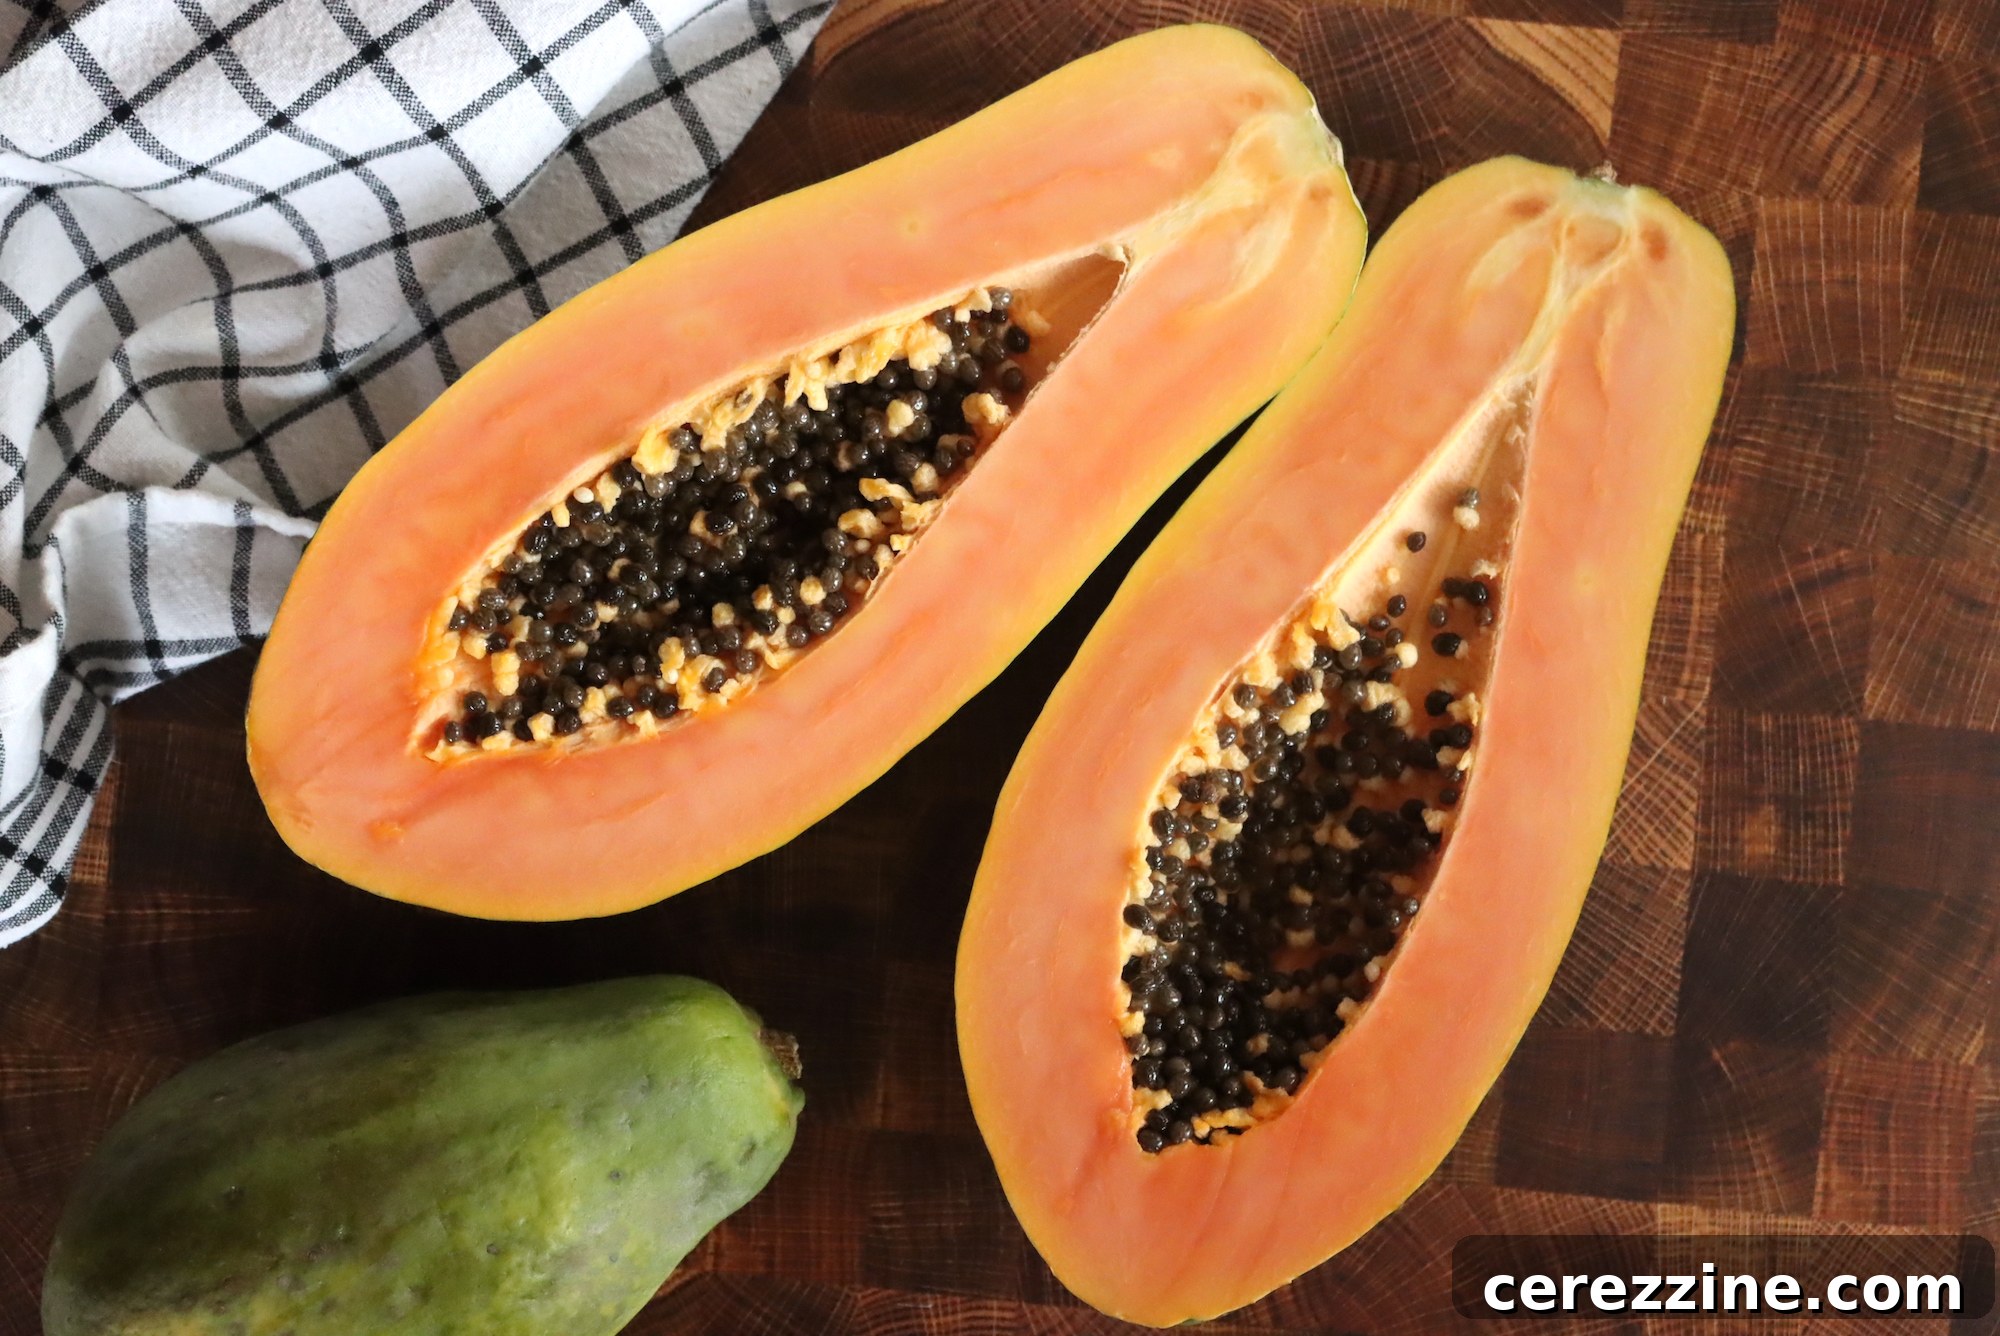
The success of your home-canned papaya begins with selecting the right fruit. Opt for papayas that are **firm but ripe**, exhibiting a vibrant yellow or orange skin with perhaps a touch of green. They should yield slightly to gentle pressure, similar to a ripe avocado. Avoid papayas with any signs of bruising, discolored spots, mold, or an overly strong, fermenting scent, as these indicate overripeness or spoilage, which can compromise both flavor and safety during canning. Overripe papaya tends to become mushy during processing and may not hold its shape well, resulting in a less appealing texture in the finished product. For optimal results, aim for papayas that are sweet and fragrant but still maintain a good, firm structure.
The Crucial Role of Bottled Lemon Juice in Safe Canning
A critical component for safe water bath canning, especially with fruits like papaya that have a naturally lower acidity, is **bottled lemon juice**. Its consistent acidity (pH level) ensures that the canned product reaches a safe pH, which is essential for preventing the growth of harmful bacteria, including Clostridium botulinum. While fresh lemon juice might seem more appealing, its acidity can vary significantly from one lemon to another, making it unreliable for precise food preservation. Therefore, always use **bottled lemon juice** for canning recipes to guarantee the necessary acidity and peace of mind regarding food safety.
Essential Equipment for Canning Papayas
Before you begin your papaya canning adventure, gather the necessary equipment to ensure a smooth, efficient, and safe preservation process:
- Water Bath Canner with Rack: This large pot is deep enough to fully submerge canning jars in boiling water, complete with a rack to keep jars off the bottom and prevent breakage.
- Canning Jars with Lids and Bands: Use standard glass canning jars (pint or quart-sized) specifically designed for home preservation. Ensure you have new, unused lids for a proper seal, and inspect bands for any rust or damage.
- Jar Lifter: An indispensable tool for safely placing hot jars into and removing them from the boiling water canner, protecting your hands from burns.
- Canning Funnel: A wide-mouth funnel that fits perfectly into jar openings, helping you fill jars cleanly without spillage and keeping jar rims free from food debris.
- Headspace Tool: A simple yet crucial tool for accurately measuring the recommended headspace (the empty space between the food and the rim of the jar).
- Non-Metallic Spatula or Bubble Remover: Used to gently release trapped air bubbles from packed jars before sealing.
- Clean Cloths: Several clean, damp cloths are needed for wiping jar rims thoroughly before applying lids, ensuring a strong seal.
- Large Saucepan: For preparing the sugar syrup and simmering the papaya cubes.
- Slotted Spoon: Ideal for transferring the hot papaya chunks from the simmering syrup into your prepared jars.
- Timer: To accurately track processing times.
Ingredients for Preserving Papayas
For this tried-and-true recipe, adapted from tested guidelines such as those found in *The Ball Blue Book of Canning* – a trusted resource for home preservers – you will need minimal, high-quality ingredients. This recipe yields approximately 6 pint jars or 3 quart jars of beautifully canned papaya, perfect for sharing or stocking up your pantry.
Yields: Approximately 6 Pints or 3 Quarts
- 9 – 10½ pounds whole papayas: This quantity typically accounts for about 3 to 4 medium-sized fruits after peeling and deseeding.
- 3¼ cups granulated sugar: This amount creates a light to medium syrup, enhancing the papaya’s natural sweetness without overpowering it. For those looking to reduce sugar, a lighter syrup can be made, but ensure to follow tested guidelines if altering ratios significantly.
- 5 cups water: To combine with the sugar and create the preserving syrup.
- Bottled lemon juice: Absolutely essential for safety. You will need 1½ teaspoons per pint jar or 1 tablespoon per quart jar. Never substitute with freshly squeezed lemon juice in canning due to its variable acidity.
Detailed Guide to Water Bath Canning Papaya
Canning papaya using the hot water bath method is a straightforward process, ideal for both beginner and experienced canners. If you are new to water bath canning, please refer to a reliable beginner’s guide to water bath canning to familiarize yourself with safe practices before proceeding.
- Prepare Your Jars: Begin by thoroughly washing your pint or quart canning jars, along with their lids and bands, in hot, soapy water. Rinse them completely. To sterilize and keep them hot, you can run the jars through a dishwasher cycle with a heated dry, immerse them in boiling water for at least 10 minutes, or place them in a low oven (approximately 200°F / 93°C). It’s crucial to keep jars hot until immediately before filling to prevent thermal shock, which can cause breakage. Set new lids and bands aside; lids should never be reused for canning as their sealing compound can degrade.
- Wash and Prepare Papayas: Gently wash your selected ripe papayas under cool, clean running water to remove any surface dirt, debris, or residual wax. Pat them dry with a clean towel or allow them to air dry on a clean surface.
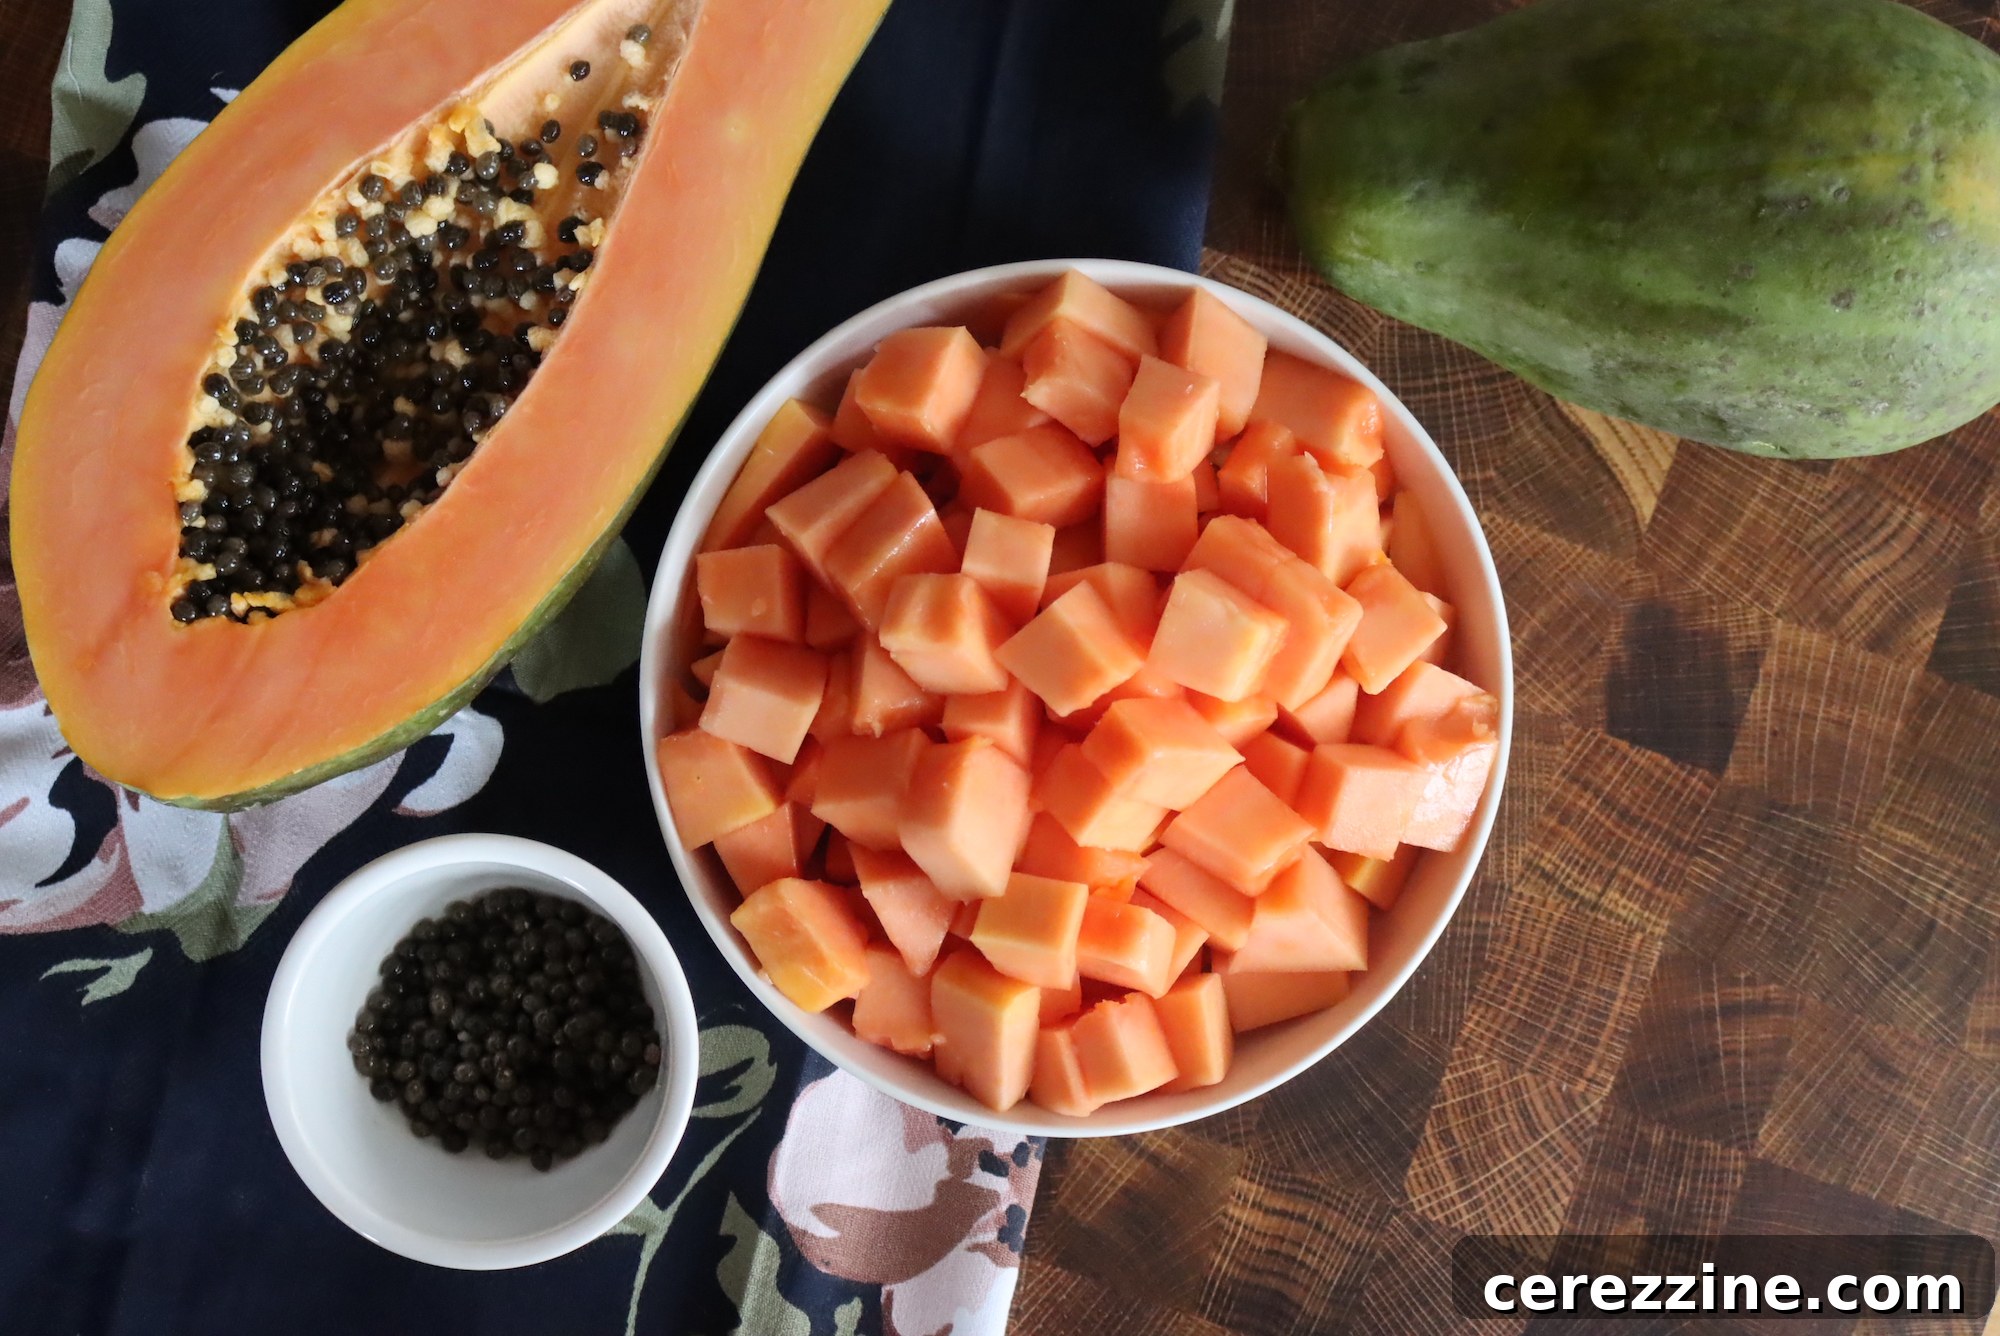
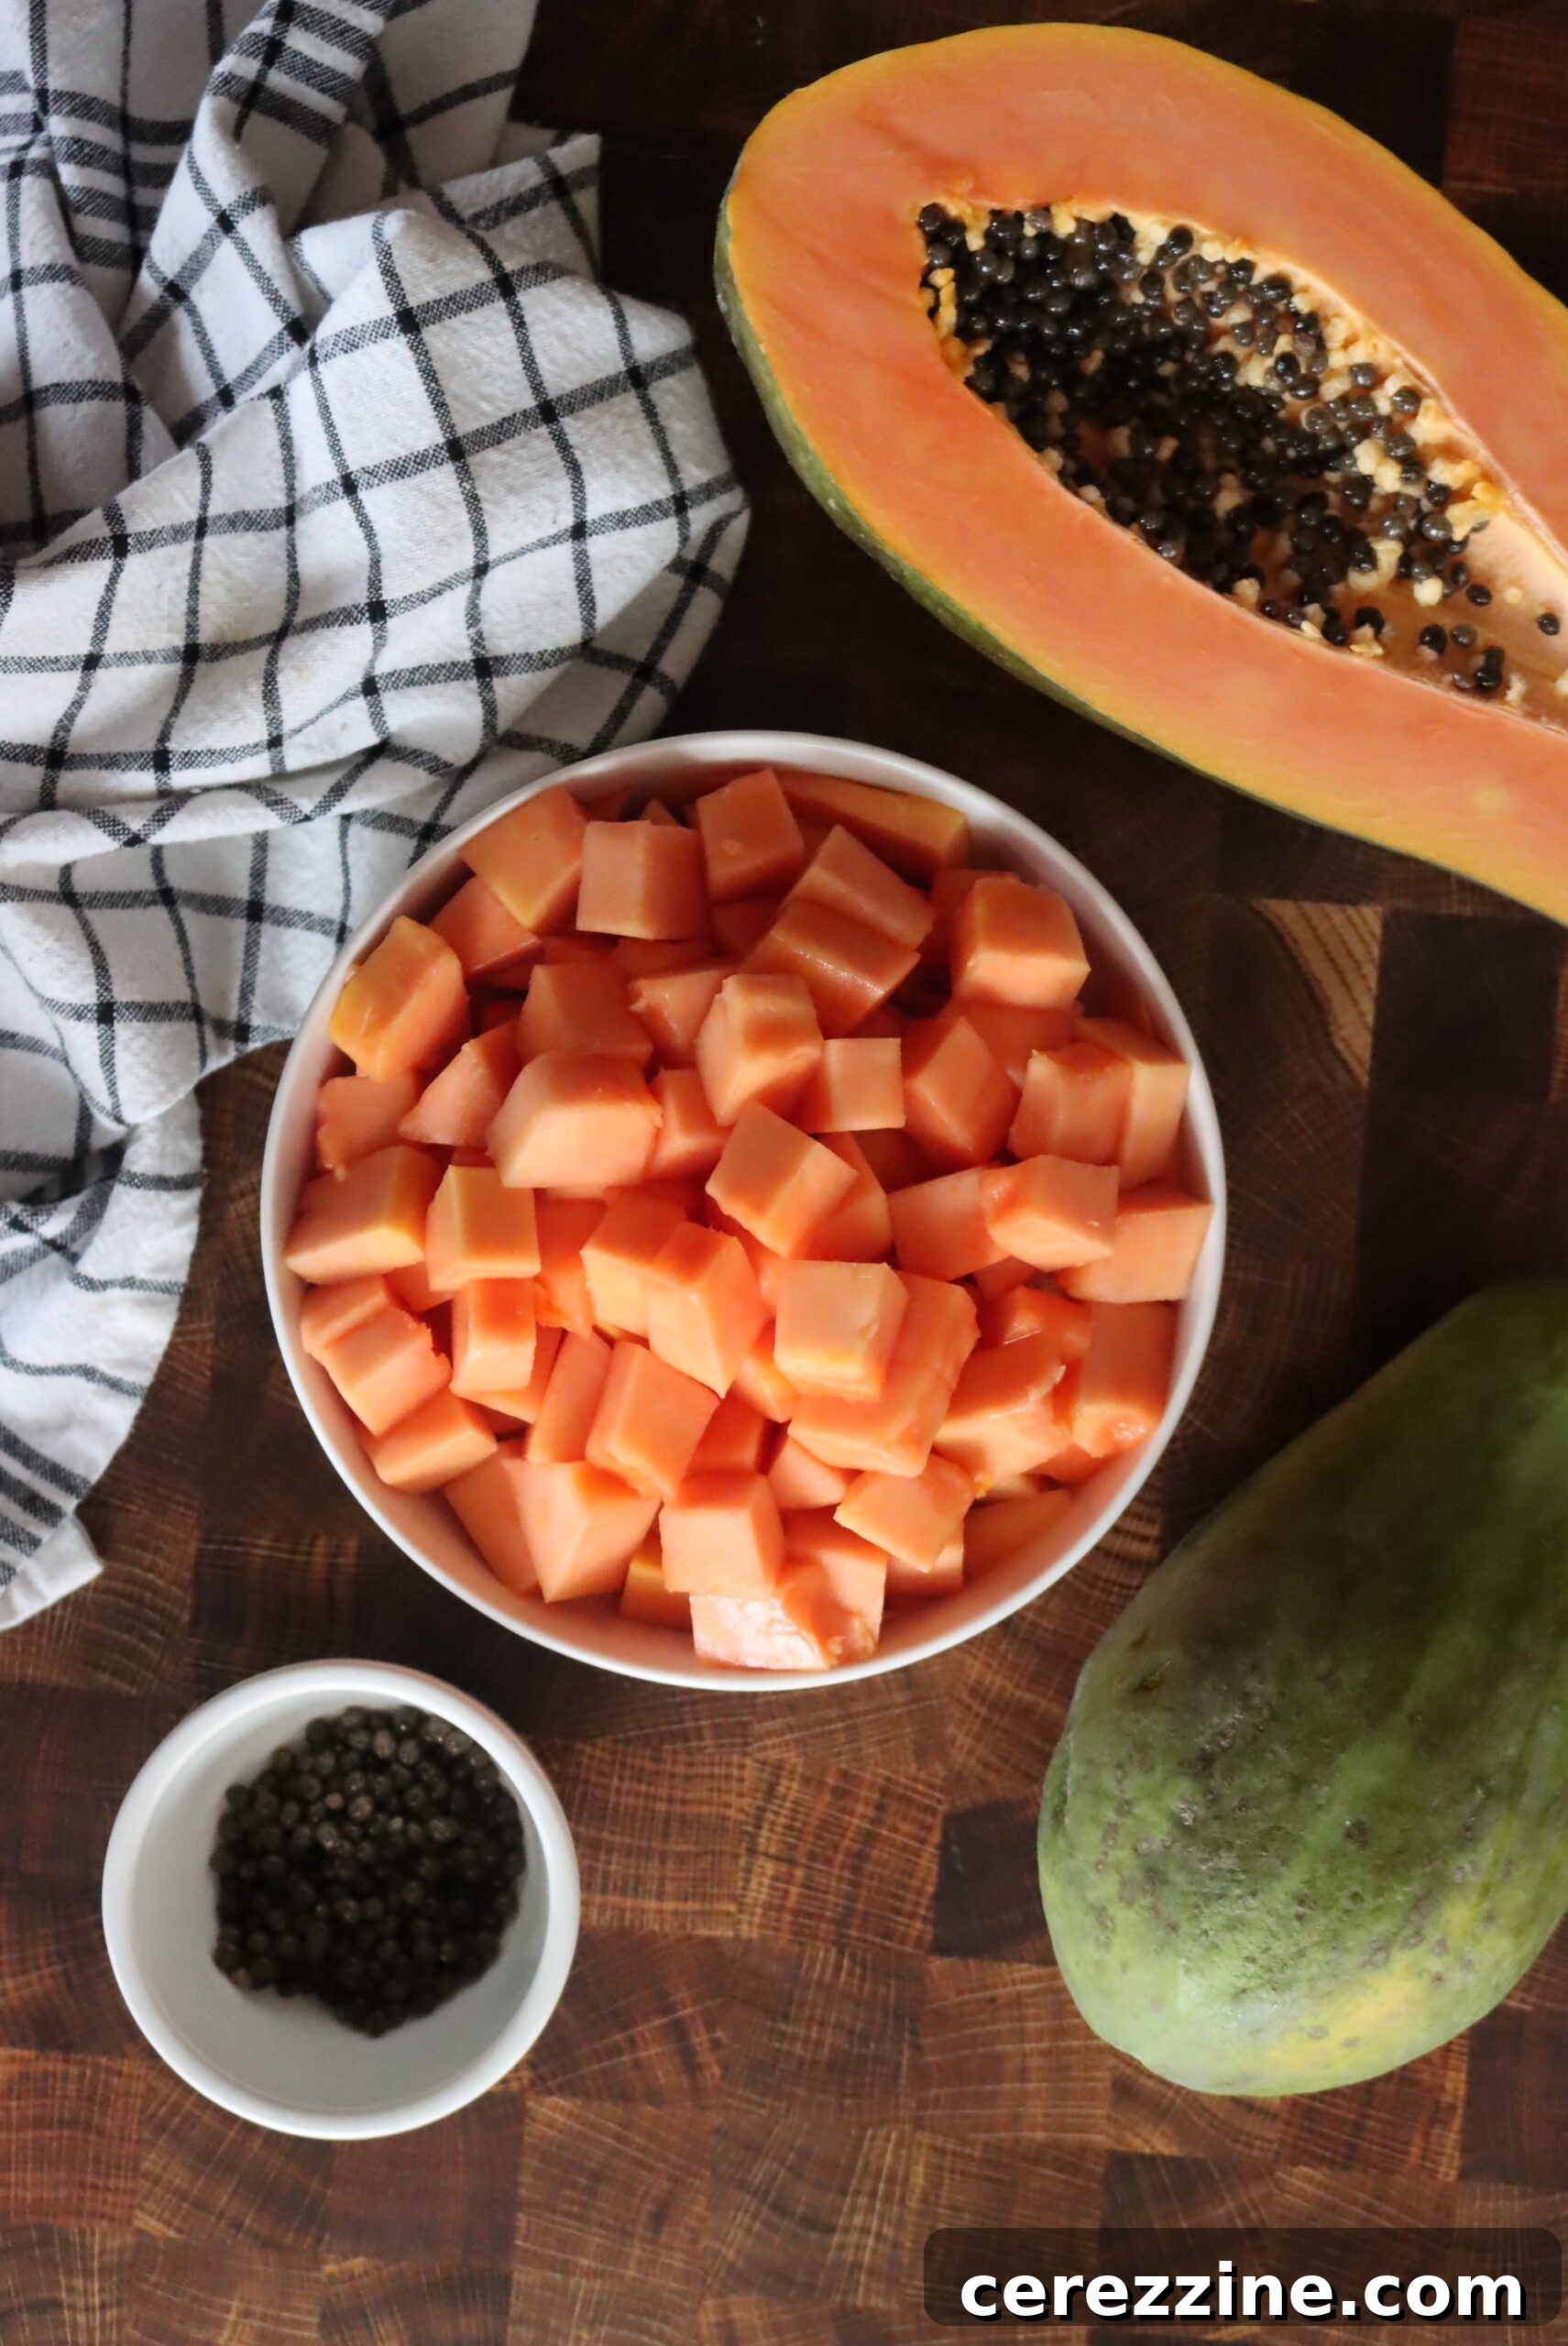
- Peel, Seed, and Cube Papaya: Using a sharp vegetable peeler or a paring knife, carefully remove the skin from each papaya. Next, cut the peeled papayas in half lengthwise. With a sturdy spoon, scoop out all the black seeds from the center cavity and discard them, along with the peels. Finally, cut the vibrant orange-pink flesh into uniform ½ to 1-inch cubes. Uniformity in size is important for even heating and a consistent texture in your canned product.
- Prepare the Syrup: In a large, non-reactive saucepan (stainless steel is ideal), combine the 3¼ cups of granulated sugar with 5 cups of water. Stir the mixture continuously over medium-high heat until all the sugar completely dissolves and the syrup comes to a full, rolling boil. This liquid will become your preserving medium.
- Hot Pack the Papaya: Gently add the cubed papaya to the vigorously boiling sugar syrup. Reduce the heat to low and allow the papaya cubes to simmer in the syrup for 2 to 3 minutes. This critical “hot pack” step serves several purposes: it helps remove air from the fruit tissue, which prevents the fruit from floating excessively in the jars, ensures a more tender texture, and allows for a fuller pack of fruit in each jar after processing.
- Add Lemon Juice to Jars: While the papaya is simmering, place the precise amount of bottled lemon juice into each hot, prepared canning jar. For pint jars, add 1½ teaspoons of bottled lemon juice. For quart jars, add 1 tablespoon of bottled lemon juice. This step is absolutely non-negotiable for ensuring the necessary acidity for safe water bath canning.
- Fill Jars with Papaya and Syrup: Using a clean, slotted spoon, carefully transfer the hot, simmered papaya cubes into the hot jars that contain the lemon juice. Pack the fruit gently but firmly, leaving ½ inch of headspace at the top of each jar. Headspace is the empty space between the food and the jar rim; it is crucial for creating a vacuum seal and preventing liquid loss during processing. After adding the fruit, pour or ladle the hot sugar syrup (from the saucepan where the papayas simmered) over the papaya, ensuring all fruit is covered and maintaining the ½-inch headspace.
- Remove Air Bubbles: Insert a clean, non-metallic spatula or a specialized bubble remover tool between the food and the inside of the jar. Gently move it around the perimeter of the jar to release any trapped air bubbles. Air bubbles can interfere with the sealing process and may cause food discoloration. Recheck the headspace after removing bubbles and add more hot syrup if necessary to maintain the correct ½-inch level.
- Clean Rims and Apply Lids: Carefully wipe the rims of each jar thoroughly with a clean, damp cloth to remove any food particles, syrup, or residue. A clean rim is essential for a perfect seal. Center a new, clean canning lid on top of each jar. Then, apply a screw band and tighten it “finger-tight” – this means tightening it just until you feel resistance, without forcing it. Overtightening can buckle the lids and prevent air from escaping during processing, leading to seal failure.
- Process in Water Bath Canner: Using a jar lifter, carefully place the filled and lidded jars onto the rack in your preheated water bath canner. Ensure that the water in the can