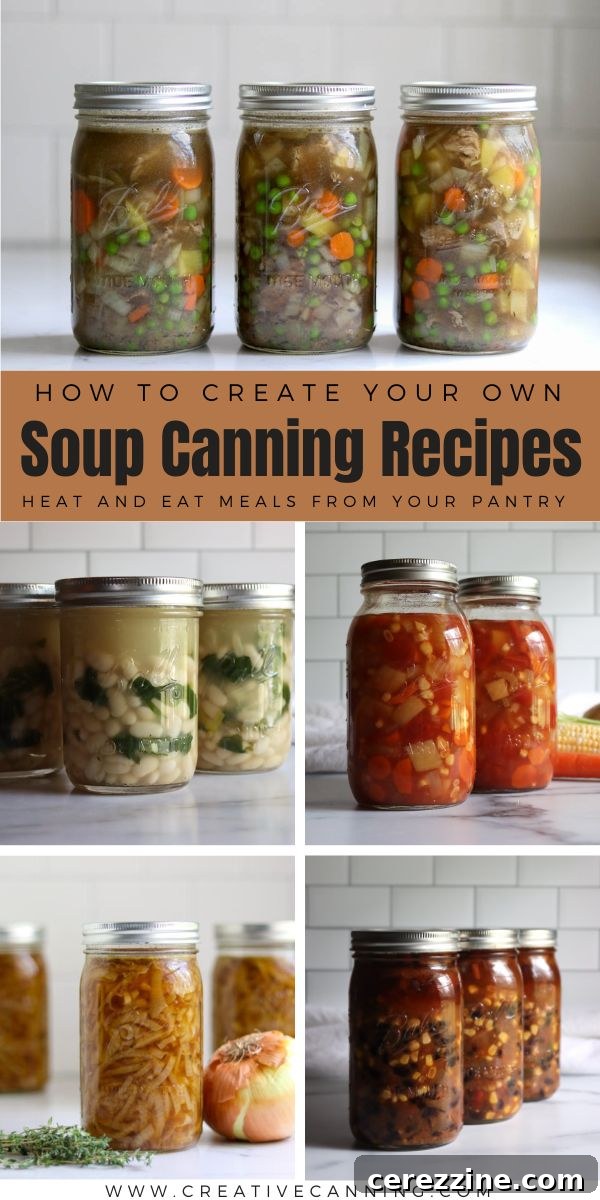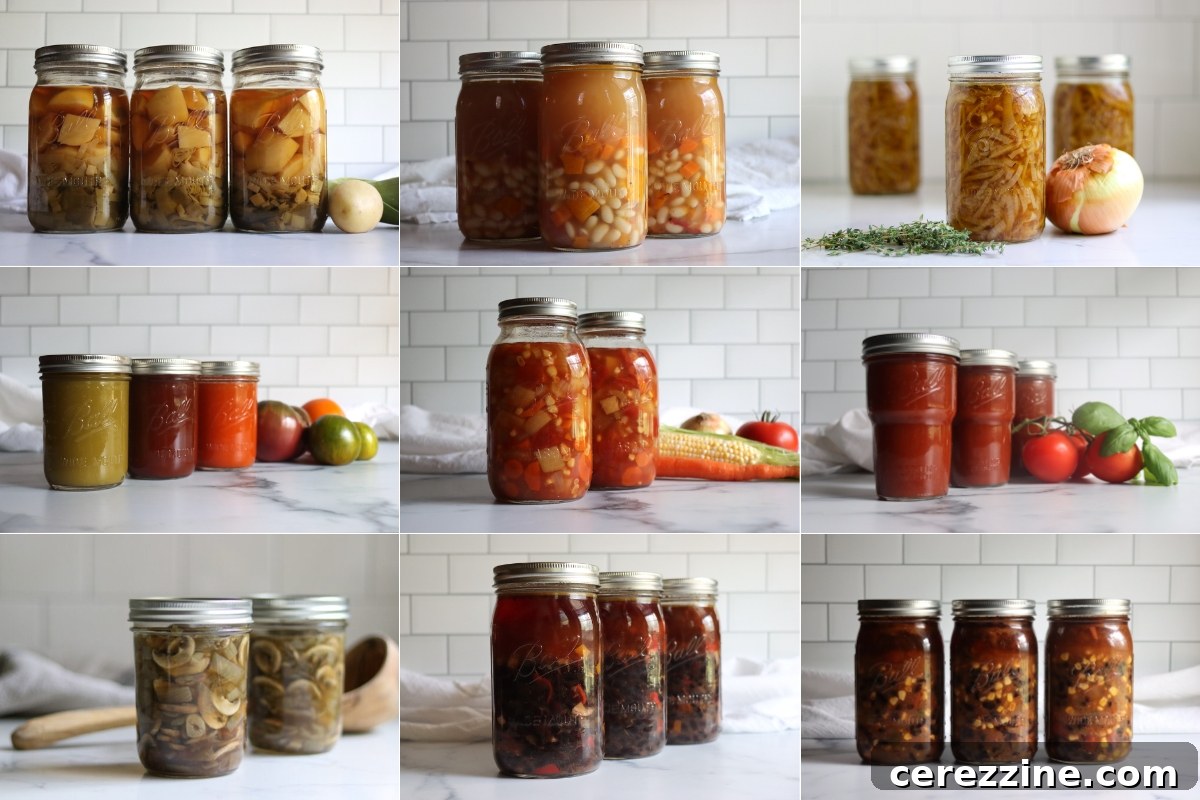
Canning soup at home is a rewarding way to ensure your family enjoys wholesome, delicious meals straight from your pantry shelf. By carefully selecting each ingredient, you gain complete control over the quality and nutritional value of the finished product. Excitingly, recent guidelines now empower you to safely craft and preserve your very own homemade soup recipes, offering unparalleled flexibility and culinary creativity.
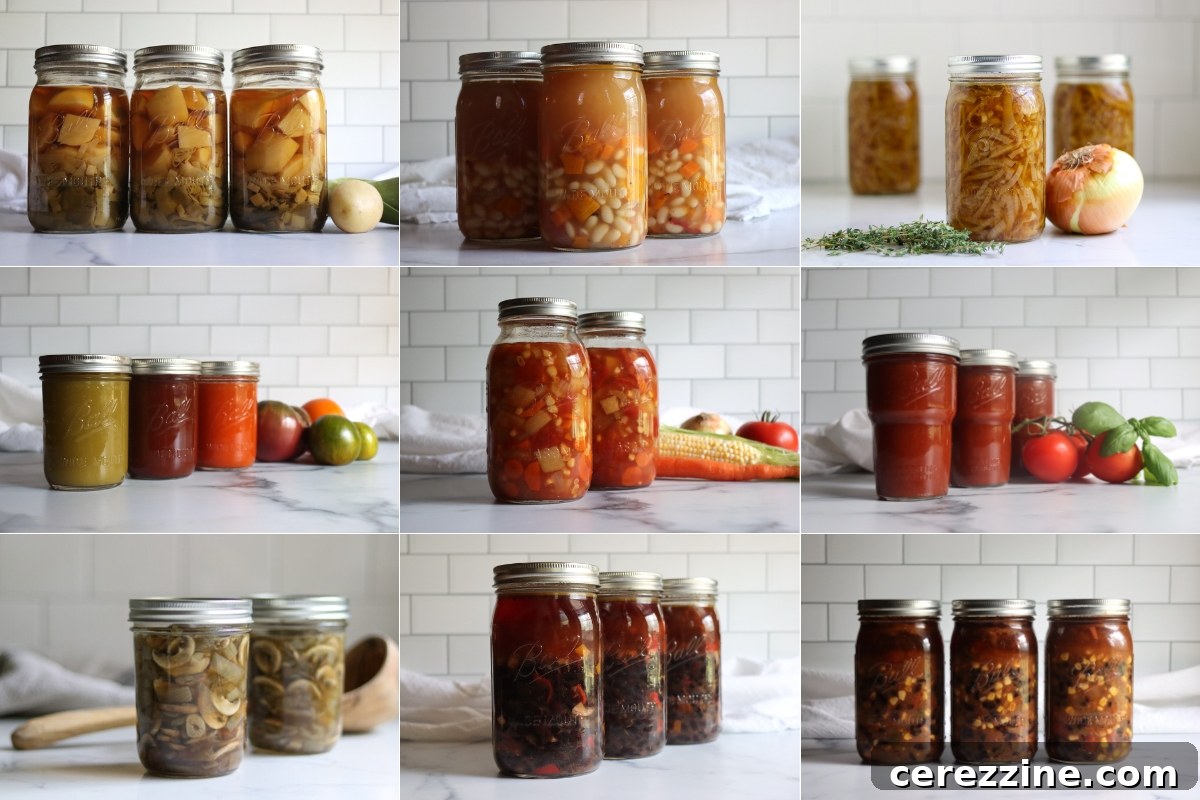
Transforming fresh, seasonal ingredients into shelf-stable canned soup not only reduces food waste but also provides a convenient solution for quick, nourishing meals on busy weeknights. While traditionally, home canners rely on rigorously tested recipes for safety, leading agencies have introduced invaluable guidance, allowing home cooks to confidently create their own pressure-canned soup recipes.
The National Center for Food Preservation (NCFP) and the University of Alaska Extension have both published comprehensive guidelines for developing personalized soup canning recipes. These instructions specifically pertain to pressure canning, the only safe method for preserving low-acid foods like most soups. Adhering to a few crucial principles allows you to create a diverse range of shelf-stable soups that are both safe and delicious.
These expert guidelines categorize homemade soups into two primary types: brothy soups and hearty soups. This distinction is vital as it dictates processing times, ingredient allowances, and the overall canning approach.
Brothy soups are characterized by a higher liquid-to-solid ratio. Think of a classic chicken noodle soup or a light vegetable broth. In these recipes, jars are typically filled approximately halfway with solid ingredients, with the remainder composed of liquid broth. This composition allows for more efficient heat penetration to the center of the jar during the canning process, thus often requiring shorter processing times. Consequently, brothy soups offer greater flexibility in the variety of ingredients you can include, as the heat can easily reach and sterilize all components.
Conversely, hearty soups are densely packed with ingredients, featuring minimal broth. Excellent examples include a robust beef stew or a creamy fish chowder base, where the jar is filled predominantly with solids. For these, boiling broth is typically poured over the packed ingredients just before canning. Due to their thicker consistency and higher solid content, hearty soups necessitate longer processing times to ensure thorough heat distribution and eliminate any potential harmful bacteria.
These flexible canning guidelines extend beyond traditional soups, encompassing various “meal-in-a-jar” preparations with similar ingredient profiles. This includes popular dishes like pot roast in a jar, beef stroganoff, sloppy joe filling, and chili con carne. This adaptability makes these guidelines incredibly valuable for diversifying your home-canned pantry.
Furthermore, these general guidelines can be instrumental in adapting existing pressure canning recipes. If you wish to modify a tested recipe, you can often do so safely by adjusting it to align with the principles of brothy or hearty soup canning, provided you follow all safety protocols meticulously.
It’s important to note that the processing times recommended for these custom soup recipes are generally longer than those for individually tested recipes. This extended processing duration is a built-in safety measure, designed to accommodate the wide variety and combination of ingredients that can be used. When modifying a tested recipe to fit these guidelines, always ensure you adhere strictly to the list of permissible and impermissible ingredients and adjust the canning time to match either the brothy or hearty soup instructions detailed below.
Understanding Soup Canning Basics: A Guide to Safe Preservation
For any soup containing low-acid ingredients such as most vegetables, meats, or seafood, pressure canning is not just a recommendation—it’s an absolute necessity for safe preservation. This method achieves temperatures high enough (above boiling point) to destroy the spores of Clostridium botulinum, a bacterium that can produce a deadly toxin in improperly canned low-acid foods. Neglecting this crucial step can lead to severe health risks.
If you are new to the world of pressure canning, a solid understanding of the fundamentals is paramount. We highly recommend consulting a comprehensive beginner’s guide to pressure canning before attempting any soup recipes. Familiarize yourself with your pressure canner’s operation, including how to properly seal jars, monitor pressure, and vent the canner. There are no safe methods for water bath canning soups, as this method does not reach the temperatures required to kill botulism spores in low-acid foods.
Important Safety Considerations for Canning Soup
While the new guidelines offer flexibility, certain ingredients must be strictly avoided in all home-canned soups. These ingredients can either impede the heat transfer necessary for safe processing or create an unsafe environment within the sealed jar. Never include the following in your canned soups:
- Thickening agents: Ingredients like flour, cornstarch, or other starches prevent heat from properly penetrating to the center of the jar. This creates “cold spots” where harmful bacteria can survive. This category also includes bread products such as breadcrumbs, noodles, pasta, rice, or dumplings, which can swell and become too dense.
- Dairy products: Milk, cream, cheese, or any other dairy products are not approved for canning. They can curdle, separate, and create an unsafe environment, as their protein and fat content can interfere with proper heat distribution.
- Pureed vegetables: While individual vegetables can be canned, pureeing them into a thick consistency creates a dense product similar to a thickening agent, hindering heat penetration.
- Ingredients without specific canning guidelines: Unless an ingredient has established, tested canning instructions for individual preservation (e.g., green beans, carrots, corn), it should not be included in a “choose-your-own-adventure” soup recipe. This ensures that every component of your soup has been deemed safe for the pressure canning process.
Guidelines for Brothy Soups: Creating Your Own Recipes
Canning brothy soups at home allows for wonderful customization while maintaining safety. Follow these steps for best results:
Permissible Ingredients for Brothy Soups (When Used with Specific Canning Guidelines):
- Fresh vegetables such as carrots, celery, bell peppers, onions, potatoes, corn, and tomatoes.
- Meat or poultry, cut into pieces (e.g., chicken, beef, pork).
- Fish, in small pieces.
- Pre-soaked and rehydrated beans or peas (e.g., black beans, cannellini beans).
- Liquids: water, broth, stock, wine, or juice.
- Fresh or dried herbs and spices (to taste).
- Leafy greens: Spinach and kale are acceptable as they have specific canning recipes.
Ingredients to Avoid in Brothy Soups:
- Thickening agents (flour, cornstarch, etc.).
- Dairy products (milk, cream, cheese).
- Noodles, pasta, rice, or other grains (add these at serving).
- Pureed vegetables.
- Ham, bacon, or other cured meats (their curing agents can interfere with safety).
- Any ingredients that lack specific, tested canning guidelines (e.g., cabbage, unless it’s sauerkraut).
A crucial point to remember is that every ingredient you choose for your custom soup recipe must have its own established, safe canning instructions. For instance, common vegetables like onions, tomatoes, peppers, and potatoes are acceptable because they have individual canning guidelines. However, vegetables like fresh cabbage generally do not have pressure canning instructions (except for sauerkraut, which has its own recipe: canning sauerkraut). This is often due to quality issues (cabbage can become unpleasantly soft or discolored when pressure canned) rather than strict safety concerns for botulism, but it means they haven’t been tested in this context. While cabbage appears in some water bath canning recipes (e.g., traditional chow chow), those methods are not applicable to low-acid soups. The only known exceptions to the “individual canning guidelines” rule for brothy soups are celery, garlic, and leeks, which can be added in reasonable amounts based on advice from University Extension Offices.
Preparing Brothy Soups for Canning
- Ingredient Selection & Preparation:
- Vegetables: Wash, peel, and chop all vegetables according to their specific canning guidelines. Most vegetables should be cooked until tender-crisp for a “hot pack” to ensure better quality and flavor retention after canning.
- Meat or Poultry: Cook all meat or poultry thoroughly until tender. Remove bones and any excess fat. Cut into uniform, bite-sized pieces. Ground meat must be browned completely before being added to the soup.
- Seafood: Cut fish into small pieces. Bones may be left in, as they will soften significantly during processing.
- Dried Beans or Peas: These must be fully rehydrated prior to canning. Soak them in water overnight or use a quick-soak method (boil for 2 minutes, then let sit for an hour). Drain and rinse. Unlike canning plain beans, they do not need to be fully cooked before adding to brothy soups, just rehydrated.
- Combining & Pre-cooking Ingredients: Combine all prepared solid ingredients (vegetables, meat, rehydrated beans) in a large pot. Add enough broth, water, or other permissible liquid to cover the solids, plus an additional 2-3 inches of liquid on top. Bring this mixture to a rolling boil and simmer gently for at least 5 minutes. Season the soup to taste with fresh or dried herbs and spices. Remember, do not fully cook the soup, as it will continue to cook in the jars during the pressure canning process. It is absolutely critical not to add any thickening agents at this stage.
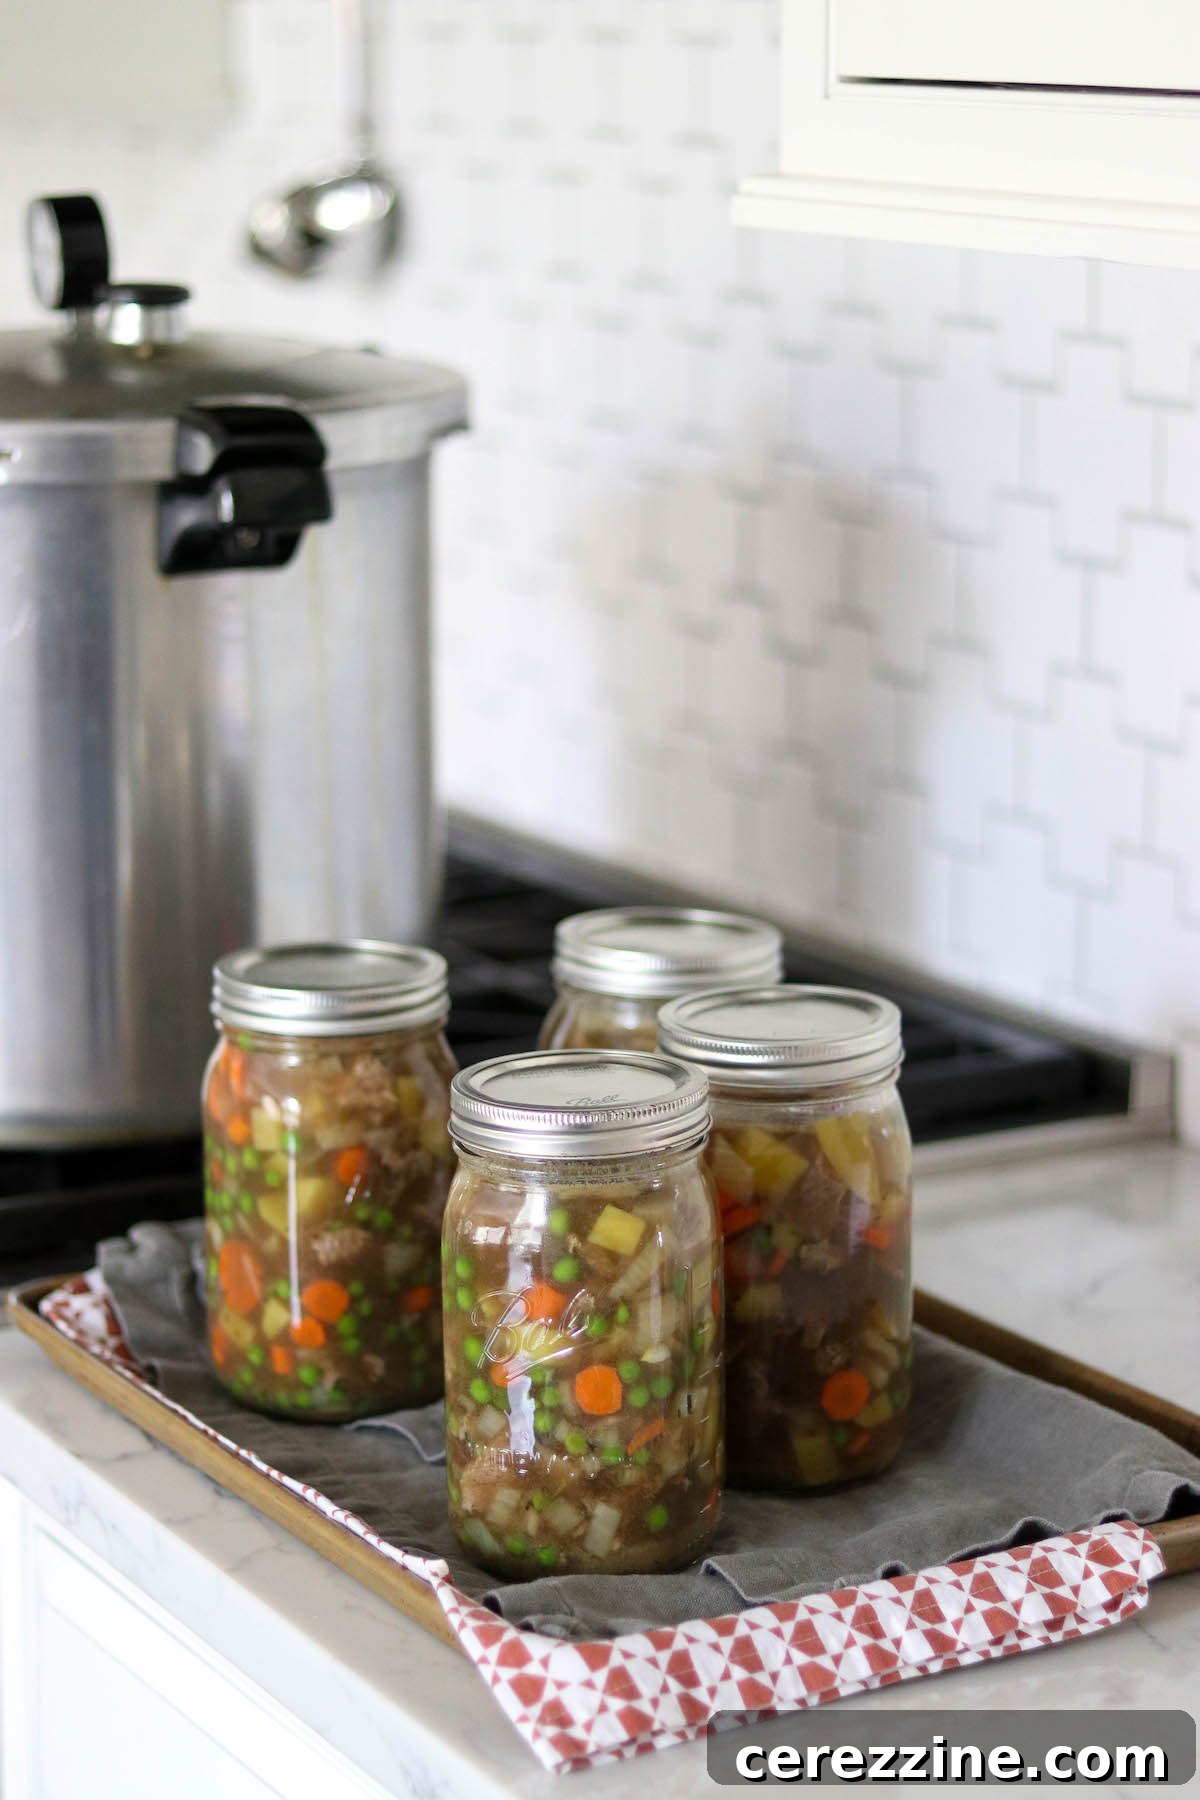
- Filling Jars Correctly: Using a slotted spoon, fill clean, hot canning jars approximately halfway with the solid mixture. Then, ladle in the hot liquid from the pot, ensuring you maintain a 1-inch (3 cm) headspace from the rim of the jar. This “half and half” ratio of solids to liquid is crucial for facilitating proper heat circulation and penetration during pressure canning. Gently stir the contents of each jar to release any trapped air bubbles. Wipe the jar rims thoroughly with a clean, damp cloth to ensure a perfect seal. Apply lids and rings fingertip tight.
- Pressure Canning Process: Place the prepared jars into your pressure canner, ensuring there is enough water at the bottom as per your canner’s instructions. Process the jars according to the specific times and pressure settings outlined below.
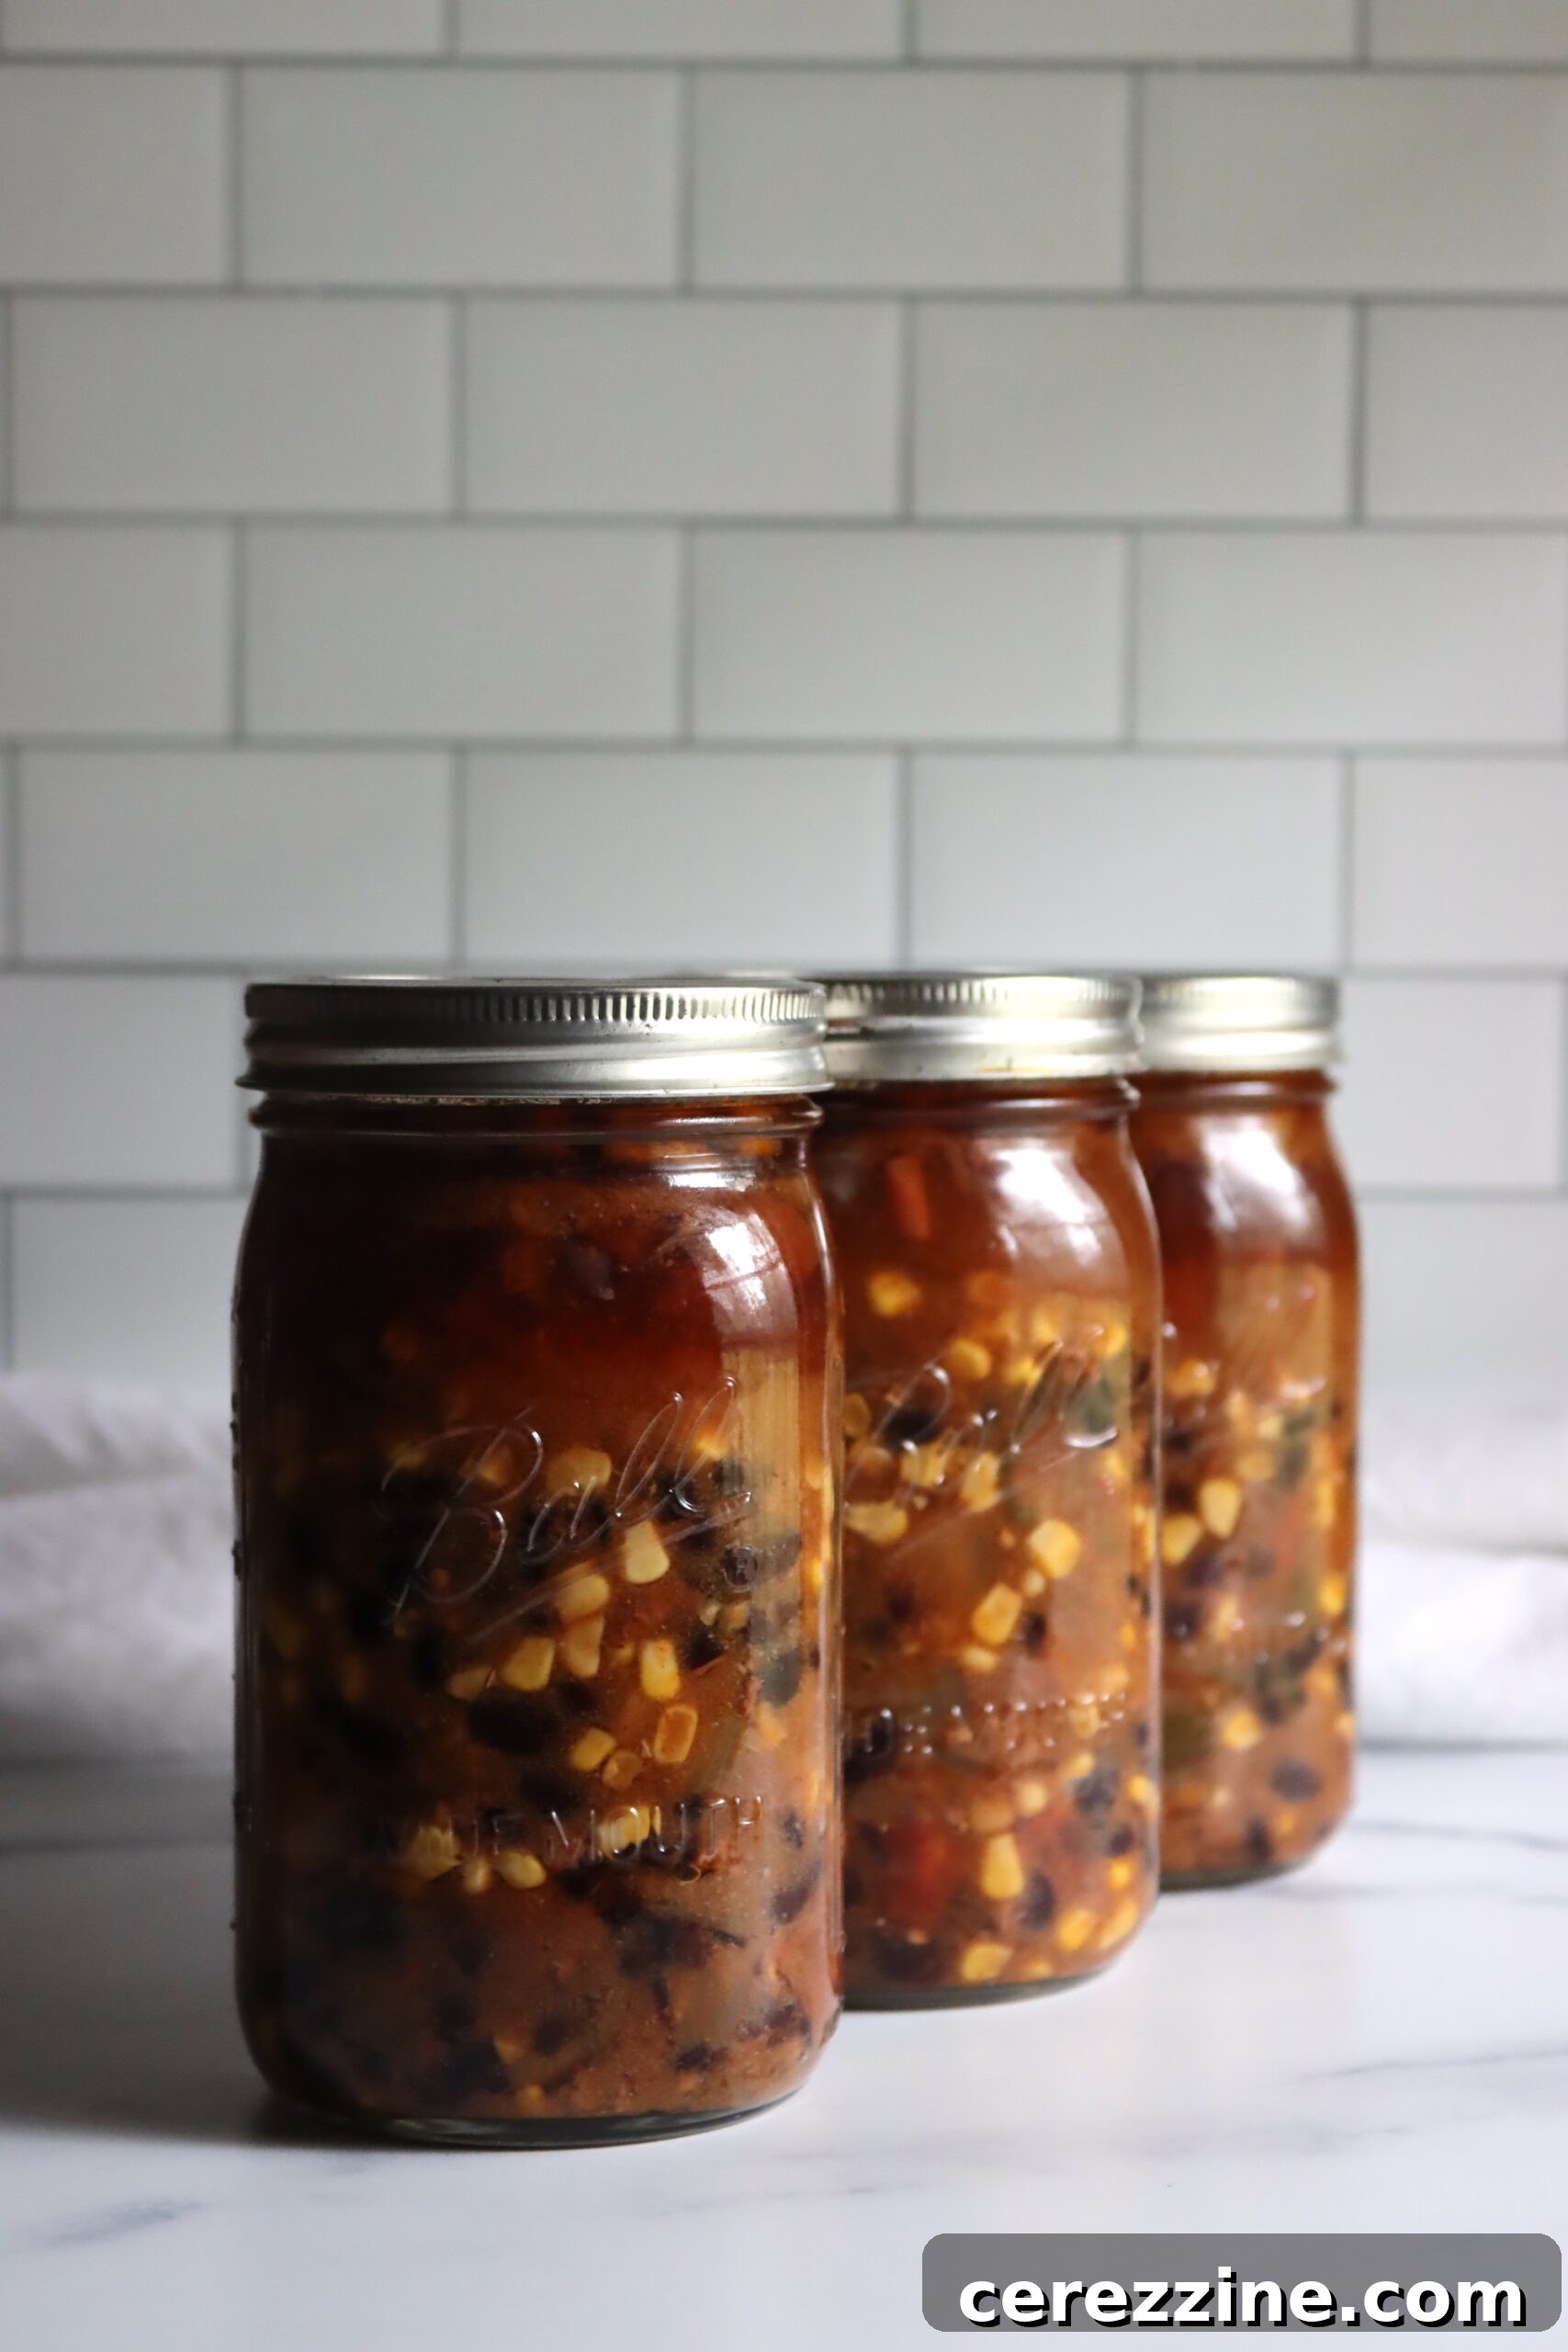
It’s worth noting that while jars may appear only half-filled with solids before canning, ingredients like beans and corn expand considerably during the canning process. This means your finished jars will likely look much fuller, sometimes nearly completely packed with solids, as demonstrated by the taco soup example shown below.
Processing Times for Brothy Soups
The processing times for brothy soups are standardized regardless of elevation; only the pressure setting changes. For pints, process for 60 minutes. For quarts, process for 75 minutes. The sole exception is for soups containing seafood, which require a longer processing time of 100 minutes (1 hour and 40 minutes) for both pint and quart jars.
Always adjust your pressure settings based on your altitude:
For dial gauge pressure canners:
- 0 to 2,000 feet in elevation – 11 lbs pressure
- 2,001 to 4,000 feet in elevation – 12 lbs pressure
- 4,001 to 6,000 feet in elevation – 13 lbs pressure
- 6,001 to 8,000 feet in elevation – 14 lbs pressure
For weighted gauge pressure canners:
- 0 to 1,000 feet in elevation – 10 lbs pressure
- Above 1,000 feet – 15 lbs pressure
Guidelines for Hearty Soups: Dense and Delicious Preservation
Hearty soups, characterized by their high solid content and minimal liquid, were once challenging to can safely without a specific, tested recipe. However, the University of Alaska Extension’s publication (FNH-00065) has provided clear, tested instructions for safely preserving these thicker, denser soup varieties. These guidelines allow you to create nourishing, robust meals-in-a-jar.
Here’s how to safely prepare and can hearty soups:
- Ingredient Selection: Like brothy soups, all ingredients chosen for hearty soups must have their own specific, tested canning instructions for individual preservation. However, hearty soups have a slightly more restrictive list of ingredients to avoid due to their density.
- Do NOT include: Dry beans or legumes of any kind, leafy greens such as kale or spinach, cream-style corn (regular corn is fine), winter squash (though summer squash is acceptable), and sweet potatoes. These ingredients can interfere with proper heat penetration in a densely packed jar or compromise quality.
- Combine and Pre-cook Ingredients: Add all solid ingredients (prepared according to individual canning guidelines) to a large pot. Cover them with hot water or broth. Bring the mixture to a boil and simmer for 5 minutes. This “hot pack” method preheats the ingredients, which helps maintain quality and ensures a better vacuum seal during canning. While Ball Canning’s instructions for some recipes allow raw pack, hot pack is generally recommended for superior quality in mixed ingredient soups. Season to taste with herbs and spices.
- Jar Filling: Carefully fill clean, hot canning jars with the hot solid ingredients, packing them loosely but fully. Leave a precise 1-inch headspace from the rim of the jar. Then, pour in the hot broth or water to cover the solids, maintaining that 1-inch headspace. This critical space allows for expansion during processing and helps create a strong vacuum seal.
- Final Steps and Processing: Gently stir the contents of each jar with a non-metallic utensil to release any trapped air bubbles. Wipe the jar rims clean to remove any food particles, which could prevent a proper seal. Securely apply the lids and rings fingertip tight. Place the jars in your pressure canner and process according to the specific processing times for hearty soups.
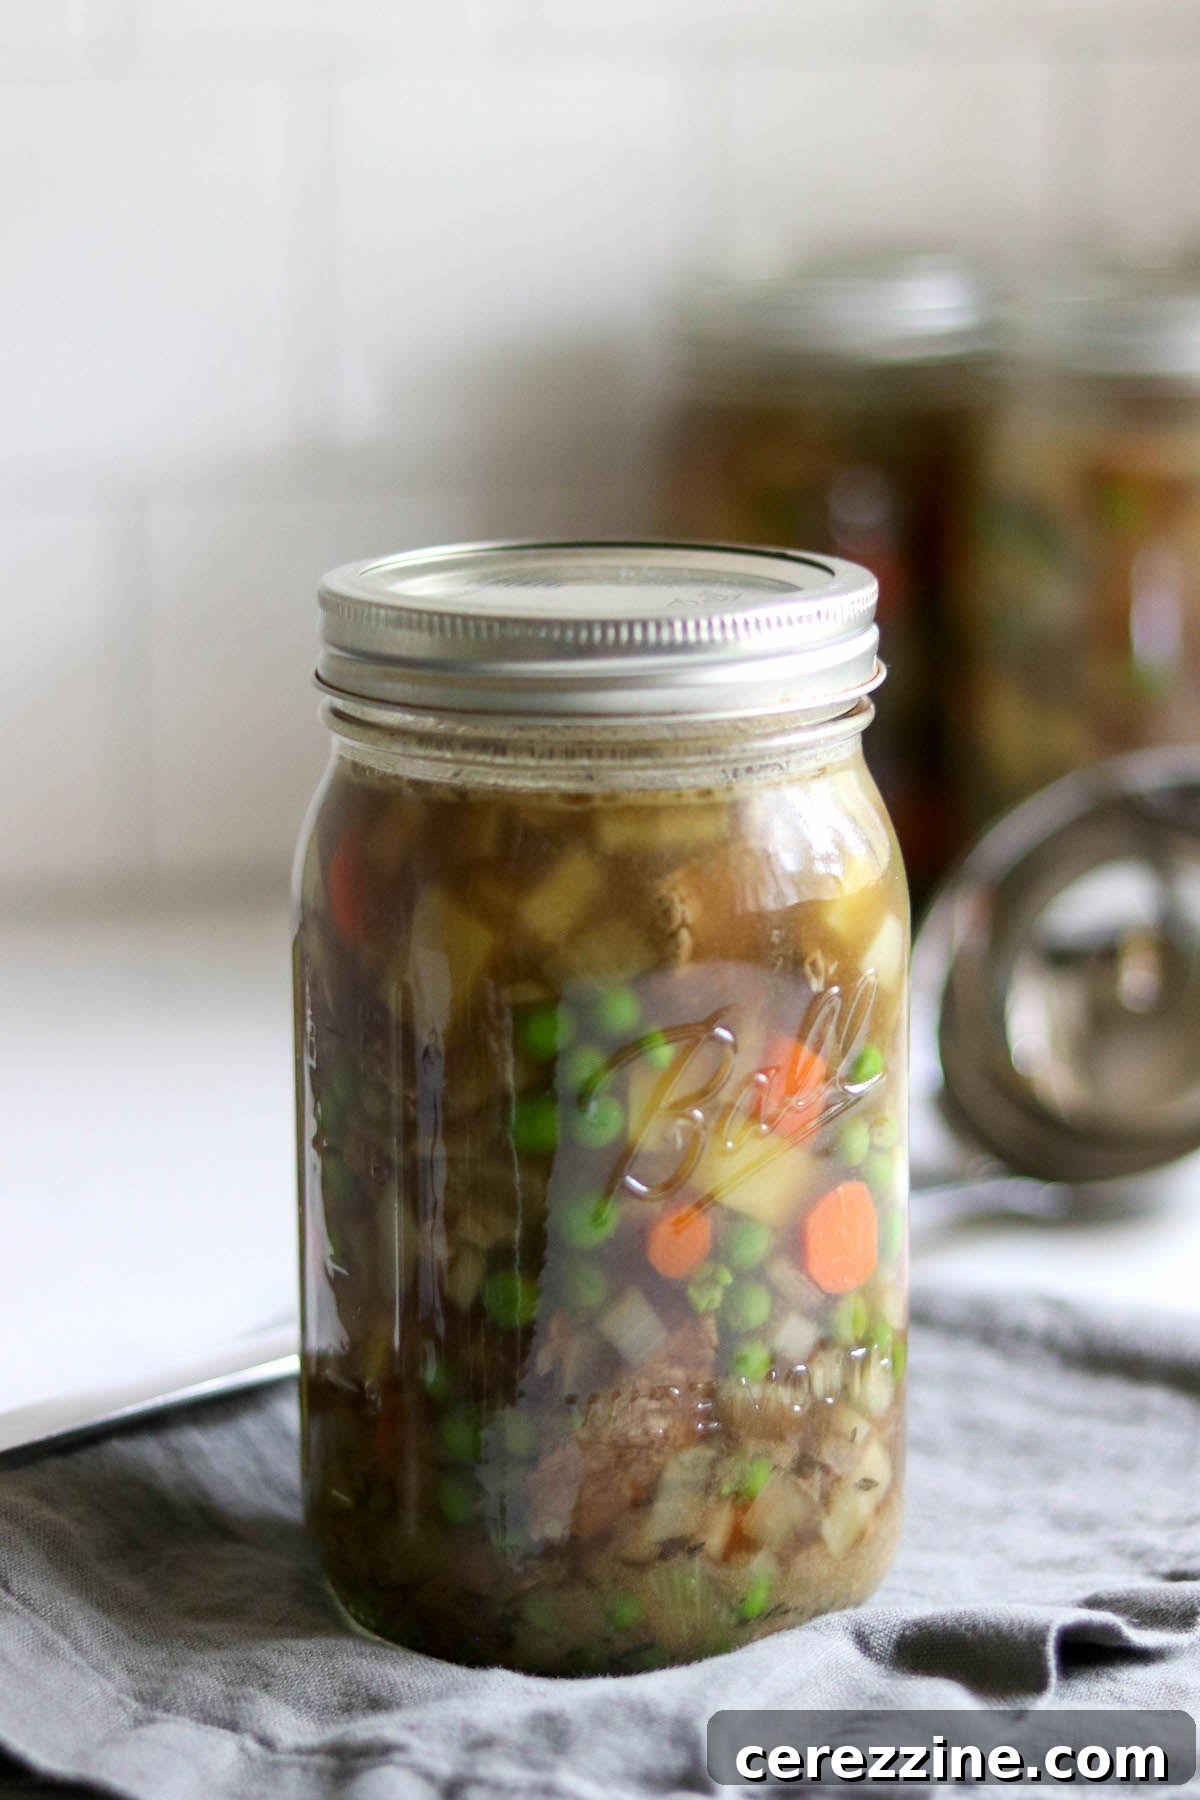
Processing Times for Hearty Soups
For hearty soups, the processing times are also consistent across all elevations, with only the pressure needing adjustment for altitude. Process pint jars for 75 minutes and quart jars for 90 minutes.
An important distinction for hearty soups is regarding seafood: if your hearty soup contains seafood, it can only be safely canned in pint jars, and the processing time must be increased to 100 minutes (1 hour and 40 minutes). Quart jars are not recommended for hearty soups containing seafood due to the increased density and challenge in heat penetration. (Note: Brothy soups containing seafood may be canned in either pint or quart jars for 100 minutes).
Altitude adjustments for pressure-canning hearty soups are identical to those for any pressure canning recipe:
For dial gauge pressure canners:
- 0 to 2,000 feet in elevation – 11 lbs pressure
- 2,001 to 4,000 feet in elevation – 12 lbs pressure
- 4,001 to 6,000 feet in elevation – 13 lbs pressure
- 6,001 to 8,000 feet in elevation – 14 lbs pressure
For weighted gauge pressure canners:
- 0 to 1,000 feet in elevation – 10 lbs pressure
- Above 1,000 feet – 15 lbs pressure
Shelf Life of Home-Canned Soups
When properly pressure-canned and stored, both brothy and hearty soups in sealed jars can remain safely on your pantry shelf indefinitely. As long as the vacuum seal remains intact, the soup is safe to consume. However, for optimal taste and texture, it is generally recommended to consume home-canned foods within 12 to 18 months. Beyond this timeframe, the quality may begin to decline, though the food remains safe to eat as long as the seal is good and there are no signs of spoilage. Always remember to refrigerate any leftover soup promptly after opening the jar.
Reheating Your Canned Soups
While home-canned soups are technically safe to eat directly from the jar, they are undoubtedly best enjoyed after reheating. For most varieties, simply pouring the contents into a saucepan and bringing it to a gentle simmer for about 10 minutes is sufficient. Alternatively, for convenience, you can remove the metal lid and ring and microwave the soup directly in the canning jar.
Many home canners prepare soups as “bases,” intending to add fresh ingredients at the time of serving. For example, a cream of mushroom soup base or clam chowder base can be thickened with fresh cream, or pureed for a smoother texture, as with an asparagus soup base or potato leek soup base. This customization is entirely optional; you can serve them as is if you prefer a thinner consistency. It’s all about personal preference.
A key advantage of canning soup bases is the ability to add ingredients that are not safe for canning directly into the jar at serving time. This includes items like cooked rice, pasta, fresh dumplings, or dairy alternatives such as coconut milk. This flexibility allows for endless variations and ensures every bowl of soup is perfectly tailored to your liking.
Inspiring Soup Canning Recipes
These guidelines open up a world of possibilities for home canning. For more ideas, explore our extensive collection of over 50 different soup canning recipes. The recipes below serve as fantastic starting points, but with the comprehensive guidance provided, you’re now equipped to modify them to suit your family’s tastes or even invent entirely new, safe, and delicious recipes from scratch!
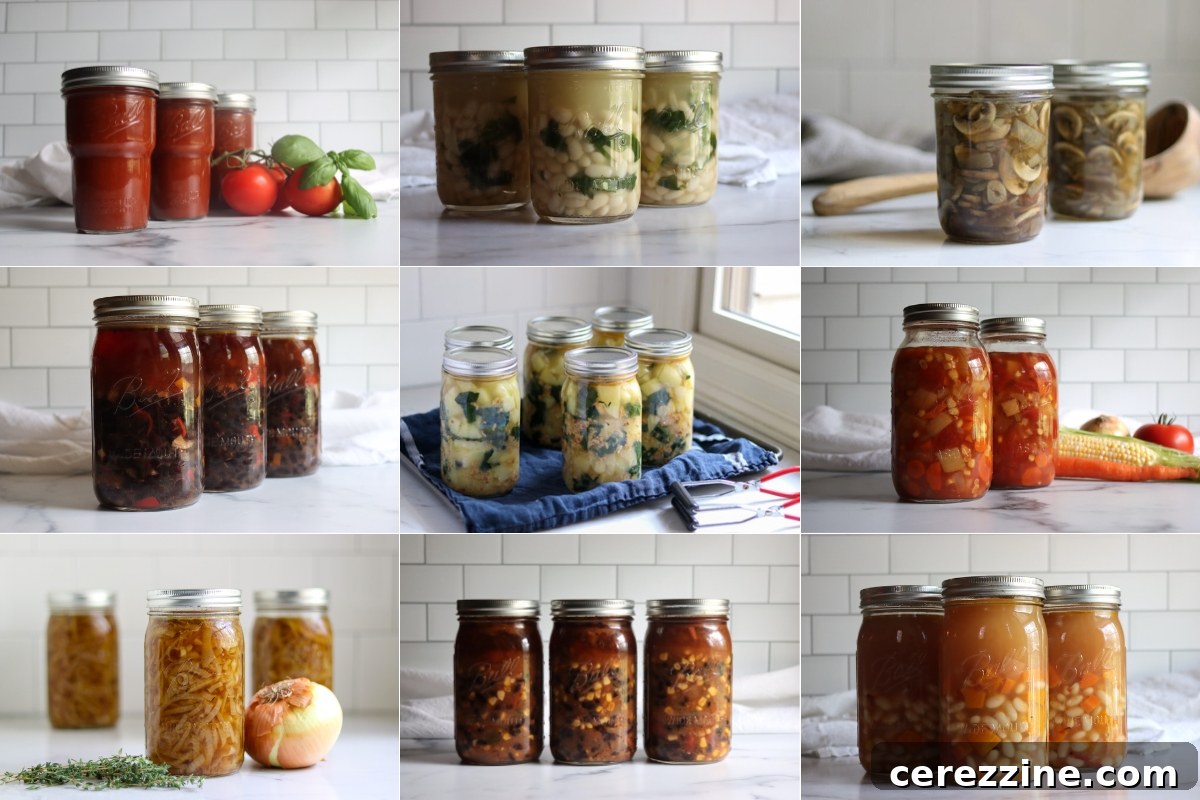
Popular Brothy Soup Canning Recipes
These recipes exemplify the versatility of brothy soup canning:
- Classic Chicken Soup
- Chipotle Black Bean Soup
- Cuban Black Bean Soup
- Taco Soup
- Butternut Squash and White Bean Soup
Hearty Soup Canning Recipes to Savor
For more substantial meals, consider these hearty soup options:
- Potato Leek Soup Base
- Nordic Salmon Soup
- Chicken Pot Pie Filling
Meal-in-a-Jar Recipes Using Hearty Soup Canning Principles
As highlighted, the robust guidelines for hearty soups are perfectly adaptable for canning other delicious meal-in-a-jar recipes. These convenient, ready-to-eat meals leverage the same safety protocols:
- Chipotle Beef Taco Meat
- Beef Stroganoff
- Sloppy Joe Filling
- Vindaloo Curry
★
★
★
★
2 quarts
Pressure Canning Soup (General Recipe)
30
10
1
1 40
Equipment
-
Pressure Canner (e.g., All American 930 Canner, capacity 14 quarts or 19 pints)
-
Regular Mouth Pint Mason Jars
-
Regular Mouth Quart Canning Jars
-
Regular Mouth Canning Lids
-
Jar Lifter
-
Canning Funnel
Ingredients
For Brothy Soups (Example Ingredients):
- Fresh vegetables, e.g., carrots, celery, bell peppers, onions, potatoes (prepped according to individual canning guidelines)
- Meat or poultry, e.g., chicken, beef, pork (cooked and cut into pieces; ground meat browned)
- Fish, in small pieces (optional)
- Pre-soaked and rehydrated beans or peas, optional
- Broth, water, stock, wine, or juice
- Fresh or dried herbs and spices, to taste (avoid excess oil)
For Hearty Soups (Example Ingredients):
- Fresh vegetables, e.g., potatoes, carrots, peas, corn (prepped according to individual canning guidelines)
- Meat or seafood, e.g., beef, pork, chicken, fish (cooked and cut into bite-sized pieces; optional)
- Broth, stock, or water
- Fresh or dried herbs and spices, to taste (avoid excess oil)
Instructions
For Brothy Soups:
-
1. Prepare Ingredients:
Vegetables: Wash, peel, chop, and cook (if necessary) according to their individual canning guidelines. Pre-cook vegetables like carrots and celery for hot packing.
Meat/Poultry: Cook meats until tender (remove bones, excess fat), then cut into bite-sized pieces. Brown ground meats thoroughly.
Seafood: Cut into small pieces; bones can remain.
Beans: Fully rehydrate by soaking (overnight or quick-soak method: boil 2 mins, rest 1 hr). Drain and rinse. -
2. Combine & Simmer Soup: Add all solid ingredients to a large pot. Pour in enough broth/water to cover them, plus an additional 2-3 inches of liquid above the solids. Bring to a boil and simmer for 5 minutes. Season with herbs and spices to taste. Do NOT thicken the soup.
-
3. Fill Jars: Use a slotted spoon to fill hot, clean jars halfway with solids. Top with hot broth, leaving a 1-inch headspace. Stir gently to release air bubbles. Wipe jar rims clean and place lids securely fingertip tight.
-
4. Process Jars: Process in a pressure canner for 60 minutes for pints or 75 minutes for quarts. If the recipe contains seafood, process for 100 minutes for both pints and quarts. Adjust pressure according to your altitude (see Notes section).
-
5. Cool and Store: After processing, allow jars to cool completely for 12-24 hours before checking seals. Store properly sealed jars in a cool, dark place.
For Hearty Soups:
-
1. Prepare Ingredients:
Vegetables & Meat: Follow the same cooking and cutting steps as for brothy soups, ensuring all individual ingredients have safe canning guidelines.
Seafood: If using, cut into small pieces. -
2. Combine & Preheat: Add all solid ingredients to a large pot and cover with hot broth or water. Bring to a boil and simmer for 5 minutes to preheat for a hot pack. Season to taste.
-
3. Fill Jars: Pack hot, clean jars with the solid ingredients, leaving 1-inch headspace. Pour in the hot broth until the 1-inch headspace is reached. Stir gently to release air bubbles. Wipe jar rims clean.
-
4. Process Jars: Process in a pressure canner for 75 minutes for pints and 90 minutes for quarts. If the recipe contains seafood, only process in pint jars for 100 minutes. Do NOT pressure can hearty soups containing seafood in quart jars. Adjust pressure according to your altitude (see Notes section).
-
5. Cool and Store: Let jars cool completely for 12-24 hours. Ensure all jars have sealed properly before storing in a cool, dark place.
Notes
- Jars for Brothy soups are only filled halfway with solids, and the remainder of the jar must be broth or liquid. When canning dry beans, the beans will absorb water and the jars will look more than half-filled when they come out of the canner. The “half-filled” rule applies when loading into the canner.
- Hearty soups have jars filled with solids, and the space in between is broth, but they have more ingredient restrictions than brothy soups. For hearty soups, do not add dry beans or legumes, leafy greens, winter squash, sweet potatoes, or creamed corn (regular corn is fine).
- Do not include in any soup: Dairy (milk, cheese), thickening agents (flour, cornstarch), pasta, rice, dry grains, or any ingredient not specifically tested for canning individually.
- Ensure ingredients are prepped according to canning guidelines for each individual item. Some vegetables and meats require specific pre-cooking or hot packing.
- Hearty soups containing seafood can only be processed in pint jars (for 100 minutes), but brothy seafood soups can be made in either pint or quart jars (for 100 minutes).
- The minimum batch size is 2 quarts or 4 pints when pressure canning. This ensures that the canner has enough thermal mass for proper processing. The capacity of your pressure canner determines the maximum batch size.
- Shelf Life: Properly sealed jars can last indefinitely in the pantry, though quality may decline after 12-18 months. Always check the seal before consuming. Refrigerate leftovers after opening.
Altitude Adjustments:
For both brothy and hearty soups (processing times remain constant, only pressure changes):
Dial Gauge Canner:
- 0 to 2,000 feet: 11 lbs pressure
- 2,001 to 4,000 feet: 12 lbs pressure
- 4,001 to 6,000 feet: 13 lbs pressure
- 6,001 to 8,000 feet: 14 lbs pressure
Weighted Gauge Canner:
- 0 to 1,000 feet: 10 lbs pressure
- Above 1,000 feet: 15 lbs pressure
Reheating Instructions:
Stovetop: Pour soup into a saucepan and bring to a simmer for 10 minutes.
Microwave: Remove metal lid and ring, then microwave directly in the jar.
Nutrition
Carbohydrates: 34g,
Protein: 4g,
Fat: 1g,
Saturated Fat: 0.4g,
Polyunsaturated Fat: 0.5g,
Monounsaturated Fat: 0.5g,
Sodium: 55mg,
Potassium: 577mg,
Fiber: 3g,
Sugar: 20g,
Vitamin A: 988IU,
Vitamin C: 33mg,
Calcium: 33mg,
Iron: 3mg
Nutrition information is automatically calculated, so should only be used as an approximation.
Like this? Leave a comment below!