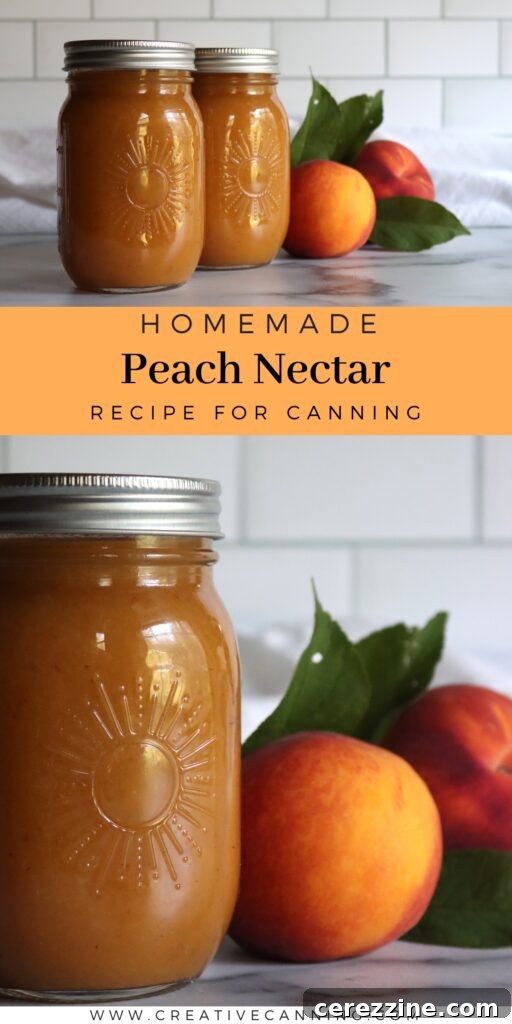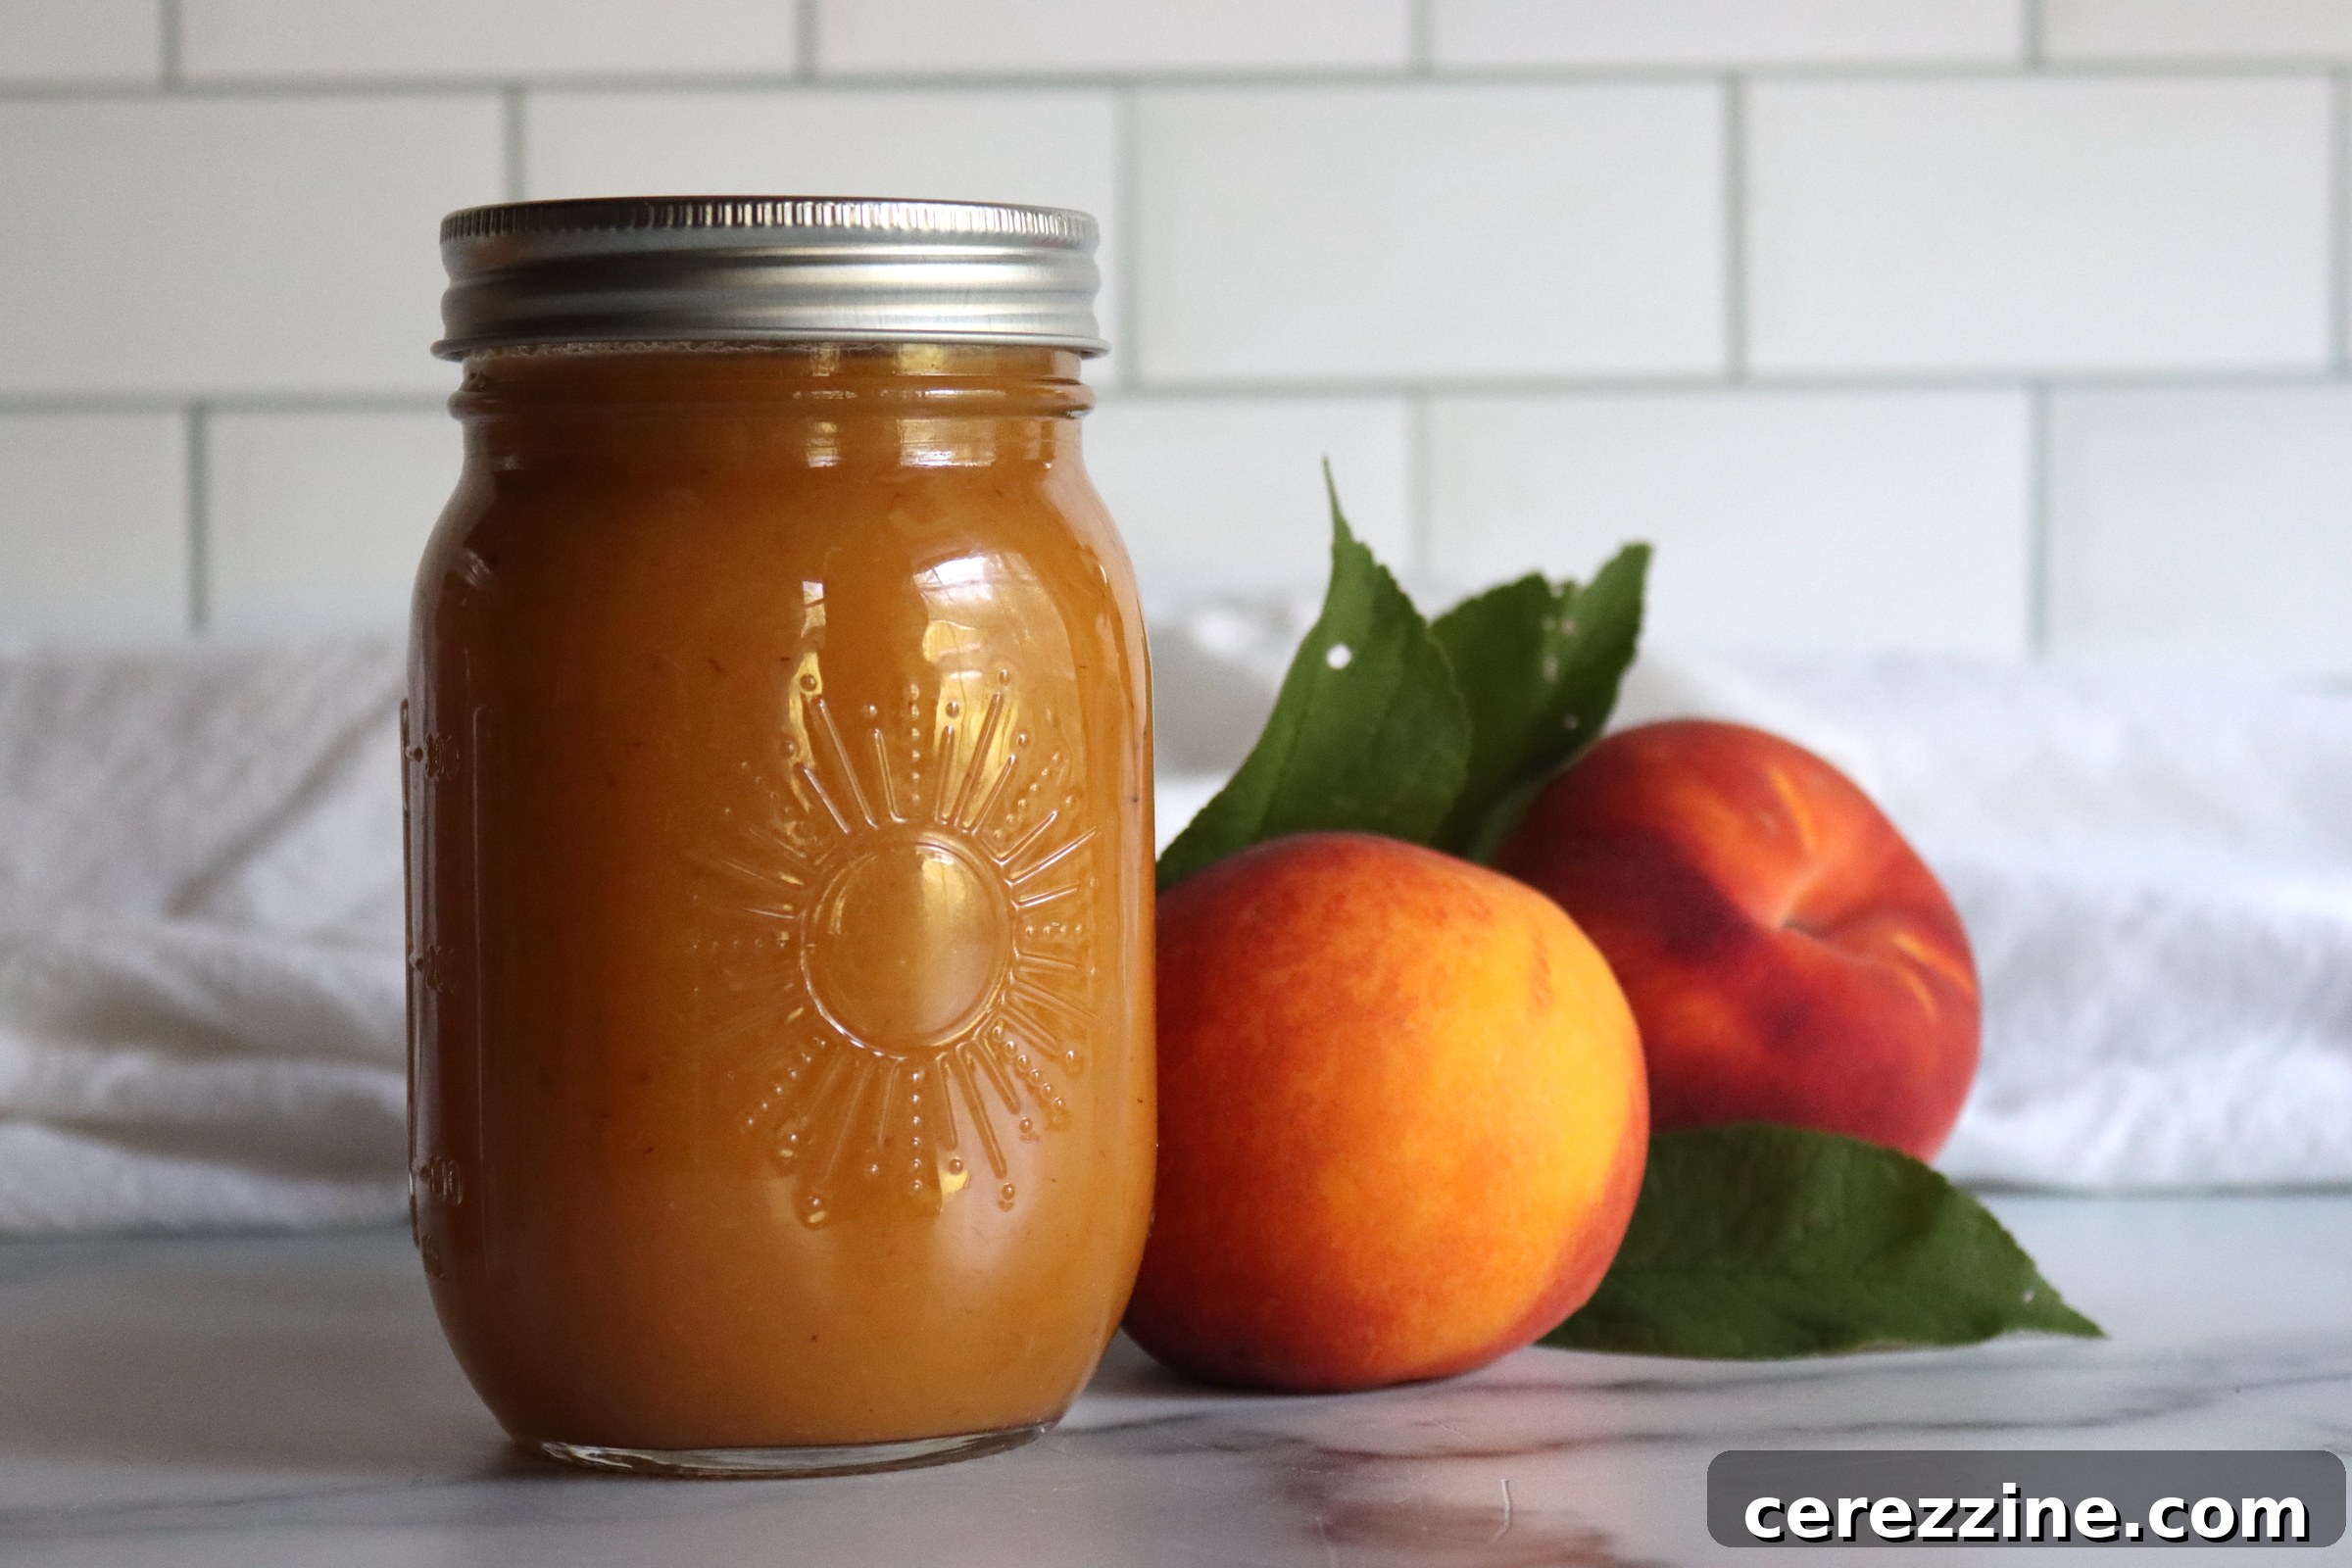
Peach nectar offers one of the simplest and most delightful ways to capture the essence of fresh peaches, bypassing the complexities often associated with making jams or jellies. This versatile preserve involves a straightforward process of cooking, pureeing, and canning, resulting in a smooth, naturally sweet, and incredibly adaptable fruit nectar that tastes like pure summer sunshine in a jar.
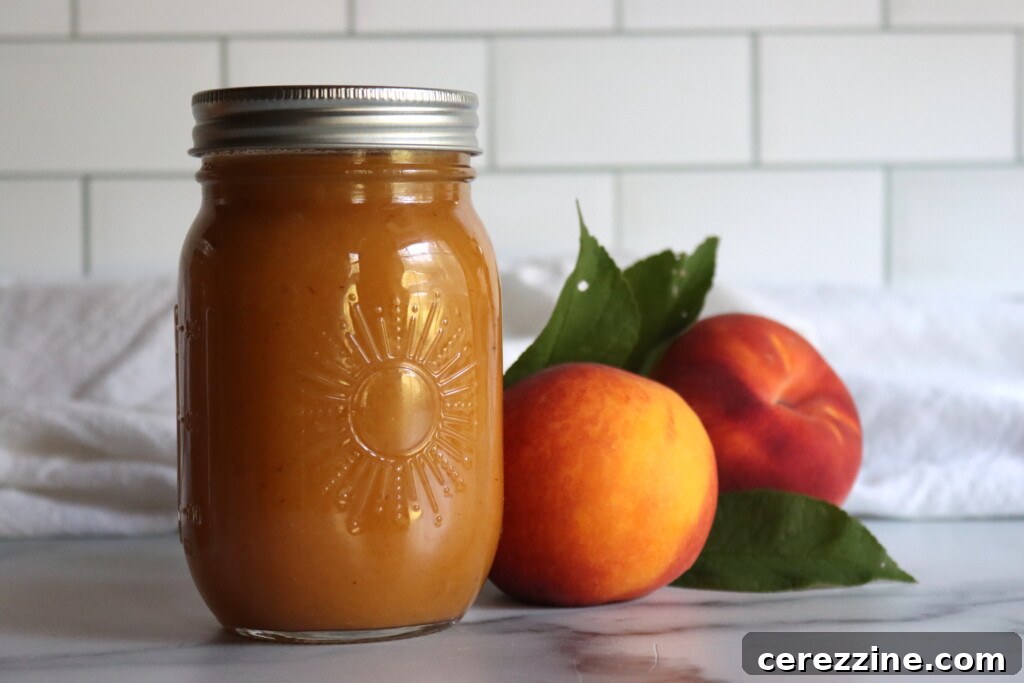
More than just a juice, peach nectar is a thick, pourable preserve that perfectly balances natural sweetness with the vibrant flavor of ripe peaches. It’s ideal for sipping on its own, enhancing mixed drinks, creating luscious glazes, or incorporating into various desserts. Crafted by gently cooking and pureeing yellow-fleshed peaches with a touch of water and optionally sweetening to your preference, this recipe is incredibly flexible and forgiving. It’s an excellent method for utilizing a bountiful harvest of ripe or even slightly bruised peaches, ensuring no precious fruit goes to waste.
Every summer, as local organic co-ops overflow with seasonal produce, we eagerly turn our attention to making peach nectar. It’s a particularly smart use for “seconds” fruit – those peaches that might be a little too soft or have minor imperfections, but whose flavor remains exquisite. Since the fruit will be cooked and pureed anyway, these slightly less-than-perfect specimens are truly perfect for nectar. The golden rule here is to stick exclusively to **yellow-fleshed peaches**. White peaches, while delicious fresh, lack the necessary acidity for safe water bath canning, making them unsuitable for this preservation method.
The entire process is remarkably simple and rewarding: prepare the peaches, cook them until tender, puree to your desired consistency, reheat, and finally, can them using the water bath method. You have complete control over the sweetness, as sugar can be added to taste after pureeing, or omitted entirely if your peaches are naturally sweet enough. The end result is a shelf-stable, homemade peach nectar that brings the taste of peak summer into your pantry, ready to enjoy throughout the year.
A Quick Look at the Recipe
- Recipe Name: Homemade Peach Nectar
- Recipe Type: Juice, Nectar, Puree (Canning)
- Canning Method: Water Bath Canning
- Prep Time: 15 Minutes
- Cook Time: 15 Minutes
- Canning Time: 15 Minutes (Adjust for altitude)
- Yield: Approximately 5 to 6 Pints
- Jar Sizes: Half-Pint, Pint, or Quart
- Headspace: ¼ inch
- Ingredients Overview: Fresh yellow peaches and water, with optional sugar, lemon juice, or spices
- Recipe Source: Tested recipe from the Ball Blue Book and Bernardin Guide to Home Canning
- Difficulty: Easy (Beginner-Friendly)
Why Make Your Own Peach Nectar?
Making homemade peach nectar is more than just a culinary activity; it’s a celebration of summer and a smart approach to home food preservation. Unlike thicker peach preserves like jams or butters, nectar retains a lighter, drinkable consistency that is incredibly refreshing. It requires less sugar than many other peach recipes (often none at all!), allowing the natural flavor of the fruit to shine through. Furthermore, it’s an economical choice, especially when you can purchase ripe, slightly imperfect peaches at a discount from local farms or markets. This helps reduce food waste and maximizes your budget while providing you with a delicious, healthy beverage free from artificial additives found in store-bought versions.
Ingredients for Pure Peach Perfection
The beauty of this peach nectar recipe lies in its simplicity and minimal ingredient list. While the recipe is designed for approximately 5 pounds of peaches, feel free to scale it up or down to match your available fruit, always maintaining the essential peach-to-water ratio for the best consistency and safe canning results. A general rule of thumb is that one pound of whole peaches will yield slightly more than one pint of finished nectar.
- 5 lbs yellow peaches (whole, as purchased, ensuring they are ripe and fragrant)
- 3 cups water (essential for cooking and achieving the perfect pourable consistency)
- Sugar to taste (optional, adjust based on the sweetness of your peaches and personal preference)
- Optional: 1–2 Tbsp fresh lemon juice for brightness (adds a lovely zesty note, but is not required for canning safety with yellow peaches)
Starting with about 5 pounds of whole, ripe yellow peaches will typically result in approximately 4 to 4¼ pounds of peeled and pitted fruit. This quantity is ideal for producing around 5 to 6 pints of luscious peach nectar, making it a manageable batch for most home canners.
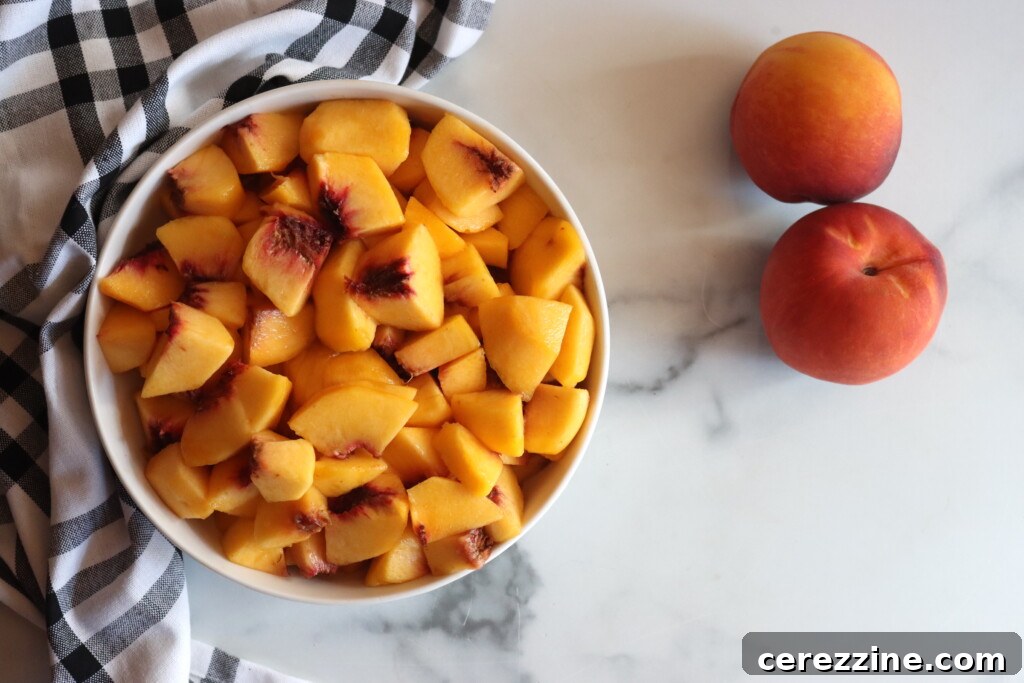
To Peel or Not to Peel?
While peeling peaches is technically optional for nectar, it is **highly recommended** for the smoothest and most refined texture. Peach peels do not break down adequately during the cooking process (unlike the thinner skins of nectarines or apricots), and leaving them on can result in a slightly gritty or fibrous nectar. If you choose to skip the peeling step, you can still achieve a smoother result by straining the finished puree through a few layers of dampened cheesecloth or a fine-mesh sieve.
The Importance of Water
You might look at the 3 cups of water for 5 pounds of peaches and think it seems like a lot. However, this amount is crucial for achieving the desired nectar consistency. Without sufficient water, your peach mixture will be very thick, resembling peach butter rather than a pourable nectar. While peach butter is equally delicious, it’s a different product. The water helps the peaches break down evenly during cooking and contributes to the smooth, drinkable quality of the final nectar.
Preparing Your Peaches for Nectar
Proper preparation is key to a high-quality peach nectar. Take your time with these initial steps to ensure the best flavor and texture.
Begin by thoroughly washing all your peaches under cool running water. This removes any dirt, pesticides, or residues from the skin.
Peeling Peaches: Two Effective Methods
There are two primary ways to peel peaches, and your choice may depend on your preference and the ripeness of your fruit:
- Hand Peeling (Paring Knife): For those with a steady hand and a sharp paring knife, peeling peaches manually can be quite efficient, especially if the peaches are firm-ripe. Simply slice a thin strip of skin off and continue around the peach until it’s fully peeled.
- Flash Blanching (Boiling Water Method): This is the most common and often easiest method, particularly for large batches of very ripe or slightly softer peaches.
- Bring a large pot of water to a rolling boil.
- Prepare a large bowl of ice water (an ice bath) nearby.
- Carefully dunk whole peaches into the boiling water for 30–60 seconds. You might see the skins start to crack or loosen.
- Immediately transfer the blanched peaches to the ice bath to stop the cooking process.
- Once cooled enough to handle, the skins should slip right off easily. If not, try blanching for a few more seconds.
For more detailed instructions with step-by-step pictures on peeling peaches, you can refer to resources on canning peaches in syrup.
After peeling, carefully remove the pits. The easiest way to do this is often by cutting the peach in half along the seam and twisting gently. If the pit is stubborn, you might need to make additional cuts. Once pitted, coarsely chop the peeled fruit into manageable pieces. These pieces will be cooked down, so precision isn’t paramount, but smaller pieces will cook more quickly and evenly.
Place the chopped peaches in a large stock pot or heavy-bottomed saucepan. Add the 3 cups of water. Bring the mixture to a gentle boil over medium-high heat. Once boiling, reduce the heat, cover the pot, and let it simmer for 10 to 15 minutes, or until the peach pieces are thoroughly soft and can be easily mashed with a spoon. This ensures a smooth puree.
Crafting Your Luscious Peach Nectar
Once your peaches are perfectly soft and tender, it’s time to transform them into the smooth nectar you desire.
Pureeing for the Perfect Texture
You have a few excellent options for pureeing, each offering a slightly different result:
- Immersion Blender: For convenience, an immersion blender (also known as a stick blender) is ideal. You can puree the entire mixture directly in the pot, saving on cleanup and transfer time. Blend until the mixture is completely smooth.
- Countertop Blender: If you don’t have an immersion blender, transfer the cooked peach mixture in batches to a standard countertop blender. Blend until very smooth. Be cautious when blending hot liquids; ensure the blender lid is vented (if applicable) and don’t overfill.
- Food Mill: For those who prefer a slightly more rustic texture, or want to effortlessly remove any tiny peach fibers, a food mill is a fantastic tool. It will produce a puree that is smooth but might retain a bit more body than a blender.
The goal is a consistently smooth puree. For the most refined nectar, a full puree with a blender is recommended.
To Strain or Not to Strain: A Matter of Preference
Most homemade peach nectar is typically left unstrained, embracing its natural thickness and slight pulpiness, which is part of its charm. It’s often compared to a luxurious fruit smoothie in consistency. However, if you desire a thinner, more juice-like consistency, you can certainly pass the pureed nectar through a few layers of damp cheesecloth or a very fine mesh sieve. Keep in mind that straining will reduce your overall yield slightly.
Sweetening and Flavor Enhancement
After pureeing, it’s crucial to taste your nectar. Peaches vary greatly in sweetness depending on the variety and ripeness. If your nectar needs a boost, stir in sugar to taste. Start with a small amount, perhaps 1 to 2 tablespoons per quart, and adjust gradually until it reaches your desired sweetness. Many find that no additional sugar is needed, letting the natural fruit sugars dominate. While some recipes suggest as much as 1 cup of sugar per 5 lbs of peaches, this often results in an overly sweet product for most palates.
For an extra layer of brightness and zest, consider adding a splash of fresh lemon juice. This isn’t necessary for canning safety with yellow peaches, but it can wonderfully enhance the fruit’s natural flavor. You can also experiment with a pinch of spices like cinnamon, nutmeg, or a few drops of vanilla or almond extract for a warmer, more complex flavor profile. Remember, a little goes a long way with extracts and spices, so start small and taste as you go.
Crucial Step: Reheat Before Canning! After any optional additions or adjustments, return the peach puree to the stove and bring it back to a full, rolling boil. This step is vital for ensuring the nectar reaches and maintains safe processing temperatures in the jars, and it also helps prevent siphoning (liquid loss) during canning.
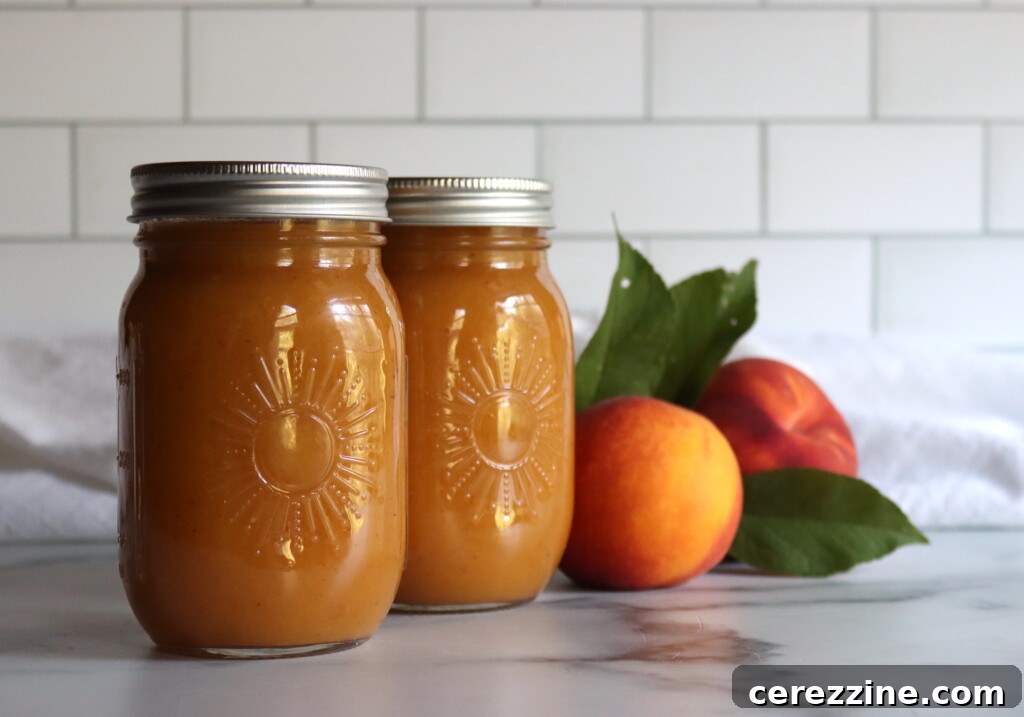
Water Bath Canning for Shelf-Stable Peach Nectar
Water bath canning is a reliable and safe method for preserving high-acid foods like peach nectar. Ensure you have all your canning equipment ready before you begin.
Preparation is Key
- Prepare Your Canner: Fill your water bath canner with water, ensuring it will cover your jars by at least 1 inch. Place the canning rack inside. Bring the water to a simmer (180°F / 82°C) while you prepare your jars.
- Sanitize Jars: Wash your half-pint, pint, or quart canning jars in hot, soapy water, rinse them thoroughly, and keep them hot. You can place them in the simmering canner water or a dishwasher until ready to fill.
- Prepare Lids: Wash new two-piece canning lids (flats and bands) in hot, soapy water. Keep the lids warm according to manufacturer instructions; many modern lids do not require pre-boiling.
Filling and Processing
Once your peach nectar is boiling hot and your canning setup is ready:
- Carefully ladle the hot peach nectar into your hot, prepared jars, leaving precisely ¼ inch headspace. This measurement is crucial for proper sealing and creating a vacuum.
- Using a non-metallic utensil (like a plastic spatula), remove any air bubbles by gently running it around the inside of the jar between the food and the glass.
- Wipe the rims of the jars clean with a damp cloth to ensure a good seal. Any food residue on the rim can prevent sealing.
- Center a warm lid on each jar. Apply a screw band and tighten to fingertip-tight (just until resistance is met, no need to overtighten).
- Carefully place the filled jars onto the rack in the simmering water bath canner. Ensure the jars are completely submerged in water. Add more boiling water if needed.
- Cover the canner and bring the water to a rolling boil. Begin timing your processing only once the water has reached a full boil.
Process the jars in a boiling water bath canner according to your elevation:
- 15 minutes at elevations below 1,000 feet
- 20 minutes between 1,000 and 6,000 feet
- 25 minutes above 6,000 feet
These processing times are consistent for half-pint, pint, and quart jars. Always use the full processing time for your specific altitude.
Cooling and Storage
After the processing time is complete, turn off the heat and carefully remove the canner lid. Let the jars sit in the hot water for 5 minutes before removing them. This helps prevent siphoning. Using a jar lifter, carefully remove the jars from the canner and place them on a towel-lined counter, leaving at least an inch of space between each jar. Allow them to sit undisturbed for 12 to 24 hours to cool completely and seal.
Once cooled, check all jar seals. The center of the lid should be concave and not flex when pressed. If any jar did not seal, refrigerate its contents and consume within a few weeks, or reprocess within 24 hours with a new lid. Properly sealed jars can be labeled with the contents and date, then stored in a cool, dark pantry for up to 18 months. For best quality, consume within one year.
Yield Notes and Expectations
Understanding the potential yield of your peach nectar can help you plan your canning session. Generally, 1 pound of whole peaches translates to about 2½ cups of chopped fruit or 3 cups sliced. After the crucial steps of peeling and pitting, 5 pounds of whole peaches typically yield around 10 to 11 cups of prepared (chopped) fruit, which is approximately 4 to 4¼ pounds. When combined with the specified amount of water, this should produce about 5 to 6 pints of finished peach nectar.
It’s important to remember that these are approximate figures. Your actual yield may vary slightly based on several factors, including the juiciness of your peaches, how long you simmer them before pureeing (which affects water evaporation), and whether you choose to add sugar after pureeing (sugar can slightly increase the overall volume). Don’t be concerned if your final yield is a little more or less than expected; the most important thing is a delicious, safely canned product.
Essential Tips for Perfect Peach Nectar
- Choose Your Peaches Wisely: Always use yellow-fleshed peaches for canning nectar. White peaches are naturally lower in acid and are not safe for water bath canning, even when pureed or juiced. If you’re unsure of the peach variety, it’s best to err on the side of caution and freeze the nectar instead of canning.
- Sweetness is Optional: Sugar can be added to taste after pureeing. Start with just 1 to 2 tablespoons per quart and adjust upwards if desired. The natural sweetness of ripe peaches is often sufficient, and avoiding excess sugar highlights the pure peach flavor.
- Spice It Up (or Don’t!): While this recipe champions the pure, unadulterated taste of peaches, you can certainly customize the flavor. For a warmer profile, consider adding a pinch of ground cinnamon, a dash of nutmeg, or even a few drops of vanilla or almond extract. Remember that extracts are potent, so start with a very small amount and taste before adding more.
- Don’t Skip the Re-Boil: After pureeing and adding any optional ingredients (like sugar or lemon juice), it is absolutely essential to return the nectar to a full, rolling boil on the stove. This ensures the nectar reaches the necessary temperature for safe processing and helps prevent siphoning (liquid loss from jars) during canning.
- Proper Headspace is Crucial: Always leave ¼ inch of headspace when filling your jars. Too little headspace can cause the lid to buckle or the jar to burst, while too much can result in an unsealed jar.
More Delightful Peach Canning Recipes
Homemade Peach Butter
Blueberry Peach Jam
Zesty Peach Salsa
Classic Peach Jam
Frequently Asked Questions About Peach Nectar
No, white-fleshed peaches are not safe for canning using a water bath canner because their natural acidity is too low to prevent the growth of harmful bacteria. Always use yellow peaches for peach nectar recipes if you intend to preserve them by canning. If you have white peaches and wish to preserve them, freezing is a safe alternative.
Adding sugar is entirely optional and depends on your personal preference and the natural sweetness of your peaches. You can choose to add no sugar at all, or stir in anywhere from 1 tablespoon to 1 cup after the fruit has been pureed and tasted. The amount of sugar primarily affects the sweetness and flavor, not the safety of the canned product (as long as you use yellow peaches).
Yes, peach nectar freezes exceptionally well. If you prefer not to can, simply ladle the hot or cooled nectar into freezer-safe containers or bags, ensuring you leave at least 1 inch of headspace to allow for expansion during freezing. Store in the freezer for up to 12 months for optimal quality.
Straining is optional for peach nectar. Most people choose not to strain peach nectar, as its characteristic thickness and slight pulpiness are part of its appeal, similar to a wholesome smoothie. However, if you desire a thinner, clearer, or more juice-like consistency, you can certainly pour the puree through cheesecloth or a fine mesh sieve after blending.
Yes, you can confidently double or even triple the batch of this peach nectar recipe. The most important consideration is to ensure that your cooking pot is large enough to comfortably accommodate the increased volume without boiling over, allowing you ample space to safely simmer and puree the peaches.
Creative Ways to Enjoy Homemade Peach Nectar
Homemade peach nectar is a versatile delight that can be enjoyed in countless ways beyond simply sipping it chilled from the fridge. Its rich, fruity flavor makes it a fantastic addition to both beverages and culinary creations:
- Refreshing Drinks:
- Mix it with sparkling water or club soda for a vibrant, homemade peach soda.
- Use it as a base for delightful summer cocktails or mocktails, replacing orange juice in many recipes.
- Stir it into iced tea for a peachy twist on a classic.
- Blend it into smoothies for an extra burst of fruit flavor and natural sweetness.
- Frozen Treats:
- Freeze it into popsicle molds for refreshing peach popsicles, perfect for hot days.
- Churn it in an ice cream maker to create a light and flavorful peach sorbet.
- Culinary Applications:
- Use it as a glaze for grilled pork, chicken, or fish, adding a touch of sweet, fruity caramelization.
- Incorporate it into salad dressings for a unique and bright flavor.
- Reduce it slightly on the stove to create a luscious syrup for pancakes, waffles, or ice cream.
- Add it to yogurt, oatmeal, or overnight oats for a naturally sweetened, fruity boost.
- It can even be thinned out and served as a nutritious first food for babies (if unsweetened).
Peach Nectar Recipe
Equipment
-
Water Bath Canner
-
Immersion Blender (or countertop blender, food mill)
-
Large Stock Pot
-
Canning Jars (Half-pint, Pint, or Quart) with Lids and Bands
-
Jar Lifter, Funnel, Ladle
Ingredients
- 5 lbs yellow peaches, ripe, not white-fleshed, as purchased
- 3 cups water
- Sugar to taste, optional
- Fresh lemon juice, 1-2 Tbsp, optional, for flavor (not required for canning safety)
- Optional spices, pinch of cinnamon, nutmeg, or few drops vanilla extract
Instructions
-
Prepare Canning Equipment: Wash and sterilize pint or quart canning jars. Prepare your water bath canner, filling it with water and heating it to a simmer (180°F / 82°C). Keep jars hot until ready to fill.
-
Prepare Peaches: Wash peaches thoroughly. To peel, blanch whole peaches in boiling water for 30-60 seconds, then transfer to an ice bath; skins should slip off easily. Remove pits and coarsely chop the peeled fruit.
-
Cook Peaches: Place chopped peaches and 3 cups of water in a large stock pot. Cover and bring to a gentle boil. Reduce heat and simmer for 10 to 15 minutes, or until the fruit is very soft and mashes easily.
-
Puree Nectar: Using an immersion blender, puree the fruit directly in the pot until completely smooth. Alternatively, transfer in batches to a countertop blender or use a food mill for a slightly coarser texture.
-
Optional Straining: For an exceptionally smooth, juice-like consistency, you may strain the puree through dampened cheesecloth or a fine-mesh sieve. Most peach nectar is left unstrained for a richer body.
-
Flavor Adjustments: Return the pureed nectar to the pot. Taste and stir in optional sugar and/or lemon juice and spices to your preference.
-
Reheat Nectar: Bring the peach nectar back to a full, rolling boil over medium-high heat. This is crucial for safe canning.
-
Fill Jars: Carefully ladle the hot peach nectar into your hot, prepared jars, leaving ¼ inch headspace. Remove air bubbles, wipe rims clean, center lids, and apply screw bands to fingertip-tight.
-
Process Jars: Place jars in the boiling water bath canner, ensuring they are covered by at least 1 inch of water. Bring to a full boil and process for 15 minutes. Adjust processing time for altitudes above 1,000 feet (see notes below).
-
Cool and Store: After processing, turn off heat, remove canner lid, and let jars sit for 5 minutes before removing. Place jars on a towel-lined counter to cool undisturbed for 12-24 hours. Check seals, label, and store in a cool, dark pantry for up to 18 months.
Notes
Texture Options: Achieve a coarser, thicker nectar using a food mill, or for a very thin, juice-like drink, strain the finished puree through cheesecloth. The standard recipe without straining yields a pleasingly thick nectar.
Lemon Juice: Optional for enhancing brightness and flavor; it is not required for the canning safety of yellow peaches. Remember, never use white peaches for water bath canning due to their low acidity.
Sweetening: Entirely optional—many ripe peach varieties are sweet enough on their own. Taste the nectar after pureeing and add sugar gradually, starting with small amounts, to adjust to your preferred sweetness.
Jar Sizes: Half-pint, pint, and quart jars are all approved for safely canning peach nectar. Do not use half-gallon jars for nectar in a water bath canner.
Altitude Adjustments for Water Bath Canning
To ensure safe preservation, adjust your processing time in the boiling water bath canner based on your elevation above sea level:
- 15 minutes at elevations below 1,000 feet
- 20 minutes for elevations between 1,000 and 6,000 feet
- 25 minutes for elevations above 6,000 feet
These processing times remain the same regardless of whether you are using half pints, pints, or quarts.
Nutrition Information (Approximate)
Nutrition information is automatically calculated and is provided as an approximation only. Actual values may vary.
Enjoyed this recipe? Share your thoughts below!