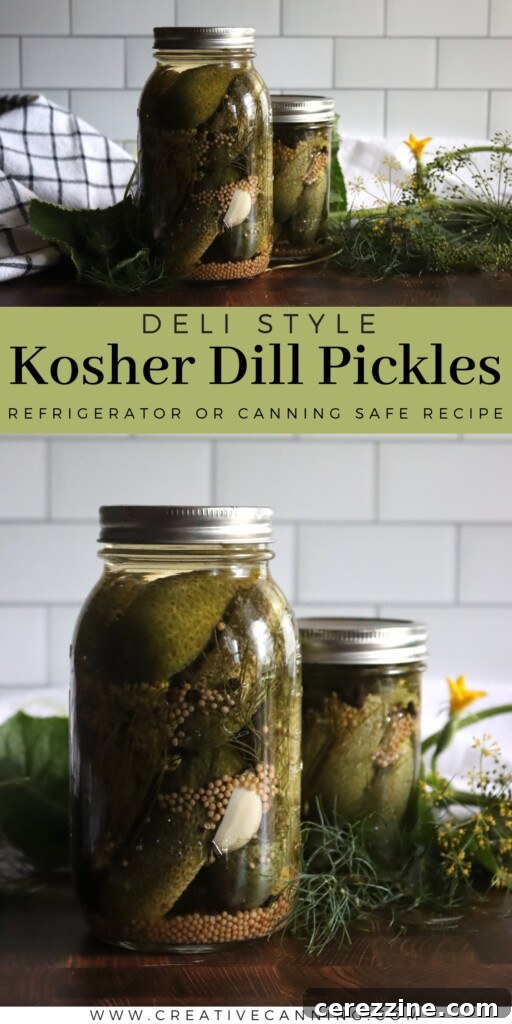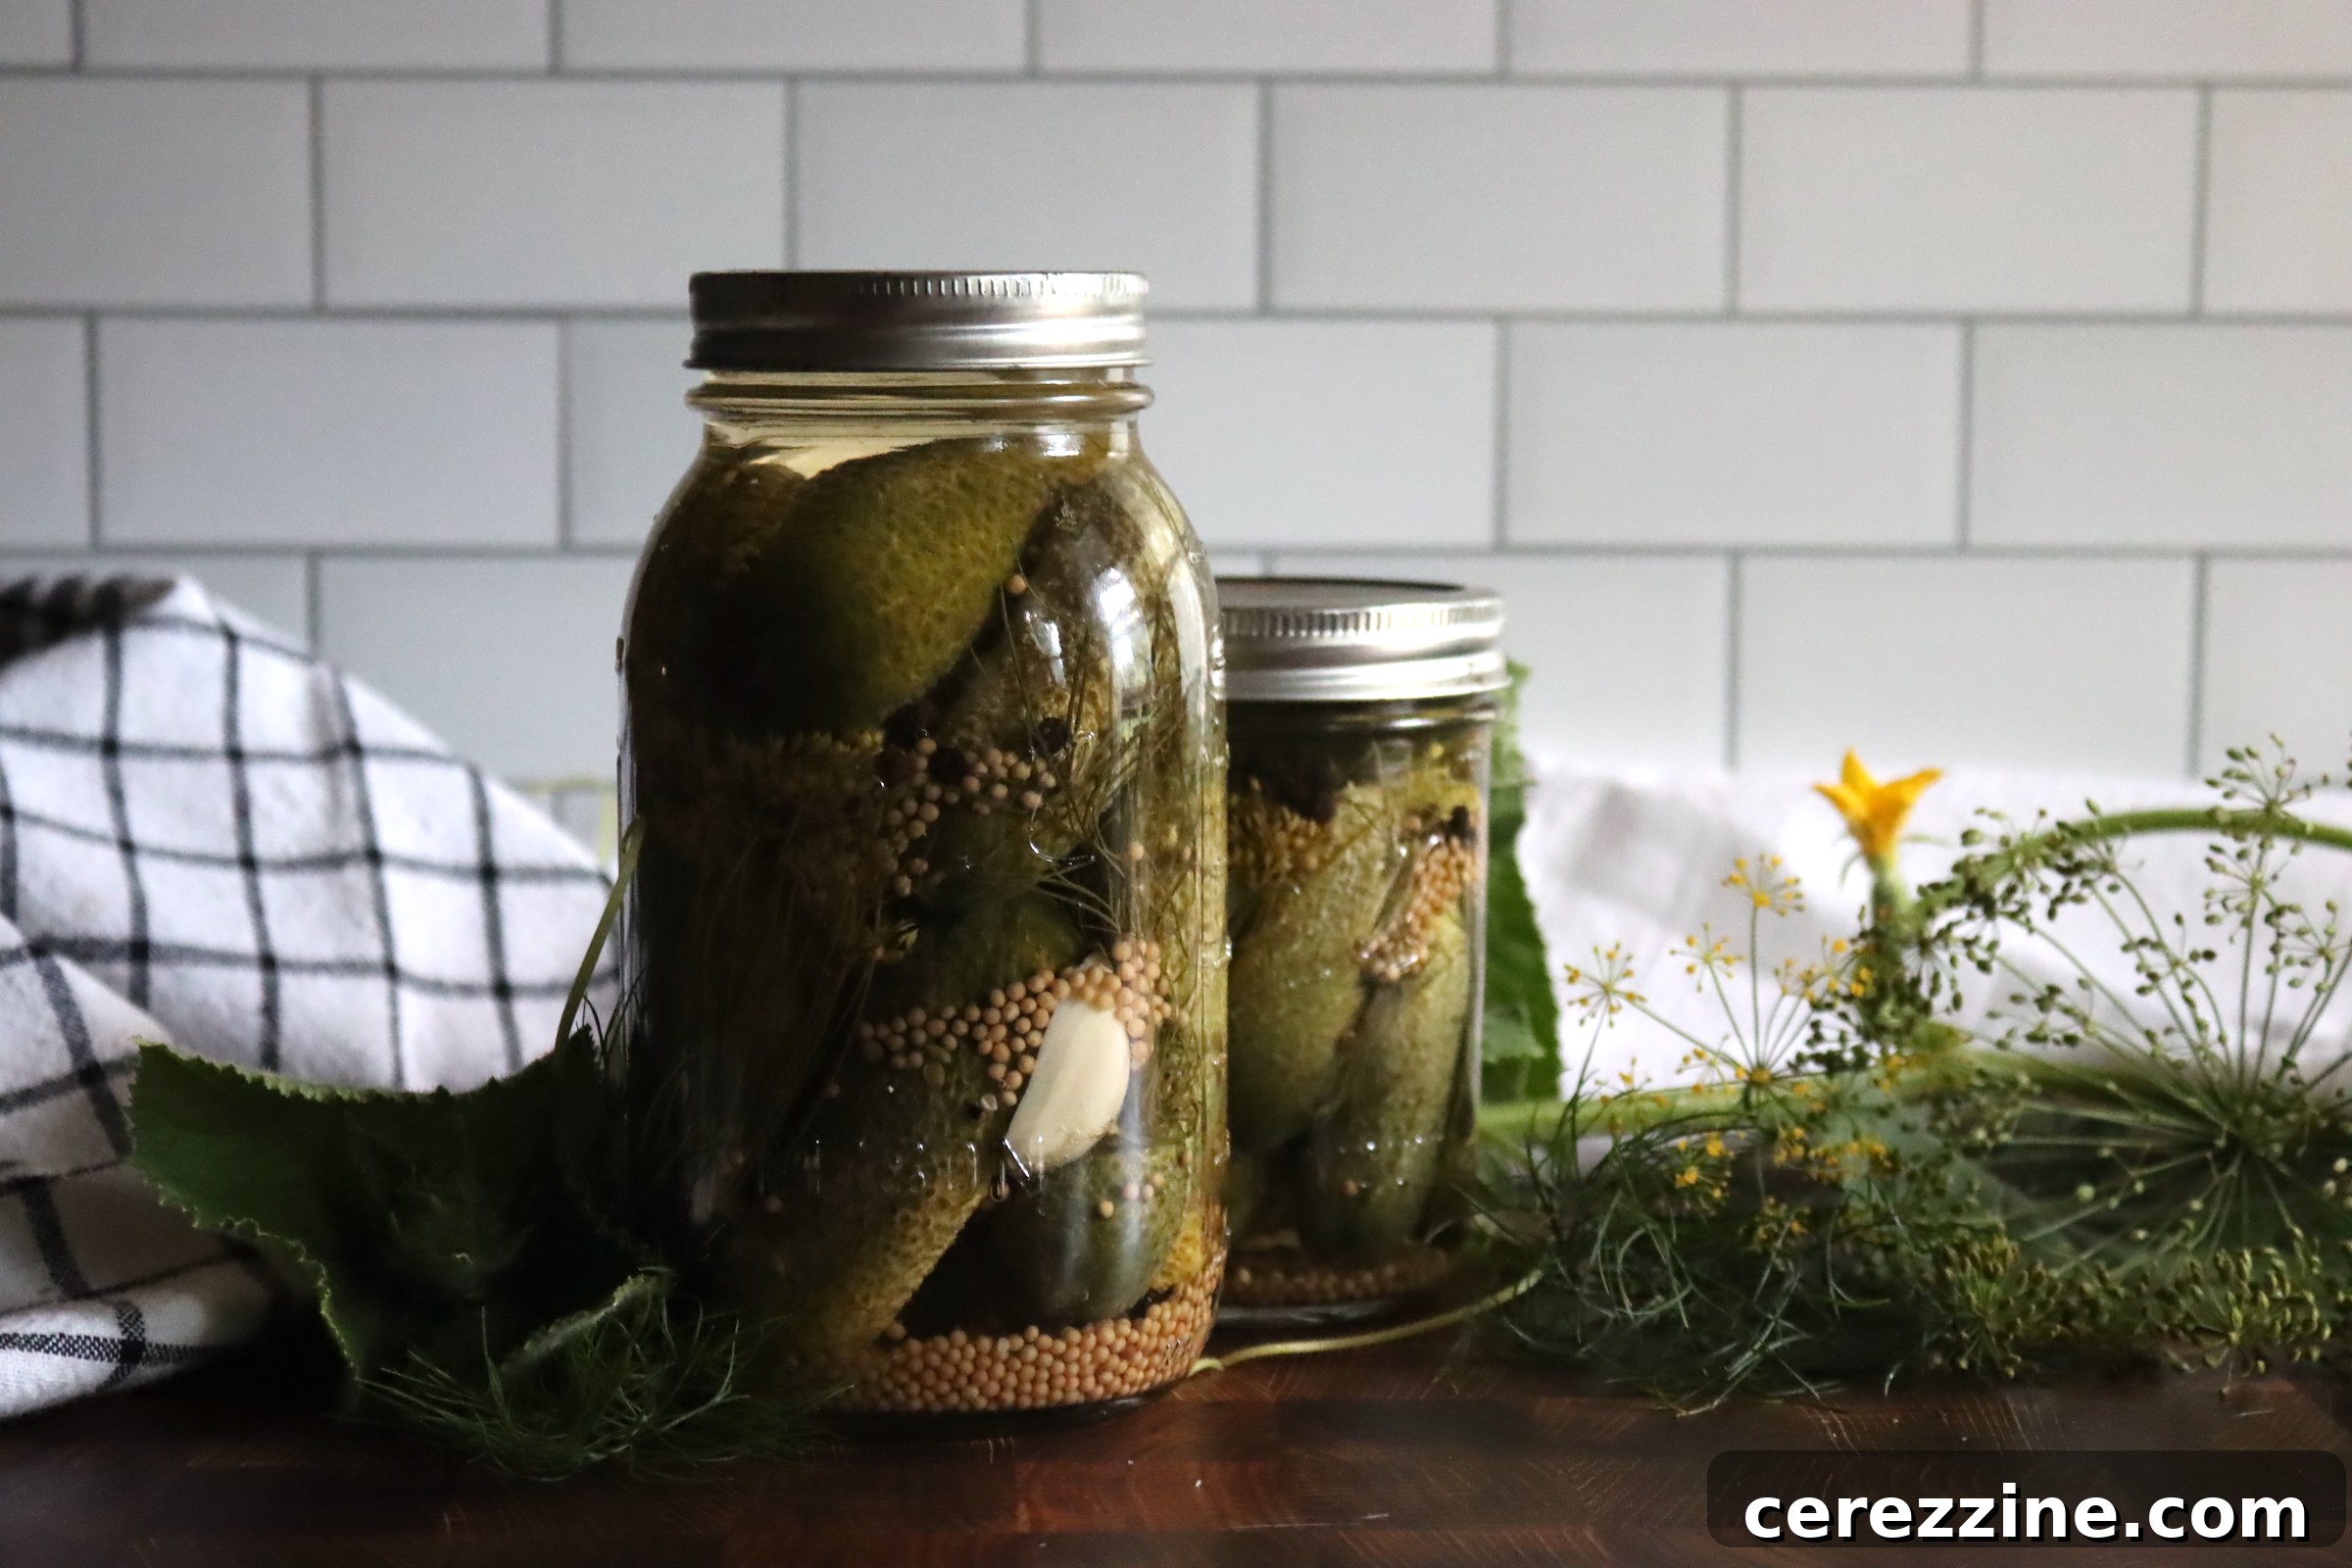
Welcome to the delightful world of homemade kosher dill pickles! These culinary staples are renowned for their unmistakable crunch, savory saltiness, potent garlic infusion, and rich dill flavor. Whether you enjoy them straight from the jar for a satisfying snack, layer them into your favorite sandwiches for an extra zing, or serve them as a classic accompaniment to a juicy burger, these perfectly brined cucumbers are an essential pantry item that brings vibrant flavor to any meal.
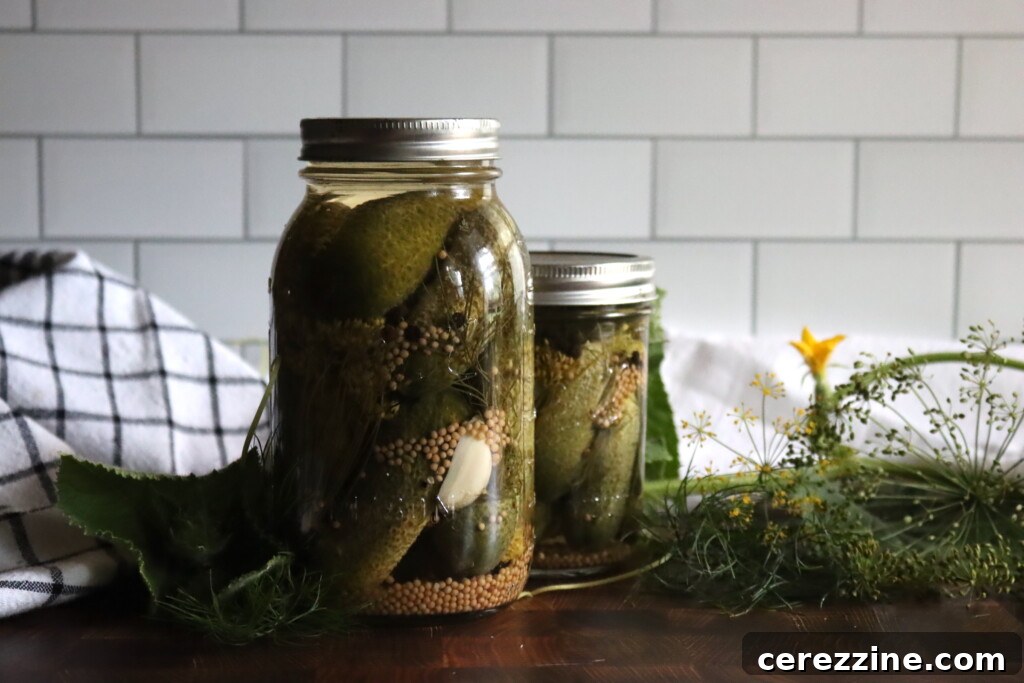
This comprehensive recipe guides you through creating a batch of irresistibly crisp and tangy pickles, brimming with authentic traditional flavor. The magic lies in a harmonious blend of aromatic garlic, pungent mustard seed, and the distinctive freshness of dill—whether you choose fresh sprigs or dried dill seed. The term “kosher” in the name typically refers to the style of pickle: robustly flavored with plenty of garlic. It doesn’t inherently imply religious certification, though you can certainly opt for kosher-certified ingredients if that aligns with your dietary preferences or requirements. Designed for long-term storage, these pickles are safely processed in a boiling water bath, ensuring they remain shelf-stable for months. For the ultimate flavor development, patience is key; allow them to rest and meld in their flavorful brine for at least a few weeks before enjoying.
This recipe yields approximately six to seven pint jars, though the exact number can vary slightly based on the size of your cucumbers and how tightly you pack them. Transforming fresh produce into these zesty pickles is a rewarding endeavor, making it an ideal weekend project. It’s particularly satisfying if you find yourself with an abundance of pickling cucumbers from your backyard garden or a bountiful haul from the local farmers market, looking for a delicious way to preserve summer’s bounty.
Why You’ll Love Making Your Own Kosher Dill Pickles
- Unmatched Classic Flavor: Experience the true taste of a traditional kosher dill, boasting an intense garlicky essence, bright tanginess, and a generous infusion of fresh dill. Unlike many store-bought varieties, homemade pickles allow you to control the exact balance of these delightful flavors.
- Superior Crunchy Texture: Achieving that perfect, satisfying snap is paramount for any dill pickle enthusiast. This recipe incorporates crucial preparation steps and precise processing times designed to preserve the cucumbers’ natural crispness, ensuring every bite is wonderfully firm and crunchy.
- Reliable Pantry Staple: Once properly canned and sealed, these homemade pickles become a versatile and long-lasting addition to your pantry, offering shelf stability for up to 18 months. They are effortlessly convenient for elevating sandwiches, adding zest to platters, or simply enjoying as a refreshing, flavorful snack anytime.
- Rewarding & Economical: Making your own pickles is not only deeply satisfying but also an economical way to utilize seasonal produce. It’s a fantastic method to reduce food waste and enjoy garden-fresh flavors year-round, transforming simple cucumbers into a culinary treasure.
Essential Ingredients for the Best Kosher Dill Pickles
Crafting delicious and safe kosher dill pickles requires just a few key ingredients. This recipe follows guidelines specifically developed for safe home canning by trusted sources like the National Center for Food Preservation, ensuring both quality and safety in your homemade batches. While you can subtly adjust the seasoning to suit your personal palate, adhering to the core ingredients and their proportions is vital for a traditional and shelf-stable kosher dill.
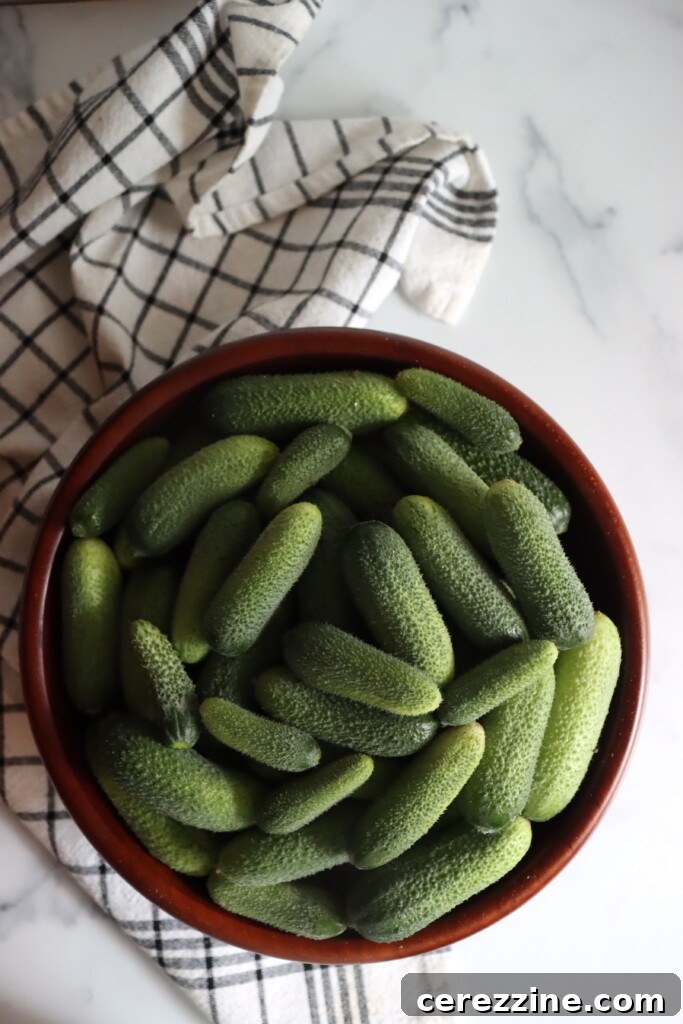
- Pickling Cucumbers (30 to 36 Small): The foundation of any great pickle. Look for small, firm, blemish-free cucumbers that are 3-4 inches long and freshly harvested. Varieties like Kirby or Gherkin are ideal due to their crisp texture and thin skins. It’s absolutely essential to slice 1/16 inch off the blossom end of each cucumber. This end contains enzymes that, if not removed, can significantly soften your pickles during the canning process and storage, leading to a less-than-desirable texture. You may choose to leave a small piece (about ½ inch) of the stem attached for a more rustic appearance, though it’s primarily for presentation and doesn’t impact flavor or crunch.
- White Vinegar (3 cups, 5% Acidity): This is the acidic base of your brine, crucial for flavor and, more importantly, for safe preservation. White vinegar is preferred for its neutral flavor profile, which allows the dill and garlic to shine, and for keeping your pickles looking bright and clean. While apple cider vinegar can be used, be aware that it will impart a slightly darker hue and a different, fruitier flavor to the brine. Always, always use vinegar with a minimum of 5% acidity; any lower acidity can compromise the safety and shelf stability of your canned goods. Do not attempt to reduce the vinegar quantity for safety reasons.
- Water (3 cups): Used to balance the strong acidity of the vinegar, making the brine palatable without compromising its preserving power. It’s often recommended to use filtered water, as chlorine found in tap water can sometimes interfere with the pickling process, potentially affecting the firmness of the cucumbers or causing an off-flavor. For the safety and shelf stability of your pickles, do not increase the water amount or reduce the vinegar.
- Canning Salt (6 Tbsp): This specialized salt is essential not only for flavor but also for its role in the preservation process and maintaining the cucumbers’ crispness. Table salt, which often contains anti-caking agents, iodine, or other additives, is not recommended as it can cause the brine to become cloudy, discolored, or even introduce undesirable flavors. While some coarse kosher salts might work, their density can vary, so canning salt (also known as pickling salt) is the most reliable choice for consistent results.
- Dill (8 heads Fresh or 8 tsp Dried Dill Seed/Fronds): The signature herb that gives kosher dill pickles their distinctive aroma and taste. A generous amount is key for full flavor infusion. You can use fresh dill heads (the flowering part of the plant), fresh dill fronds (the leafy part), or dried dill seed. For maximum impact, consider using a combination—perhaps fresh dill heads for a bright herbaceous note, and a teaspoon of dill seed per jar for a deeper, more robust dill flavor that develops over time.
- Mustard Seed (½ teaspoon per jar, totaling 3 to 3½ tsp): These tiny seeds add a subtle, peppery tang and a layer of complex warmth to the brine, complementing the dill and garlic without overpowering them. They are a staple in traditional dill pickle recipes for a reason.
- Garlic (½ to 1 clove per jar, totaling 3 to 7 cloves, sliced): Garlic is indispensable for the bold, characteristic flavor of kosher dill pickles. Using fresh, sliced garlic cloves is highly recommended for the best flavor infusion. For a more intense garlic presence, use a whole clove per pint jar; for a milder taste, half a clove will suffice. If fresh garlic is unavailable, granulated garlic can be a substitute in a pinch, though the flavor profile will be less vibrant.
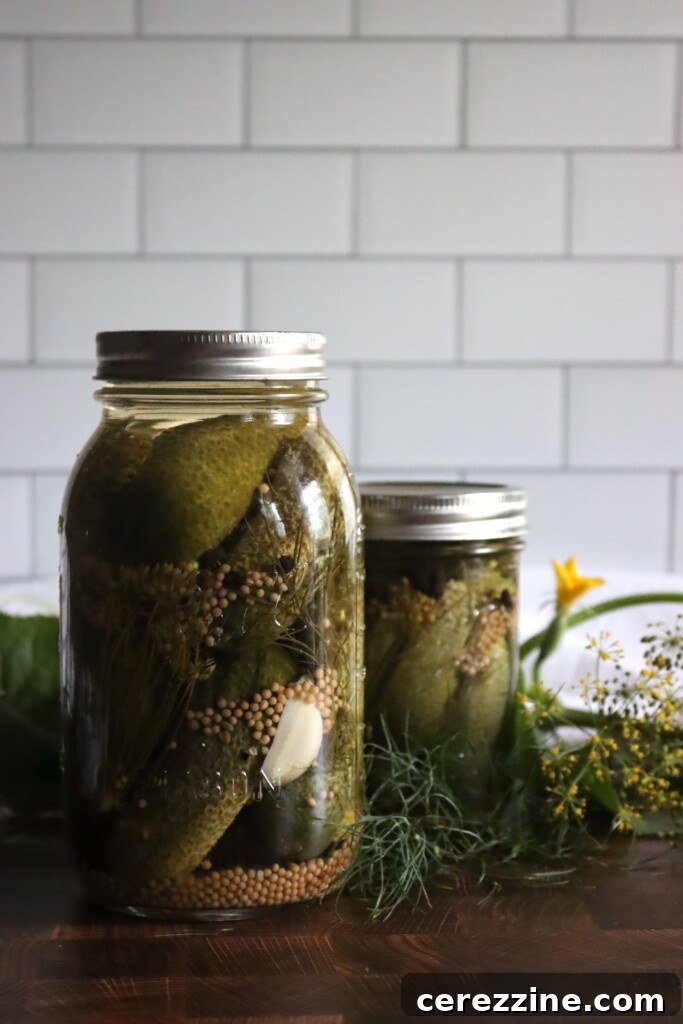
Step-by-Step Guide to Making Homemade Kosher Dill Pickles
Making your own kosher dill pickles is a straightforward process that rewards you with superior flavor and crunch. Follow these detailed steps to ensure a successful and delicious batch:
Preparation is Key
- Prepare Cucumbers: Begin by thoroughly washing your pickling cucumbers under cold running water. It’s crucial to remove any dirt or debris. Next, carefully slice off 1/16 inch from the blossom end of each cucumber; this small step is critical as it removes enzymes that can cause your pickles to soften during storage. You can leave about ½ inch of the stem attached if you prefer a rustic look. If your cucumbers are on the larger side (but still within the pickling variety), you can slice them into spears or rounds to fit your jars.
- Sterilize Jars and Equipment: Before you start packing, ensure your pint jars and lids are properly sterilized. Wash jars, lids, and rings in hot, soapy water, then rinse thoroughly. For jars, you can process them in a boiling water canner for at least 10 minutes, or run them through a dishwasher on a sanitize cycle. Keep the jars hot until ready to fill to prevent thermal shock when adding hot brine. New lids should be simmered in hot (not boiling) water to soften the sealing compound.
- Prepare the Brine: In a large, non-reactive pot (stainless steel is ideal), combine the measured white vinegar, water, and canning salt. Bring this mixture to a rolling boil over medium-high heat, stirring occasionally to ensure the salt fully dissolves. Keep the brine at a simmer until you are ready to fill your jars.
Assembling Your Jars
- Flavoring the Jars: While your brine is heating, place a generous layer of dill (approximately 1-2 dill heads or 1 teaspoon of dried dill seed/fronds), ½ to 1 sliced garlic clove, and ½ teaspoon of mustard seed into the bottom of each hot, sterilized pint jar. These aromatics will infuse the cucumbers with their signature flavors.
- Pack Cucumbers Tightly: Carefully pack the prepared cucumbers into each jar as tightly as possible without bruising them. For whole pickles, stand them upright; for spears or slices, arrange them neatly. When each jar is approximately halfway full, add another sprig or pinch of dill to ensure even flavor distribution throughout the jar before continuing to pack the remaining cucumbers. A tight pack is essential to prevent cucumbers from floating and to ensure full submersion in the brine.
Filling, Sealing, and Processing
- Fill with Hot Brine: Once your cucumbers are packed, carefully ladle the hot, simmering brine over them, leaving ½ inch of headspace (the space between the top of the liquid and the rim of the jar). This headspace is crucial for creating a proper vacuum seal.
- Remove Air Bubbles: Use a non-metallic tool, such as a plastic knife, chopstick, or a specialized de-bubbler, to gently run along the inside of each jar. This helps release any trapped air bubbles that might be clinging to the cucumbers. Tap the jars gently on the counter to encourage bubbles to rise. If the brine level drops below ½ inch headspace after removing air bubbles, add more hot brine to correct it.
- Wipe Rims and Apply Lids: Thoroughly wipe the rims of each jar with a clean, damp cloth or paper towel. Any food residue on the rim can prevent a proper seal. Center a new, softened lid on each jar, then screw on the band fingertip-tight. This means tightening until you feel resistance, then giving just a slight extra turn. Do not overtighten, as air needs to escape during processing.
- Process in a Boiling Water Bath: Carefully place the filled and sealed jars onto the rack in your boiling water canner. Ensure the water level covers the tops of the jars by at least 1 inch. Bring the water to a full, rolling boil. Once boiling, process pint jars for 10 minutes. This processing time must be adjusted based on your altitude (refer to the “Altitude Adjustments” section below). After the processing time is complete, turn off the heat and allow the jars to sit in the canner for an additional 5 minutes before carefully removing them.
Cooling, Storing, and Enjoying
- Cool and Check Seals: Using a jar lifter, carefully remove the hot jars from the canner and place them upright on a clean towel on your counter. Allow the jars to cool undisturbed for 12–24 hours. You will likely hear satisfying “ping” sounds as the lids seal. After cooling, check the seals by pressing on the center of each lid; it should be concave and not flex when pressed. If any lid does not seal (it springs back when pressed), store that jar in the refrigerator for immediate consumption and consume within a few weeks.
- Label and Store: Properly canned and sealed jars are shelf-stable and will maintain peak quality on your pantry shelf for 12-18 months. Label your jars with the date and contents. Store them in a cool, dark place away from direct sunlight or fluctuating temperatures.
- Patience for Flavor: The pickles may appear slightly shriveled initially, but they will plump up as they absorb the flavorful brine. For the very best flavor development, resist the temptation to open a jar immediately. Allow your homemade kosher dill pickles to rest and mature in their brine for at least 2–3 weeks (and ideally even longer) before opening. This curing time allows the flavors to fully meld and deepen. Once opened, always refrigerate the pickles and consume within a few weeks for optimal freshness and taste.
Troubleshooting Common Pickling Issues
Even experienced canners can encounter minor hiccups. Here’s how to address some common concerns:
- Soft Pickles: This is often due to not trimming the blossom end, using overripe or old cucumbers, or using salt with anti-caking agents. Ensure you use fresh, firm pickling cucumbers and proper canning salt. Over-processing can also lead to soft pickles, so stick to the recommended times.
- Cloudy Brine: A slightly cloudy brine is normal as spices release their flavors. However, excessively cloudy brine could indicate minerals in your water (try filtered water next time), using regular table salt, or yeast growth due to an improper seal or insufficient acidity. If seals are good and pickles taste fine, it’s usually just a cosmetic issue. If there’s mold or an off-smell, discard the contents.
- Seals Not Setting: This is usually due to food particles on the rim, overtightened bands, faulty lids, or an issue with the canner temperature. Double-check your jar preparation and ensure lids are new and bands are fingertip-tight.
Altitude Adjustments for Water Bath Canning
Adjusting processing times for your elevation is crucial for safe home canning. Water boils at lower temperatures at higher altitudes, requiring longer processing times to ensure food safety. Please consult the guidelines below to ensure your kosher dill pickles are safely preserved:
- 0 to 1,000 feet: Pint jars: 10 minutes, Quart jars: 15 minutes
- 1,001 to 6,000 feet: Pint jars: 15 minutes, Quart jars: 20 minutes
- Above 6,000 feet: Pint jars: 20 minutes, Quart jars: 25 minutes
Homemade Kosher Dill Pickles
Print Recipe
Equipment
-
Water Bath Canner
-
Pint Jars with new lids and rings (6-7)
-
Large Pot (for brine)
-
Jar Lifter
-
Funnel (for filling jars)
-
Ladle
Ingredients
- 30 to 36 Small pickling cucumbers, 3–4 inches long
- 3 cups water
- 3 cups white vinegar, 5% acidity
- 6 Tbsp canning salt
- 8 heads Fresh dill, or 8 tsp dried dill seed/fronds
- 3 to 7 cloves Garlic, ½ to 1 per jar, sliced
- 3 to 3 1/2 tsp mustard seed, ½ tsp per jar
- Optional: Pinch of black peppercorns or red pepper flakes per jar for added spice
Instructions
-
1. Prepare Cucumbers: Wash cucumbers thoroughly. Slice off 1/16 inch from the blossom end of each cucumber and leave about ½ inch of the stem attached if desired.
-
2. Prepare Jars & Brine: Sterilize pint jars, lids, and rings. In a large pot, combine vinegar, water, and canning salt; bring the brine to a rolling boil, stirring until salt is dissolved. Keep warm.
-
3. Fill Jars with Aromatics & Cucumbers: Place 1-2 dill heads (or 1 tsp dried dill), ½ to 1 sliced garlic clove, and ½ teaspoon mustard seed in the bottom of each hot pint jar. Pack cucumbers tightly into the jars. When each jar is about half full, add another sprig or pinch of dill before finishing the packing.
-
4. Add Brine & Seal: Carefully fill the packed jars with the hot brine, leaving ½ inch of headspace. Remove any trapped air bubbles using a non-metallic tool and adjust brine level if necessary to maintain headspace. Wipe the jar rims clean with a damp cloth. Center new, softened lids on the jars and apply bands fingertip-tight.
-
5. Process Jars: Place jars in a boiling water bath canner, ensuring they are covered by at least 1 inch of water. Bring to a full boil and process for 10 minutes for pint jars (adjust time for altitude, see notes). After processing, turn off heat, let jars sit in canner for 5 minutes, then carefully remove to a towel-lined counter.
-
6. Cool & Store: Allow jars to cool undisturbed for 12–24 hours. Check seals; lids should be concave and not flex when pressed. Label properly sealed jars and store in a cool, dark place for up to 18 months. For best flavor, wait at least 2–3 weeks before opening. Refrigerate any unsealed jars and opened jars.
Notes
Altitude Adjustments for Water Bath Canning
Ensure the safety of your home-canned pickles by adjusting water bath processing times according to your elevation:
- 0 to 1,000 feet: 10 minutes for pints and 15 minutes for quarts
- 1,001 to 6,000 feet: 15 minutes for pints and 20 minutes for quarts
- Above 6,000 feet: 20 minutes for pints and 25 minutes for quarts
Nutrition Information (Approximate)
Nutrition information is automatically calculated, so should only be used as an approximation.
Did you enjoy this recipe? Share your thoughts below!
Explore More Cucumber Pickling Recipes
While kosher dill pickles are undeniably a classic, the world of cucumber pickling offers a diverse array of flavors and styles to explore. Once you’ve mastered the art of dill pickles, consider venturing into these other exciting recipes to expand your canning repertoire:
Bread and Butter Pickles are just as popular as their dill counterparts, offering a distinctly different sweet and tangy profile. Instead of relying on dill, their unique flavor comes from a combination of garlic, mustard seed, and a generous amount of sugar, balanced by extra vinegar. These are an excellent choice for using up larger cucumbers, as their preparation often involves slicing, making them more forgiving than the small, precise requirements for kosher dills.
French Cornichons provide a sophisticated, gourmet pickling experience. These tiny, tart pickles are made exclusively with the smallest baby cucumbers, ensuring an unparalleled crispness. Their signature flavor deviates from dill, instead featuring the delicate anise-like notes of tarragon, offering a refined European touch to your pantry.
For those seeking the absolute crunchiest pickles imaginable, Old Fashioned Cucumber Pickles with Lime are a must-try. This traditional method incorporates pickling lime (calcium hydroxide) to achieve an extraordinary crisp texture. While the recipe is a bit more involved than classic dills due to the lime-soaking step, the resulting exceptionally firm and snappy pickles are well worth the effort and make for a truly memorable culinary delight.
With so many fantastic choices available, you’ll never run out of ways to transform fresh cucumbers into irresistible pickled treats. I’d love to hear about your favorite homemade cucumber pickles! Share your go-to recipes or any variations you enjoy in the comments section below!