
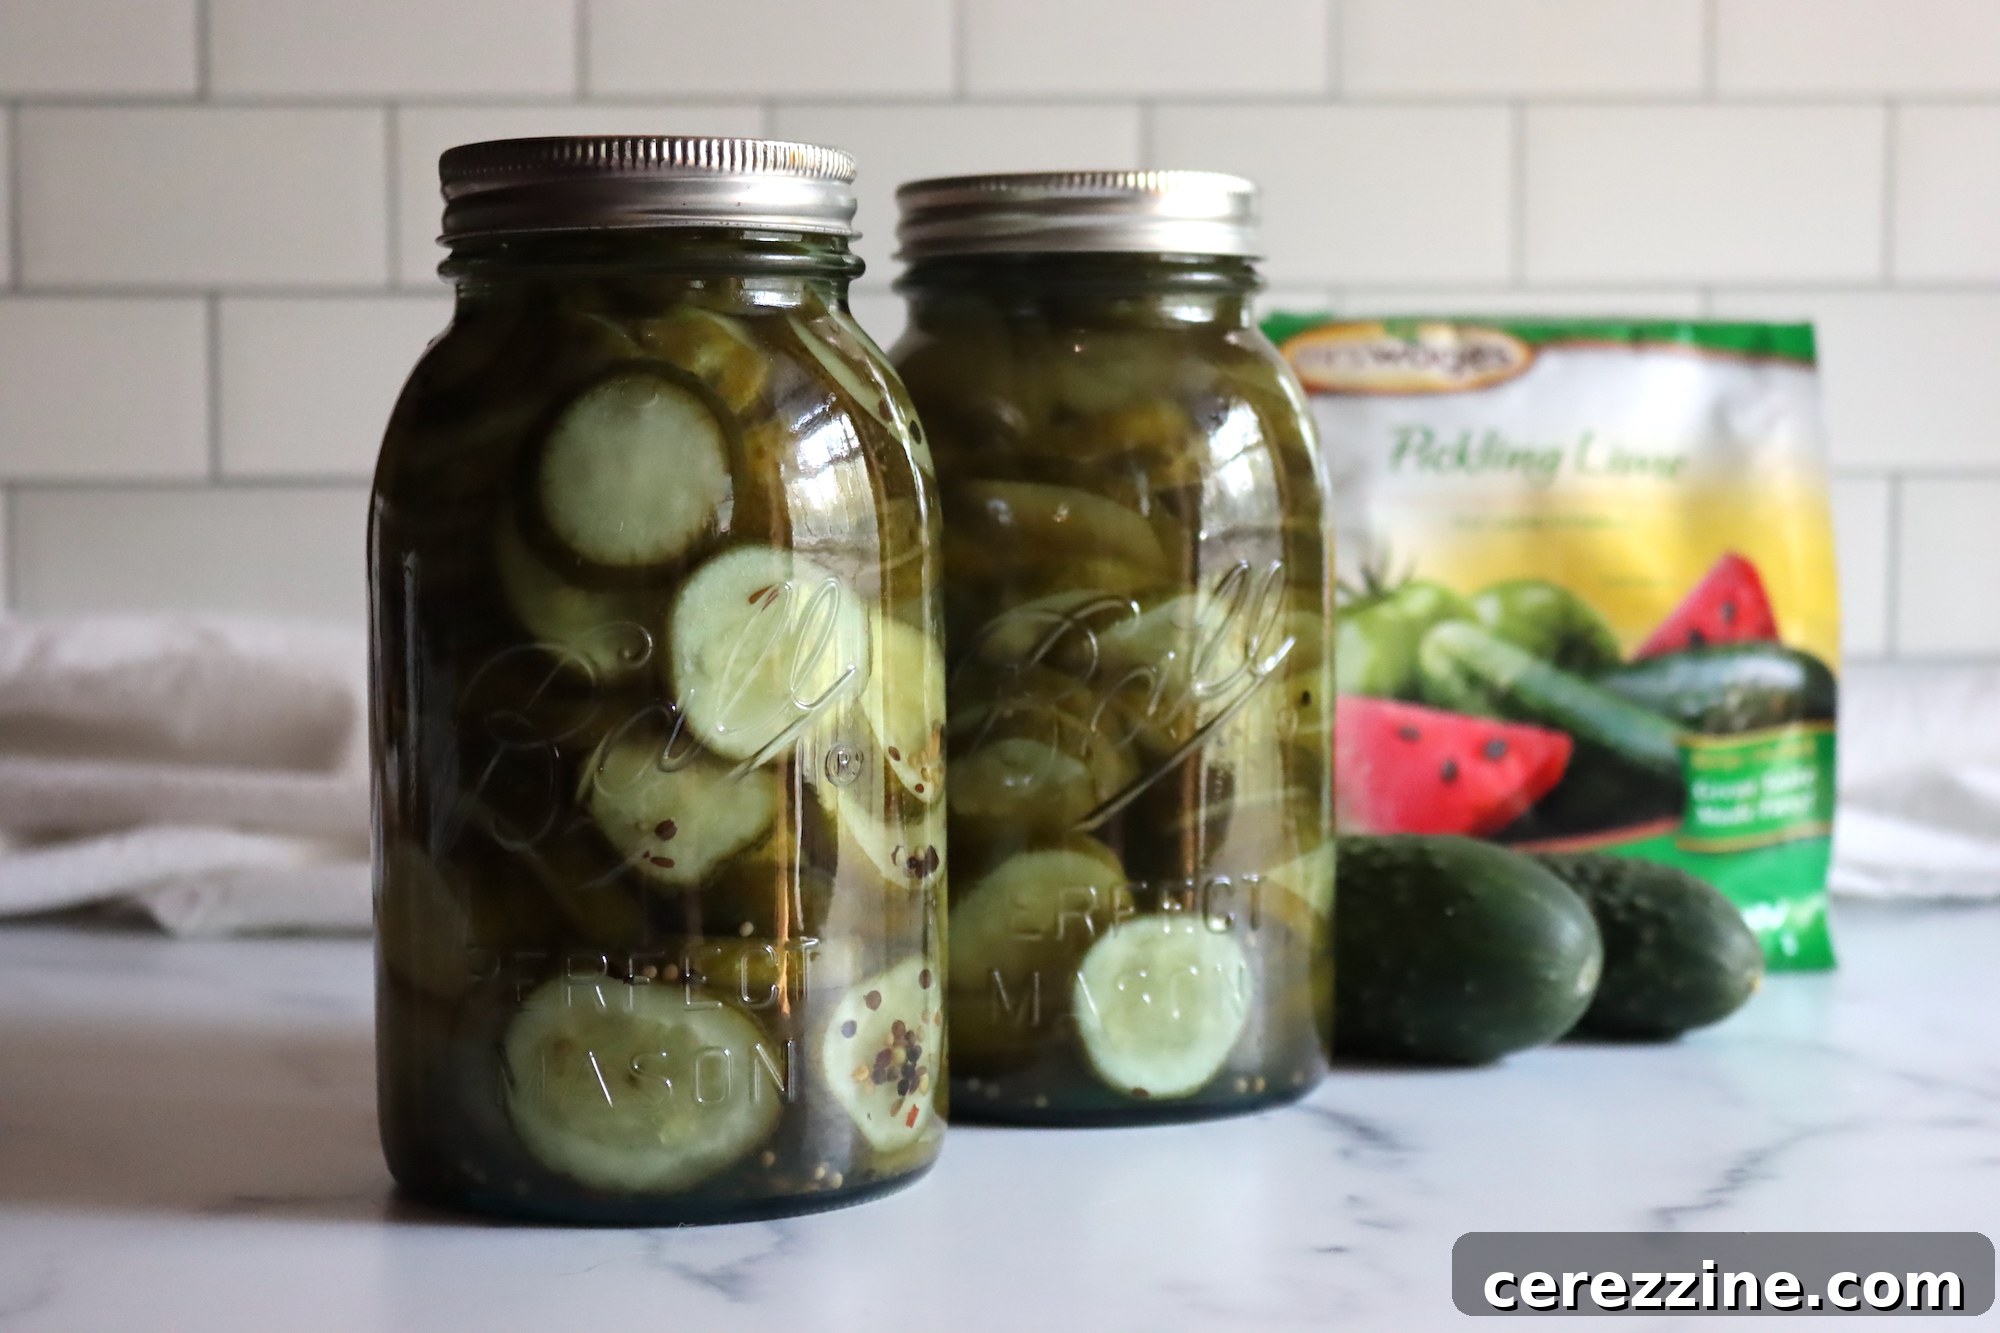
Craving that nostalgic crunch of your grandma’s homemade pickles? Many modern recipes promise crispness, but few deliver the unparalleled snap of traditional lime pickles. The secret lies in a time-honored ingredient: pickling lime. This article delves into the art and science of making these remarkably firm and flavorful pickles, ensuring every bite evokes cherished memories of classic home canning.
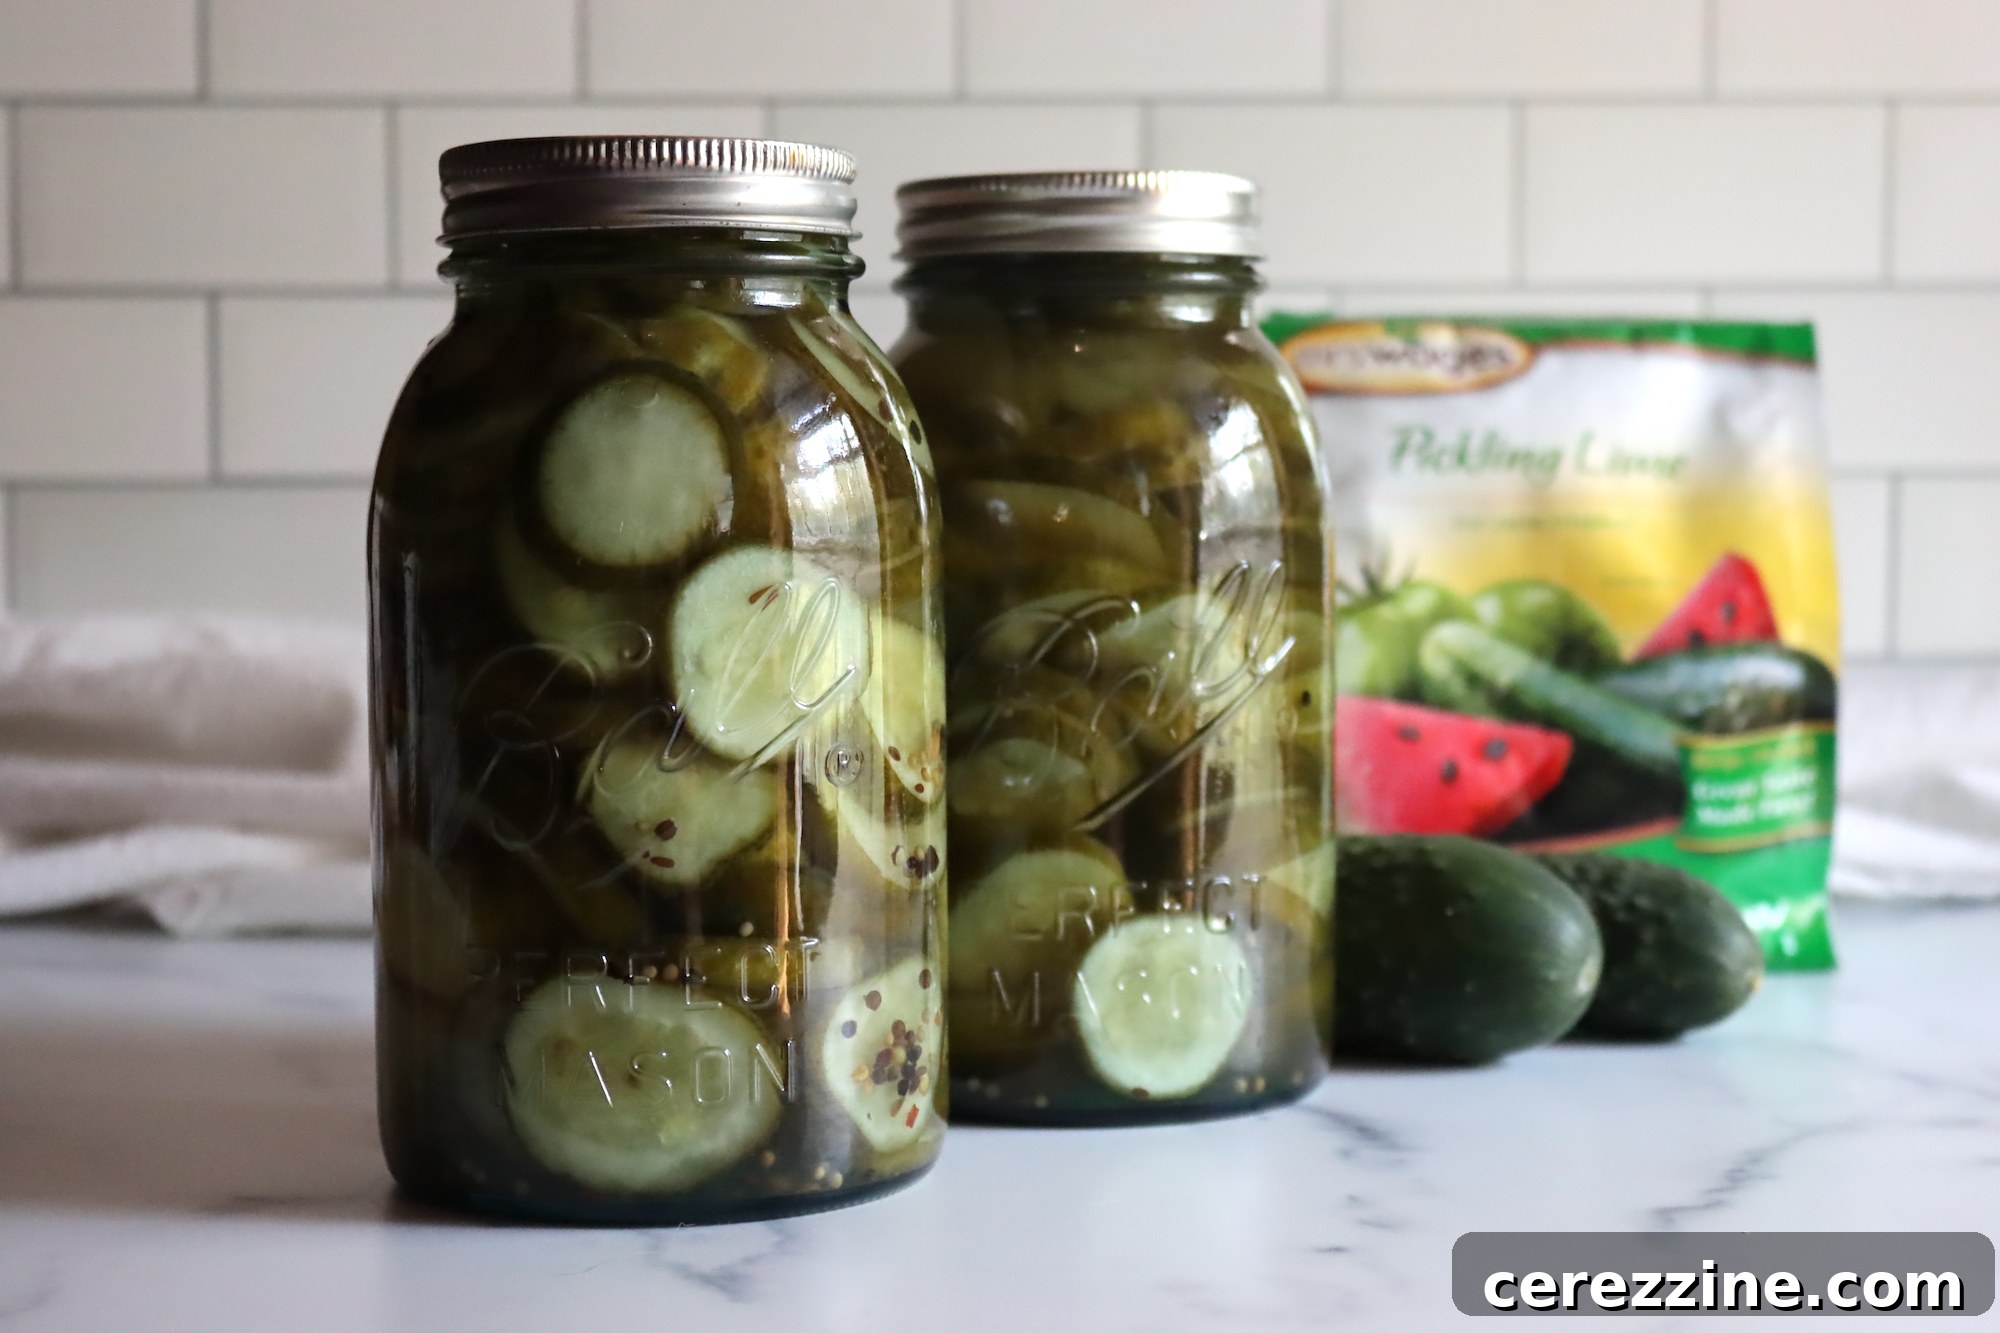
Unlocking the Ultimate Crunch: The Magic of Pickling Lime
If you’ve ever yearned for the crisp, firm texture of pickles from yesteryear, but found modern recipes falling short, the answer almost certainly involves pickling lime. This special ingredient is the key to achieving a crunch that modern alternatives simply can’t replicate. It transforms ordinary cucumbers into extraordinary, firm-bodied pickles that hold their shape and delightful bite through the canning process.
What Exactly is Pickling Lime?
Pickling lime, scientifically known as calcium hydroxide, is a food-grade finely ground calcium derived from limestone. It’s a natural mineral, not a modern lab creation, and its use in food preservation dates back centuries. The process of making food-grade pickling lime is remarkably simple and traditional: limestone is baked in a kiln, crushed, and then the calcium is extracted in water before being re-dried and finely ground into a consistent powder. This method has been employed for generations, utilizing techniques accessible even in pioneer times – relying on basic tools like kilns, campfires, and kettles rather than advanced laboratory equipment.
At its core, pickling lime is pure calcium. When cucumbers or other vegetables are soaked in a pickling lime solution, the calcium ions are absorbed into the plant’s cell walls. This fortifies the pectin within the cell walls, making them significantly firmer and more resistant to softening during the pickling and canning processes. The result is an incredibly crisp pickle that maintains its texture for months on the pantry shelf.
Beyond Pickles: Historical Uses of Pickling Lime
Historically, pickling lime was a staple in dry goods stores and kitchen pantries, recognized for its versatile firming and preserving properties. Its application extended far beyond just cucumbers. It could firm up almost any vegetable before pickling, ensuring a robust texture. Furthermore, cultures worldwide have used food-grade calcium hydroxide for millennia. In Mexico, it’s a crucial ingredient in nixtamalization, a process that makes corn more digestible and nutritious. In Asian cuisines, it’s used in making century eggs for preservation. Even in baking, it’s sometimes incorporated into pretzels to enhance browning and texture. Its rich history underscores its reliability and safety when used correctly in food preparation and preservation.
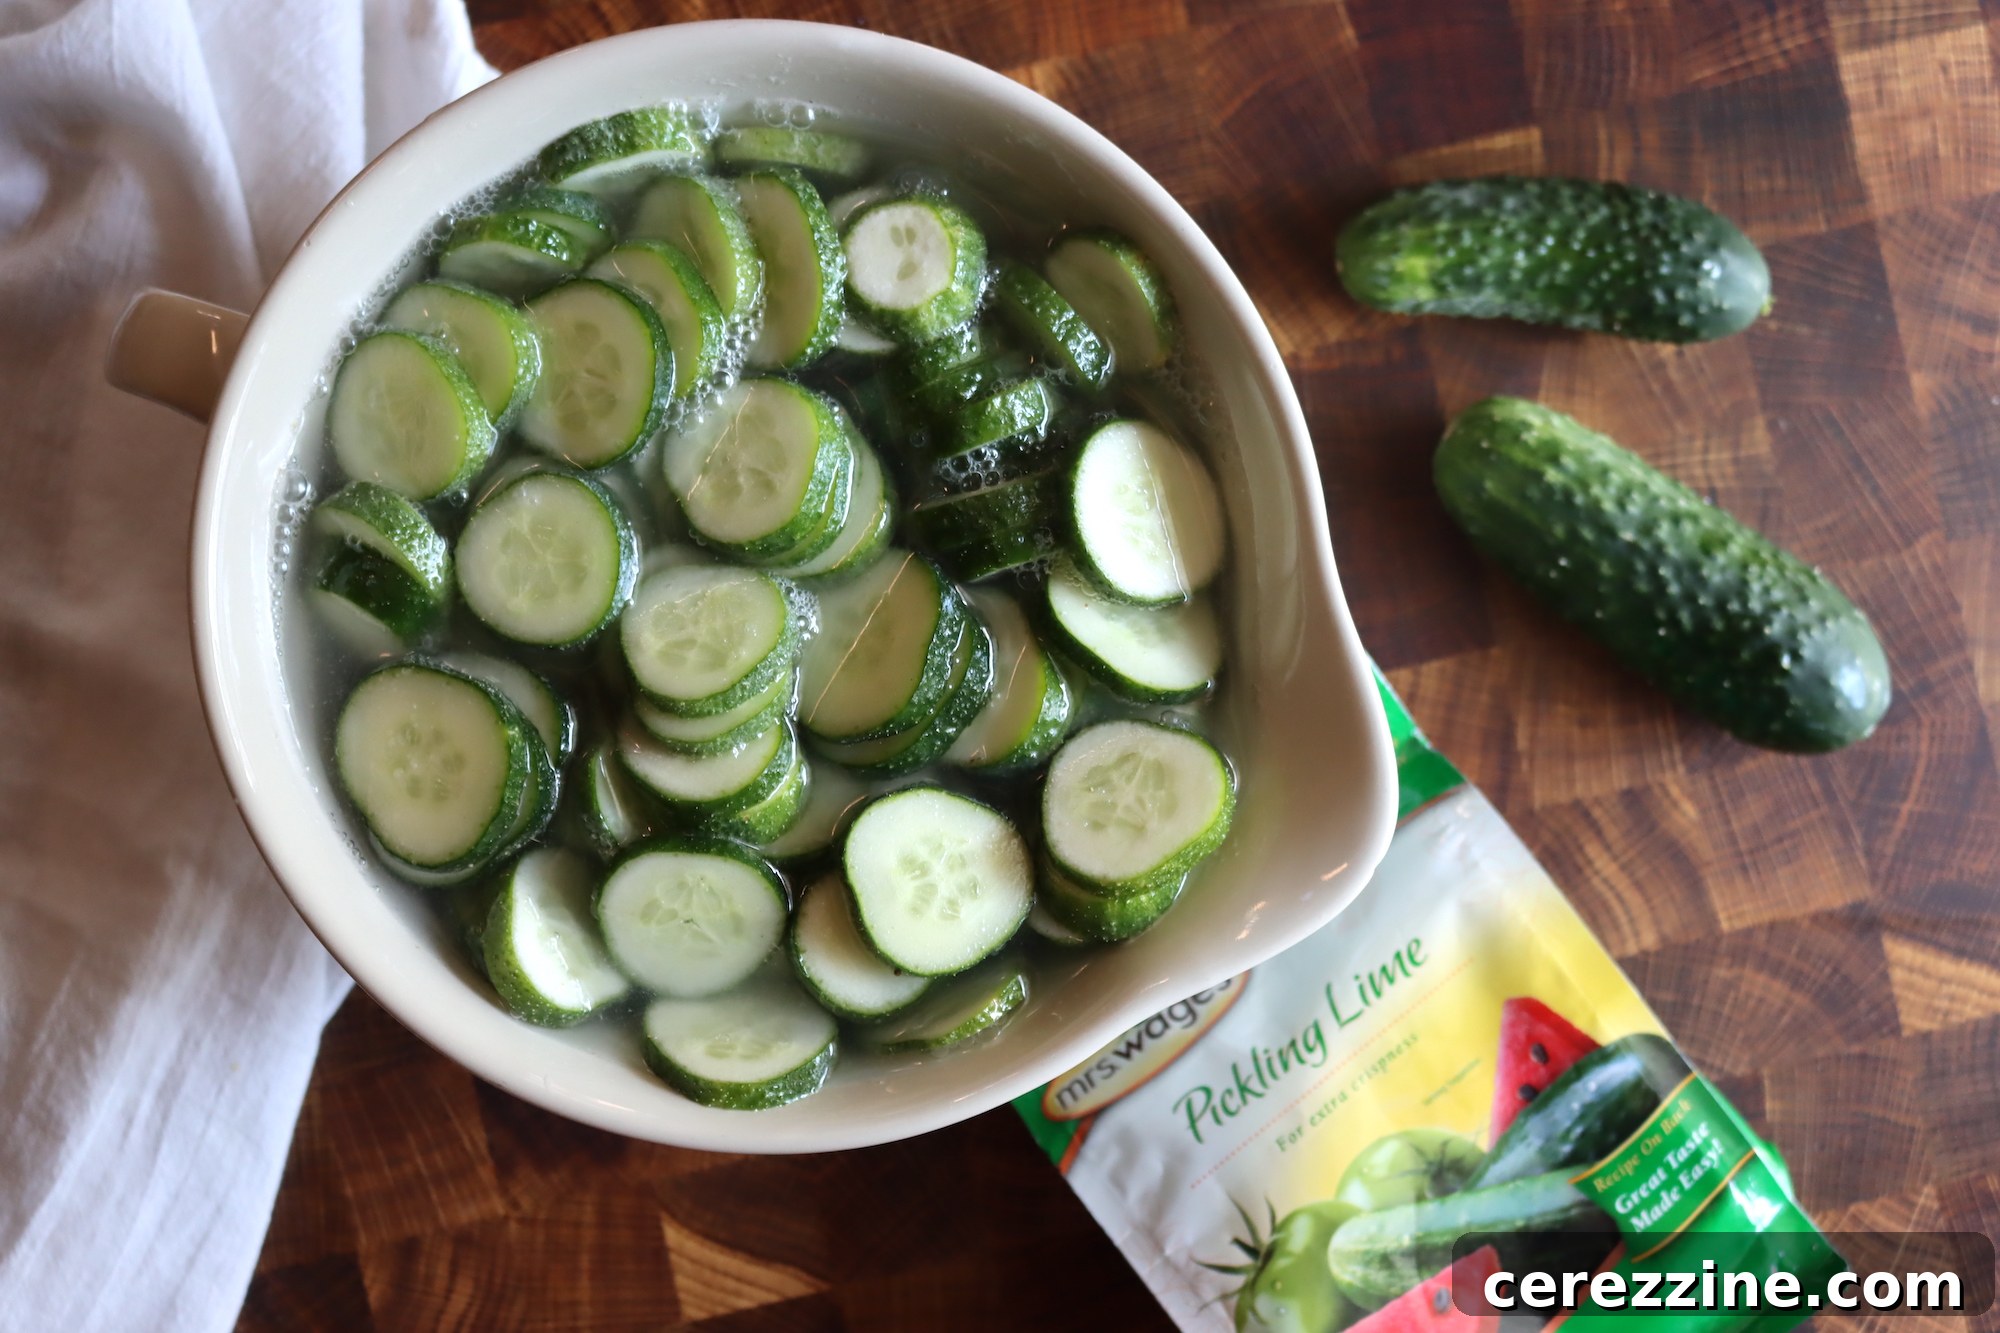
Pickling Lime vs. Modern Firming Agents: A Comparative Look
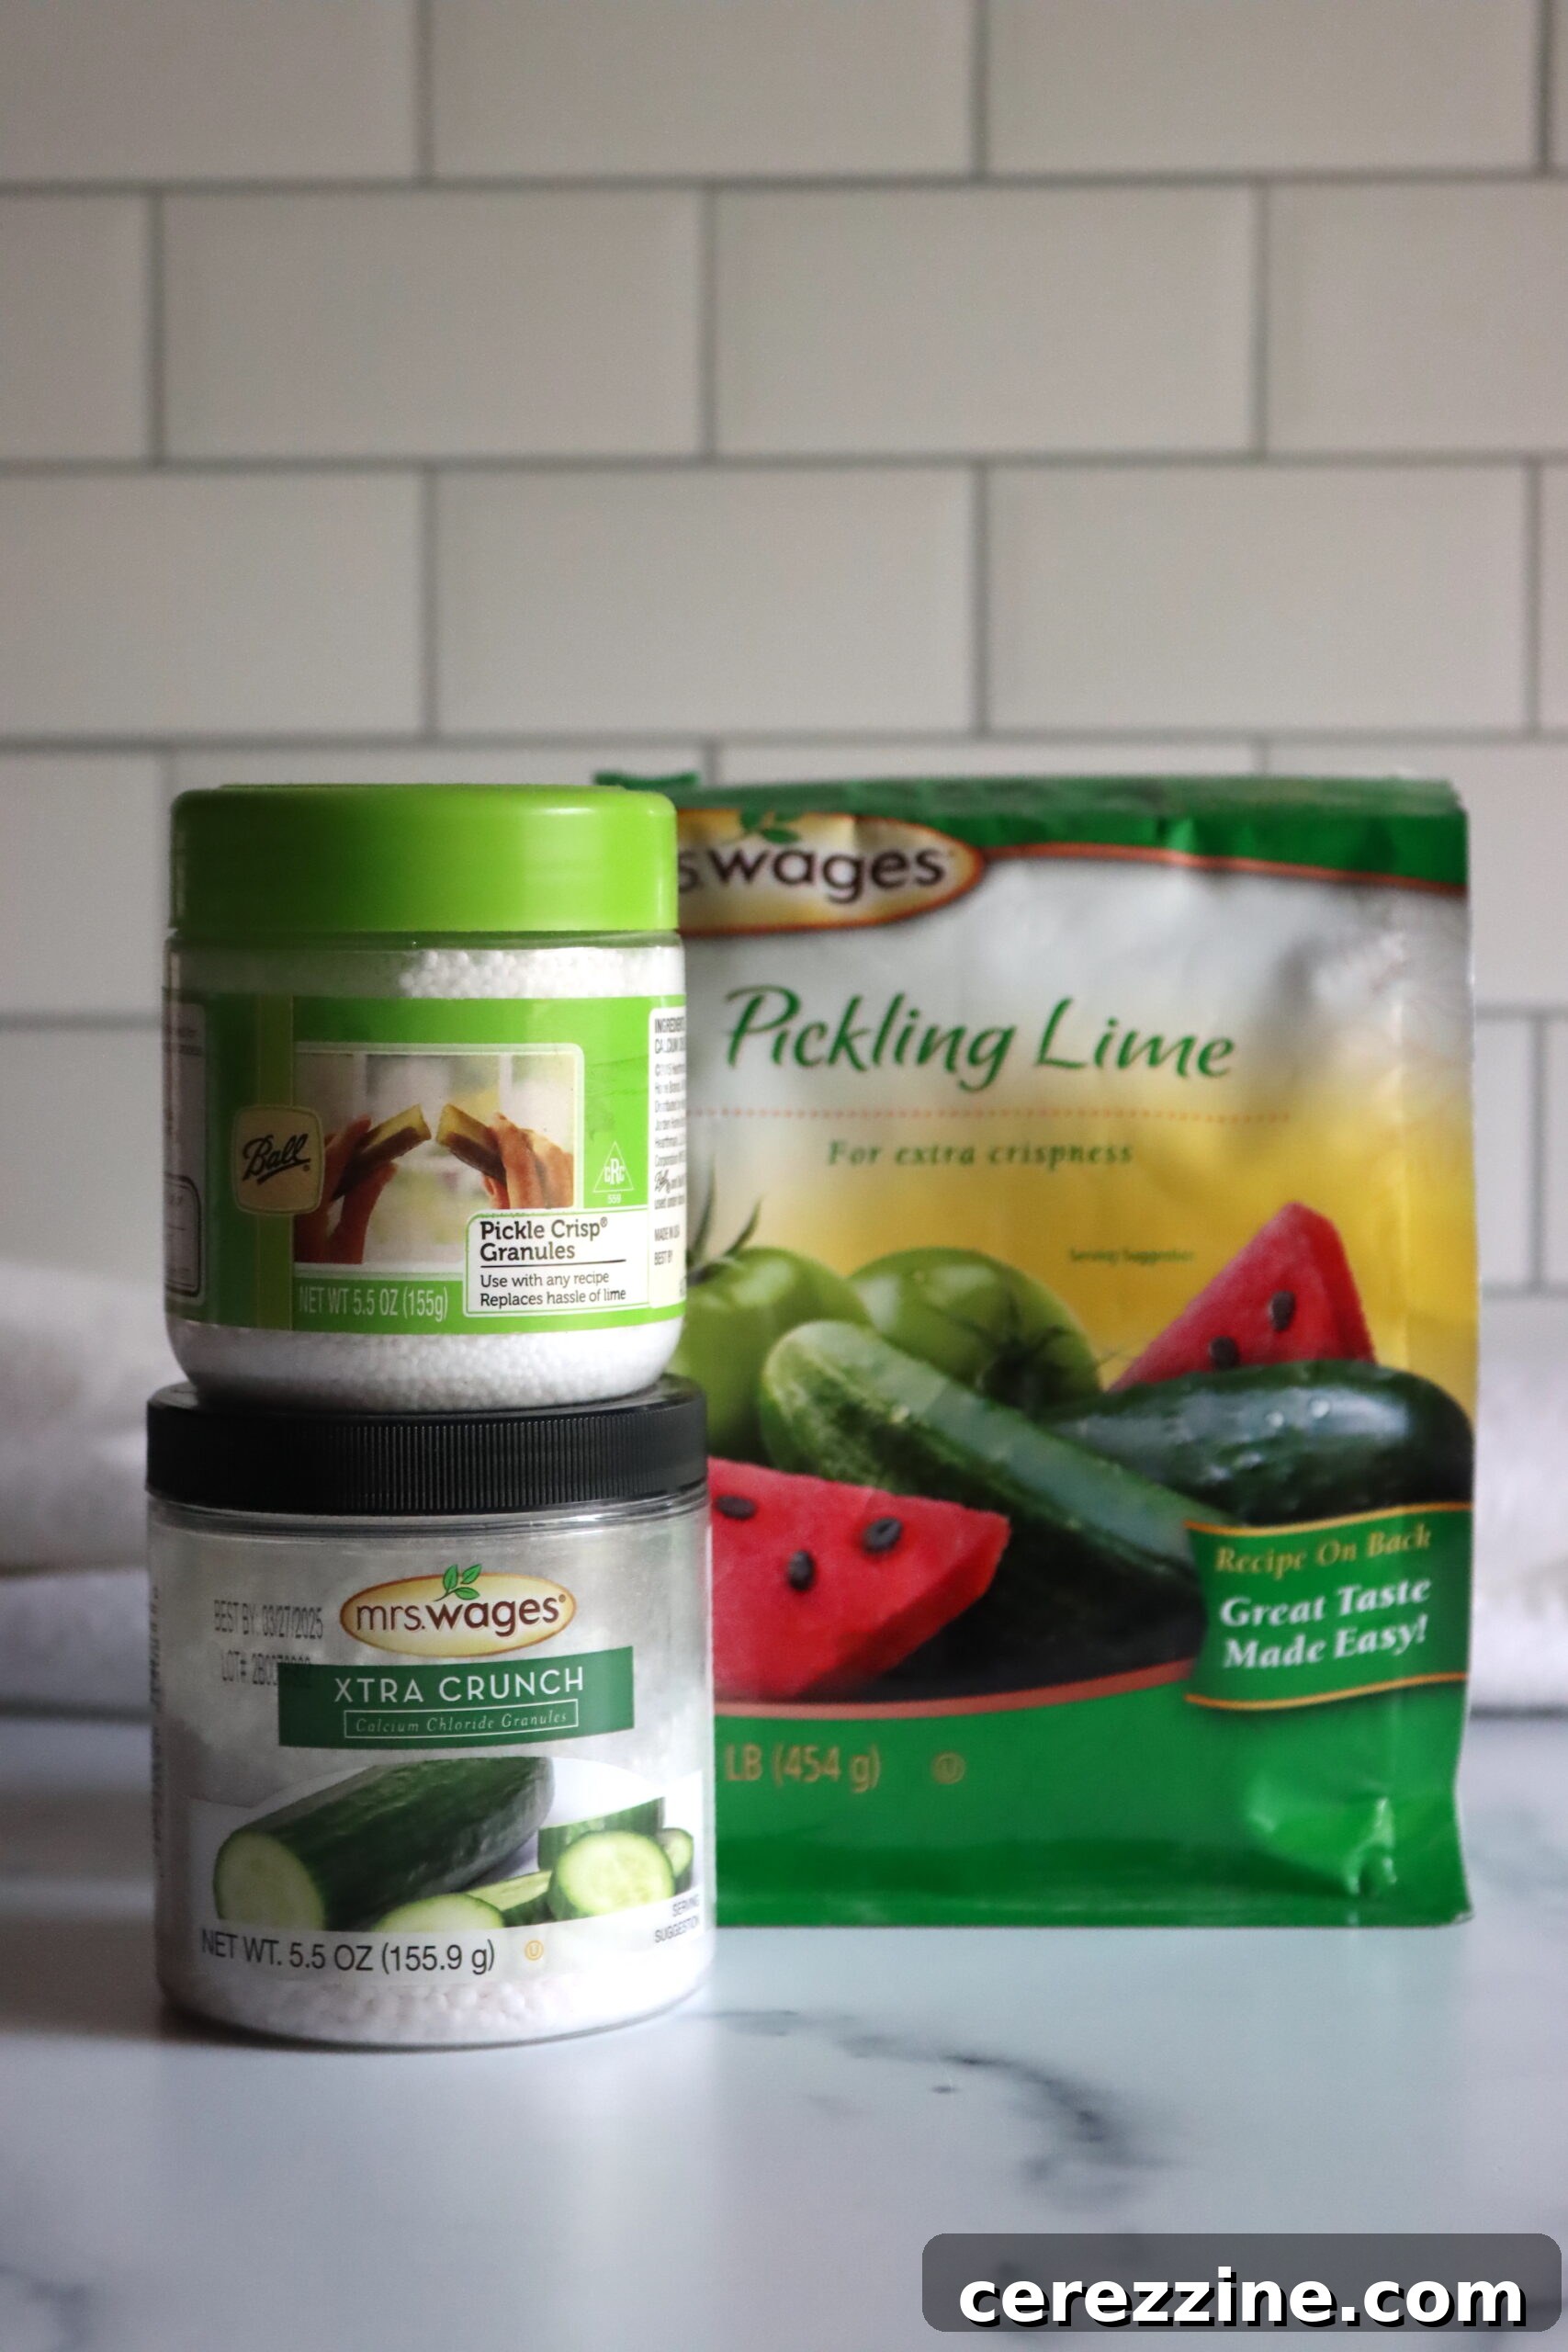
While pickling lime offers superior crispness, modern canning practices have introduced alternatives designed to achieve similar results with less fuss. It’s important to understand the differences and why traditional pickling lime often remains the preferred choice for texture enthusiasts.
Pickle Crisp Granules (Calcium Chloride)
Today, products like “pickle crisp granules” (often calcium chloride, sold by brands like Ball Canning) are widely available. Calcium chloride also works to firm vegetables by strengthening cell walls, but it’s used differently. With pickle crisp, a small amount (typically 1/8 teaspoon per pint jar) is added directly to the canning jar along with the cucumbers and brine. This is a convenient method, requiring no pre-soaking step. However, while effective, many seasoned canners find that calcium chloride doesn’t quite deliver the same level of intense crispness as a thorough pickling lime pre-soak. The firming action is good, but the legendary “snap” of a lime pickle is often a notch above.
Alum (Aluminum Sulfate)
Another historical firming agent is alum (aluminum sulfate). However, alum is no longer recommended as a food additive for pickles by reputable sources like the National Center for Home Food Preservation (NCHFP). The primary concern is its aluminum content. While the USDA still lists it as an approved food additive, it’s generally advised to avoid it if possible. Furthermore, the NCHFP notes that alum’s effectiveness is limited; it may help firm fermented pickles, but it offers little to no improvement for quick-process pickles.
In summary, when comparing firming agents, pickling lime (calcium hydroxide) stands out as the most effective for achieving truly crisp pickles. While calcium chloride (pickle crisp) offers an easier method, it often falls short of the deep, satisfying crunch provided by a proper lime soak. Alum, due to safety concerns and limited efficacy, is best avoided.
Is Pickling Lime Safe? Addressing Common Concerns
The safety of pickling lime is a common question, and rightfully so. When used correctly and following tested recipes, food-grade calcium hydroxide (pickling lime) is perfectly safe. As mentioned, it has been used in food preparation across diverse cultures for millennia. Its presence in traditional foods like pretzels, century eggs, and nixtamalized corn demonstrates its long history of safe consumption.
The main concern with using pickling lime in pickles stems from its alkaline nature. Pickles, by definition, require a high level of acidity for safe preservation. If residual lime remains on the cucumbers, it can raise the pH of the final product, making it unsafe for canning and consumption. However, this risk is entirely mitigated by following proper procedures.
Key Safety Guidelines from the National Center for Home Food Preservation (NCHFP)
The NCHFP, a leading authority on home food preservation, provides clear guidelines for safely using pickling lime. As of Fall 2023, their recommendations emphasize two critical steps:
- Thorough Rinsing: After soaking cucumbers in a lime-water solution, it is absolutely essential to drain the solution and rinse the cucumbers multiple times. The NCHFP specifically advises draining the lime-water, rinsing, and then re-soaking the cucumbers in fresh water for 1 hour. This rinsing and re-soaking process should be repeated two more times. This diligent rinsing ensures that all excess, unabsorbed lime is removed from the surface of the cucumbers, which could otherwise interfere with the pickling brine’s acidity.
- High-Acidity Brine: Recipes using pickling lime typically call for a stronger pickling brine than average. This usually means using a 100% vinegar solution (at 5% acidity) rather than a brine diluted with water. The increased acidity of the brine counteracts any minuscule amounts of calcium absorbed by the cucumber, guaranteeing the final pH is low enough for safe preservation. This extra acidity is non-negotiable for lime pickles.
It’s important to understand that while the calcium ions *within* the cucumber’s cell walls help with firming, the *external* lime residue is what poses a safety risk if not completely washed away. By adhering strictly to the rinsing protocol, you ensure that only the beneficial calcium remains, ready to contribute to that desirable crunch.
Also, because lime pickles require a high-vinegar brine, they are almost universally sweet pickles. The generous amount of sugar in these recipes balances the intense acidity, making them palatable. While you can adjust sugar for taste, never reduce the vinegar, as it’s crucial for preservation, not just flavor. Skipping any of the soaking, rinsing, or brine concentration steps can compromise safety and quality. Always follow tested recipes meticulously.
Ingredients for the Ultimate Lime Pickles
This classic lime pickle recipe is a well-regarded method, ensuring both safety and exceptional crispness. It’s based on trusted canning guides, utilizing precise ratios for optimal results. This recipe yields approximately 5 quarts of lime pickles.
For the Pre-Soak:
- 7 lbs Pickling Cucumbers, 3-4 inches long (approximately 40 medium cucumbers)
- 1 cup Pickling Lime (food-grade calcium hydroxide)
- 2 Gallons Water, plus additional for rinsing
A Note on Pickling Lime Quantity: Older versions of lime pickle recipes sometimes suggest using 2 cups of pickling lime for 2 gallons of water. However, this is excessive. Water can only dissolve a certain amount of lime, and saturation is typically reached before 1/2 cup per gallon. Anything beyond that simply settles at the bottom and goes to waste. The 1 cup per 2 gallons ratio is sufficient and effective.
For the Pickling Brine:
- 8 Cups White Vinegar (5% Acidity)
- 8 Cups Granulated Sugar
- 1 Tbsp Canning Salt (non-iodized)
- 1 Tbsp Pickling Spice (commercial blend or homemade)
Understanding the Brine Composition: You’ll notice that this pickling brine contains no added water – it’s 100% vinegar. This is intentional and crucial for lime pickles. The calcium from the pickling lime is alkaline, meaning it has a higher pH. To counteract this and ensure the pickles are safely acidic for preservation, a highly acidic brine is necessary. Standard pickle recipes often use a 50/50 water-to-vinegar ratio, but for lime pickles, full-strength vinegar is paramount.
This high-vinegar content is also why lime pickles are almost exclusively sweet pickles. Using twice as much vinegar as a typical dill pickle recipe would result in an overwhelmingly sour product without a generous amount of sugar to balance it. The 1:1 sugar-to-vinegar ratio in this recipe yields a pleasantly sweet pickle, a common characteristic of old-fashioned canning methods (unless they were fermented sour pickles).
While you can slightly adjust the sugar content to your taste (as sugar is primarily for flavor, not preservation in this context), **never reduce the amount of vinegar**. All liquid in the pickling brine must be 5% acidity vinegar to ensure safety.
Furthermore, pay close attention to all recipe steps, especially the multiple rinsing stages to remove excess lime and the subsequent soaking in both plain water and brine. The final step of boiling the drained brine for 35 minutes is also vital; it reconcentrates the brine after it has drawn water out of the cucumbers during their soak, ensuring consistent acidity and flavor.
Step-by-Step: How to Make Old-Fashioned Lime Pickles
Making lime pickles is a process that spans several days, but much of that time is hands-off, dedicated to soaking. Patience is key to achieving their superior crispness.
Day 1: Cucumber Preparation and Lime Soak
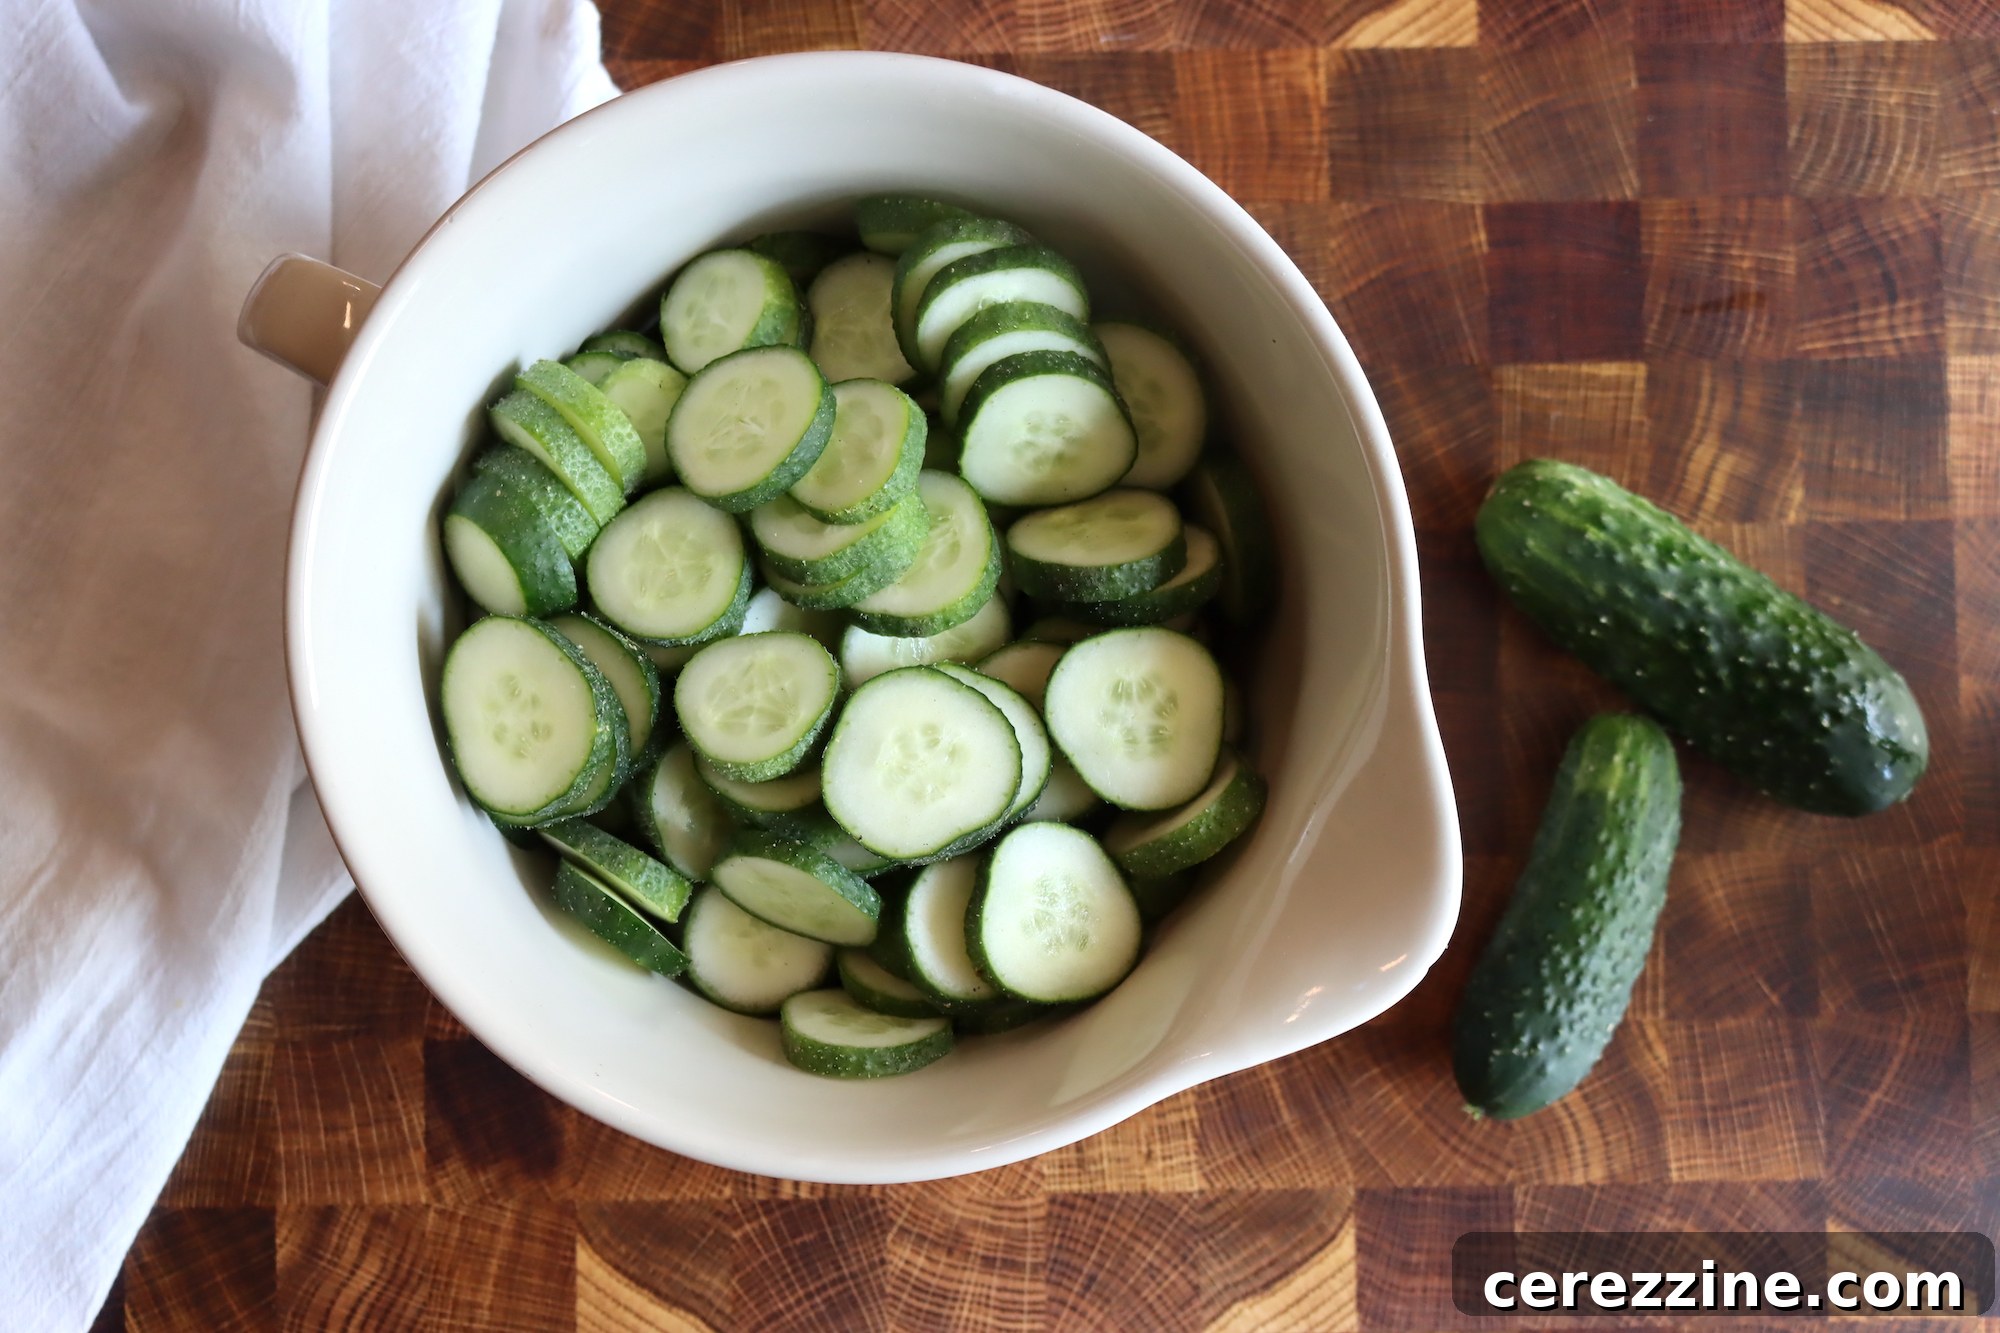
- Prepare Cucumbers: Begin by thoroughly washing and gently scrubbing your pickling cucumbers to remove any spines or dirt. Next, trim approximately 1/8 to 1/16 of an inch off both the stem and blossom ends of each cucumber and discard the blossom end. The blossom end contains an enzyme that can cause pickles to soften in the jar, so removing it is crucial for crispness.
- Slice Cucumbers: Slice the cucumbers into uniform 1/4-inch thick slices. It’s essential to slice cucumbers when using pickling lime. Whole cucumbers, even small ones, prevent the lime solution from adequately penetrating to the center, leading to uneven firming and potential spoilage before proper pickling. You can also make pickle spears by cutting them vertically into quarters, or “sandwich slabs” by making long, vertical 1/4-inch slices, but simple rounds are most common.
- Prepare Lime Solution: In a large, non-reactive food-grade container (such as glass, ceramic, stainless steel, or food-grade plastic), combine 1 cup of pickling lime with 2 gallons of water. Stir thoroughly until the lime is mostly dissolved. **Avoid using aluminum or copper containers**, as the lime will react with these metals, potentially ruining both your container and the pickles.
- Soak Cucumbers: Place the sliced cucumbers into the lime solution, ensuring they are completely submerged. You may need to use a plate with a clean weight on top to keep them immersed.
- Initial Soak: Allow the cucumbers to soak in the lime solution for 12 to 24 hours at room temperature, stirring occasionally to ensure even distribution of the lime. During this time, you might observe some small bubbles rising from the cucumbers; this is normal and indicates that air is being released from their tissues, which helps them stay firm and prevents floating in the canning jars.
Day 2: Rinsing and Cold Water Soak
- Drain and Rinse: After the initial lime soak, carefully drain and discard the lime solution. This solution is generally safe for disposal down a regular kitchen sink, or it can be beneficial for gardens with acidic soil. Immediately and thoroughly rinse the cucumbers at least three times under running clean water. The goal is to remove every trace of excess pickling lime from their surfaces and the container. This step is critical for safety, as any residual external lime can increase the pH of your final pickles and compromise preservation.
- Ice Water Soak: Transfer the well-rinsed cucumber slices to a clean container. Cover them with fresh ice water and let them soak for 3 to 6 hours. This step serves two purposes: it chills the cucumbers, further enhancing their crispness, and helps to draw out any last lingering bits of unabsorbed lime. Again, this is a non-negotiable safety step.
- Final Rinse: After the ice water soak, drain the water and give the cucumber slices one final, quick rinse.
Day 2 or 3: Brine Soak (Refrigeration recommended if soaking overnight)
- Prepare Brine: In a separate bowl or pot, combine the white vinegar, sugar, canning salt, and pickling spice for the brine. Stir vigorously to dissolve the sugar and salt as much as possible. At this stage, the brine should be at room temperature or cool. (Alternatively, you can bring it to a boil to fully dissolve everything, then let it cool completely before proceeding.)
- Brine Soak: Pour the room-temperature or cool brine over the prepared cucumber slices in a clean container. Ensure the cucumbers are fully submerged. Cover the container and allow the cucumbers to soak in the brine in the refrigerator for approximately 6 hours, or ideally, overnight. This crucial soak begins to acidify the cucumbers internally through osmosis, pulling water out of them and further firming their texture, which prevents sogginess and ensures complete brine penetration during canning.
Day 3: Brine Concentration and Canning
- Concentrate Brine: After the brine soak, carefully drain the brine into a stock pot, reserving the cucumber slices in a separate clean bowl. Bring the drained brine to a hard boil, then reduce the heat and simmer gently for 35 minutes. This simmering process is vital: it concentrates the brine by boiling off the water that the cucumbers released during their soak, ensuring the brine’s acidity and flavor profile remain optimal.
- Prepare Canner and Jars: While the brine is simmering, prepare your water bath canner. Fill it with water and pre-heat it to approximately 180°F (82°C) for hot pack canning. Wash and warm your canning jars, and prepare new lids and rings according to manufacturer’s instructions.
- Pack Jars: Tightly pack the soaked cucumber slices into the warmed, prepared jars, leaving 1/2 inch of headspace. The cucumbers will shrink slightly during the canning process, so packing them snugly is appropriate.
- Fill with Hot Brine: Once the brine has simmered for 35 minutes, increase the heat to bring it back to a rolling boil. Carefully pour the boiling hot brine over the packed cucumber slices in the jars, maintaining the 1/2 inch headspace.
- De-bubble and Seal: Use a non-metallic utensil to gently de-bubble the jars, releasing any trapped air. Check headspace again and add more brine if necessary to maintain 1/2 inch. Wipe the jar rims clean, center the warm lids, and secure with screw bands to fingertip tight.
- Process in Water Bath: Carefully load the sealed jars into the pre-heated water bath canner, ensuring they are fully covered by at least 1-2 inches of water. Bring the canner to a full, rolling boil.
- Processing Times: Process pint jars for 10 minutes and quart jars for 15 minutes. Remember to adjust processing times for altitude (refer to the altitude adjustment chart below).
- Cooling and Storage: Once the processing time is complete, turn off the heat and allow the jars to rest in the canner for an additional 5 minutes before removing them. This helps prevent thermal shock and siphoning (liquid loss) from the jars. Carefully remove the hot jars from the canner and place them on a clean towel on your countertop, spaced apart, to cool completely for 12-24 hours. Do not disturb them during this time.
- Check Seals and Store: After the jars have cooled, check all seals. Lids should be concave and not flex when pressed. Any unsealed jars should be refrigerated and consumed within a few weeks. Properly canned and sealed jars of lime pickles will maintain their peak quality on the pantry shelf for 12-18 months and remain safe to eat as long as the seal is intact. Refrigerate after opening.
- Waiting Period: For the best flavor and texture, allow your lime pickles to cure for at least 2 weeks before eating. While they are acceptable after about 2-3 days, their taste and crispness significantly improve with time.
Altitude Adjustments for Canning Lime Pickles
Water boils at lower temperatures at higher altitudes, meaning food needs to be processed longer to ensure proper sterilization and safety. Always adjust your processing times based on your elevation:
- 0-1,000 feet: 10 minutes for pint jars, 15 minutes for quart jars.
- 1,001-3,000 feet: 15 minutes for pint jars, 20 minutes for quart jars.
- 3,001-6,000 feet: 20 minutes for pint jars, 25 minutes for quart jars.
- Above 6,000 feet: 25 minutes for pint jars, 30 minutes for quart jars.
Beyond Cucumbers: Lime Pickle Variations
While this recipe focuses on traditional sweet cucumber lime pickles, the versatility of pickling lime extends to other vegetables and flavor profiles. The National Center for Home Food Preservation (NCHFP) offers several tested recipes that incorporate pickling lime, proving its efficacy beyond just cucumbers.
For example, you can apply the lime pre-treatment to create exceptionally crisp Bread and Butter pickles or Quick Sweet pickles. Jalapeños also benefit tremendously from a lime soak before pickling, resulting in firm, spicy rings that maintain their texture through canning. The foundational soaking and rinsing process remains largely the same across these variations, with the primary difference being the unique spice mixes and brine flavors that define each pickle type. Always remember to follow tested recipes diligently and perform thorough rinsing to remove all excess lime before pickling.
- Bread and Butter Pickles with Pickling Lime
- Sweet Pickles with Pickling Lime
- Pickled Jalapeños with Pickling Lime
(The beautiful quart-sized Ball Aqua Vintage Mason Jars featured in this article, inspired by stunning blue vintage glass jars from the early 20th century, are a particularly fitting choice for showcasing these old-fashioned lime pickles.)
Old Fashioned Cucumber Lime Pickles (with Pickling Lime)
By Ashley Adamant
Old fashioned lime pickles utilize pickling lime as a firming agent, resulting in the crispest pickles imaginable!
Servings: 40 Servings (Makes 5 Quarts or 10 Pints)
Prep Time: 1 day 12 hours (includes soaking)
Cook Time: 45 minutes
Additional Time: 30 minutes
Total Time: 1 day 13 hours 15 minutes
Equipment
- Pickling Lime
- Water Bath Canner
- Wide Mouth Quart Mason Jars
- Wide Mouth Canning Lids
- Colander
- Large, Non-Reactive Food-Grade Container (e.g., glass, ceramic, stainless steel, or food-grade plastic)
- Stock Pot
Ingredients
For the Pre-Soak
- 7 lbs Pickling Cucumbers, 3-4 inches long (about 40)
- 1 cup Pickling Lime
- 2 Gallons Water, plus more to rinse
Pickling Brine
- 8 Cups White Vinegar (5% Acidity)
- 8 Cups Sugar
- 1 Tbsp Canning Salt
- 1 Tbsp Pickling Spice
Instructions
- Wash and scrub the pickling cucumbers, then remove the stems and cut off the blossom ends (approximately 1/8 to 1/16 inch).
- Slice cucumbers into 1/4 inch (or thinner) slices.
- In a large, non-reactive food-grade container, mix 1 cup of pickling lime with 2 gallons of water to create the soaking solution. Avoid aluminum or copper containers.
- Place the cucumber slices into the container. Pour the pickling lime solution over them, and weigh them down with a plate or similar object to ensure they are completely submerged.
- Soak the cucumbers for about 12 hours (or overnight) at room temperature, stirring occasionally to keep the lime evenly distributed.
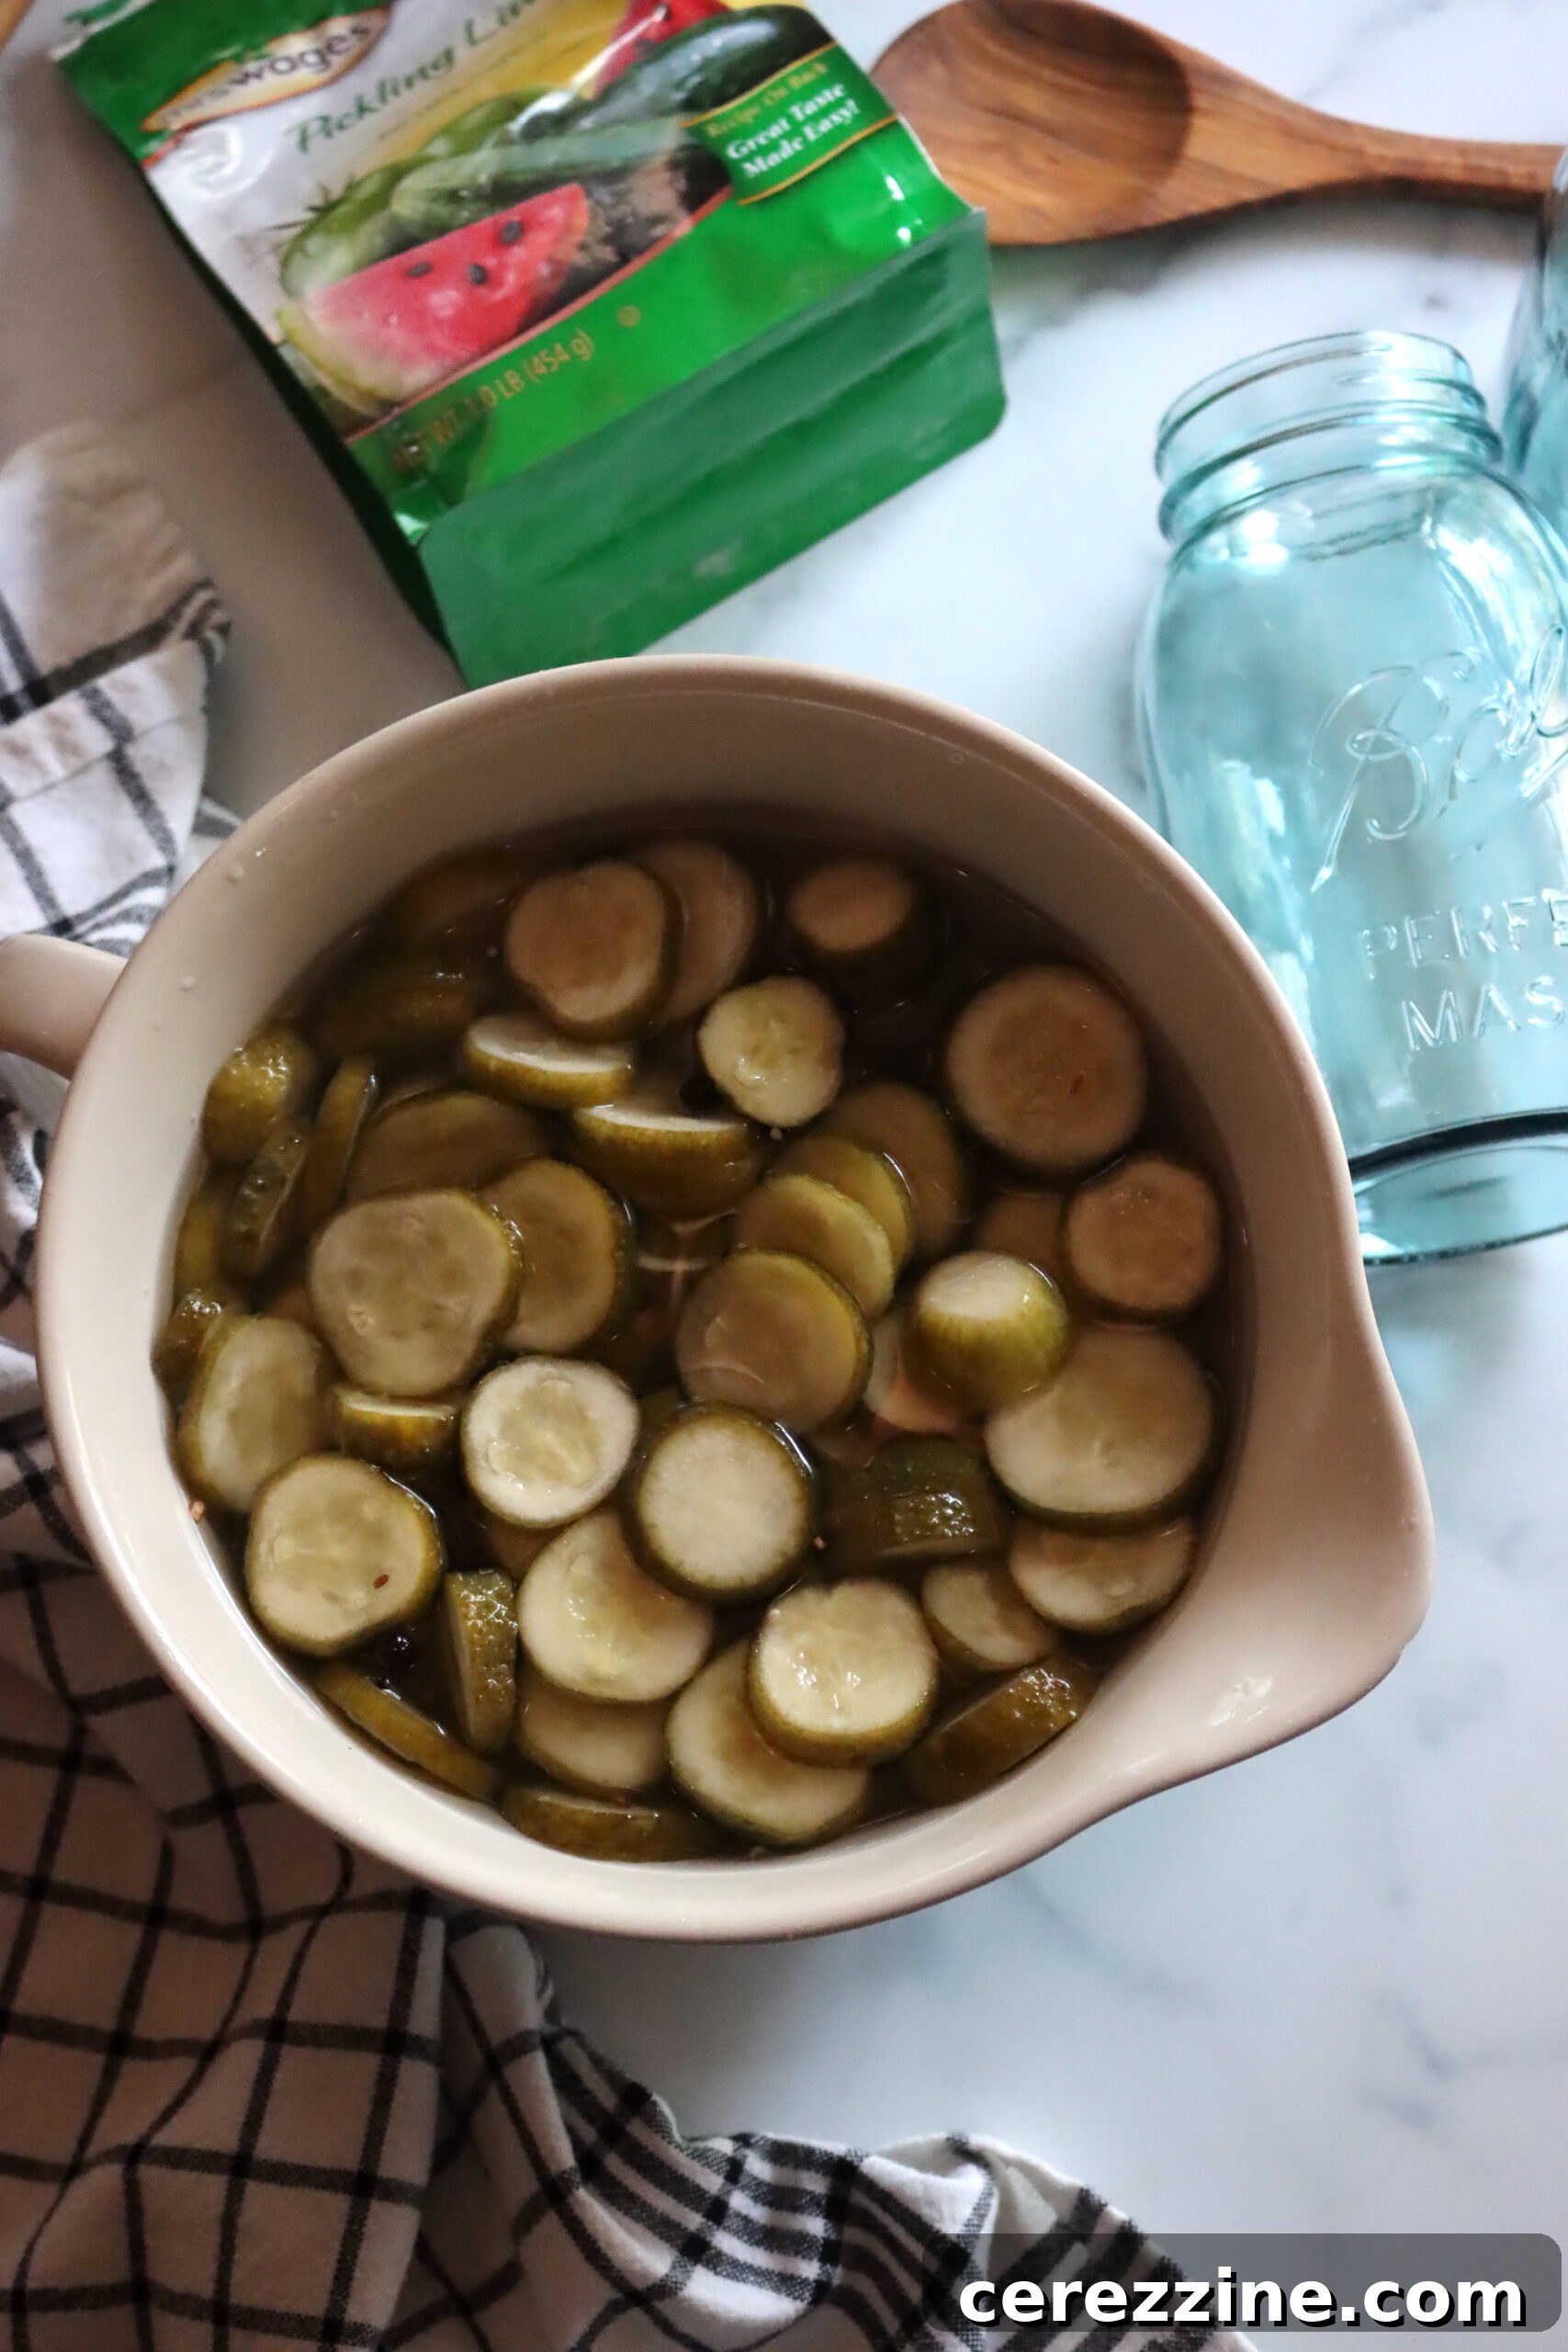
- After soaking, carefully pour off and discard the lime solution. Rinse the cucumbers thoroughly 3 times in clean water, ensuring all lime residue is removed from their surfaces and the container.
- Place the rinsed cucumber slices in a clean container and soak them in clean ice water for 3 to 6 hours. This step helps chill them and removes any last traces of pickling lime.
- Drain and discard the ice water.
- Prepare the pickling brine: In a separate bowl, mix the vinegar, sugar, canning salt, and pickling spice. Stir very well to dissolve the sugar and salt. The brine should be at room temperature or cool at this point.
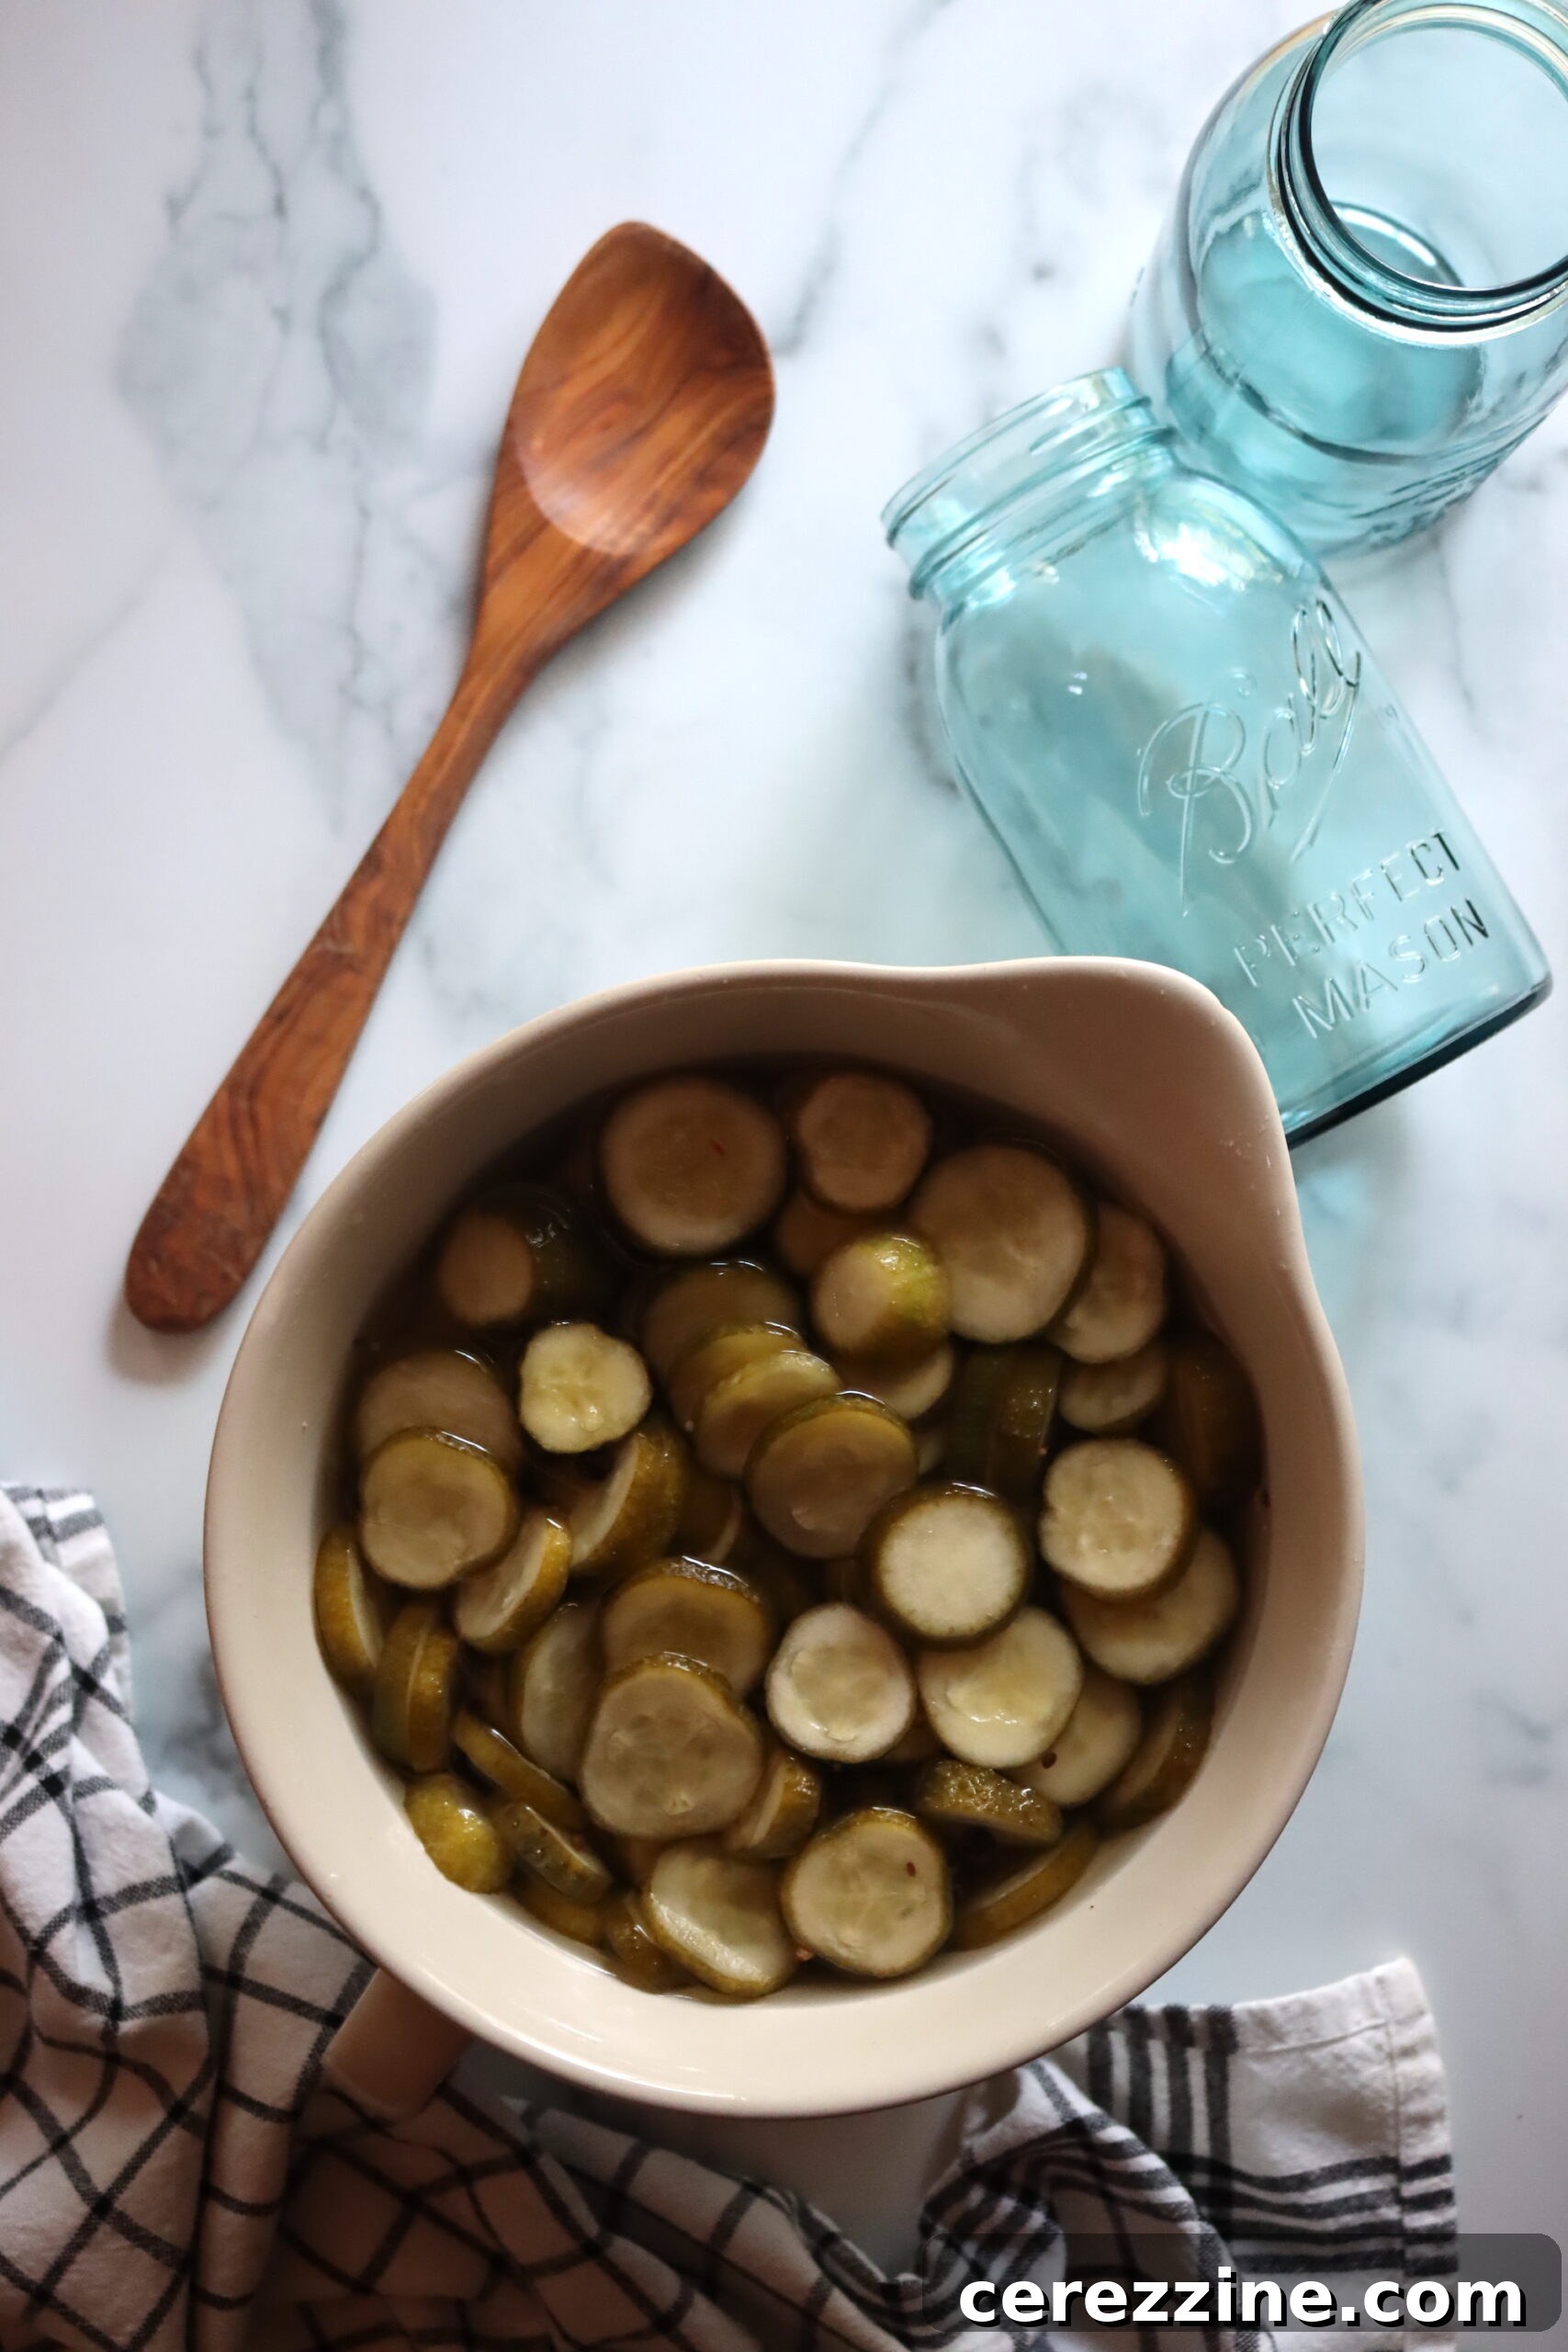
- Pour the room-temperature brine over the cucumber slices. Let them stand in the brine for about 6 hours or overnight. Cover the container and refrigerate if soaking overnight.
- After the brine soak, drain the brine into a stock pot (reserve the cucumber slices). Bring the brine to a hard boil, then reduce heat and simmer for 35 minutes to concentrate it.
- While the brine simmers, prepare a water bath canner by pre-heating it to about 180°F (82°C). Also, wash and warm your jars, and prepare lids and rings.
- Tightly pack the cucumber slices into the prepared warm jars, leaving 1/2 inch headspace.
- Once the brine has simmered for 35 minutes, bring it back to a rolling boil. Pour the boiling hot brine over the cucumber slices in the jars, maintaining 1/2 inch headspace.
- De-bubble the jars with a non-metallic utensil, adjust headspace if needed, and clean the jar rims. Place lids and screw bands, tightening to fingertip tight. Load jars into the pre-heated canner.
- Bring the canner to a full rolling boil. Process pint jars for 10 minutes and quart jars for 15 minutes, adjusting for your altitude (see notes below).
- After processing, turn off the heat and let the jars sit in the canner for 5 minutes. Then, remove them to a towel-lined countertop to cool completely (12-24 hours) without disturbance.
- Check seals once jars are cool. Any unsealed jars should be stored in the refrigerator for short-term use. Properly sealed jars can be stored in a cool, dark pantry for 12-18 months. Refrigerate after opening. Allow at least 2 weeks for the pickles to fully cure and develop their best flavor and crispness.
Notes
Altitude Adjustments for Canning Lime Pickles:
If you’re under 1,000 feet in elevation, the processing times for lime pickles are 10 minutes for pint jars and 15 minutes for quart jars. Above 1,000 feet, the times are as follows:
- For 1,001 to 3,000 feet – Use 15 minutes for pints and 20 minutes for quarts
- For 3,001 to 6,000 feet – Use 20 minutes for pints and 25 minutes for quarts
- Above 6,000 feet – Use 25 minutes for pints and 30 minutes for quarts
Nutrition
Calories: 173kcal, Carbohydrates: 42g, Protein: 0.5g, Fat: 0.3g, Saturated Fat: 0.01g, Polyunsaturated Fat: 0.01g, Monounsaturated Fat: 0.003g, Sodium: 187mg, Potassium: 111mg, Fiber: 1g, Sugar: 41g, Vitamin A: 58IU, Vitamin C: 3mg, Calcium: 21mg, Iron: 0.2mg
Nutrition information is automatically calculated, so should only be used as an approximation.
Cleaning Up Pickling Lime Safely
After your pickling project is complete, proper cleanup of pickling lime is straightforward and safe, provided you follow a few simple guidelines.
For small amounts of diluted pickling lime solution, disposing of it down your regular kitchen sink is generally fine, whether you have a septic tank or are connected to a municipal sewer system. Calcium hydroxide is even used in some water treatment facilities to treat public water supplies, so its presence in small quantities is not typically problematic.
However, if you have a basement kitchen with a drain pump system that actively pumps water up to an overhead drain pipe, it’s advisable to avoid pouring lime solutions down that drain. The lime can potentially interfere with the pump’s mechanism or build up in the system. In such cases, or if you simply prefer, you can safely dispose of lime solutions outdoors. They are beneficial for lawns or gardens, especially in areas with acidic soil, as lime acts as a soil amendment to raise pH.
Should any lime residue form a film on your kitchen tools, containers, or countertops, it can be easily cleaned. Simply wipe the affected surfaces with a towel soaked in white vinegar. The acidity of the vinegar effectively dissolves and removes limescale and any lingering lime film, restoring your kitchenware to its pristine condition.
Explore More Pickling Recipes
If you’ve enjoyed the journey of making these old-fashioned lime pickles, consider expanding your home canning repertoire with more delicious pickling recipes:
- Pickled Corn Salad
- Pickled Three Bean Salad
- Pickled Green Tomatoes
- Pickled Green Beans (Dilly Beans)
- Pickled Jalapeños
- Pickled Fiddleheads
Delicious Summer Canning Recipes
Keep your pantry stocked with the bounty of summer by exploring these other fantastic canning recipes:
- Canning Corn
- Tomato Canning Recipes
- Dill Pickles
- Bread and Butter Pickles
- Zucchini Canning Recipes
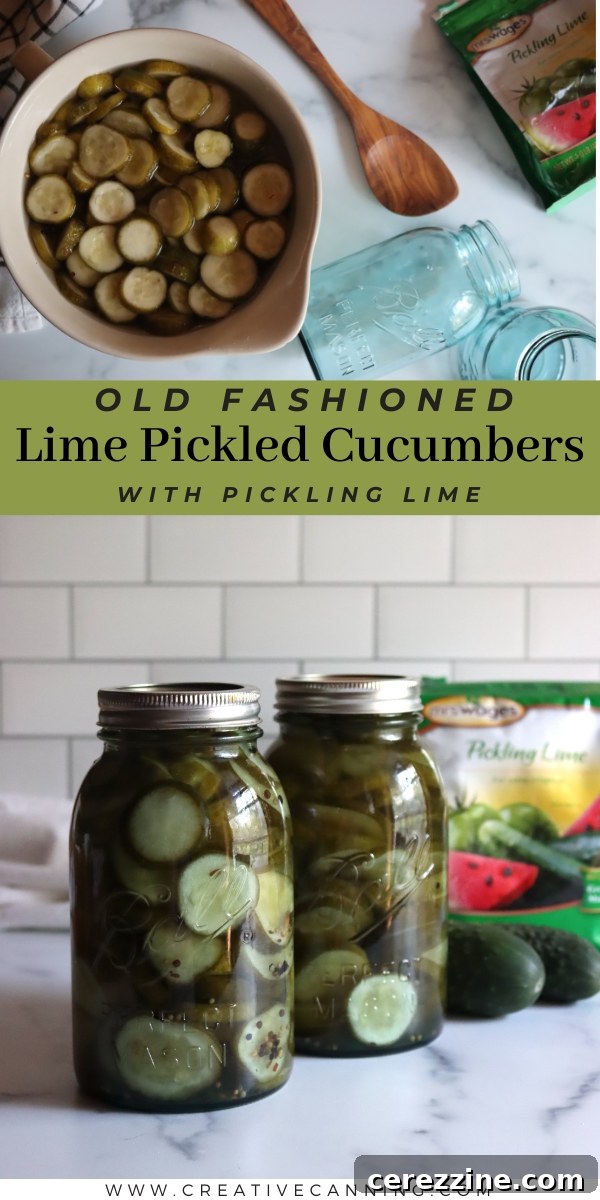
Embrace the tradition of old-fashioned lime pickles and savor the truly exceptional crispness they bring to your table. While the process involves a few extra steps, the unparalleled texture is well worth the effort, ensuring your homemade pickles are the star of any meal.