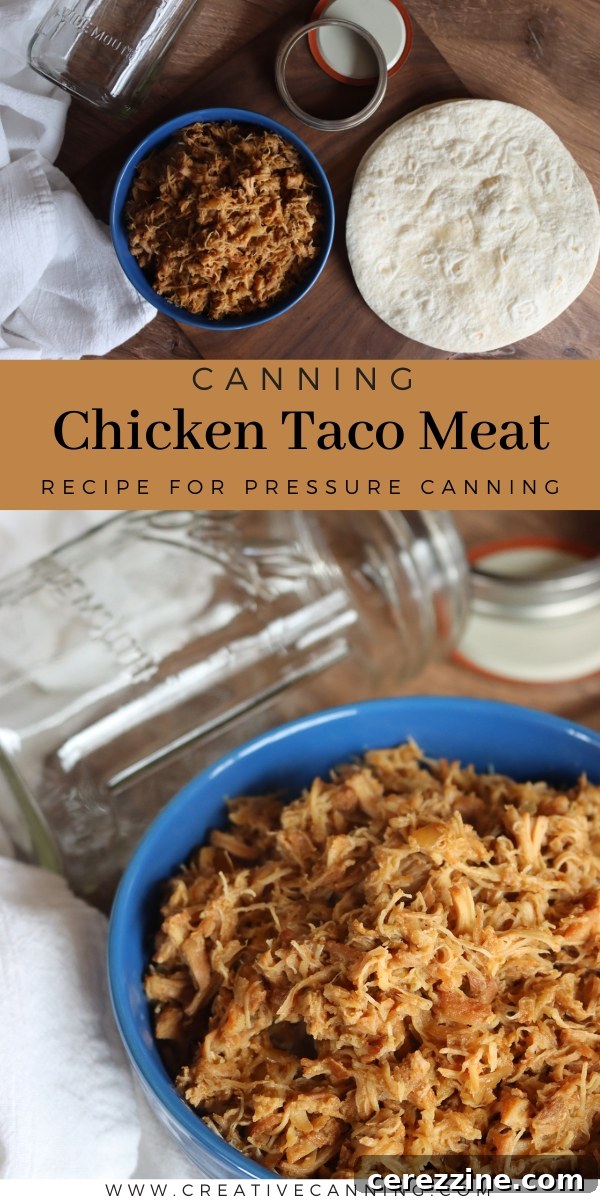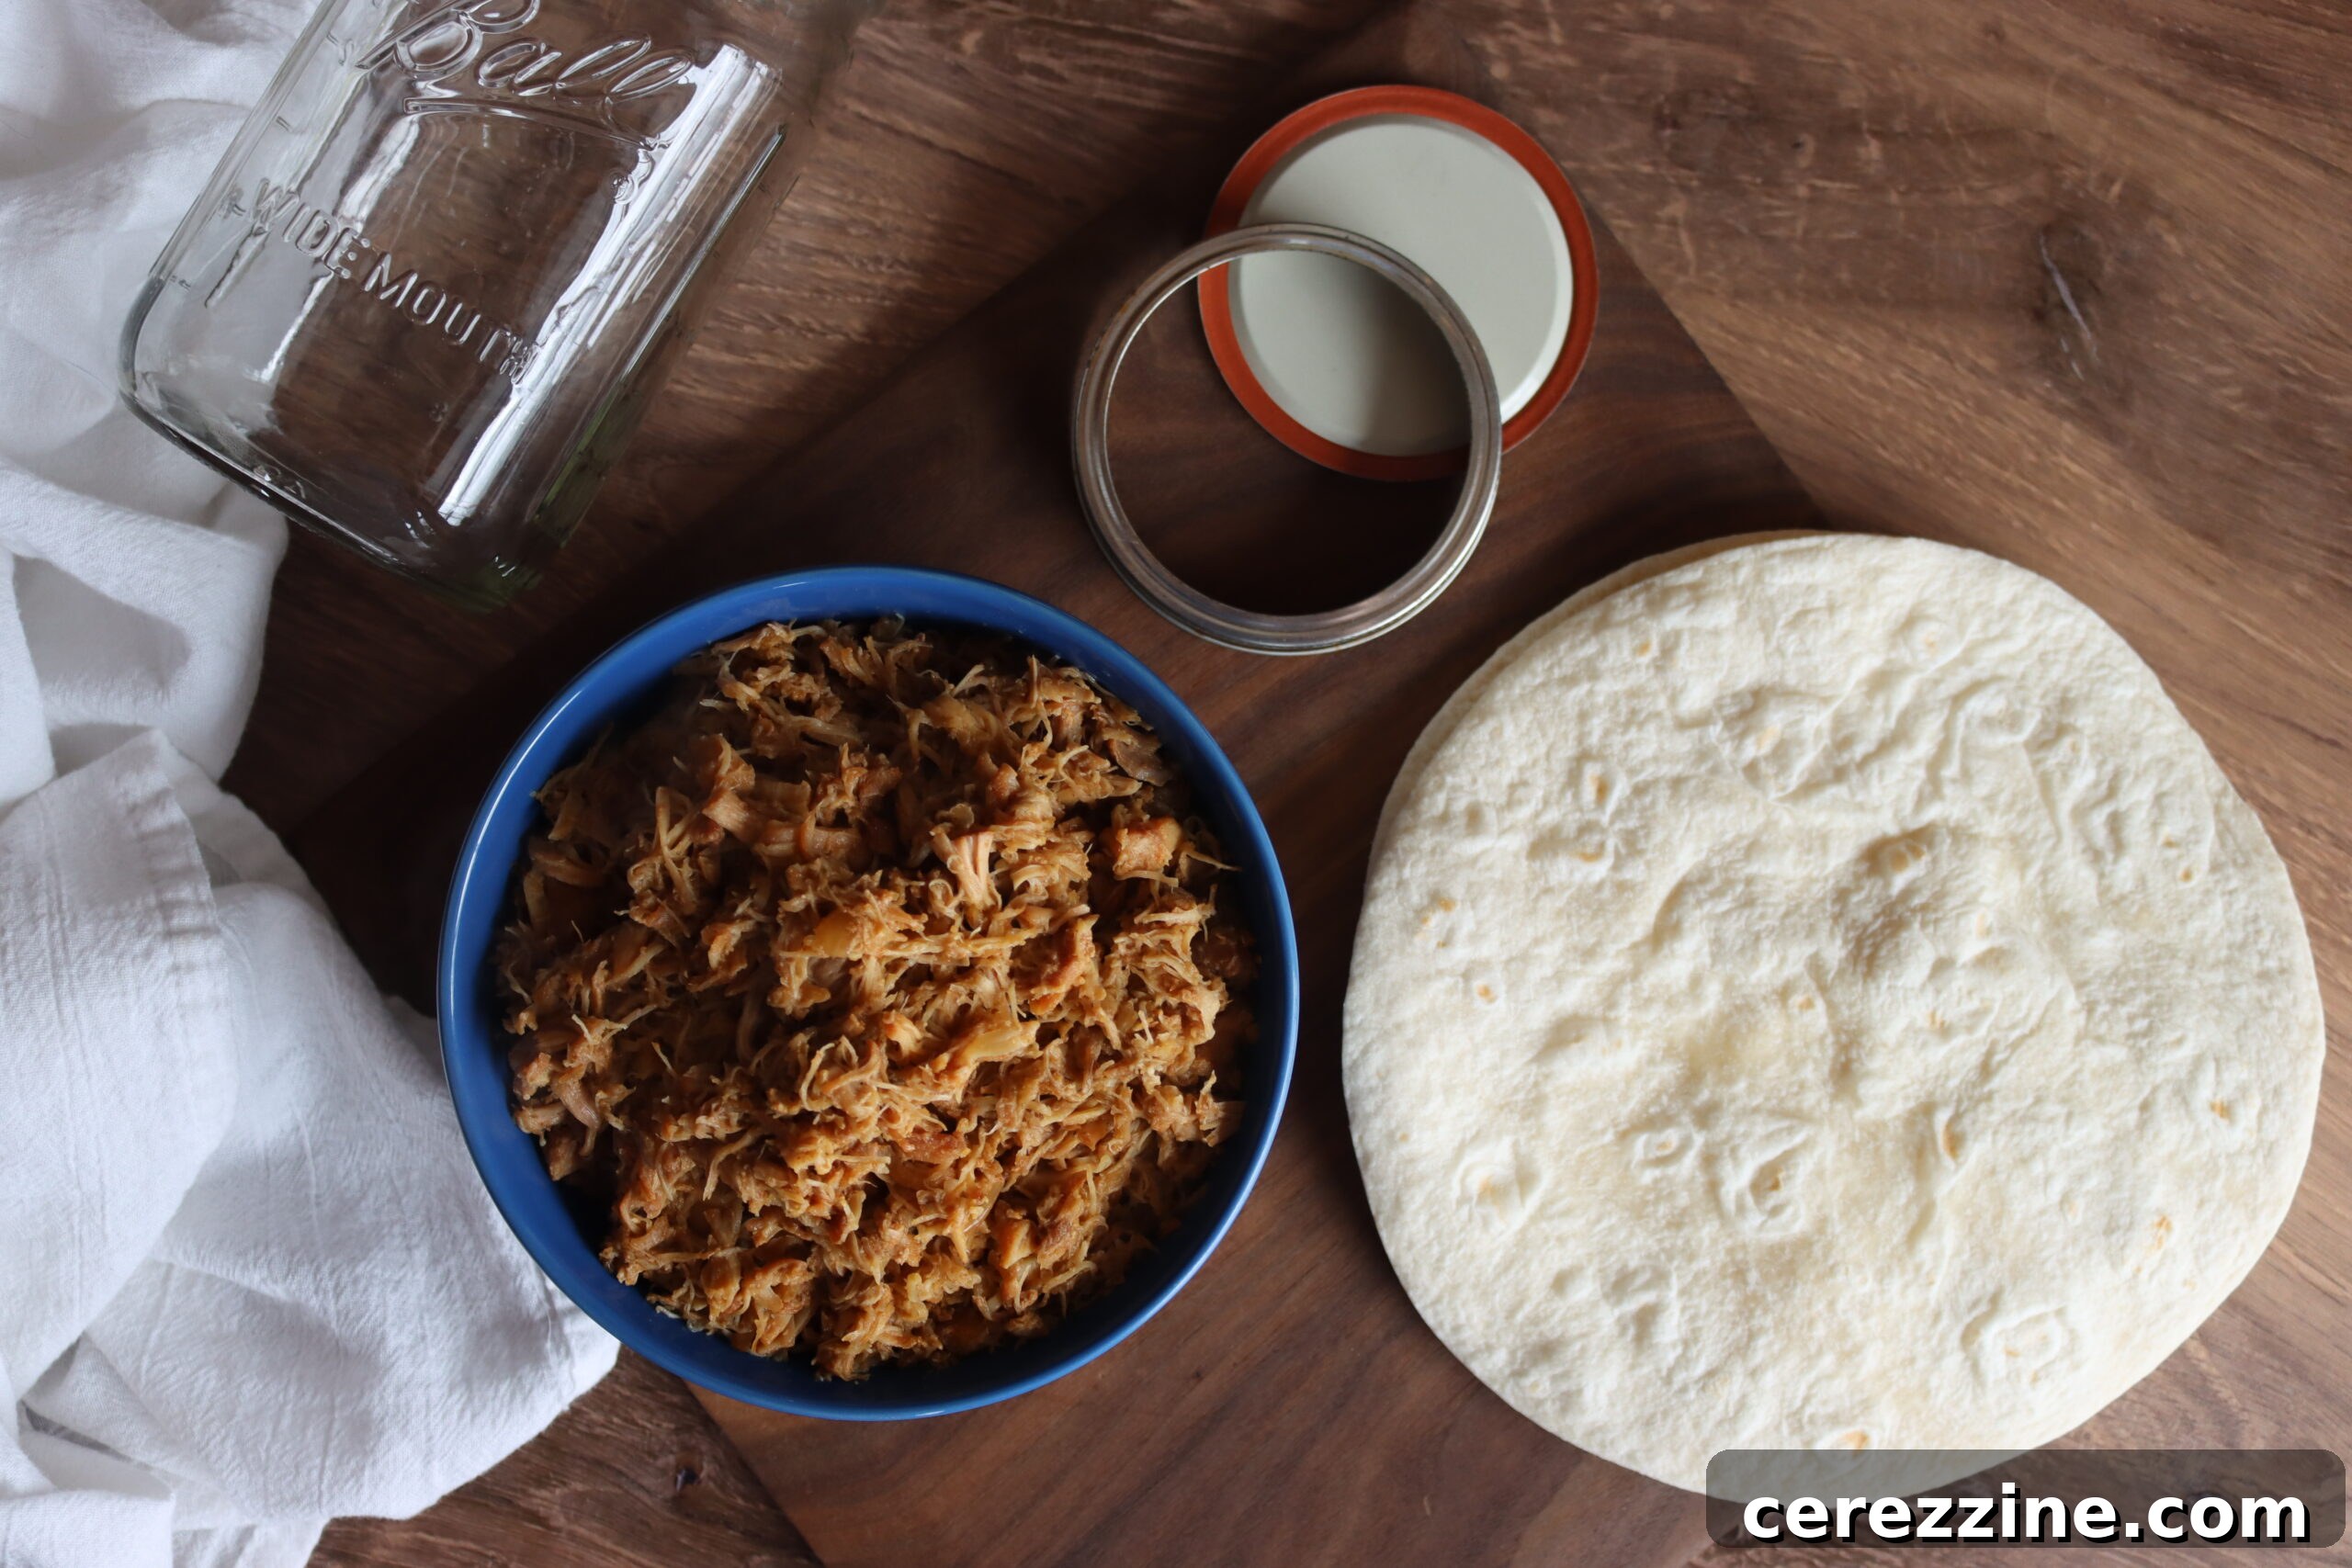
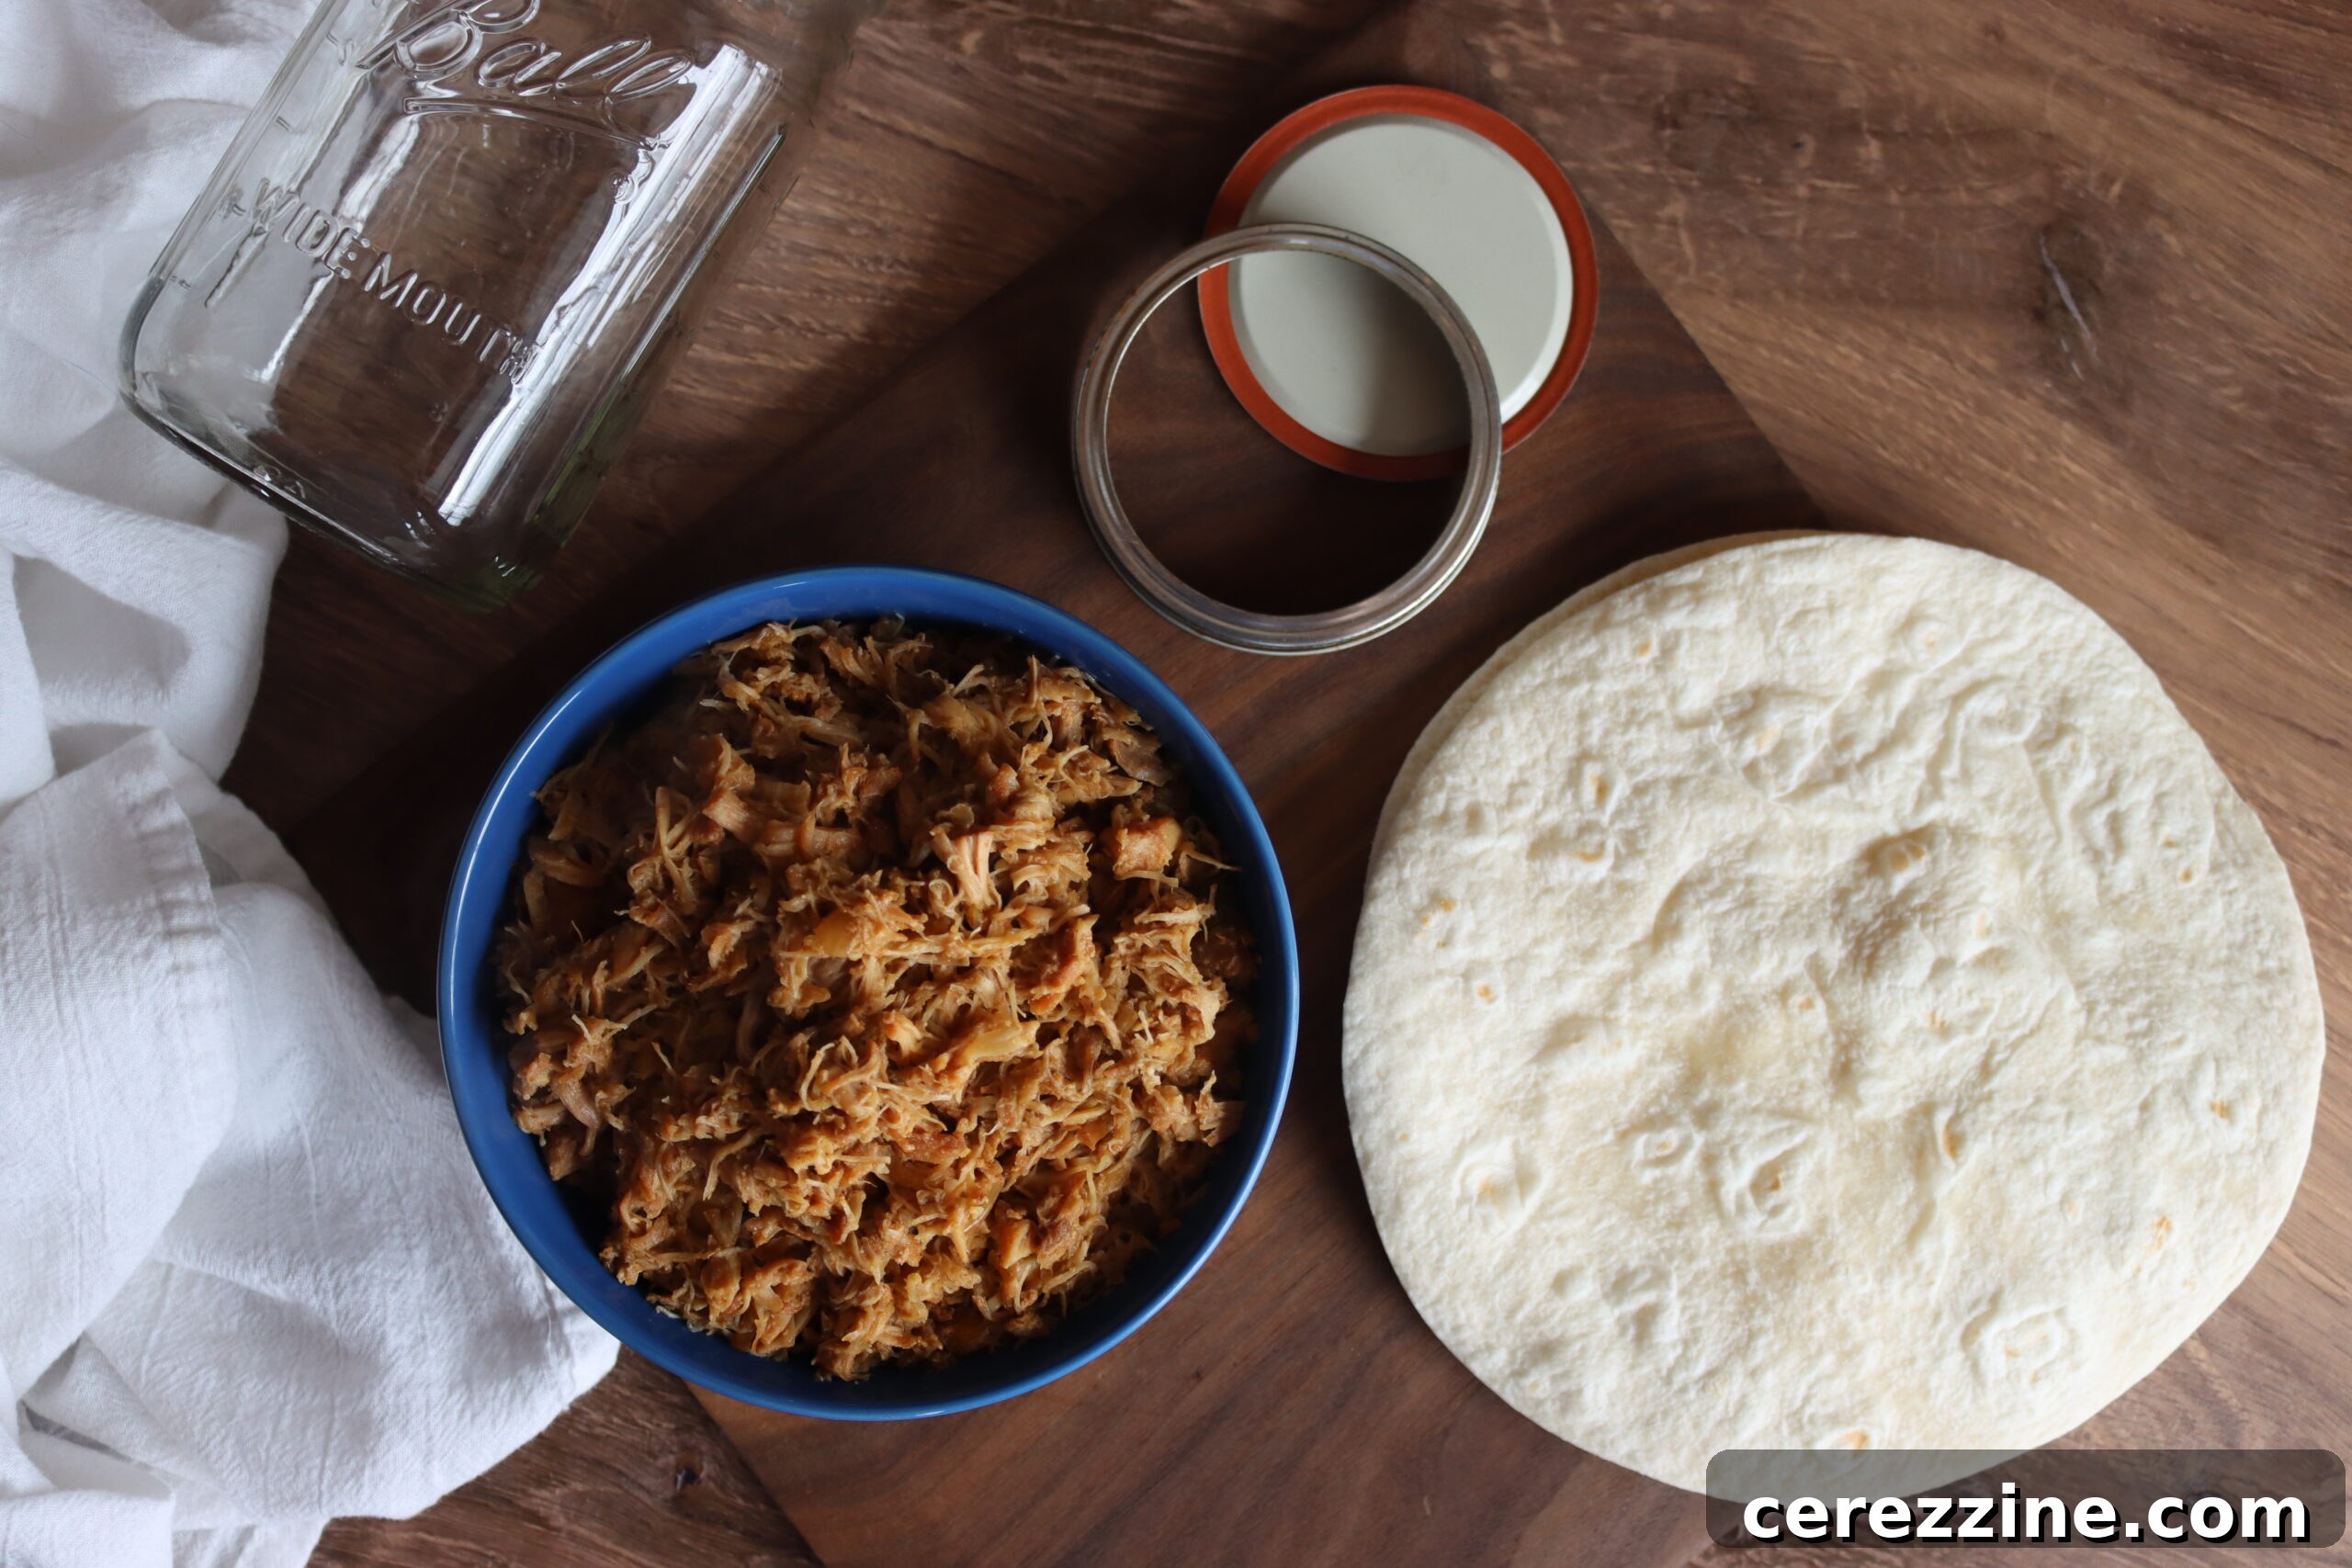
Transform your busy weeknights with quick, delicious meals by canning chicken taco meat. This straightforward raw-pack pressure canning recipe is designed for simplicity, making it easy to prepare and preserve flavorful shredded chicken without any fuss. Say goodbye to last-minute dinner stress and hello to a pantry stocked with ready-to-use taco meat.
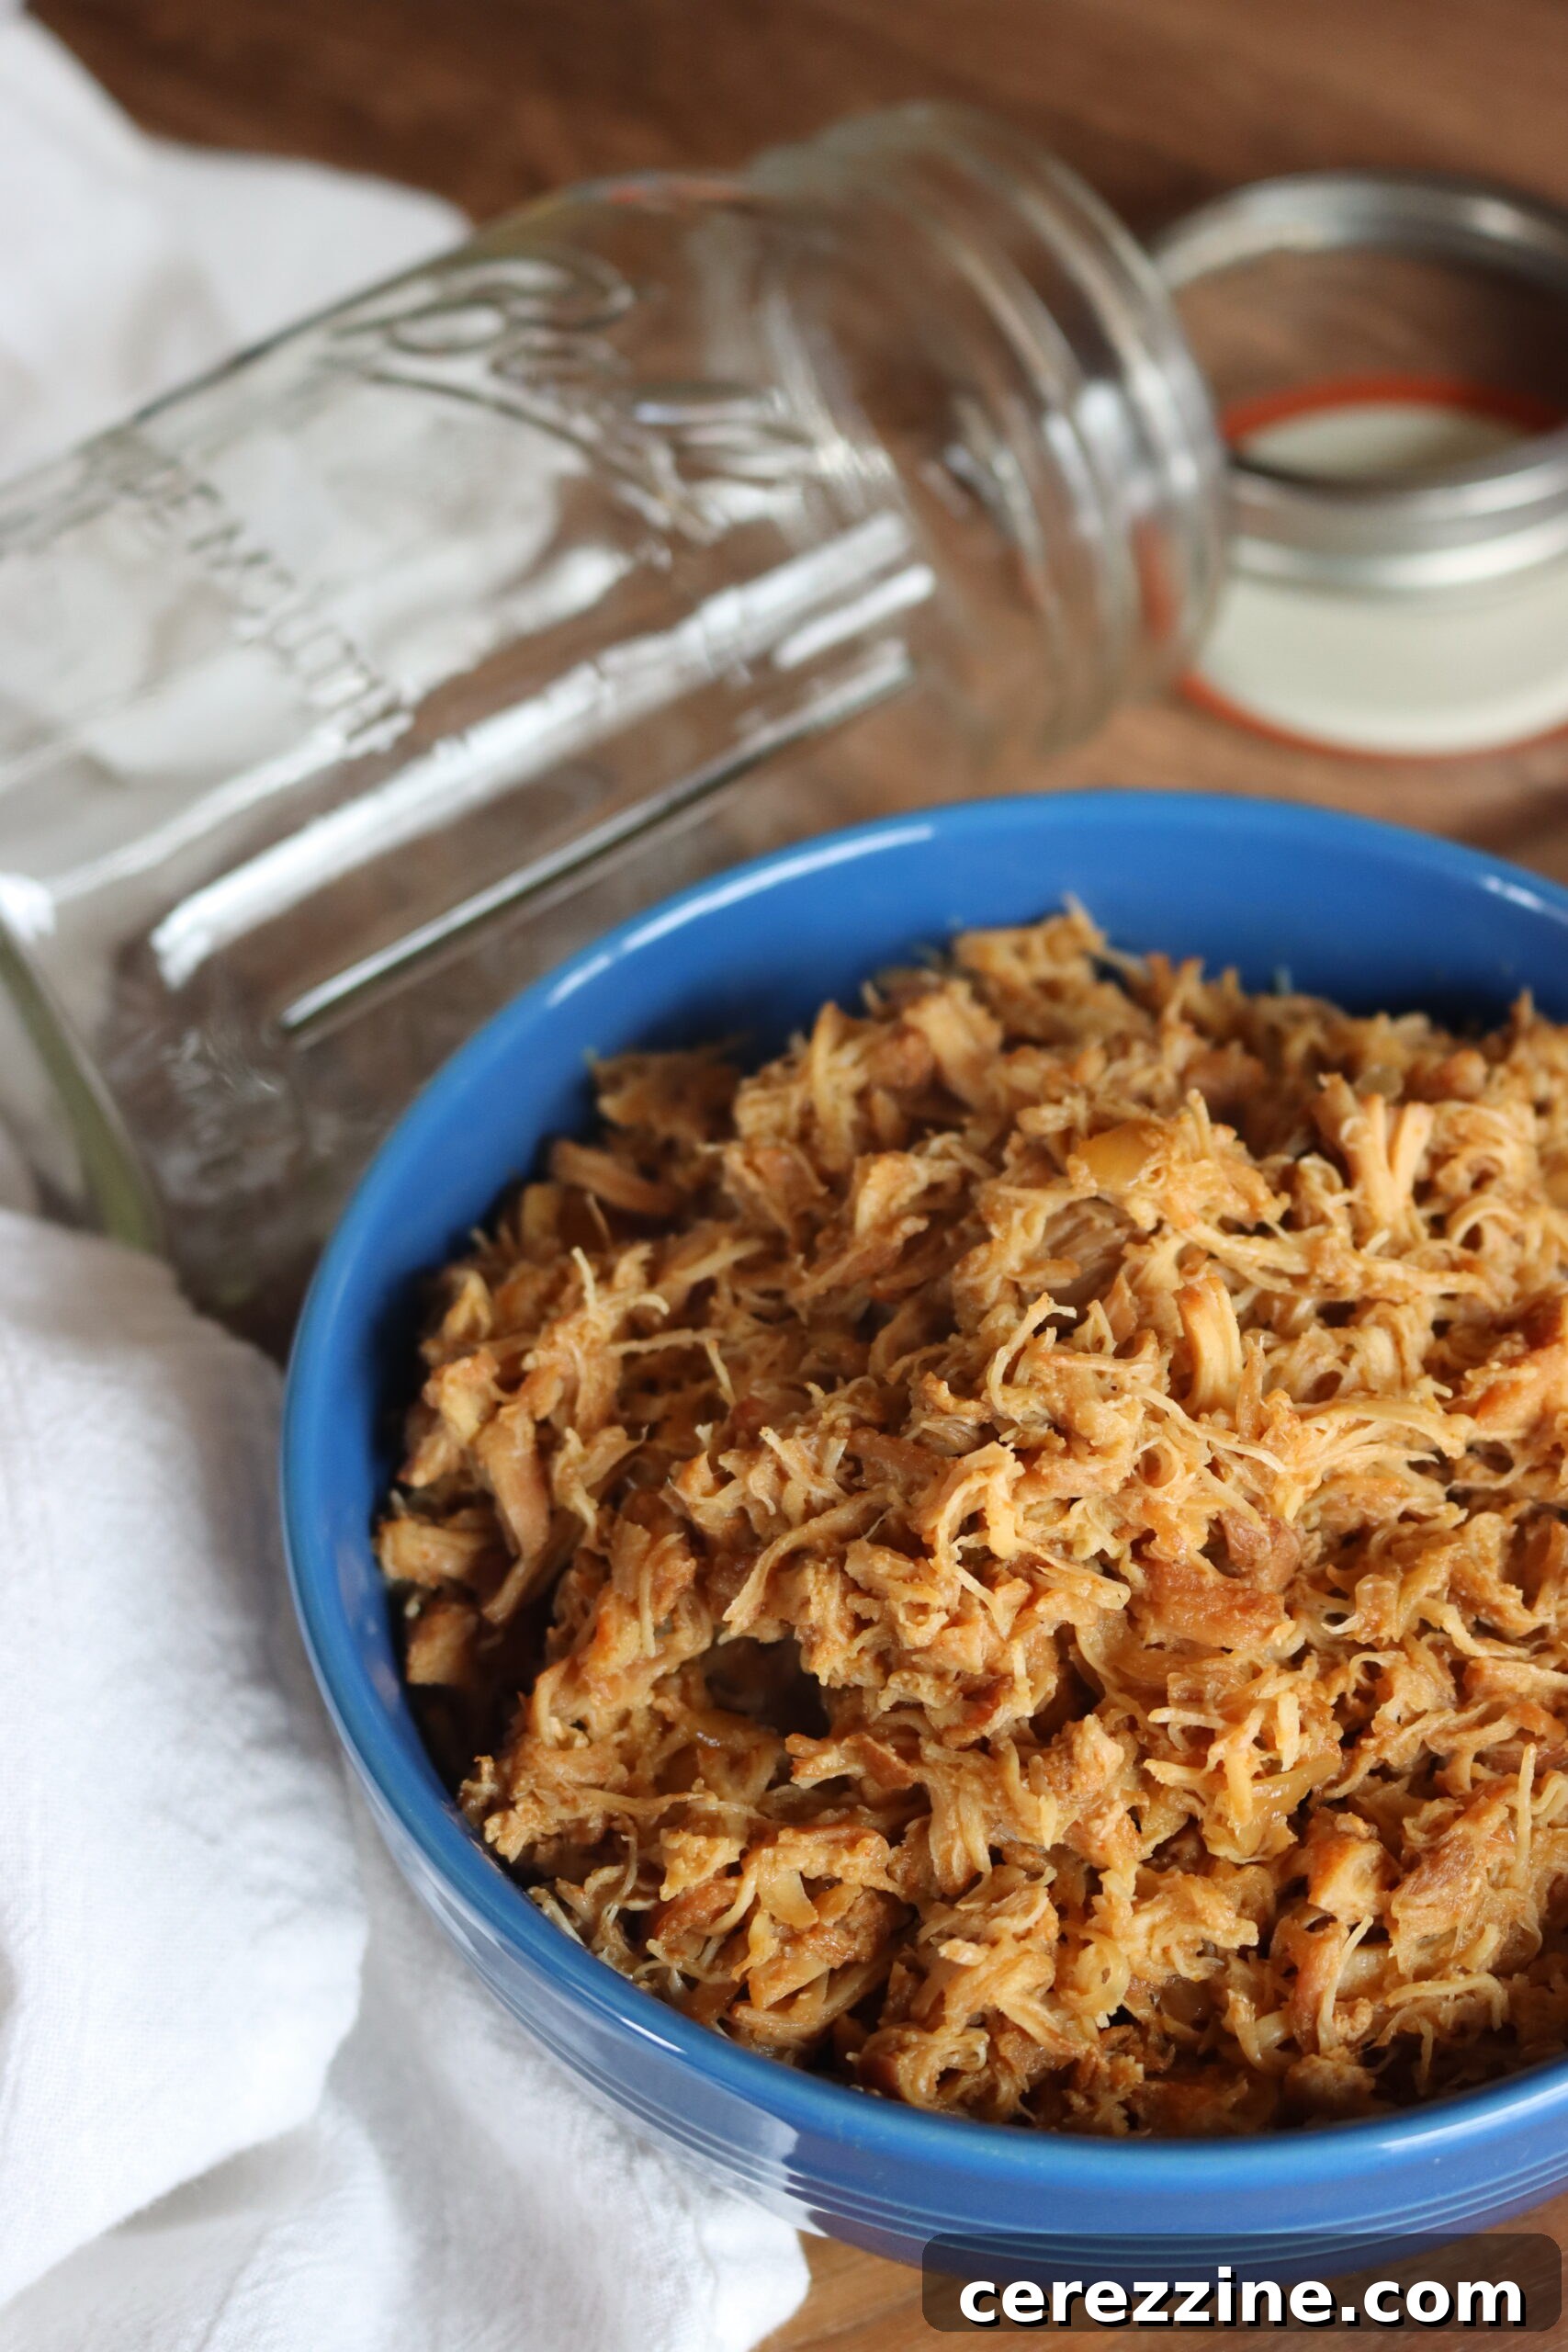
If you’re seeking a highly efficient and incredibly delicious method to ensure a steady supply of seasoned, ready-to-serve taco meat, then this comprehensive guide to canning chicken taco meat is precisely what you need. By strategically raw packing seasoned chicken thighs into canning jars and processing them in a pressure canner, you embark on a culinary journey that yields exceptionally tender, perfectly shredded chicken infused with a delightful kick of flavor. This versatile preserved meat is a dream come true for crafting quick tacos, hearty burritos, savory enchiladas, vibrant salads, or even as a flavorful addition to soups and quesadillas. The real magic happens during the canning process itself, as the carefully selected blend of spices deeply penetrates and melds with the chicken, resulting in an unparalleled depth of flavor that simplifies your meal preparation considerably.
This simple, no-fuss recipe stands out as an excellent strategy for preserving chicken, ensuring you have a convenient protein source readily available for countless quick meals throughout the entire year. Chicken thighs are the star of this recipe, and for good reason. Their inherent richness in flavor and tenderness surpasses that of chicken breasts, and they practically melt into a perfect shredded texture after the canning process, requiring absolutely no extra effort from your end. This results in juicy, succulent meat that’s ready to be transformed into your favorite dishes the moment you open a jar.
Why Choose Raw Packing for Chicken Taco Meat?
When it comes to canning chicken, a common method is hot packing, which involves pre-cooking or browning the meat before placing it in jars. Hot packing helps to “set” the proteins, allowing the meat to maintain its shape better after canning. However, for a dish like chicken taco meat, where the ultimate goal is a delightfully pulled or shredded texture, raw packing becomes the superior choice. With raw packing, we are actively encouraging the chicken to become incredibly tender and easily fall apart, making it ideal for the desired shredded consistency often associated with perfect tacos and burritos.
Raw packing is a technique where raw meat, in this case, seasoned chicken, is placed directly into clean canning jars without adding any additional liquid. As the jars are processed in the pressure canner, the chicken slowly cooks, releasing its natural juices. These flavorful juices are then sealed within the jar, enveloping the chicken and ensuring every piece remains incredibly moist and tender. This self-basting process is key to achieving that succulent, fall-apart texture we crave for taco meat. Furthermore, this method is highly effective for infusing the chicken with the vibrant flavors of the spices, as they have ample time to penetrate the meat during the prolonged, high-pressure cooking, resulting in a deeply seasoned product.
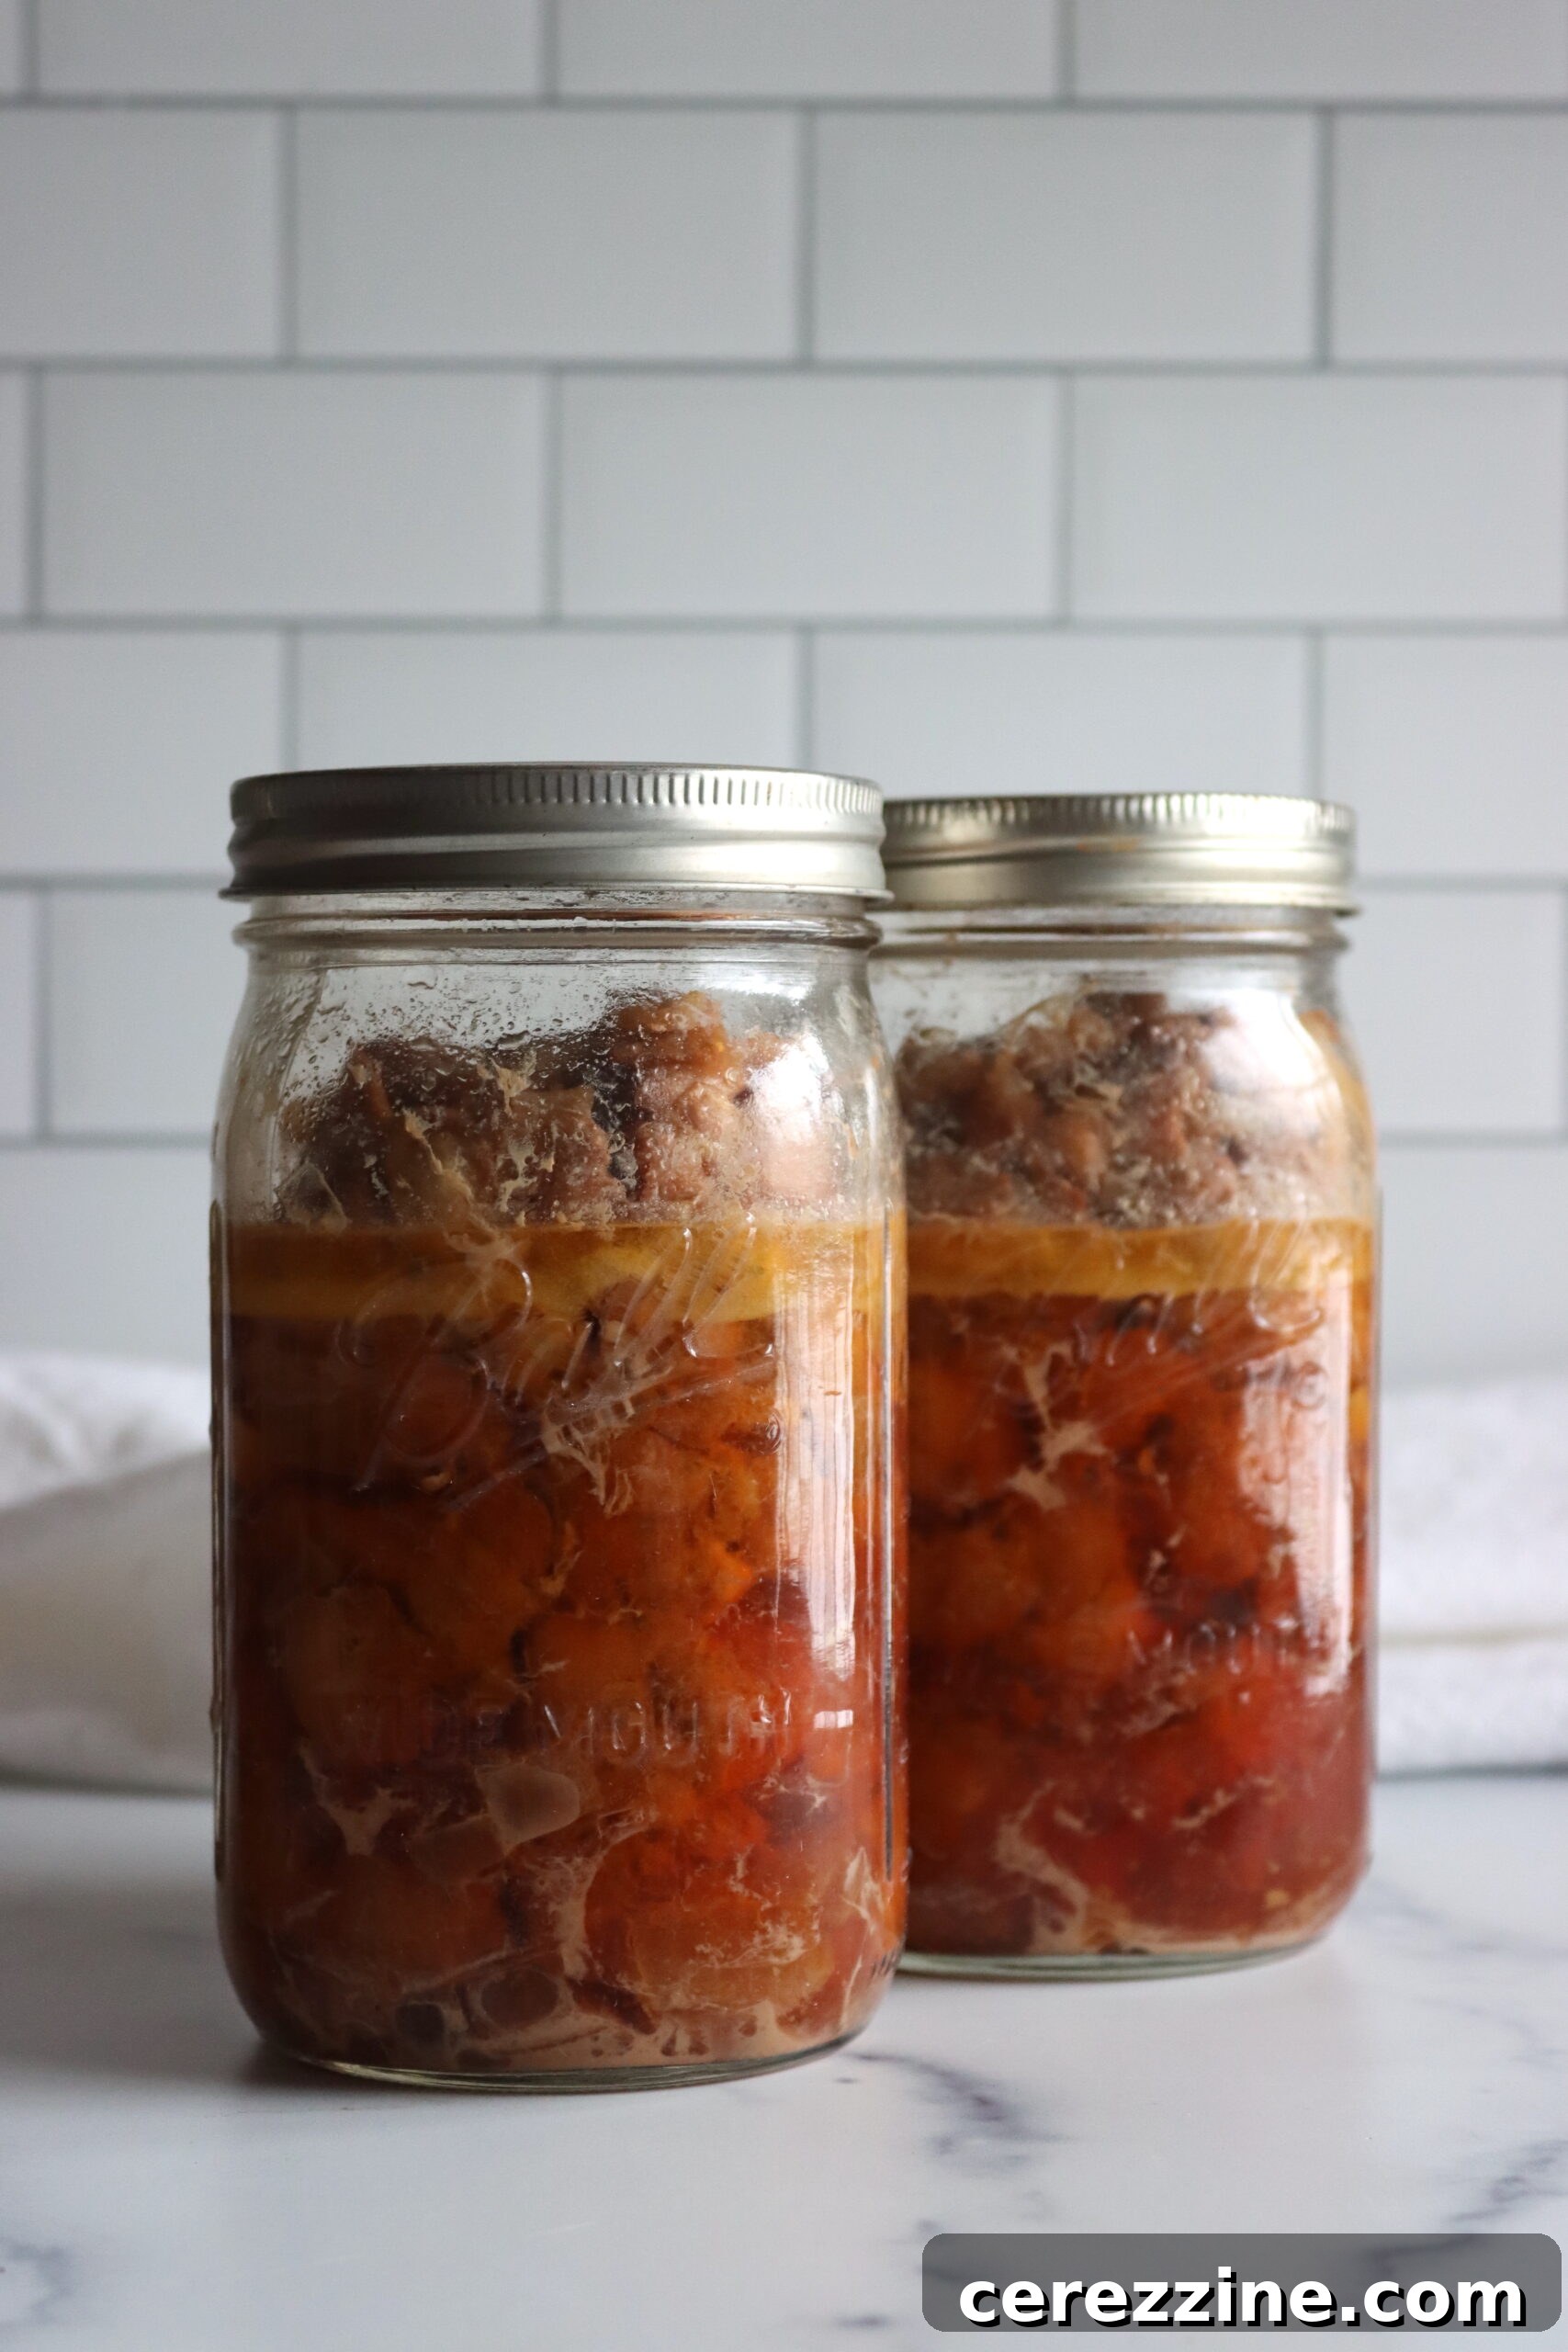
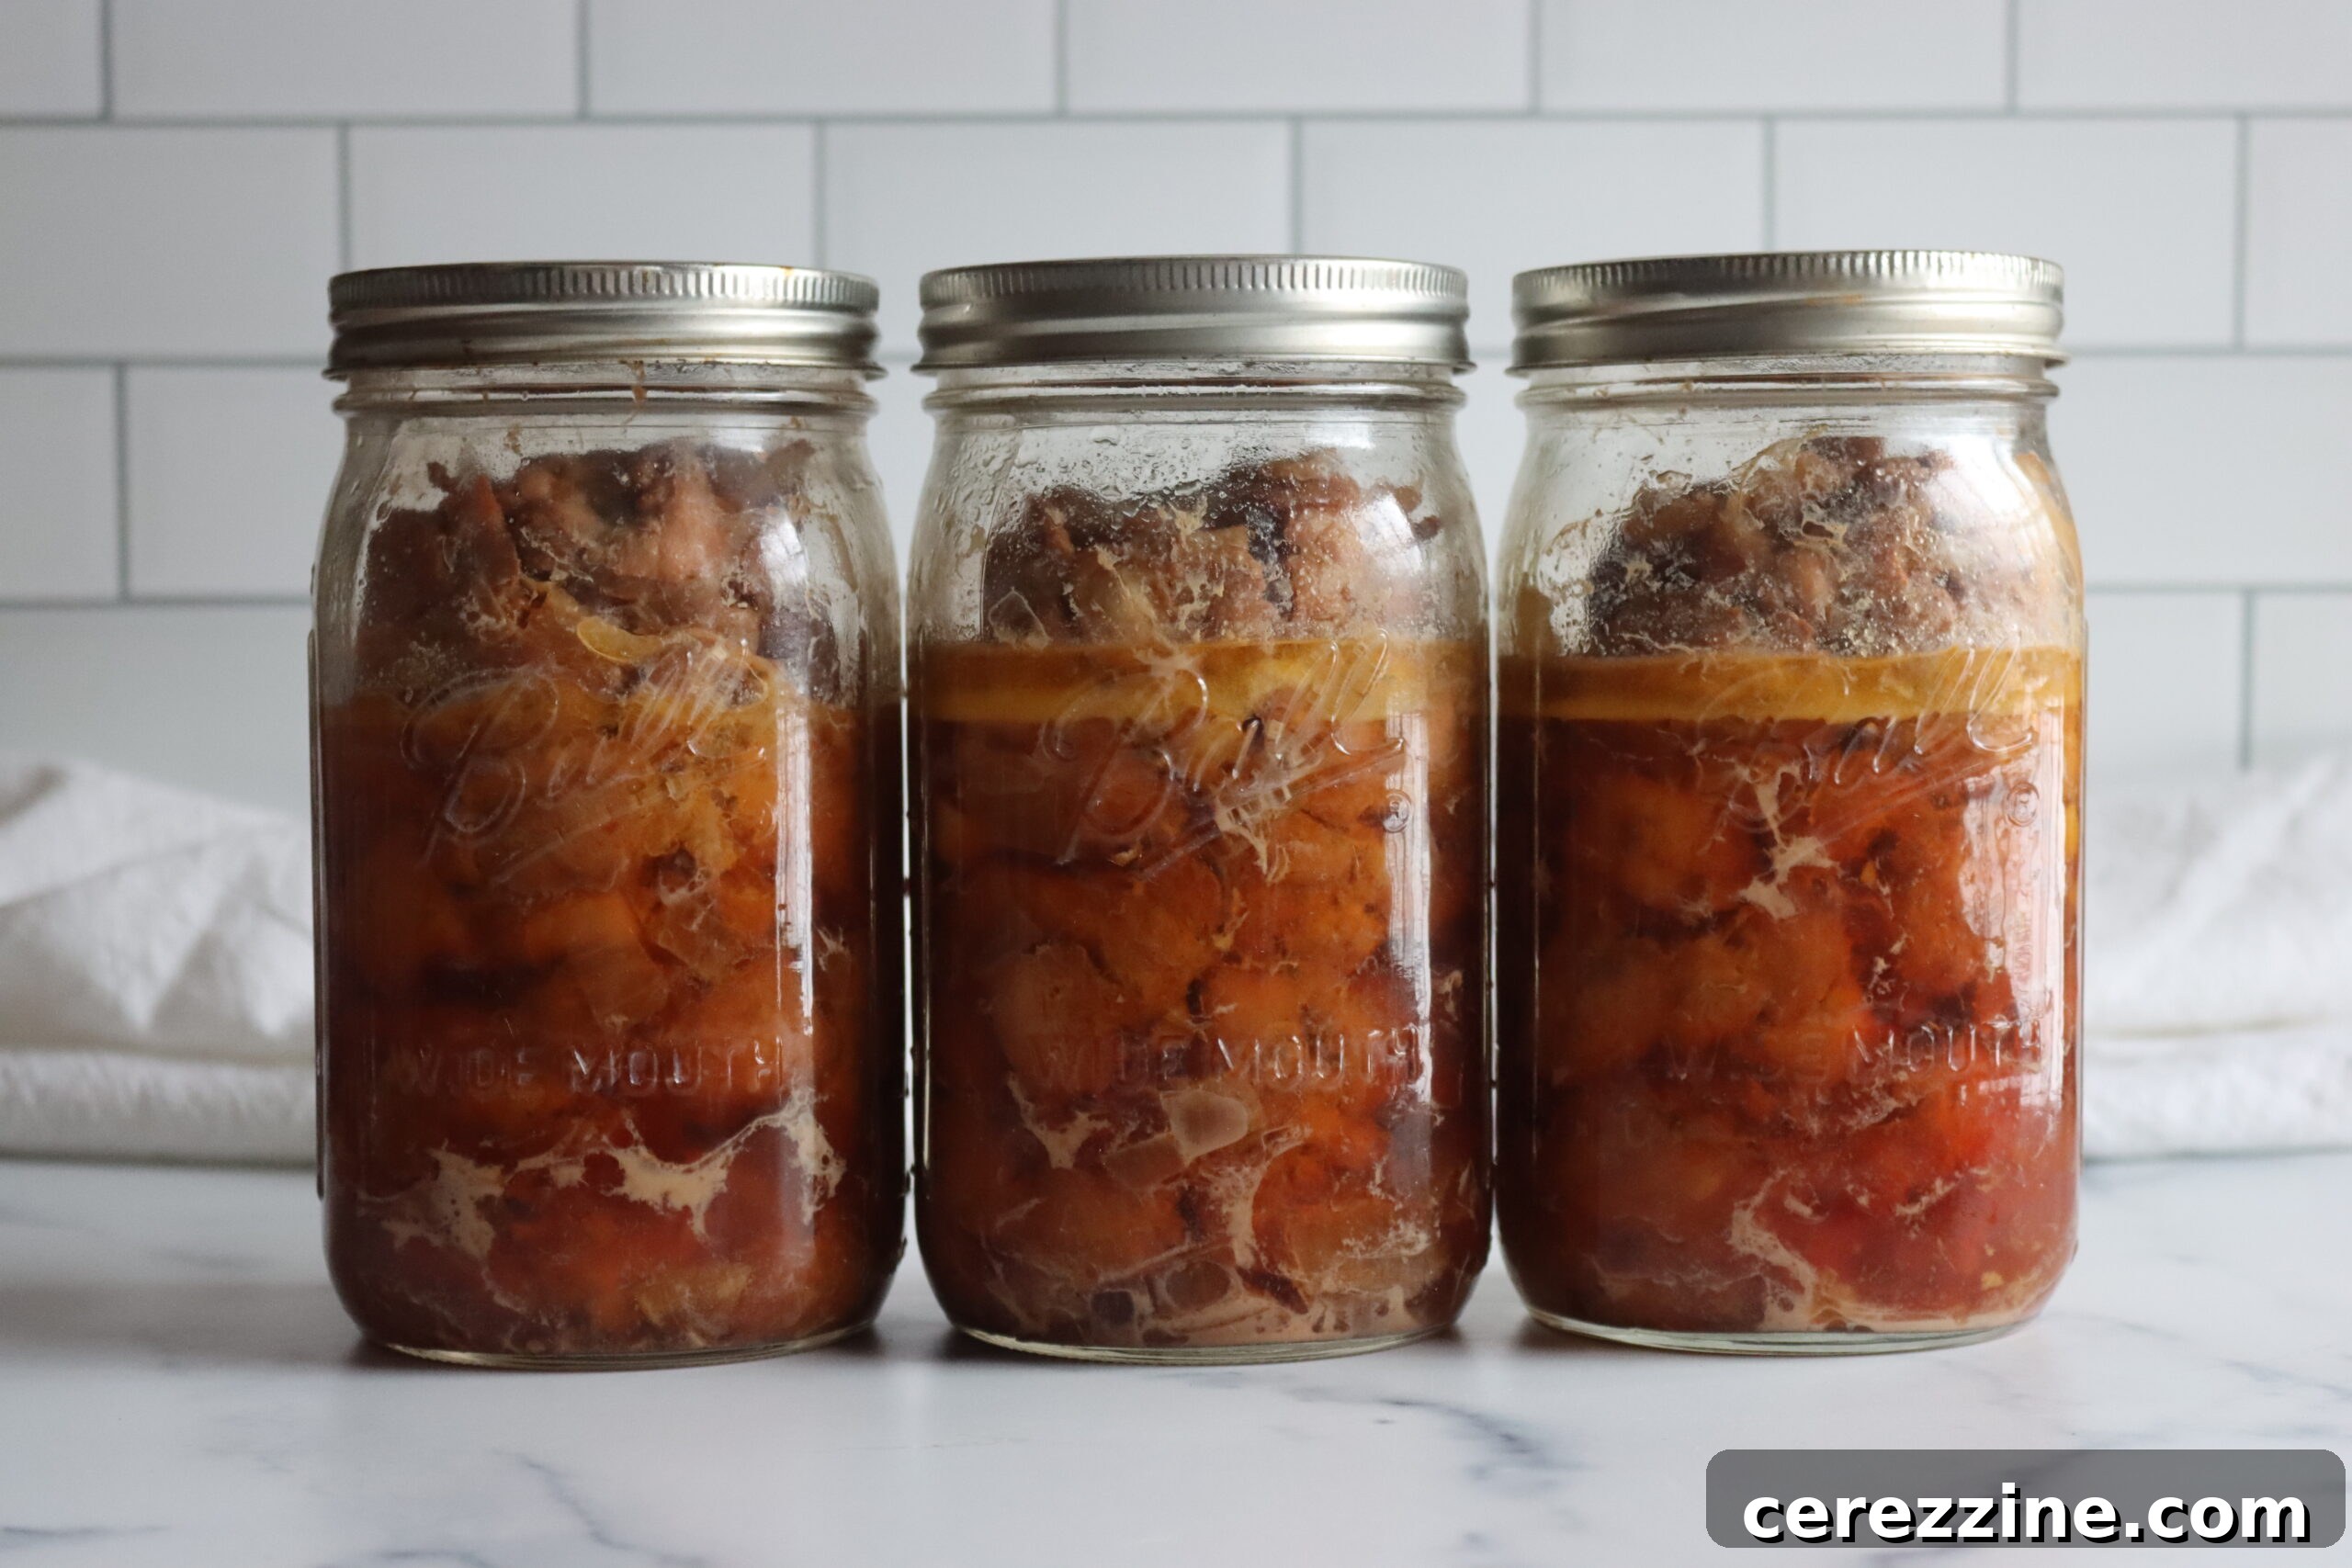
One minor observation about raw packing is that it can sometimes result in jars that appear less “neat” or aesthetically pleasing on the shelf compared to hot-packed meats where pieces tend to hold their form. When raw packed, the chicken might settle unevenly, and the liquid can appear cloudy. However, this is purely a cosmetic concern. The taste and texture are paramount, and the visual appeal on your pantry shelf is a small trade-off for the exceptional flavor and shreddable quality you achieve. The beauty and deliciousness of this canned chicken truly shine when it’s served, making its “shelf appeal” a non-issue for any home canner focused on taste and convenience.
Essential Ingredients for Flavorful Canned Chicken Taco Meat
To prepare a three-quart canner batch of this delectable chicken taco meat, ensuring you have ample supply for future meals, you will need the following high-quality ingredients. This recipe is specifically scaled for approximately three quart jars, providing a generous yield perfect for family meals or batch cooking.
- 5 lbs Boneless, Skinless Chicken Thighs: Chicken thighs are highly recommended for their rich flavor profile and superior tenderness compared to chicken breasts. Their higher fat content also helps keep the meat moist during the pressure canning process, contributing to that desirable fall-apart texture.
- 1 Tbsp. Canning or Kosher Salt: Salt plays a crucial role not only in enhancing the flavor of the chicken but also in preserving its texture during canning. It prevents the meat from tasting bland or dry after processing. While you can adjust the amount to your personal preference, 1 teaspoon per quart jar is generally recommended for optimal flavor and quality, and it works out perfectly in this recipe. Remember, the salt here is primarily for flavor and texture, not for preservation, as pressure canning handles the safety aspect.
- 1 Tbsp. Onion Powder: A staple in most savory dishes, onion powder adds a foundational layer of aromatic flavor that complements the other spices beautifully.
- 1 Tbsp. Garlic Powder: Similar to onion powder, garlic powder provides a robust, savory note that is indispensable in taco seasoning, enriching the overall taste of the chicken.
- 1 Tbsp. Paprika: For this recipe, paprika (especially smoked paprika, if available) is preferred over traditional chili powder. Paprika delivers a warm, earthy, and slightly sweet pepper flavor without the potential harshness that chili powder can sometimes develop after extended pressure canning. Smoked paprika adds an extra layer of depth and a subtle smoky aroma.
- 1 tsp. Cumin: Cumin is the quintessential spice for Mexican and Tex-Mex cuisine, providing a distinctive earthy and slightly pungent flavor that is synonymous with taco meat.
- 1 tsp. Black Pepper: A touch of freshly ground black pepper adds a mild heat and a classic peppery aroma, balancing the other spices.
- Red Chili Flakes (to taste, 1 tsp to 1 tbsp.): This is where you control the heat level. Red chili flakes offer a clean, bright spiciness. Start with 1 teaspoon for a mild kick, or go up to 1 tablespoon (or even more!) if you prefer a fiery taco experience.
When raw packing, a good rule of thumb is that approximately 1.5 to 2 pounds of chicken fit comfortably into a quart jar, maintaining the necessary headspace. Therefore, 5 pounds of chicken thighs is just the right quantity to fill three quart jars, leaving the recommended 1 to 1 1/2 inches of headspace to allow for expansion during processing and proper sealing. While the spices listed above form a classic taco flavor profile, feel free to experiment with other dry seasonings. Mexican oregano or ground coriander are excellent additions that would enhance the authentic flavor. However, it is crucial to stick to dry spices only; avoid any fresh herbs or liquid additives, as these can affect the canning process and safety.
Step-by-Step Guide to Pressure Canning Chicken Taco Meat
Follow these detailed instructions carefully to ensure a safe and successful batch of delicious pressure-canned chicken taco meat. Adhering to proper canning procedures is paramount for food safety.
Preparation:
- Prepare the Chicken: Begin by thoroughly trimming any visible excess fat or gristle from the boneless, skinless chicken thighs. While some fat adds flavor and moisture, too much can interfere with the canning process. Once trimmed, dice the meat into uniform 1 to 2-inch pieces. The goal is pieces small enough to pack efficiently into the jars, yet large enough to remain tender and shreddable after the long canning cycle.
- Season the Chicken: In a large, spacious mixing bowl, combine all the dry seasonings: salt, onion powder, garlic powder, paprika, cumin, black pepper, and red chili flakes. Mix them well to create a consistent spice blend. Add the diced chicken to the bowl and toss vigorously, ensuring every single piece of chicken is thoroughly and evenly coated with the fragrant spice mixture. This ensures every bite of your canned taco meat is bursting with flavor.
Packing and Sealing the Jars:
- Pack the Jars: Sterilize your quart-sized canning jars and their lids according to standard canning guidelines. Begin tightly packing the seasoned chicken into the prepared jars. Use a clean utensil or your fingers to press the chicken down firmly but without overly compressing it, allowing for minimal air pockets. It’s important to leave approximately 1 to 1 1/2 inches of headspace at the top of each jar. This critical space allows for the expansion of food during processing and ensures a proper vacuum seal forms. Remember, you do not need to add any extra liquid to the jars; the chicken will release its own flavorful juices during the canning process.
- Clean Rims and Apply Lids: Before sealing, meticulously wipe the rims of each jar with a clean, damp cloth or paper towel. Any food residue, grease, or spice particles on the rim can prevent a proper seal from forming. Place the sterilized flat canning lids on top of the jars. Then, screw on the metal bands until they are “finger-tight.” This means tightening them just enough so they are secure, but not overly tight, which could impede air escape and vacuum sealing.
Pressure Canning Process:
- Process in Pressure Canner: Carefully place the filled and sealed jars onto the rack inside your pressure canner, ensuring there is adequate space between them for even heat circulation. Add the specified amount of water to the canner as directed by your canner’s manufacturer (typically 2-3 inches). Secure the canner lid, making sure it’s locked into place. Turn the heat to high and allow steam to escape steadily from the vent for 10 minutes before placing the weighted gauge or closing the petcock. This step is crucial for exhausting all air from the canner, preventing false pressure readings.
- Process According to Time and Pressure: Once the canner is properly vented and pressure begins to build, monitor it closely. For quart jars, you will need to process them at 10 pounds of pressure for a full 90 minutes. If using pint jars, the processing time is 75 minutes. These times are critical for ensuring food safety. Remember to adjust the pressure if you are canning at an altitude above 1,000 feet (refer to the “Altitude Adjustments” section below for specific guidance). Maintain a consistent pressure throughout the entire processing time, adjusting heat as necessary.
- Cool Down and Check Seals: After the prescribed processing time is complete, turn off the heat and allow the pressure canner to cool down naturally and completely. Do not attempt to force cool the canner or open it prematurely, as this can be dangerous and lead to siphoning or seal failure. Once the pressure gauge reads zero and no steam is escaping, carefully remove the lid. Using a jar lifter, gently remove the hot jars from the canner and place them on a clean, towel-lined surface or a wire rack, ensuring they are not touching each other, to cool undisturbed for 12 to 24 hours. As they cool, you will hear the satisfying “pop” of the lids sealing. After cooling, check each jar for a proper seal by pressing on the center of the lid; it should not flex or move. Remove the bands, wipe the jars clean, and store them in a cool, dark pantry.
Essential Altitude Adjustments for Pressure Canning
When engaged in pressure canning, it is crucial to understand that while the processing times remain constant regardless of your altitude, the required pressure settings must be adjusted to ensure food safety. Water boils at a lower temperature at higher altitudes, meaning more pressure is needed inside the canner to reach the safe internal temperatures required for preserving low-acid foods like meat. Please consult the following guidelines to adjust your pressure based on your elevation:
For dial gauge pressure canners, which require constant monitoring to maintain the correct pressure:
- 0 to 2,000 feet in elevation – Maintain 11 lbs pressure
- 2,001 to 4,000 feet in elevation – Maintain 12 lbs pressure
- 4,001 to 6,000 feet in elevation – Maintain 13 lbs pressure
- 6,001 to 8,000 feet in elevation – Maintain 14 lbs pressure
For weighted gauge pressure canners, which typically use 5, 10, or 15-pound weights:
- 0 to 1,000 feet in elevation – Use a 10 lbs pressure weight
- Above 1,000 feet – Use a 15 lbs pressure weight
Always know your local elevation and adjust accordingly for safe home canning practices. If you are unsure about your exact elevation, a quick online search for your geographical area can provide this vital information.
Serving Your Delicious Canned Chicken Taco Meat
Once your flavorful Chicken Taco Meat is successfully canned and properly sealed, it transforms into an incredibly versatile and convenient ingredient, ready to be utilized at a moment’s notice. The beauty of having this on hand is the elimination of extensive meal preparation on those hectic evenings when time is of the essence.
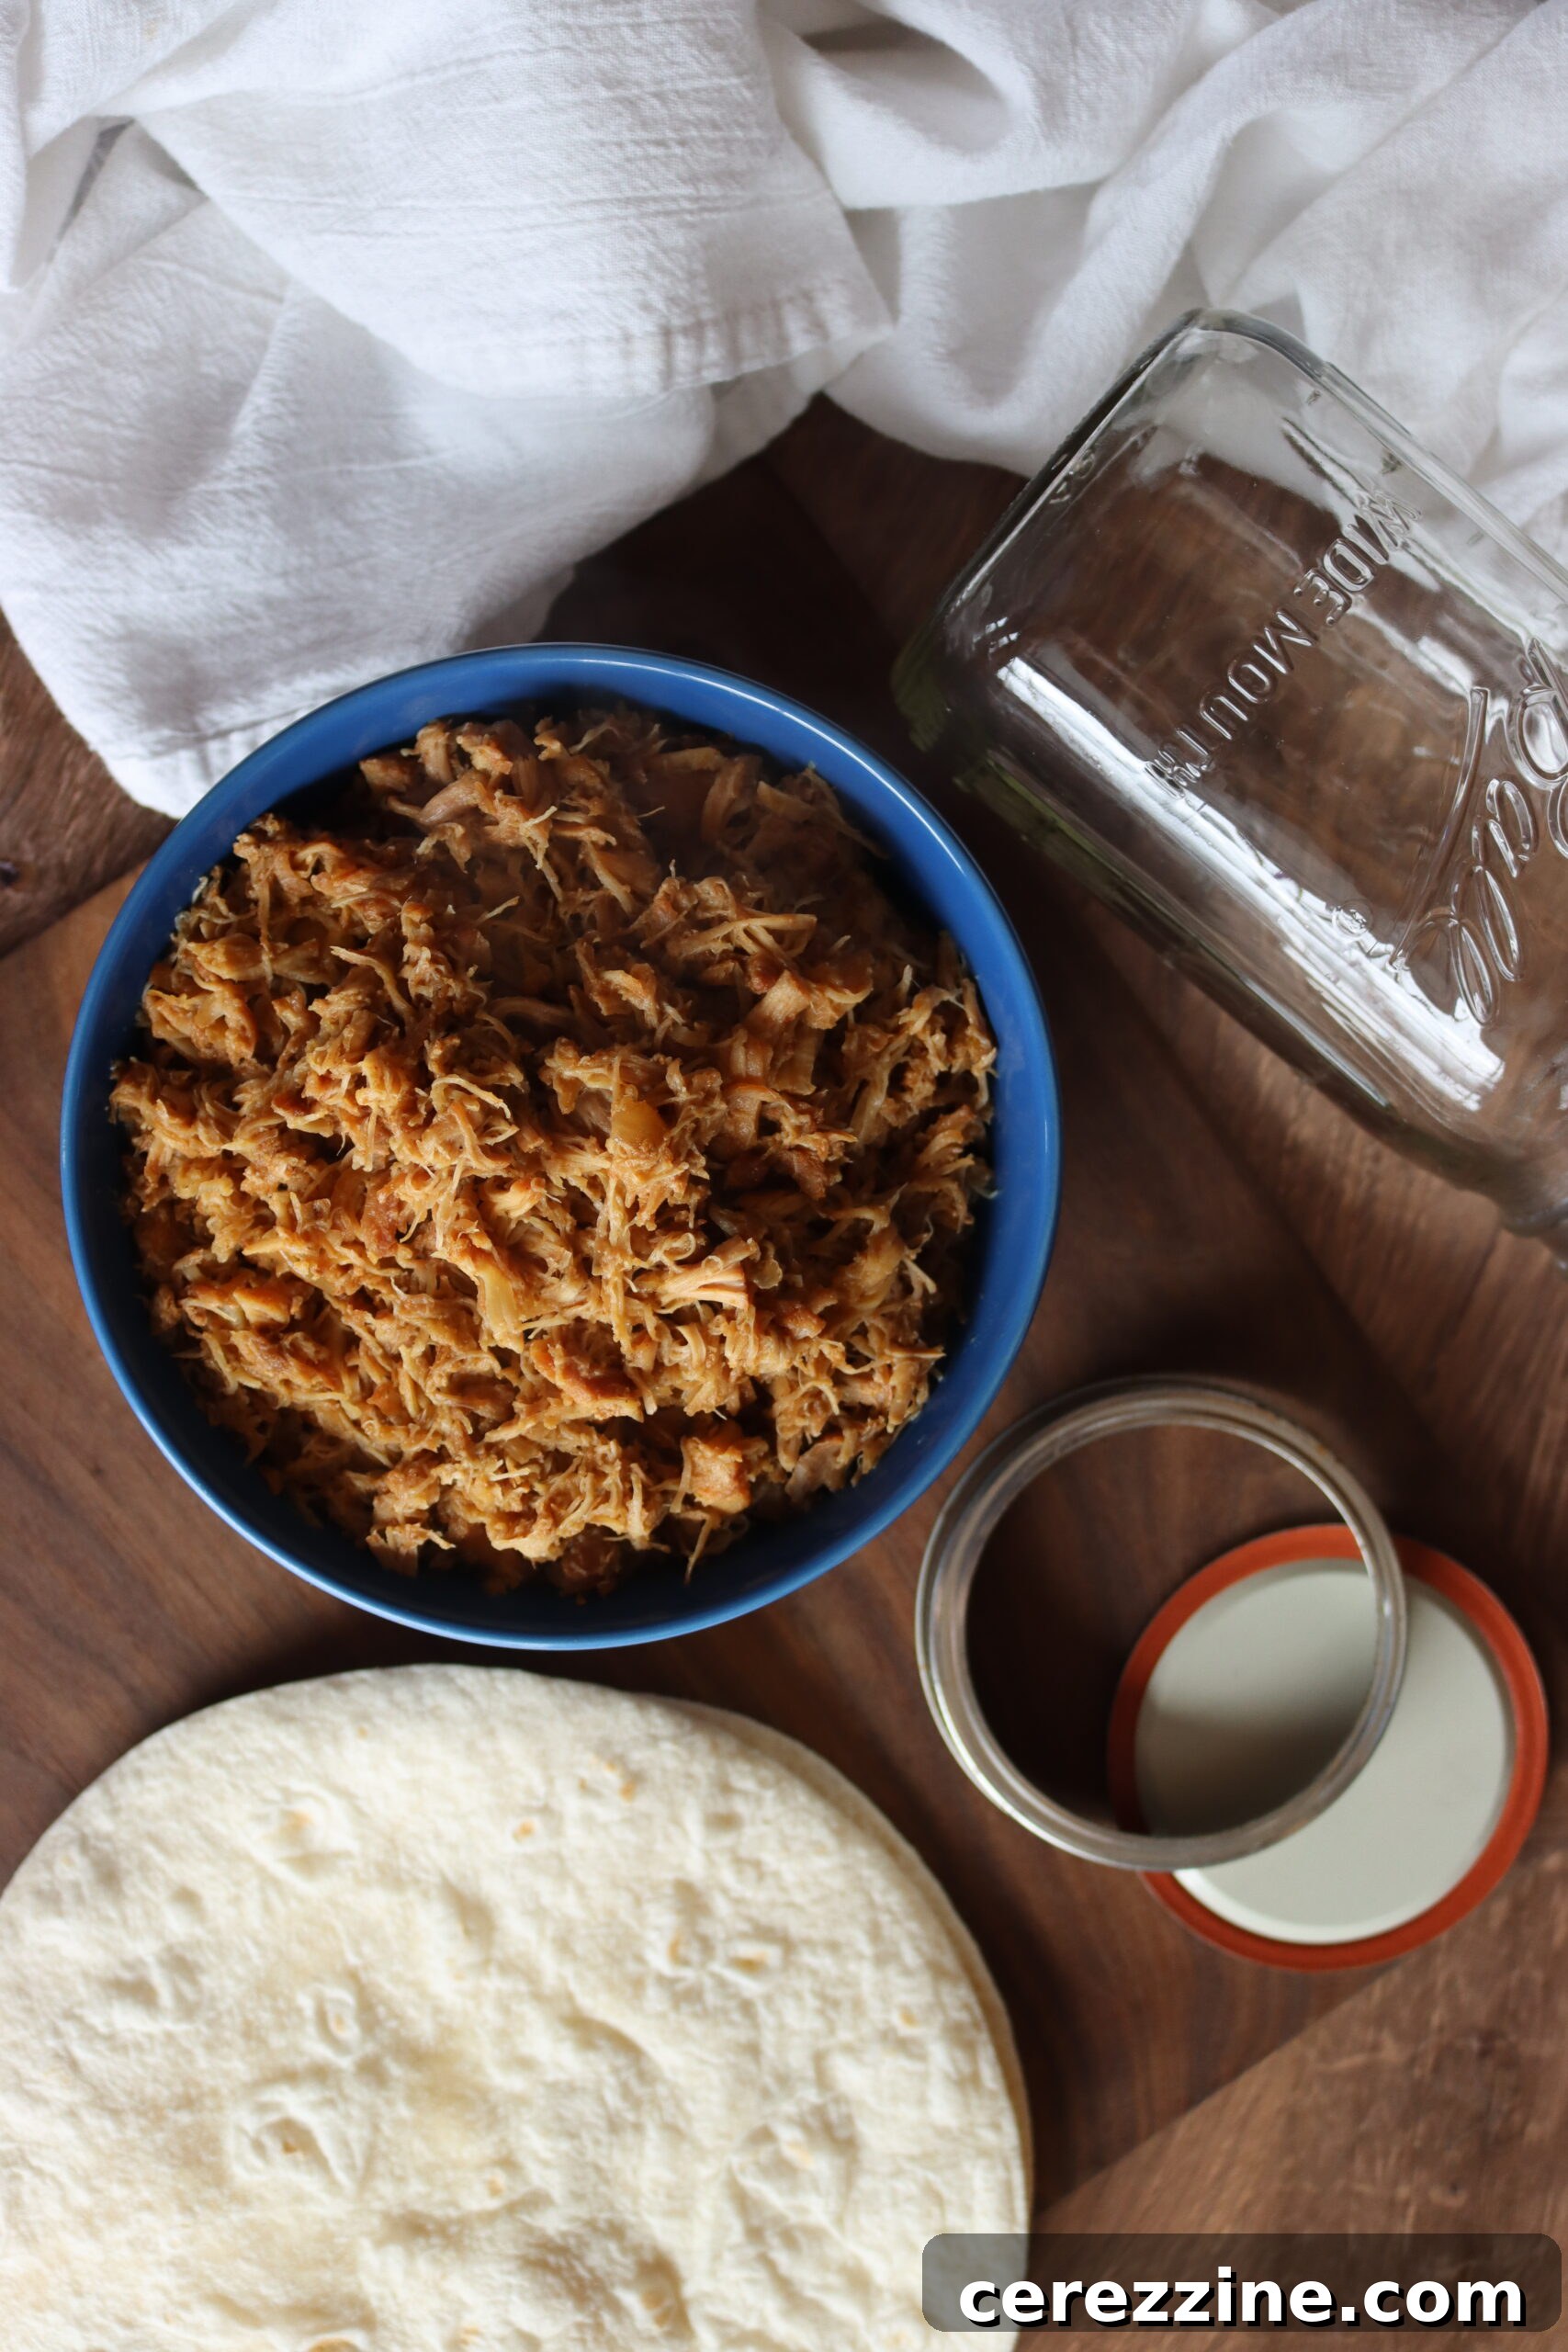
To serve, simply retrieve a jar from your pantry. Carefully open the lid, and you’ll find tender, juicy chicken submerged in its own rich, seasoned broth. Using a fork, or even your hands, easily shred the chicken right in the jar or transfer it to a bowl for shredding. The meat will be so tender from the pressure canning process that it will practically fall apart with minimal effort, achieving that perfect pulled chicken consistency.
For reheating, while a microwave can work in a pinch, I highly recommend warming the chicken on the stovetop in a skillet or saucepan. This method allows the remaining liquid to gently evaporate, concentrating the flavors and allowing the shredded chicken to lightly crisp in its own rendered fat, resulting in a more satisfying texture and enhanced taste. Stir occasionally until heated through.
This tender, juicy, and intensely flavorful chicken, infused with all the aromatic spices, is now ready to become the star of numerous dishes:
- Tacos: Serve in warm tortillas with your favorite toppings like salsa, cheese, lettuce, sour cream, and guacamole.
- Burritos & Burrito Bowls: Combine with rice, beans, corn, and a variety of fresh veggies.
- Enchiladas: Roll into tortillas with cheese and smother in enchilada sauce for a comforting meal.
- Salads: A fantastic protein boost for a vibrant taco salad.
- Nachos: Pile high on tortilla chips with melted cheese, jalapeños, and other classic nacho fixings.
- Quesadillas: Sandwich between tortillas with cheese and grill until golden.
- Soups: Add to chicken noodle soup or a hearty tortilla soup for extra flavor and protein.
- Sandwiches & Wraps: Create a delicious chicken salad or a warm chicken wrap.
Feel free to customize your meals with additional fresh toppings such as a squeeze of lime juice, fresh cilantro, chopped onions, pico de gallo, or a dollop of Greek yogurt for a healthier twist. With canned chicken taco meat, delicious and convenient meals are always just minutes away!
Pressure Canning Chicken Taco Meat
This Chicken Taco Meat recipe is a game-changer for efficient meal preparation and a lifesaver on busy weeknights. It offers a quick and tasty dinner solution, with the significant advantage that the majority of the hard work is already accomplished. By utilizing the raw-pack and pressure canning method for the chicken, you guarantee a flavorful, incredibly tender, and safely preserved meal that’s ready to enjoy—simply heat and serve!
10 minutes
1 hour 30 minutes
1 hour 40 minutes
12 servings (three quart jars)
Equipment
-
Pressure Canner
-
Wide Mouth Quart Mason Jars
-
Wide Mouth Canning Lids
-
Jar Lifter
-
Canning Funnel
Ingredients
- 5 lbs chicken thighs, boneless, skinless
- 1 Tbsp. Salt (canning or kosher)
- 1 Tbsp. Onion Powder
- 1 Tbsp. Garlic Powder
- 1 Tbsp. Paprika (smoked paprika recommended)
- 1 tsp. Cumin
- 1 tsp. Black Pepper
- Red Chili Flakes, to taste (1 tsp to 1 tbsp.)
Instructions
-
Start by trimming any excess fat from the chicken thighs. Dice the chicken into 1 to 2-inch pieces. You want them small enough to fit into the jars, but large enough to stay tender and shreddable during the canning process.
-
In a large bowl, combine the salt, onion powder, garlic powder, paprika, cumin, black pepper, and red chili flakes. Toss the diced chicken pieces with the seasoning mix until everything is evenly coated.
-
Sterilize your quart-sized canning jars and lids according to manufacturer instructions. Then, begin packing the seasoned chicken tightly into the jars. You want the chicken to be packed as snugly as possible, but without overly compressing it. Leave about 1 to 1 1/2 inches of headspace at the top of each jar. The chicken will release liquid during the canning process, so don’t worry about adding any extra liquid.
-
Before sealing, wipe the rims of the jars with a clean, damp cloth to ensure a good seal. Place the sterilized lids on the jars, then screw on the bands until they’re just finger-tight.
-
Process the jars in a pressure canner. Follow the manufacturer’s instructions for your specific model. For quart jars, you’ll need to pressure can at 10 pounds of pressure for 90 minutes, or 75 minutes for pints. Remember to adjust the pressure for altitude if above 1,000 feet in elevation (see notes for detailed altitude adjustments).
-
Once the canning time is complete, turn off the heat and allow the canner to cool down naturally and completely. When the pressure has fully released and the gauge reads zero, carefully remove the jars from the canner and set them on a clean, towel-lined counter to cool undisturbed. You’ll hear the satisfying “pop” of the lids as they seal. Allow the jars to cool completely for 12-24 hours before checking seals. After cooling, remove bands, wipe jars clean, and store in a cool, dark place.
Notes
Spice Level: Adjust the amount of red chili flakes based on your preference for heat. For a mild version, use 1 teaspoon, but for a noticeable kick, feel free to add up to 1 tablespoon or more. You can also experiment with other dry ground seasonings like chili powder (though paprika is preferred here), chipotle powder for a smoky heat, or a pinch of ground cloves for unique depth.
Chicken Cuts: While boneless, skinless chicken thighs are highly recommended for this recipe due to their inherent tenderness, flavor, and moisture retention, you can also use boneless, skinless chicken breasts if you prefer a leaner option. Just note that chicken breasts tend to stay a bit firmer and may not shred quite as easily or offer the same depth of flavor as thighs.
Headspace Accuracy: Maintaining accurate headspace (1 to 1 1/2 inches) is crucial for successful sealing and safety in pressure canning. Too little headspace can cause food to boil out during processing, potentially leading to seal failure. Too much headspace can result in air trapped in the jar, which can affect food quality and seal integrity.
Altitude Adjustments
With pressure canning, the processing times remain constant at higher altitudes, but the required pressure changes. Always know your local elevation to ensure food safety.
For dial gauge pressure canners:
- 0 to 2,000 feet in elevation – 11 lbs pressure
- 2,001 to 4,000 feet in elevation – 12 lbs pressure
- 4,001 to 6,000 feet in elevation – 13 lbs pressure
- 6,001 to 8,000 feet in elevation – 14 lbs pressure
For weighted gauge pressure canners:
- 0 to 1,000 feet in elevation – 10 lbs pressure
- Above 1,000 feet – 15 lbs pressure
Nutrition Information (Approximate)
Serving: 1 cup, Calories: 427kcal, Carbohydrates: 3g, Protein: 31g, Fat: 32g, Saturated Fat: 9g, Polyunsaturated Fat: 7g, Monounsaturated Fat: 13g, Trans Fat: 0.2g, Cholesterol: 185mg, Sodium: 785mg, Potassium: 450mg, Fiber: 1g, Sugar: 0.2g, Vitamin A: 759IU, Vitamin C: 0.3mg, Calcium: 28mg, Iron: 2mg
Nutrition information is automatically calculated based on the ingredients provided and should only be used as an approximation. Actual values may vary depending on specific brands, preparation methods, and exact ingredient quantities.
Expand Your Home Canning Skills: More Chicken Recipes
If you’re now inspired by the convenience and flavor of home-canned chicken, there’s a world of chicken canning recipes waiting for you to explore. Diversify your pantry with these delicious and practical options:
- Canning Chicken Chili Verde: A vibrant and zesty green chili option, perfect for quick weeknight meals.
- Canning Chicken Soup: Have hearty, comforting chicken soup ready to heat and serve whenever a craving strikes or you’re feeling under the weather.
- Canning White Chicken Chili: A creamy, flavorful alternative to traditional chili, ideal for a wholesome, easy dinner.
- Canning Chicken Broth: The foundation for countless recipes, homemade chicken broth provides superior flavor and allows you to control the ingredients.
Explore More Taco Meat Canning Recipes
The versatility of canning isn’t limited to just chicken! There are several delicious ways to preserve your favorite taco meats and related dishes, ensuring your pantry is always stocked with flavorful options for Tex-Mex nights:
- Canning Chipotle Beef Taco Meat: A smoky and spicy beef option for those who prefer red meat in their tacos.
- Canning Taco Soup: A complete meal in a jar, this taco soup is packed with beans, corn, and savory meat, making for an effortless dinner.
By expanding your canning repertoire, you unlock a new level of culinary independence and convenience, making homemade, wholesome meals a regular occurrence rather than a rare treat.