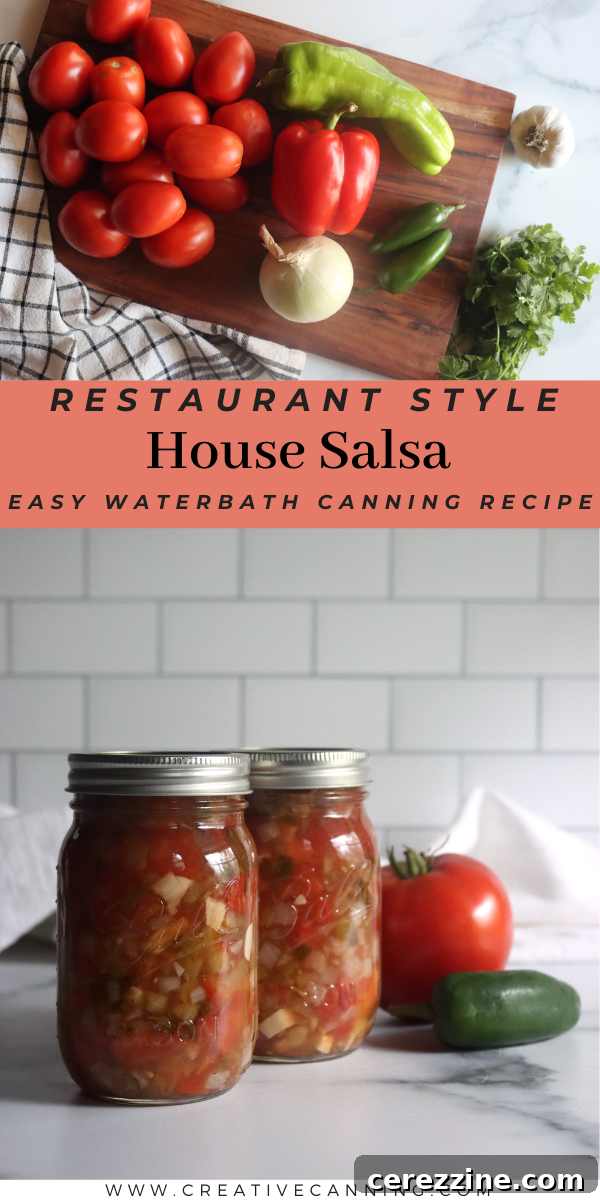
House salsa is an undeniable staple on tables across the American West, a vibrant and flavorful accompaniment that instantly sets the mood for any Mexican meal. This classic, easy-to-make salsa is not just delicious; it’s also perfectly suited for canning, allowing you to enjoy its fresh, zesty taste all year long.
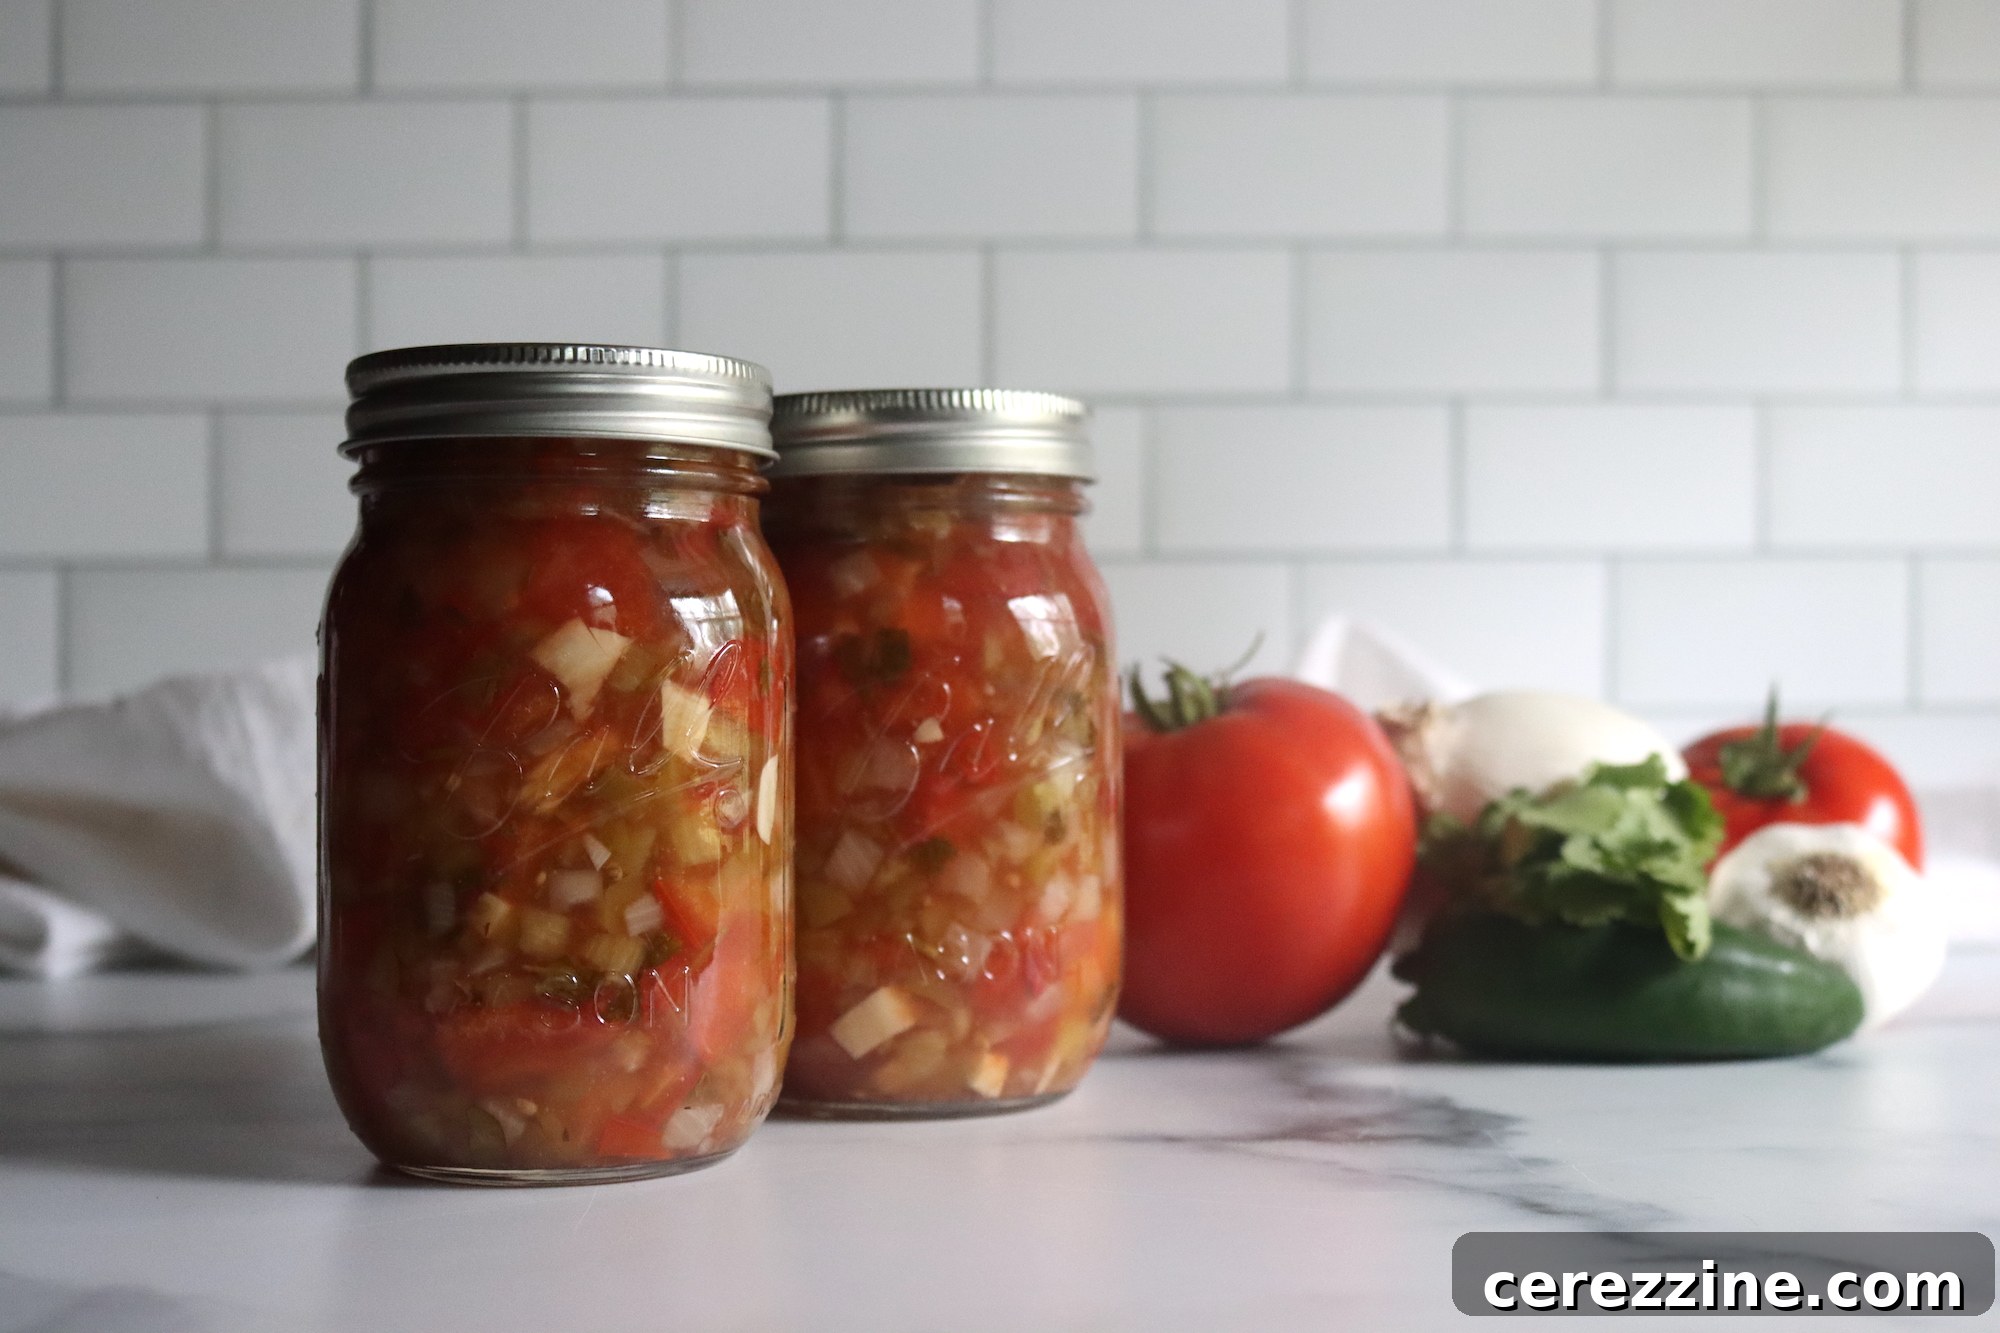
Growing up near Los Angeles, the experience of being greeted with a bowl of simple yet incredibly satisfying house salsa and a basket of warm, crispy tortilla chips at almost every Mexican restaurant was a cherished tradition. It’s the perfect appetizer to tantalize your taste buds while you peruse the menu, a delicious promise of the meal to come.
What makes this particular house salsa recipe so special is its inherent simplicity. This straightforward approach not only makes it a joy to prepare but also an ideal candidate for canning in substantial batches. Imagine having jars of this authentic, homemade salsa ready on your pantry shelf, bringing a taste of your favorite Mexican eatery into your home whenever the craving strikes.
Traditional house salsas often skip the tedious step of peeling tomatoes, opting instead for a coarsely chopped, rustic blend. This recipe embraces that same time-honored technique. The tomato peels, far from being a hindrance, actually contribute a delightful textural element to the salsa after canning, helping to maintain its body and prevent it from becoming overly liquid. It’s a clever trick that streamlines the process without sacrificing flavor or quality.
So, get ready to dive into a delicious and simple salsa canning adventure, where you can skip the tomato peeling and still achieve a vibrant, flavor-packed result!
The Allure of Homemade House Salsa: Why Can Your Own?
Beyond the nostalgic flavors, there are countless reasons to make and can your own house salsa. Firstly, you control every ingredient, ensuring freshness and avoiding artificial preservatives or excessive sodium often found in store-bought varieties. This recipe, specifically tested for canning, offers a safe and reliable method for long-term storage, extending the peak freshness of seasonal produce.
Canning homemade salsa is also incredibly cost-effective, especially when tomatoes and peppers are abundant during summer harvests. Plus, there’s an immense sense of satisfaction that comes from preserving your own food. Each jar is a testament to your efforts, ready to be opened for impromptu gatherings, weeknight dinners, or as a thoughtful homemade gift.
Ingredients for the Ultimate Simple House Salsa (No Peeling Required!)
This tried-and-true canning recipe for classic house salsa is thoughtfully adapted from The Ball Complete Book of Home Preserving, a trusted resource for home canners. To prepare a generous canner batch yielding approximately 4 pint jars of delectable salsa, you will need the following fresh and flavorful ingredients:
- 10 cups ripe plum tomatoes, thoroughly seeded, cored, and coarsely chopped. (Plum tomatoes are ideal due to their meaty texture and lower water content.)
- 2 cups assorted peppers, deseeded and chopped. (You can use a mix of bell peppers for sweetness and jalapeños or serranos for heat, adjusted to your preference.)
- 1 ½ cups finely chopped onions. (Sweet or yellow onions work wonderfully here.)
- 1 cup fresh cilantro, chopped and loosely packed. (This adds a burst of authentic Mexican flavor.)
- 1 cup cider vinegar. (Essential for safety in water bath canning and adds a tangy brightness.)
- 1 tablespoon minced garlic. (Freshly minced garlic delivers the best flavor.)
- 1 tablespoon dried oregano. (Mexican oregano can be used for a more authentic profile.)
- 1 tablespoon sugar. (A touch of sugar balances the acidity of the tomatoes and vinegar.)
- 1 tablespoon hot sauce (or, for a smoky twist, 3 chipotles in adobo sauce, seeded and minced).
- 1 ½ teaspoons ground cumin. (Adds a warm, earthy depth.)
- 1 ½ teaspoons salt. (Enhances all the flavors.)
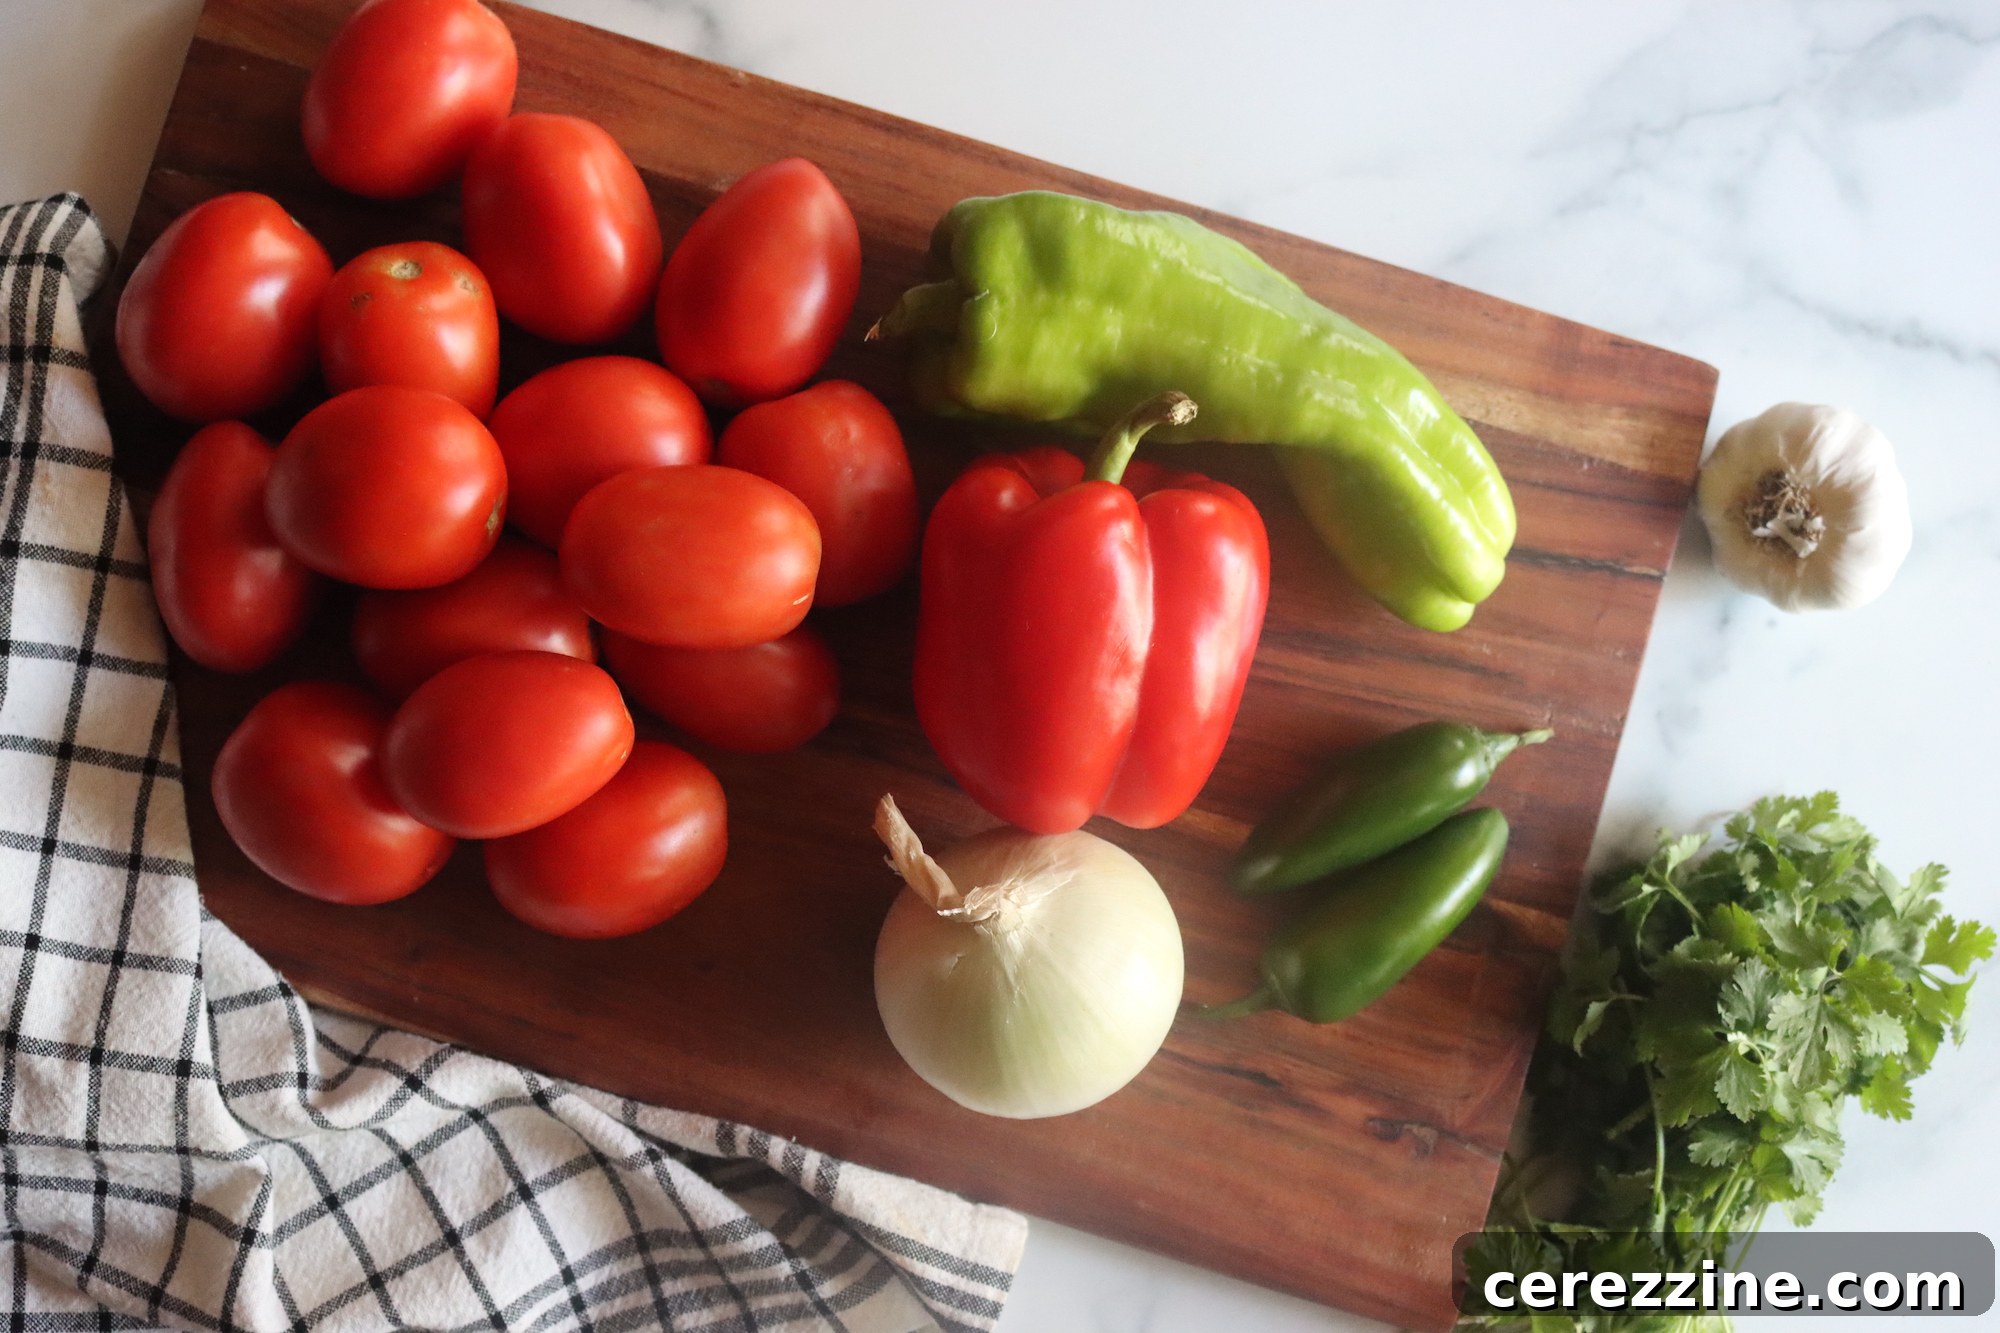
While many salsa recipes traditionally require the laborious step of peeling tomatoes, this specific Ball Canning recipe has been rigorously tested and approved, allowing you to confidently keep the peels on. This not only saves a significant amount of preparation time but, as mentioned, the peels contribute to a pleasant texture and prevent the salsa from becoming too mushy after processing. For a consistent texture, I prefer to dice my tomatoes into small 1/4-inch pieces, but a coarser chop is perfectly acceptable and yields a more rustic style salsa.
Flavor Variations to Elevate Your Salsa
The original recipe also features a fantastic chipotle salsa variation. To achieve a wonderfully smoky and mildly spicy flavor, simply substitute the 1 tablespoon of hot sauce with 3 finely chopped chipotle peppers in adobo sauce. Remember to remove the seeds from the chipotles if you prefer less heat.
For those times when fresh tomatoes are out of season or unavailable, you can easily adapt this recipe to use canned tomatoes. Substitute 6 ⅓ cups (approximately 1.575 liters) of thoroughly drained canned diced tomatoes. This usually equates to four standard 28-ounce cans of whole tomatoes, or one extra-large 100 oz can. It is crucial to ensure the canned tomatoes are chopped and very well-drained before incorporating them into the recipe to avoid excessive liquid in your final salsa.
Crafting Your Homemade House Salsa: A Step-by-Step Guide
Beyond gathering your ingredients, the process of making this simple house salsa is remarkably straightforward, making it perfect for both novice and experienced canners.
- **Preparation is Key:** Begin by ensuring all your ingredients are properly prepared as outlined in the ingredient list – tomatoes seeded, cored, and chopped; peppers and onions chopped and seeded; cilantro minced, and garlic peeled and minced.
- **Combine Everything:** Place all the prepared ingredients into a large, heavy-bottomed stock pot or Dutch oven. A large pot is essential to prevent boiling over as the salsa simmers.
- **Mix and Heat:** Stir all the ingredients thoroughly to ensure an even distribution of flavors. Bring the mixture to a brisk boil over medium-high heat on your stovetop.
- **Simmer to Perfection:** Once boiling, reduce the heat to a low boil and continue to cook for approximately 5 to 10 minutes. This simmering period allows the flavors to meld beautifully and ensures that all ingredients are heated through, which is important for canning. The salsa will thicken slightly during this time.
- **Fill the Jars:** Carefully ladle the hot salsa into prepared, clean canning jars, leaving precisely ½ inch of headspace. Headspace is crucial for proper sealing and to prevent food from expanding too much during processing.
- **Remove Air Bubbles:** Use a non-metallic utensil, like a plastic knife or a headspace tool, to gently remove any trapped air bubbles from the jars. Press the tool down along the sides of the jar, allowing air to escape.
- **Adjust Headspace & Wipe Rims:** If removing air bubbles caused the liquid level to drop, add a little more hot salsa to restore the ½ inch headspace. Then, with a clean, damp cloth, carefully wipe the rims of each jar. Any food residue on the rim can prevent a proper seal.
- **Apply Lids:** Center a new, preheated two-part canning lid (flat lid and screw band) onto each jar. Apply the screw band to fingertip-tight. This means tightening it until you feel resistance, then giving it just a quarter turn more. Do not overtighten.
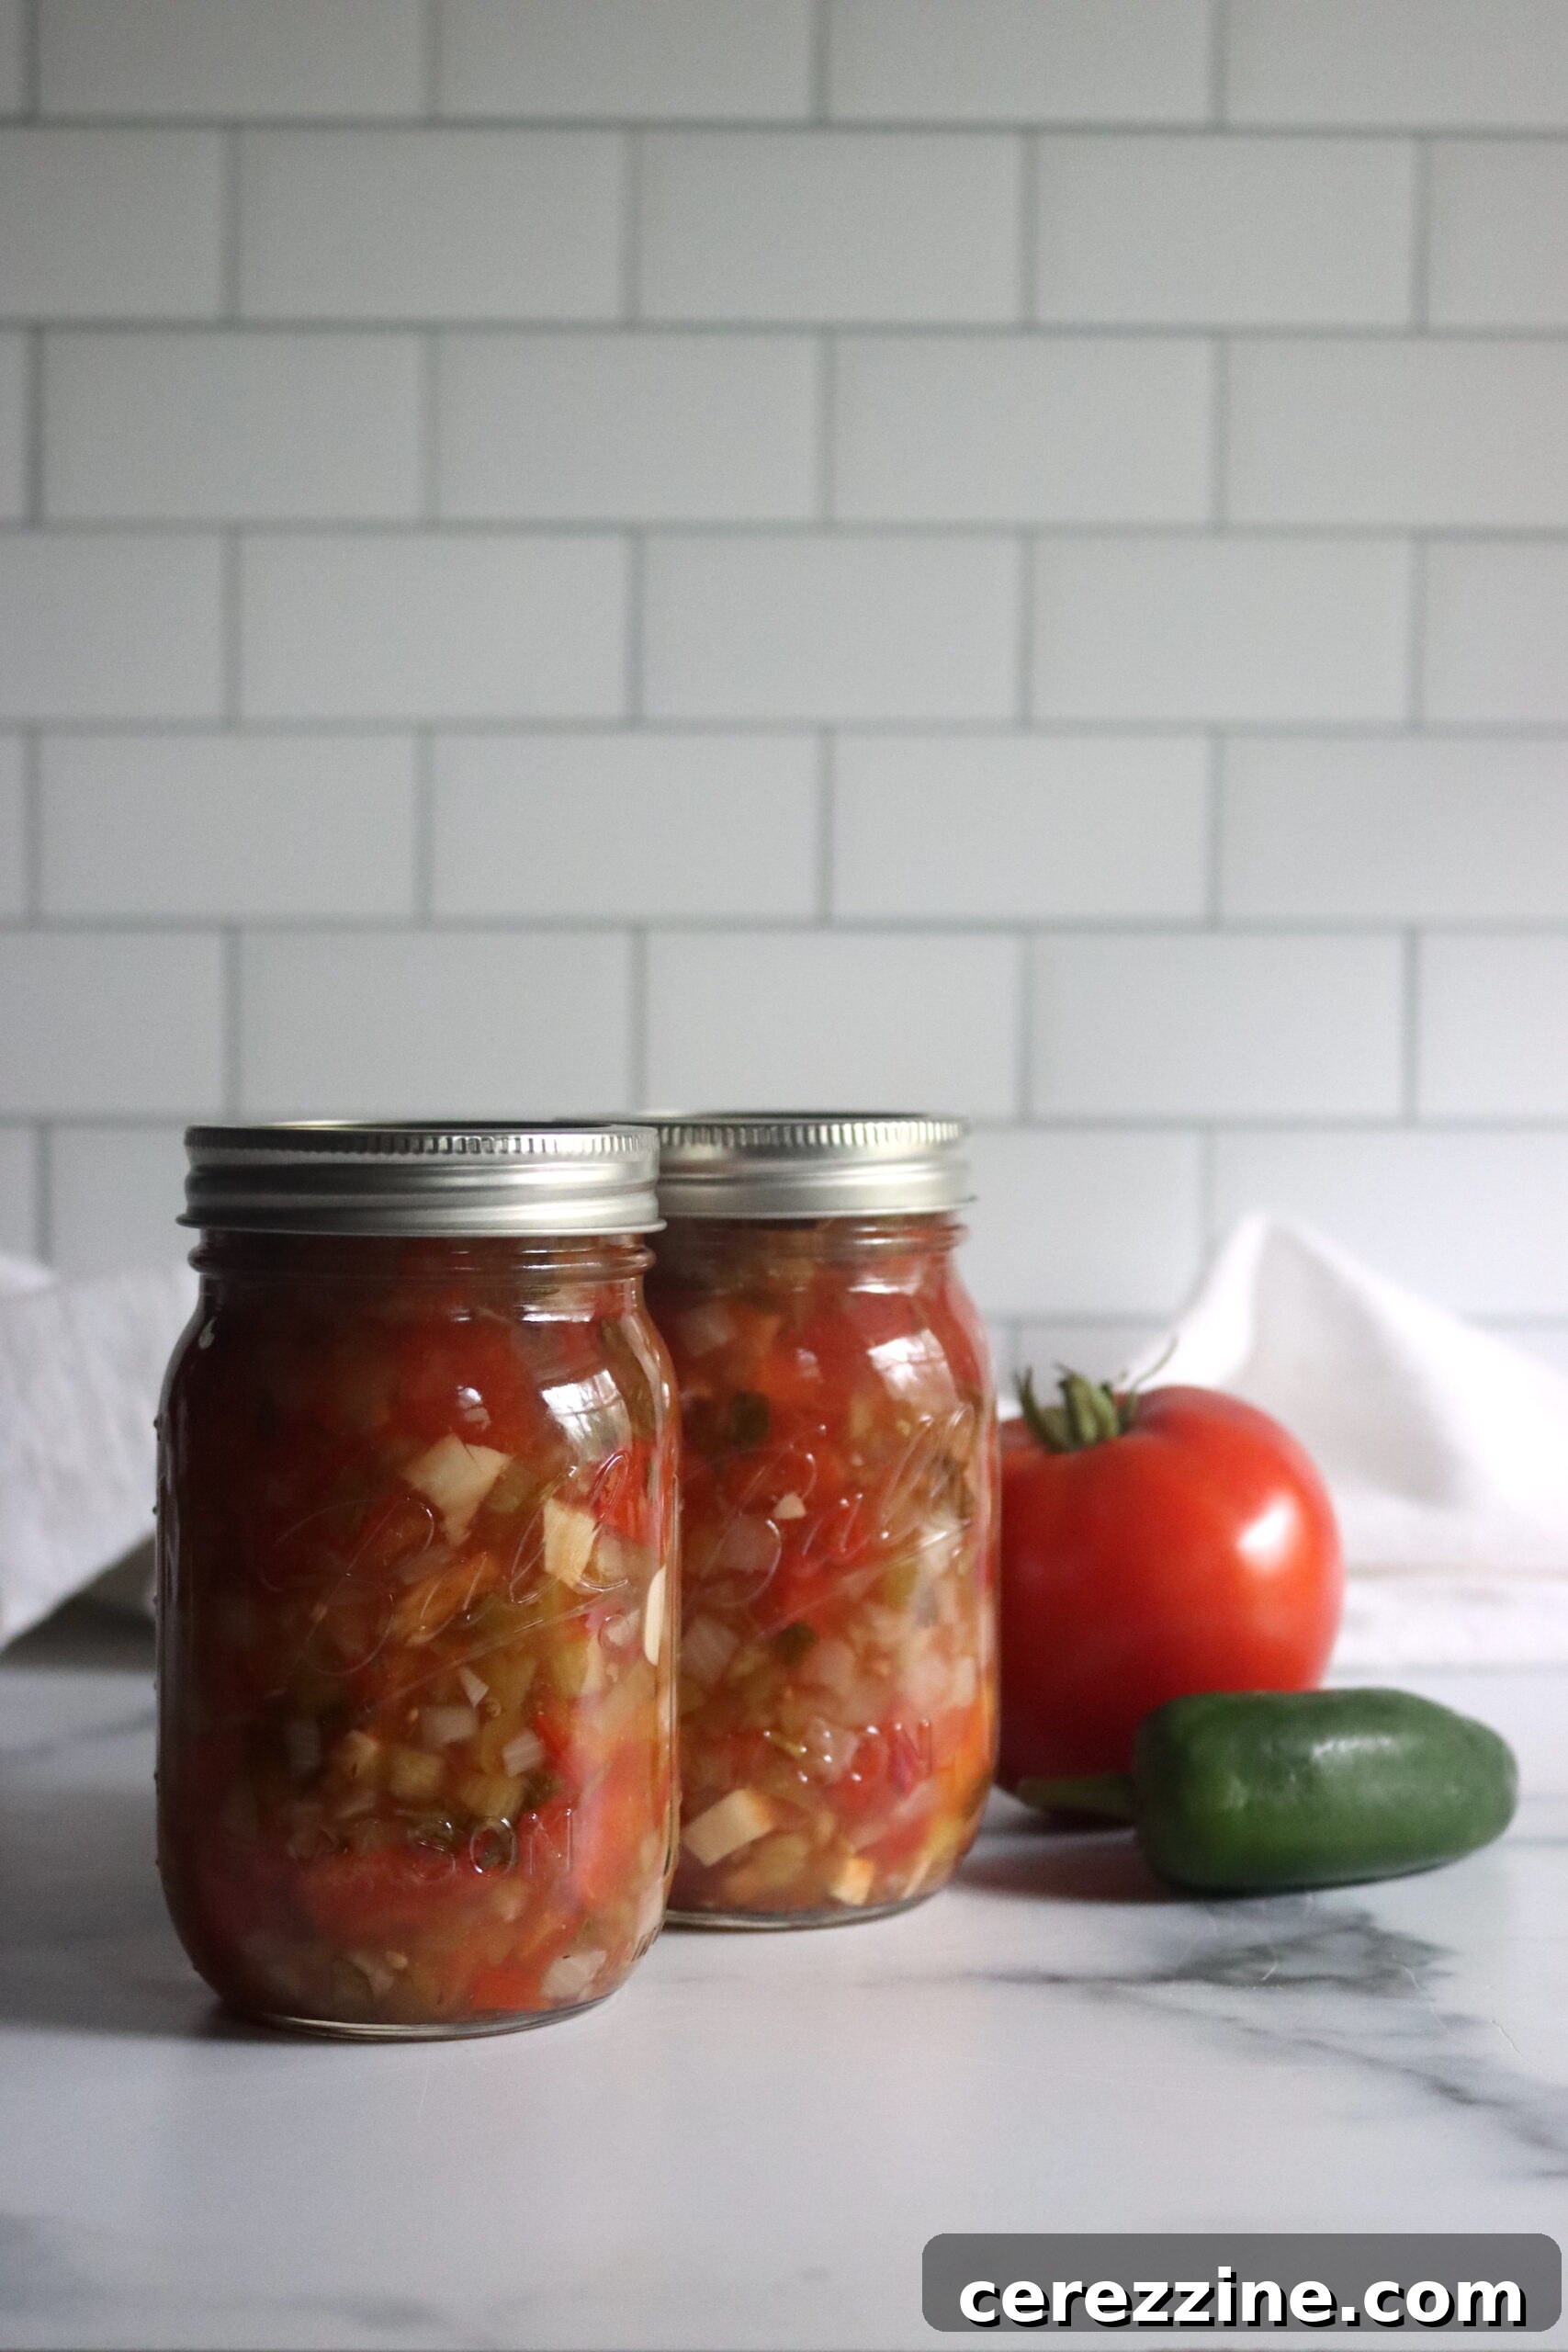
Canning Your Simple House Salsa for Long-Term Enjoyment
While canning offers the best long-term preservation, this salsa can also be stored as a refrigerator or freezer salsa. In the refrigerator, it will maintain its quality for a few weeks. For longer storage without canning, freeze it in freezer-safe jars or containers for up to 6 months. Remember to leave adequate headspace when freezing to accommodate expansion.
However, I wholeheartedly recommend canning your homemade salsas. Freezer space is often at a premium, and there’s nothing quite like the convenience of reaching for a jar of vibrant, flavorful salsa directly from your pantry shelf, regardless of the season. When properly canned using a water bath canner, homemade salsa retains its peak quality for 12-18 months and remains safe to eat as long as the jar’s seal remains intact. Always refrigerate any opened jars after use.
This recipe adheres to the standard water bath canning instructions applicable to most homemade salsas, ensuring a safe and successful preservation process.
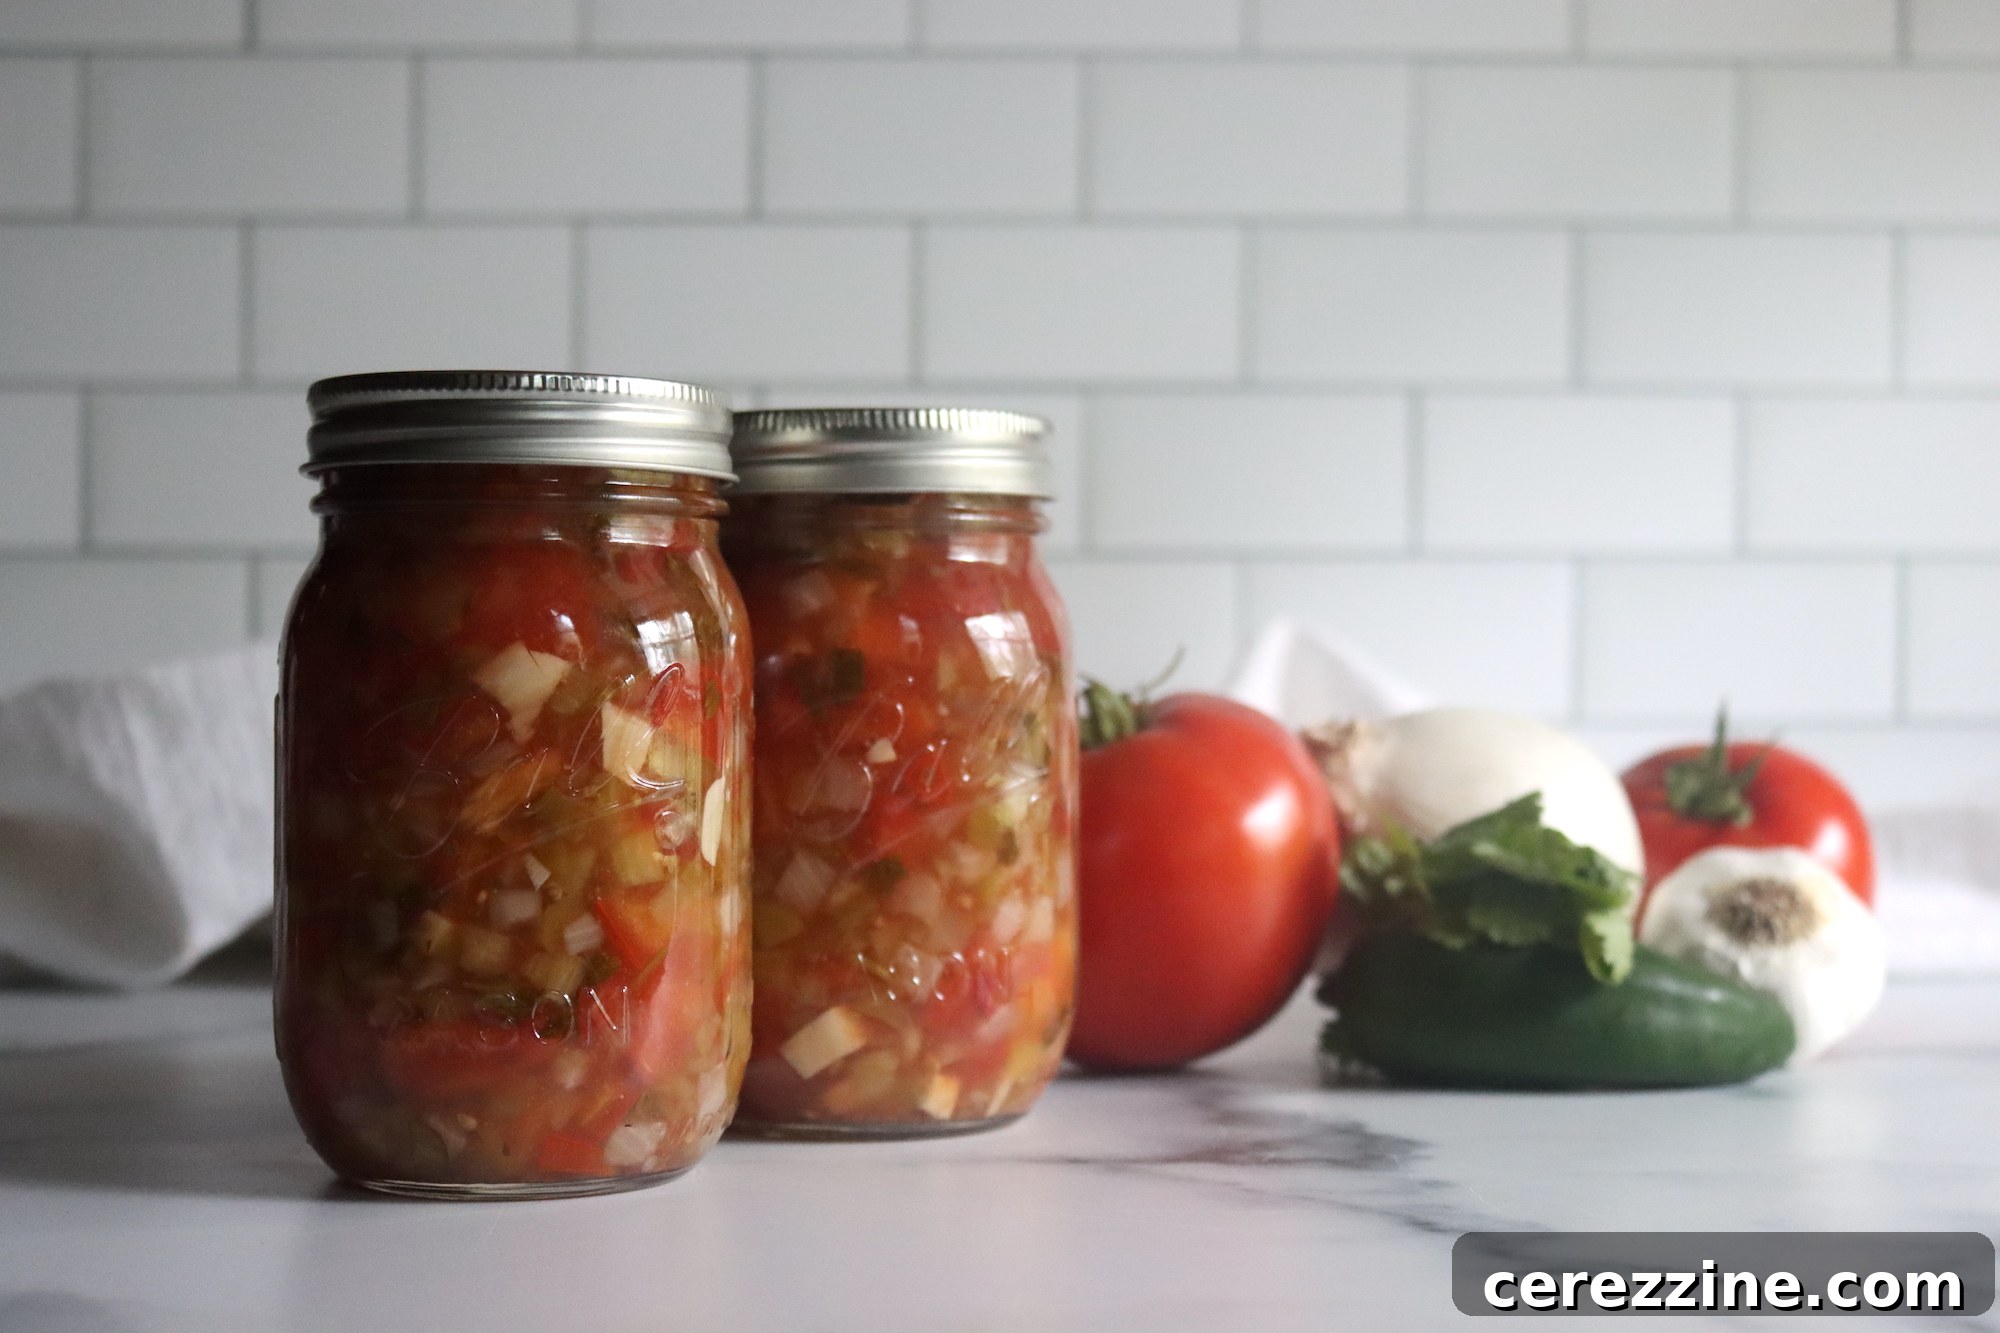
Water Bath Canning Process:
- **Prepare Your Canner:** Fill your water bath canner with enough water to cover the jars by at least 1-2 inches. Place the jars on the canner rack. Bring the water in the canner to a simmer (around 180°F / 82°C) while you prepare the salsa.
- **Load Jars:** Carefully lower the hot, filled, and sealed jars into the preheated water bath canner, ensuring they are fully submerged and not touching each other or the sides of the canner.
- **Bring to a Boil:** Place the lid on the canner and bring the water to a full, rolling boil.
- **Process Jars:** Once a vigorous boil is achieved, begin timing the processing. Process the jars for 15 minutes. Remember to adjust this time for higher altitudes, as detailed below.
- **Cool Down:** After the processing time is complete, turn off the heat and carefully remove the canner lid. Allow the jars to rest in the hot water for 5 minutes. This helps prevent siphoning (liquid loss) and thermal shock.
- **Remove and Cool Jars:** Using a jar lifter, carefully remove the hot jars from the canner and place them on a clean towel or cooling rack, ensuring they are not touching each other. Leave at least an inch of space between jars to allow for even air circulation.
- **Check Seals:** Let the jars cool undisturbed for 12-24 hours. Once completely cool, check the seals. The center of the lid should be concave and should not flex when pressed. If any jar did not seal, refrigerate it immediately and consume within a few weeks, or reprocess with a new lid within 24 hours.
- **Store:** Remove the screw bands (they can cause rust and interfere with seal integrity over time) and store sealed jars in a cool, dark, dry place.
Essential Altitude Adjustments for Safe Canning
It’s crucial to adjust canning times based on your elevation. Water boils at a lower temperature at higher altitudes, meaning foods require a longer processing time to ensure safety. Please refer to the following guidelines:
- For 0 to 1,000 Feet in Elevation: Process pint and half-pint jars for 15 minutes.
- For 1,001 to 6,000 Feet in Elevation: Process pint and half-pint jars for 20 minutes.
- Above 6,001 Feet in Elevation: Process pint and half-pint jars for 25 minutes.
Ensuring Safety with Your Salsa Canning Recipe
This simple house salsa canning recipe is safe and reliable, following the stringent guidelines established by the National Center for Food Preservation (NCFP). While you don’t *have* to can this recipe – it works perfectly well as a refrigerator or freezer salsa – if you choose to preserve it through canning, it is paramount to adhere strictly to the recipe’s instructions to guarantee food safety.
One of the most critical aspects of safe salsa canning is maintaining the correct acidity level. Therefore, **do not reduce the specified amount of acidic ingredients** such as vinegar, lime juice, lemon juice, or citric acid. Similarly, **do not alter the proportions of naturally acidic ingredients** like tomatoes or fruits in canning recipes, as this can compromise the safety of the final product.
Conversely, **low-acid ingredients offer more flexibility**. You can safely decrease the quantity of peppers or onions, or even omit them entirely, without affecting the safety of the recipe. However, it is essential **not to increase the amount of low-acid ingredients** beyond what is specified, as this could dilute the overall acidity and render the salsa unsafe for water bath canning.
Regarding peppers, all types are generally considered interchangeable in canning recipes, provided you do not exceed the total amount specified. So, feel free to swap a bell pepper for a jalapeño or vice versa, keeping the overall volume consistent. The same principle applies to onions; one type can be substituted for another without increasing the total quantity.
You have more freedom with **dry spices and salt**, as these are primarily for flavor and do not contribute to the preservation process in salsa canning recipes. Feel free to increase, decrease, or omit salt, cumin, oregano, or other dry spices to best suit your personal taste preferences.
House Salsa Recipe
This simple house salsa is a staple in Mexican restaurants and perfect for easy canning.
Servings: 32 servings (4 pint jars)
Prep Time: 25 mins
Cook Time: 5 mins
Canning Time: 15 mins
Total Time: 45 mins
Equipment
- Water Bath Canner
- Regular Mouth Pint Mason Jars
- Regular Mouth Canning Lids
- Canning Funnel
- Jar Lifter
Ingredients
- 10 cups plum tomatoes, seeded, cored, and coarsely chopped
- 2 cups peppers, chopped and seeded
- 1 ½ cup chopped onions
- 1 cup fresh cilantro, chopped and loosely packed
- 1 cup cider vinegar
- 1 Tbsp minced garlic
- 1 Tbsp dried oregano
- 1 Tbsp sugar
- 1 Tbsp hot sauce, or 3 chipotles in adobo, seeded and minced
- 1 ½ tsp ground cumin
- 1 ½ tsp salt
Instructions
- Combine all ingredients in a large stock pot or Dutch oven.
- Bring the mixture to a boil, then simmer for 10 minutes until slightly thickened.
- Ladle the hot salsa into prepared canning jars, leaving ½ inch headspace.
- Process the jars in a water bath canner for 15 minutes for pints and half pints, adjusting for altitude as specified in the notes.
Notes
Altitude Adjustments
Water boils at a lower temperature at higher altitudes, so jars need to be processed a bit longer as you go up in elevation. Here are the altitude adjustments for canning:
- For 0 to 1,000 Feet in Elevation – Process pint and half-pint jars for 15 minutes.
- For 1,001 to 6,000 Feet in Elevation – Process pint and half-pint jars for 20 minutes.
- Above 6,001 Feet in Elevation – Process pint and half-pint jars for 25 minutes.
Nutrition
Calories: 22kcal, Carbohydrates: 5g, Protein: 1g, Fat: 0.2g, Saturated Fat: 0.03g, Polyunsaturated Fat: 0.1g, Monounsaturated Fat: 0.04g, Sodium: 125mg, Potassium: 216mg, Fiber: 1g, Sugar: 3g, Vitamin A: 689IU, Vitamin C: 19mg, Calcium: 15mg, Iron: 0.4mg
Nutrition information is automatically calculated, so should only be used as an approximation.
Serving Suggestions: Enjoying Your Homemade Salsa
Once your jars of homemade house salsa are sealed and cooled, the possibilities for enjoyment are endless! Of course, it’s perfect with classic tortilla chips. But don’t stop there:
- **Taco Night Essential:** Elevate your tacos, burritos, and enchiladas with a generous dollop.
- **Breakfast Booster:** Spoon it over scrambled eggs, omelets, or breakfast burritos for a zesty start to your day.
- **Grilled Meats:** Use it as a vibrant topping or marinade for grilled chicken, fish, or pork.
- **Flavorful Dip:** Mix it with sour cream or Greek yogurt for a creamy, tangy dip.
- **Nachos & Quesadillas:** A must-have for cheesy nachos and gooey quesadillas.
- **Soup & Chili Garnish:** Add a fresh kick to your favorite soups and chilis.
More Tomato Canning Recipes to Explore
If you’re eager to continue your tomato preservation journey, here are some other fantastic ways to capture the essence of summer tomatoes in a jar:
- 25+ Pasta Sauce Recipes for Canning
- Pickled Cherry Tomatoes
- Roasted Tomato Basil Soup
Expand Your Summer Canning Adventures
Beyond salsa, the summer months offer a bounty of produce perfect for canning. Broaden your skills and fill your pantry with these delightful summer canning recipes:
- Canning Peaches
- Old Fashioned Strawberry Jam
- Dill Pickle Spears