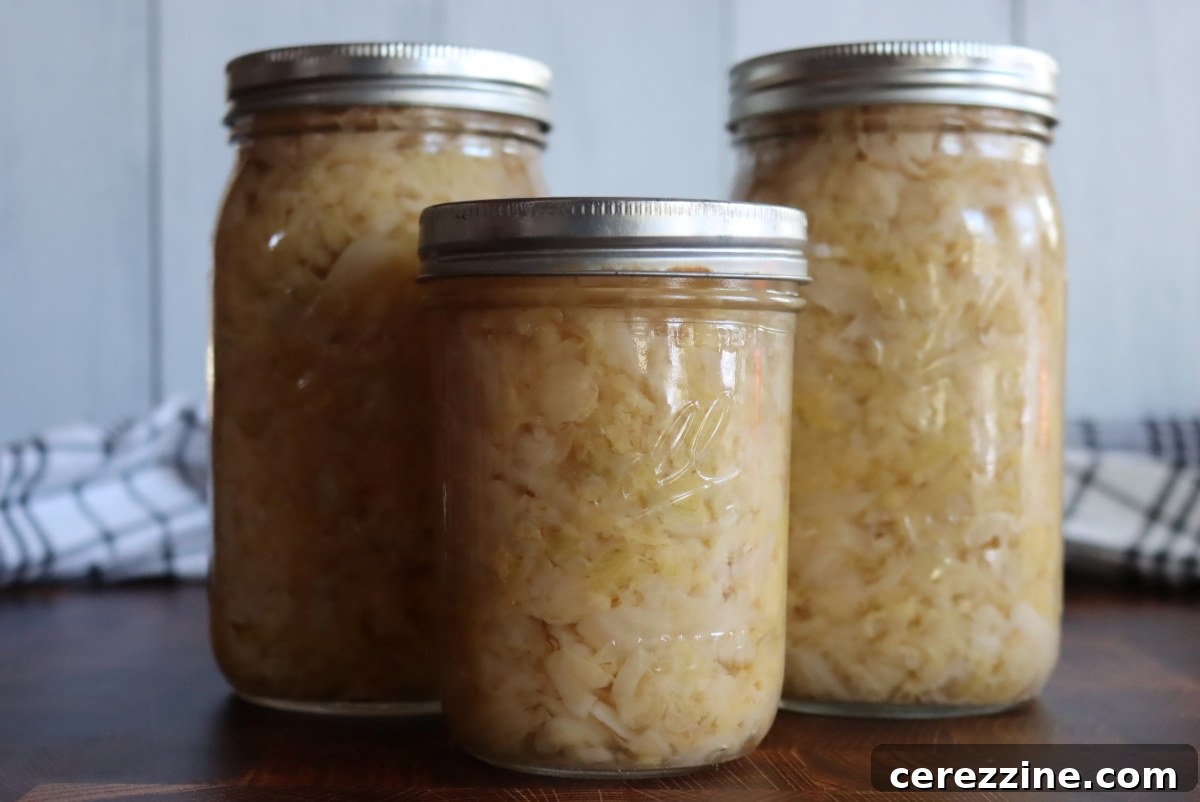
Canning sauerkraut is a timeless and efficient method for preserving the nutritional benefits of cabbage, transforming it into a versatile pantry staple. While plain cabbage isn’t suitable for canning due to its low acidity, the fermentation process that creates sauerkraut makes it perfectly safe for a simple water bath canner. This guide will walk you through everything you need to know to confidently can your own homemade sauerkraut.
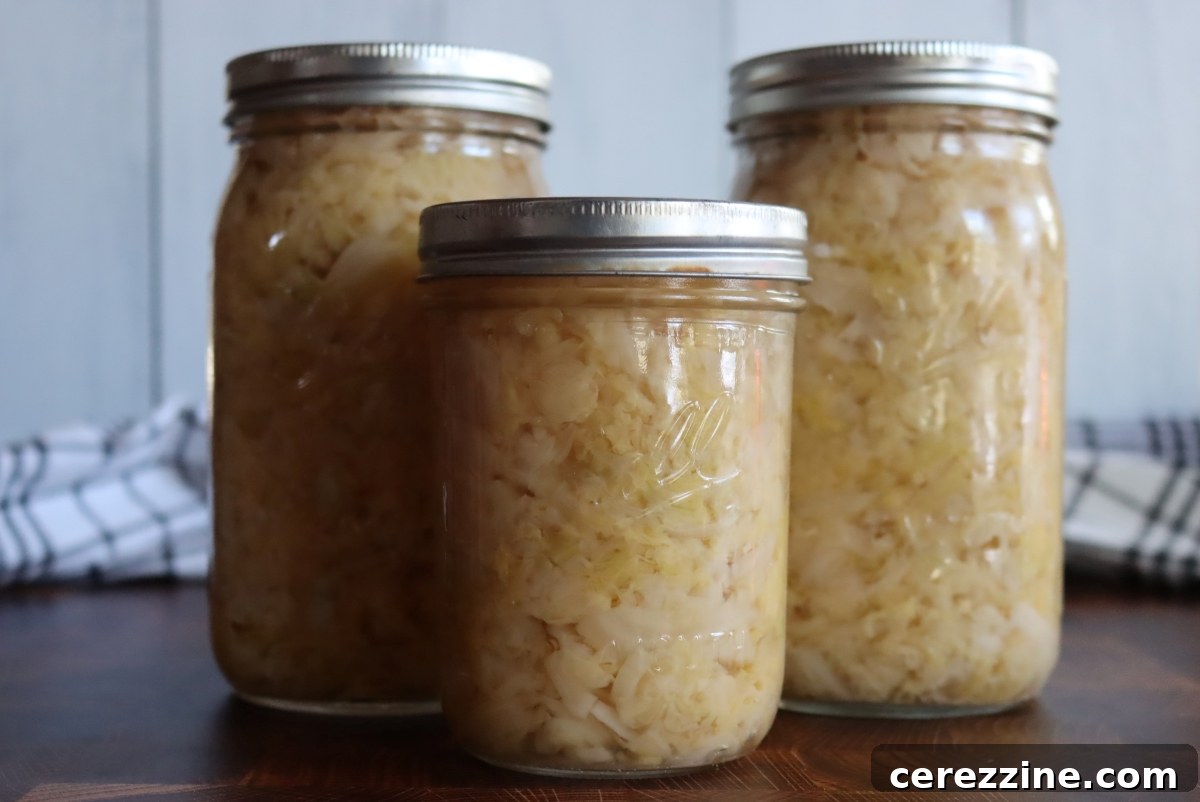
Preserving sauerkraut through canning offers a fantastic long-term storage solution for your garden bounty or bulk cabbage purchases. The fermentation process not only develops its distinct tangy flavor but also increases its acidity, making it safe for canning. Beyond safety, fermentation enhances digestibility and boosts the nutritional profile of the humble cabbage, making sauerkraut a truly superfood.
Many fermentation enthusiasts often ask, “Doesn’t canning destroy the probiotics?” And the answer is, yes, it does. The high heat of the canning process sterilizes the sauerkraut, meaning it will no longer contain live cultures. However, the benefits of sauerkraut extend far beyond its probiotic content. While fresh, raw sauerkraut is invaluable for its live cultures, home-canned sauerkraut holds its own unique and significant advantages.
Why Can Sauerkraut? Unlocking Its Hidden Benefits
Even without its live probiotics, home-canned sauerkraut remains a nutritional powerhouse. The fermentation process initiates profound changes in the cabbage:
- Enhanced Digestibility: Fermentation breaks down complex carbohydrates in cabbage, making it much easier for your body to digest and absorb nutrients.
- Increased Nutritional Value: Remarkably, sauerkraut often boasts higher protein and vitamin content than the raw cabbage it started with. Lactobacillus bacteria, responsible for fermentation, convert sugars into more beneficial compounds, enriching the overall nutritional profile. This includes a boost in vitamins like C and K, and even some B vitamins.
- Historical Preservation: Throughout history, communities relied on fermentation to preserve cabbage. While often fermented first, many traditional recipes then cooked the sauerkraut before serving. Think hearty dishes like sausage and sauerkraut hash, or a comforting sauerkraut soup. These culinary traditions demonstrate that cooked (and thus non-probiotic) sauerkraut has always been a valued, nourishing component of meals, allowing families to enjoy nutrient-dense food throughout the long winter months.
- Convenient Storage: For those without a cool root cellar or ample refrigerator space, canning sauerkraut is an ideal solution. It transforms a perishable vegetable into a shelf-stable product, freeing up valuable refrigerator real estate. This is especially advantageous in warmer climates where maintaining cool storage temperatures can be a constant challenge.
By canning sauerkraut, you’re embracing a method that extends the harvest, reduces waste, and provides a readily available source of nutritious food, ready to be incorporated into a wide array of delicious and healthful cooked meals.
Considerations Before Canning Sauerkraut: The Probiotic Question
While canning sauerkraut offers undeniable convenience and nutritional benefits, it’s important to understand its limitations. Canning is a sterilization process, meaning the high heat involved will eliminate the live probiotic cultures that make raw fermented foods so popular. If your primary goal in making sauerkraut is to consume live probiotics for gut health, then canning is not the best method for long-term storage.
For those prioritizing live cultures, storing sauerkraut in the refrigerator is the recommended approach. Properly fermented sauerkraut, kept in an airtight container and fully submerged in its brine, can last for several months in the refrigerator or even longer in a consistently cool basement or root cellar. It will continue to ferment slowly, developing a more complex, acidic flavor over time.
For those interested in preserving cabbage in other forms for the pantry, there are numerous non-probiotic canning recipes available. Traditional relish recipes, often called chow chow or piccalilli, offer delicious ways to enjoy cabbage on the shelf. Examples include Southern Chow Chow or New England Piccalilli, which are excellent alternatives if you’re looking to preserve cabbage without fermentation.
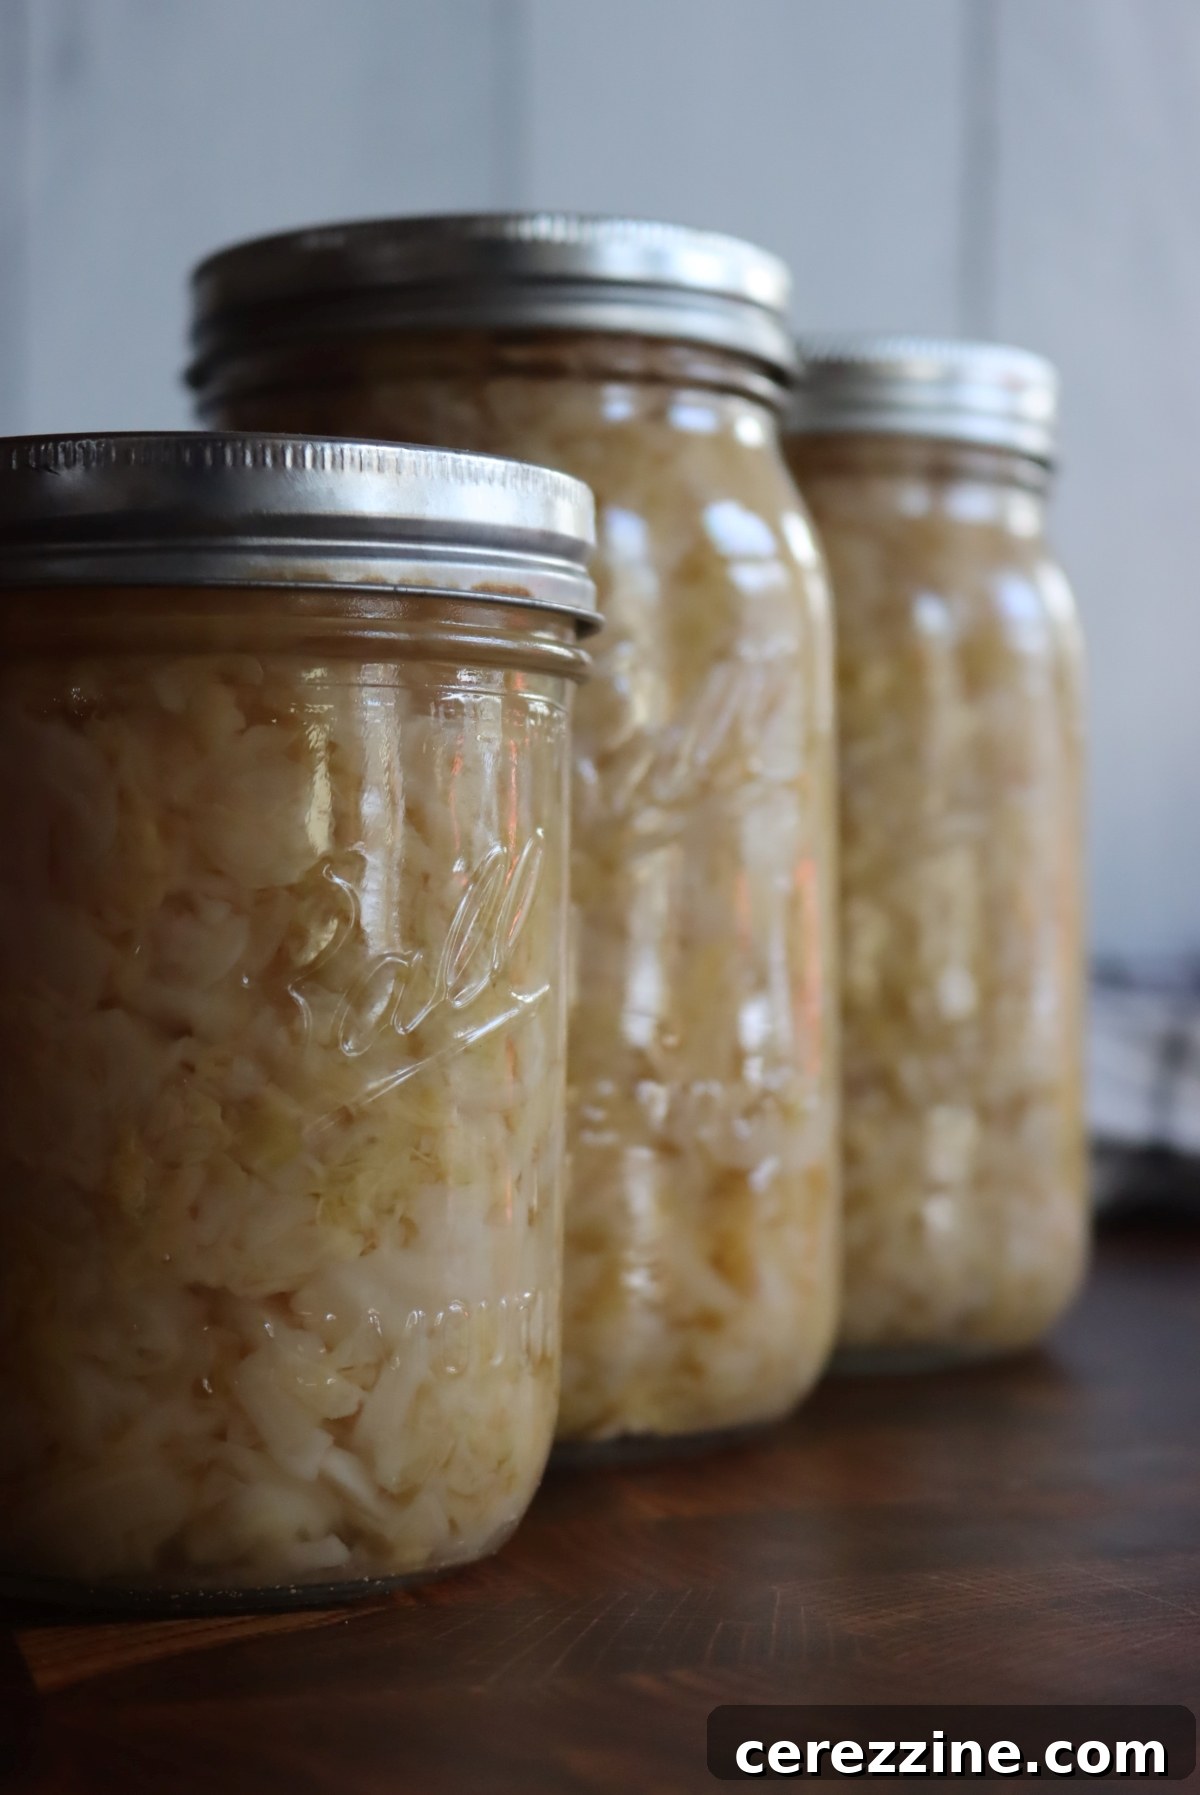
Preparing Sauerkraut for Canning: The Fermentation Journey
Before you can even think about jars and canners, the most critical step for canning sauerkraut is proper fermentation. This is not a quick process, and patience is key. Sauerkraut must be fully and safely fermented to achieve the necessary acidity levels for safe water bath canning. Attempting to can unfermented or under-fermented cabbage is unsafe.
Many novice preservers mistakenly believe they can ferment cabbage overnight. However, transforming fresh cabbage into acidic sauerkraut takes time – typically between 3 to 6 weeks, depending on the ambient temperature. The cooler the temperature, the slower, but often more complex, the fermentation process will be.
According to the Complete Guide to Home Canning from the National Center for Food Preservation, “Sauerkraut fermentation can take place under variable temperature and time combinations. For obtaining a good quality sauerkraut at home, the USDA recommendation is to store at 70º to 75ºF while fermenting. At temperatures between 70º and 75ºF, kraut will be fully fermented in about 3 to 4 weeks; at 60º to 65ºF, fermentation may take 5 to 6 weeks. At temperatures lower than 60ºF, kraut may not ferment. Above 75ºF, kraut may become soft.” These guidelines are crucial for ensuring both safety and optimal flavor and texture.
It cannot be stressed enough: ensure your sauerkraut is fully fermented before proceeding to the canning stage. The natural acidity produced during fermentation is the protective factor that makes water bath canning safe. Rushing this step compromises food safety and quality.
Choosing the Right Cabbage for Sauerkraut
The foundation of great sauerkraut lies in selecting the right cabbage. While several varieties can be fermented, some are better suited than others for a delicious and successful outcome, especially when planning to can:
- Green Cabbage (White Cabbage): This is arguably the most popular and widely available choice for sauerkraut, and for good reason. Green cabbage offers a crisp texture that holds up well through both fermentation and the canning process, maintaining a satisfying crunch. Its flavor is “clean” and mildly sweet, making it an excellent option for first-time fermenters and those who prefer a classic sauerkraut taste.
- Red Cabbage (Purple Cabbage): Visually stunning, red cabbage yields a vibrant purple sauerkraut. It typically has a slightly earthier flavor profile and is even richer in certain nutrients compared to green cabbage, particularly vitamins A and C, and iron. Red cabbage is also renowned for its high antioxidant content, making it an extra healthy choice.
- Napa Cabbage: Often associated with kimchi, Napa cabbage has a softer texture and a milder flavor than its rounder counterparts. While it can be fermented into sauerkraut, be aware that its delicate leaves might become overly soft or even mushy during the extended fermentation and subsequent canning process. It’s best reserved for experienced fermenters seeking a distinct texture.
- Savoy Cabbage: Savoy cabbage shares a similar flavor to green cabbage but is distinguished by its crinkly, deeply textured leaves. Similar to Napa cabbage, its softer nature carries a higher risk of becoming overly soft during fermentation and canning. If you choose Savoy, proceed with caution and monitor the texture closely throughout the process. It’s generally recommended for those who have prior experience with fermenting and canning.
For consistent results and a reliable crunch, especially when canning, green cabbage is often the most forgiving and recommended variety. Experiment with other types once you’ve mastered the basics.
Essential Ingredients for Fermented Sauerkraut
Aside from your chosen cabbage, the only other crucial ingredient you’ll need for traditional fermented sauerkraut is pickling salt (also known as canning salt). This specific type of salt is vital because it lacks anti-caking agents and iodine, which are common in regular table salt. These additives can interfere with the fermentation process, leading to cloudy brine or an off-flavor and color in your sauerkraut.
For a substantial batch yielding approximately 9 finished quarts of fermented sauerkraut, you’ll need around 25 pounds of whole cabbages. To make the process more manageable and less overwhelming, it’s best to work with smaller batches, ideally about 5 pounds of cabbage at a time. This approach allows for thorough mixing and pounding, ensuring proper brine extraction and even fermentation.
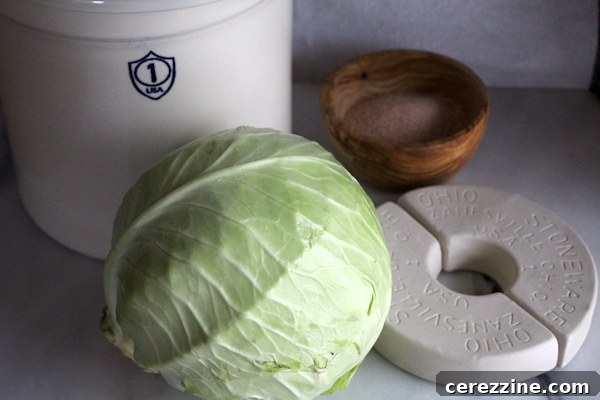
Step-by-Step: Making Sauerkraut for Canning
Creating your own fermented sauerkraut for canning is a rewarding process. Follow these steps for best results:
- Prepare the Cabbage: Begin by removing any bruised or damaged outer leaves from each cabbage head. Rinse the cabbages thoroughly under cool water. Using a sharp chef’s knife, quarter each cabbage head and carefully cut out the tough, woody core.
- Shredding the Cabbage: Achieve thin, consistent ribbons (roughly the thickness of a quarter) using your preferred method: a sharp knife, a food processor with a shredding attachment, or an inexpensive kitchen mandoline (exercise extreme caution and consider a safety glove to protect your fingers).
- Salting and Pounding: Place the shredded cabbage into your chosen fermentation container (a fermentation crock is ideal, especially if it comes with a wooden pounder). Add 3 tablespoons of pickling salt for every 5 pounds of shredded cabbage. Mix the salt and cabbage thoroughly with clean hands, ensuring the salt is evenly distributed.
- Packing the Crock: Using a wooden fermentation pounder or a sturdy wooden spoon, firmly pound the salted cabbage. This action helps to break down the cell walls of the cabbage, encouraging it to release its natural juices and form a brine. Continue adding shredded, salted cabbage and pounding until the crock is packed.
- Brine Formation: The fermentation container should be deep enough to leave 4 to 5 inches of space above the packed cabbage. Within a few hours, the shredded, salted, and pounded cabbage should have released enough natural brine to completely submerge itself. This brine is essential for proper anaerobic fermentation.
If you’re new to making sauerkraut and require more detailed visual guidance, refer to a comprehensive guide on how to make sauerkraut, or specifically, how to make sauerkraut in a crock.
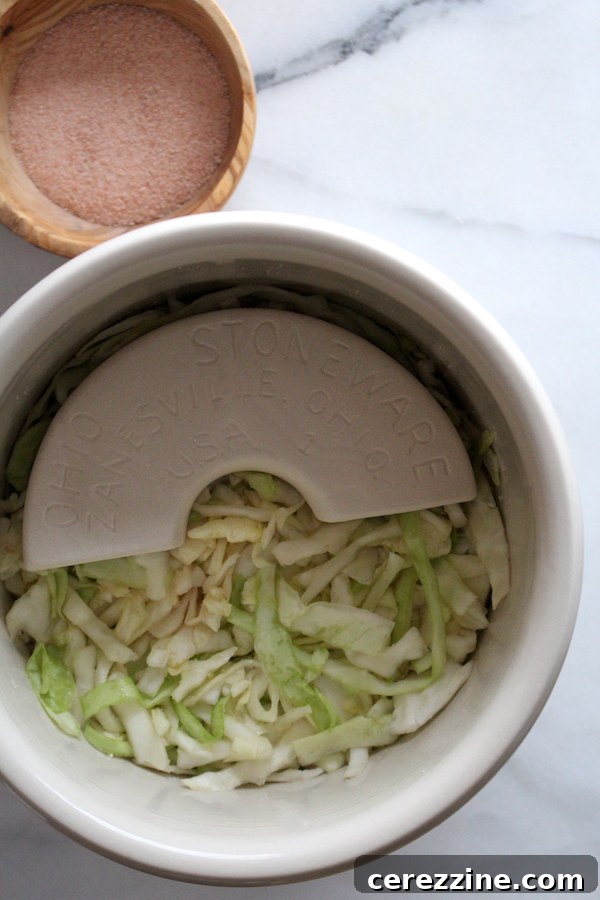
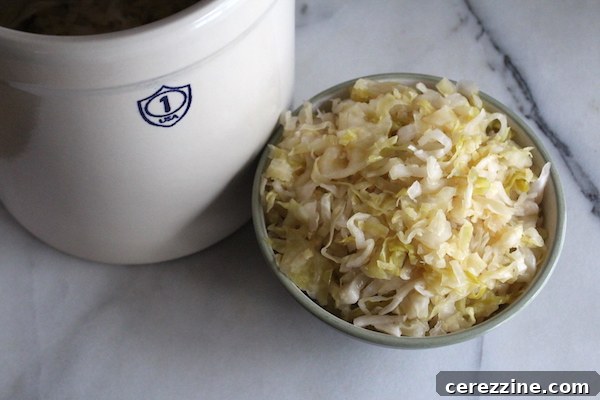
When planning a large batch, remember that you might need more than one fermentation vessel, requiring additional space. Factor this into your initial preparation.
Optimal Fermentation Time and Temperature
The length of time required for sauerkraut to ferment adequately is primarily dictated by temperature:
- Warmer Temperatures (70°F to 75°F): The USDA recommends this range for optimal fermentation. At these temperatures, sauerkraut typically reaches full fermentation in about 3 to 4 weeks.
- Cooler Temperatures (60°F to 65°F): In this slightly cooler environment, the fermentation process will slow down, often requiring 5 to 6 weeks to fully develop.
It is crucial to avoid extreme temperatures:
- Above 75°F: Fermentation can occur too rapidly, leading to undesirable results such as overly soft or even mushy sauerkraut that may not be palatable.
- Below 60°F: The temperatures are too cold for the beneficial bacteria to thrive and initiate proper fermentation, meaning your cabbage may not ferment at all.
The importance of maintaining these temperature ranges cannot be overstated. For sauerkraut to be safely canned using a water bath method, it must reach a sufficient level of acidity (pH 4.6 or below), which is naturally achieved through proper fermentation. This is why the fermentation process cannot be rushed or circumvented.
While you could technically pickle cabbage in white or cider vinegar for canning, it would lack the complex flavors and significant nutritional enhancements derived from the natural fermentation process.
You should start to observe signs of fermentation around one week, though these can be subtle. Look for tiny bubbles rising in the brine, especially if the temperature is on the warmer side. If the liquid level drops, replenish it with a bit of fresh, unchlorinated water to ensure the cabbage remains submerged. Using brine to top off could result in excessively salty sauerkraut. Always keep the shredded cabbage weighed down with fermentation weights and cover the crock with a clean towel to prevent contaminants.
Determining When Sauerkraut is Ready for Canning
One of the joys of homemade sauerkraut is customizing its flavor. There are no strict rules for when it’s “done”; it largely comes down to your personal preference. Begin sampling the sauerkraut after about 3 weeks. Generally, the longer the cabbage ferments within the safe temperature range, the more complex and tangy its flavor will become. As noted, based on ambient temperature, sauerkraut is typically ready for canning after 3 to 6 weeks of fermentation, once it has reached the desired acidity and flavor.
Once your fermented sauerkraut tastes just right, you have two primary options for long-term storage: canning or refrigeration. If you choose not to can, simply cover the sauerkraut tightly and store it in the refrigerator for several months.
For more detailed information on fermentation principles and essential tools, a beginner’s guide to lacto-fermentation is highly recommended. Further insights specific to sauerkraut can be found in posts on how to make sauerkraut and making large batches of sauerkraut in a crock.
The Canning Process: Preserving Your Homemade Sauerkraut
Once your sauerkraut has successfully fermented to your liking and achieved the necessary acidity, it’s ready for water bath canning. You can choose between two methods: raw pack or hot pack.
Canning Sauerkraut with the Raw Pack Method
For the raw pack method, simply fill nine prepared quart jars with the cold fermented sauerkraut. Ensure you leave a 1/2-inch headspace at the top of each jar. Cover the sauerkraut completely with the brine from the fermentation crock. This method is quicker initially but requires a longer processing time in the canner.
Canning Sauerkraut with the Hot Pack Method
The hot pack method involves heating the sauerkraut before jarring. In a large, heavy-bottomed stockpot, gently warm the fermented cabbage and its brine, stirring frequently, until it comes to a boil. Once boiling, remove the pot from the heat. Carefully fill each quart jar with the hot sauerkraut and brine, again leaving a 1/2-inch headspace. The hot pack method helps to remove air from the product, often resulting in a more consistent final product and a shorter processing time.
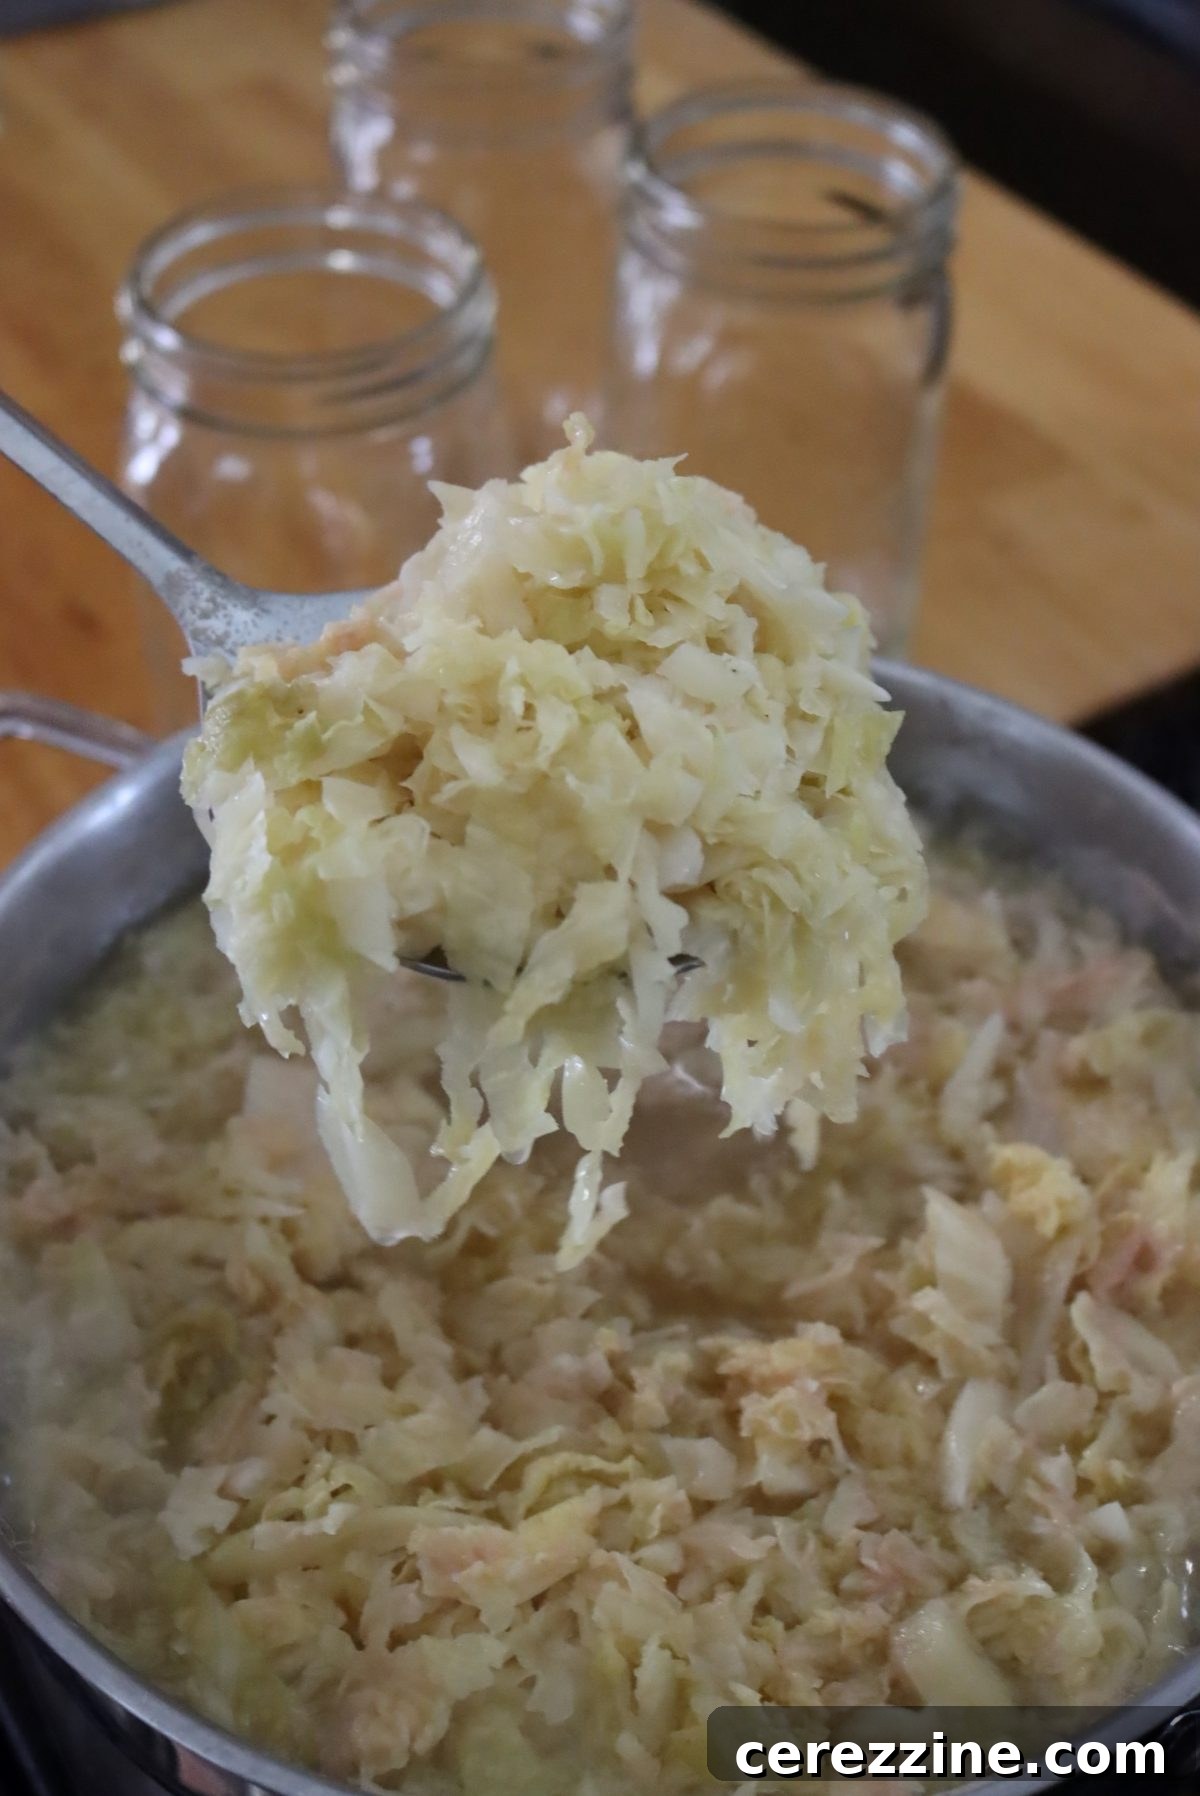
Regardless of whether you choose raw pack or hot pack, ensure each jar is sealed with a two-piece canning lid (flat lid and screw band) tightened “fingertip tight.” Load the jars into a prepared hot water bath canner, ensuring they are fully submerged by at least 1 inch of water. Bring the canner to a full rolling boil and begin timing according to the chart below, making sure to adjust for your altitude.
When the processing time is complete, turn off the heat and allow the jars to remain in the hot water for an additional 5 minutes. Using a jar lifter, carefully remove each jar and place them on a clean towel, leaving at least an inch of space between each for proper cooling. Allow the jars to cool undisturbed at room temperature for 12 to 24 hours.
After cooling, check the seals on all jars. A properly sealed lid will be concave and will not flex when pressed. Any unsealed jars should be stored in the refrigerator and consumed within 3 weeks. For successfully sealed jars, remove the screw bands, wipe the jars clean, and store them in a cool, dry, dark location away from direct light.
Critical Altitude Adjustments for Canning Sauerkraut
Processing times for canning must be adjusted based on your altitude to ensure food safety. Higher altitudes require longer processing times because water boils at a lower temperature, making sterilization less efficient. Additionally, larger jars (quarts) and the raw pack method generally require longer processing than pints and hot pack. Carefully select your specific altitude, jar size, and packing style to determine the correct processing duration from the table below.
| Pack Style | Jar Size | 0-1,000 ft | 1,001-3,000 ft | 3,001-6,000 ft | Above 6,000 ft |
|---|---|---|---|---|---|
| Hot Pack | Pints | 10 min | 15 min | 15 min | 20 min |
| Quarts | 15 min | 20 min | 20 min | 25 min | |
| Raw Pack | Pints | 20 min | 25 min | 30 min | 35 min |
| Quarts | 25 min | 30 min | 35 min | 40 min |
For clarity, here are the altitude adjustments in an easy-to-read list format:
For Raw Pack:
- 0 to 1,000 feet elevation: 20 minutes for pints and 25 minutes for quarts
- 1,001 to 3,000 feet elevation: 25 minutes for pints and 30 minutes for quarts
- 3,001 to 6,000 feet elevation: 30 minutes for pints and 35 minutes for quarts
- Above 6,000 feet elevation: 35 minutes for pints and 40 minutes for quarts
For Hot Pack:
- 0 to 1,000 feet elevation: 10 minutes for pints and 15 minutes for quarts
- 1,001 to 6,000 feet elevation: 15 minutes for pints and 20 minutes for quarts
- Above 6,001 feet elevation: 20 minutes for pints and 25 minutes for quarts
Shelf Life of Canned Sauerkraut
Properly canned and stored sauerkraut offers an excellent shelf life. Unopened jars, kept in a cool, dry, and dark location away from direct sunlight and heat, can easily last for 18 months, often retaining quality for even longer. Once a jar is opened, it should be refrigerated and consumed within approximately 1 week for best flavor and texture. While it can sometimes last longer in the fridge, always check for any changes in color, texture, or the development of offensive odors before consuming.
Culinary Inspiration: Enjoying Your Canned Sauerkraut
Canned sauerkraut is incredibly versatile, extending far beyond its common role as a topping for hot dogs and hamburgers. Its tangy, savory flavor can elevate a multitude of dishes:
- Hearty Casseroles: Use it as a vibrant base for a comforting Polish casserole, combining it with pasta, kielbasa, and shredded Swiss cheese for a satisfying meal.
- Warming Soups: Embrace tradition with a robust and sour sauerkraut soup, perfect for a chilly evening. The kraut’s acidity adds depth and zest.
- Classic Pairings: Naturally, bratwurst and sauerkraut are an iconic duo. Serve it alongside your favorite spicy mustard and a side of crisp pickles for an authentic German-inspired experience.
- Sandwich Perfection: Elevate your lunch with a homemade Reuben sandwich. The rich corned beef, Swiss cheese, rye bread, and creamy dressing are perfectly balanced by the sharp, refreshing bite of your homegrown canned sauerkraut.
- Stews and Roasts: Incorporate sauerkraut into slow-cooked stews or pot roasts. Its acidity helps tenderize meat and adds a wonderful complexity to the broth.
- Side Dish with a Twist: Simply warm it and serve as a flavorful side dish to pork, chicken, or duck, cutting through the richness of the main course.
Having canned sauerkraut readily available in your pantry opens up a world of culinary possibilities, allowing you to enjoy this fermented delight in various nourishing ways throughout the year.
Alternative Sauerkraut Storage Methods (Non-Canning)
If canning isn’t your preferred method, there are other effective ways to store fermented sauerkraut while keeping its live probiotic cultures intact. These methods rely on consistent cool temperatures and maintaining anaerobic conditions:
- Refrigeration: This is the most common and easiest method for home cooks. Place your fermented sauerkraut, fully submerged in its brine, into airtight jars or containers. Store it in the refrigerator, where it will slowly continue to ferment and can last for many months.
- Cool Basement or Root Cellar: For those with access to naturally cool, dark, and consistent environments, a basement or root cellar can be an excellent storage spot. Ensure the temperature remains stable, ideally between 40-55°F (4-13°C), and that the sauerkraut remains submerged.
- Back Closet (in cooler climates): In regions with naturally cooler ambient temperatures, a dark, cool pantry or back closet might suffice for a few weeks to a couple of months. However, this method is less reliable than refrigeration or a dedicated root cellar, especially if temperatures fluctuate.
No matter which non-canning method you choose, the most crucial rule for preventing spoilage is to ensure the sauerkraut is always completely submerged under its liquid brine. Any part of the sauerkraut exposed to air will quickly become susceptible to mold and spoilage. Regularly check the brine level and top it off with fresh, unchlorinated water if necessary to keep the cabbage covered. This constant submersion creates the anaerobic environment essential for safe, long-term fermentation. (This concern is eliminated when canning, as the jars are sealed, preventing liquid loss and air exposure.)
For those living in hot climates, like the American West, where cool storage options are limited, canning or strict refrigeration become almost essential to safely preserve sauerkraut for an extended period.
More Cabbage Canning Recipes
24+ Relish Recipes for Canning (Beyond Pickle Relish)
Southern Chow Chow (Traditional Green Tomato Relish)
Amish Chow Chow
112
servings, Makes 9 (1-quart) jars
Canning Sauerkraut
Ashley Adamant
30
d
10
mins
25
mins
Ingredients
-
25
lbs
cabbage,
whole -
3/4
cup
pickling salt,
or canning salt or kosher salt
Instructions
-
Working with 5 pounds of cabbage at a time, remove outer leaves and carefully wash each cabbage. Quarter and core each cabbage.
-
Using a sharp knife, mandolin, or food processor with shredded attachment, shred the cabbage into thin ribbons the thickness of a quarter.
-
Pack shredded cabbage into a fermentation crock.
-
Add 3 tablespoons of canning/pickling salt to the cabbage in the crock and mix together with clean hands. (You’ll need about 3 tablespoons for every 5 lbs of cabbage, so keep adding in 3 tbsp increments for each 5lb batch you work thoroughly.)
-
Using a fermentation pounder or wooden spoon, pack the shredded and salted leaves tightly into the crock. Leave 4 to 5 inches of space at the top.
-
Repeat this process with the remaining cabbage and salt, packing it into each fermentation crock. The salt will work to draw liquid from the cabbage, which should be submerged in this natural brine after a couple of hours.
-
Cover the cabbage with your choice of fermentation weights so that it is entirely covered by liquid.
-
Allow the sauerkraut to ferment over 3 to 6 weeks, depending on the ambient temperature around the crock and how strong you like your sauerkraut. Colder temperatures mean the fermentation process will be slower, warmer temperatures can speed the process up. Do a taste test frequently to check on the fermentation process.
-
If at any point you notice the liquid level decreasing, cover the sauerkraut with fresh, unchlorinated water to keep the sauerkraut below the brine level.
-
The total fermentation time depends on your preference, but it should ferment at least 4 weeks at room temperature (68 to 72 degrees) to be acidic enough for canning (see notes). Most people opt for around 6 weeks for best flavor. When the sauerkraut is to your taste preference, it can be preserved using either a raw pack or a hot pack.
-
Raw pack method: fill each prepared quart jar with sauerkraut and its liquid (make sure the liquid is completely covering the sauerkraut). Leave 1/2-inch of headspace and apply two-part lids until fingertip tight.
-
Hot pack method: heat sauerkraut and juices in a large, heavy-bottomed pot until boiling, being sure to stir frequently. Fill prepared quart jars with the hot sauerkraut and liquid. Leave 1/2-inch of headspace and apply two-part lids until fingertip tight.
-
Wipe the sides of each jar with a clean cloth and load into a prepared hot water bath canner. Bring the canner back up to a full rolling boil.
-
Process the sauerkraut using the time recommended in the above chart (25 minutes for raw pack, 15 minutes for hot pack). If canning at a higher altitude, take note of longer processing times. Do not start timing until the canner is at a full rolling boil, and keep the canner at a hard boil for the entire processing time.
-
When the timer goes off, turn off the heat and let the jars sit in the hot water canner for another 5 minutes.
-
Carefully remove the jars from the hot water canner using a jar lifter.
-
Place the jars on a clean towel, leaving 1-inch of space between each jar, and let the contents come to room temperature (12 to 24 hours).
-
Check the seal on each lid, moving any unsealed jars to the refrigerator for storage.
-
Remove the band from successfully canned jars of sauerkraut for another use and store in a cool, dry area away from direct light for up to 18 months.
Notes
According to the Complete Guide to Home Canning from the National Center for Food Preservation, “Sauerkraut fermentation can take place under variable temperature and time combinations. For obtaining a good quality sauerkraut at home, the USDA recommendation is to store at 70º to 75ºF while fermenting. At temperatures between 70º and 75ºF, kraut will be fully fermented in about 3 to 4 weeks; at 60º to 65ºF, fermentation may take 5 to 6 weeks. At temperatures lower than 60ºF, kraut may not ferment. Above 75ºF, kraut may become soft.”
Altitude Adjustments
Sauerkraut needs to be processed for longer times if you live at higher altitude. Quart jars and raw pack also result in longer processing times. Make sure you choose the right elevation, jar size and pack style below to determine your processing time.
For Raw Pack:
- 0 to 1,000 feet elevation: 20 minutes for pints and 25 minutes for quarts
- 1,001 to 3,000 feet elevation: 25 minutes for pints and 30 minutes for quarts
- 3,001 to 6,000 feet elevation: 30 minutes for pints and 35 minutes for quarts
- Above 6,000 feet elevation: 35 minutes for pints and 40 minutes for quarts
For Hot Pack:
- 0 to 1,000 feet elevation: 10 minutes for pints and 15 minutes for quarts
- 1,001 to 6,000 feet elevation: 15 minutes for pints and 20 minutes for quarts
- Above 6,001 feet elevation: 20 minutes for pints and 25 minutes for quarts
Nutrition
Calories:
25
kcal
,
Carbohydrates:
6
g
,
Protein:
1
g
,
Fat:
0.1
g
,
Saturated Fat:
0.03
g
,
Polyunsaturated Fat:
0.02
g
,
Monounsaturated Fat:
0.02
g
,
Sodium:
776
mg
,
Potassium:
172
mg
,
Fiber:
3
g
,
Sugar:
3
g
,
Vitamin A:
99
IU
,
Vitamin C:
37
mg
,
Calcium:
41
mg
,
Iron:
0.5
mg
Nutrition information is automatically calculated, so should only be used as an approximation.
Like this? Leave a comment below!
More Water Bath Canning Recipes
Looking for more easy water bath canning recipes to stock your pantry?
- Canning Peaches
- Canning Apple Slices
- Canning Dill Pickles
- Canning Blackberries
Diverse Food Preservation Recipes & Techniques
Explore traditional and innovative ways to preserve food beyond canning this season!
- Storing Eggs in Lime
- How to Make Cheddar Cheese
- Homemade Apple Cider Vinegar
- Salt Cured Egg Yolks
- Storing Cheese in Wood Ash