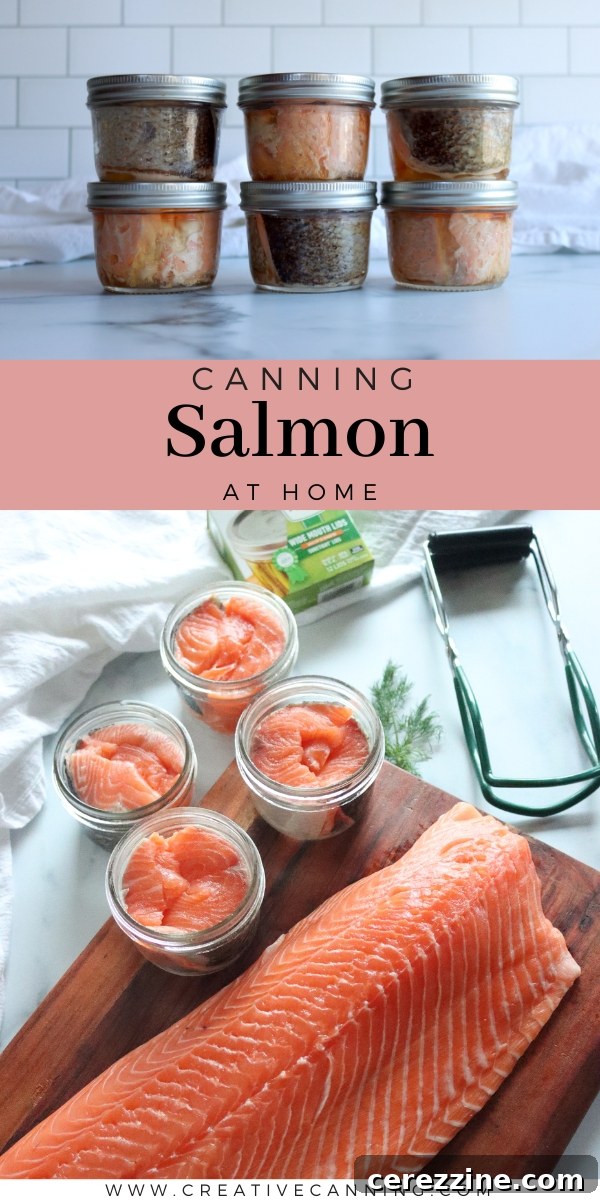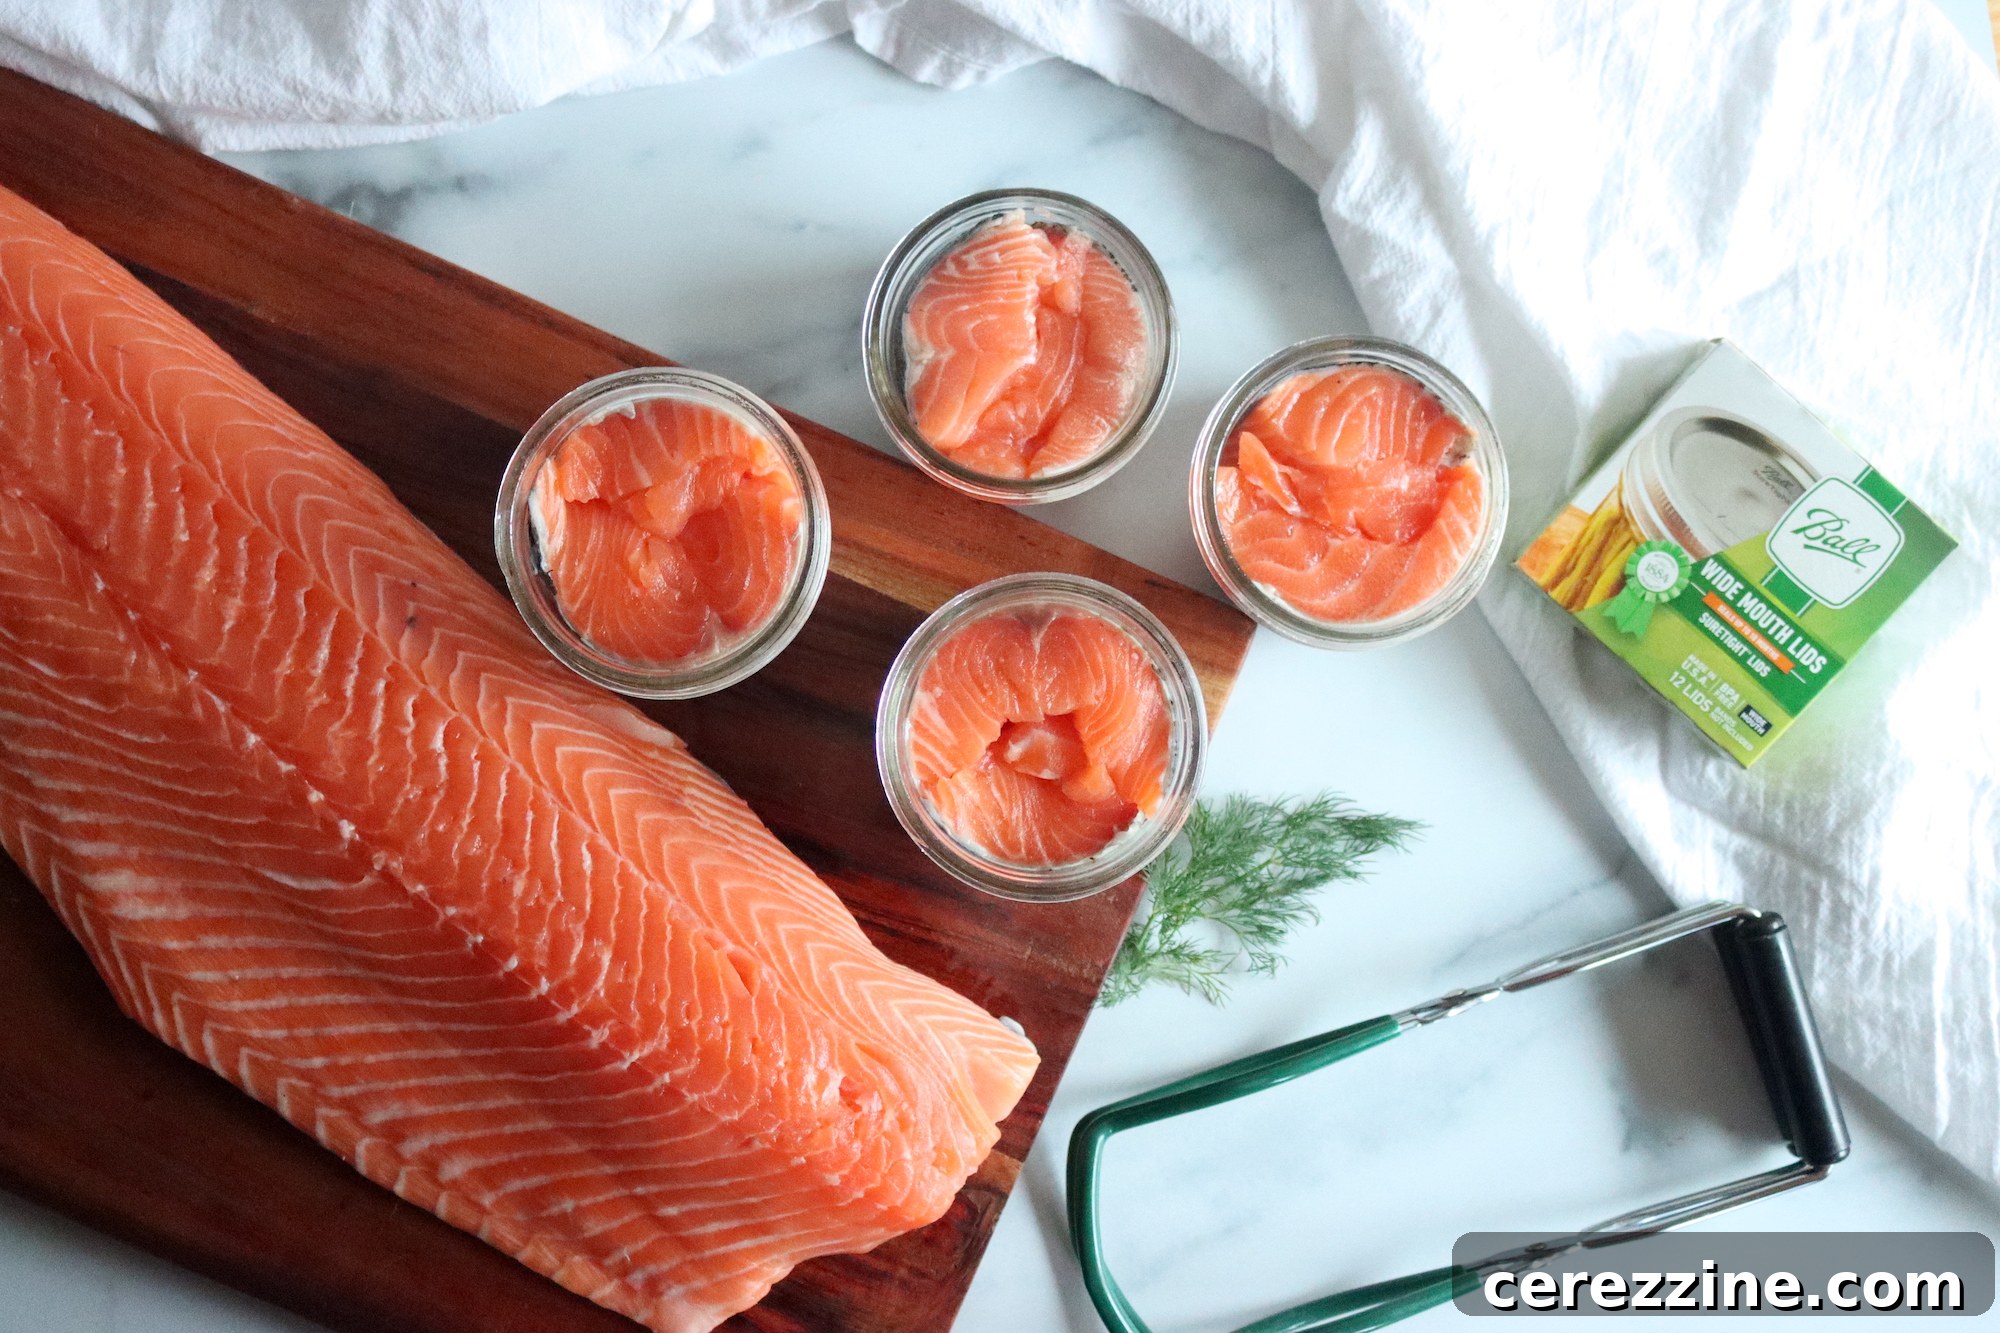
Home canning salmon is the ultimate way to preserve your wild catch or take advantage of a great sale; it offers unparalleled flavor and quality that simply can’t be matched by store-bought alternatives. Beyond taste, it’s a fantastic method to stock your pantry with healthy, shelf-stable protein for quick meals and emergency preparedness.
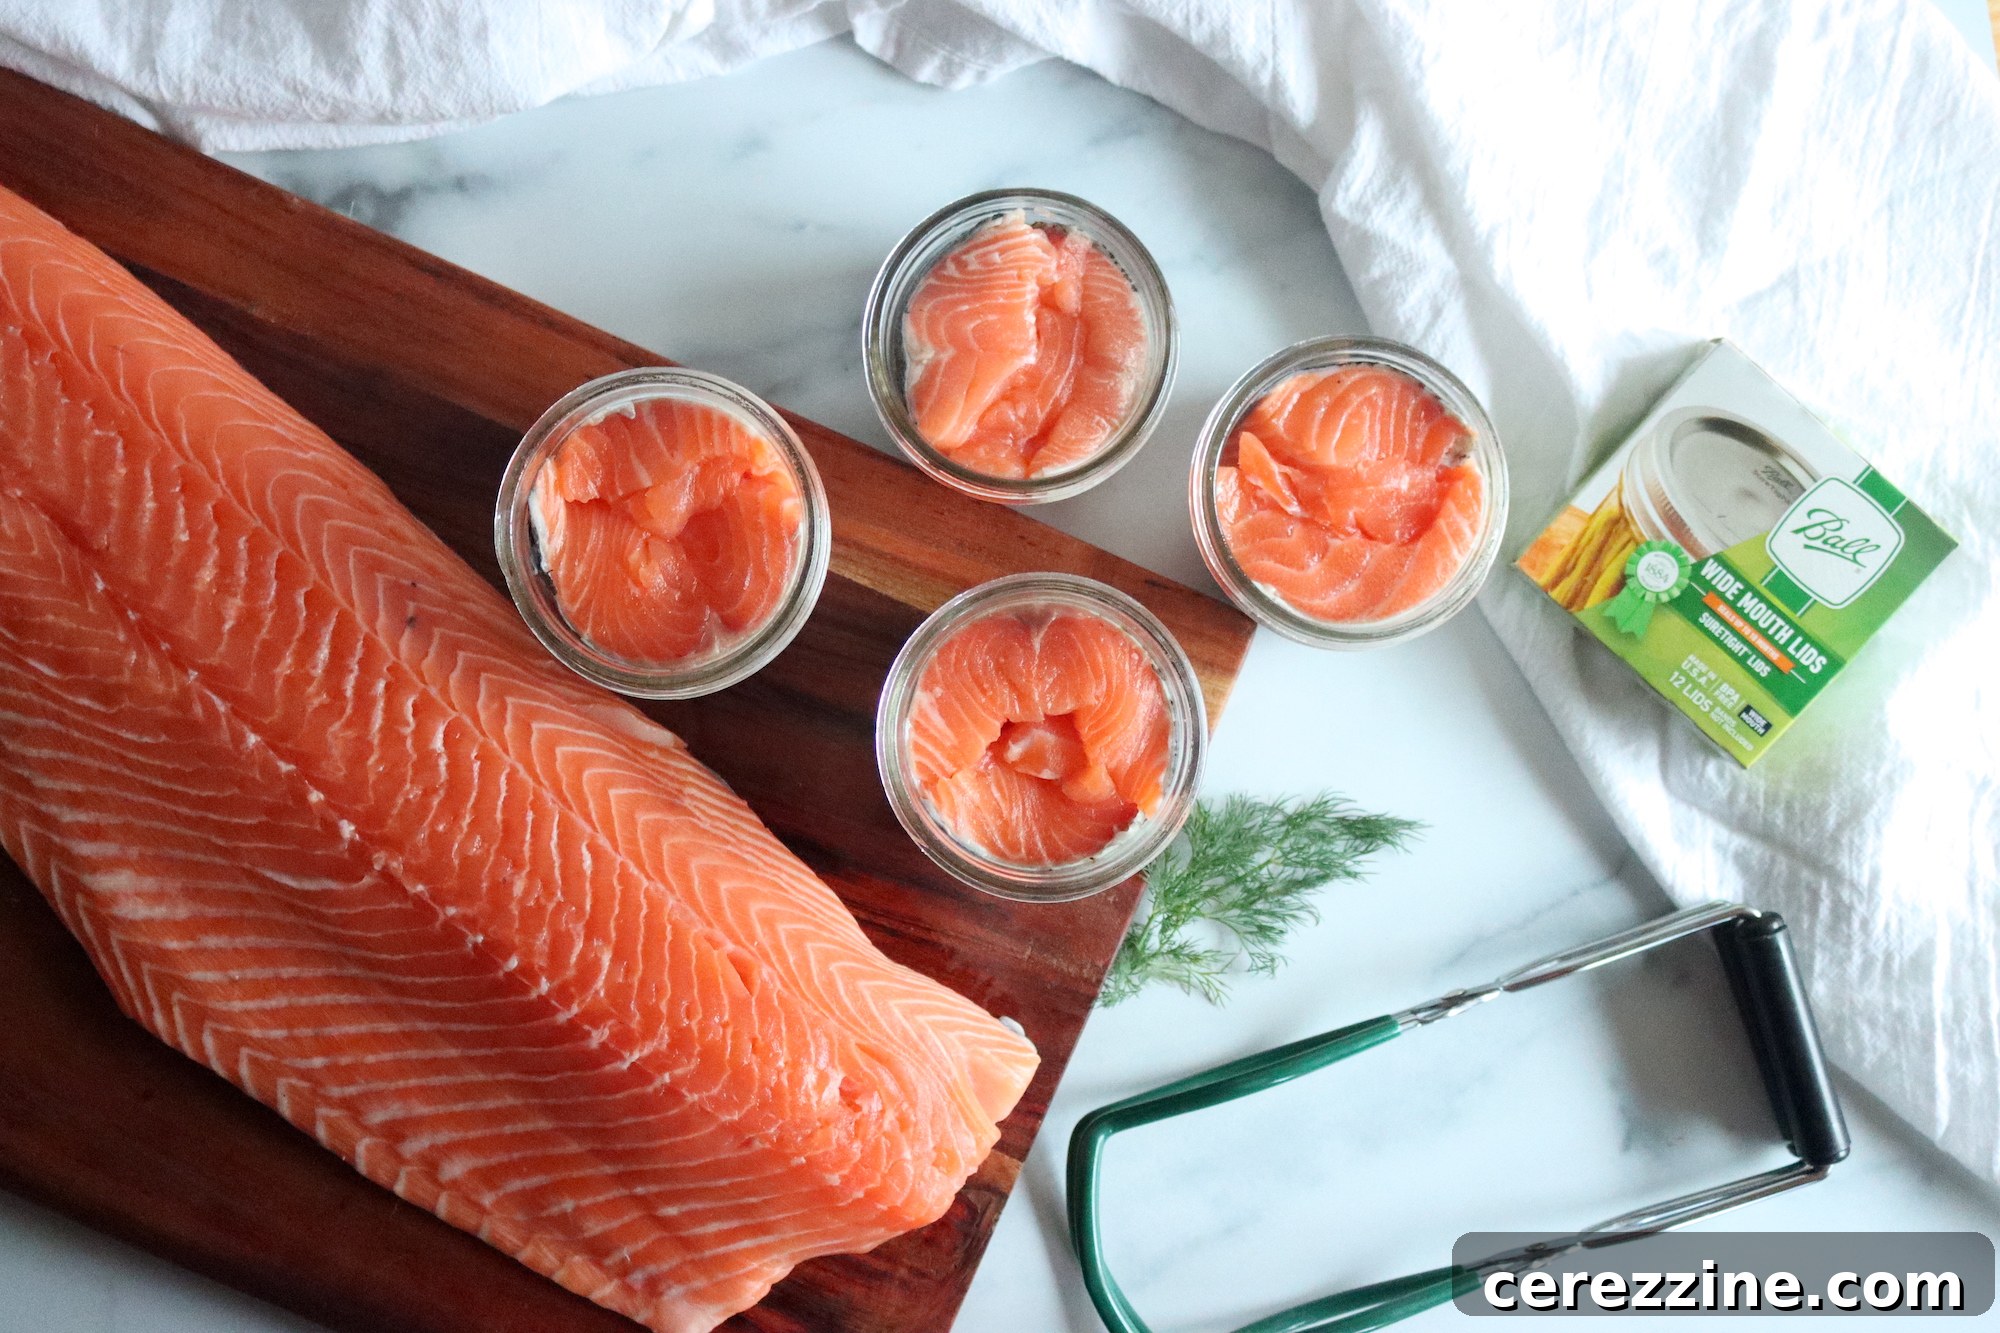
Embarking on the journey of canning salmon at home transforms a perishable delicacy into a readily available, nutritious pantry staple. This guide will walk you through the simple, safe process of pressure canning salmon, ensuring you can enjoy its rich flavor and health benefits any time of the year. Whether you’ve just returned from a successful fishing trip with a bountiful harvest of wild salmon or found an irresistible deal at your local fish market, home canning is an excellent solution for long-term storage without consuming precious freezer space.
One of the remarkable aspects of canning salmon is its versatility. The instructions remain consistent whether you choose to process your fish with or without the skin, or whether you opt to leave the bones in or remove them. This flexibility allows you to customize your home-canned salmon to your personal preferences while adhering to proven food preservation methods.
Why Choose Home-Canned Salmon? More Than Just Preservation
Salmon, renowned as a fatty fish, is naturally rich in beneficial oils that contribute to its moist texture and robust flavor. This inherent characteristic makes it an ideal candidate for canning, as these natural oils help prevent the fish from drying out during the intense heat of the canning process, a common concern with leaner fish varieties. Furthermore, salmon is an excellent source of Omega-3 fatty acids, vital for heart health and brain function, making it a highly nutritious addition to any diet.
Beyond its nutritional prowess, home-canned salmon offers numerous advantages. Imagine having healthy, delicious fish at your fingertips, ready to be incorporated into a quick lunch or an elaborate dinner, without the need for defrosting. It’s a convenient, cost-effective way to ensure a steady supply of high-quality protein, especially when fresh salmon is out of season or priced prohibitively. The satisfaction of knowing you’ve preserved your own food, free from industrial additives, is an added bonus.
Selecting and Preparing Your Salmon for Canning
The foundation of exceptional home-canned salmon begins with selecting the freshest possible fish. High-quality ingredients directly translate to superior taste and texture in the finished product. Look for salmon with bright, clear eyes, firm flesh, and a fresh, ocean-like smell. Avoid any fish that appears dull, discolored, or has a strong, fishy odor.
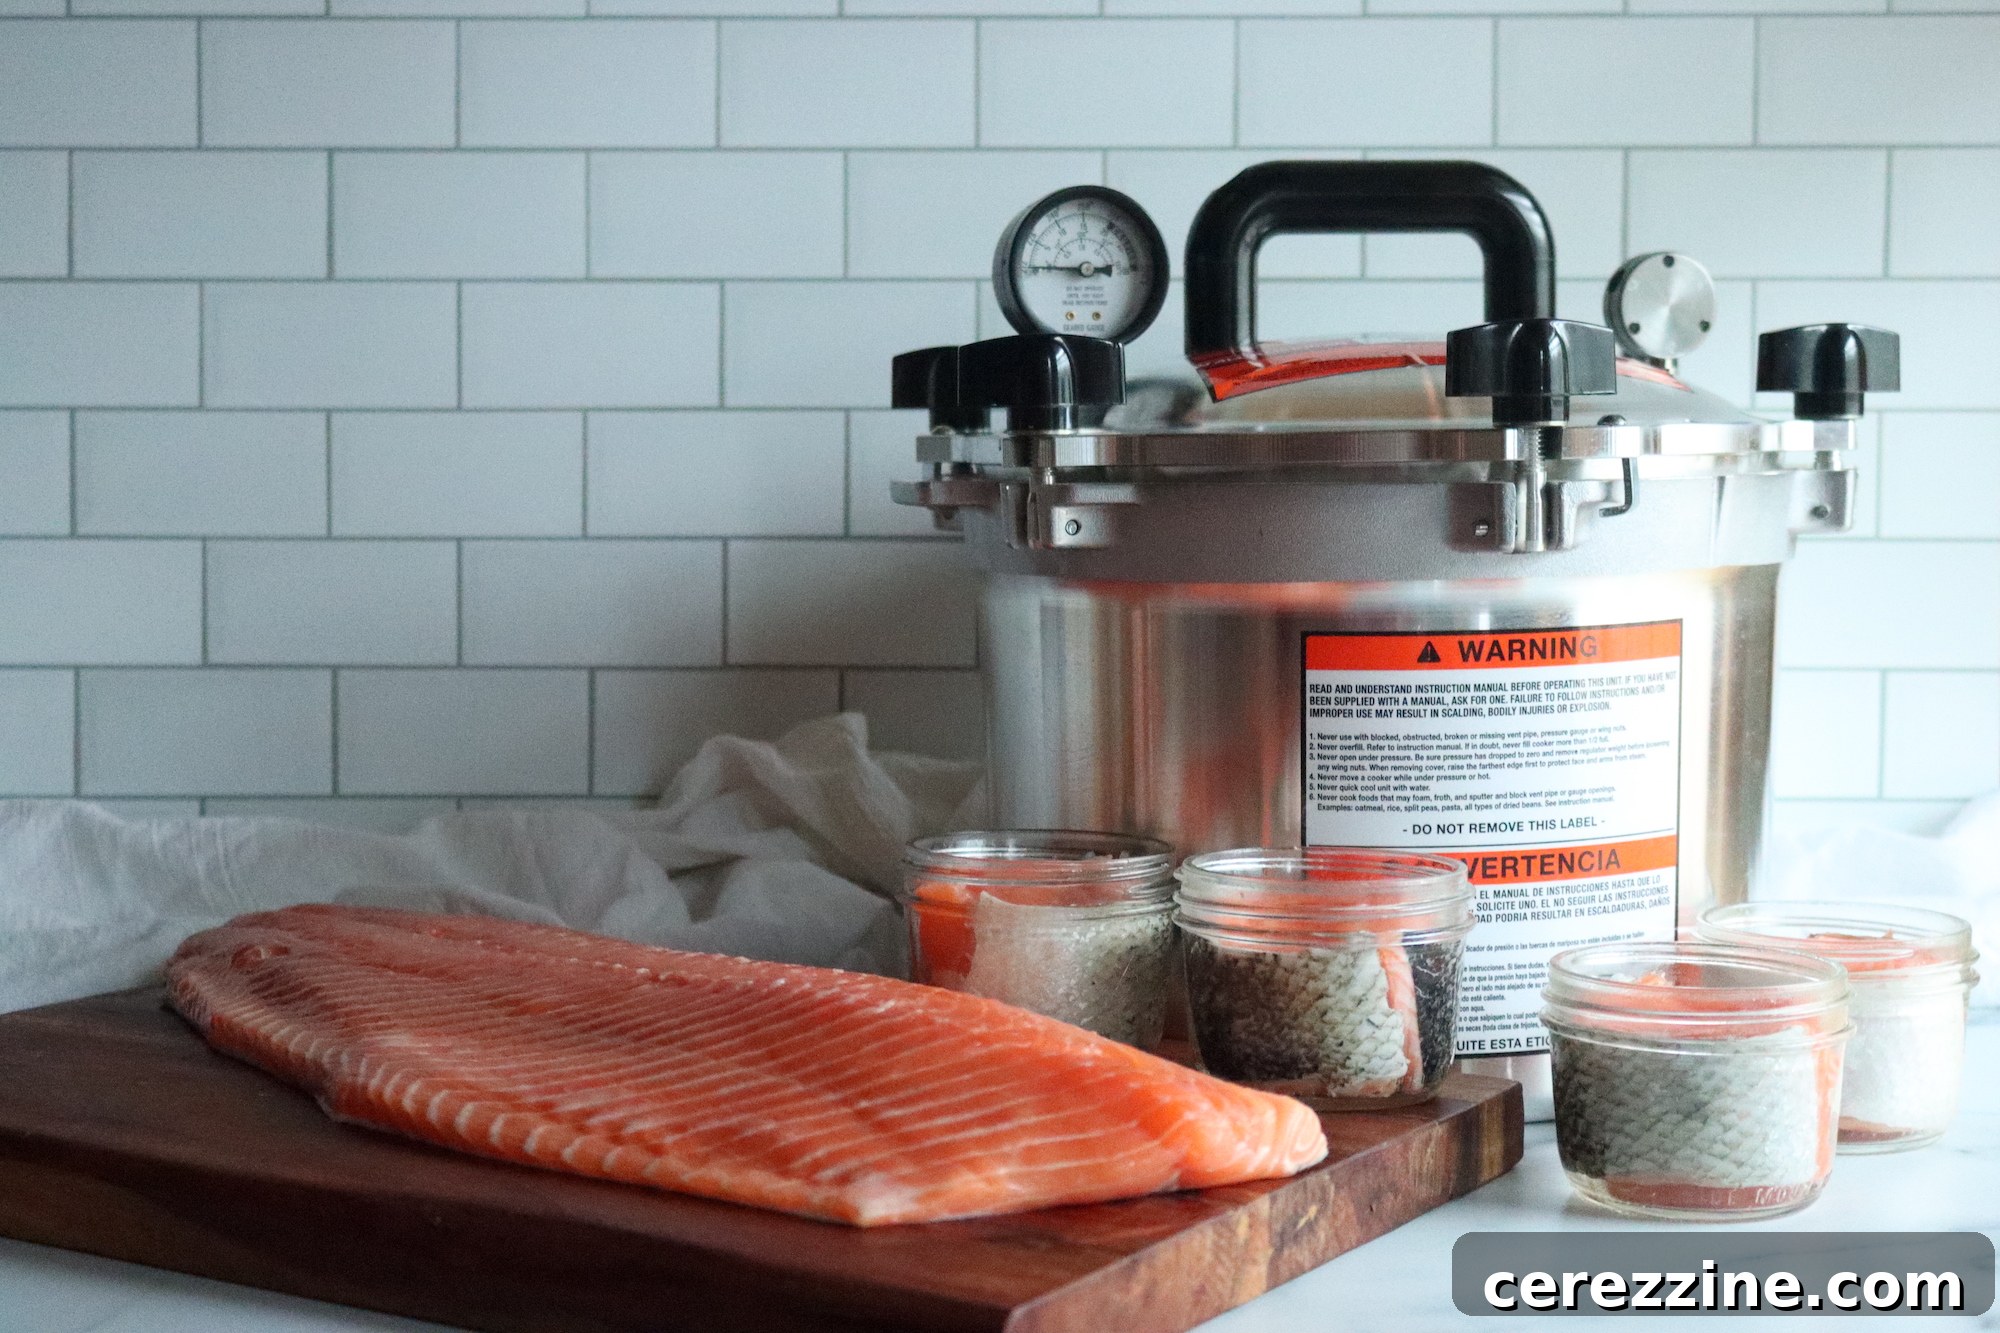
Essential Ingredients for Canning Salmon
The ingredient list for canning salmon is remarkably straightforward, highlighting the natural goodness of the fish itself. For a standard canner batch, typically yielding ten pint jars, you will require:
- Fresh Salmon: Approximately 1 pound per pint jar, or 1/2 pound per half-pint jar. Adjust this quantity based on your canner’s capacity and the number of jars you plan to process.
- Salt (Optional): Many canners choose to add 1/2 teaspoon of canning or pickling salt per pint jar (or 1/4 teaspoon per half-pint). This is purely for flavor enhancement and is not necessary for preservation, as pressure canning alone ensures safety.
To Skin or Not to Skin?
Deciding whether to leave the skin on your salmon fillets is a matter of personal preference and dietary choice. Many experienced canners advocate for leaving the skin on, primarily because it’s packed with beneficial oils that are released into the jar during processing, helping to keep the salmon incredibly moist and flavorful. Once scaled and cooked, salmon skin is not only edible but, for many, a delicious crispy treat.
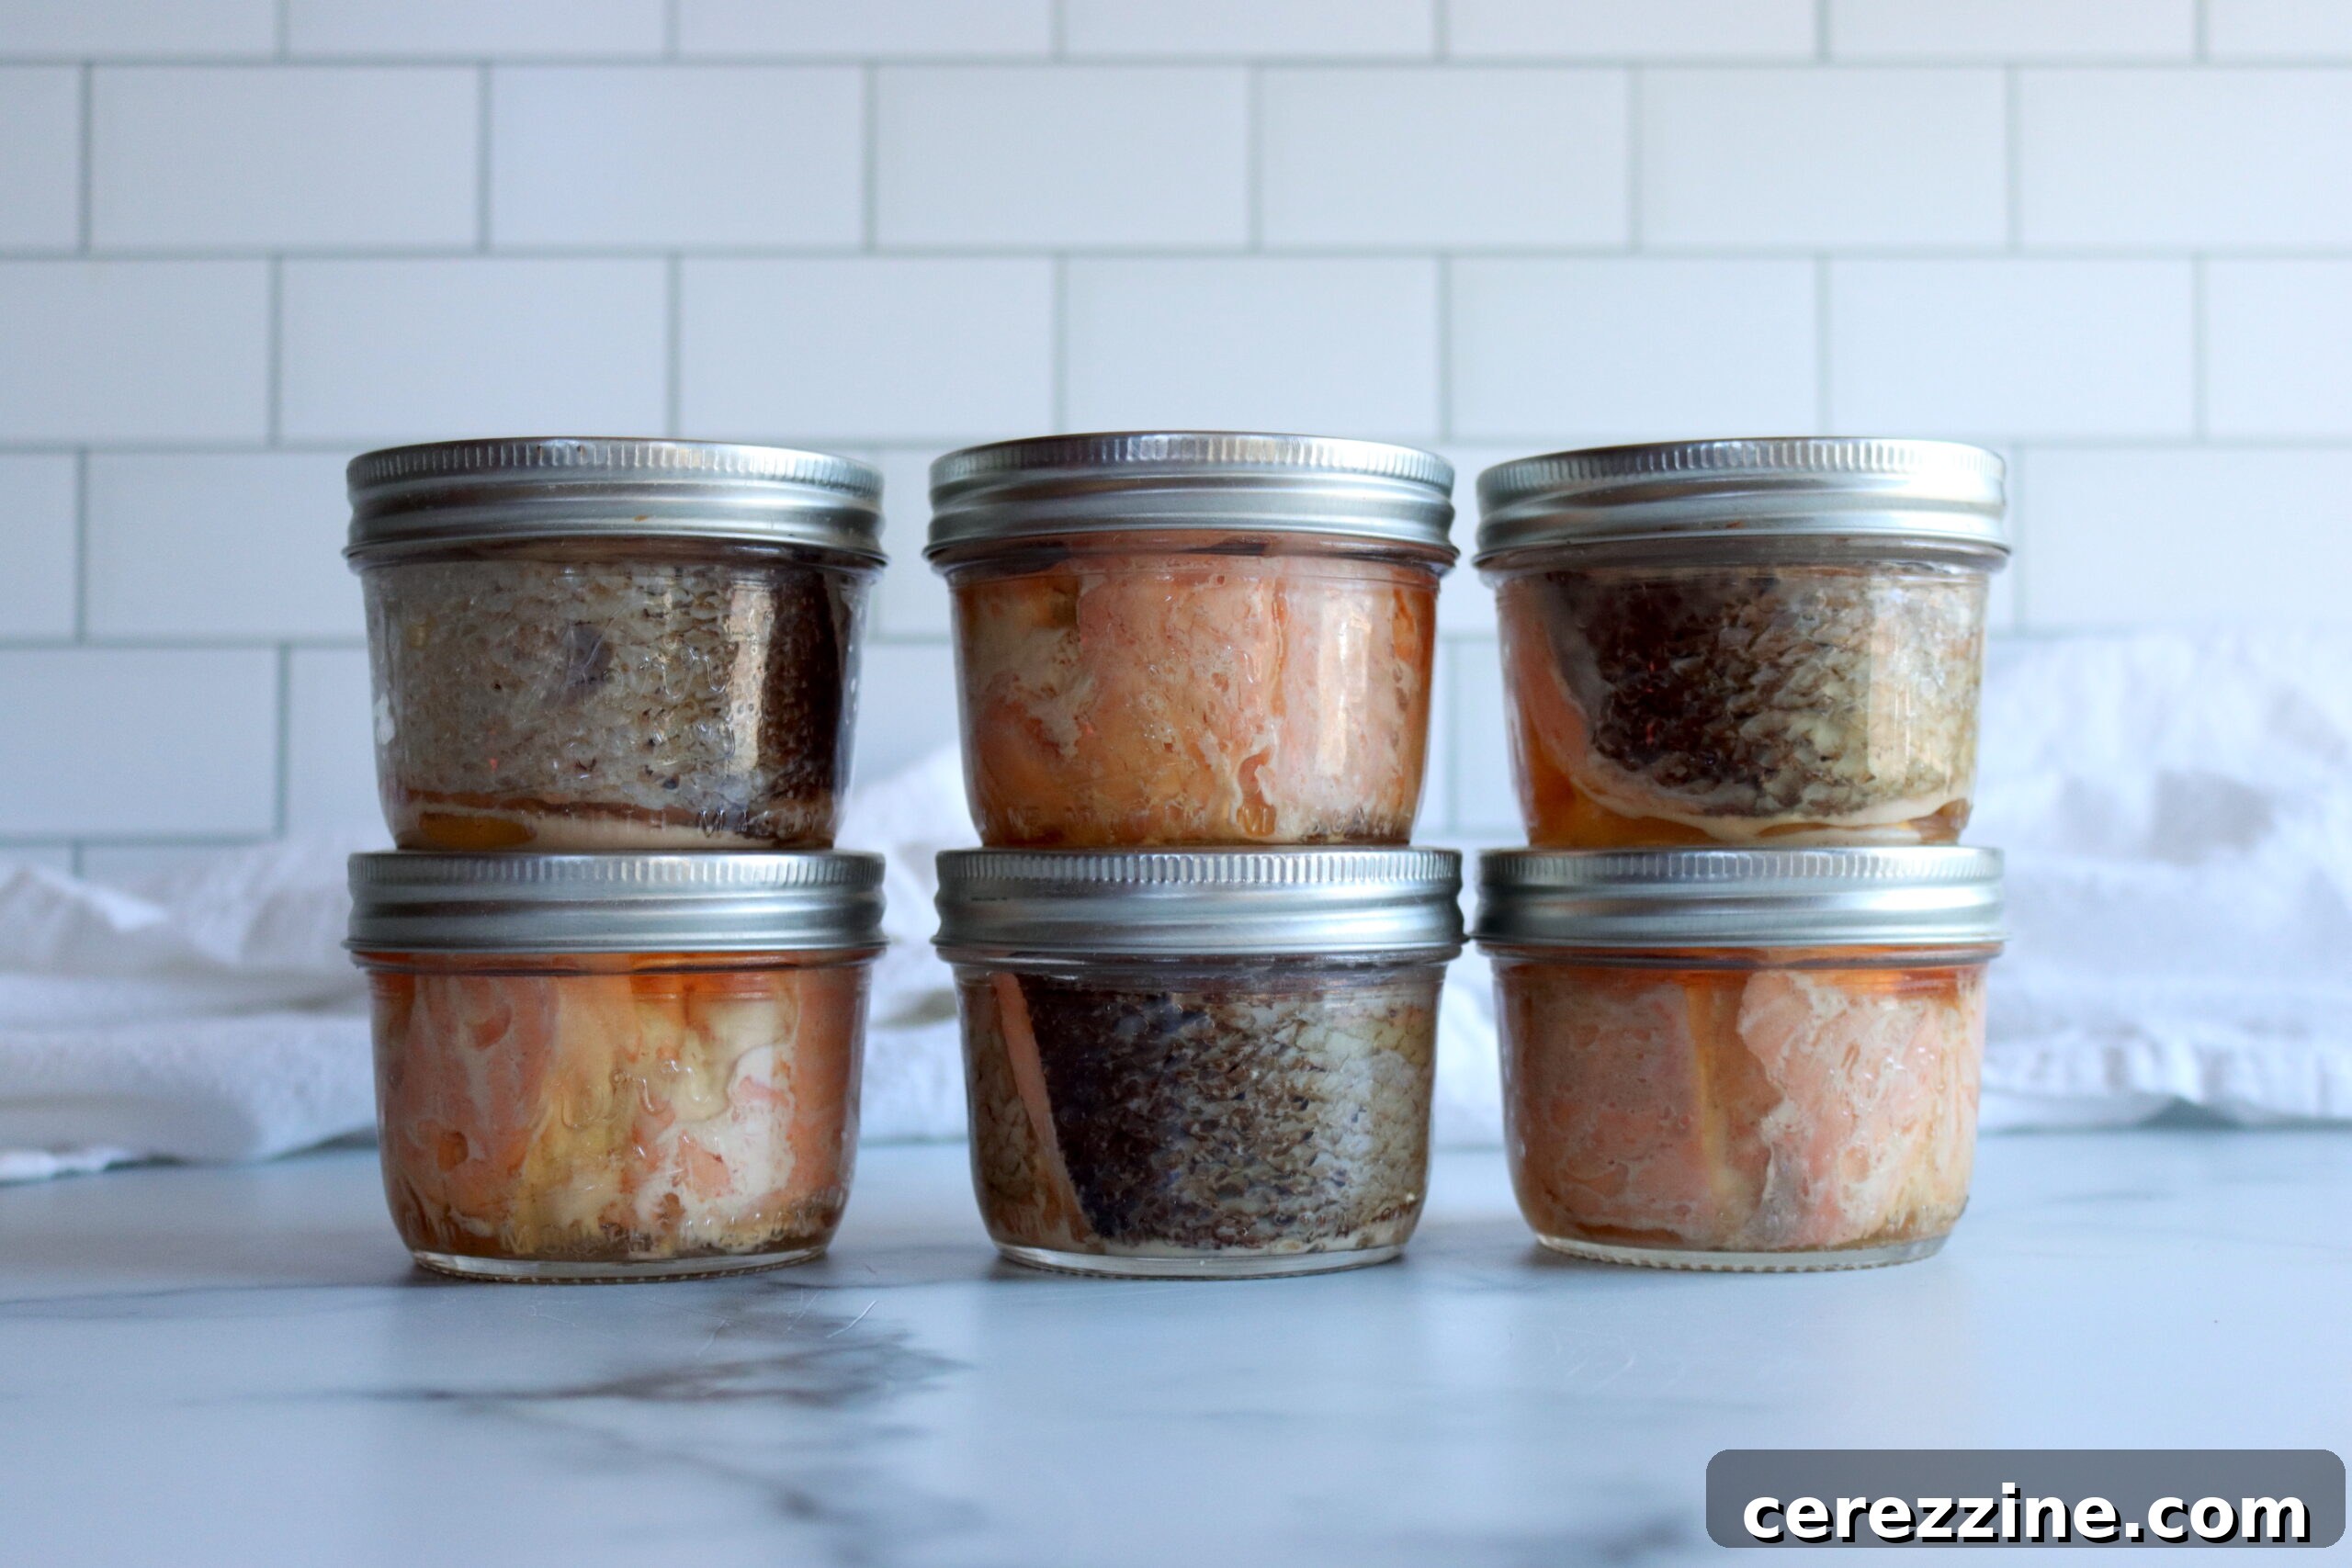
Even if you’re not a fan of eating the skin, its presence during canning contributes significantly to the overall moisture content and nutrient profile of your home-canned salmon. A common practice, when leaving the skin on, is to orient the salmon pieces skin-side out in the jars. This often results in more aesthetically pleasing jars on your pantry shelf, though it can sometimes make post-canning jar cleaning a bit more challenging as the skin may adhere to the glass.
Ultimately, how you arrange the salmon pieces and whether you remove the skin is entirely up to you. You can absolutely use skinned fillets if that’s your preference, and the canning instructions remain the same.
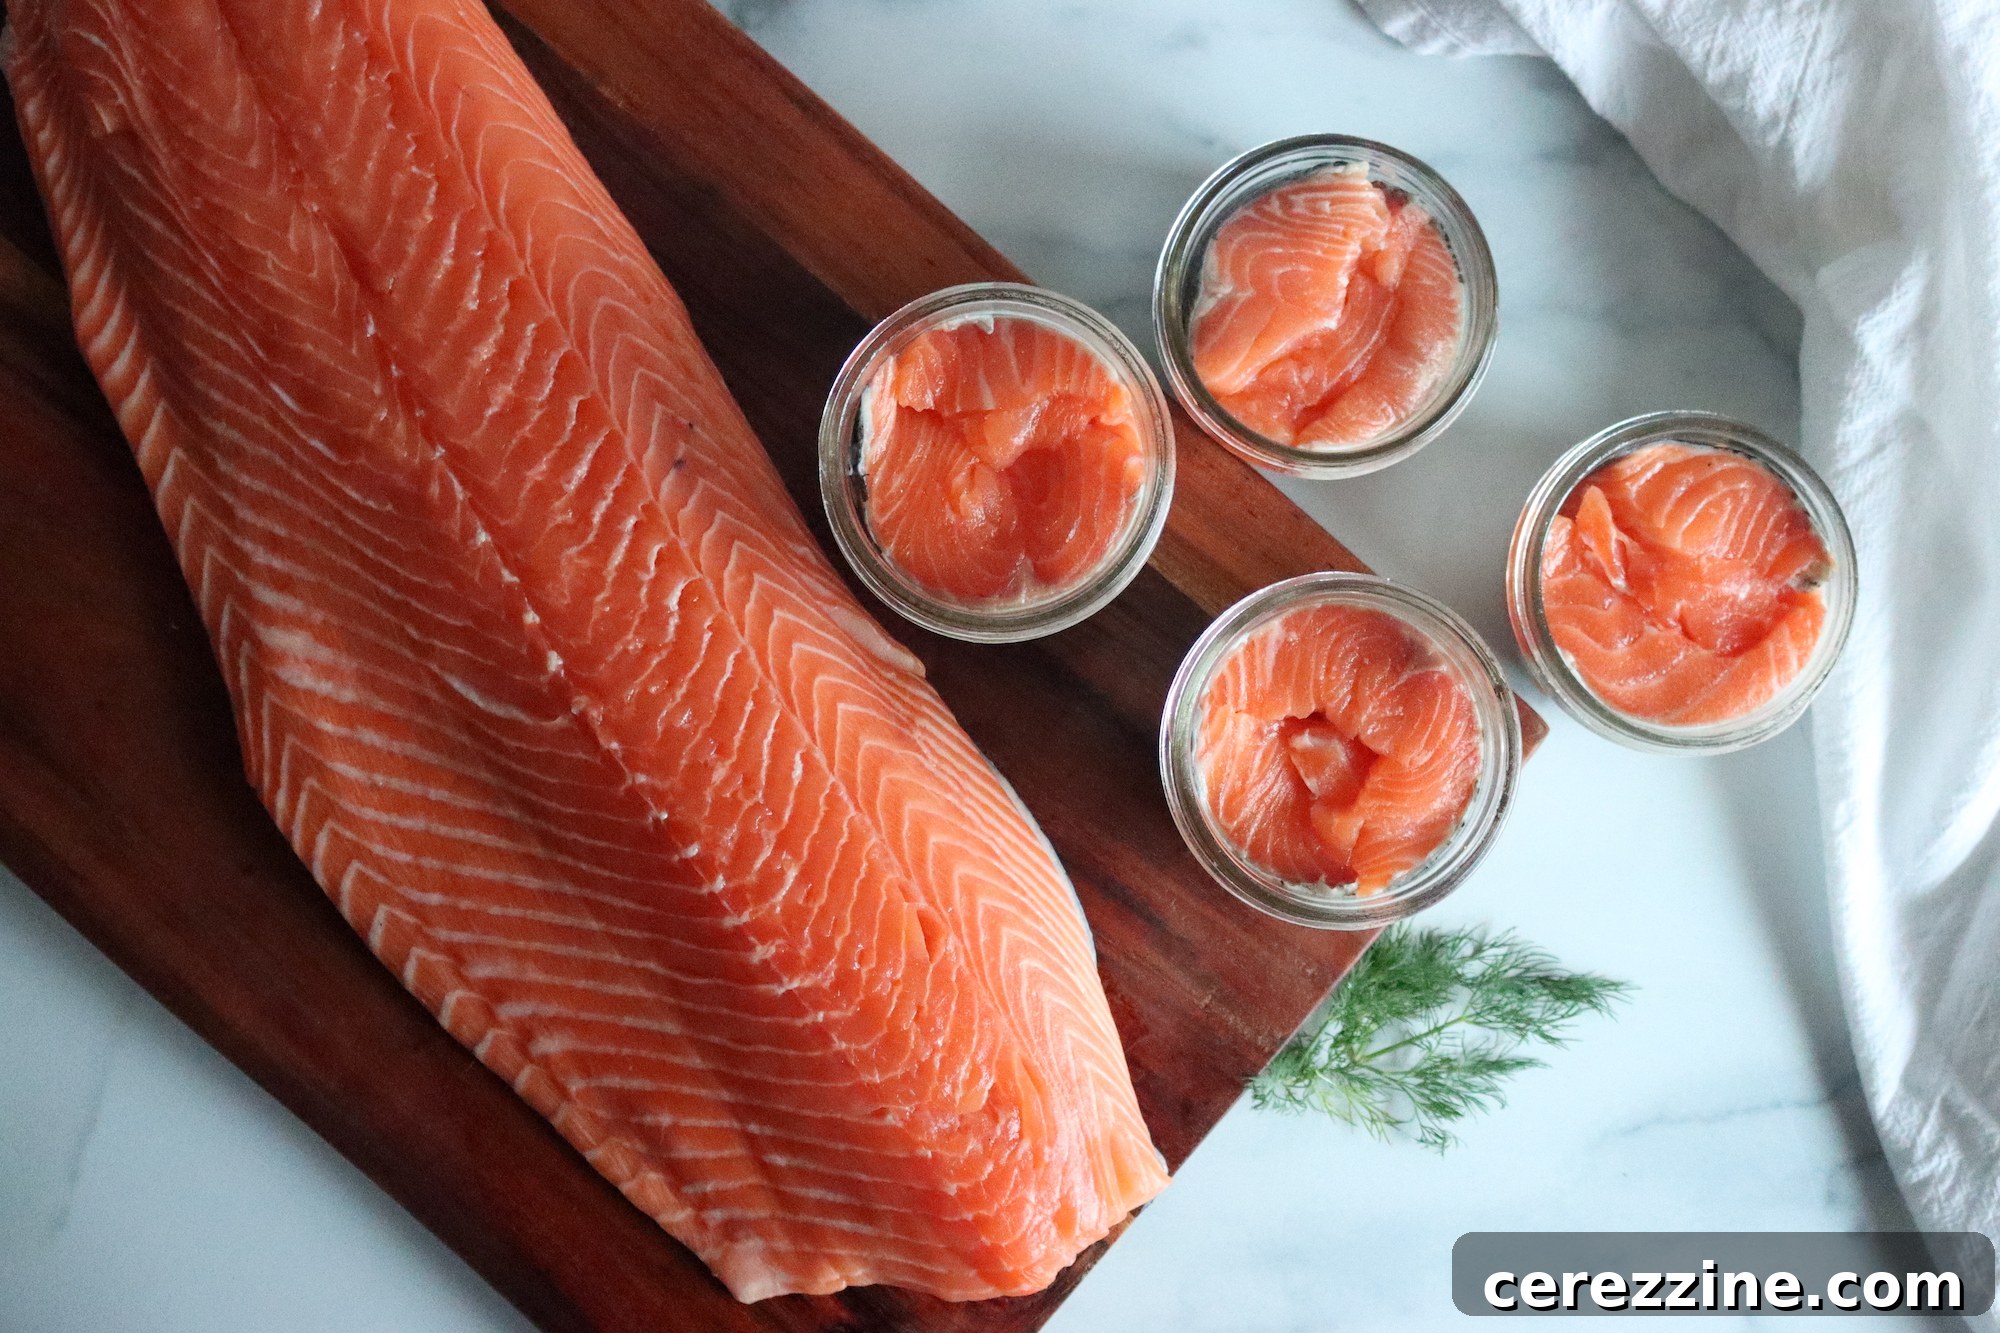
Bones In or Out?
The decision regarding fish bones is another optional step in the canning process. It might surprise you to learn that during pressure canning, the fish bones soften to such an extent that they mostly dissolve. This transformation renders them perfectly edible and, more importantly, makes the calcium they contain highly bio-available. Many commercial canned salmon products include the bones for this very reason, offering an excellent source of natural calcium.
Therefore, whether you painstakingly debone your salmon or leave the bones intact is a personal choice. Leaving them in adds to the nutritional value without impacting the texture negatively, as they become unnoticeably soft.
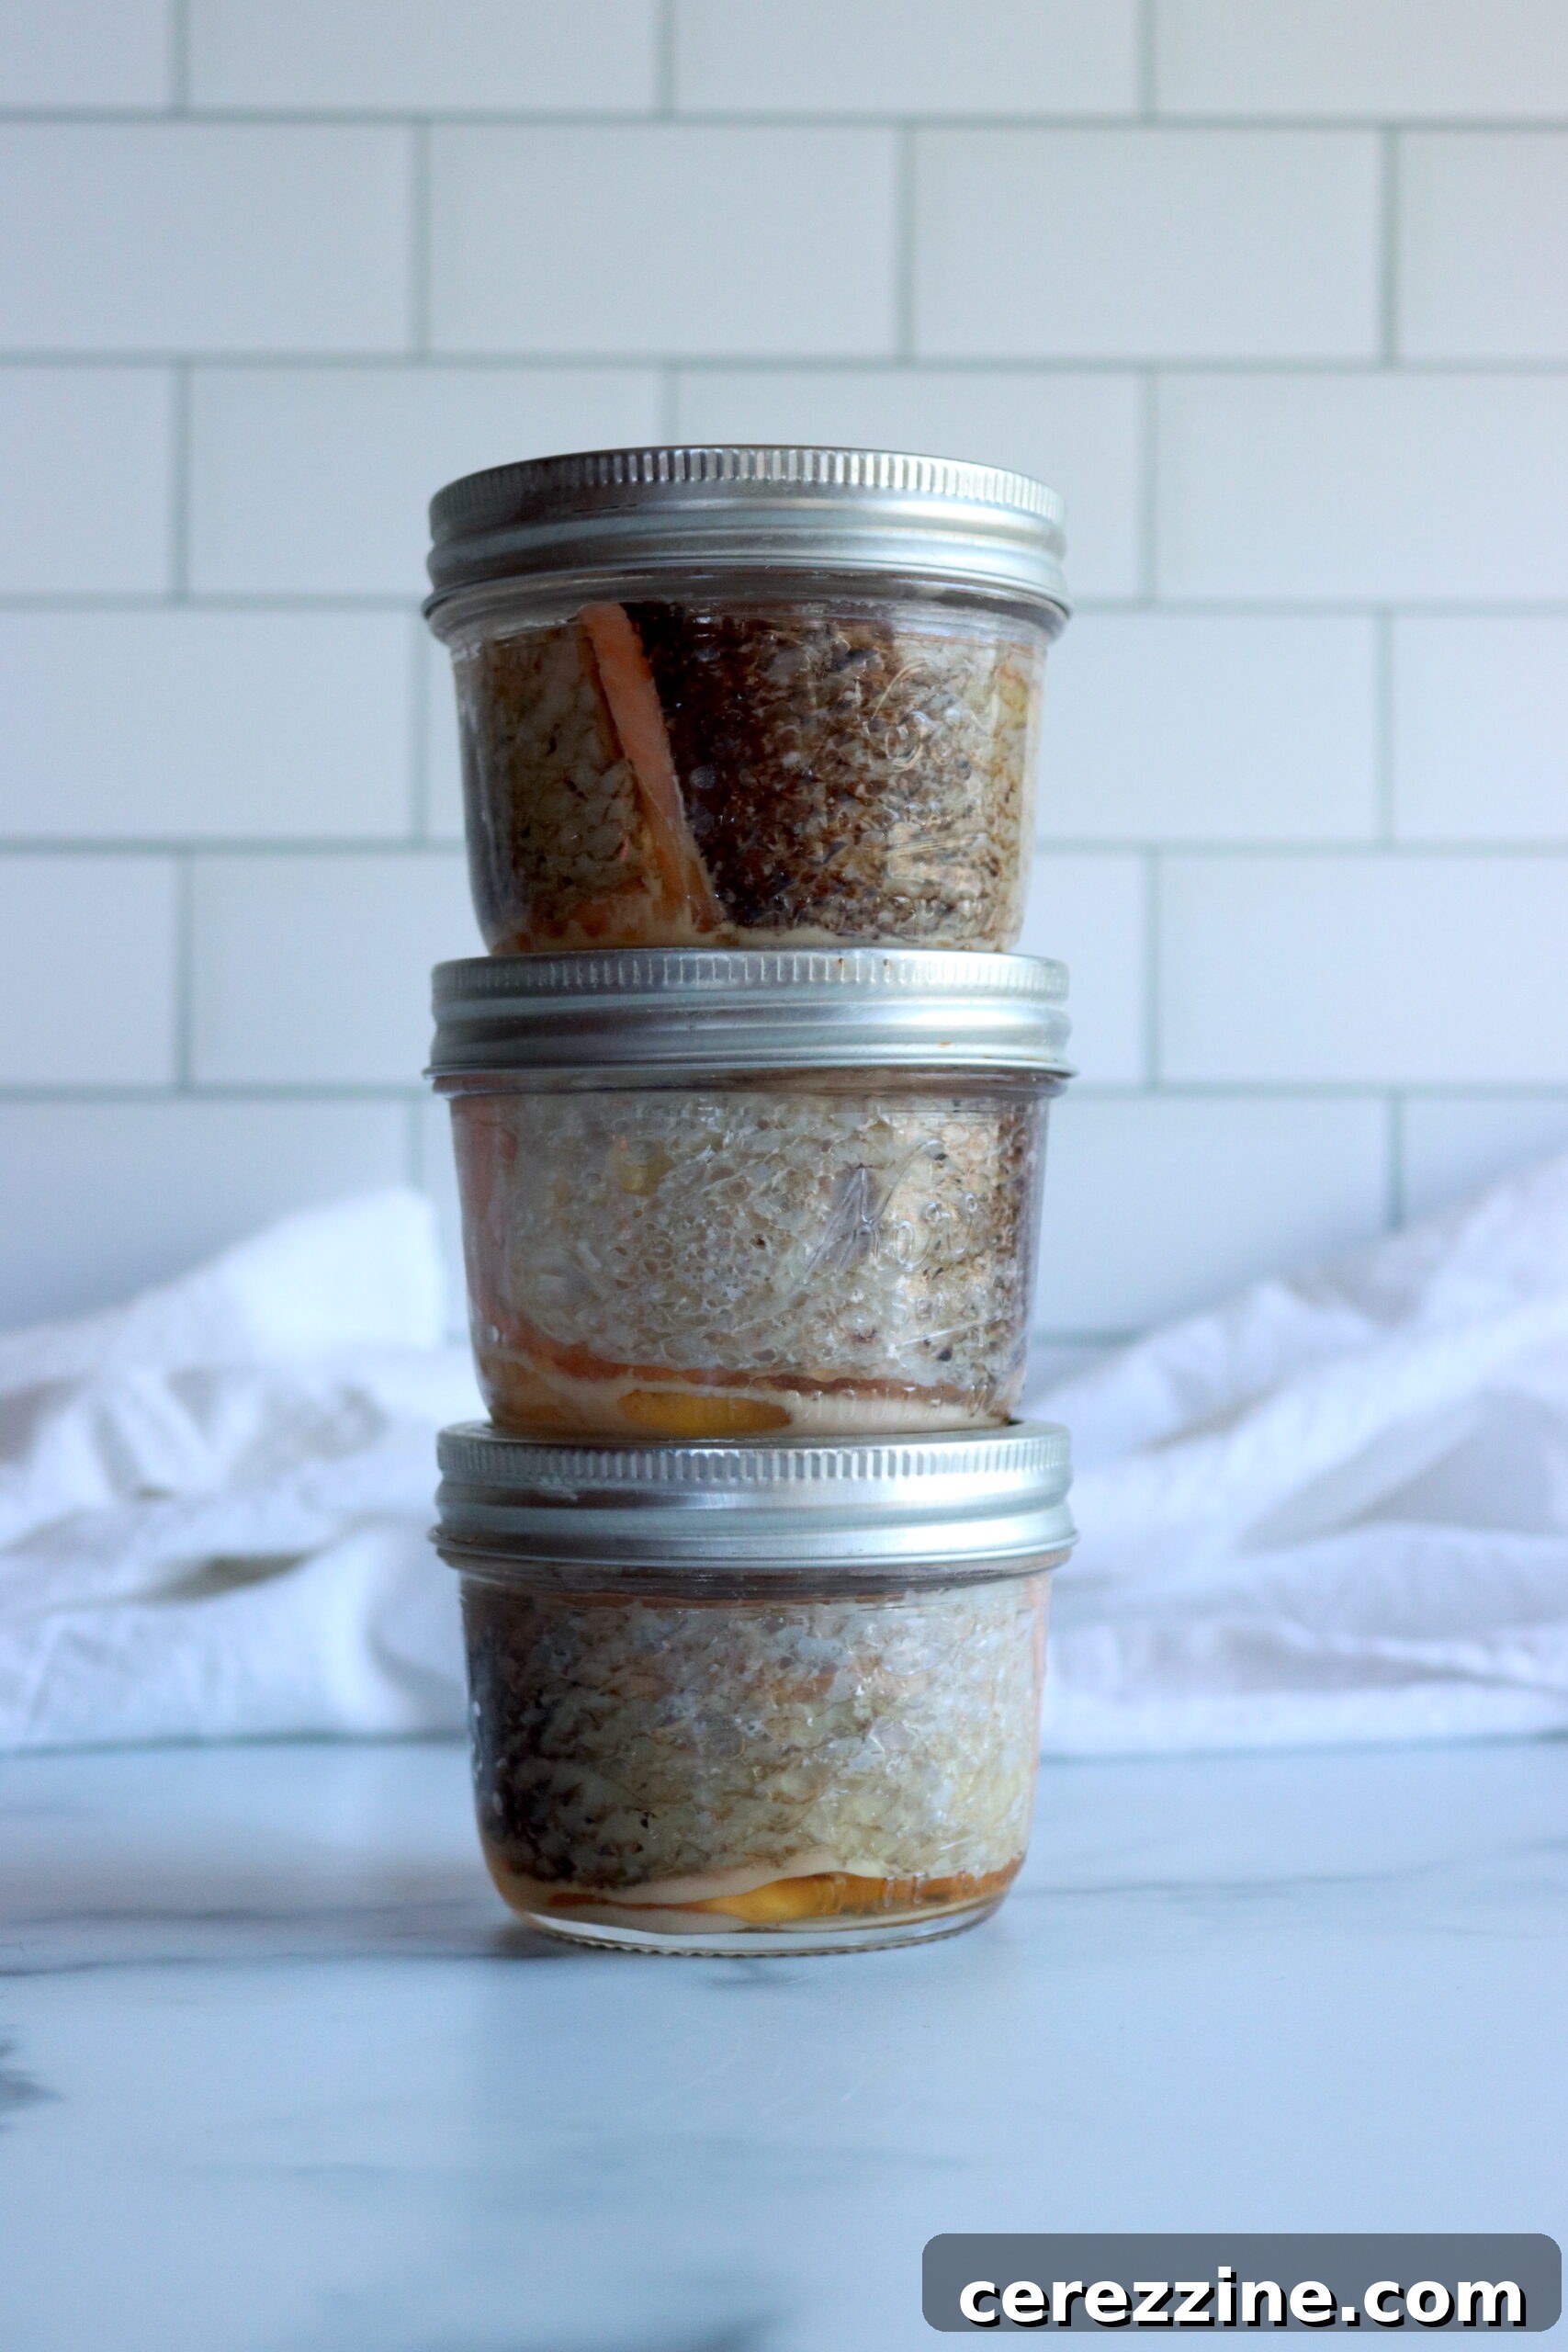
Initial Salmon Preparation Steps
Once you’ve made decisions about skin and bones, the practical preparation of your salmon begins:
- Keep it Cold: Always start with very fresh, clean fish. Keep the salmon thoroughly chilled, ideally on ice or in the refrigerator, until you are ready to process it. Avoid leaving fresh fish at room temperature for extended periods, and aim to can within two days of catching or purchasing.
- Clean Thoroughly: Remove the tail, head, fins, and any remaining scales. If you’re opting to remove the skin, do so at this stage. After removal of these parts, wash the fish meticulously under cold running water to ensure all blood and residue are removed.
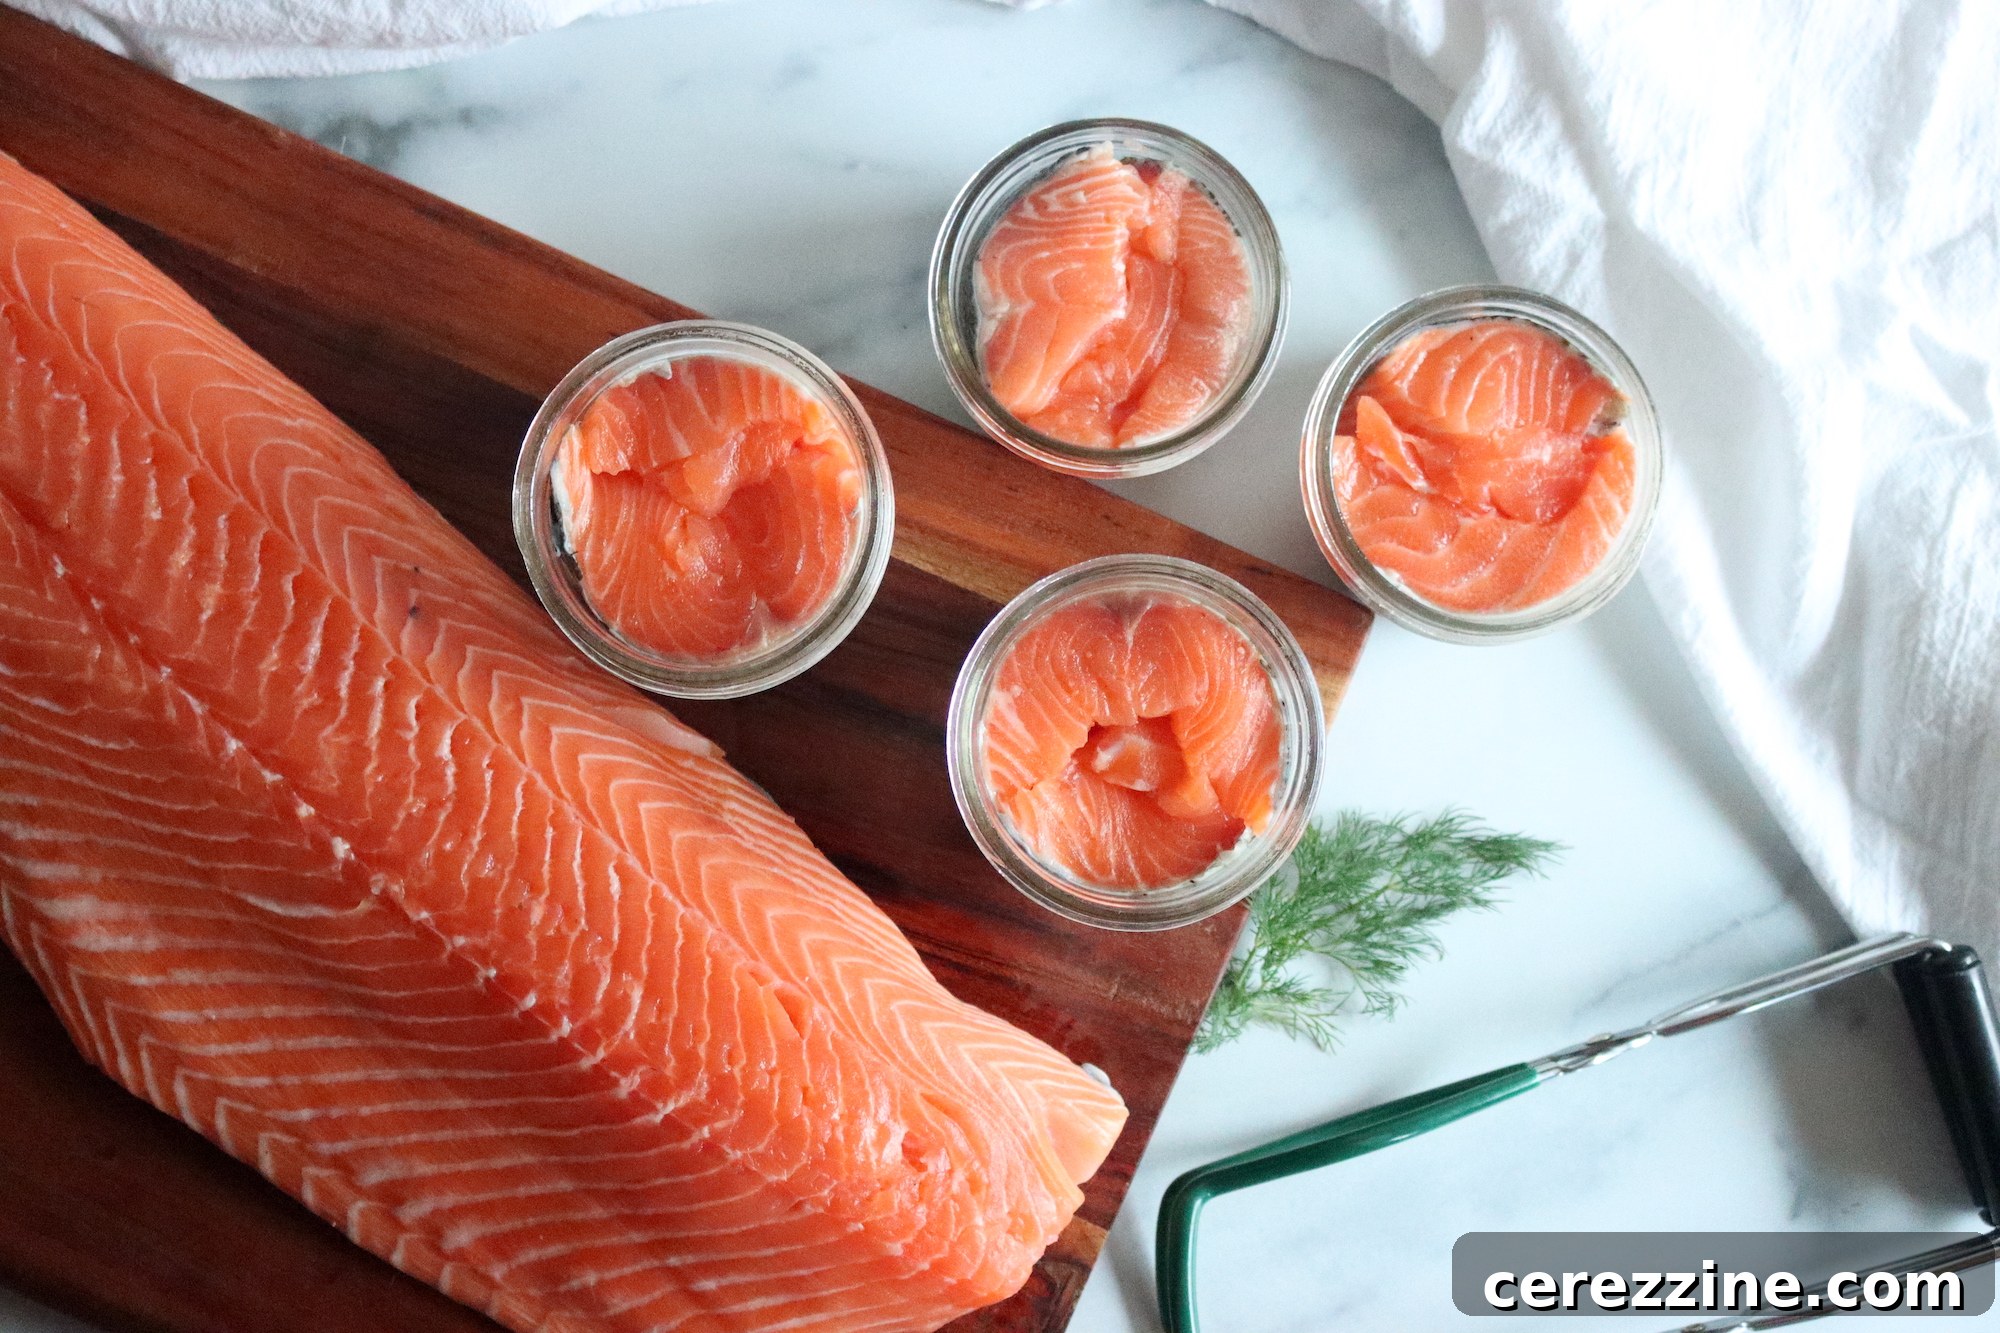
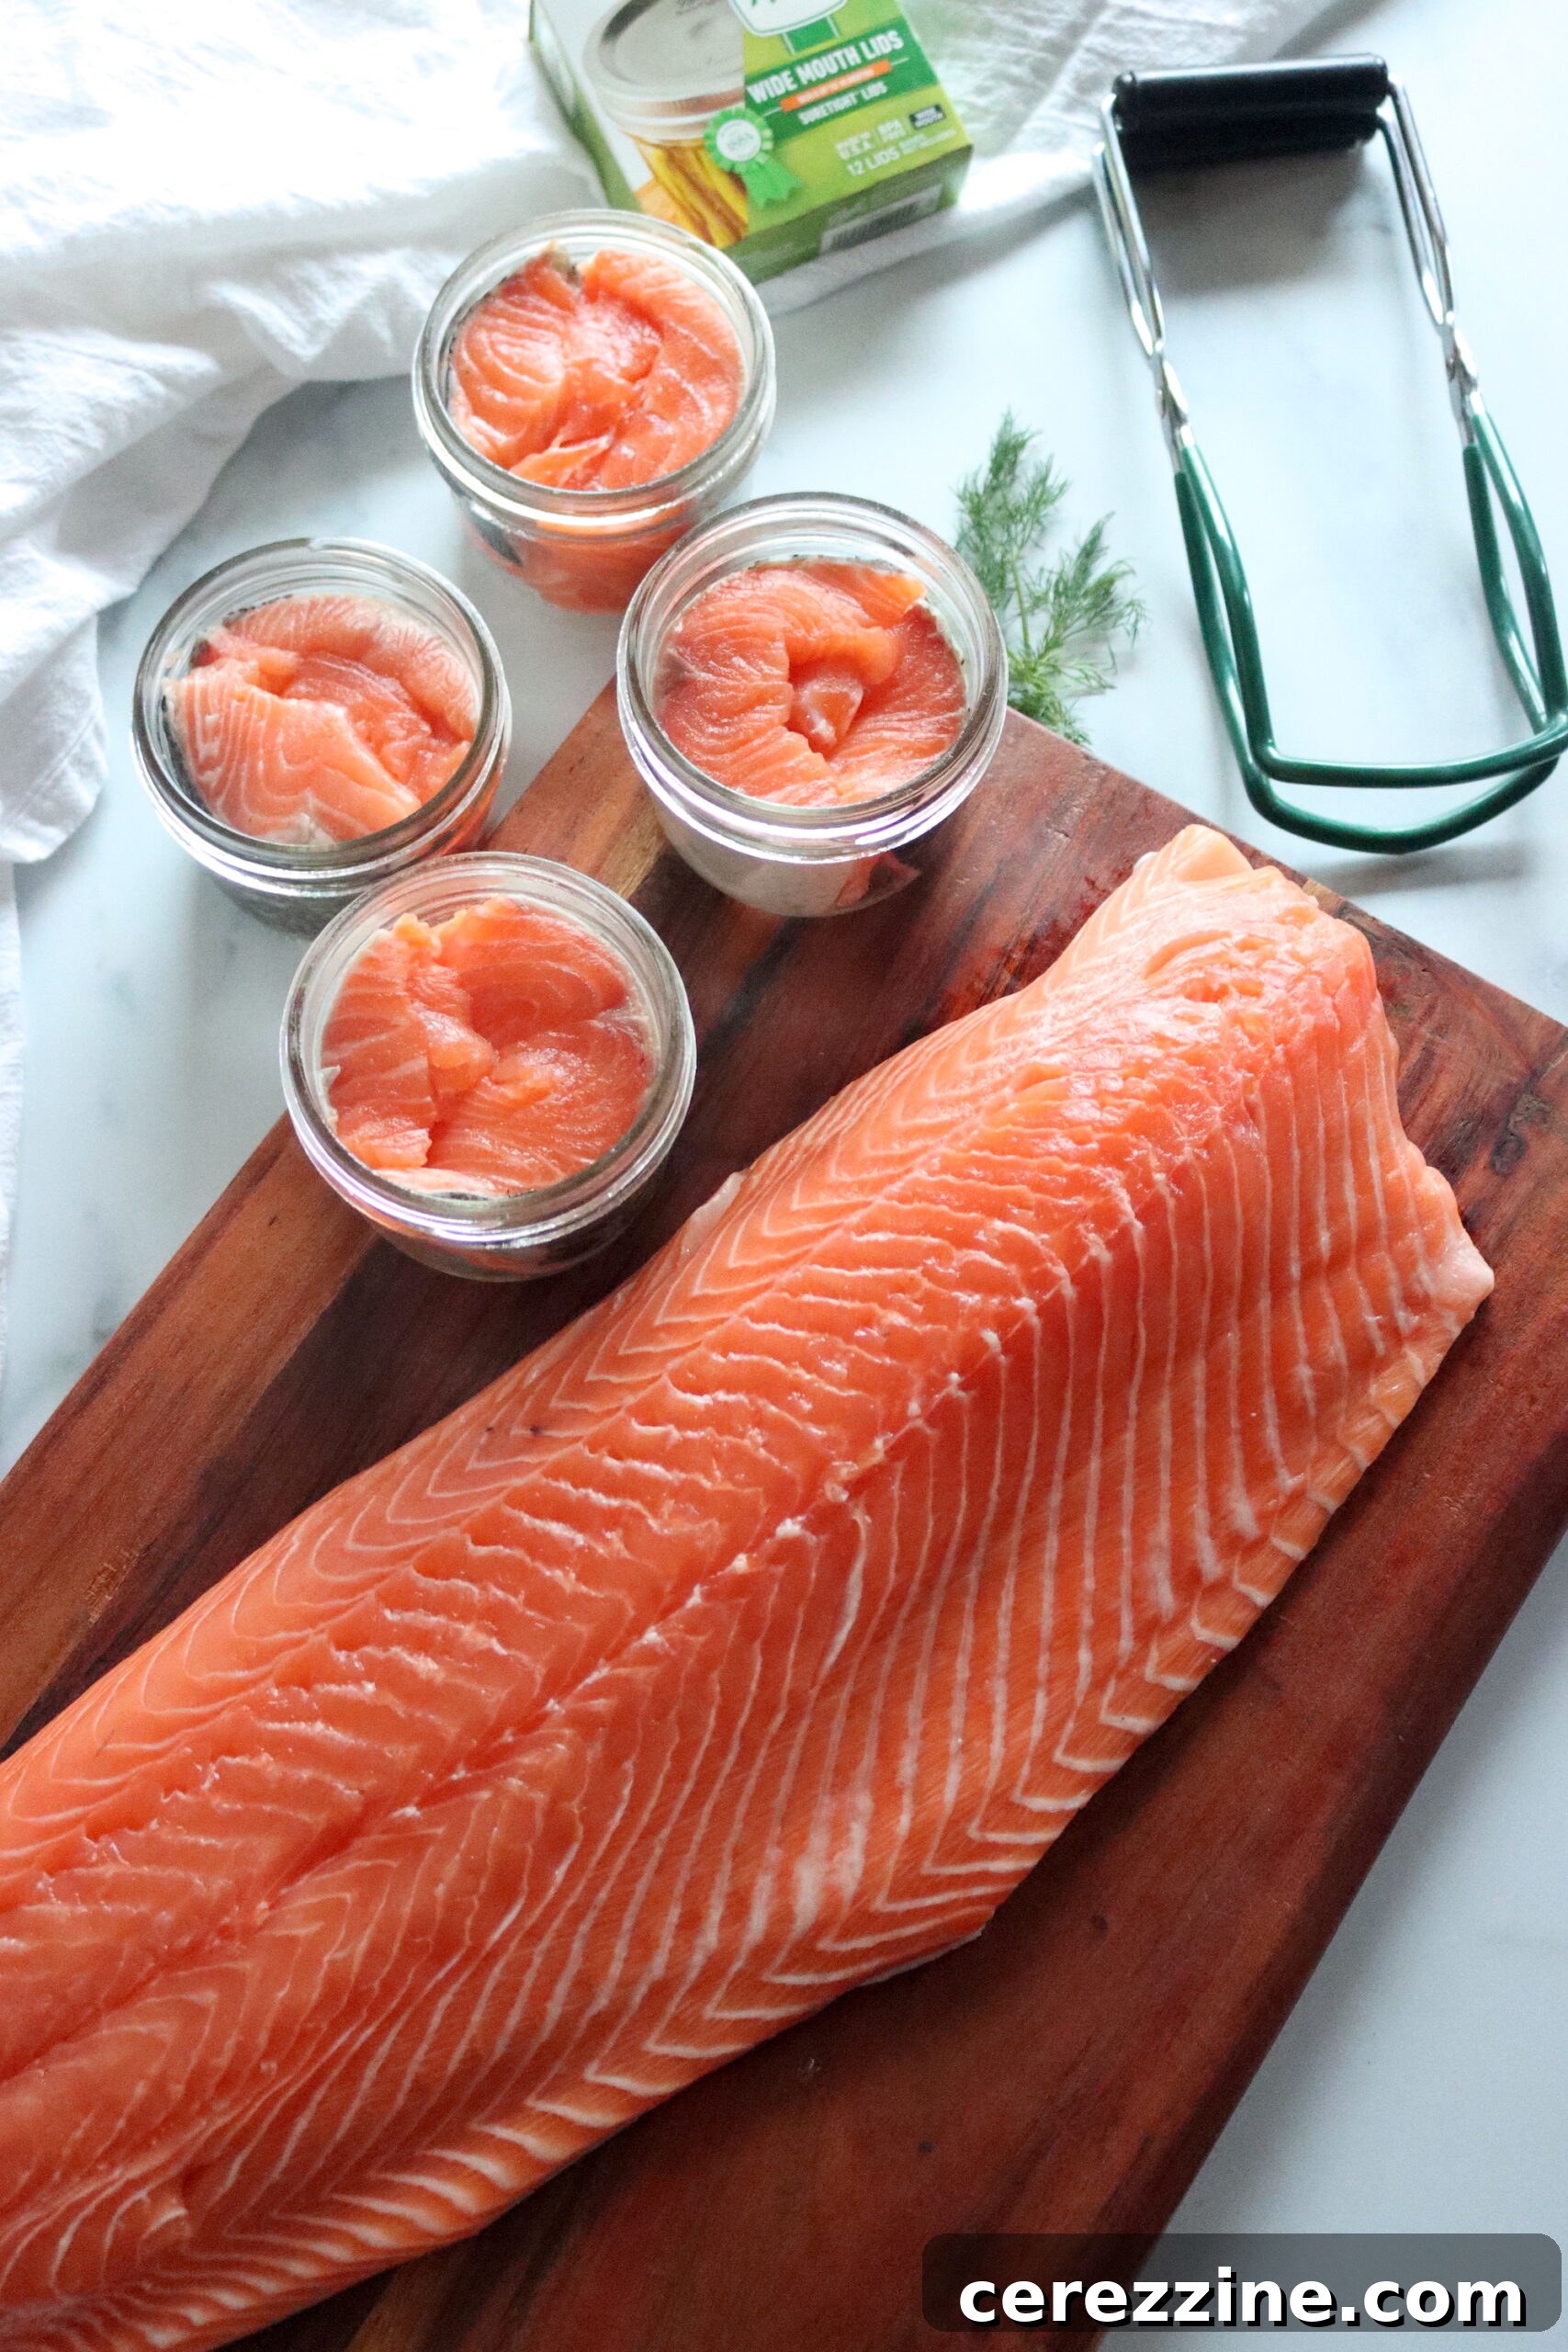
- Cut to Size: Cut your salmon fillets into smaller, manageable pieces that will fit comfortably into your pint or half-pint jars. The goal is to avoid squishing or compressing the fish into the jars, which can impede proper heat penetration during canning. Typically, pieces around 3 ½ inches in length are ideal for pint jars, but adjust based on the height of your jars.
Step-by-Step Guide to Pressure Canning Salmon
Pressure canning is the only safe method for preserving low-acid foods like salmon. This process reaches temperatures high enough to destroy harmful bacteria, including those that cause botulism. Never attempt to water bath can salmon.
Essential Canning Equipment
Before you begin, ensure you have all the necessary equipment on hand:
- Pressure Canner: A reliable pressure canner is non-negotiable.
- Canning Jars: Pint or half-pint jars with corresponding new lids and clean screw bands.
- Jar Lifter: For safely moving hot jars.
- Canning Funnel: To minimize mess when filling jars.
- Headspace Tool: To accurately measure headspace.
- Clean Cloths: For wiping jar rims.
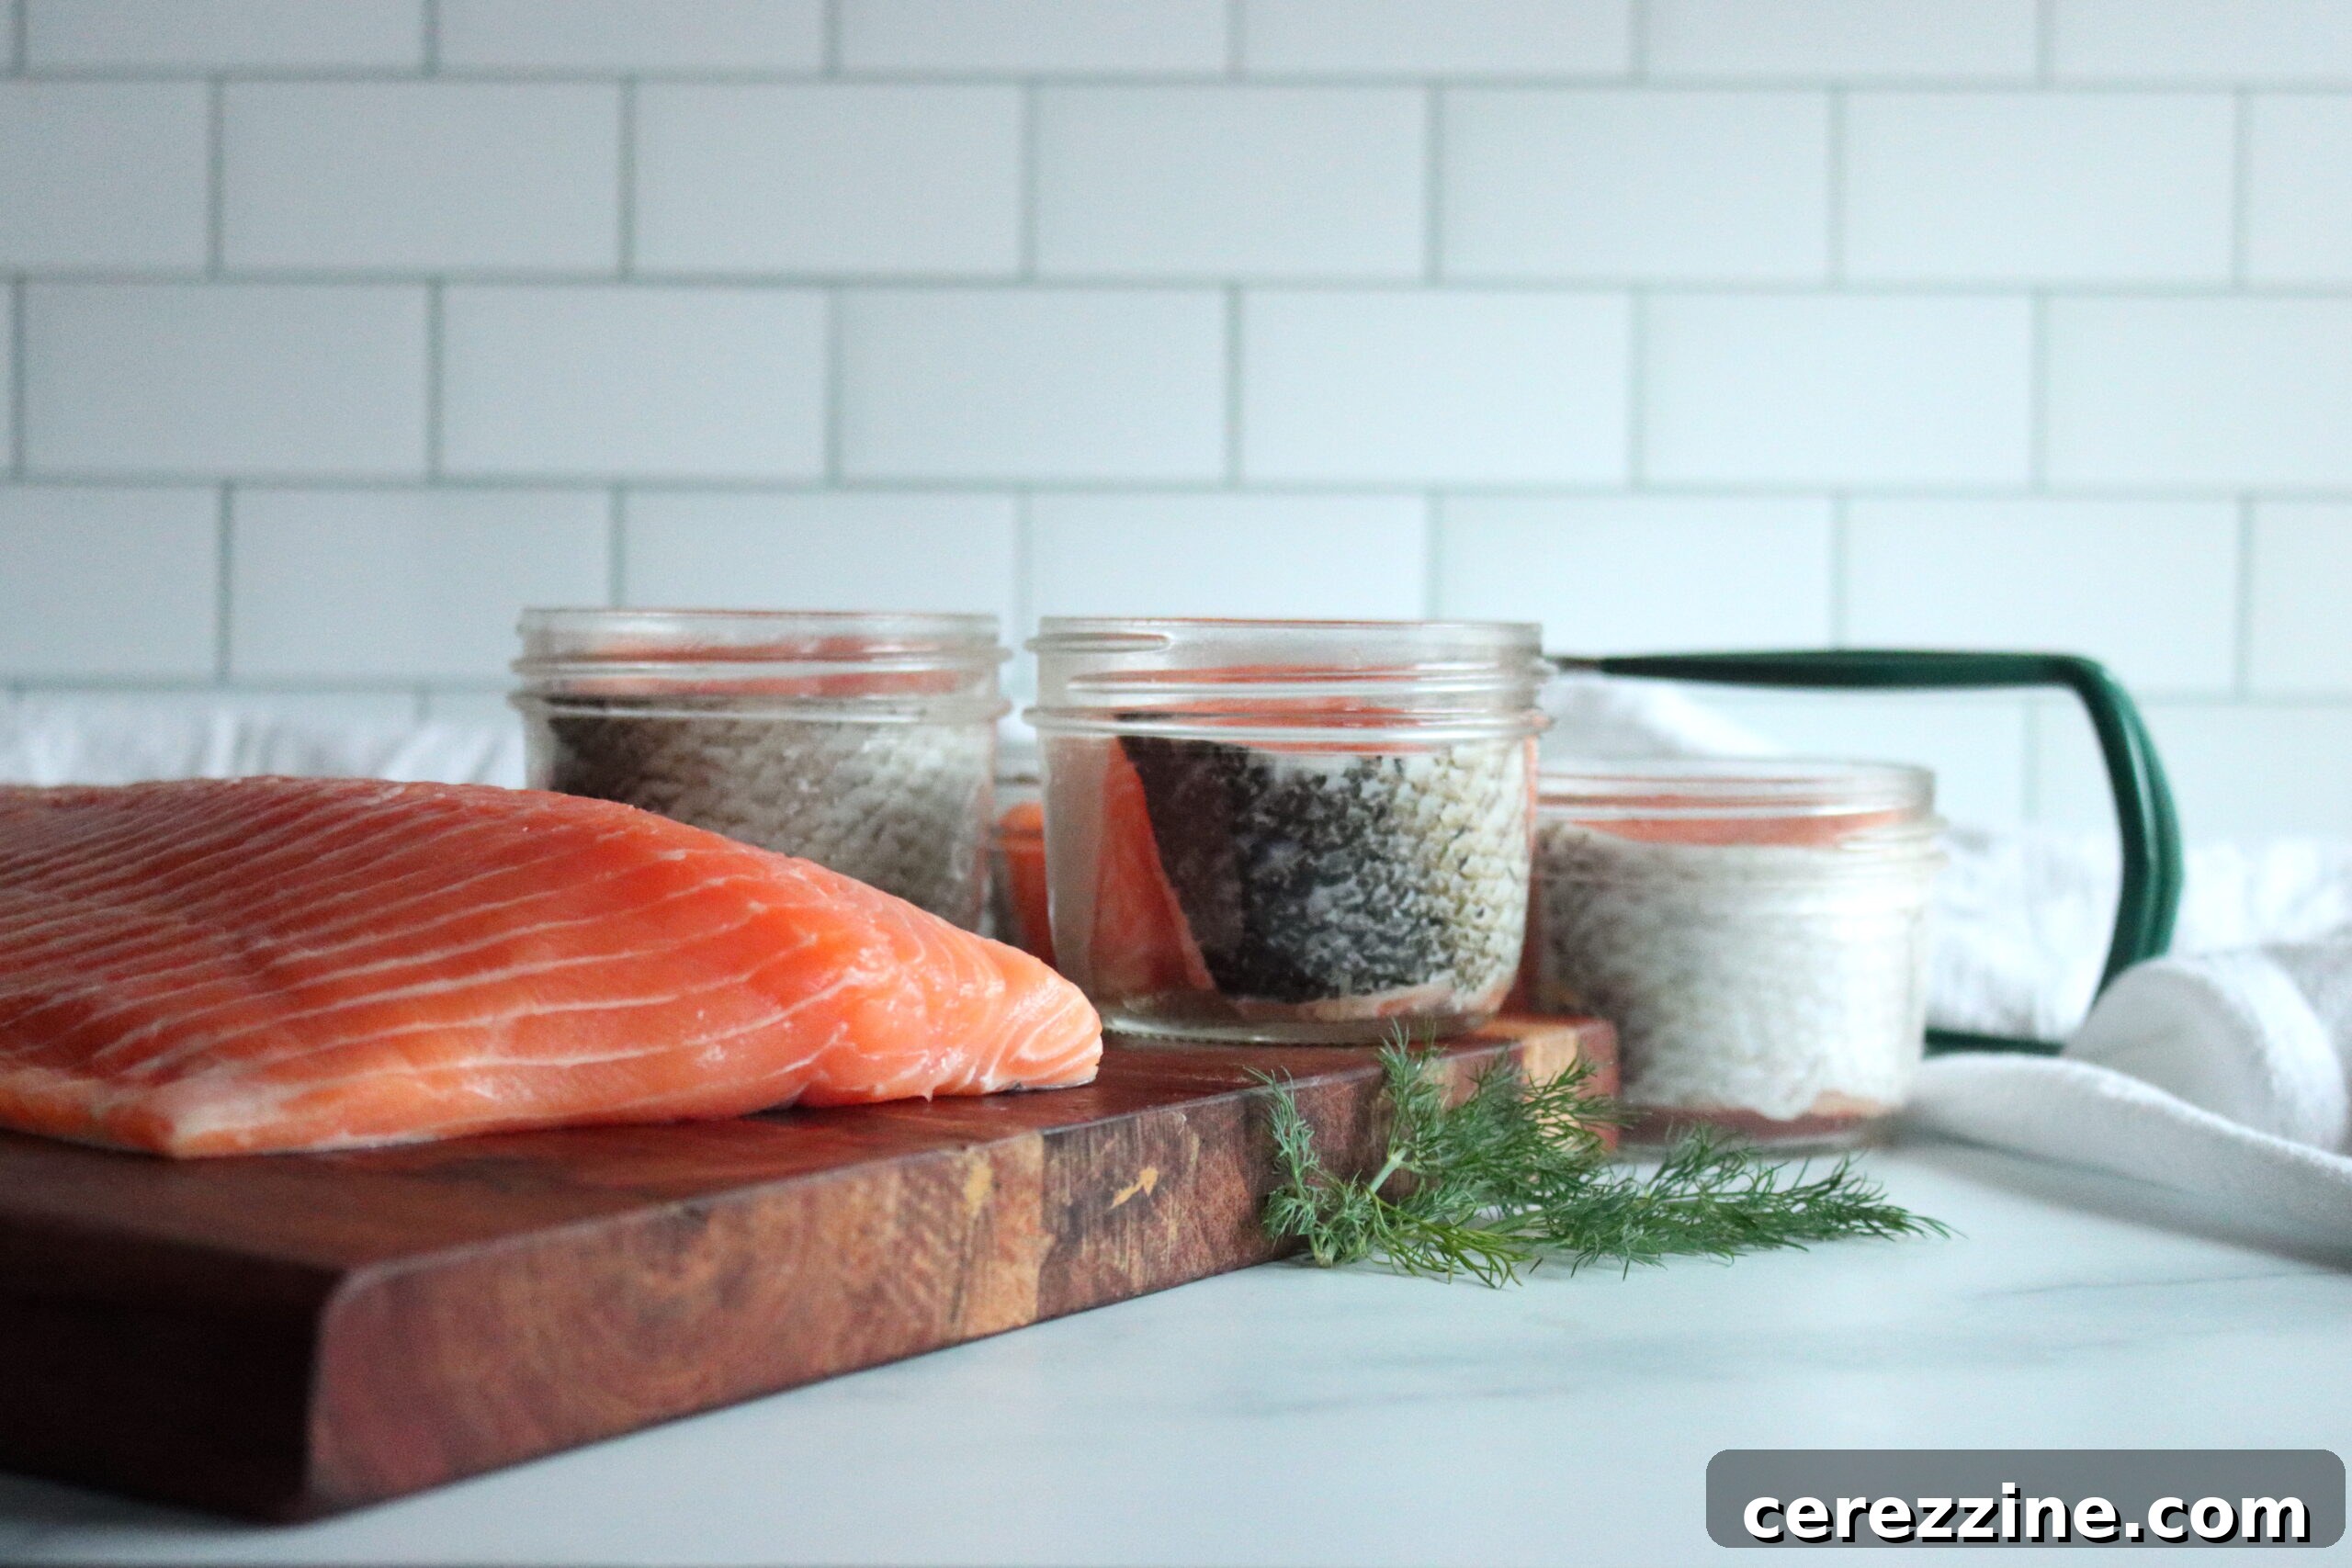
Preparing Your Canner and Jars
- Canner Setup: Place the rack at the bottom of your pressure canner. Add two to three inches of hot water to the canner. This water will heat up and create the necessary steam for processing. Heat the water to a simmer while you prepare your jars. Ensure you use enough water to prevent the canner from boiling dry during the entire processing time.
- Jar Preparation: Wash your canning jars thoroughly in hot, soapy water and rinse well. While sterilization isn’t strictly necessary for foods processed for 10 minutes or more in a pressure canner (the canner itself sterilizes them), ensuring they are sparkling clean is crucial. Keep them warm until ready to fill to prevent thermal shock.
Packing the Jars with Salmon
- Fill Jars: Carefully pack the prepared salmon pieces into your warm, clean jars. Pack them snugly but avoid excessive force that could crush the fish.
- Headspace is Key: Leave a precise 1 inch of headspace from the top of the jar. This space is critical for proper sealing and to prevent food from siphoning out during processing.
- No Added Liquid: This is an important step often misunderstood by new canners. Do NOT add any water, broth, or oil to the jars. Salmon is canned “as is” with only the fish (and optional salt). The natural oils and moisture released from the fish during the canning process will fill the jar, creating a natural liquid medium.
- Optional Salt: If desired, add ½ teaspoon of canning or pickling salt per pint jar, or ¼ teaspoon per half-pint jar. Remember, this is solely for flavor, not for safety.
Sealing and Loading the Canner
- Wipe Rims Clean: Using a clean, damp cloth, carefully wipe the rims of each filled jar. Any food particles or fatty residues on the rim can prevent a proper seal.
- Place Lids and Bands: Center a new, hot canning lid onto each jar. Screw the metal band onto the jar until it is “fingertip tight.” This means screwing it on just until you feel resistance, then giving it a slight turn. Avoid overtightening, as this can prevent air from escaping during processing, leading to buckled lids or seal failures. The band allows the lid to expand slightly and vent excess air and steam.
- Load the Canner: Using a jar lifter, carefully place the filled and sealed jars onto the rack in the pressure canner. Ensure there is sufficient space around each jar for steam to circulate freely. If your canner is large enough to accommodate multiple layers of jars, use an additional rack between layers.
The Pressure Canning Process
- Vent the Canner: Securely place the canner lid on the canner and lock it in place according to your model’s instructions. Turn the heat to high. Watch for a steady stream of steam escaping from the canner’s vent pipe. Once you observe this, allow the canner to vent for a full 10 minutes. This crucial step ensures all air is removed from the canner, replaced by pure steam, which is essential for achieving the correct internal temperature.
- Build Pressure: After venting, close the petcock or place the weighted gauge on the vent pipe. Allow the pressure inside the canner to build gradually.
- For dial gauge canners, the pressure should reach 11 lbs.
- For weighted gauge canners, the pressure should reach 10 lbs.
- Process the Jars: Once the target pressure is reached, begin your processing time. Process pints and half-pints of salmon for a total of 100 minutes. It is critical to maintain constant pressure throughout this entire duration. If the pressure drops below the recommended level at any point, you must restart your timer from the beginning after the correct pressure is re-established. Fluctuations can compromise food safety.
Cooling and Checking Seals
- Natural Pressure Release: Once the 100-minute processing time is complete, turn off the heat. Do NOT attempt to open the canner immediately. Allow the pressure to return to zero naturally. This can take 20-45 minutes.
- Wait Longer: After the pressure gauge reads zero (or the weighted gauge can be easily removed), wait an additional fifteen minutes before carefully removing the canner lid. Open the lid away from your face to avoid escaping steam.
- Final Cooling: Let the jars cool in the canner for another five minutes. Then, using a jar lifter, carefully remove the jars and place them on a towel-lined counter or a wire rack, ensuring they are not touching each other and away from drafts. Allow them to cool undisturbed at room temperature for 12 to 24 hours.
- Check Seals and Store: After the jars are completely cool, check for proper seals. A properly sealed lid will be concave (curved inwards) and will not flex when pressed. Remove the screw bands (they can be reused), wipe down the jars, label them with the contents and date, and store them in a cool, dry, dark place.
Addressing Magnesium Ammonium Phosphate Crystals
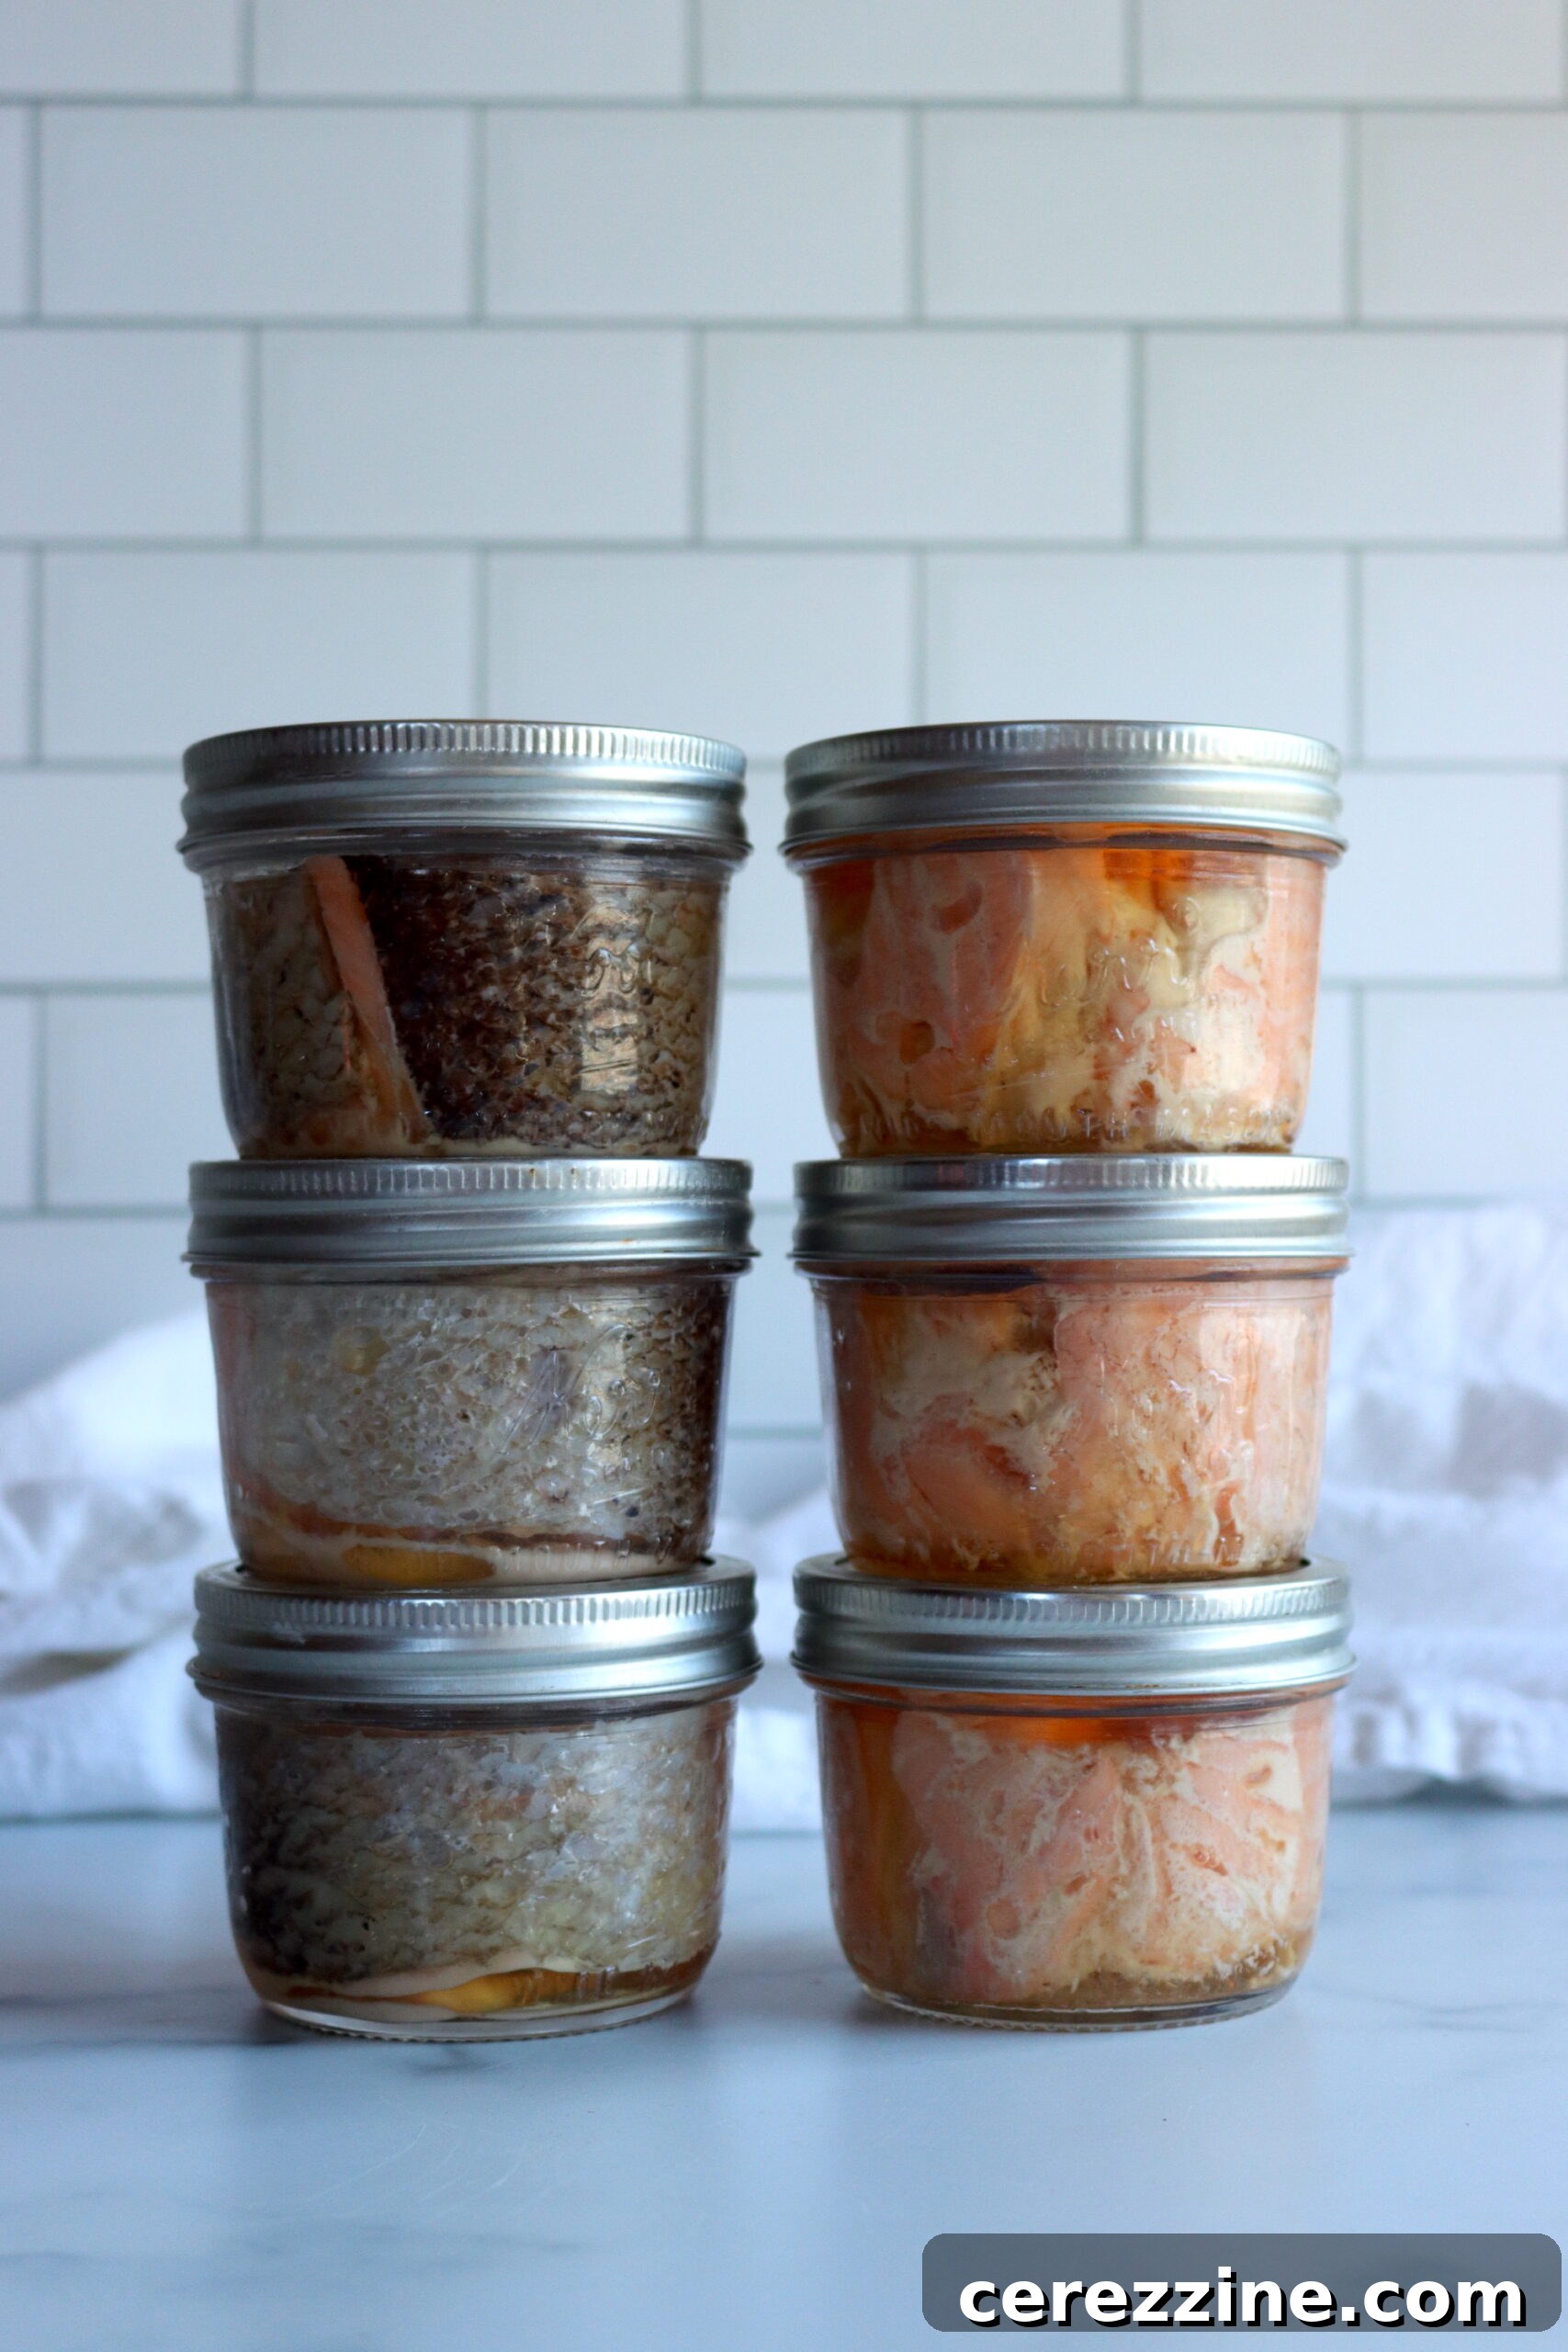
Occasionally, when canning salmon, you might notice the formation of small, glassy-looking crystals, typically magnesium ammonium phosphate. While they might resemble shards of glass, these crystals are perfectly safe to eat and are a natural occurrence in some seafood. They usually dissolve when heated and do not affect the taste or safety of the salmon. There is no known method to predict or prevent their formation, so if you encounter them, rest assured your salmon is still wholesome and delicious.
Critical Altitude Adjustments for Safe Pressure Canning
Altitude significantly impacts the boiling point of water and thus the pressure required for safe canning. While processing times remain consistent regardless of altitude, the pressure must be adjusted to ensure adequate heat penetration for food safety. Always refer to a reliable altitude chart and adjust your canner’s pressure accordingly based on your elevation.
For Dial Gauge Pressure Canners:
- 0 to 2,000 feet in elevation – 11 lbs pressure
- 2,001 to 4,000 feet in elevation – 12 lbs pressure
- 4,001 to 6,000 feet in elevation – 13 lbs pressure
- 6,001 to 8,000 feet in elevation – 14 lbs pressure
For Weighted Gauge Pressure Canners:
- 0 to 1,000 feet in elevation – 10 lbs pressure
- Above 1,000 feet – 15 lbs pressure
Enjoying Your Home-Canned Salmon: Versatile & Delicious
Once your beautifully preserved salmon jars are sealed and stored, a world of culinary possibilities opens up! Home-canned salmon is incredibly versatile. It can be enjoyed straight out of the jar for a quick, nutritious snack, or incorporated into an array of delightful recipes.
Some of our favorite ways to utilize home-canned salmon include:
- Classic Salmon Salad: Mix with mayonnaise, celery, and onions for sandwiches, wraps, or as a topping for crackers.
- Hearty Salmon Quiches: A flavorful addition to any breakfast or brunch spread.
- Creamy Salmon Chowders: Perfect for a comforting meal on a cold day.
- Quick Salmon Pasta Dishes: Flake into pasta with a light sauce and fresh herbs.
- Nutritious Salads: Add a boost of protein and Omega-3s to any green salad.
- Pizzas and Flatbreads: A unique and tasty topping.
- Flavorful Omelets or Scrambles: Elevate your breakfast.
For optimal quality and flavor, store your home-canned salmon in a cool, dry, and dark place. It will maintain its best quality for at least one year. While properly canned goods can last much longer, consuming them within a year ensures the peak of taste and texture.
Comprehensive Canning Salmon Recipe
16 servings (4 pints or 8 half pints)
Canning Salmon
Equipment
-
Pressure Canner (I use an All-American Model 930)
-
Jar Lifter
-
Canning Funnel
-
Wide Mouth Half Pint Jars
-
Wide Mouth Canning Lids
Ingredients
- 4 lbs Fresh salmon, about 1 lb per pint
- 1 tsp Salt, optional
Instructions
- Start with fresh, cleaned fish. Keep the fish cold until they’re ready to can, not more than two days.
- Remove the tail, head, scales, fins, and skin, then wash to remove all blood.
- Cut your salmon filets into smaller pieces that will fit easily into pint jars.
- Put two to three inches of water in your pressure canner and heat it to simmer.
- Prepare the jars, making sure they’re clean.
- Fill the jars with the salmon, leaving an inch of headspace. You do not need to add any water or broth. If desired, you can add ½ teaspoon of salt per jar.
- Wipe the jars with a clean, damp cloth to remove any food particles or fatty deposits.
- Then, place a hot lid on the jar. Screw the metal band onto the jar until it is fingertip tight. Resist the urge to overtighten, as this can cause the lid to buckle.
- Place the filled jars on a rack in the canner, leaving room for steam to flow freely around the jars. In canners that are deep enough to allow you to stack jars, make sure you use a rack between the layers.
- Put the canner lid on the canner. Heat the canner until you see the steam escaping from the open vent. Once it starts to do this, vent steam for 10 minutes.
- Close the petcock or place the pressure regulator on the vent pipe. Allow the pressure to reach 11 lbs pressure for a dial gauge canner and 10 lbs pressure for a weighted gauge.
- Process the jars at 100 minutes for pints or half-pints (adjusting for altitude, see notes).
- When the canning time is done, turn off the heat and allow the pressure to return to zero. Wait an additional fifteen minutes, then remove the lid. Let the jars cool for another five minutes in the canner, then take them out and allow them to cool at room temperature for 24 hours.
- Check the seals, label, and store.
Notes
The salt in this recipe is optional, and for flavor rather than preservation. I’ve sized this recipe to 4 pints or 8 half-pints. Adjust to your needs, knowing that you’ll need about 1 pound of salmon per pint jar (or half pound per half-pint).
Altitude Adjustments for Canning Salmon
With pressure canning, the processing times stay the same at higher altitudes, but the pressures change. Here are the altitude adjustments for pressure canning:
For dial gauge pressure canners:
- 0 to 2,000 feet in elevation – 11 lbs pressure
- 2,001 to 4,000 feet in elevation – 12 lbs pressure
- 4,001 to 6,000 feet in elevation – 13 lbs pressure
- 6,001 to 8,000 feet in elevation – 14 lbs pressure
For weighted gauge pressure canners:
- 0 to 1,000 feet in elevation – 10 lbs pressure
- Above 1,000 feet – 15 lbs pressure
Nutrition
Protein: 22g,
Fat: 7g,
Saturated Fat: 1g,
Polyunsaturated Fat: 3g,
Monounsaturated Fat: 2g,
Cholesterol: 62mg,
Sodium: 195mg,
Potassium: 556mg,
Vitamin A: 45IU,
Calcium: 14mg,
Iron: 1mg
Nutrition information is automatically calculated, so should only be used as an approximation.
Explore More Fish Canning Recipes
Salmon is a perennial favorite for home canning, but the world of seafood preservation offers a wealth of other delicious options! Broaden your canning horizons with these fantastic recipes:
- Canning Tuna: A pantry staple perfect for sandwiches and casseroles.
- Canning Crab: Elevate your home-canned selection with a gourmet touch.
- Canning Salmon Chowder Base: Prepare a hearty meal starter.
- Canning Nordic Salmon Soup: A unique and flavorful Scandinavian-inspired dish.
- For even more variety, explore the full list in 12+ Fish Canning Recipes, which includes options like shrimp and various chowder bases.
Other Popular Pressure Canning Recipes
Once you’ve mastered canning salmon, you might find yourself inspired to fill your pressure canner again with other essential pantry items. Discover more simple and rewarding pressure canning recipes for a well-stocked larder:
- Canning Beef
- Canning Potatoes
- Canning Pumpkin
- Canning Sweet Potatoes
- Canning Corn