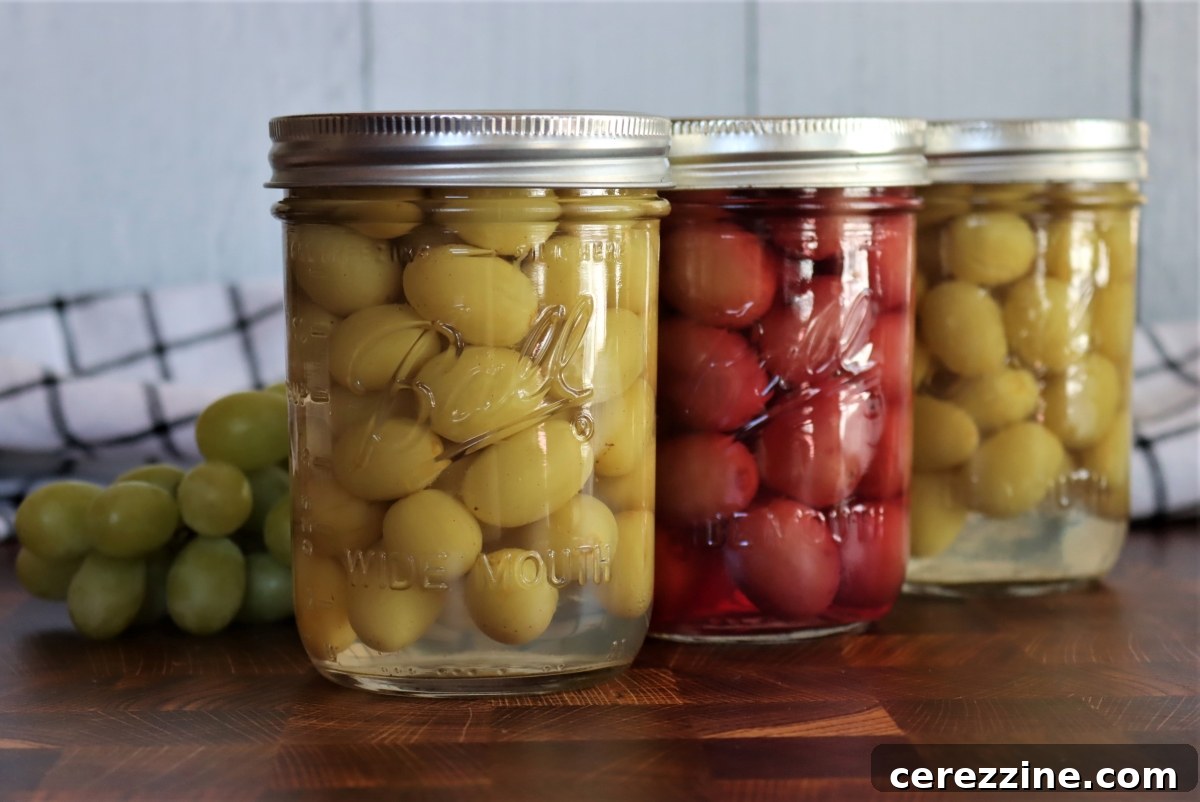
Imagine having the sweet, vibrant taste of freshly picked grapes available all year round, even when they’re out of season. Canning grapes makes this delightful possibility a reality, offering a surprisingly simple and highly rewarding method to preserve the abundance of your harvest. Home-canned grapes aren’t just a pantry staple; they’re a testament to preserving nature’s sweetness, retaining remarkable flavor and a pleasing texture through the canning process. This guide will walk you through everything you need to know to successfully can grapes at home, ensuring you can enjoy this versatile fruit long after the harvest season ends.
Why Canning Grapes is a Sweet Idea
For many, canned fruit evokes a sense of nostalgia, perhaps reminiscent of childhood breakfast tables or comforting desserts. I, too, harbored a particular fondness for canned fruit cocktail, specifically for the grapes I’d meticulously pick out and save for last. It might seem an unusual preference, but there’s an undeniable charm and deliciousness to perfectly preserved grapes. They offer a unique sweetness and bite that makes them stand out, a tiny, jewel-like treat. This early appreciation transformed into a practical skill when faced with a generous grape harvest – home-canned grapes became the obvious and most delightful solution.
Beyond personal nostalgia, canning grapes offers numerous benefits. It’s an excellent way to prevent food waste when your grapevines are overflowing or when you find a great deal at the local market. By preserving grapes at their peak, you capture their optimal flavor and nutritional value. Moreover, home-canned grapes allow you to control the ingredients, avoiding the excessive sugars and artificial preservatives often found in commercial products. You can customize the sweetness level to your liking, ensuring a healthier and more natural product for your family. From quick snacks to additions in desserts, salads, or even savory dishes, having a jar of canned grapes on your pantry shelf opens up a world of culinary possibilities.
Mastering the Art of Canning Grapes
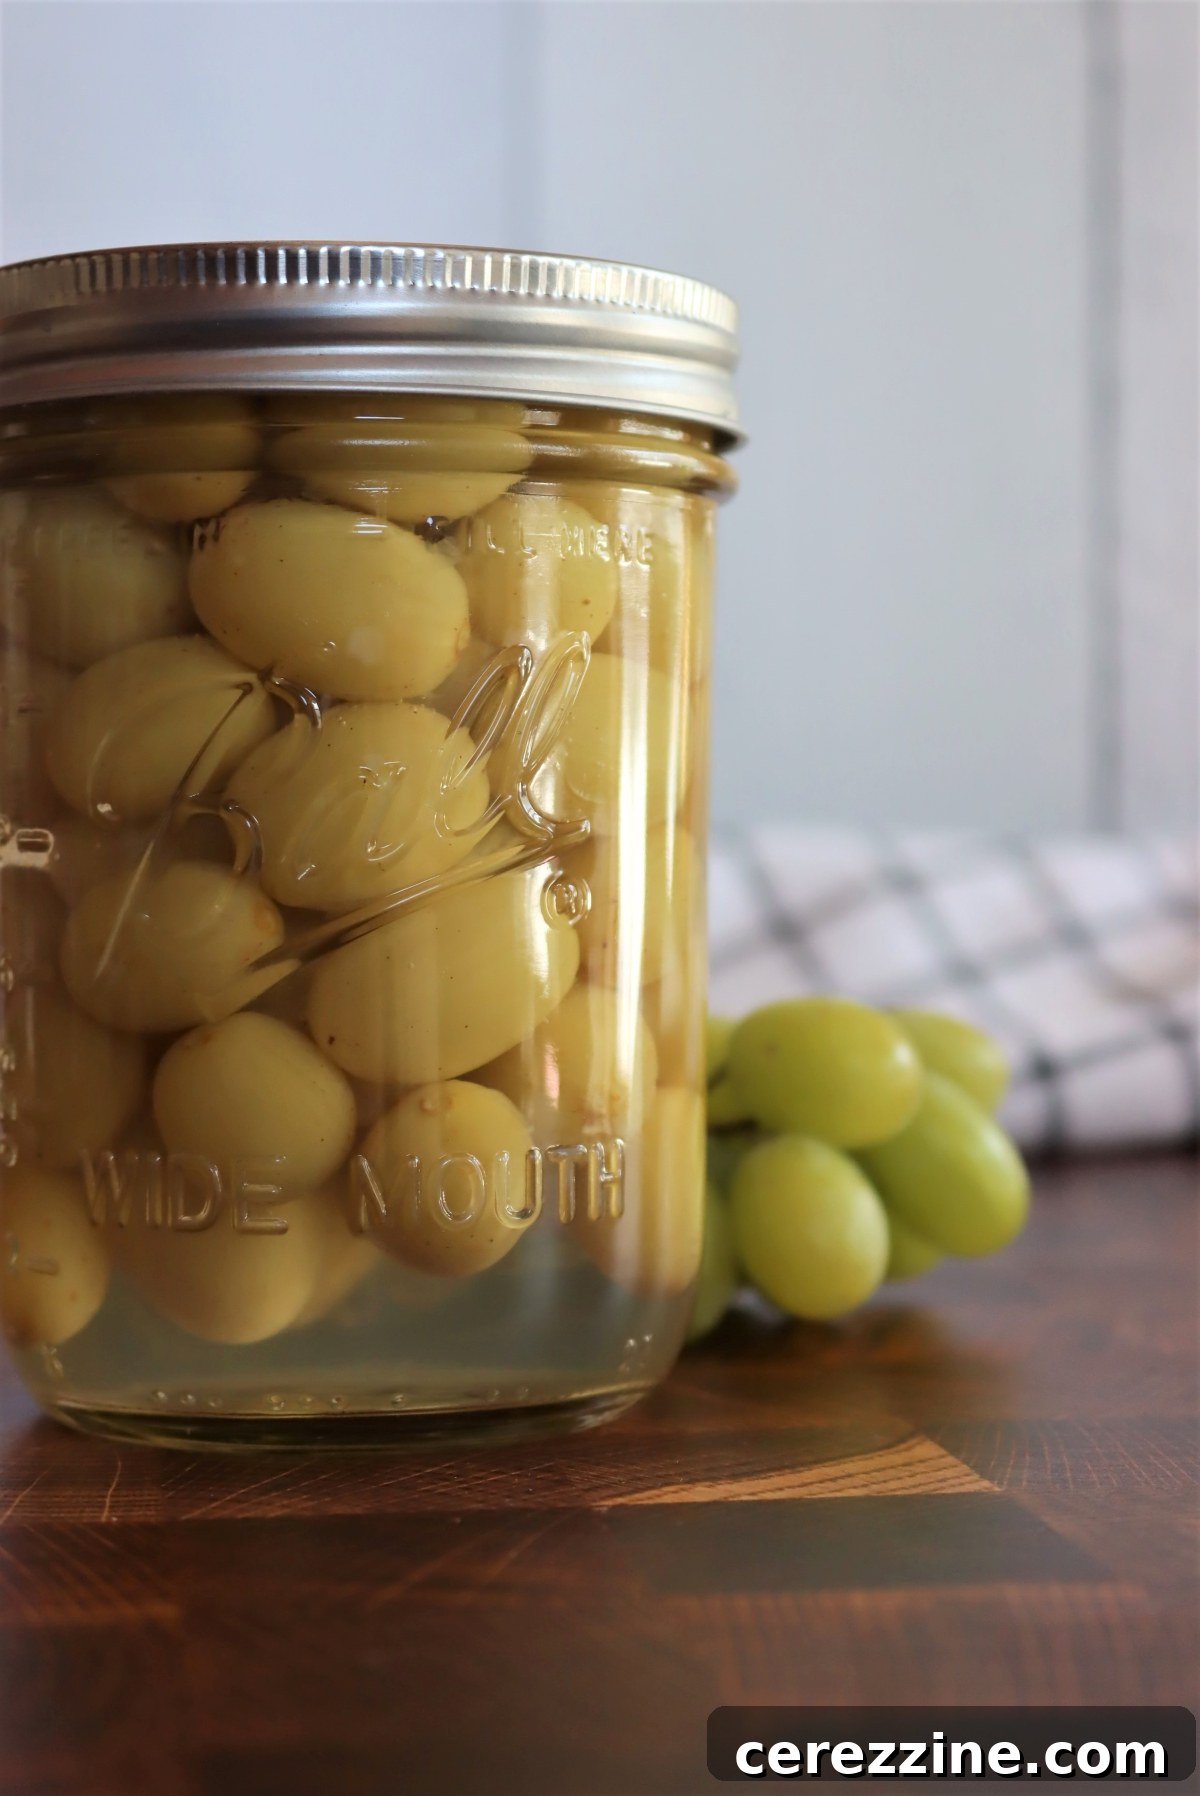
Canning grapes is a relatively straightforward process, especially if you’re already acquainted with the fundamentals of water bath canning. For those new to home preservation, it’s highly recommended to first familiarize yourself with a beginner’s guide to water bath canning. Understanding the basics of sterilization, headspace, and proper sealing techniques is crucial for safety and successful preservation. Once you have a firm grasp of these principles, canning grapes will feel intuitive and rewarding.
Selecting the Best Grapes for Canning
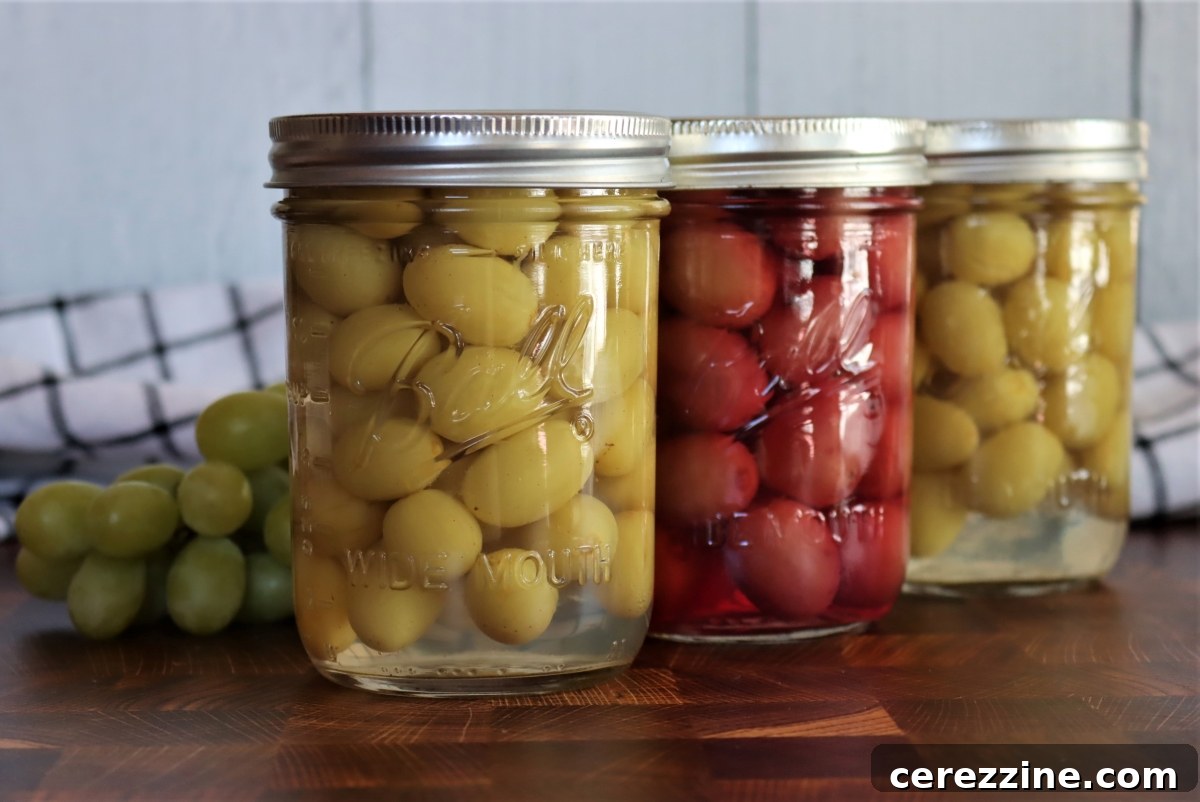
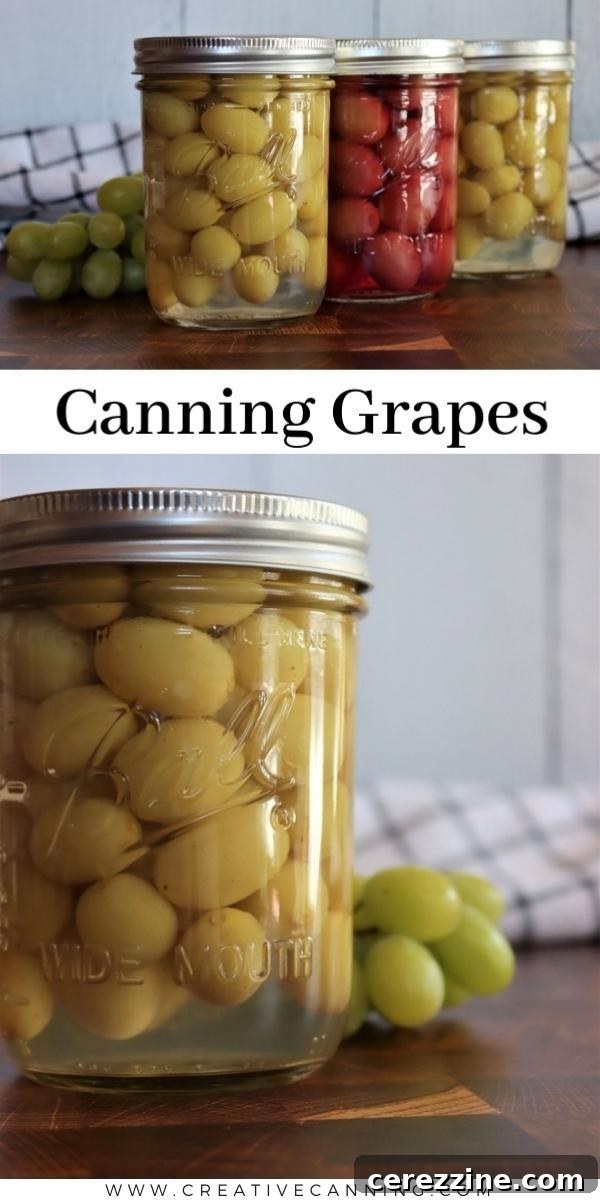
The quality of your canned grapes begins with your selection of fresh fruit. Opt for firm, ripe, or slightly underripe grapes with tight skins. Overripe or soft grapes tend to break down during processing, resulting in a mushy texture. Seedless varieties are often preferred for convenience, but seeded grapes can also be canned successfully. Consider the color too: green grapes generally retain their color and flavor better when canned, while red grapes may bleed their color into the canning liquid, often appearing nearly white once processed. Wash and thoroughly stem your grapes before you begin the canning process.
Crafting the Perfect Canning Syrup for Grapes
Grapes are naturally sweet, so they don’t necessarily require a heavy syrup. However, canning them in plain water can lead to a “washed out” flavor as the grapes’ natural sugars leach into the canning liquid. To maintain their delicious taste and excellent texture, an extra light syrup is often the ideal choice. This gentle syrup complements the grapes’ inherent sweetness without making them overly sugary, preventing the loss of flavor and sugars into the water.
To create an extra light syrup that truly enhances your canned grapes:
- For a 9-pint canner load: Combine 3/4 cup of sugar with 6 1/2 cups of water.
- For a 7-quart canner load: Use 1 1/4 cups of sugar with 10 1/2 cups of water.
Bring the sugar and water to a boil in a saucepan, stirring until the sugar completely dissolves. Keep this syrup hot until you are ready to pour it into your jars.
If you prefer a sweeter outcome, you can experiment with light or medium syrups, but be aware that the grapes will take on a more “candied” profile. You can find comprehensive measurements for various canning syrups, from extra light to heavy, if you wish to adjust the sweetness. For an all-natural option, white grape juice or apple juice also make excellent canning liquids, functioning similarly to an extra light syrup by providing a flavorful medium without added refined sugar. Plain water is also a safe option, but as mentioned, it may compromise the grapes’ final flavor and texture.
Water Bath Canning Grapes: Raw Pack vs. Hot Pack
There are two primary methods for water bath canning grapes: raw pack and hot pack. While raw packing is quicker, hot packing typically yields a superior product in terms of texture and jar fill. Understanding the differences will help you choose the best method for your needs.
Raw Pack Method
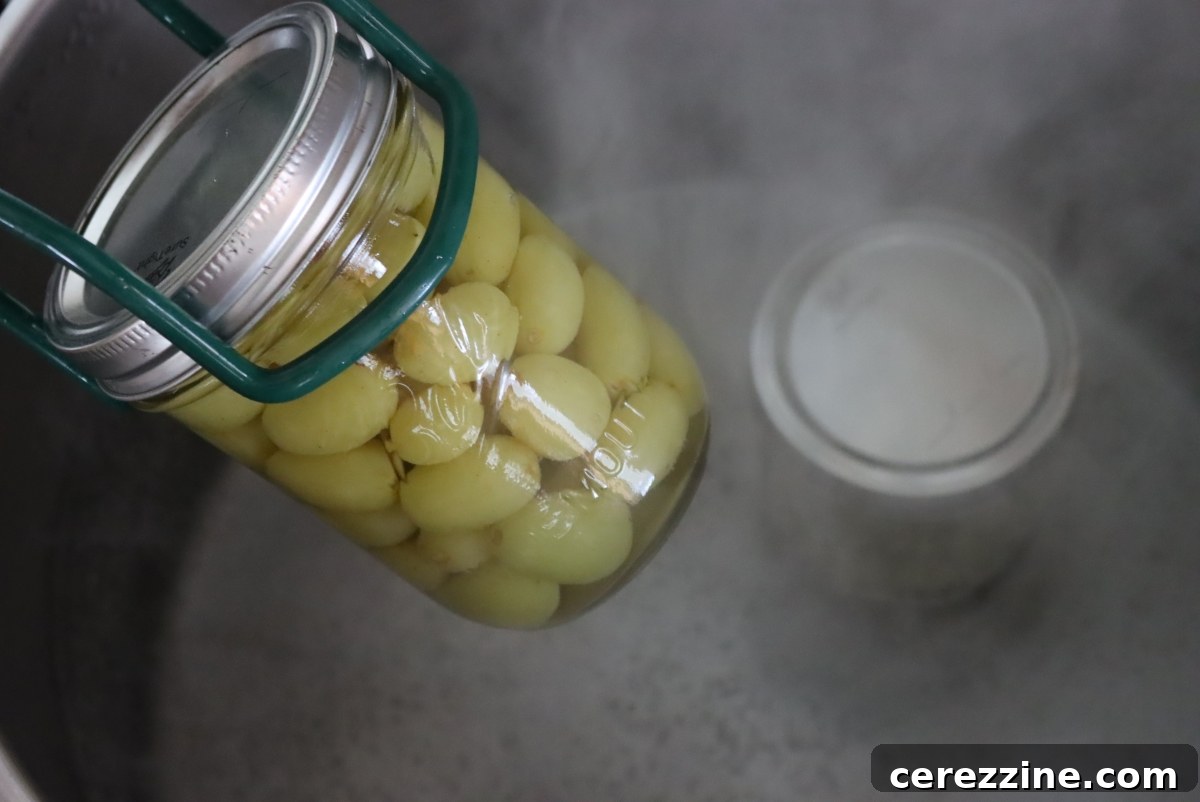
The raw pack method is celebrated for its simplicity. After washing and stemming your grapes, you simply pack them directly into clean, prepared canning jars. Once the jars are filled with grapes, carefully pour your boiling canning liquid (syrup, juice, or water) over them, ensuring you leave a 1-inch headspace from the rim of the jar. Remove any air bubbles with a non-metallic utensil, wipe the jar rims clean, and secure the lids and bands.
For raw pack, the water bath canner should be pre-heated to approximately 140°F (60°C); it should not be boiling or simmering when you load the jars. Once all jars are in the canner, increase the heat to bring the water to a full rolling boil before starting your processing timer. Raw packed grapes tend to shrink more during canning and may float, resulting in a less full jar and a slightly softer texture compared to hot packed grapes.
Hot Pack Method (Recommended)
The hot pack method involves a crucial pre-cooking step that significantly improves the quality of your canned grapes. This method begins by blanching the grapes in boiling water for a short duration—typically 30 to 60 seconds.
This brief blanching period serves several important purposes:
- Air Release: Blanching helps the grapes release trapped air from their tissues. This pre-shrinks them slightly, allowing you to pack more grapes into each jar and reducing the likelihood of them floating to the top during processing.
- Improved Texture: The quick heat treatment creates micro-fractures in the grape skins, which prevents them from popping or toughening during the canning process, leading to a more consistent and pleasing finished texture.
While an extra step, these 30-60 seconds of blanching are absolutely worth the effort for better-quality canned grapes. They will fill the jars more effectively, float less, and possess a superior texture.
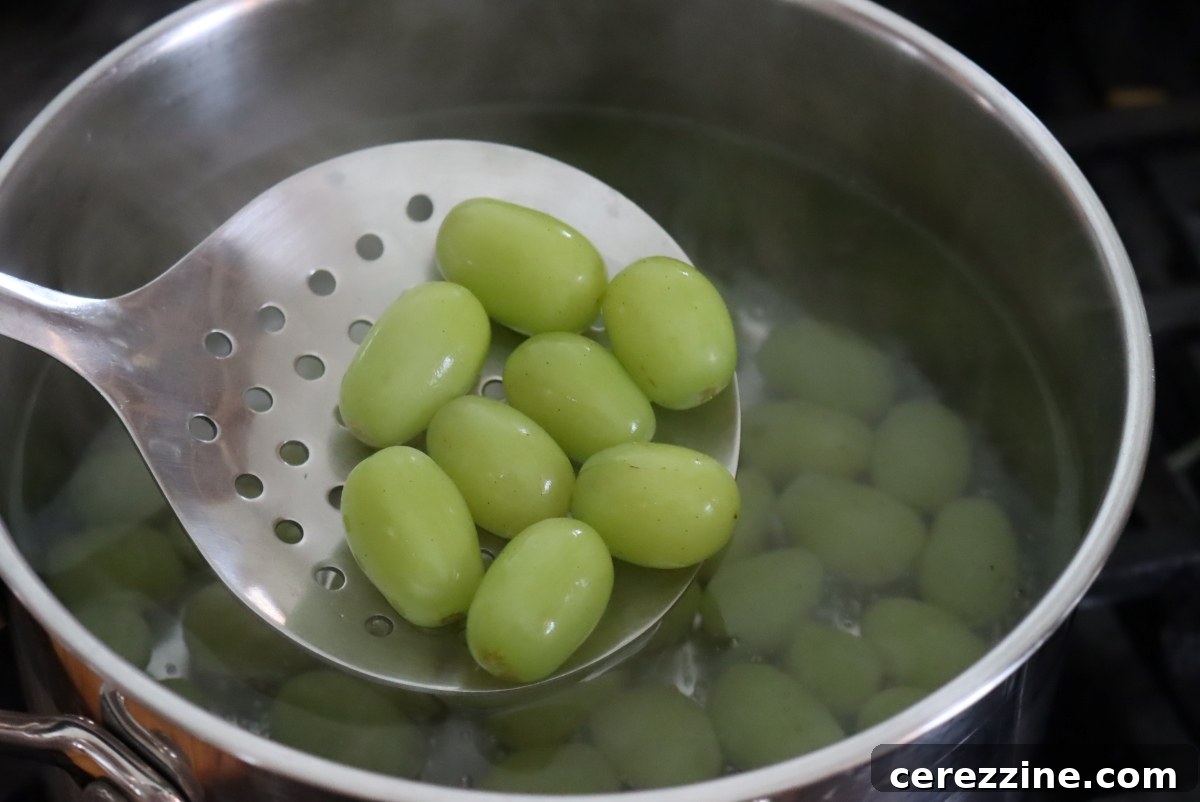
After blanching, remove the grapes from the boiling water with a slotted spoon and immediately pack them into clean, prepared canning jars. Just like with raw pack, pour your boiling canning liquid (syrup, juice, or water – remember, not the blanching water) over the grapes, ensuring a 1-inch headspace. Remove air bubbles, wipe rims, and secure lids and bands.
For hot pack, your water bath canner should be pre-heated to a bare simmer (around 180°F or 82°C) before loading the hot jars. This helps prevent thermal shock to the jars. Once loaded, bring the canner to a full rolling boil and begin timing the processing.
Processing Times for Canned Grapes
The processing time for canning grapes is critical for safety and varies depending on your chosen packing method (raw or hot) and your altitude. Always consult reliable canning guidelines to ensure proper sterilization.
For Hot Pack Pints and Quarts (Recommended Method):
- At altitudes up to 1,000 feet: Process for 10 minutes.
- At altitudes between 1,001 and 6,000 feet: Process for 15 minutes.
- At altitudes above 6,001 feet: Process for 20 minutes.
For raw pack and higher altitudes, refer to the following comprehensive timetable:
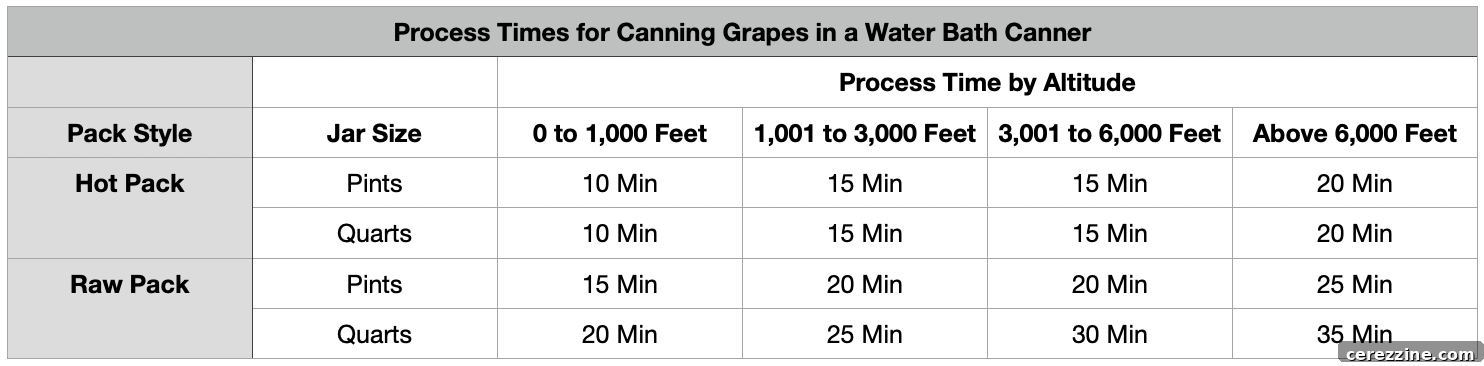
Always ensure your jars are fully submerged in the boiling water throughout the processing time. Once processing is complete, turn off the heat, carefully remove the canner lid, and let the jars sit in the hot water for 5 minutes before carefully lifting them out. Place them on a towel-lined surface, ensuring they are not touching, and allow them to cool completely for 12-24 hours without disturbing them. Check seals, then store sealed jars in a cool, dark place. Unsealed jars should be refrigerated and consumed promptly.
More Ways to Preserve Grapes
While canning grapes is a fantastic method, grapes are incredibly versatile and can be preserved in many other delicious ways. If you find yourself with an abundance of grapes, consider these other popular preservation techniques:
- Old Fashioned Grape Jam: A classic spread perfect for toast, pastries, or as a condiment.
- Easy Homemade Grape Jelly: A clear, vibrant jelly that captures the pure essence of grapes.
- Freezing Grapes: A simple method for keeping grapes for smoothies, desserts, or even as a refreshing snack.
- Homemade Raisins: Dehydrate grapes to make your own natural, chewy raisins for baking or snacking.
1 Yield Varies, See Notes
Canning Grapes
5 mins
5 mins
10 mins
20 mins
Equipment
-
Water Bath Canner
Ingredients
- Grapes
- Water or Grape Juice
- Sugar *Optional, see note
Instructions
-
Prepare a water bath canner and canning jars before beginning.
-
Prepare a canning liquid of your choice. I’d suggest extra light syrup (measurements in notes below), but grape juice is also a good option. Plain water is fine too. Bring the liquid to a boil and keep it hot.
-
Wash and stem grapes. Bring a saucepan full of water to a boil on the stove and blanch grapes for 30 to 60 seconds. Remove with a slotted spoon and load into canning jars, leaving 1-inch headspace.
-
Pour boiling canning liquid over the grapes, maintaining 1-inch headspace.
-
Process in a water bath canner for 10 minutes (for altitudes below 1,000 feet) for half-pint, pint, and quart jar sizes. Higher altitudes and raw packs require different processing times, see notes.
-
Remove from the canner and allow the jars to cool completely before checking seals. Store unsealed jars in the refrigerator for immediate use. Sealed jars will maintain quality on the pantry shelf for 12-18 months. Refrigerate after opening.
Notes
Selecting Grapes for Canning – The best grapes for canning are firm grapes that are just slightly underripe or perfectly ripe. They should have tight skins and a very firm texture. Green grapes have a better flavor and color when canned, and red grapes will bleed color into the canning liquid and be nearly white when strained.
Canning Grapes Yield – On average, it takes a pound of grapes to fill a pint jar and two pounds for a quart jar. That’s weighed on the stem as purchased (or harvested) and assumes a hot pack. For a raw pack, you’ll need slightly fewer grapes and the jars will finish partially empty as the fruit shrink during canning more if they’re not blanched as in a hot pack.
Extra Light Syrup – To make extra light syrup, use 3/4 cups sugar and 6 1/2 cups water (for a 9-pint canner load), or 1 1/4 cups sugar to 10 1/2 cups water (for a 7-quart canner load). Bring sugar and water to a boil in a saucepan and stir to dissolve.
Altitude Adjustments and Raw Pack Canning Times –
Canning times vary based on elevation and the type of pack, raw or hot. Hot pack is described above, but you can simply load the raw grapes into jars without blanching and pour boiling syrup or juice over the top for a raw pack. Raw packs are lower quality generally, and require longer canning times.
Hot Pack Altitude Adjustments
- For 0 to 1,000 Feet: Process 10 Minutes (all jar sizes)
- For 1,001 to 6,000 Feet: Process 15 Minutes (all jar sizes)
- Above 6,001 Feet: Process 20 Minutes (all jar sizes)
Raw Pack Altitude Adjustments
- For 0 to 1,000 Feet: Process 15 min for pints and 20 min for quarts
- For 1,001 to 3,000 Feet: Process 20 min for pints and 25 min for quarts
- For 3,001 to 6,000 Feet: Process 20 min for pints and 30 minutes for quarts
- For Above 6,001 Feet: Process 25 min for pints and 35 minutes for quarts
(If canning half-pint jars, use times for pint jars. Do not can grapes in jar sizes larger than quart jars.)
Nutrition
, Calories: 52kcal
, Carbohydrates: 14g
, Protein: 1g
, Fat: 0.1g
, Saturated Fat: 0.04g
, Polyunsaturated Fat: 0.04g
, Monounsaturated Fat: 0.01g
, Sodium: 2mg
, Potassium: 144mg
, Fiber: 1g
, Sugar: 12g
, Vitamin A: 50IU
, Vitamin C: 2mg
, Calcium: 8mg
, Iron: 0.3mg
Nutrition information is automatically calculated, so should only be used as an approximation.
Like this? Leave a comment below!
More Fruit Canning Recipes to Explore
Once you’ve mastered canning grapes, you might be inspired to preserve other fruits from your garden or local market. Home canning is a satisfying and economical way to stock your pantry with delicious, healthy ingredients. Here are some more fruit canning recipes to expand your preserving repertoire:
- Canning Strawberries
- Canning Blackberries
- Canning Blueberries
- Canning Peaches
- Canning Plums
- Canning Whole Cranberries
The Sweet Reward of Home-Canned Grapes
Preserving grapes through canning is a rewarding endeavor that connects you with your food in a deeper way. From selecting the perfect fruit to sealing the last jar, each step is a testament to mindful living and self-sufficiency. The effort culminates in pantry shelves brimming with jars of succulent grapes, ready to be enjoyed whenever a craving strikes or a recipe calls for that distinctive grape flavor. Whether you enjoy them straight from the jar, as a topping for yogurt and cereal, or as a key ingredient in your favorite dishes, home-canned grapes offer unmatched freshness and quality.
Embrace the satisfaction of knowing exactly what goes into your food and the joy of savoring seasonal flavors all year long. Canning grapes is more than just a preserving technique; it’s an invitation to rediscover simple pleasures and create lasting memories, much like my own childhood fascination with those tiny, sweet treasures. So gather your grapes, prepare your canner, and embark on this delightful journey of home food preservation. Your taste buds—and your pantry—will thank you!