
Welcome, tomato salsa recipe enthusiasts! Prepare to discover the ultimate guide to crafting a thick, flavorful, and incredibly versatile salsa that’s perfect for big-batch canning and stocking your pantry. This isn’t just any salsa; it’s a rigorously tested and safe recipe designed to deliver robust flavor, whether enjoyed with your favorite chips or incorporated into delicious meals throughout the year. Imagine the taste of sun-ripened tomatoes and vibrant spices, captured in a jar, ready to elevate any dish.
This hearty Tomato Salsa, specifically formulated with meaty paste tomatoes, is truly a workhorse in the kitchen. It’s an ideal recipe for those ambitious canning sessions when your garden is overflowing with fresh produce, ensuring a year-round supply of rich, robust flavor. Its naturally thick consistency makes it incredibly satisfying, transforming everything from simple tortilla chips and classic tacos to comforting soups and hearty stews. Forget watery store-bought options; this is the kind of authentic, savory salsa you’ll want to return to again and again.
Our recipe is a carefully adapted version from the authoritative So Easy to Preserve manual by the National Center for Home Food Preservation, guaranteeing both exceptional taste and critical canning safety. The secret to its remarkable texture lies in using paste tomatoes, such as Roma or San Marzano varieties. These tomatoes are naturally low in water content and rich in flesh, resulting in a thick, full-bodied salsa without requiring excessively long cook times. The addition of roasted green chiles and fresh jalapeños introduces a delightful warmth and subtle smokiness, while bottled lemon or lime juice is key to ensuring the precise acidity required for safe water bath canning. This careful balance of ingredients makes for a truly unforgettable homemade salsa experience.
Why You’ll Love Canning This Tomato Salsa
- Perfect for a Bountiful Harvest: This recipe is designed for big-batch preserving, making it an excellent choice for utilizing a large quantity of garden-fresh tomatoes. If you find yourself with an abundance of paste tomatoes, this salsa provides a delicious and practical solution for enjoying your harvest beyond the growing season. It transforms fresh produce into a pantry staple, ready to be enjoyed any day of the year.
- Thick, Hearty, and Versatile: Thanks to the low water content and meaty texture of paste tomatoes, this salsa cooks down beautifully into a substantial, sauce-like consistency. This makes it far more than just a chip dip; it’s a culinary ingredient that can enrich countless dishes. Use it as a base for chili, a topping for grilled meats, a flavorful addition to scrambled eggs, or even as a simple, rustic pasta sauce. Its richness prevents it from watering down your meals, ensuring robust flavor in every bite.
- Customizable to Your Taste: While the core recipe ensures canning safety and delicious flavor, it also offers flexibility for personalization. You can easily adjust the spice level by adding more or fewer jalapeño seeds, or by choosing milder or hotter chiles. The optional herbs and spices—cumin, oregano, and fresh cilantro—allow you to fine-tune the aromatic profile, creating a salsa that perfectly matches your preferences. Experiment with different combinations to make this recipe uniquely yours.
Essential Ingredients for the Perfect Tomato Salsa
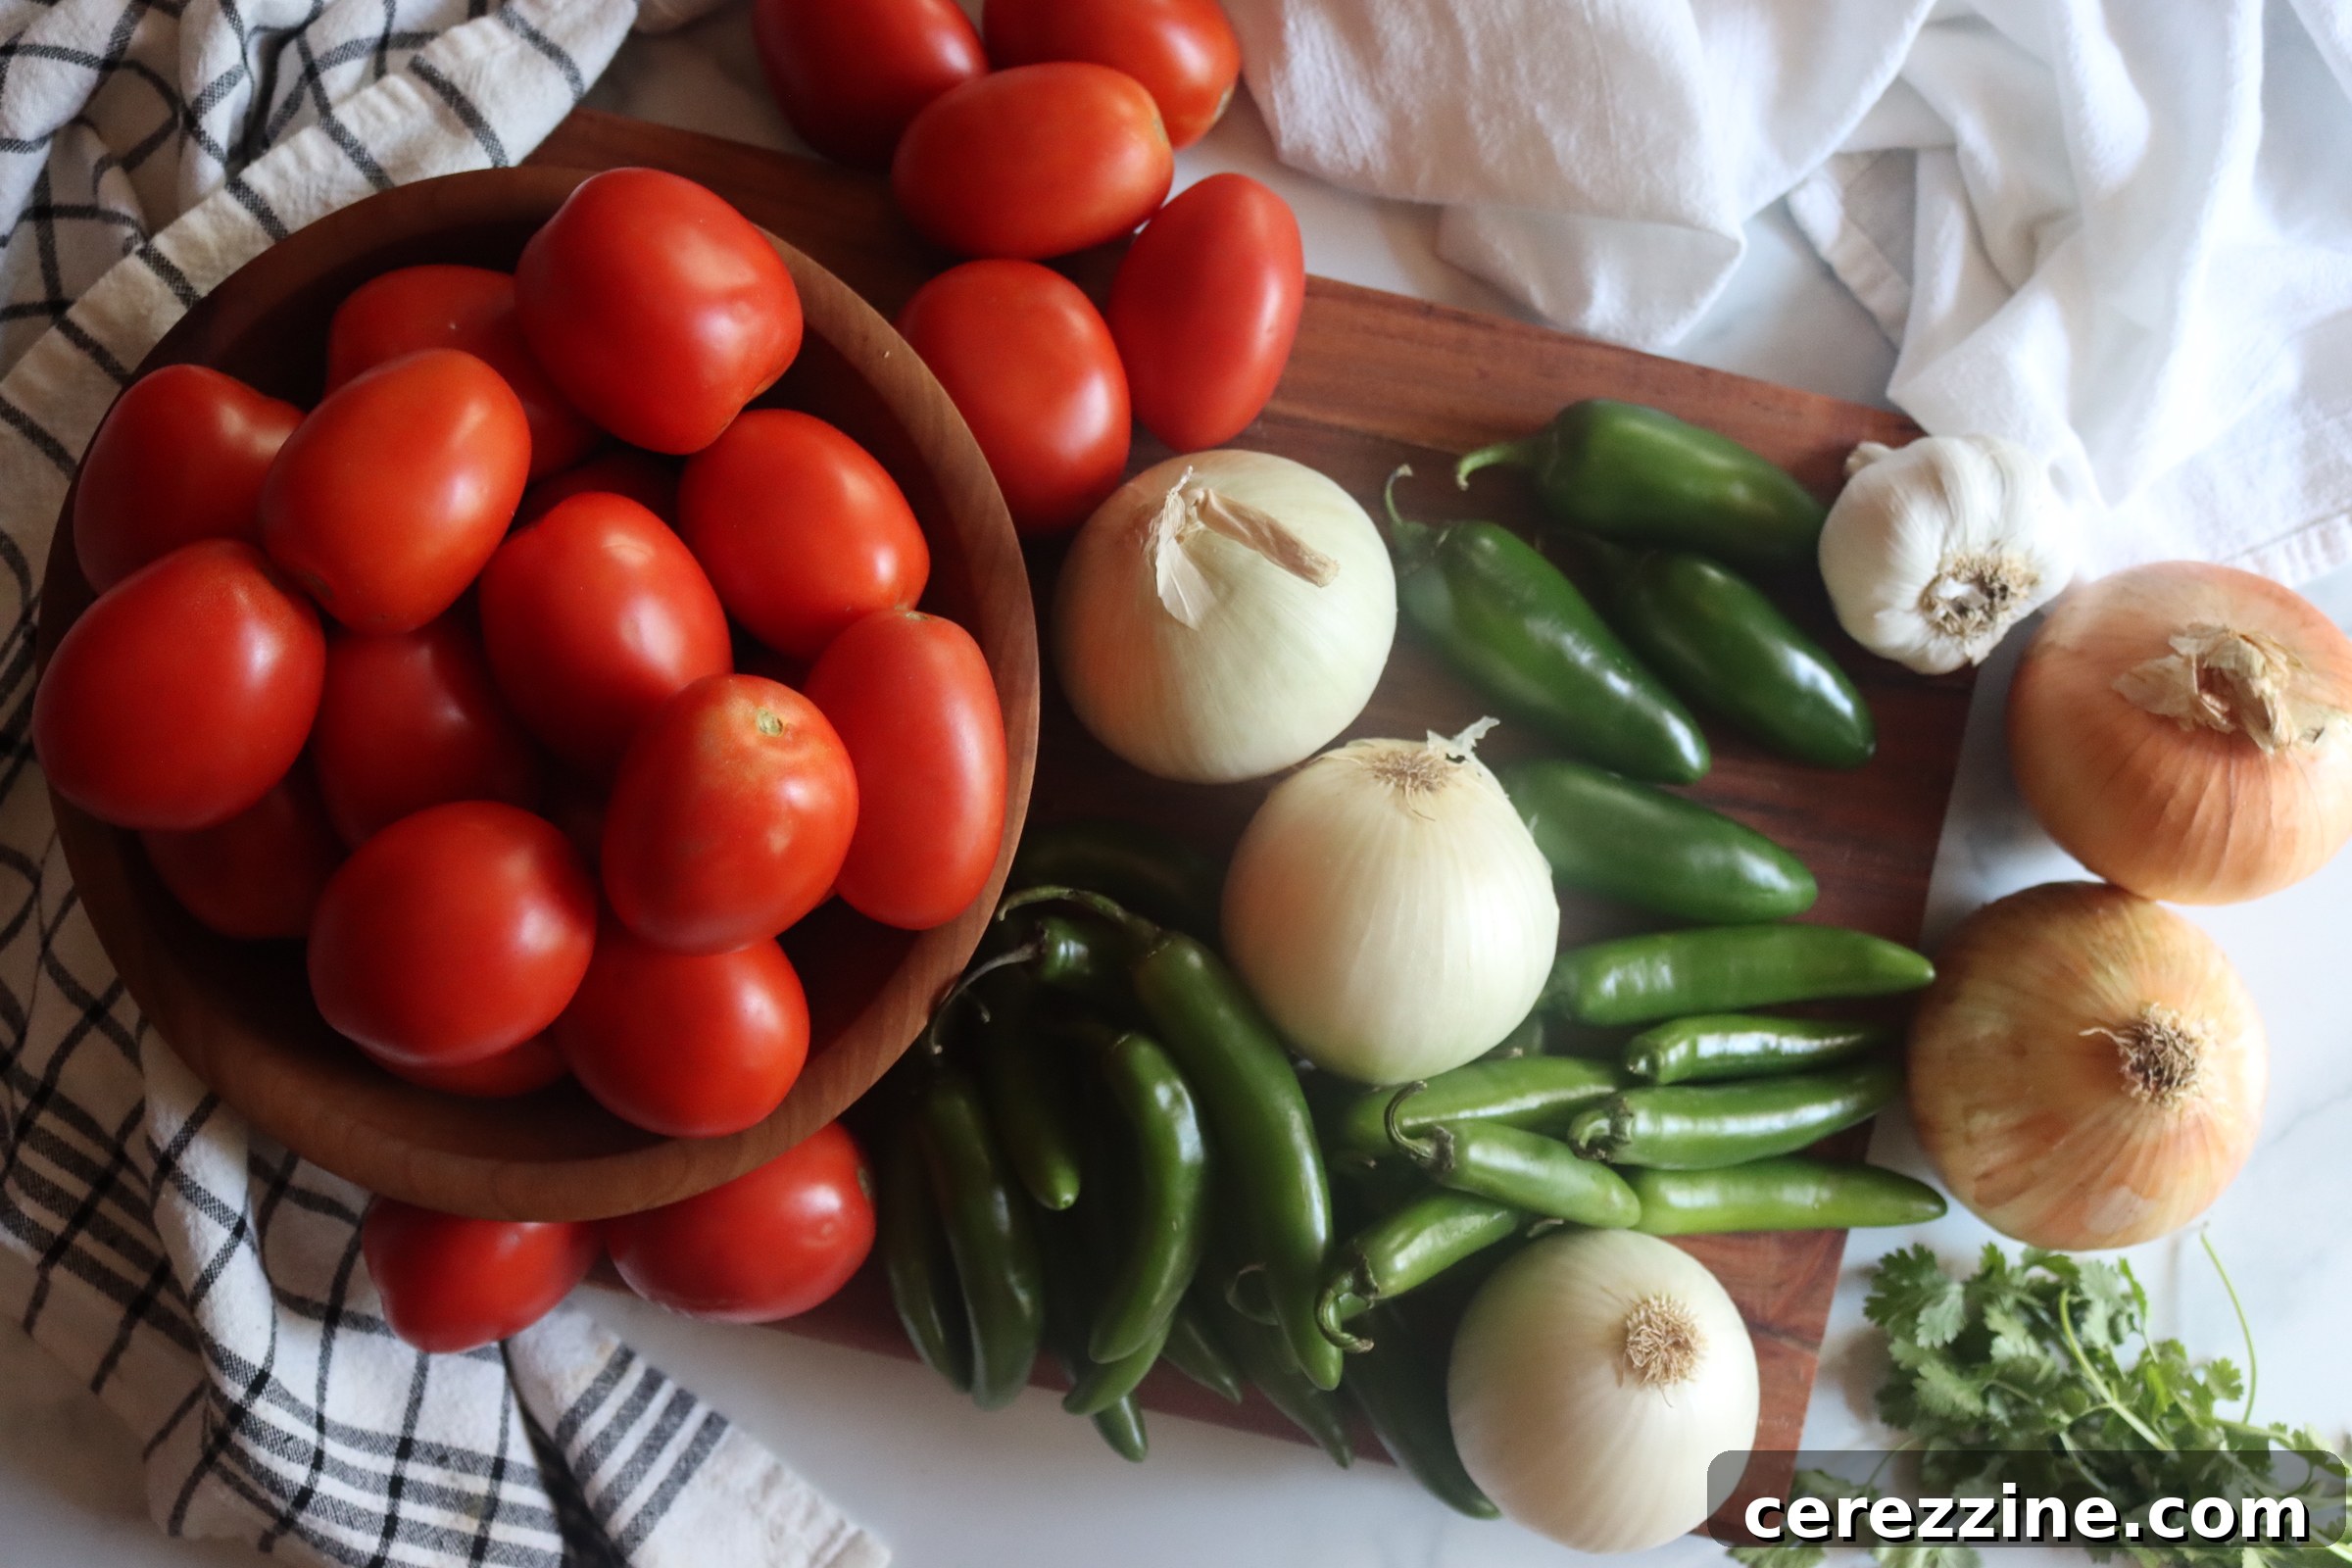
This robust recipe yields a generous 16 to 18 pints, making it ideal for both immediate enjoyment and long-term storage. While the optional spices enhance its depth and complexity, the core ingredients alone create a clean, classic tomato salsa that serves as an excellent base for various culinary applications. Here’s a closer look at what you’ll need:
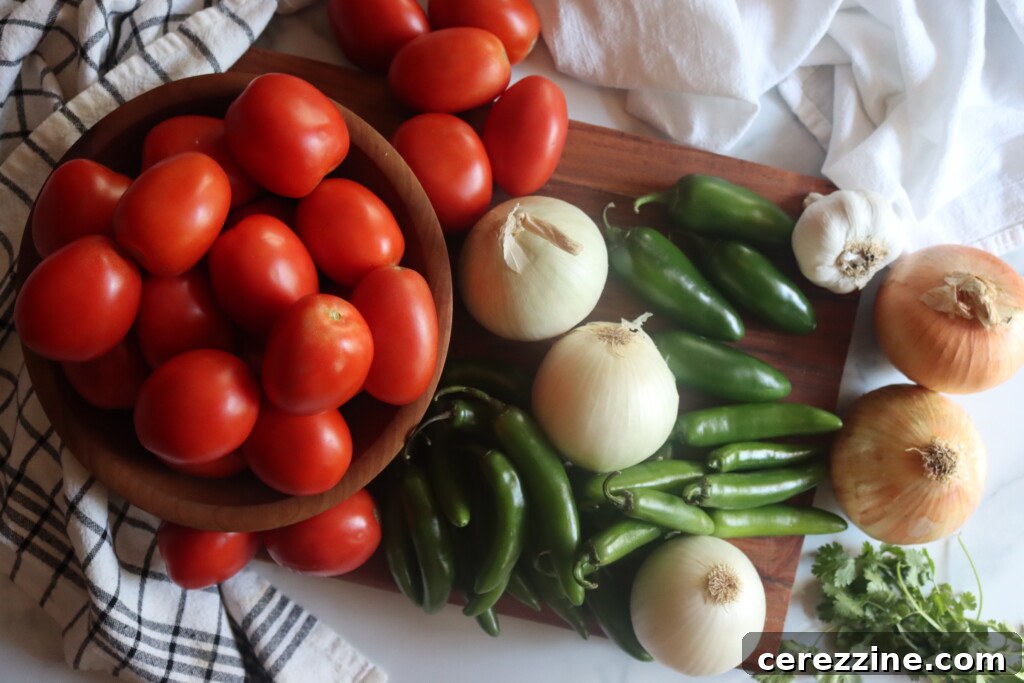
- Paste Tomatoes: The foundation of this thick salsa. Varieties like Roma, Amish Paste, San Marzano, or even other plum tomato types are highly recommended due to their dense flesh and minimal seed count. Their lower water content is crucial for achieving a rich, thick texture without excessive cooking, contributing significantly to both the body and the robust flavor of the salsa.
- Long Green Chiles: Anaheim or poblano peppers are excellent choices here. Roasting and peeling them before adding to the salsa imparts a mild, smoky depth that complements the tomatoes beautifully. This step adds a layer of complex flavor that cannot be achieved with raw chiles. Be sure to remove the seeds and membranes for a milder heat profile.
- Onion: A fundamental aromatic that provides savory backbone and a subtle sweetness to the salsa. Finely chopped onion softens during cooking, contributing to the salsa’s overall texture and creating a balanced flavor profile that supports the other ingredients.
- Jalapeño Peppers: These are your primary source of heat and a bright, fresh pepper flavor. For a milder salsa, remove the seeds and white membranes, as these contain the majority of the capsaicin. For those who prefer more heat, leave some or all of the seeds intact. Adjust according to your desired spice level.
- Garlic: Essential for its pungent aroma and sharp, savory bite. Freshly minced garlic infuses the salsa with an undeniable depth, enhancing all the other flavors. Don’t skimp on this ingredient; it’s a cornerstone of any great salsa.
- Bottled Lemon or Lime Juice: This is a critical ingredient for safe water bath canning. The added acidity ensures that the pH level of the salsa is low enough to prevent the growth of harmful bacteria, making it safe for shelf storage. It also brightens the overall flavor profile of the salsa, providing a zesty counterpoint to the richness of the tomatoes.
- Salt: While optional for preservation, salt is a powerful flavor enhancer. It balances the acidity and sweetness of the other ingredients, bringing out the best in the tomatoes and chiles. Adjust to your personal taste, but remember that a good pinch can make a world of difference.
- Black Pepper: A simple addition that provides a subtle warmth and a gentle, familiar spice note. Freshly ground black pepper will offer the most aromatic contribution.
- Ground Cumin (optional): For an earthy, smoky, and distinctly Southwestern flavor, ground cumin is an excellent addition. It adds a layer of depth and complexity that can transform the salsa into something truly special. Add sparingly and taste as you go.
- Oregano Leaves (optional): Dried oregano offers a bright, herbaceous, and slightly peppery note. It pairs wonderfully with tomatoes and chiles, lending a classic Mediterranean or Mexican flair, depending on the other spices used.
- Fresh Cilantro (optional): For a burst of fresh, vibrant, and citrusy flavor, fresh cilantro is unparalleled. It’s best stirred in at the very end of the cooking process or even added just before serving to preserve its delicate flavor and bright green color.
Crafting Your Homemade Tomato Salsa: Step-by-Step Instructions
Making this hearty tomato salsa is a rewarding process that yields incredible flavor and the satisfaction of a well-stocked pantry. Follow these detailed steps to ensure a perfect batch every time:
1. Prepare Your Vegetables with Precision
The success of your salsa begins with meticulous preparation. First, prepare your paste tomatoes: bring a large pot of water to a rolling boil, then carefully immerse the tomatoes for about 30-60 seconds, or until their skins begin to crack. Immediately transfer them to an ice bath to stop the cooking process. Once cool enough to handle, easily peel the skins, then core and chop the tomatoes into your desired consistency. Remember, smaller pieces integrate better into a thick salsa.
Next, tackle the green chiles. Roasting them not only makes peeling easier but also infuses them with a wonderful smoky flavor. You can do this under a broiler, over an open flame on your gas stovetop, or on a hot grill. Rotate them until the skins are uniformly blistered and slightly charred. Transfer the hot chiles to a paper bag or a bowl covered with plastic wrap for about 10-15 minutes; this steaming process helps loosen the skins. Once cooled, peel away the blistered skins, remove the seeds and membranes, and finely chop. Finally, finely chop your onions, jalapeños (adjusting for heat by removing or retaining seeds), and garlic. Consistency in chopping ensures even cooking and a cohesive salsa texture.
2. Cook the Salsa to Perfection
In a very large, non-reactive stockpot (stainless steel or enamel-coated is best for acidity), combine all your prepared ingredients: chopped tomatoes, roasted green chiles, onions, jalapeños, garlic, bottled lemon or lime juice, salt, and black pepper. At this stage, do *not* add the optional cumin, oregano, or fresh cilantro yet. Stir everything together thoroughly to combine. Bring the mixture to a full, rolling boil over medium-high heat, stirring occasionally to prevent scorching. Once boiling, reduce the heat to a gentle simmer and let it cook for a solid 10 minutes. This initial simmer allows the flavors to meld and the vegetables to begin softening.
After the initial 10-minute simmer, it’s time to introduce your optional spices. Stir in the ground cumin and dried oregano leaves if you’re using them. If you’re adding fresh cilantro, save it for the very end of the cooking process, as its flavor is best when fresh. Continue to simmer the salsa for an additional 20 minutes, or longer if necessary, until it reaches your desired thickness. Stir frequently, especially as it thickens, to prevent sticking to the bottom of the pot. A thick salsa is ideal for canning and ensures a satisfying texture for all its uses.
3. Prepare for Canning: Jarring Your Salsa
While your salsa is simmering, prepare your canning jars. Ensure your pint jars (or half-pints) are clean and sterilized. Keep them hot either in a simmering water bath or a warm oven until ready to fill. Ladle the hot salsa carefully into the prepared hot jars, leaving exactly ½ inch of headspace at the top of each jar. This headspace is crucial for proper sealing and creating a vacuum seal during processing.
Once filled, use a non-metallic utensil (like a plastic spatula or chopstick) to gently remove any trapped air bubbles by running it around the inside of the jar. Check the headspace again and add more salsa if necessary to maintain the ½ inch. Wipe the rims of each jar thoroughly with a clean, damp cloth to remove any food residue; a clean rim is vital for a good seal. Place new, pre-warmed two-part canning lids onto the jars, then secure them with bands until they are “fingertip-tight”—meaning tightened just until you feel resistance, but not overtightened.
4. Process in a Boiling Water Bath
Carefully place the sealed jars onto the rack in your boiling water bath canner, ensuring they are fully submerged by at least one inch of water. Bring the water back to a rolling boil. Once boiling vigorously, start your timer. Process pint or half-pint jars for 15 minutes. Remember that processing times must be adjusted for altitude to ensure proper sterilization. (Refer to the altitude adjustment chart below). Once the processing time is complete, turn off the heat and allow the jars to rest in the canner for 5 minutes before carefully removing them.
5. Cool, Check Seals, and Store
Using a jar lifter, carefully transfer the hot jars to a wire rack or a clean, thick towel on your countertop. Leave ample space between jars to allow for air circulation. Let them cool undisturbed for 12–24 hours. During this time, you should hear satisfying “ping” sounds as the lids seal. After cooling, check each jar for a proper seal. The center of the lid should be concave and should not flex when pressed. If any jar did not seal, refrigerate it and consume within a few days, or re-process with a new lid within 24 hours.
Once sealed, remove the bands (they can cause rust and trap moisture), wash the jars to remove any residue, label them with the contents and date, and store in a cool, dark place. This properly canned salsa will be shelf-stable for up to 18 months, providing you with delicious homemade flavor throughout the year.
Crucial Altitude Adjustments for Canning Safety
When canning, it’s vital to adjust processing times based on your elevation. Water boils at a lower temperature at higher altitudes, which means food needs more time in the boiling water bath to achieve proper sterilization and ensure safety. Please refer to the following guidelines:
- 0 to 1,000 feet (sea level to 305 meters): Process for 15 minutes.
- 1,001 to 6,000 feet (306 to 1,829 meters): Increase processing time to 20 minutes.
- Above 6,000 feet (over 1,829 meters): Increase processing time to 25 minutes.
Always use the recommended processing time for your specific altitude to guarantee the safety and quality of your home-canned salsa.
Is This a Safe Salsa Canning Recipe? Understanding the Science
Absolutely, yes. This is a thoroughly safe and meticulously tested salsa canning recipe. Its guidelines are directly derived from the authoritative So Easy to Preserve manual, a trusted resource published by the University of Georgia and the National Center for Home Food Preservation. These institutions conduct extensive research to ensure home canning recipes meet stringent safety standards, particularly concerning acidity levels necessary to prevent foodborne illnesses.
It’s important to understand that while this recipe is designed for canning, you are not obligated to can it. This delicious salsa works equally well as a refrigerator or freezer preserve if you prefer not to undertake the canning process. However, if you choose to can it, strict adherence to the ingredient proportions is paramount to ensure its safety for shelf storage. Any deviations from the tested recipe, especially regarding low-acid ingredients or the critical acid component, can compromise safety.
Never reduce the amount of acid in this recipe. The bottled lemon or lime juice is not merely for flavor; it is a critical safety component. Its primary role is to maintain the salsa’s pH at safe, acidic levels necessary for effective water bath canning. Using fresh lemon or lime juice is not recommended, as its acidity can vary significantly, potentially leading to an unsafe product. Always use bottled lemon or lime juice as specified, and do not decrease the quantity.
You have some flexibility with low-acid ingredients, such as onions and peppers. You may reduce their quantities or even omit them entirely if you prefer a simpler salsa. However, it is crucial that you do not increase them beyond the amounts specified in the recipe. Increasing low-acid ingredients without adjusting the overall acidity of the batch can elevate the pH to an unsafe level for water bath canning. You can substitute one type of chile or onion for another (e.g., swapping Anaheim for poblano), provided that the total volume of these ingredients remains consistent with the recipe.
Conversely, you are completely free to adjust the amounts of salt and dried spices (such as cumin, oregano, and cilantro) to suit your personal taste. These ingredients are included purely for flavor enhancement and do not affect the acidity or safety of the canning process. Feel confident in experimenting with these elements to create a salsa that perfectly matches your palate while maintaining the critical safety standards for preservation.
Hearty Tomato Salsa (with Paste Tomatoes)
Equipment
-
Water Bath Canner
Ingredients
- 7 Quart paste tomatoes, peeled, cored, and chopped
- 4 cups long green chiles, roasted, peeled, seeded, and chopped
- 5 cups onion, chopped
- ½ cup jalapeño peppers, seeded and finely chopped
- 6 cloves garlic, finely chopped
- 2 cups bottled lemon or lime juice
- 2 tbsp salt
- 1 tbsp black pepper
- 2 tbsp ground cumin, optional
- 3 tbsp oregano leaves, optional
- 2 tbsp fresh cilantro, optional
Instructions
-
Prep vegetables: Prepare and chop tomatoes, onions, garlic, and peppers. Roast and peel green chiles.
-
Cook salsa: Combine all ingredients except optional herbs/spices in a stockpot. Boil, then simmer for 10 minutes. Add spices and simmer 20 minutes.
-
Can it: Ladle hot salsa into jars, leaving ½ inch headspace. Remove air bubbles, wipe rims, and apply lids.
-
Process: Process pint jars in a boiling water bath for 15 minutes (adjust for altitude).
-
Cool & store: Let cool 12–24 hours. Check seals, label, and store for up to 18 months.
Notes
Altitude Adjustments
Water boils at a lower temperature at higher elevations, so adjust processing time accordingly:
- 0 to 1,000 feet: 15 minutes
- 1,001 to 6,000 feet: 20 minutes
- Above 6,000 feet: 25 minutes
Is This a Safe Salsa Canning Recipe?
Yes—this is a safe, tested salsa canning recipe based on guidelines from the So Easy to Preserve manual by the University of Georgia and the National Center for Home Food Preservation.
You don’t have to can it—this salsa works just fine as a refrigerator or freezer preserve. But if you’re canning it, make sure to follow the ingredient proportions exactly to ensure safety.
Do not reduce the acid in this recipe. The lemon or lime juice is essential for keeping the pH at safe levels for water bath canning. You can choose between bottled lemon or lime juice, but don’t use fresh or reduce the amount.
You may reduce or omit low-acid ingredients, such as onions or peppers, but do not increase them. You can substitute one type of chile or onion for another, as long as you don’t increase the total volume.
You’re free to adjust the salt and dried spices (like cumin, oregano, and cilantro) to your taste—these are for flavor only and don’t affect safety.
Nutrition
Nutrition information is automatically calculated, so should only be used as an approximation.
More Delicious Tomato Canning Recipes
Once you’ve mastered this hearty salsa, you might be looking for more creative ways to preserve the bounty of your tomato harvest in a jar. Explore these other fantastic tomato-based canning recipes to keep your pantry stocked with homemade goodness:
- 25+ Pasta Sauce Recipes for Canning
- Pickled Cherry Tomatoes
- Roasted Tomato Basil Soup
Embrace the Season: Summer Canning Recipes
If you’re busy preserving more than just salsa this summer, there’s a whole world of fresh produce waiting to be transformed into shelf-stable delights. From sweet jams to crisp pickles, here are more summer canning recipes to inspire your preserving adventures:
- Canning Peaches
- Old Fashioned Strawberry Jam
- Dill Pickle Spears