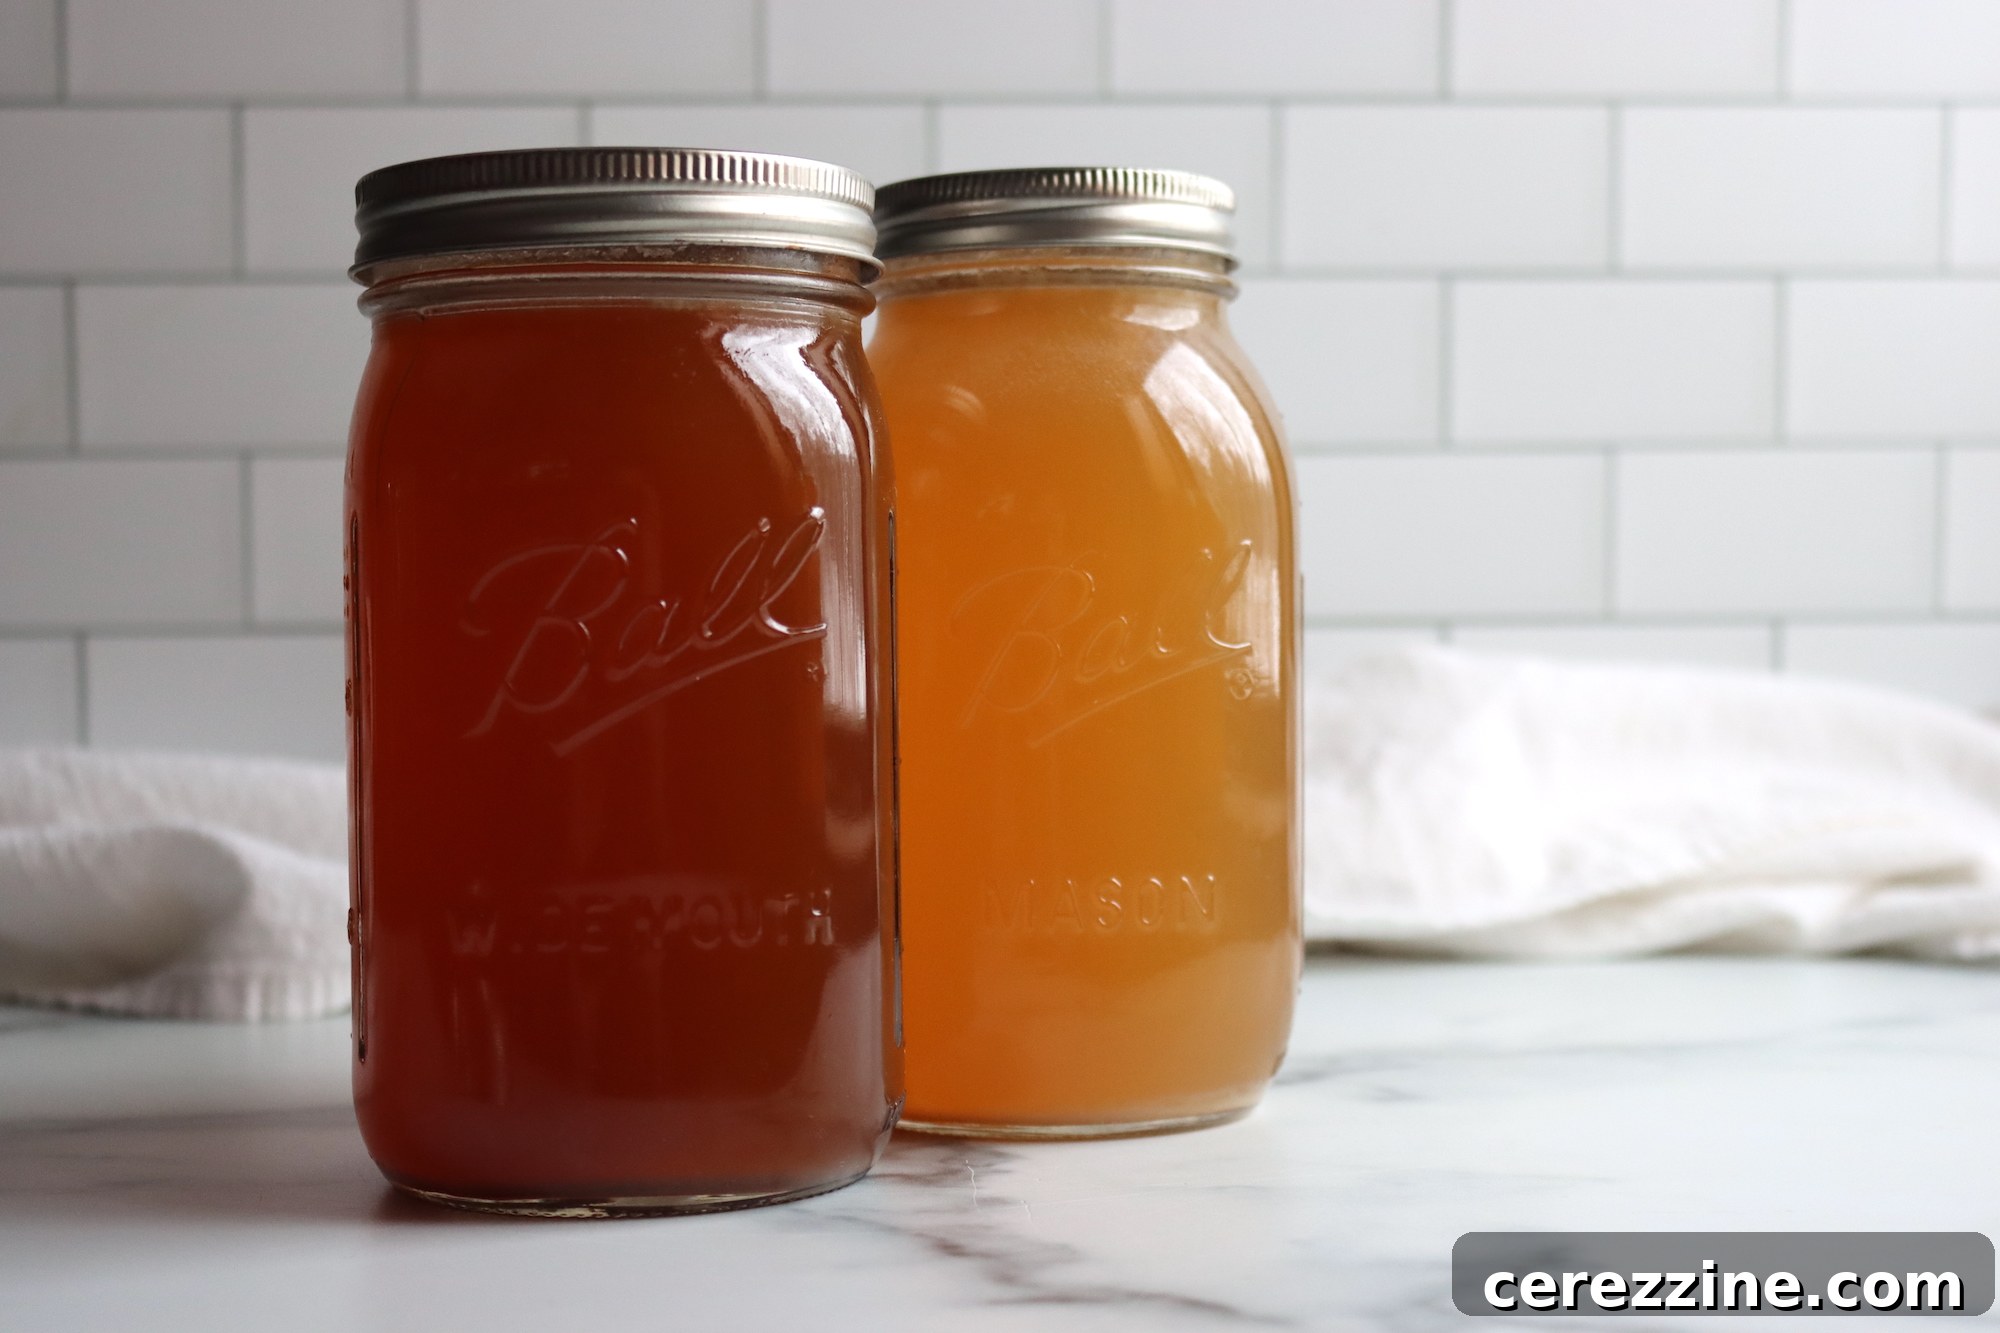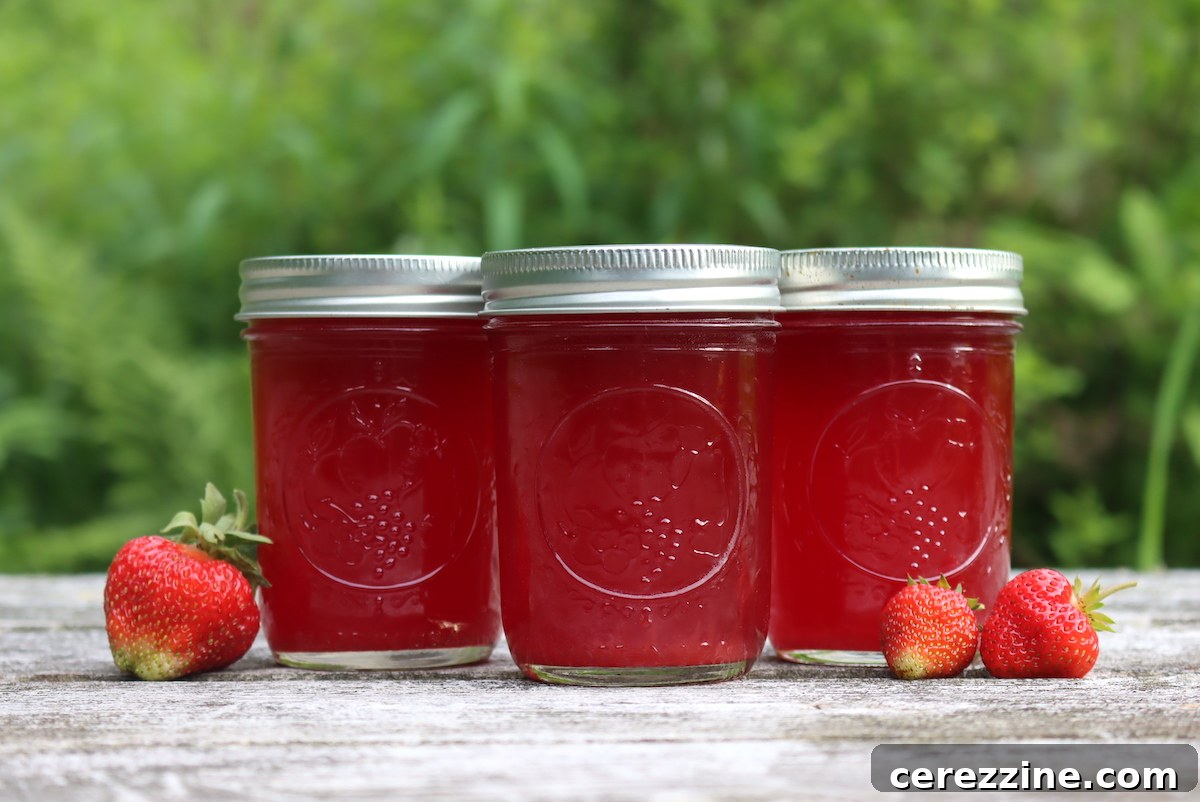
Canning fresh strawberry juice is an exceptionally rewarding way to capture the essence of a bountiful strawberry harvest, ensuring you can savor that vibrant, summery flavor long after the season ends. This delightful preserve is perfect for infusing drinks, desserts, and culinary creations with authentic strawberry goodness, all without the bother of seeds.
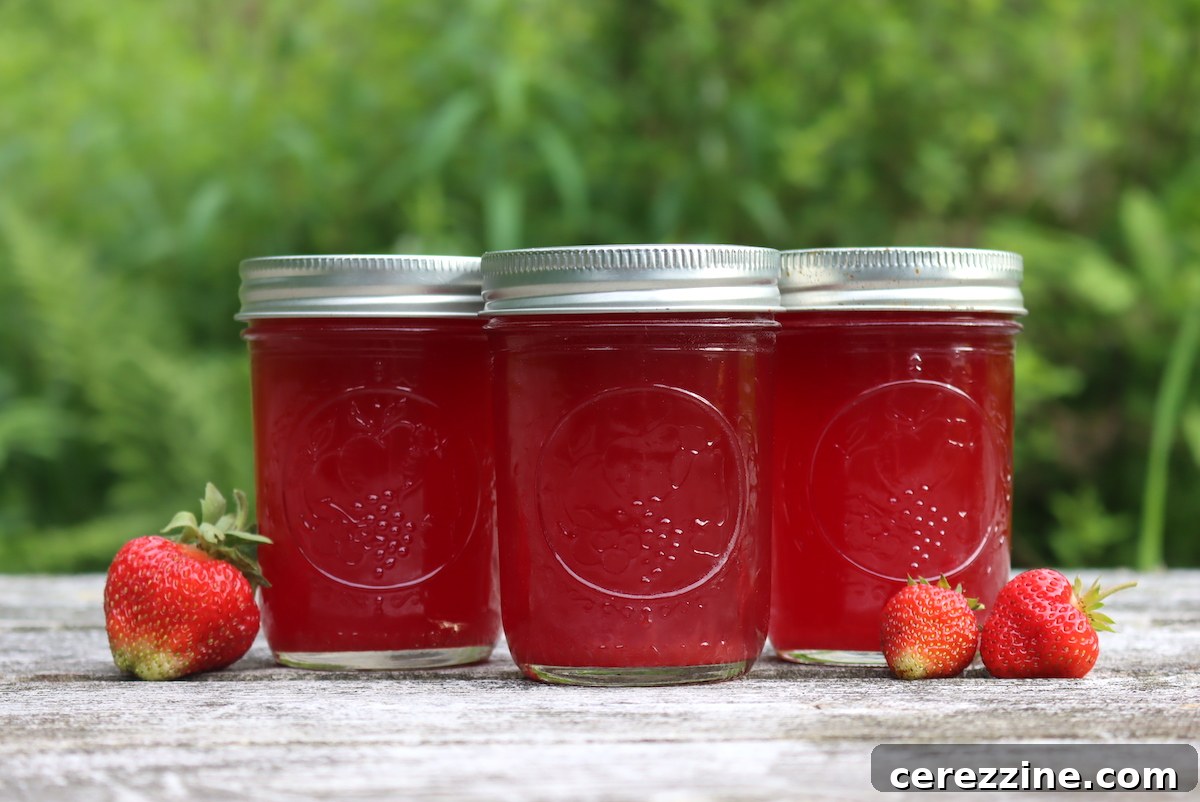
There are those glorious times in the growing season when your strawberry plants seem to defy all limits, offering an endless supply of sweet, juicy berries. You’ve already filled your freezer to the brim, and your pantry shelves are happily stocked with jars of whole canned strawberries, batches of rich old-fashioned strawberry jam, and perhaps even a few sparkling jars of seedless strawberry jelly, a particular favorite for kids and toast alike.
You might have ventured further, putting up jars of homemade strawberry pie filling, and even found yourself contemplating crafting a batch of luscious strawberry wine. Yet, the strawberries continue to ripen, a testament to nature’s generosity and your green thumb!
When faced with such an embarrassment of riches, it’s the perfect opportunity to elevate your preserving game by canning fresh strawberry juice. This requires a significant quantity of berries, but the result is truly spectacular, offering a concentration of pure strawberry flavor that’s hard to beat.
Homemade canned strawberry juice boasts an intense, natural sweetness and a brilliant color that brightens any dish or drink. It’s wonderfully versatile; imagine crafting refreshing mixed drinks for adult gatherings or a simple, healthy strawberry soda for the whole family. Just combine a splash of this homemade juice with seltzer water for a natural, effervescent beverage that needs no additional sugar – the inherent sweetness of the strawberries is more than enough.
Crafting Your Own Strawberry Juice
While a countertop juicer might seem like a convenient option for extracting strawberry juice, many experienced preservers find that a stovetop method, or even a steam juicer, yields a juice with a deeper, more robust flavor. The gentle heat of simmering helps to break down the strawberry cells, releasing more of their aromatic compounds and natural sugars into the liquid. While countertop juicers excel at producing raw juice, for canning purposes, the juice will be heated anyway, making the stovetop method an excellent choice for maximizing flavor.
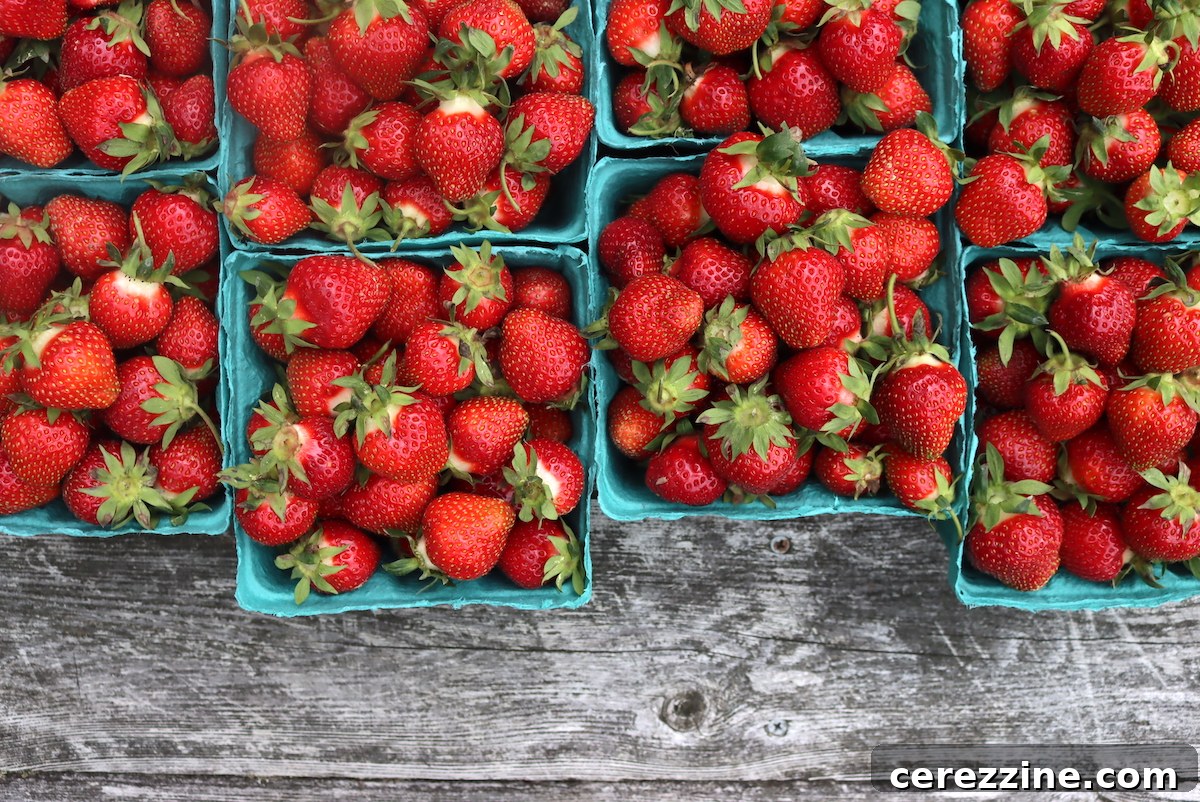
To begin, select ripe, unblemished strawberries. Wash them thoroughly and then hull them, removing the green caps and any tough white core. Place the prepared fruit into a large saucepan. Add a small amount of water to the pan; this helps to prevent scorching and gets the juicing process started.
Gently simmer the strawberries over medium heat, using a potato masher to occasionally press and break down the fruit. You’ll notice the berries quickly soften and begin to release their vibrant red juice. Continue to cook for approximately 5 to 10 minutes, or until the strawberries have completely fallen apart and formed a pulpy mixture. Avoid overcooking, as this can diminish the fresh flavor.
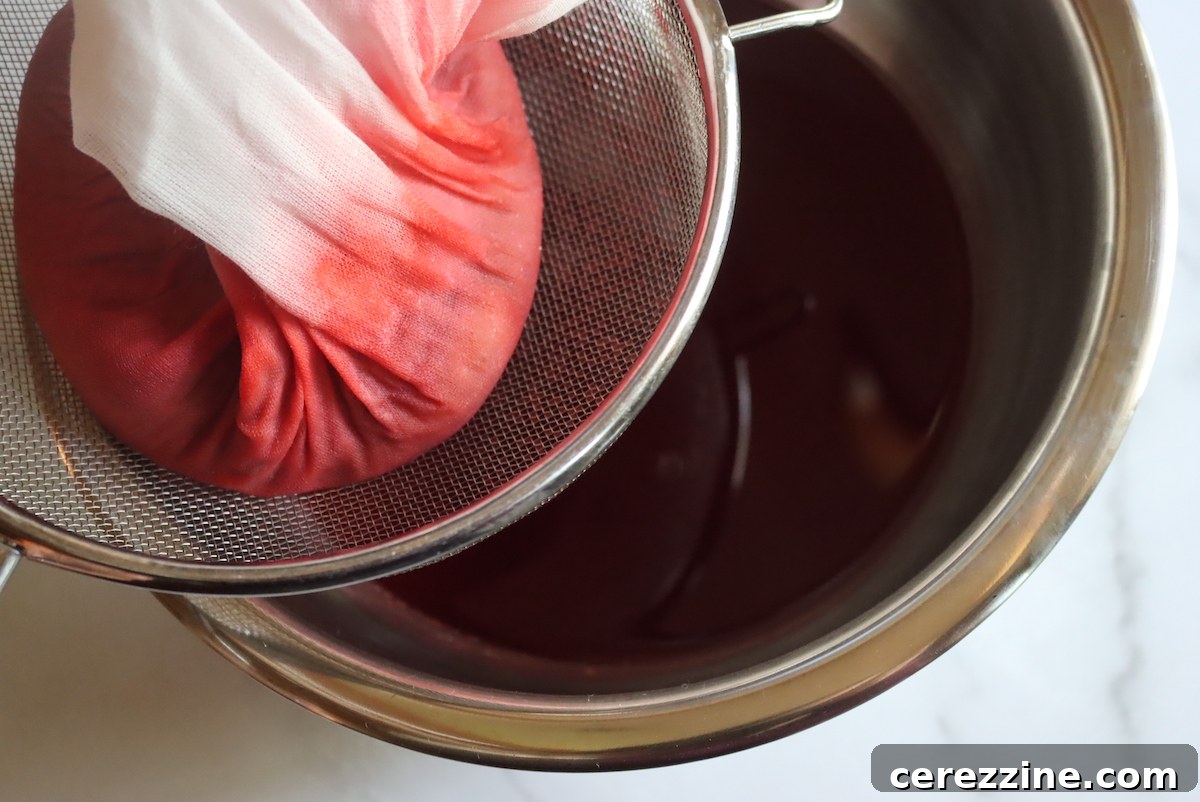
Once cooked, the next step is to separate the liquid from the pulp. Carefully strain the strawberry mixture through a jelly bag, or if you don’t have one, use a fine-mesh strainer generously lined with a double layer of dampened cheesecloth. Allow the juice to drip naturally for several hours, or even overnight, for the clearest juice. Resist the urge to squeeze the pulp, as this can force small particles through the strainer, resulting in cloudy juice.
Understanding Strawberry Juice Yield
The yield of strawberry juice can vary depending on the type and ripeness of your strawberries. As a general guideline, one quart of whole, fresh strawberries, once hulled and chopped, typically yields about 1 cup of pure strawberry juice. This ratio is useful for scaling the recipe to suit your harvest.
For every cup of juice you aim to produce, you’ll need approximately 3 1/4 to 3 1/2 cups of chopped strawberries (which roughly equates to one quart of whole strawberries) combined with 1/2 cup of water for simmering. After cooking for 5 to 10 minutes and then straining, you should obtain about 1 cup of delicious, fresh strawberry juice.
It’s worth noting that homegrown strawberries, especially tender varieties cultivated for fresh eating, often contain more juice and a more intense flavor compared to commercial varieties designed for long-distance shipping, which might have firmer flesh and slightly less juice. Adjust your expectations and ingredient quantities accordingly based on the specific berries you are using.
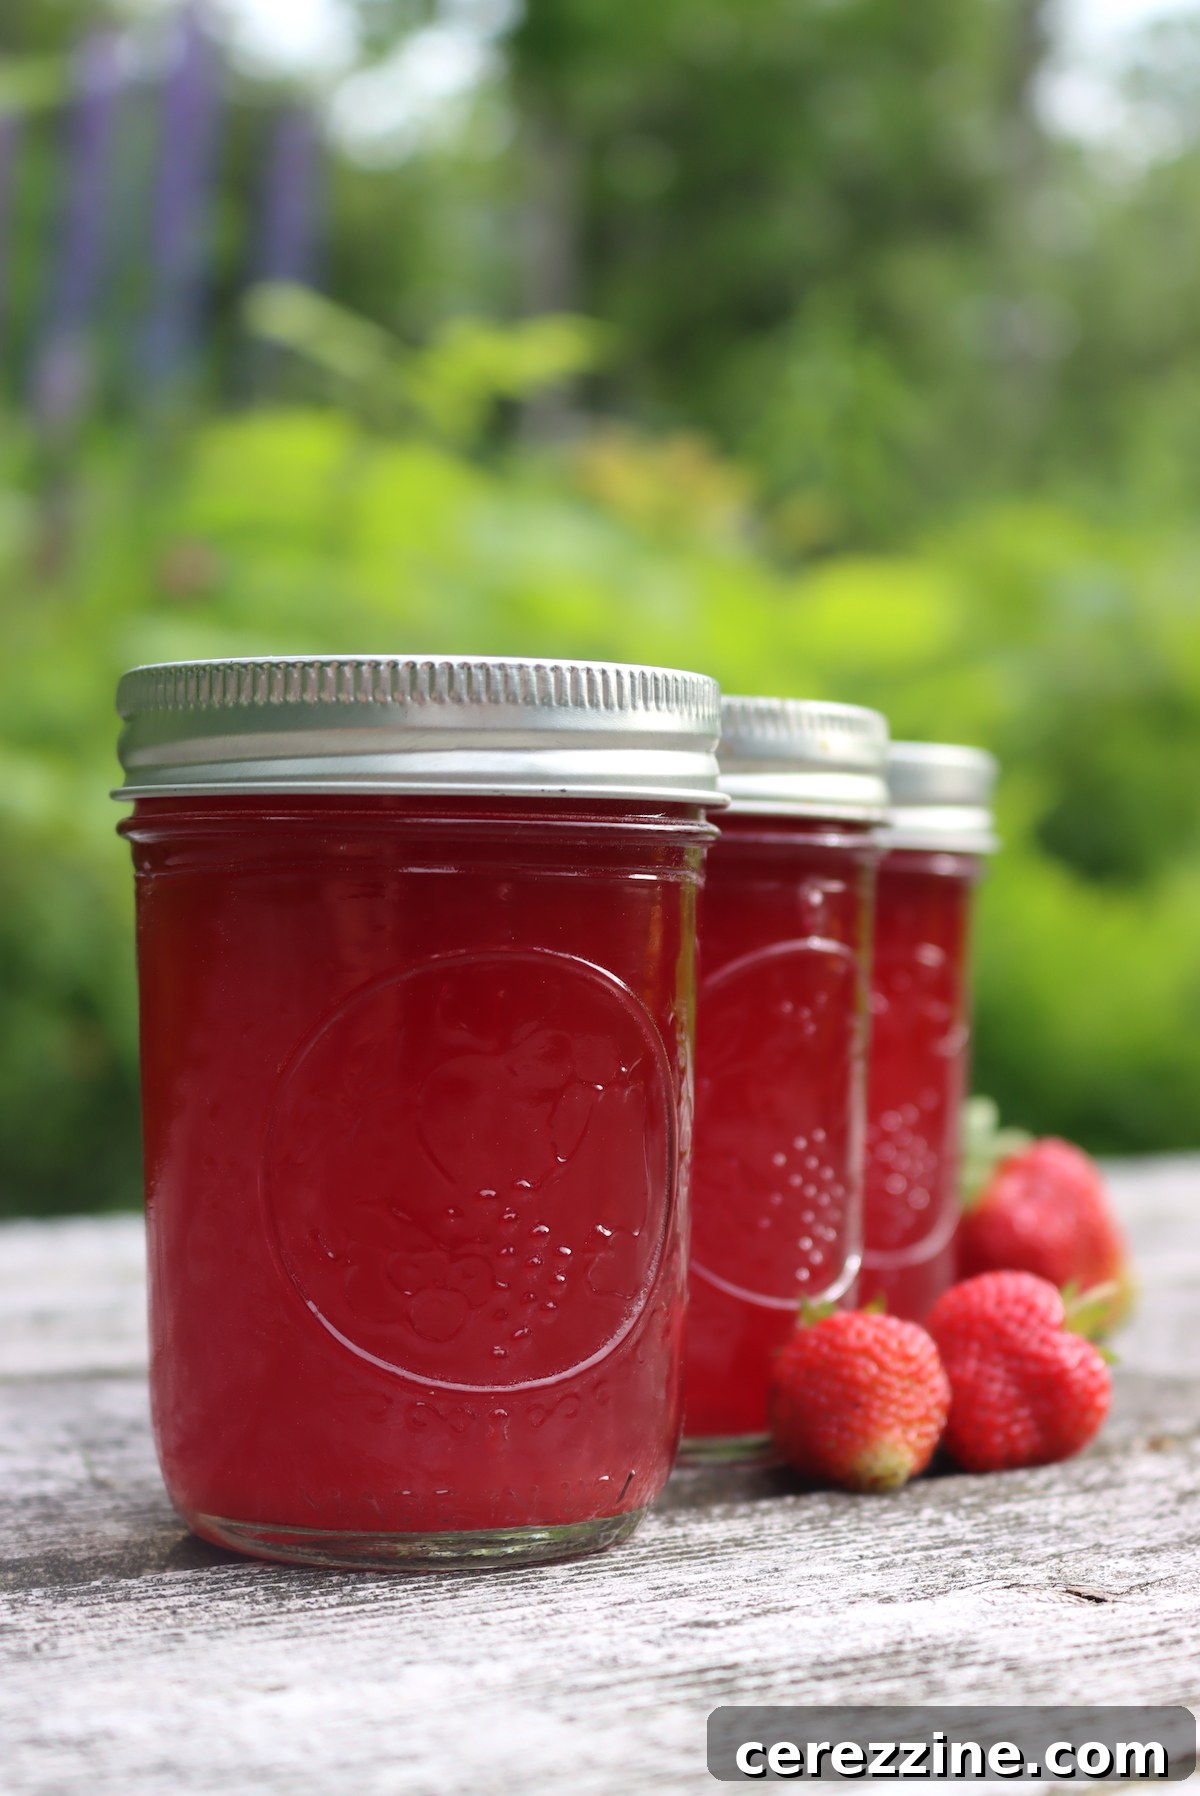
Water Bath Canning Strawberry Juice
Now that you have your beautifully filtered strawberry juice, it’s time to preserve its goodness through water bath canning. If you are new to home canning, it is highly recommended to first familiarize yourself with the basics of water bath canning for beginners to ensure safety and success.
These detailed canning instructions for strawberry juice are adapted from the reliable “Canning Berry Juice” recipe found on page 189 of The Ball Complete Book of Home Preserving, a trusted resource for home preservers. This versatile recipe can be applied to various berry juices, including blackberries, blueberries, and raspberries, but strawberry juice truly shines with its unique aroma and taste.
While the original recipe suggests adding 1 to 2 cups (250 to 500 ml) of sugar for every 16 cups (4 L) of juice for “average sweetness,” adding sugar is entirely optional. This equates to about 1/4 to 1/2 cup of sugar per quart of juice, or 1 to 2 tablespoons per cup of juice. If you are using naturally very sweet homegrown strawberries, you may find that no additional sugar is needed, allowing the pure fruit flavor to dominate.
Begin by preparing your water bath canner, ensuring it is clean and ready. Wash your canning jars, lids, and rings thoroughly. Keep the jars warm; for a hot pack method, the canner should be filled with water and barely simmering, maintaining a temperature of approximately 180°F (82°C).
Next, heat your strained strawberry juice in a clean saucepan over medium-high heat until it reaches about 190°F (88°C). It is crucial not to let the juice come to a rolling boil. Once it reaches 190°F, reduce the heat to low and maintain this temperature for 5 minutes. If you choose to add sugar, stir it in at this stage until it is completely dissolved.
Carefully ladle the hot juice into your warm, prepared canning jars, leaving precisely 1/4 inch of headspace at the top. This headspace is essential for proper sealing and to prevent siphoning during processing. Wipe the rims of the jars clean to ensure a good seal, then center canning lids on top and secure them with screw bands, tightening them “finger-tight” – just until resistance is met, without over-tightening.
Place the filled jars into the simmering water bath canner, ensuring they are fully submerged by at least 1 inch of water. Bring the water to a rolling boil and process the jars for 15 minutes for half-pint, pint, and quart-sized jars. If you are at an elevation above 6,000 feet (1,800 meters), increase the processing time to 20 minutes to account for the lower boiling point of water.
Once the processing time is complete, turn off the heat but leave the jars in the canner for an additional 5 minutes. This gradual cooling helps to prevent siphoning (liquid loss) and thermal shock, which can lead to seal failures. After 5 minutes, carefully remove the jars using a jar lifter and place them on a towel-lined countertop, ensuring they are not touching, to cool completely for 12 to 24 hours.
After 24 hours, check the seals of your jars. The center of the lid should be concave and not flex when pressed. Any jars that have not sealed properly should be refrigerated and consumed within a few days. Properly canned and sealed jars of homemade strawberry juice will maintain their peak quality on the pantry shelf for 18 months or even longer. Once opened, always refrigerate the juice.
Creative Uses for Strawberry Pulp
After extracting the luscious juice, you’ll be left with a flavorful strawberry pulp. It often feels wasteful to simply discard it, as it still retains a wonderful strawberry essence. This pulp is a fantastic ingredient that can be repurposed into other delicious treats.
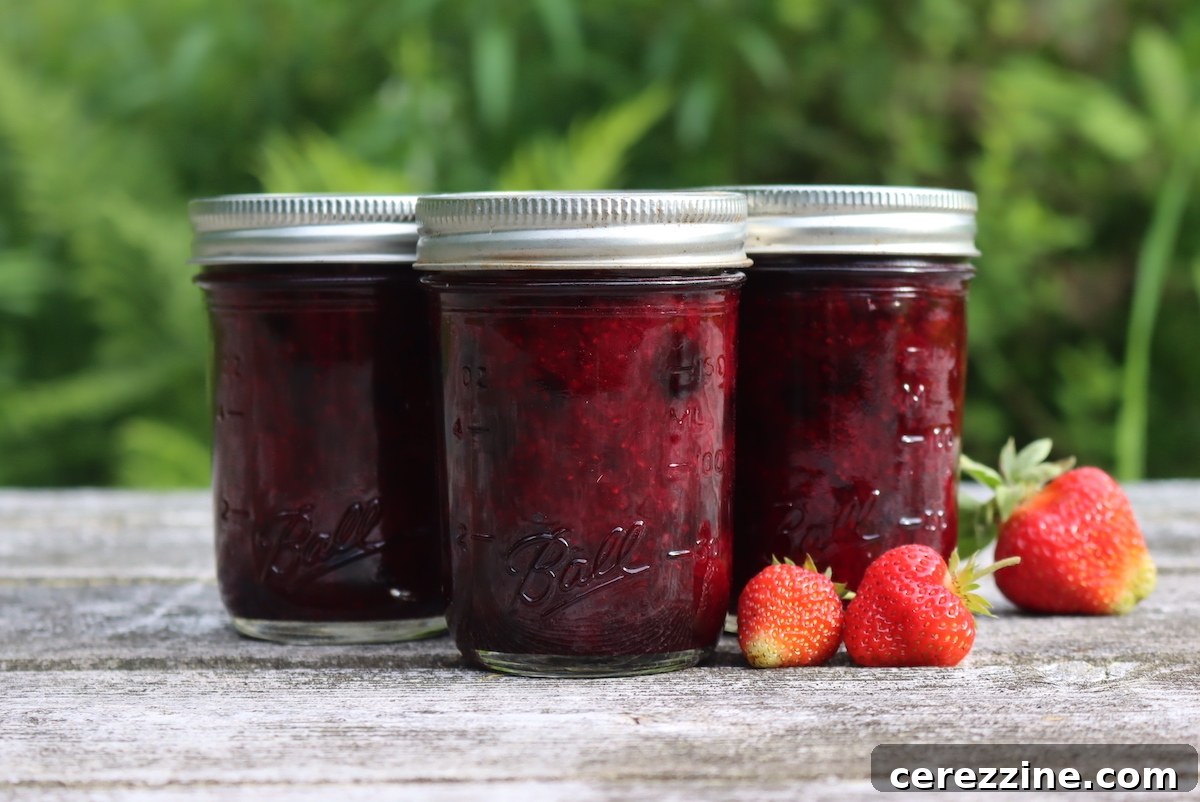
One excellent use for the leftover strawberry pulp is to incorporate it into a mixed berry jam. Its concentrated flavor can add depth and richness. Simply substitute the strawberry pulp for an equivalent volume of fresh strawberries in your favorite mixed berry jam recipe. For instance, if you have a cup of pulp, use it in place of one cup of fresh berries. We’ve found it pairs exceptionally well with late-season honeyberries (haskaps), creating a uniquely delicious jam blend.
More Ways to Preserve Strawberries
If you’re looking for even more innovative and delicious ways to preserve your strawberry bounty, consider these fantastic methods:
- Dried Strawberries & Strawberry Powder: A concentrated snack or flavorful addition to smoothies and baked goods.
- Strawberry Fruit Leather: A healthy, chewy treat perfect for lunchboxes.
- Homemade Strawberry Wine: For those who enjoy a more spirited form of preservation.
Canning Strawberry Juice Recipe
This recipe is designed to be easily scaled to accommodate any size of strawberry harvest, from a small patch to a large garden abundance. While it provides instructions for a single cup of juice, it works best when preparing larger quantities, ideally starting with at least 3 to 4 quarts of fresh strawberries.
Preparation and Processing Times:
- Prep Time: 1 hour
- Cook Time: 5 minutes
- Canning Time: 15 minutes
- Total Time: 1 hour 20 minutes
Equipment Needed:
- Jelly Strainer with Bag (or fine-mesh strainer with cheesecloth)
- Large Saucepan
- Potato Masher
- Canning Jars (half-pint, pint, or quart sizes) with lids and bands
- Water Bath Canner with rack
- Jar Lifter
- Headspace Tool (optional, but recommended)
Ingredients:
- 1 quart strawberries, fresh or frozen
- 1/2 cup water
- 1 to 2 tbsp sugar, optional (per cup of juice)
Instructions:
Making Strawberry Juice
- Hull and chop the strawberries. Place them in a large pot with water. For every 3 1/4 to 3 1/2 cups of chopped strawberries (derived from 1 quart of whole, fresh berries), add 1/2 cup of water.
- Bring the strawberries and water to a gentle simmer over medium heat. Cook, mashing frequently with a potato masher, until the strawberries have completely broken down and released their juice. This typically takes about 5 to 10 minutes.
- Strain the cooked strawberry mixture through a jelly bag or a fine-mesh strainer lined with a double layer of dampened cheesecloth. Allow the juice to drip naturally into a clean bowl until all the liquid has been extracted.
Canning Strawberry Juice
- Prepare your water bath canner by filling it with water and heating it to a bare simmer (around 180°F / 82°C). Wash your canning jars, lids, and rings, keeping the jars warm until ready to fill.
- Heat the strained strawberry juice in a clean saucepan to approximately 190°F (88°C) over medium-high heat. Do not bring the juice to a rolling boil. Reduce the heat to low and maintain the juice at 190°F (88°C) for 5 minutes. If using sugar, add it now and stir until fully dissolved.
- Carefully ladle the hot juice into the warm, prepared canning jars, ensuring a 1/4 inch headspace. Wipe the jar rims clean with a damp cloth. Center the lids on the jars and apply the screw bands, tightening them to finger-tight.
- Place the filled jars onto the rack in the simmering water bath canner. Ensure the jars are covered by at least 1 inch of water. Bring the water to a full, rolling boil. Process half-pint, pint, and quart jars for 15 minutes. For elevations above 6,000 feet (1,800 meters), increase the processing time to 20 minutes.
- Once the canning time is complete, turn off the heat and leave the jars in the canner for an additional 5 minutes to cool slightly. This helps to prevent siphoning and ensure a good seal.
- Carefully remove the jars from the canner using a jar lifter and place them on a clean towel on your countertop. Allow them to cool undisturbed for 12 to 24 hours.
- After cooling, check all seals. Lids should be concave and not move when pressed. Any unsealed jars should be refrigerated immediately and consumed within a few days. Properly sealed and stored jars of strawberry juice will maintain optimal quality in a cool, dark pantry for 18 months or more. Refrigerate after opening.
Recipe Notes:
This recipe is flexible. While written for a yield of 1 cup of juice for easy scaling, best results are achieved when processing at least 3 to 4 quarts of fresh strawberries at a time.
Nutrition Information
(Approximate values per 1 cup serving of unsweetened strawberry juice)
- Calories: 349 kcal
- Carbohydrates: 85 g
- Protein: 6 g
- Fat: 3 g
- Saturated Fat: 0.1 g
- Polyunsaturated Fat: 1 g
- Monounsaturated Fat: 0.4 g
- Sodium: 15 mg
- Potassium: 1448 mg
- Fiber: 19 g
- Sugar: 58 g
- Vitamin A: 114 IU
- Vitamin C: 556 mg
- Calcium: 155 mg
- Iron: 4 mg
Please note: Nutrition information is automatically calculated and should only be used as an approximation. Actual values may vary based on ingredients and preparation methods.
More Juice Canning Recipes
Strawberry juice is just one of many delicious juices you can preserve at home to enjoy year-round. Explore other options to fill your pantry:
- Canning Rhubarb Juice Concentrate: A tart and refreshing option, excellent for drinks and jellies.
Embrace the joy of home preservation and enjoy the taste of summer anytime with your homemade, canned strawberry juice!