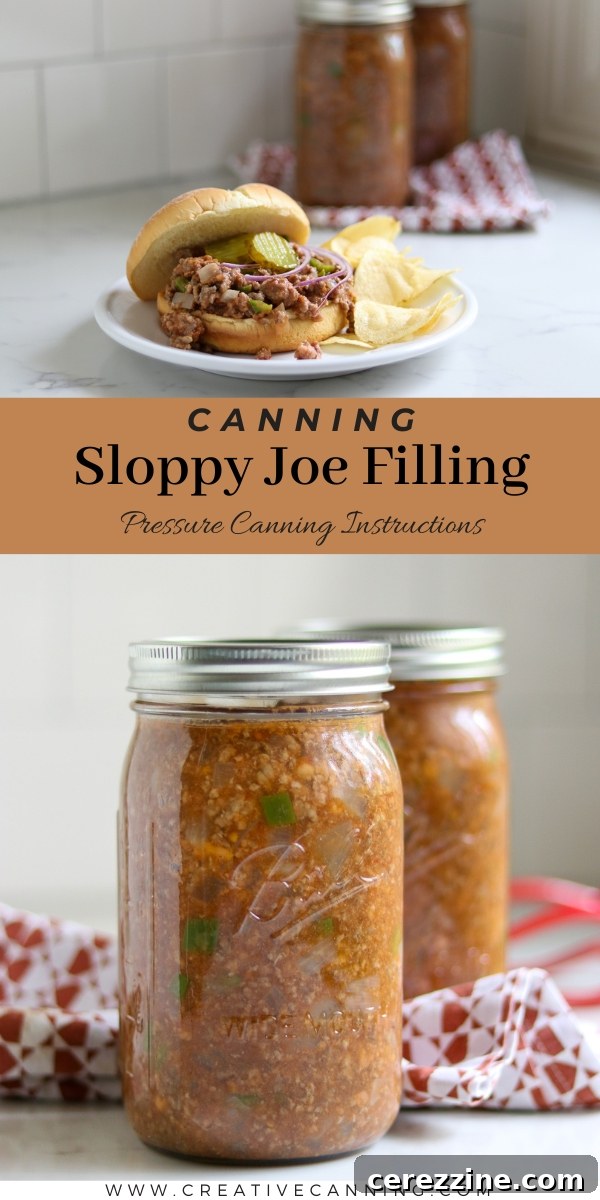
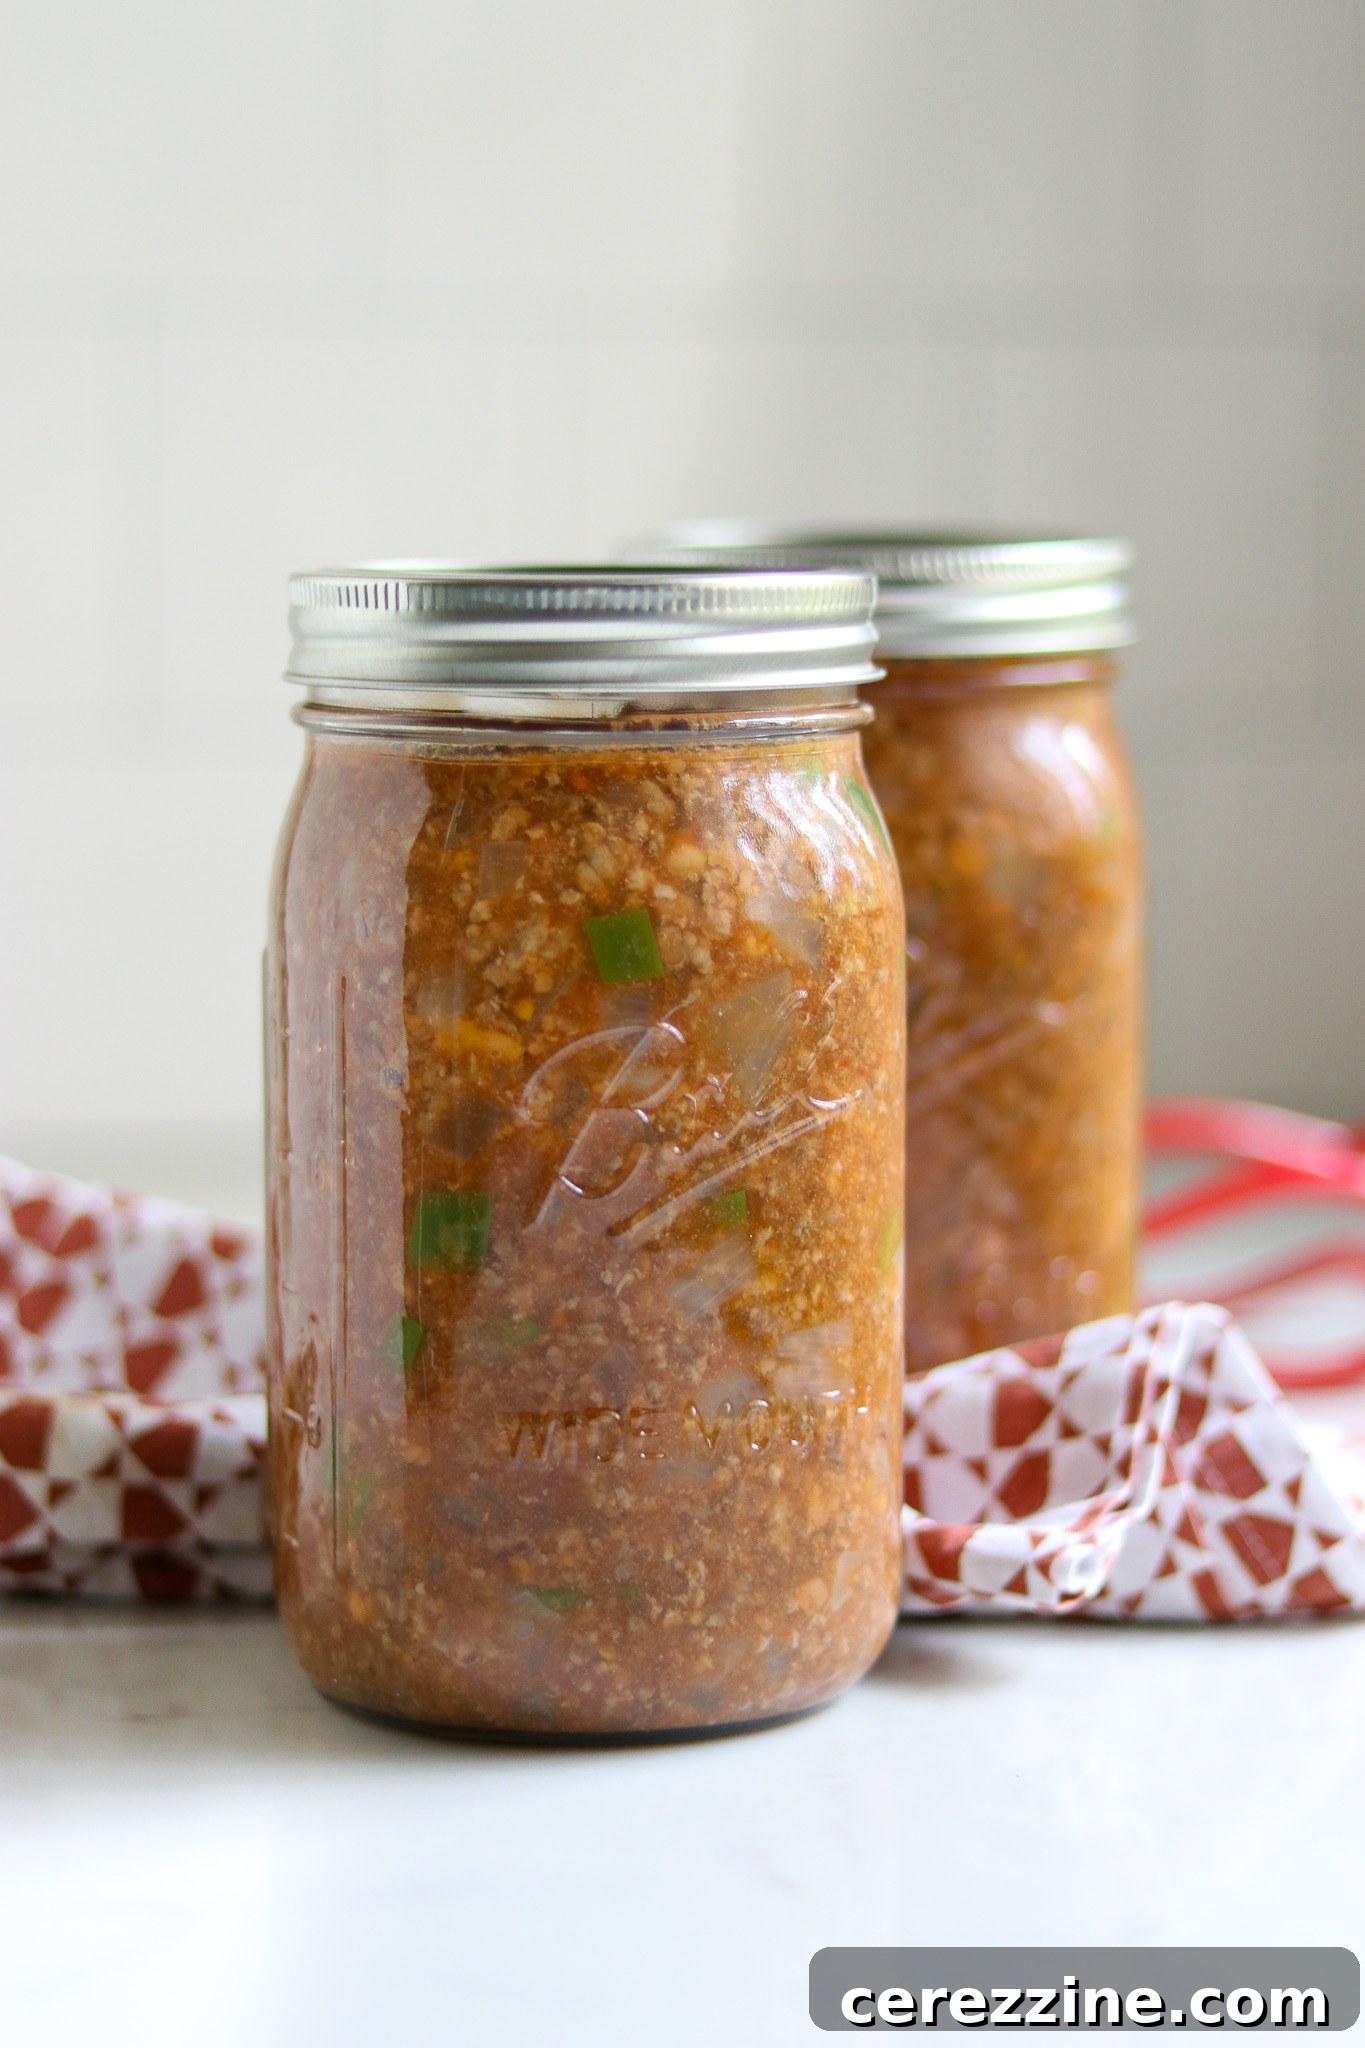
Imagine a delicious, hearty meal ready in minutes on the busiest weeknights. With homemade, pressure-canned Sloppy Joe filling, that dream becomes a reality. This incredibly easy ground beef canning recipe allows you to store protein-rich meals directly on your pantry shelf, providing a convenient and flavorful solution for quick dinners. It’s more than just a recipe; it’s a pathway to greater self-sufficiency and delicious, home-cooked food anytime you need it.
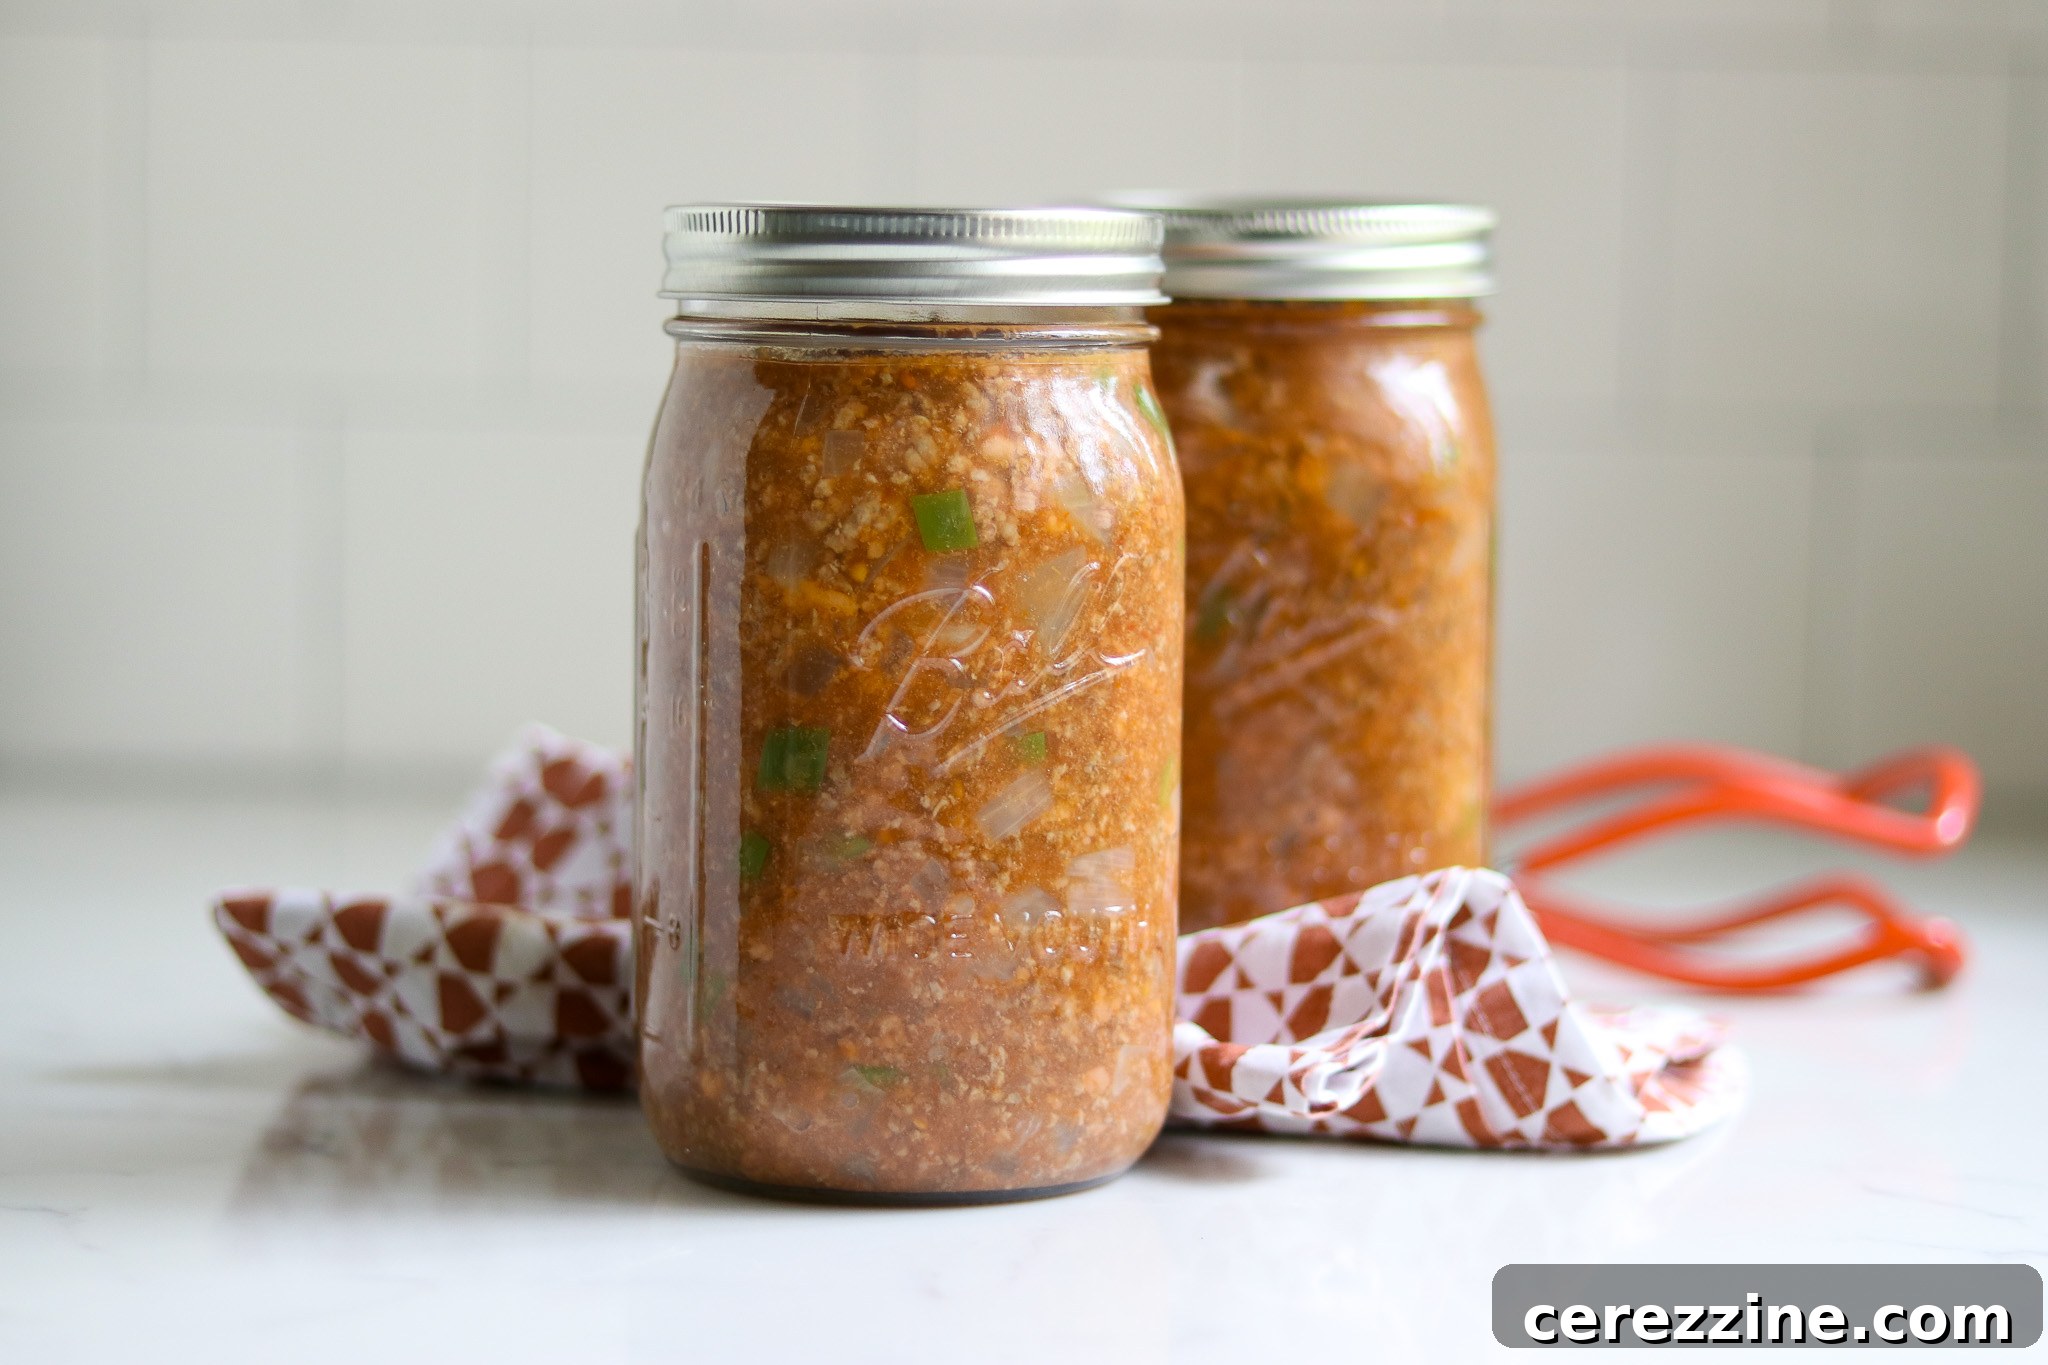
The Irresistible Appeal of Homemade Sloppy Joes
Who can resist the classic comfort of a scrumptious Sloppy Joe? This beloved American dish features a mouthwatering mix of seasoned ground beef, tender onions, and rich tomato sauce, all brought together with a blend of savory and tangy seasonings. Traditionally served piled high between two soft burger buns, Sloppy Joes are a fan favorite at casual gatherings, backyard barbecues, and family dinner tables across the country. Their messy, flavorful nature is exactly what makes them so enjoyable!
However, modern life often leaves little time for elaborate meal preparation. If you’re constantly seeking simpler solutions for hectic evenings, home-canned Sloppy Joe filling is an absolute game-changer. This method transforms a beloved dish into an effortless meal-in-a-jar. It’s not just about convenience; it’s about having wholesome, homemade food at your fingertips, reducing reliance on processed options, and controlling the ingredients your family consumes.
With a jar of homemade Sloppy Joe filling, there’s no need to wait for meat to defrost, or to painstakingly gather all the individual seasonings from your spice rack. The beauty lies in its simplicity: just open a jar, heat the contents in a saucepan, and serve. It’s truly a testament to how practical and rewarding home canning can be, especially for creating quick, hearty family dinners.
Understanding Pressure Canning for Meat Recipes
Since this recipe involves canning meat, it is crucial to use a pressure canner. Unlike water bath canning, pressure canning reaches temperatures high enough to safely preserve low-acid foods like meat, vegetables, and combination meals, eliminating the risk of botulism. If you are new to the world of pressure canning, we highly recommend familiarizing yourself with the process. For a comprehensive overview, please consult a beginner’s guide to pressure canning before you embark on this delicious journey.
Ingredients for Flavorful Sloppy Joe Filling
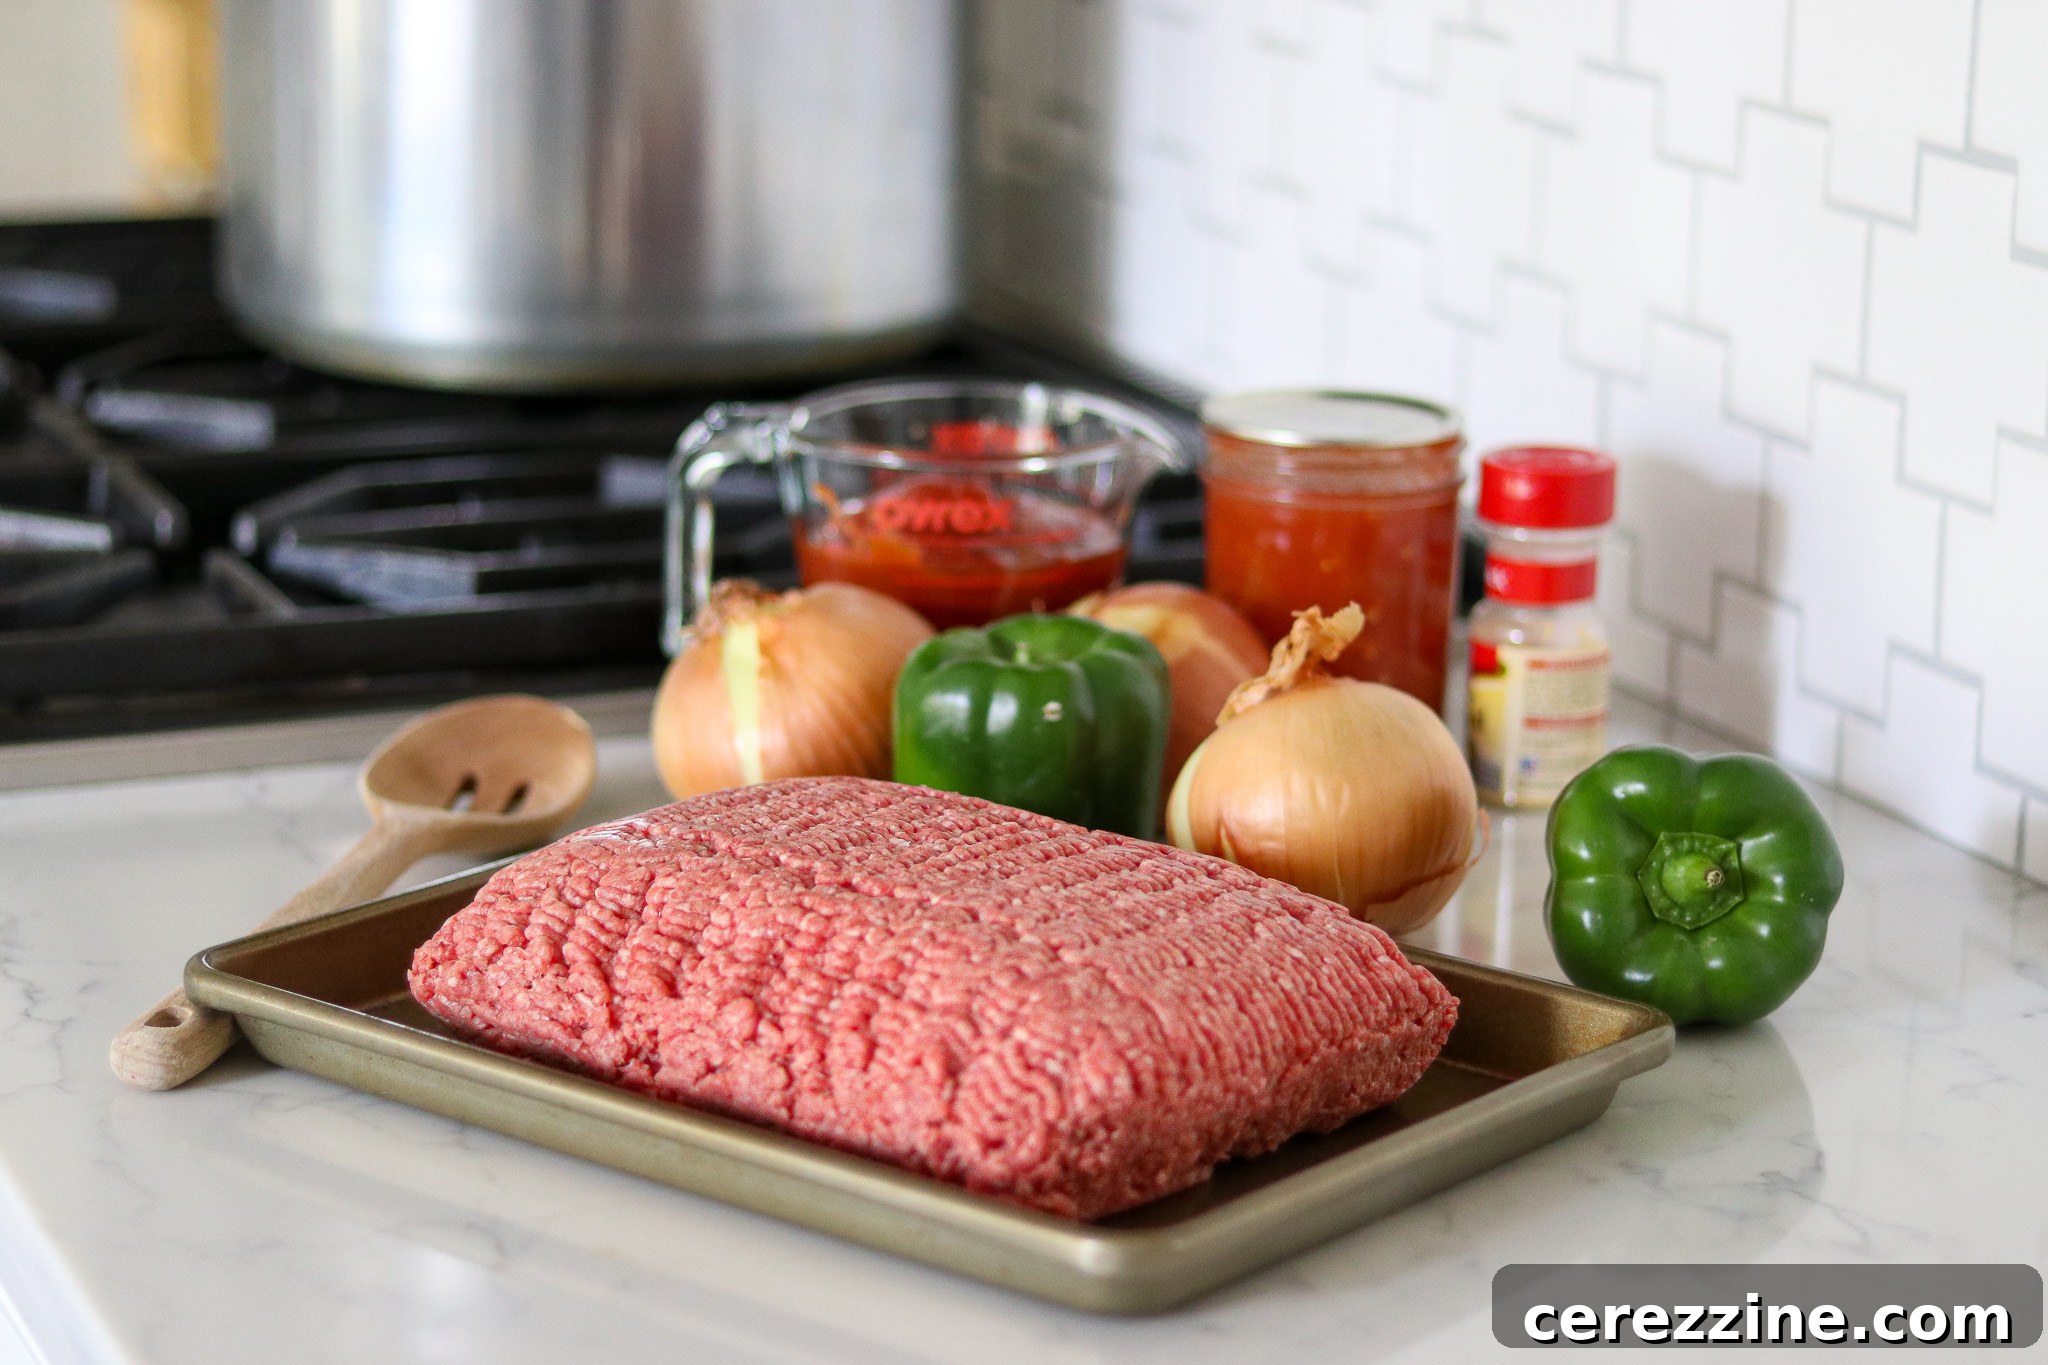
The ingredients for canning Sloppy Joe filling are straightforward, making this recipe an economical and flavorful addition to your pantry staples. The primary component is ground beef, but there’s plenty of room for customization to suit your family’s preferences and dietary needs.
To prepare a canner batch yielding approximately 8 pint jars (or 4 quart jars), you will need the following:
- 4 lbs lean ground beef or venison (a combination of meats works well too)
- 3 cups onion, peeled and finely chopped
- 1 16-oz can of tomato sauce (or 2 cups homemade)
- 1 ½ cups green pepper, chopped and cored
- 2 cups tomato ketchup (store-bought or homemade)
- 2 cups water
- 1 tbsp salt (optional, to taste)
- 1 tbsp sugar (optional, to taste)
- 1 tbsp prepared mustard
- ¾ tsp black pepper
Selecting Your Meat for Sloppy Joes
This recipe is highly adaptable when it comes to the type of ground meat. Feel free to use ground beef, venison, elk, or even lamb. A blend of different ground meats is also perfectly acceptable. The key consideration is leanness. Using lean ground meat is essential to prevent the mixture from becoming excessively greasy and fatty, which can affect both the texture and the sealing process during canning. Game meats, like venison, are particularly excellent choices as they are naturally lean and impart a rich, distinctive flavor that complements the Sloppy Joe profile beautifully.
While not listed in the main ingredients, some home canners enjoy adding Worcestershire sauce to their Sloppy Joe mixture. This is perfectly safe for pressure canning, as Worcestershire sauce primarily contributes salt, seasoning, and liquid, all of which are permissible additions to properly tested pressure canning recipes.
Vegetable Choices and Customization
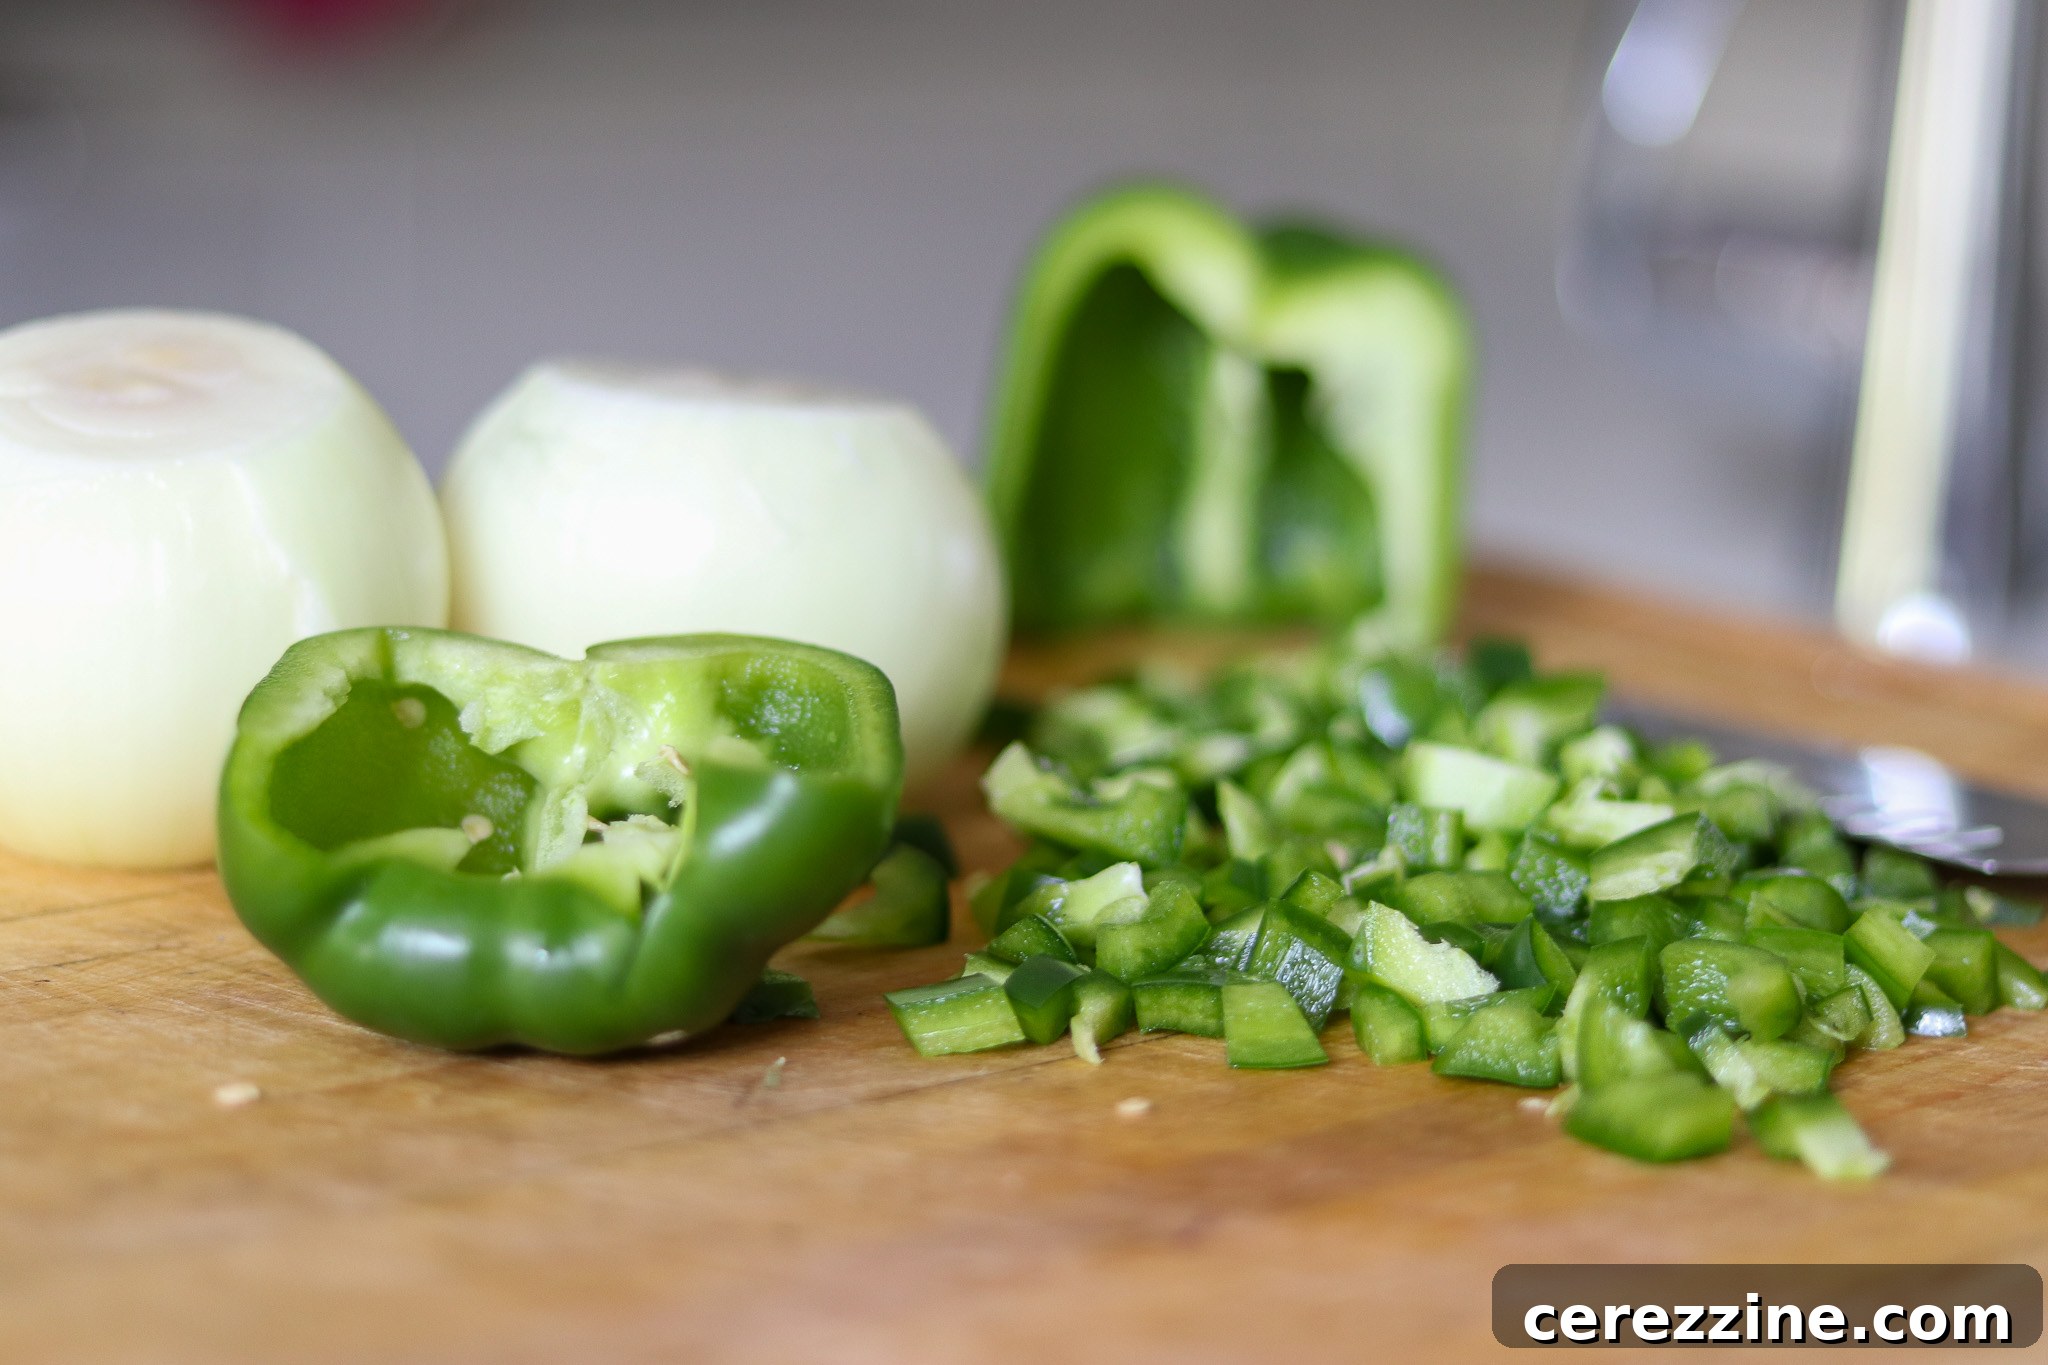
For the vegetable component, this Sloppy Joe recipe sticks to traditional favorites: diced onions and green bell peppers. These vegetables add essential flavor and texture. However, if your family has particular dislikes or preferences, feel free to omit either the onions or peppers, or substitute them with alternatives.
When it comes to onions, any variety will work beautifully, including sweet onions or red onions, which can be swapped for standard yellow onions. While shallots and scallions are safe, their milder flavor might not be as robust as a full-bodied onion for a Sloppy Joe base.
The peppers are also versatile. While green bell peppers are a classic choice and work well here (remember to remove seeds and stems), don’t hesitate to experiment. Red, yellow, or orange bell peppers offer a sweeter flavor profile. If you enjoy a bit of heat, consider incorporating poblano peppers or Anaheim chiles for a mild kick. For a Southwestern twist, you could even substitute a can of diced Hatch green chiles or freshly roasted New Mexico chiles.
Seasoning and Sauce Flexibility
The seasonings in this Sloppy Joe recipe are simple – prepared mustard and black pepper – but they lay a fantastic foundation. Just like the vegetables, these are flexible. Feel free to incorporate other dry seasonings that your family enjoys, such as garlic powder, onion powder, paprika, or a hint of chili powder for added depth.
Salt and sugar are included for flavor enhancement but can be adjusted or omitted based on your dietary restrictions. While removing them will alter the taste profile, it won’t compromise the safety of the canning process. If you’re avoiding refined sugar, you can opt for homemade ketchup prepared without sugar. Most homemade ketchup recipes consist of tomatoes, vinegar, sugar (which you can omit), salt, and spices, making them perfectly safe for canning as long as they don’t contain thickeners or starches.
Canning Sloppy Joe Filling: A Step-by-Step Guide
This recipe employs the hot-pack method, which means the food is heated before being placed into hot jars and then processed. This technique helps to remove air, resulting in a better vacuum seal and improved food quality.
Preparation is Key
- **Prepare Your Pressure Canner:** Begin by preparing your pressure canner. Place a canning rack at the bottom and add about 2-3 inches of water (or as specified by your canner’s manufacturer). Place your clean, sanitized canning jars and rings into the canner. Heat the water to approximately 180°F (just below simmering) to keep the jars hot. This prevents thermal shock when the hot filling is added, reducing the risk of jar breakage.
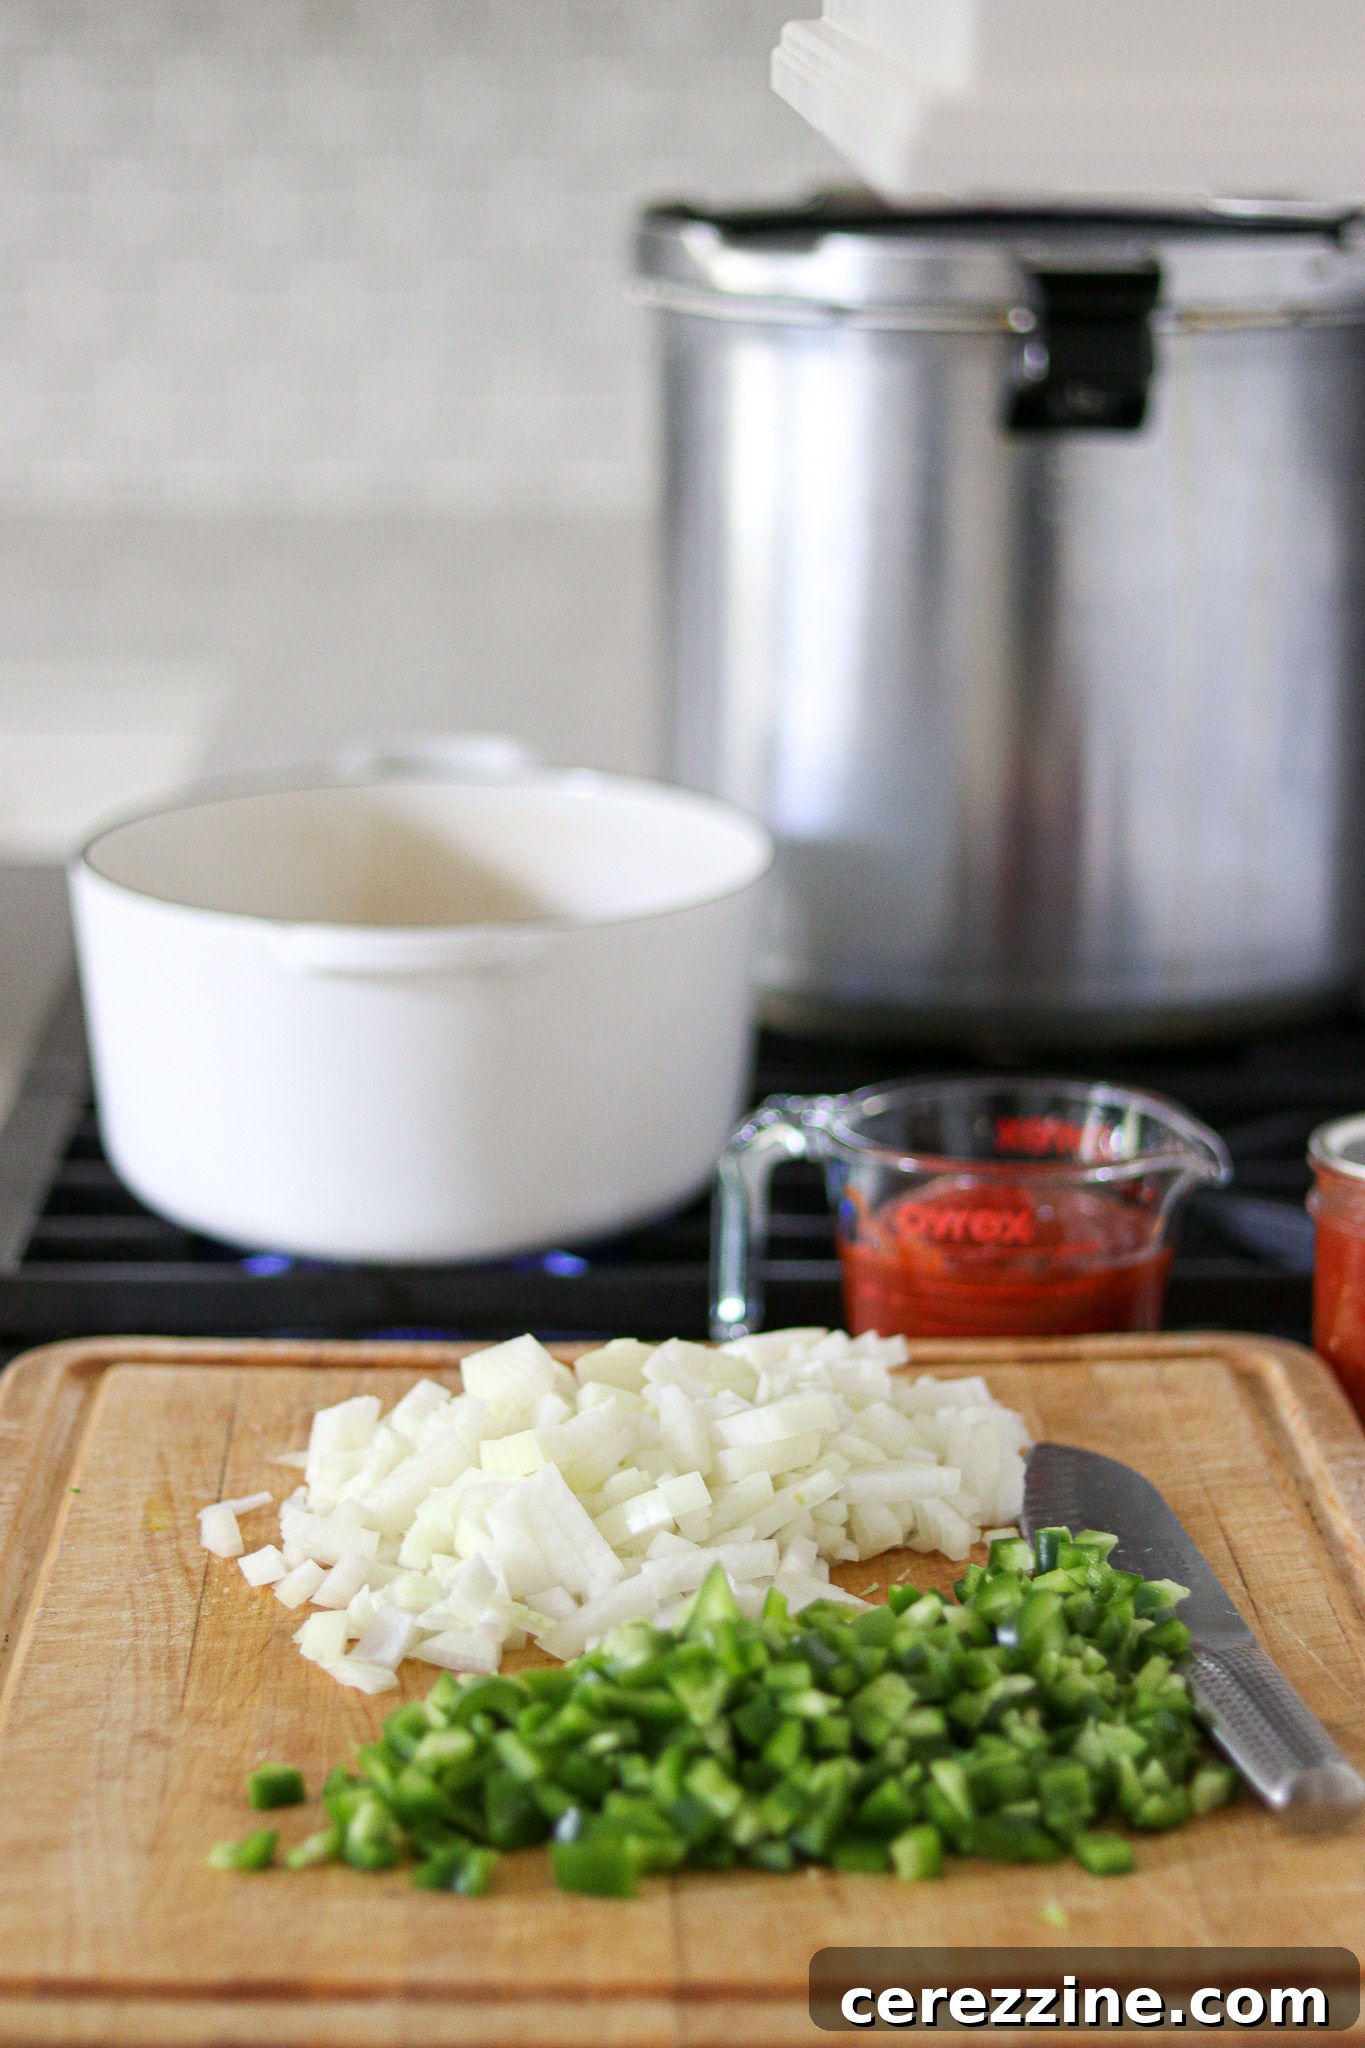
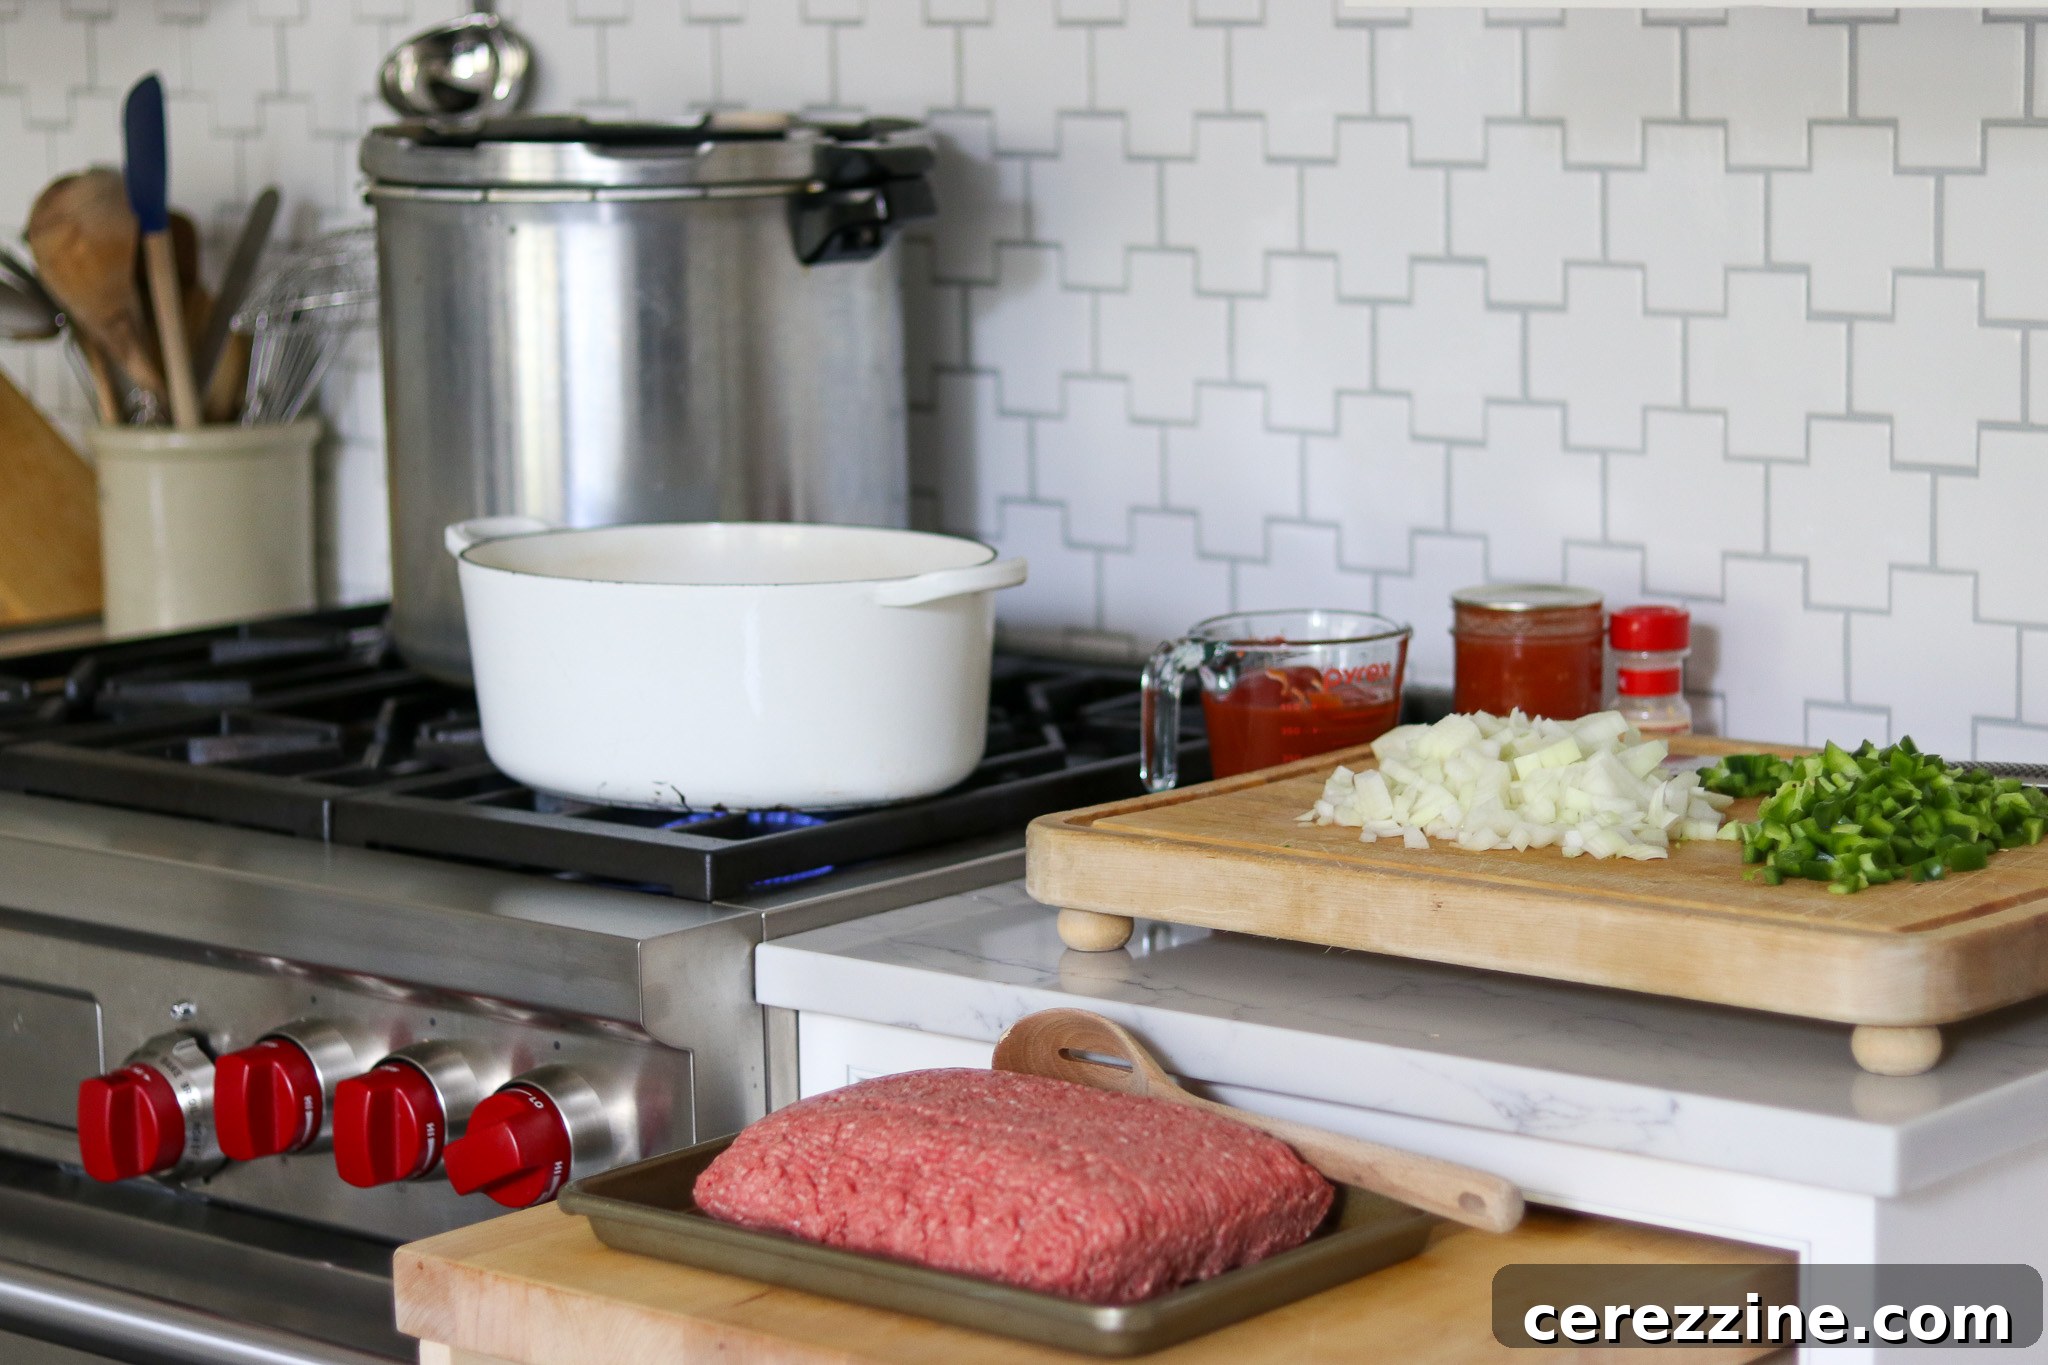
- **Prepare Vegetables:** While the jars are heating, clean and dice your onions and peppers. If using hot peppers, you can leave the seeds in for more heat, but for milder bell peppers, removing the seeds and stems is recommended. Uniform dicing ensures even cooking and a consistent texture in your finished Sloppy Joe filling.
Cooking the Filling
- **Brown the Meat:** Once your vegetables are prepped, gather your spices and ensure your ground meat is ready. Ideally, your meat should be defrosted. However, if it’s frozen, you can carefully chop it and sauté it in a large saucepan until thoroughly browned and heated through.
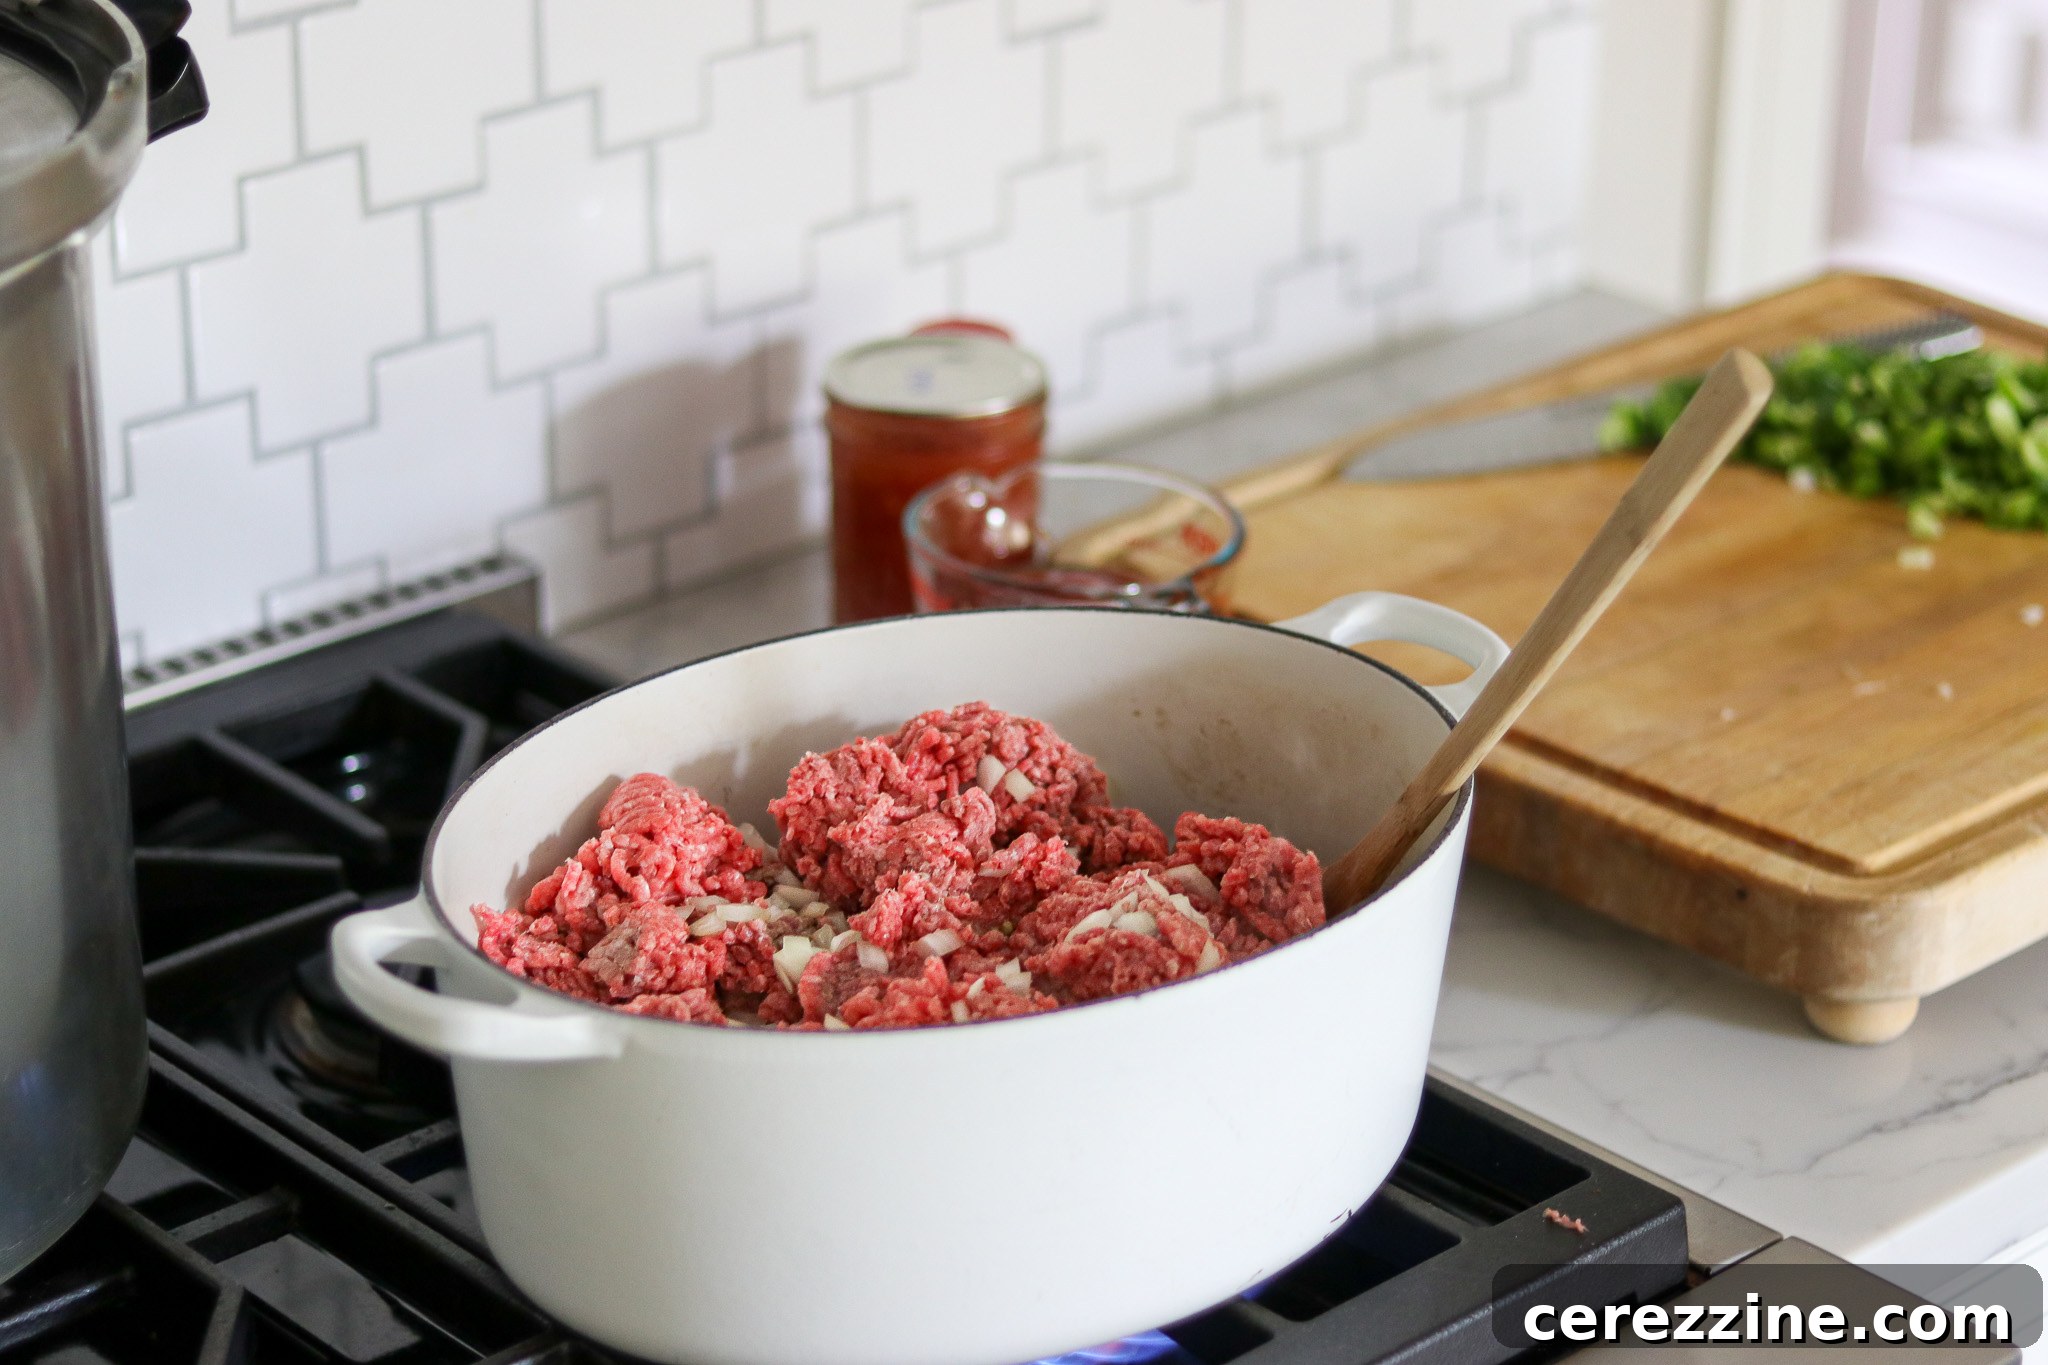
Remember, any lean ground meat can be used here. Ground chicken or turkey, while not traditional, can work, but game meats like venison, elk, or bear are fantastic. Their leanness and rich flavor truly enhance the Sloppy Joe experience.
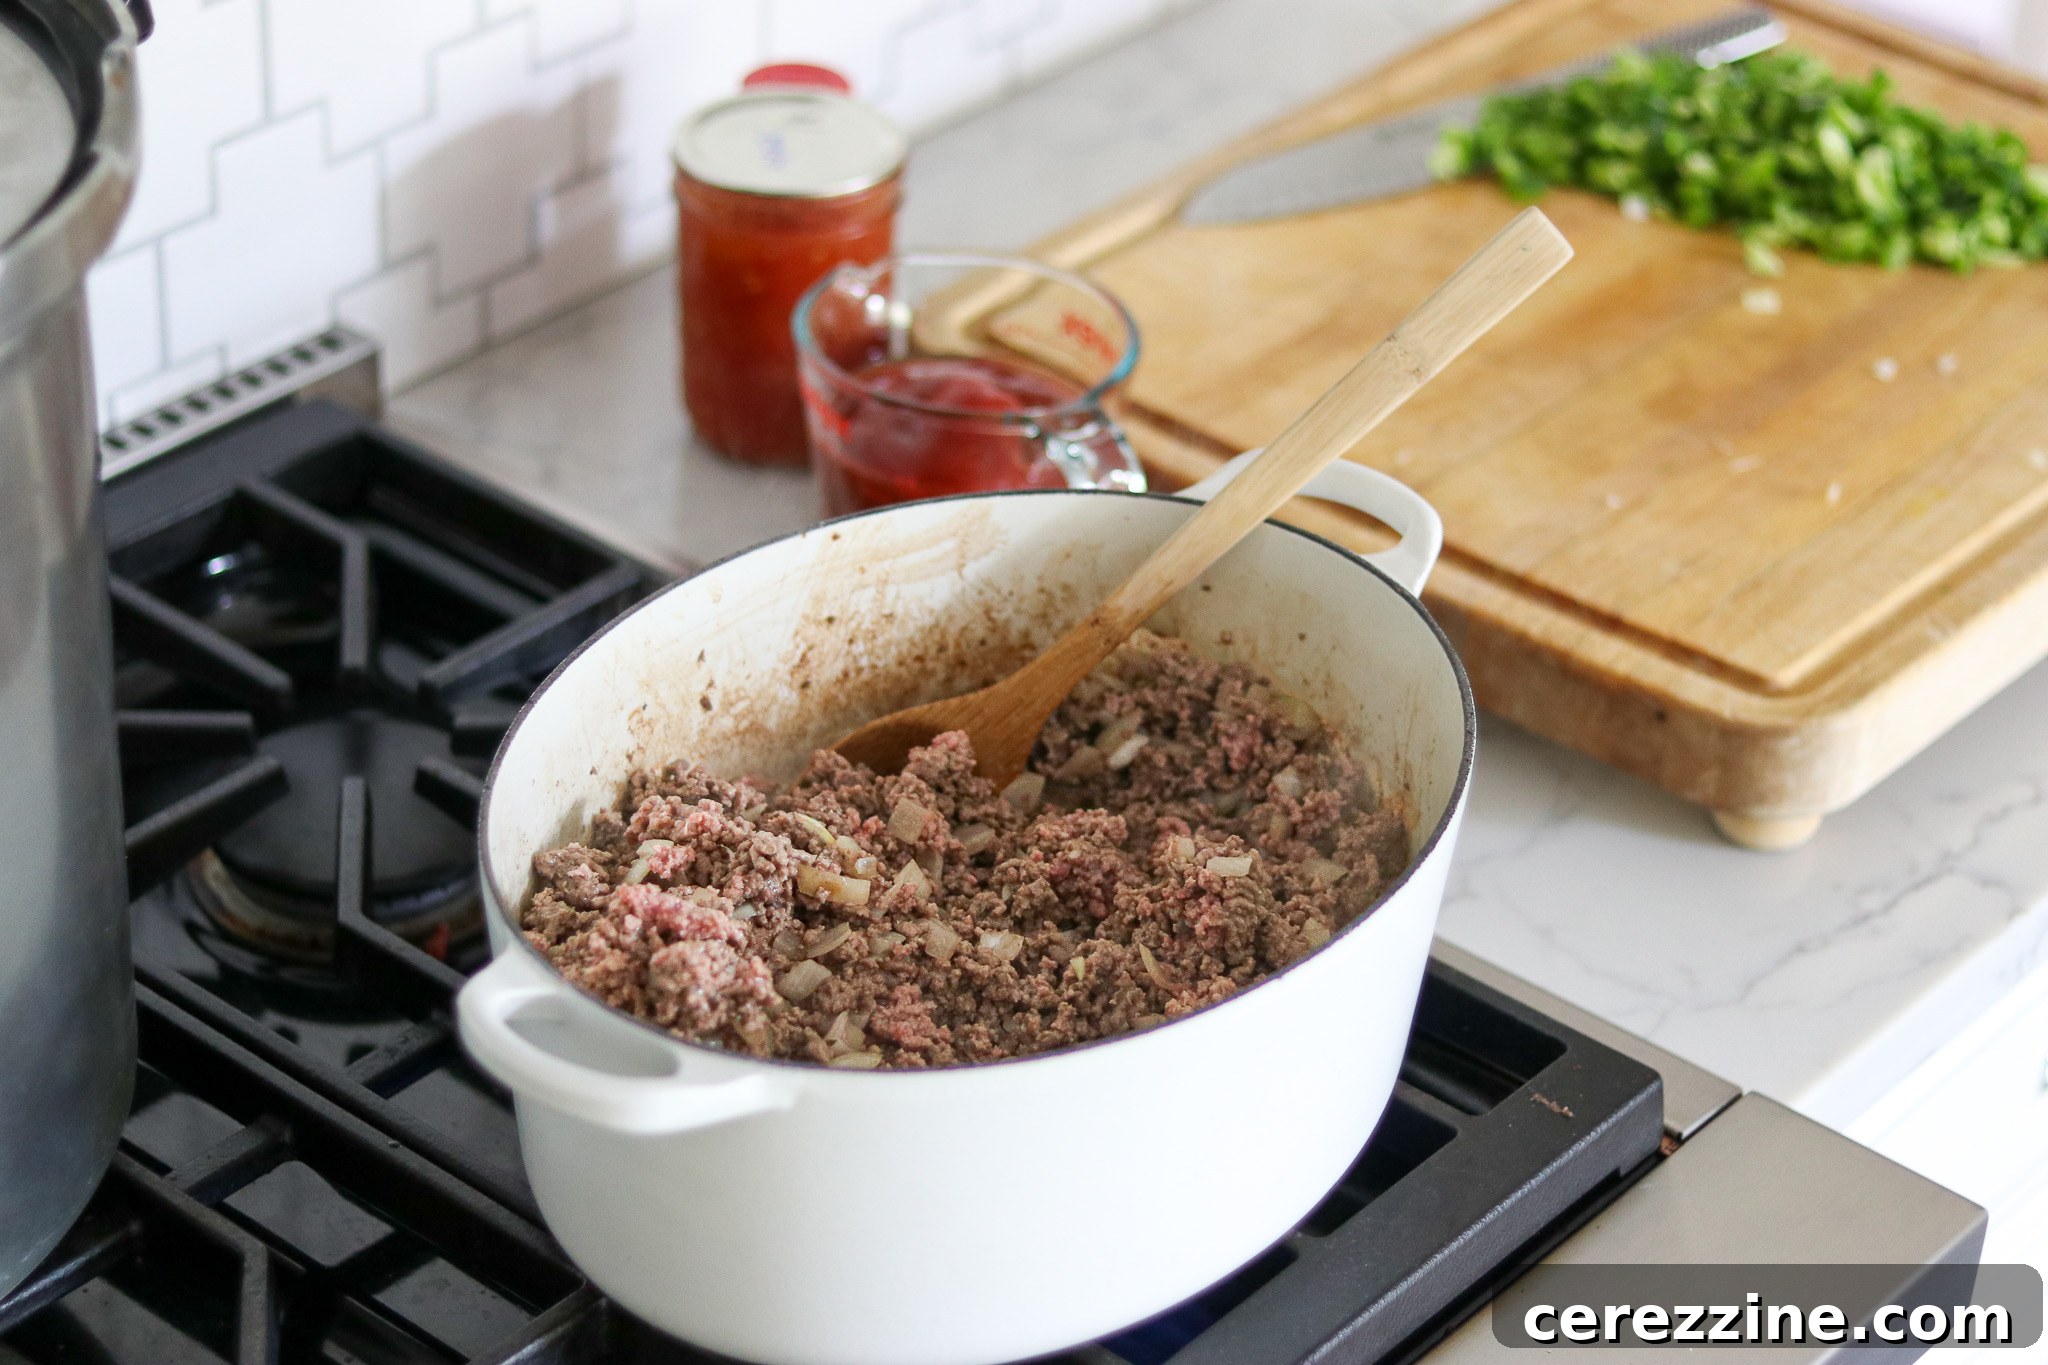
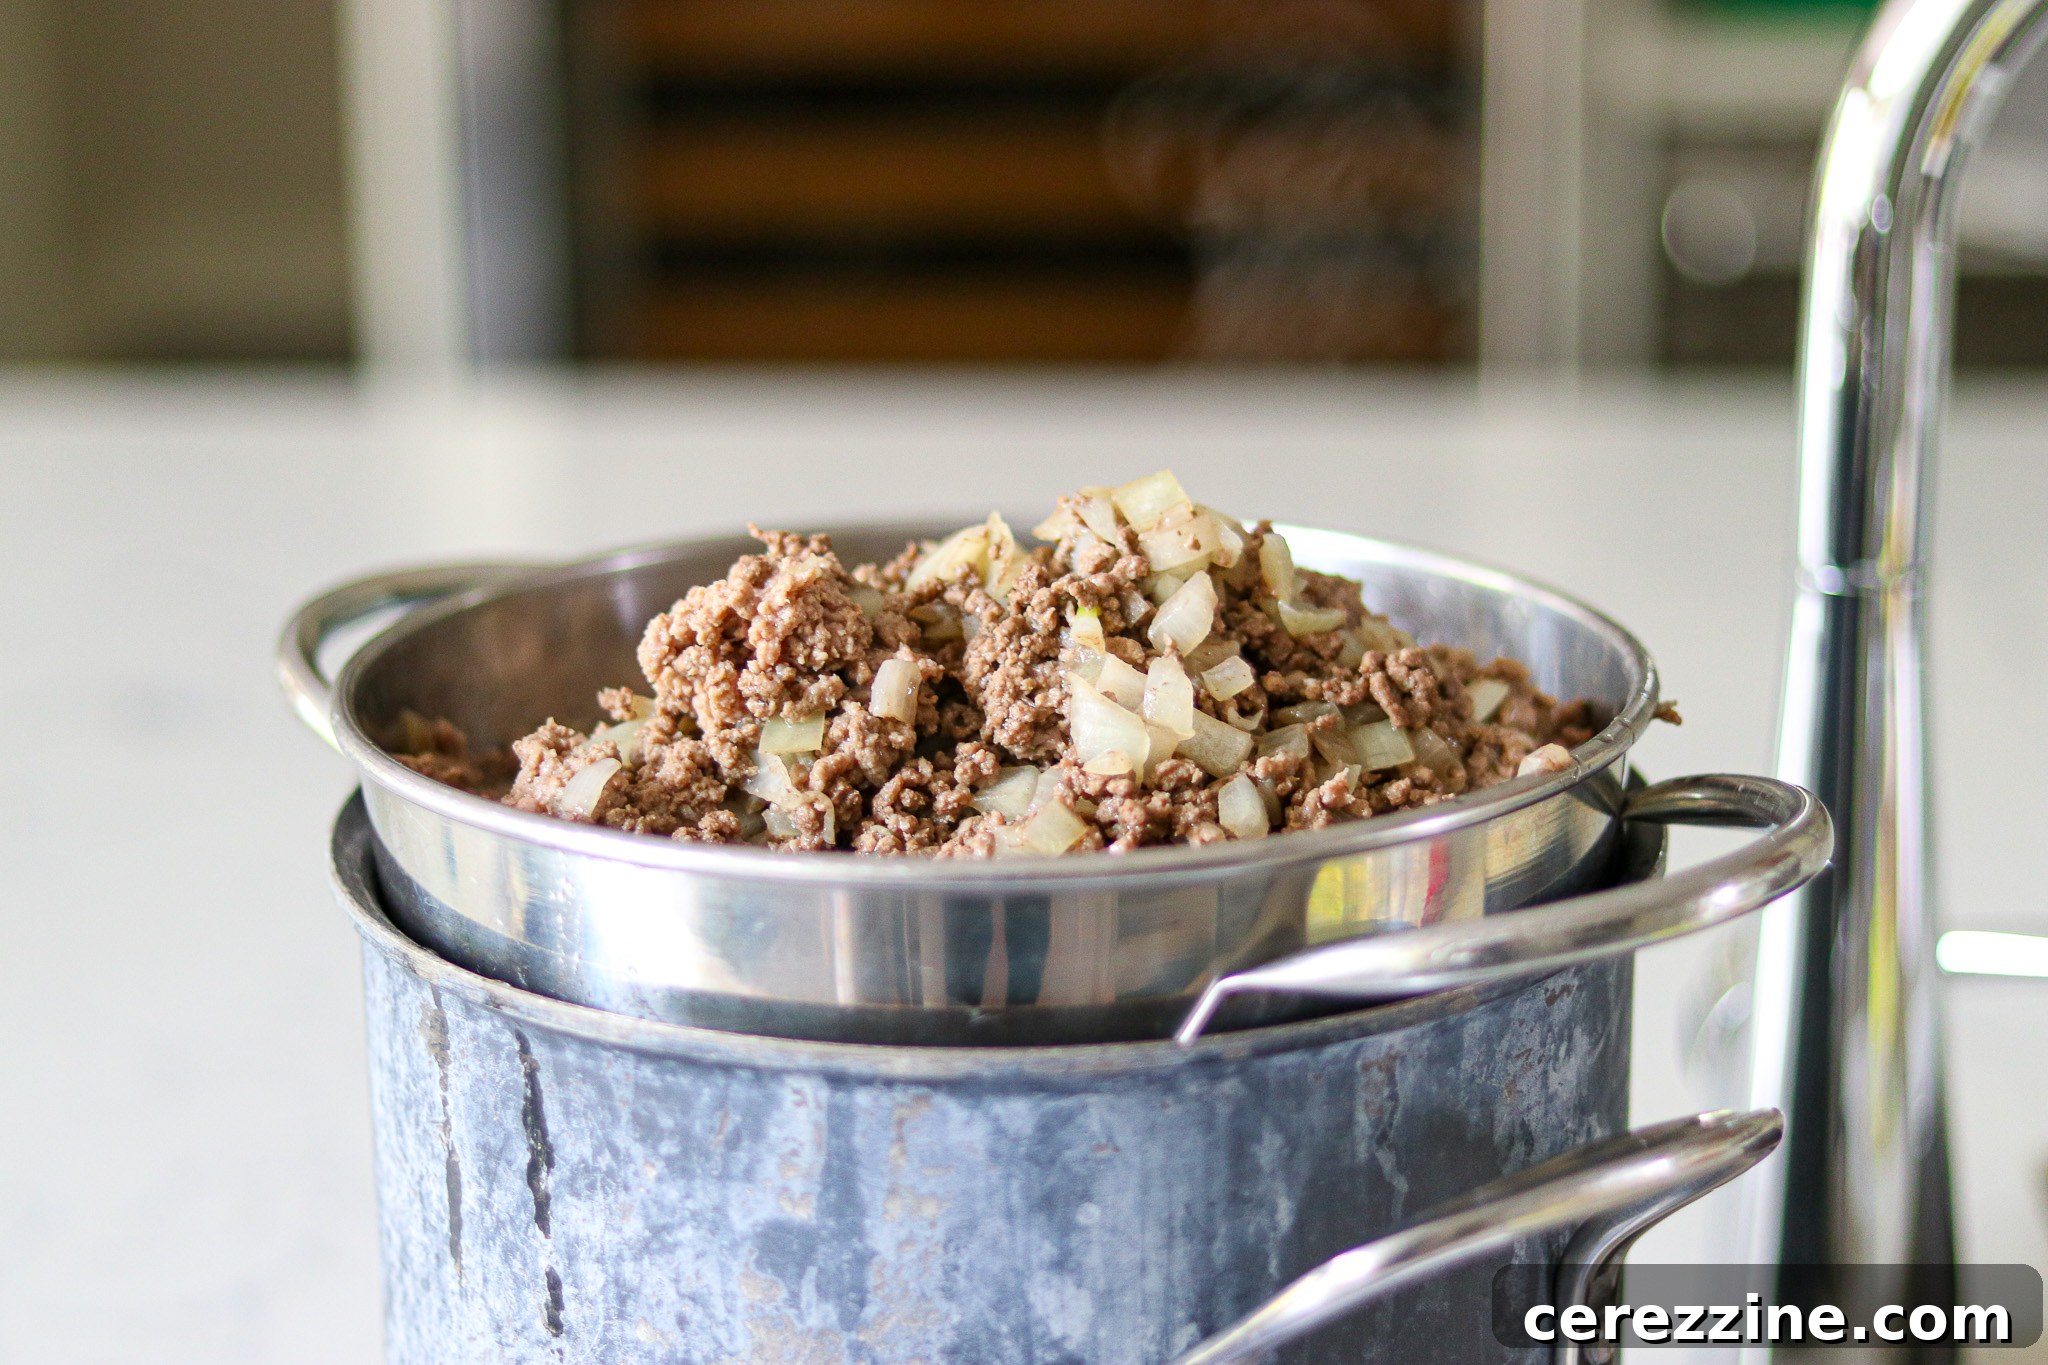
- **Drain the Fat:** In your large saucepan, sauté the ground meat with the chopped onions until the meat is thoroughly browned and the onions are softened. Once browned, it is highly recommended to drain off any excess fat. While draining fat isn’t strictly necessary for the safety of canning plain ground beef (as the fat does not interfere with the thermal penetration), for Sloppy Joes, excess fat can lead to a greasy sandwich that is less appealing and can sometimes interfere with a proper jar seal. A colander placed over a collection pot or heat-safe bowl works perfectly for this task.
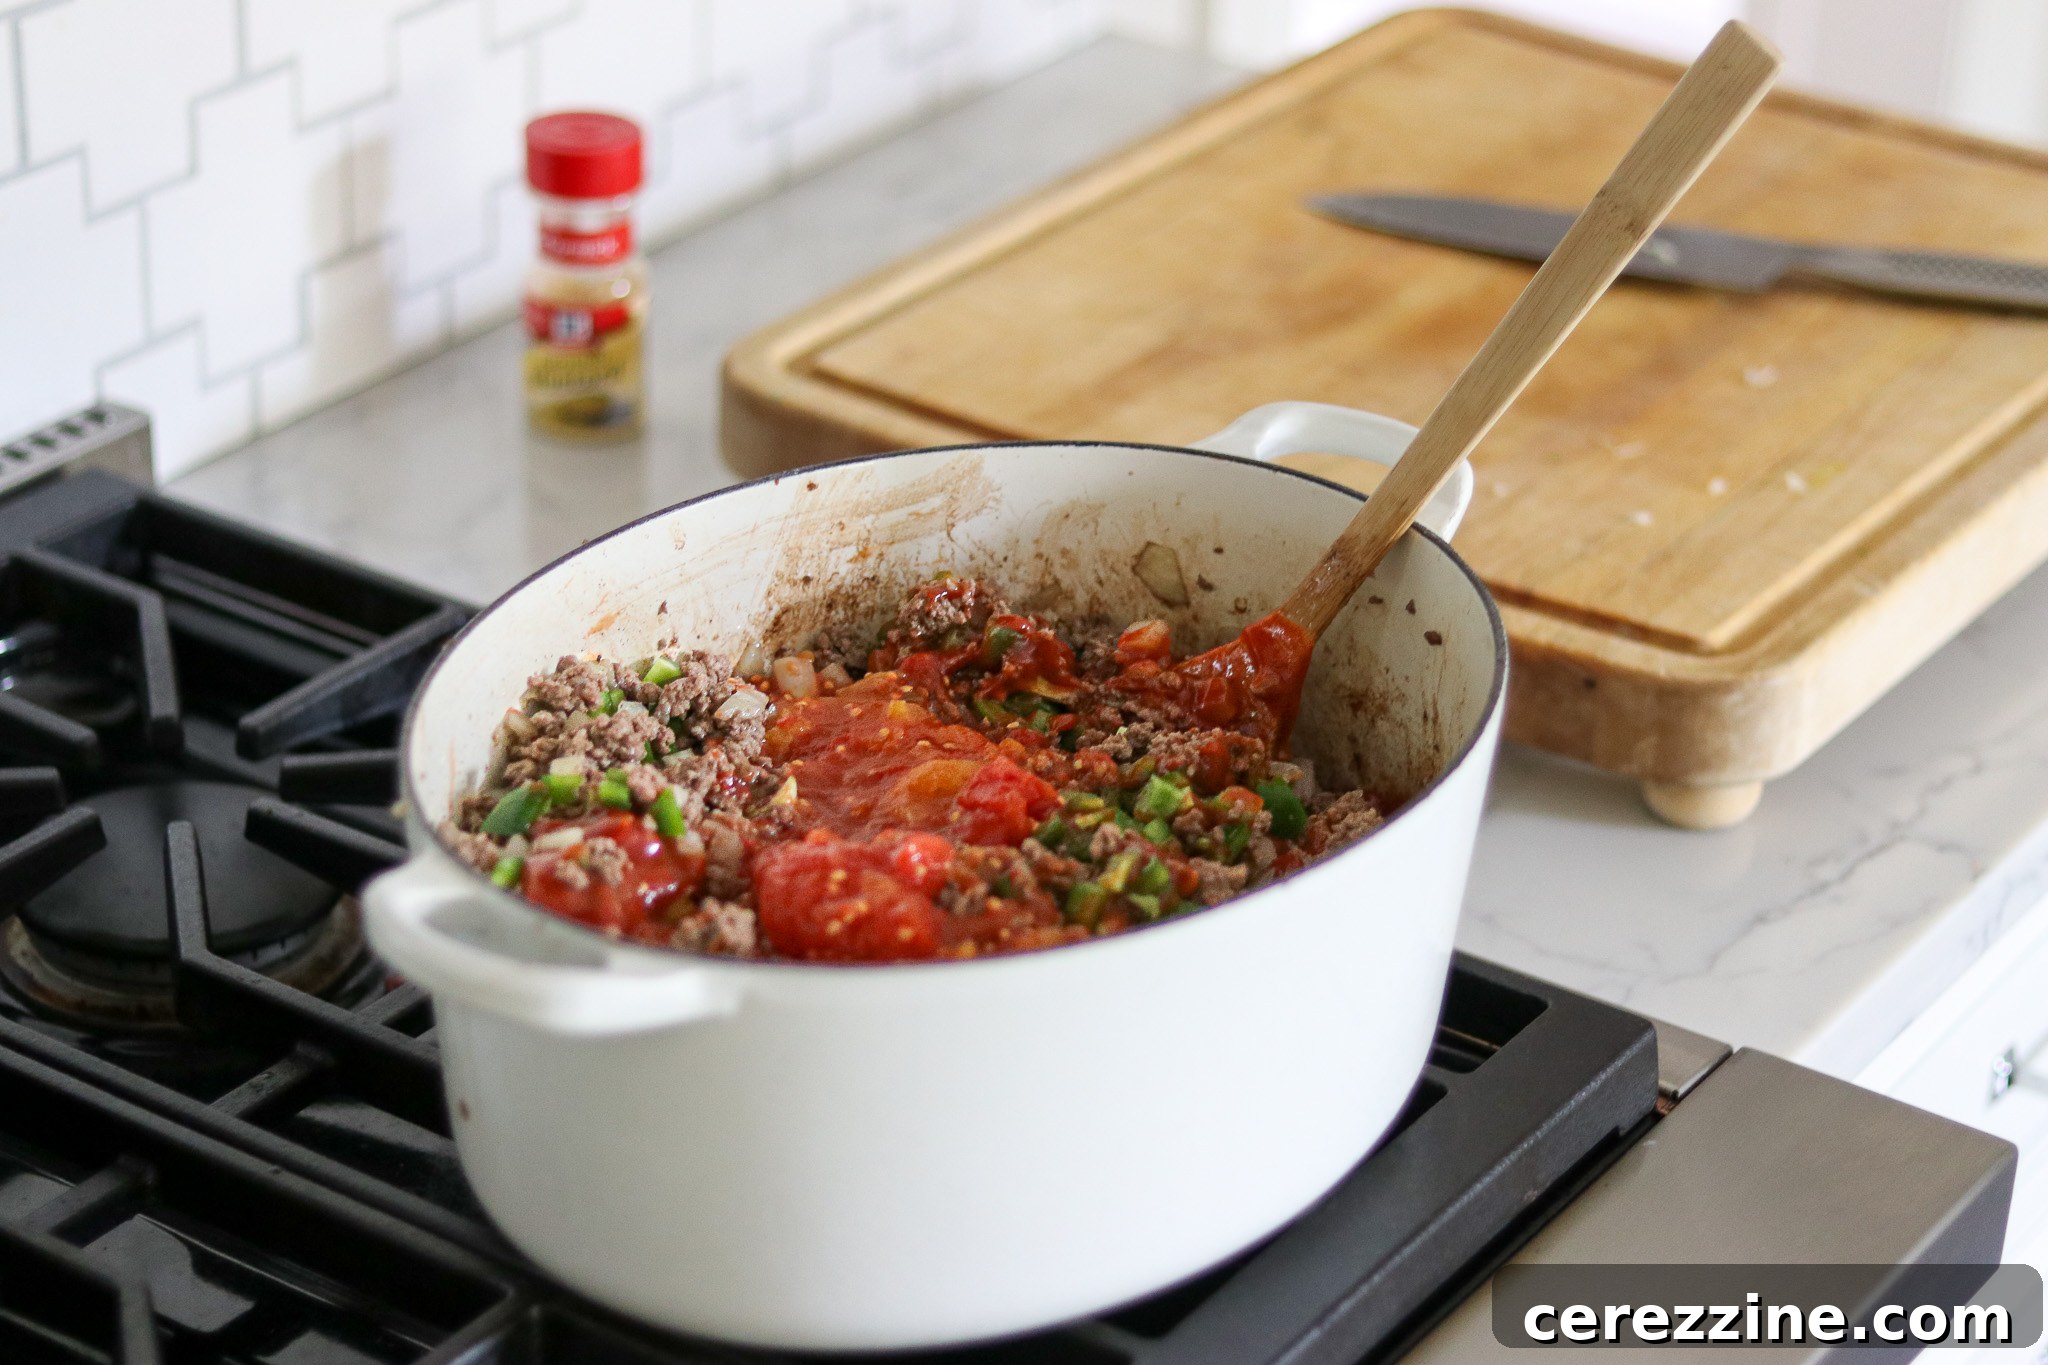
- **Simmer the Mixture:** After draining the fat, return the meat and onion mixture to the pan and bring it back to a piping hot temperature. Add all the remaining ingredients: chopped peppers, tomato sauce, ketchup, water, salt, sugar, prepared mustard, and black pepper. At this stage, the mixture will appear a bit soupy, and that’s exactly what you want! The liquid ensures even heat distribution during the pressure canning process. Bring the entire mixture to a boil, then reduce the heat and simmer gently for at least five minutes. This hot-pack step ensures all ingredients are thoroughly heated through before canning.
Packing and Processing
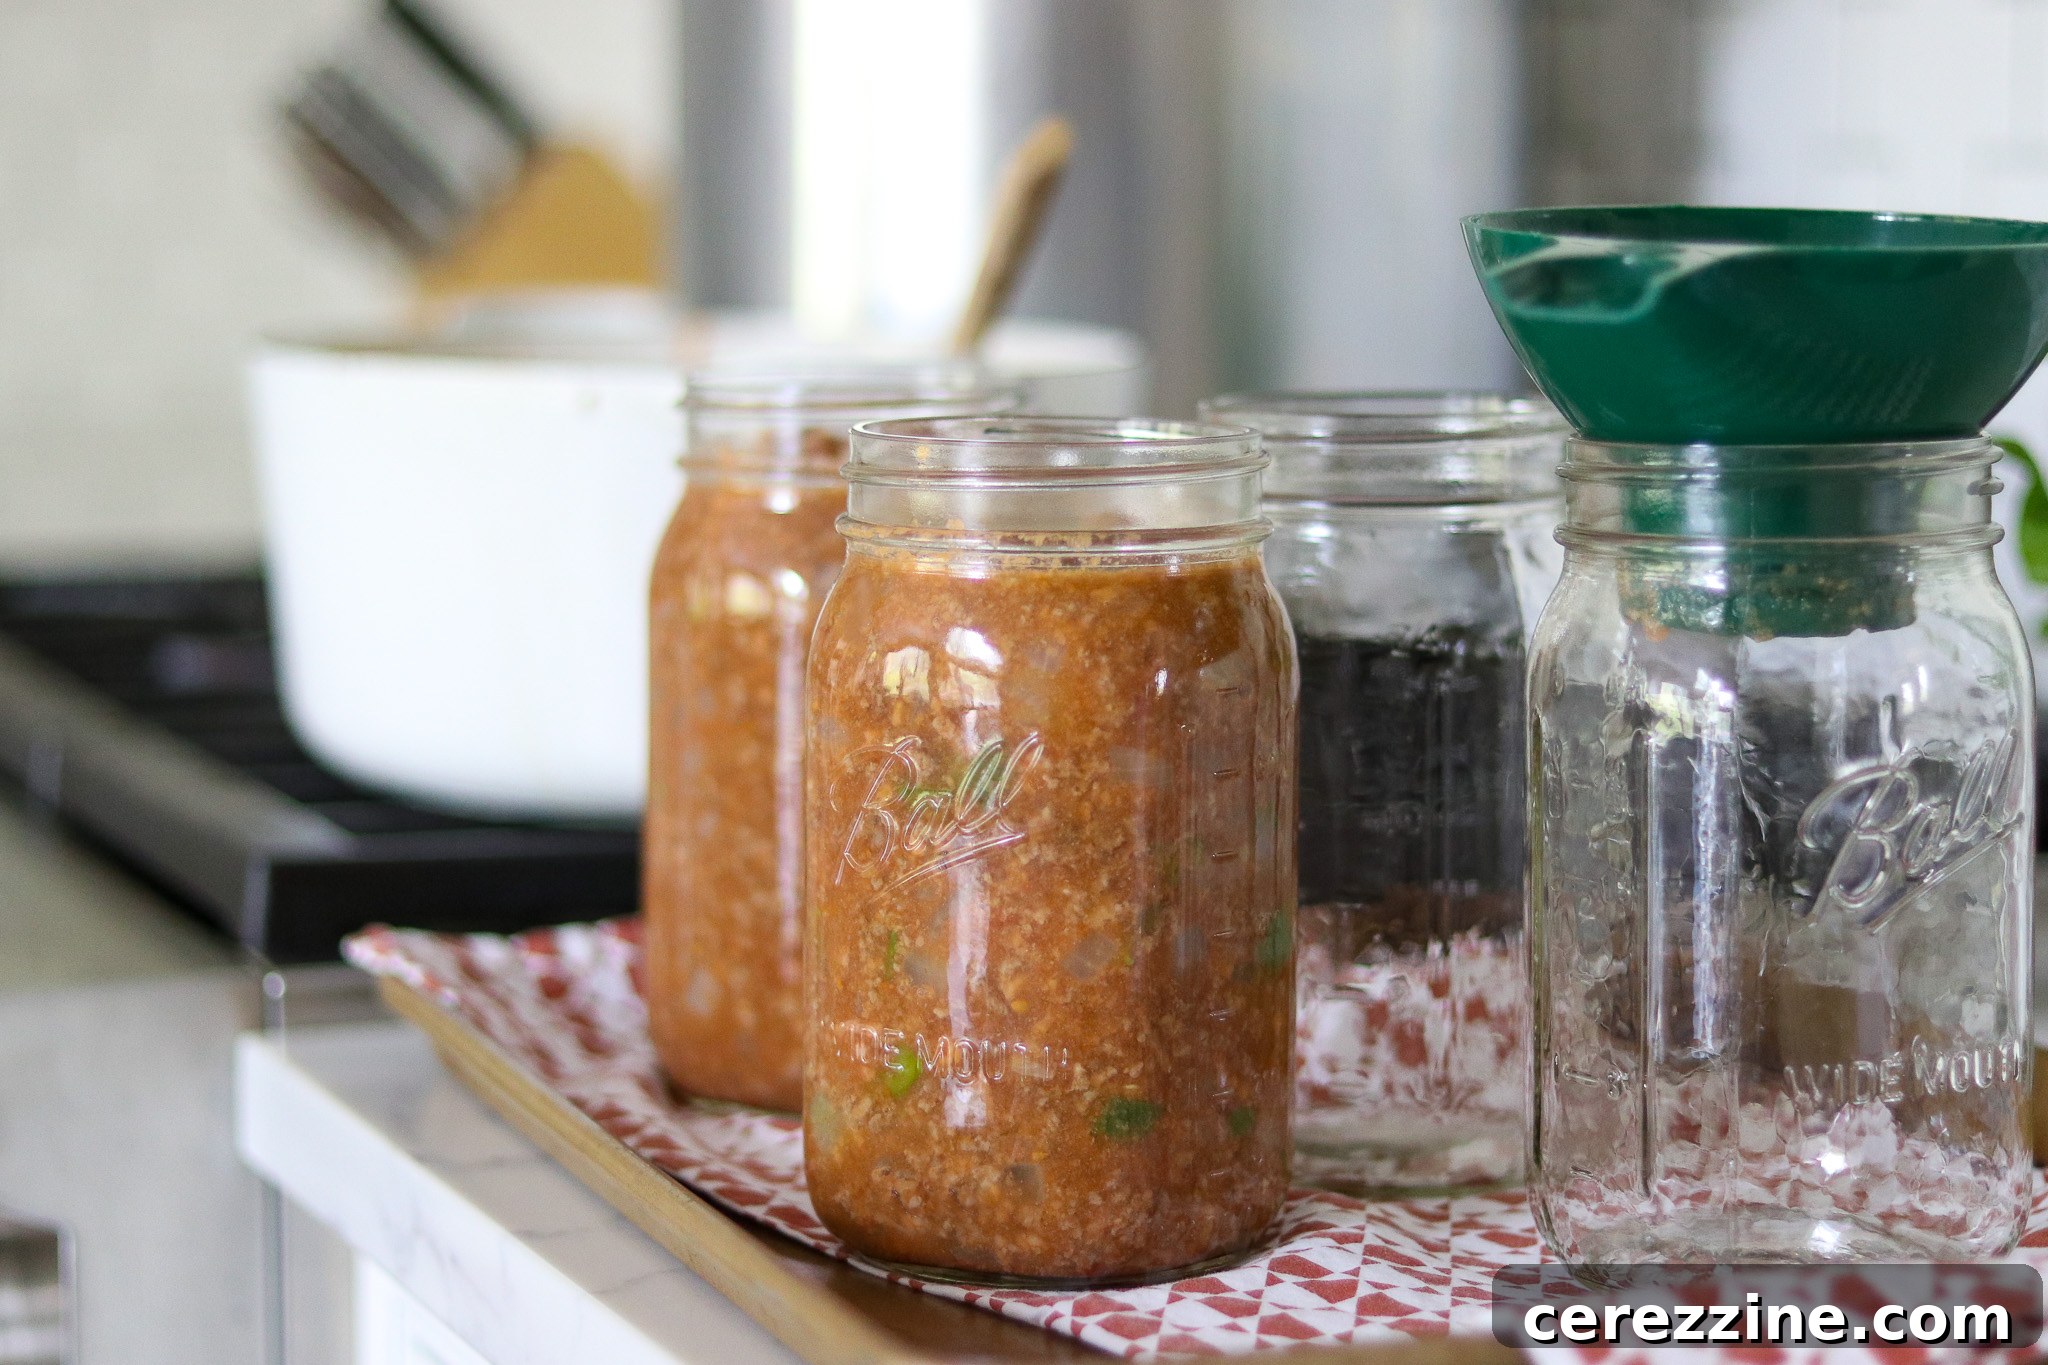
- **Fill Jars:** Carefully remove your hot jars from the canner. Using a canning funnel, ladle the hot Sloppy Joe mixture into the jars, leaving a precise 1-inch headspace from the rim of the jar. Headspace is particularly important when canning meat and thicker mixtures, as it allows for expansion during processing and helps achieve a strong, reliable seal.
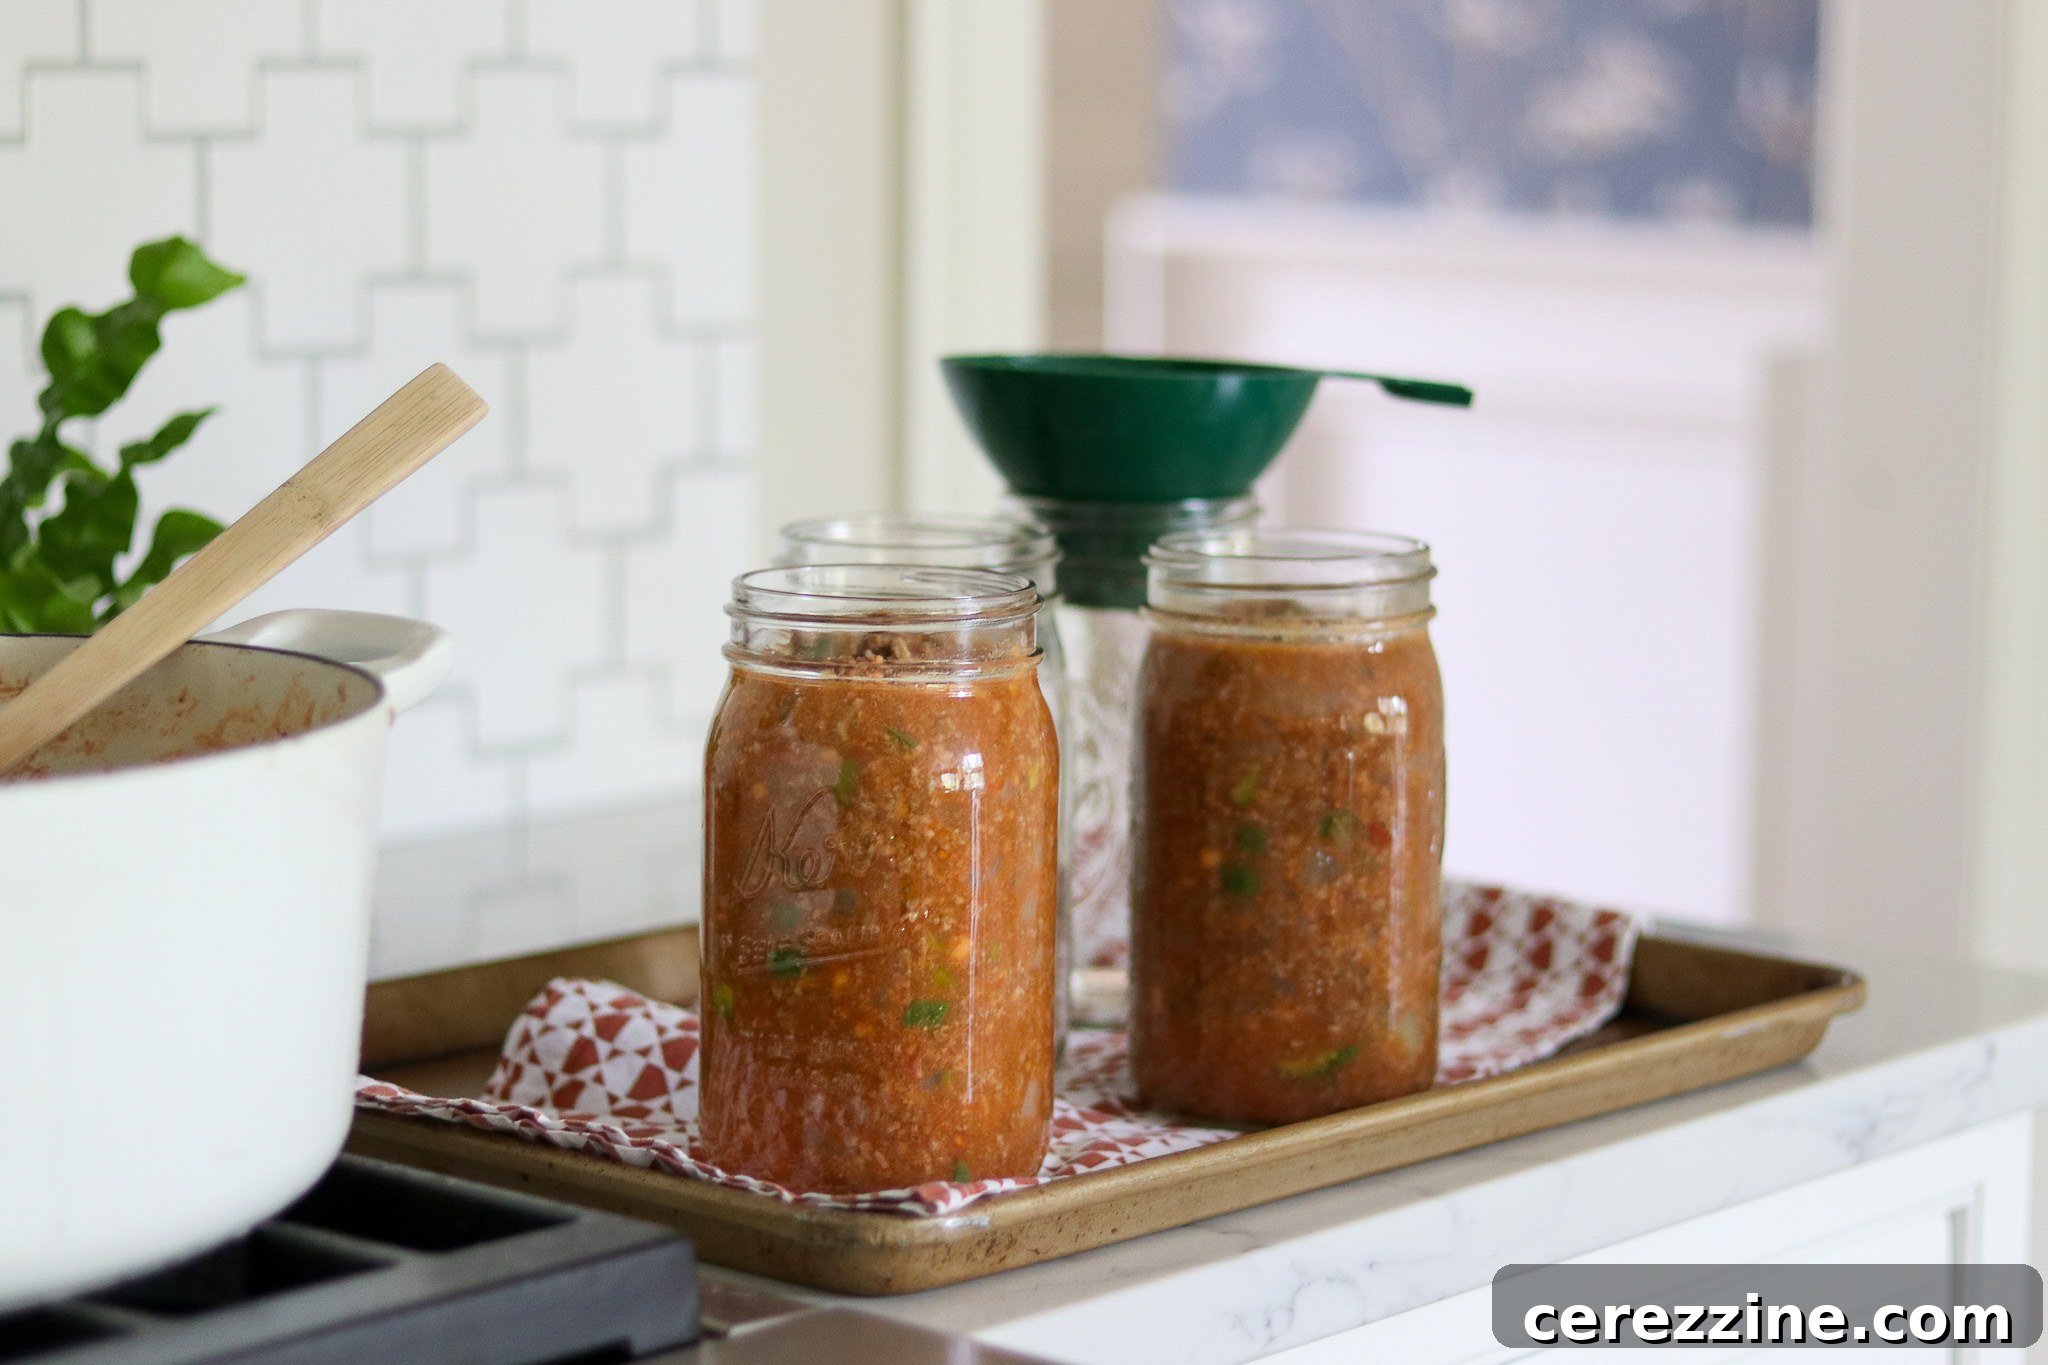
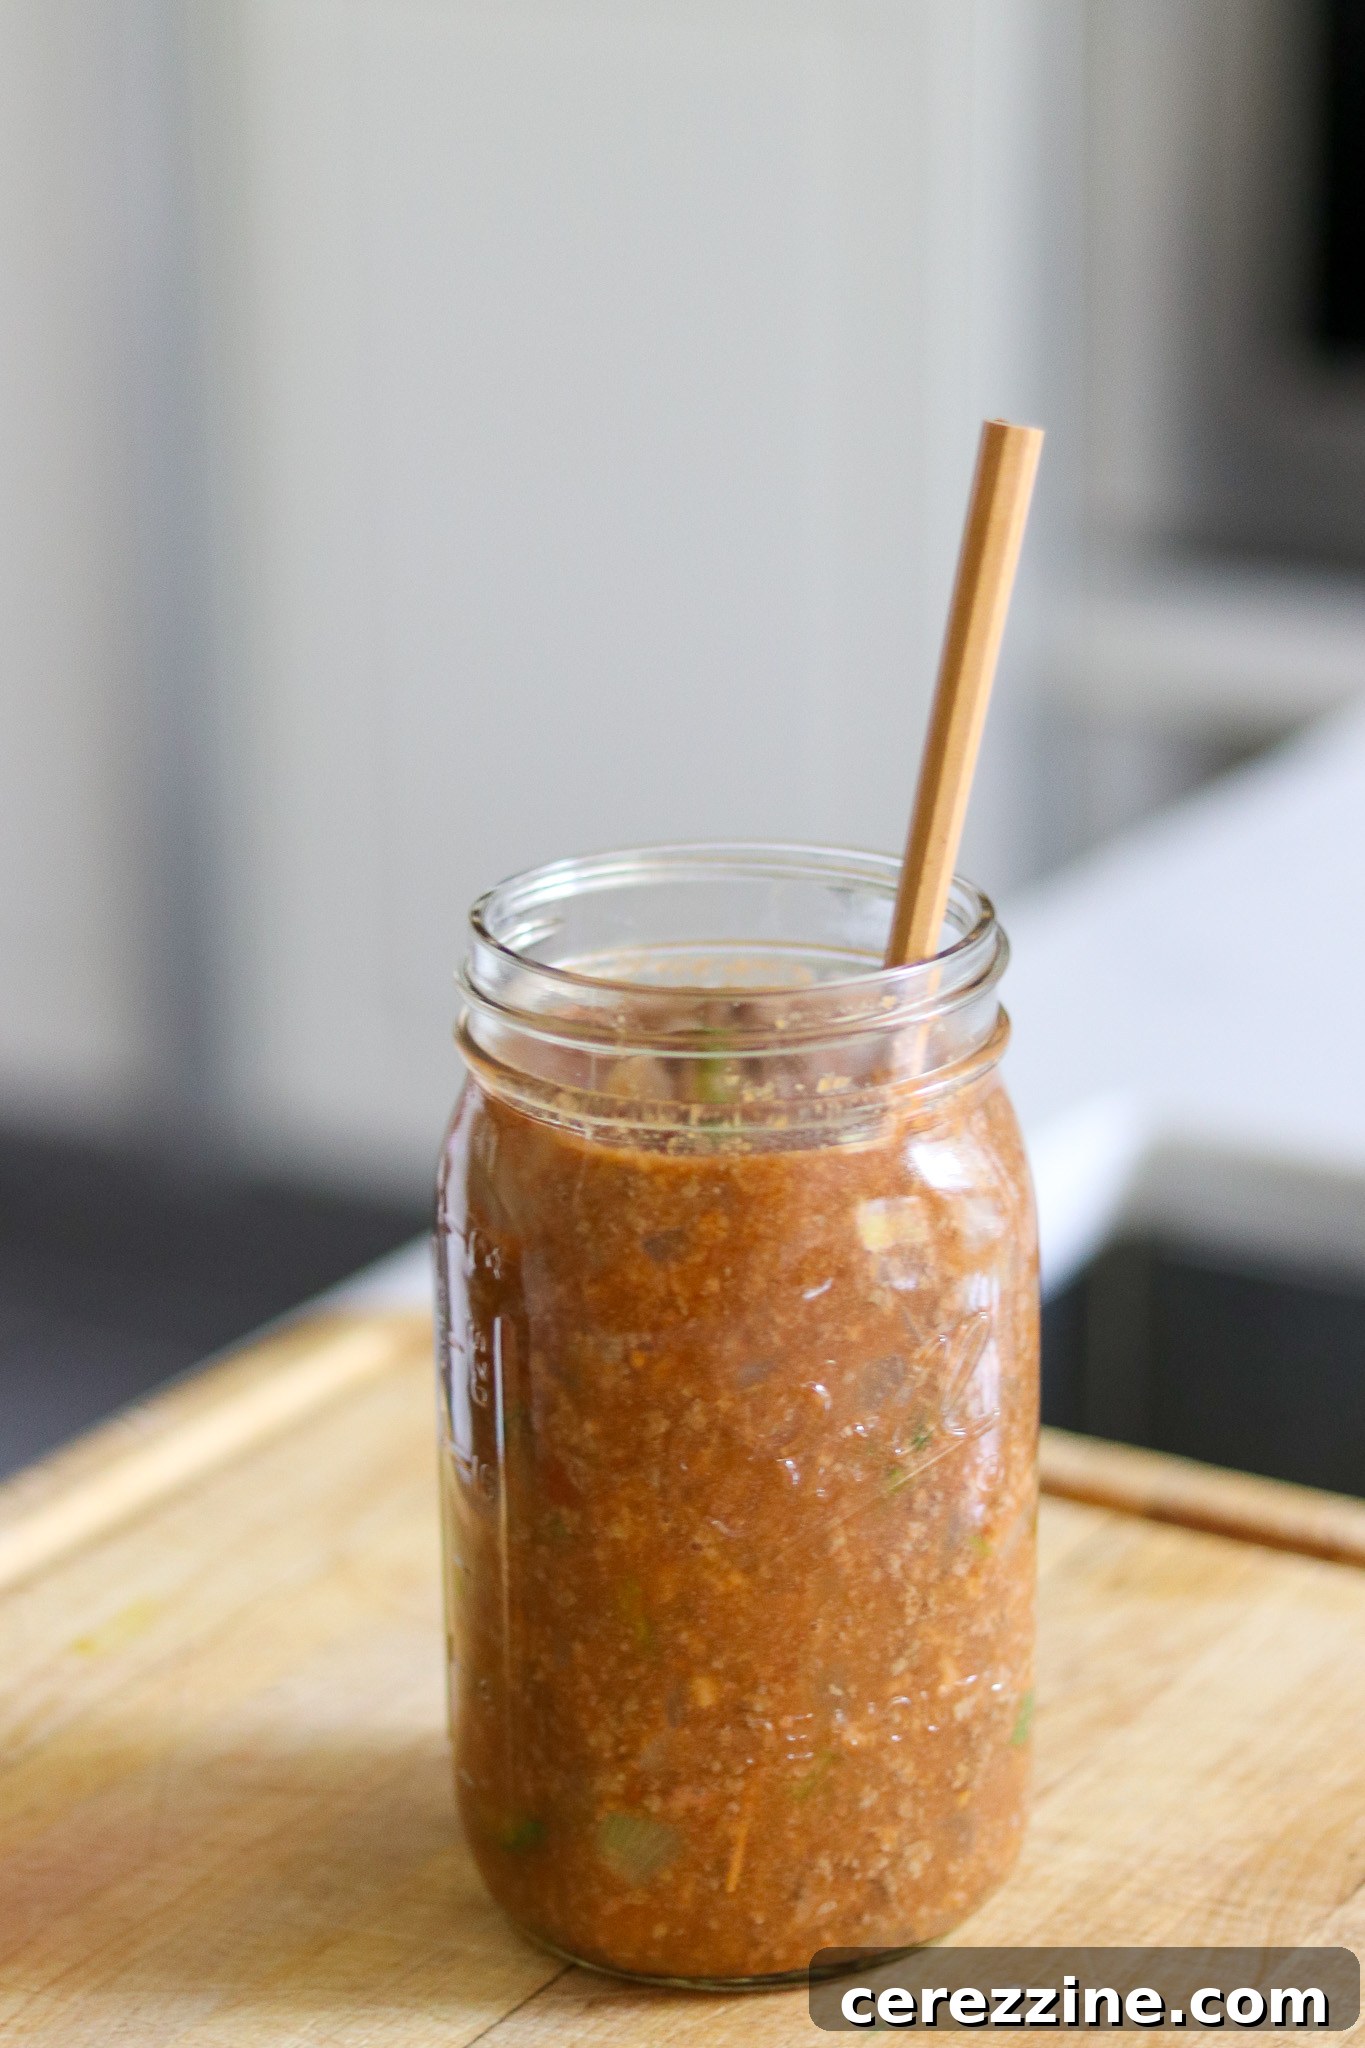
- **Remove Air Bubbles:** Since this filling is relatively thick, diligent air bubble removal is essential. Use a non-metallic tool, such as a wooden chopstick or a plastic de-bubbling tool (found in canning kits), to gently dislodge any trapped air bubbles by running it around the inside of the jar. Avoid using metal implements, which can scratch or chip the glass, potentially leading to jar breakage. After de-bubbling, re-check the headspace and add more filling if needed to maintain that crucial 1-inch space.
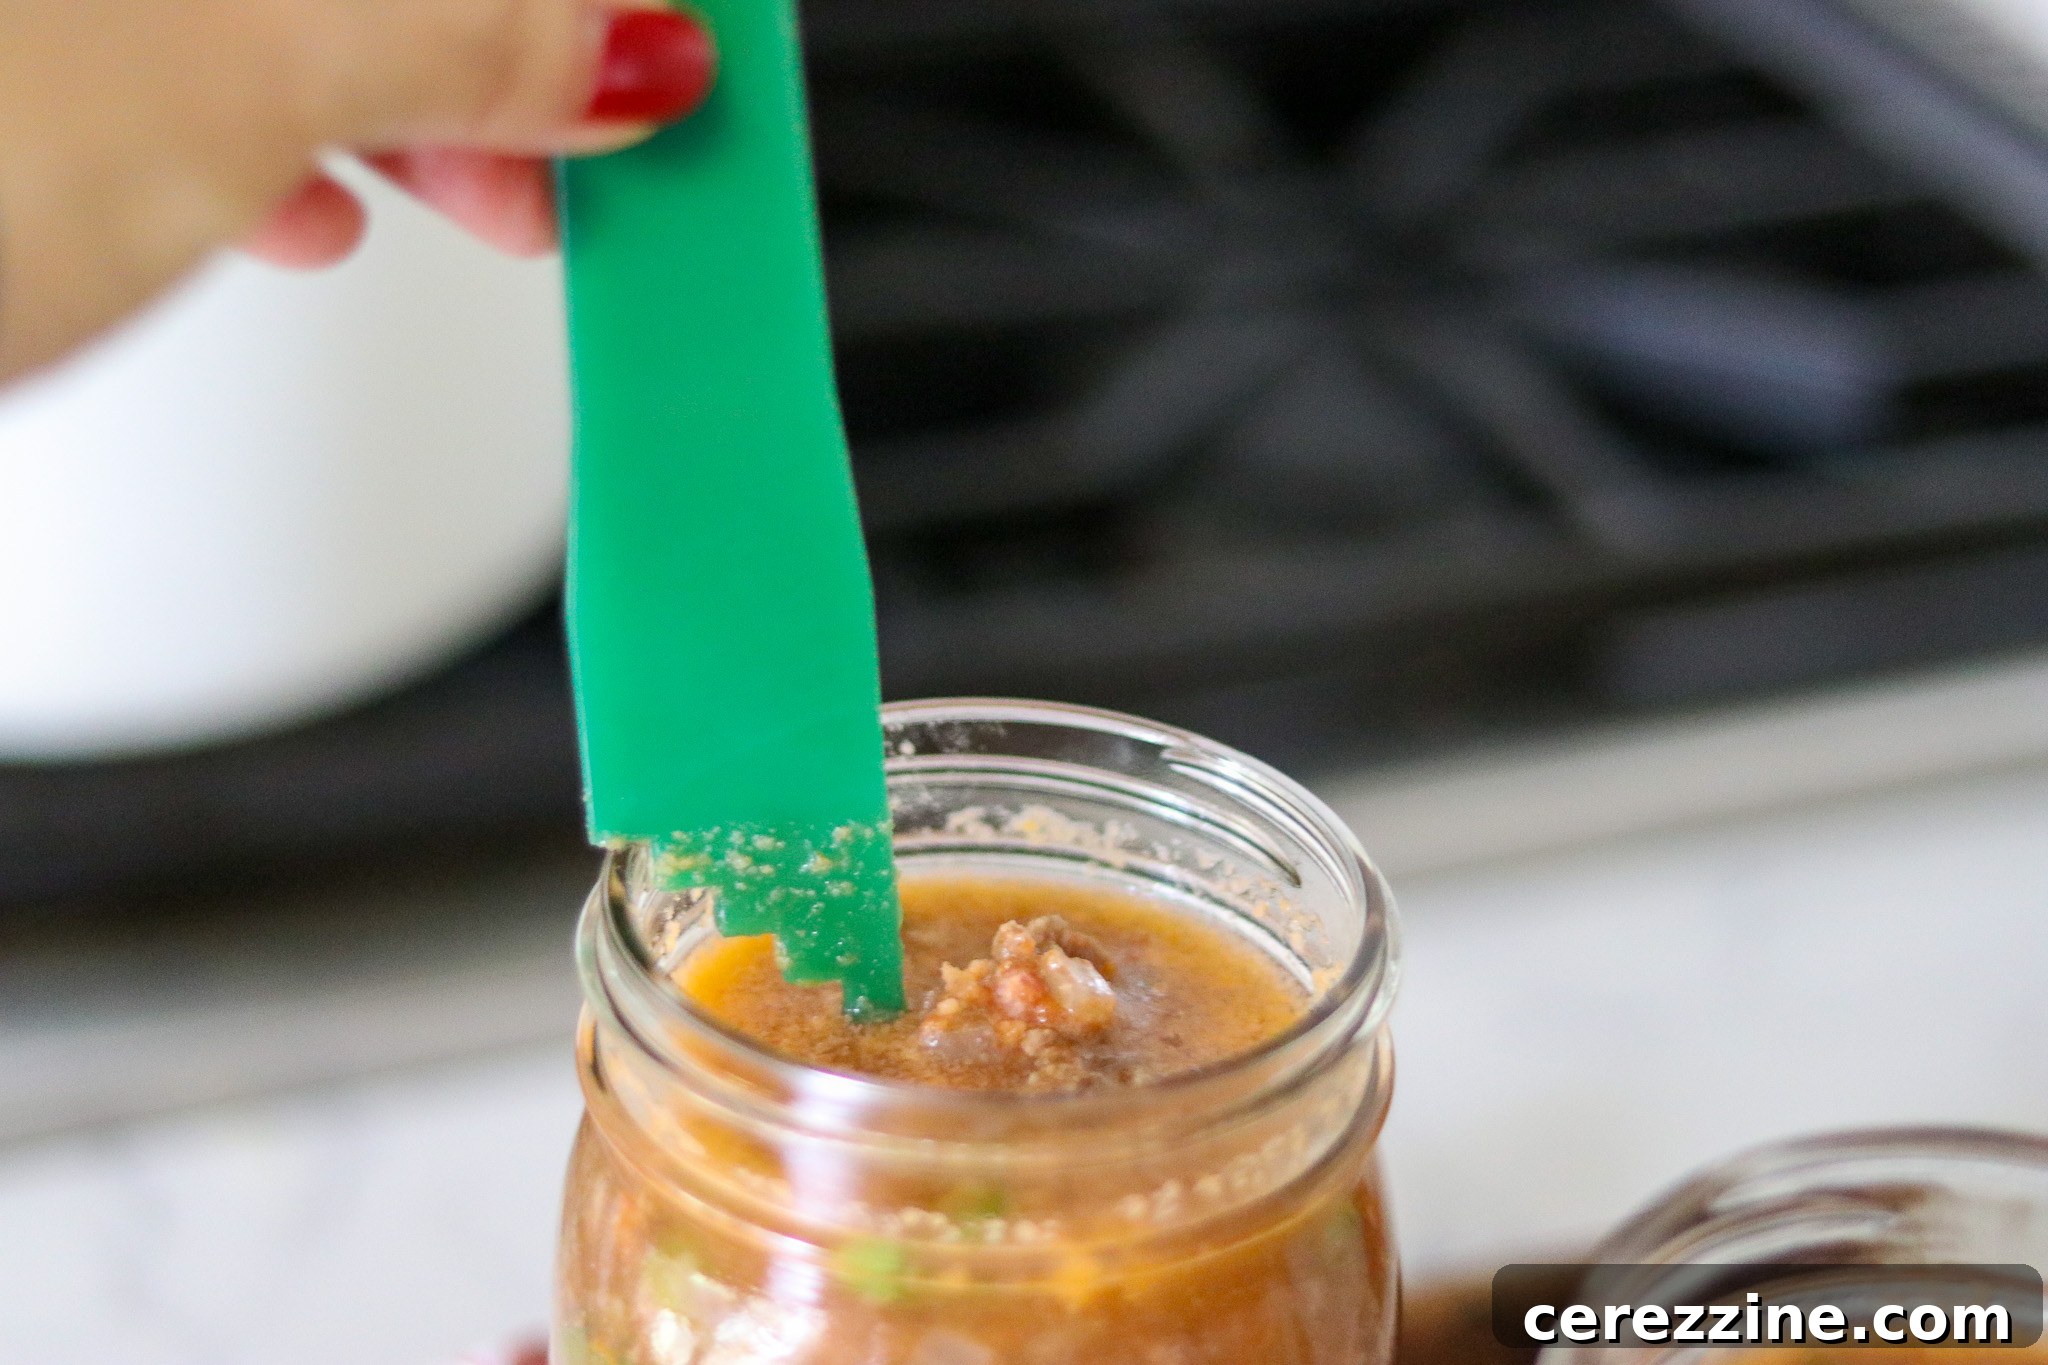
- **Clean Rims and Apply Lids:** Wipe the rims of each jar thoroughly with a clean, damp cloth to remove any food residue. Even a tiny speck of food can prevent a proper seal. Place new, pre-warmed lids on the jars, followed by the screw bands. Tighten the bands to “fingertip tight” – meaning just until you feel resistance, then a tiny bit more. Do not overtighten, as this can prevent air from escaping and hinder the sealing process.
- **Load Canner and Process:** Carefully load the prepared jars into your pressure canner. Secure the canner lid. Allow the canner to vent a steady stream of steam for a full 10 minutes. This purges false air from the canner, ensuring the internal temperature accurately reflects the pressure. After venting, apply the canner weight or close the petcock (depending on your canner type) and bring the pressure up to the required level.
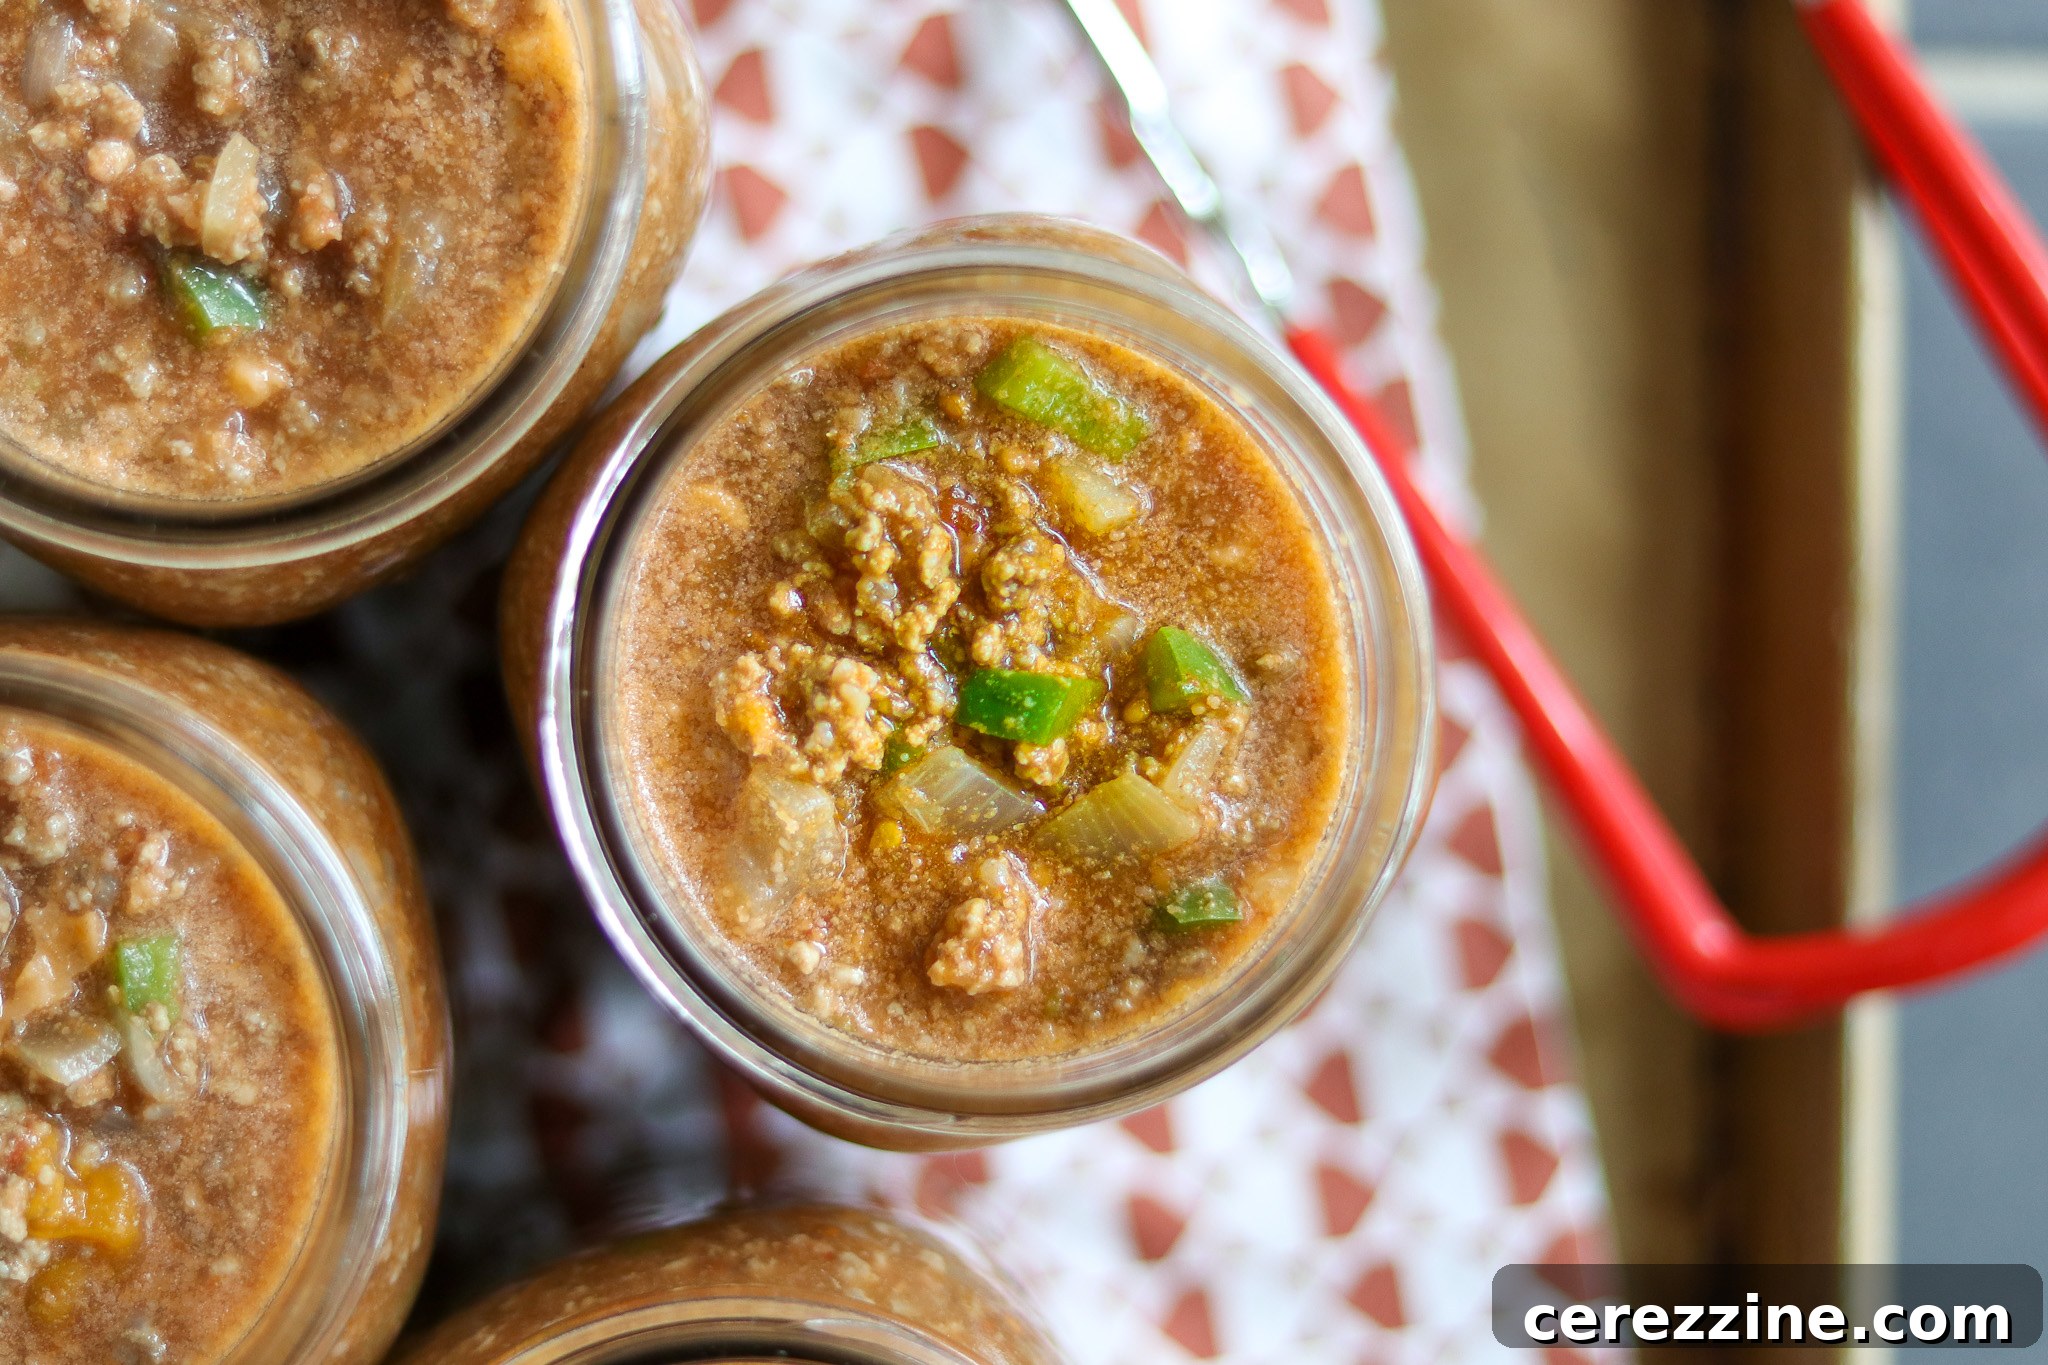
Process pint jars for 75 minutes and quart jars for 90 minutes. Ensure the pressure remains constant throughout the entire processing time, adjusting heat as necessary. Refer to the altitude adjustment section below for specific pressure requirements based on your elevation.
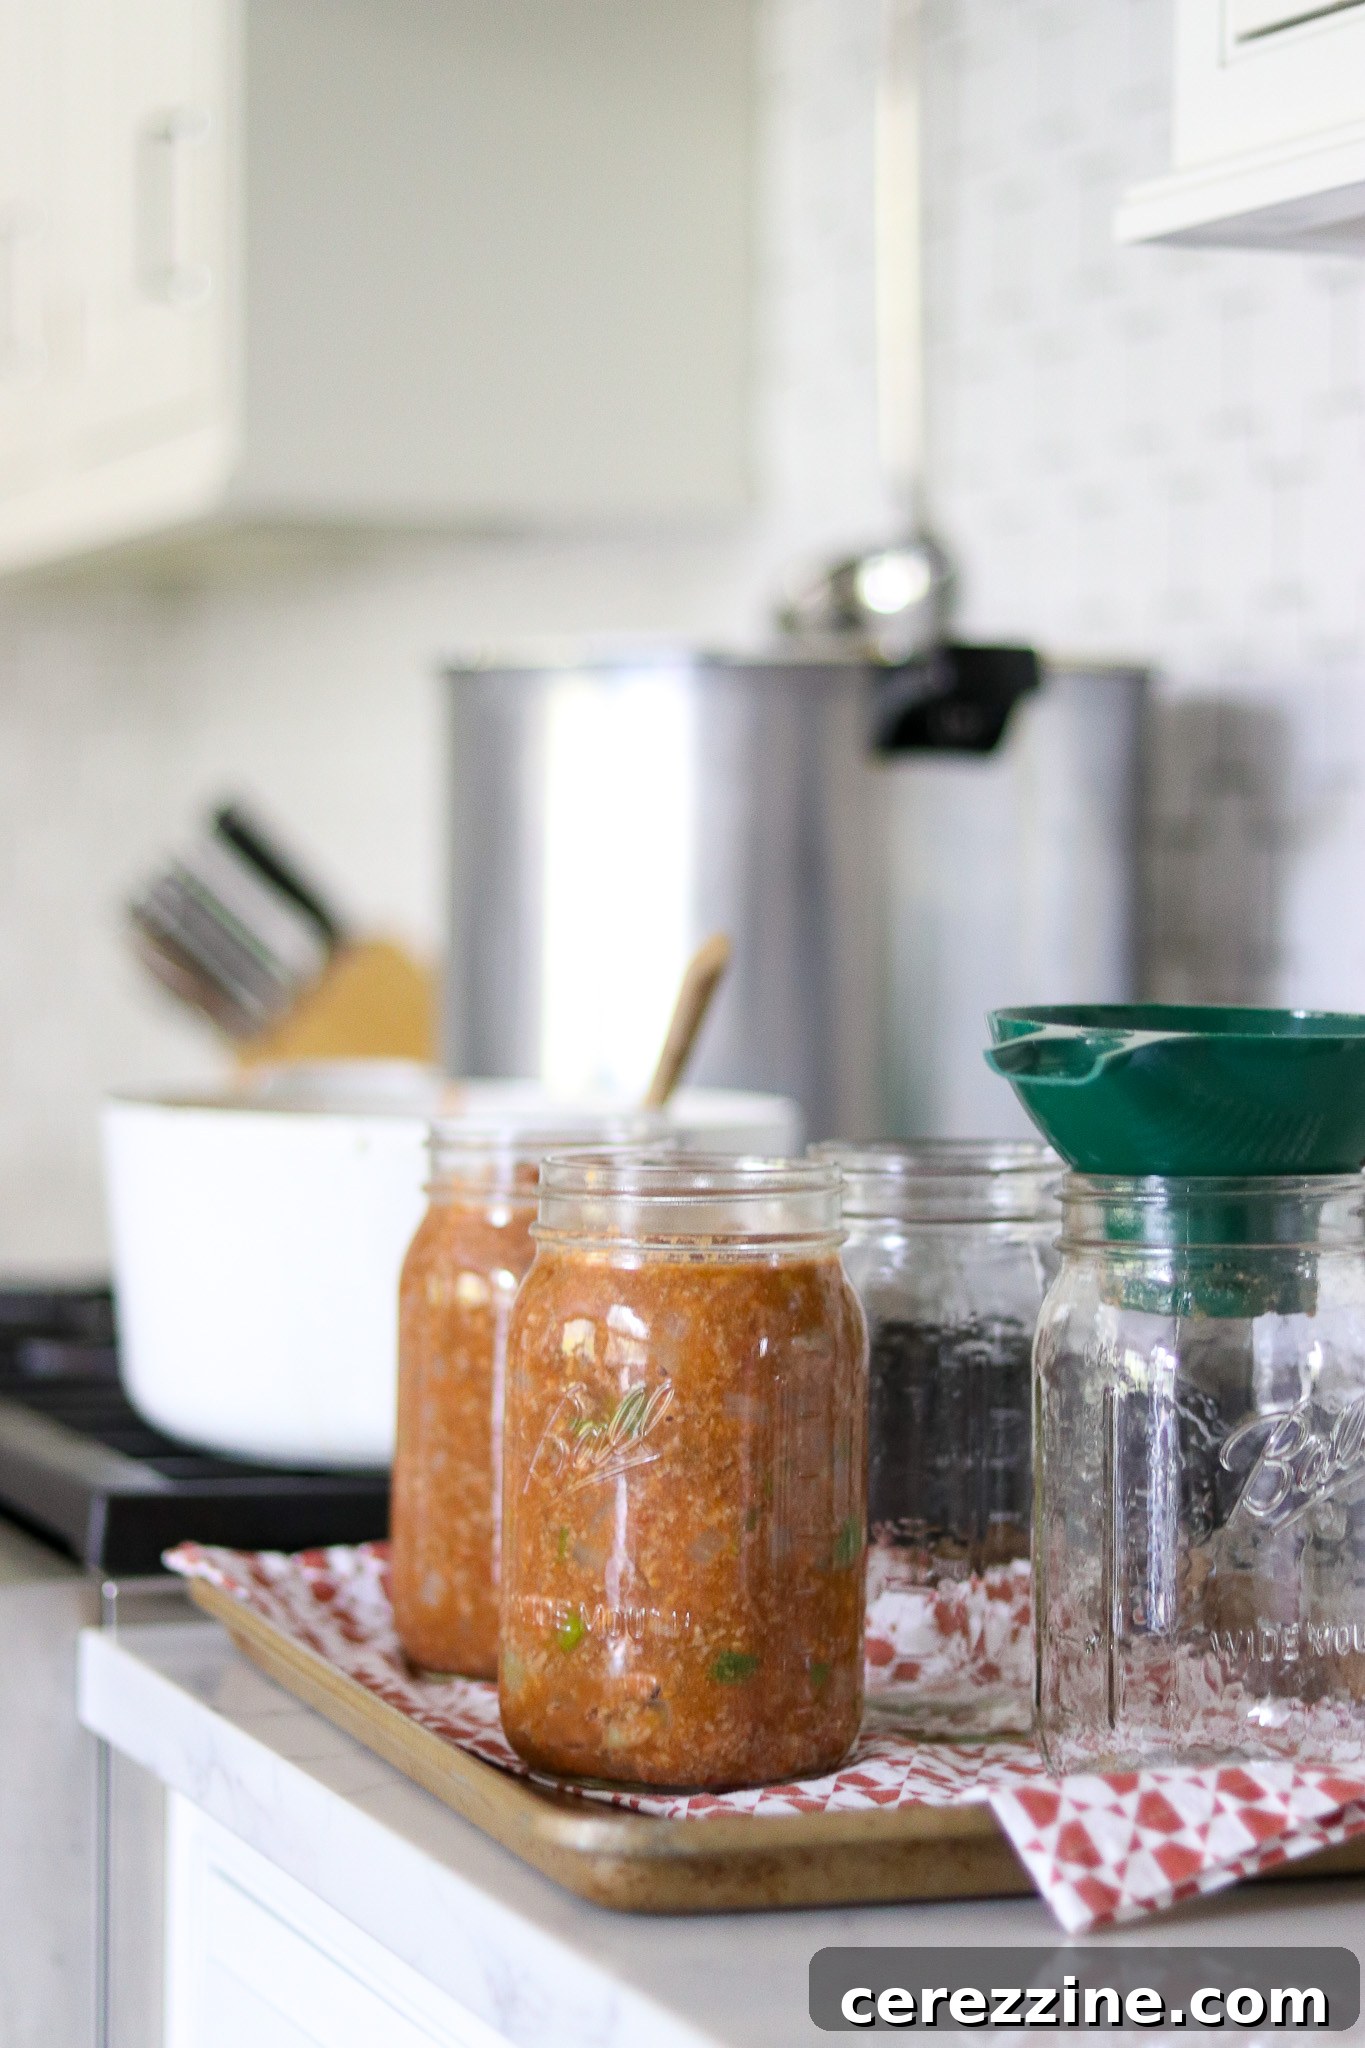
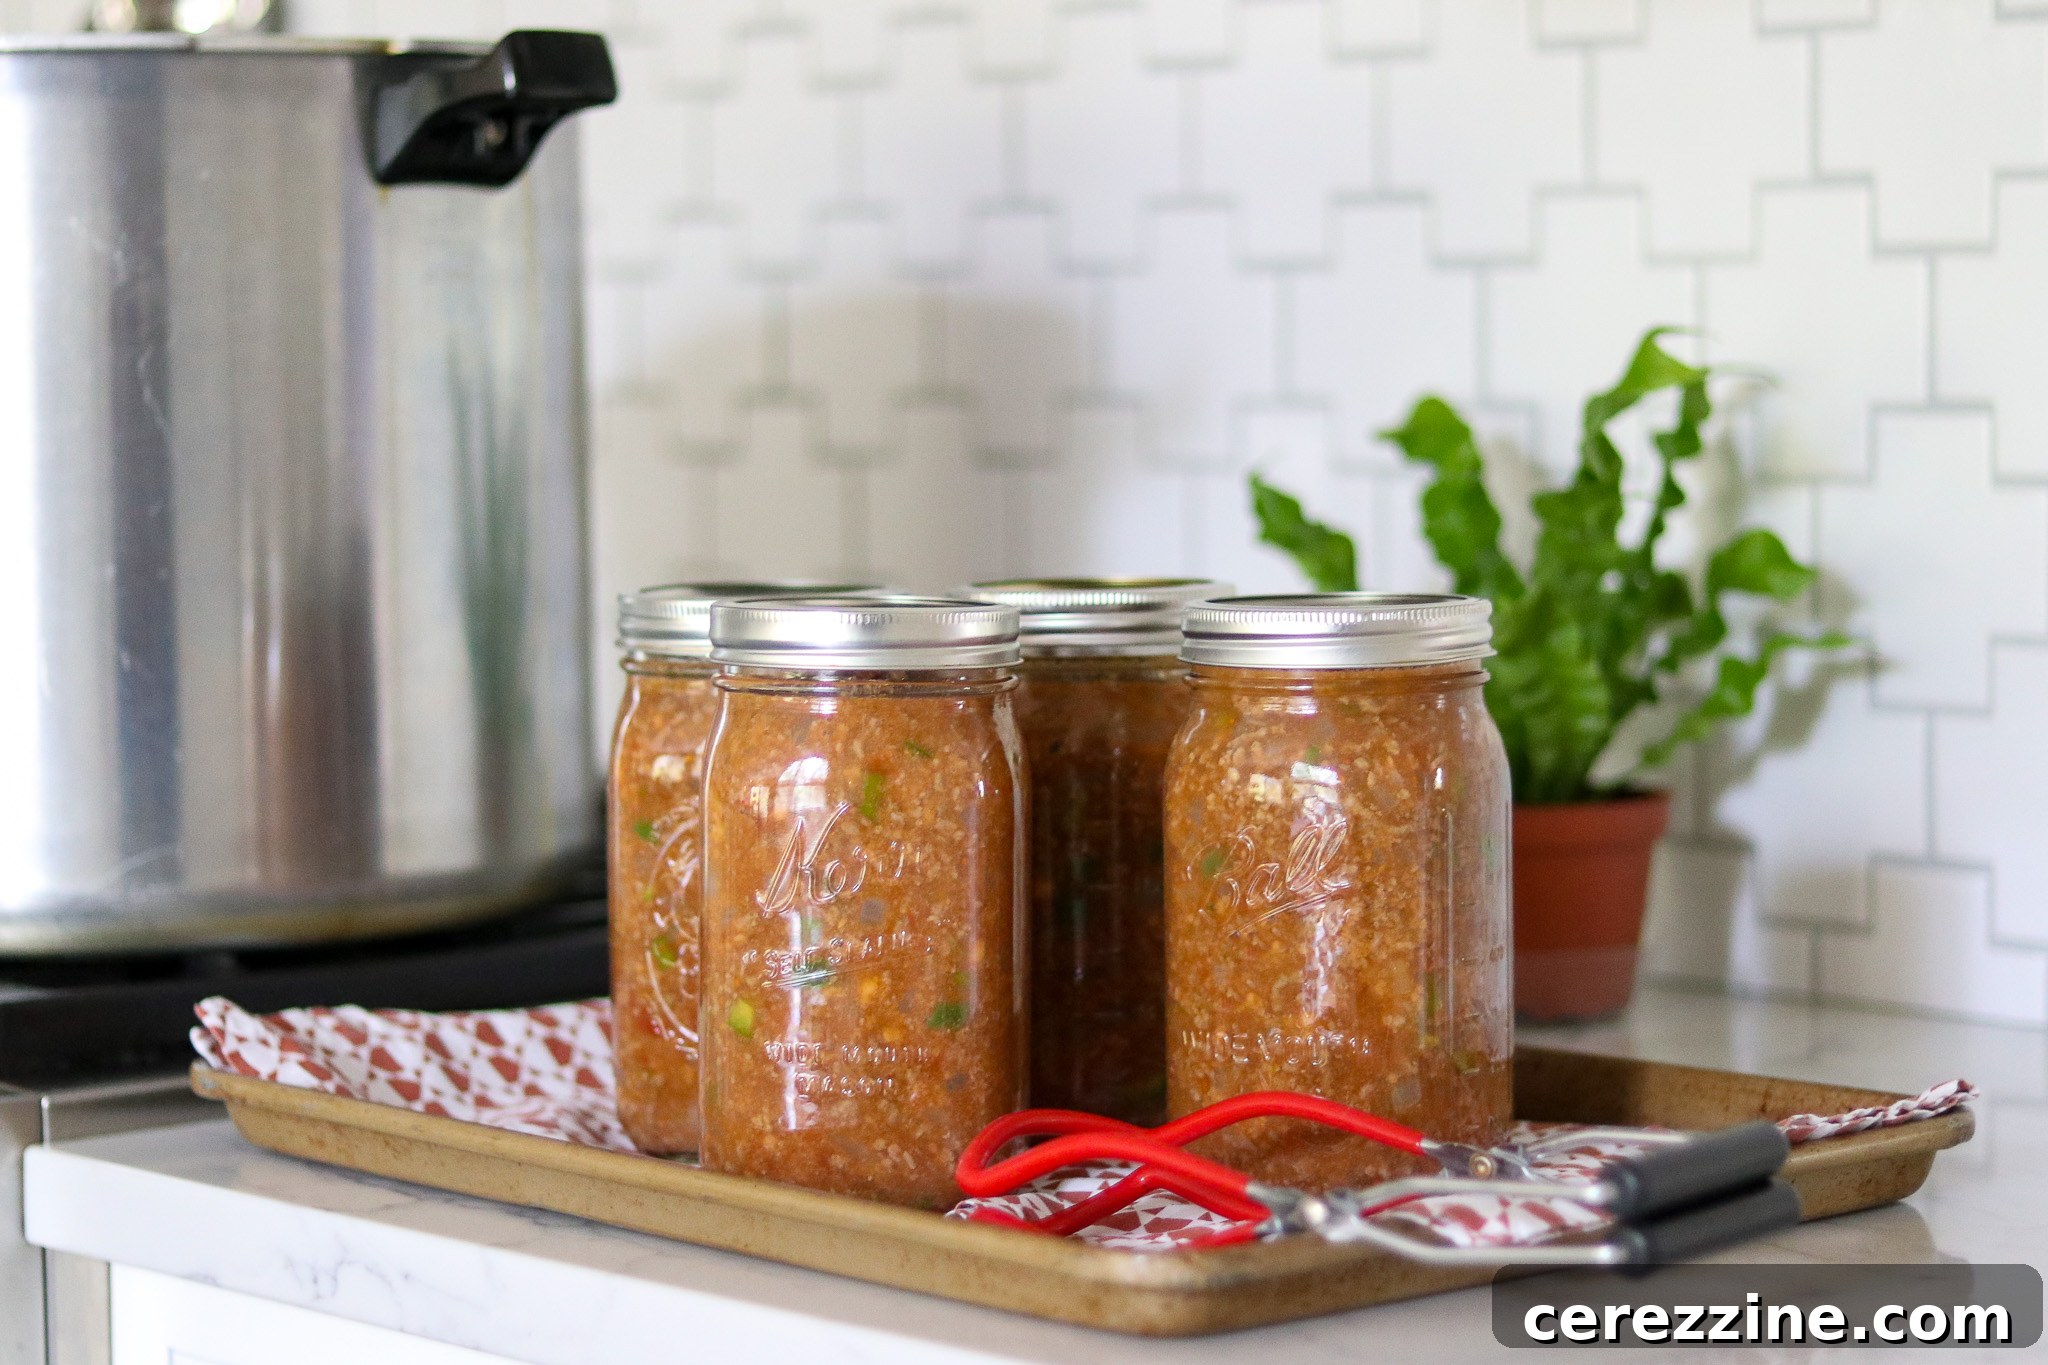
- **Cool and Store:** Once the processing time is complete, turn off the heat and allow the pressure canner to depressurize naturally. Do not try to rush this process. Wait until the pressure gauge reads zero and then wait an additional five minutes before carefully opening the lid away from your face. Remove the hot jars and place them on a towel-lined surface in a draft-free area, allowing them to cool undisturbed for 12-24 hours.
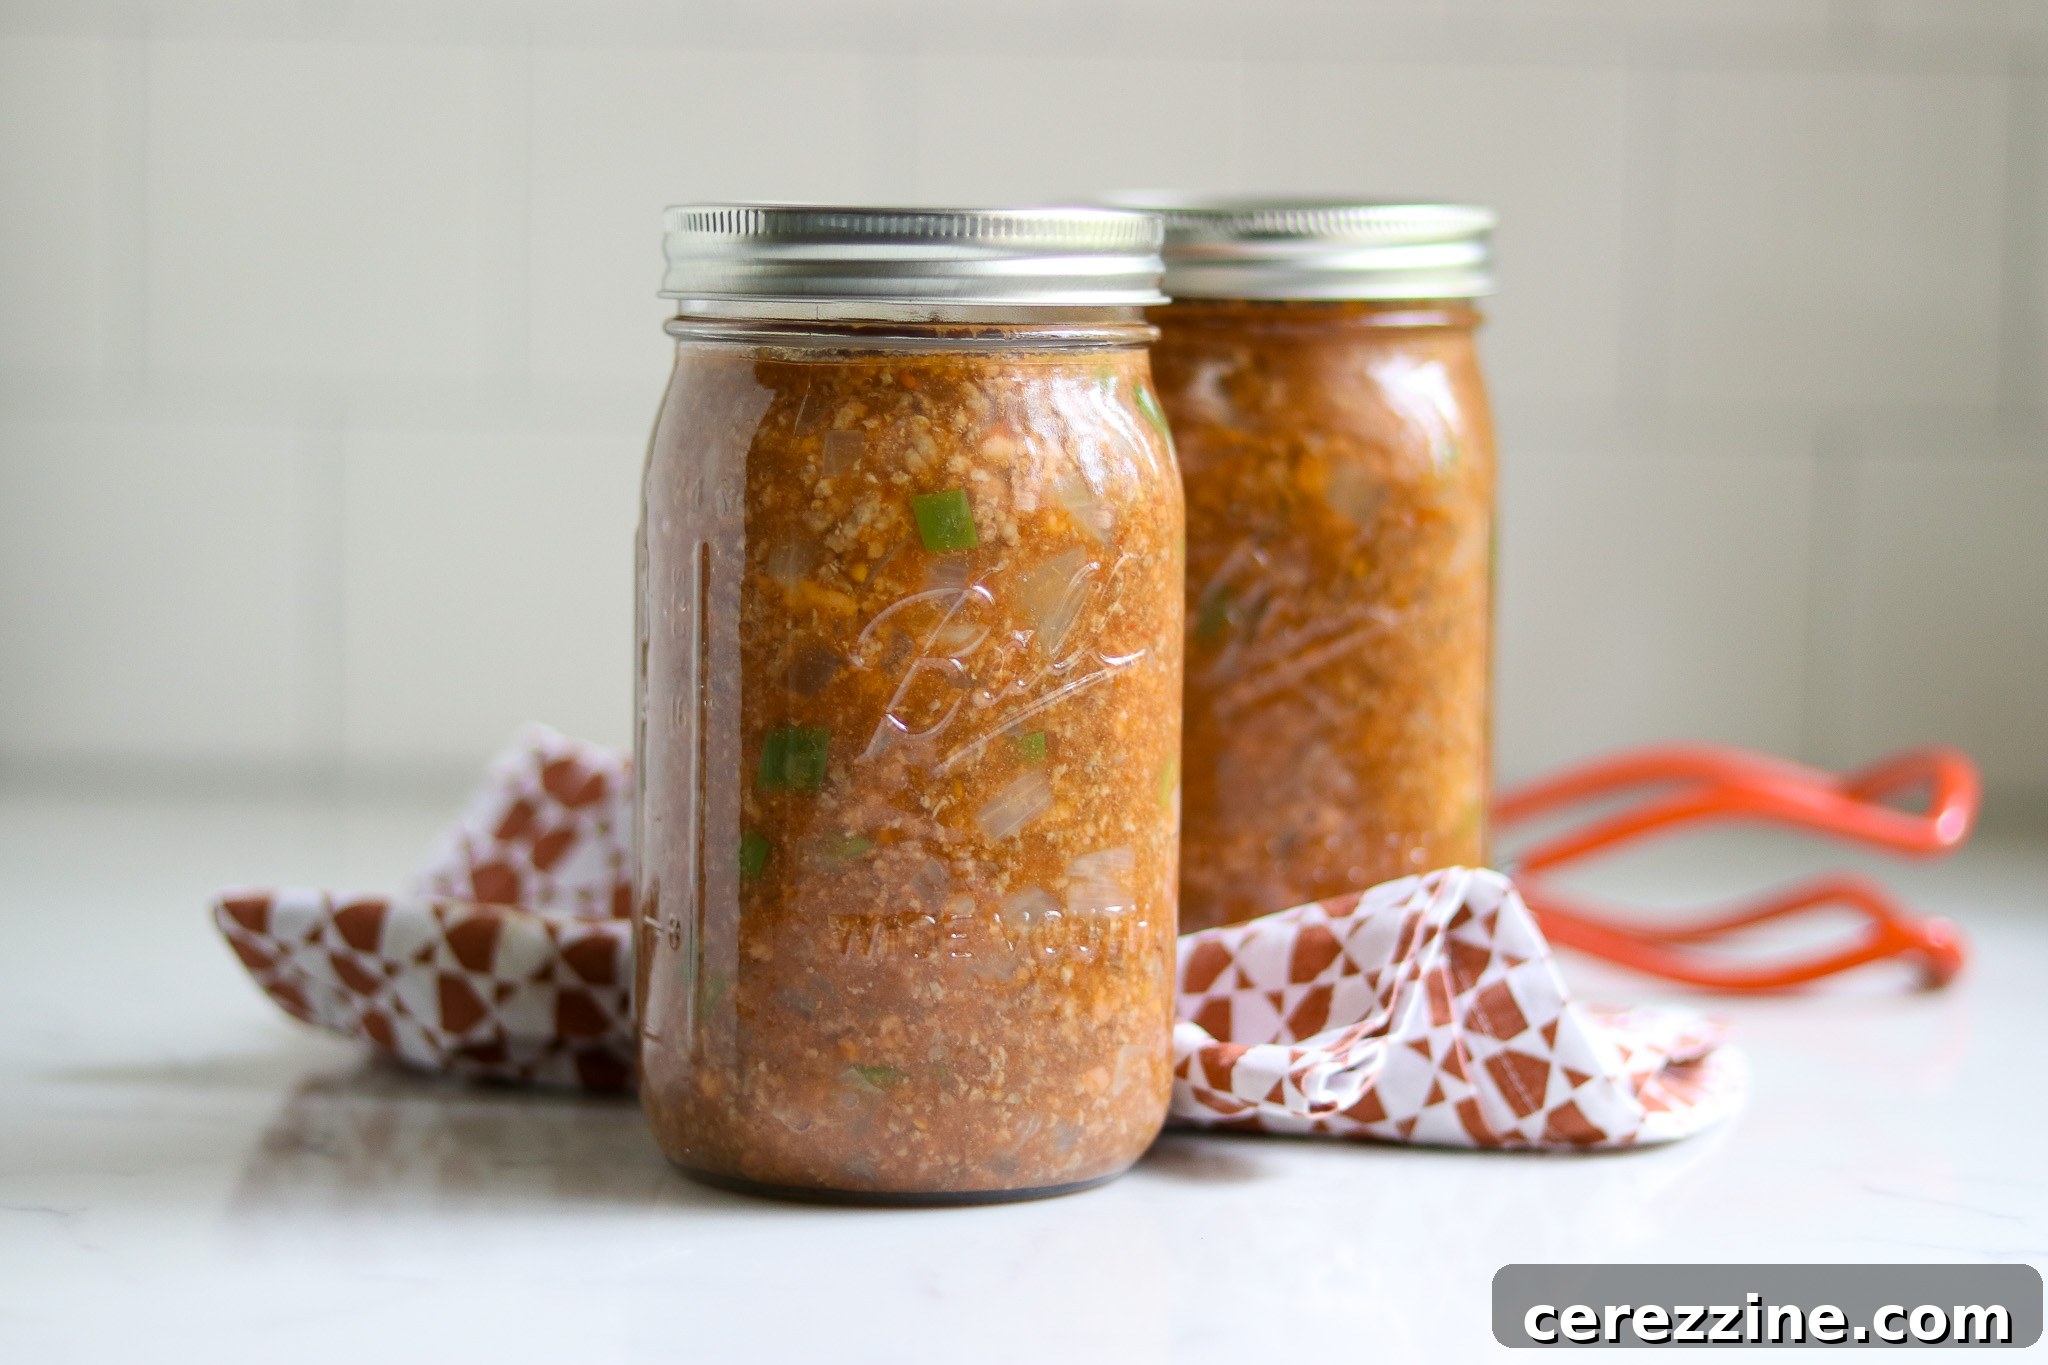
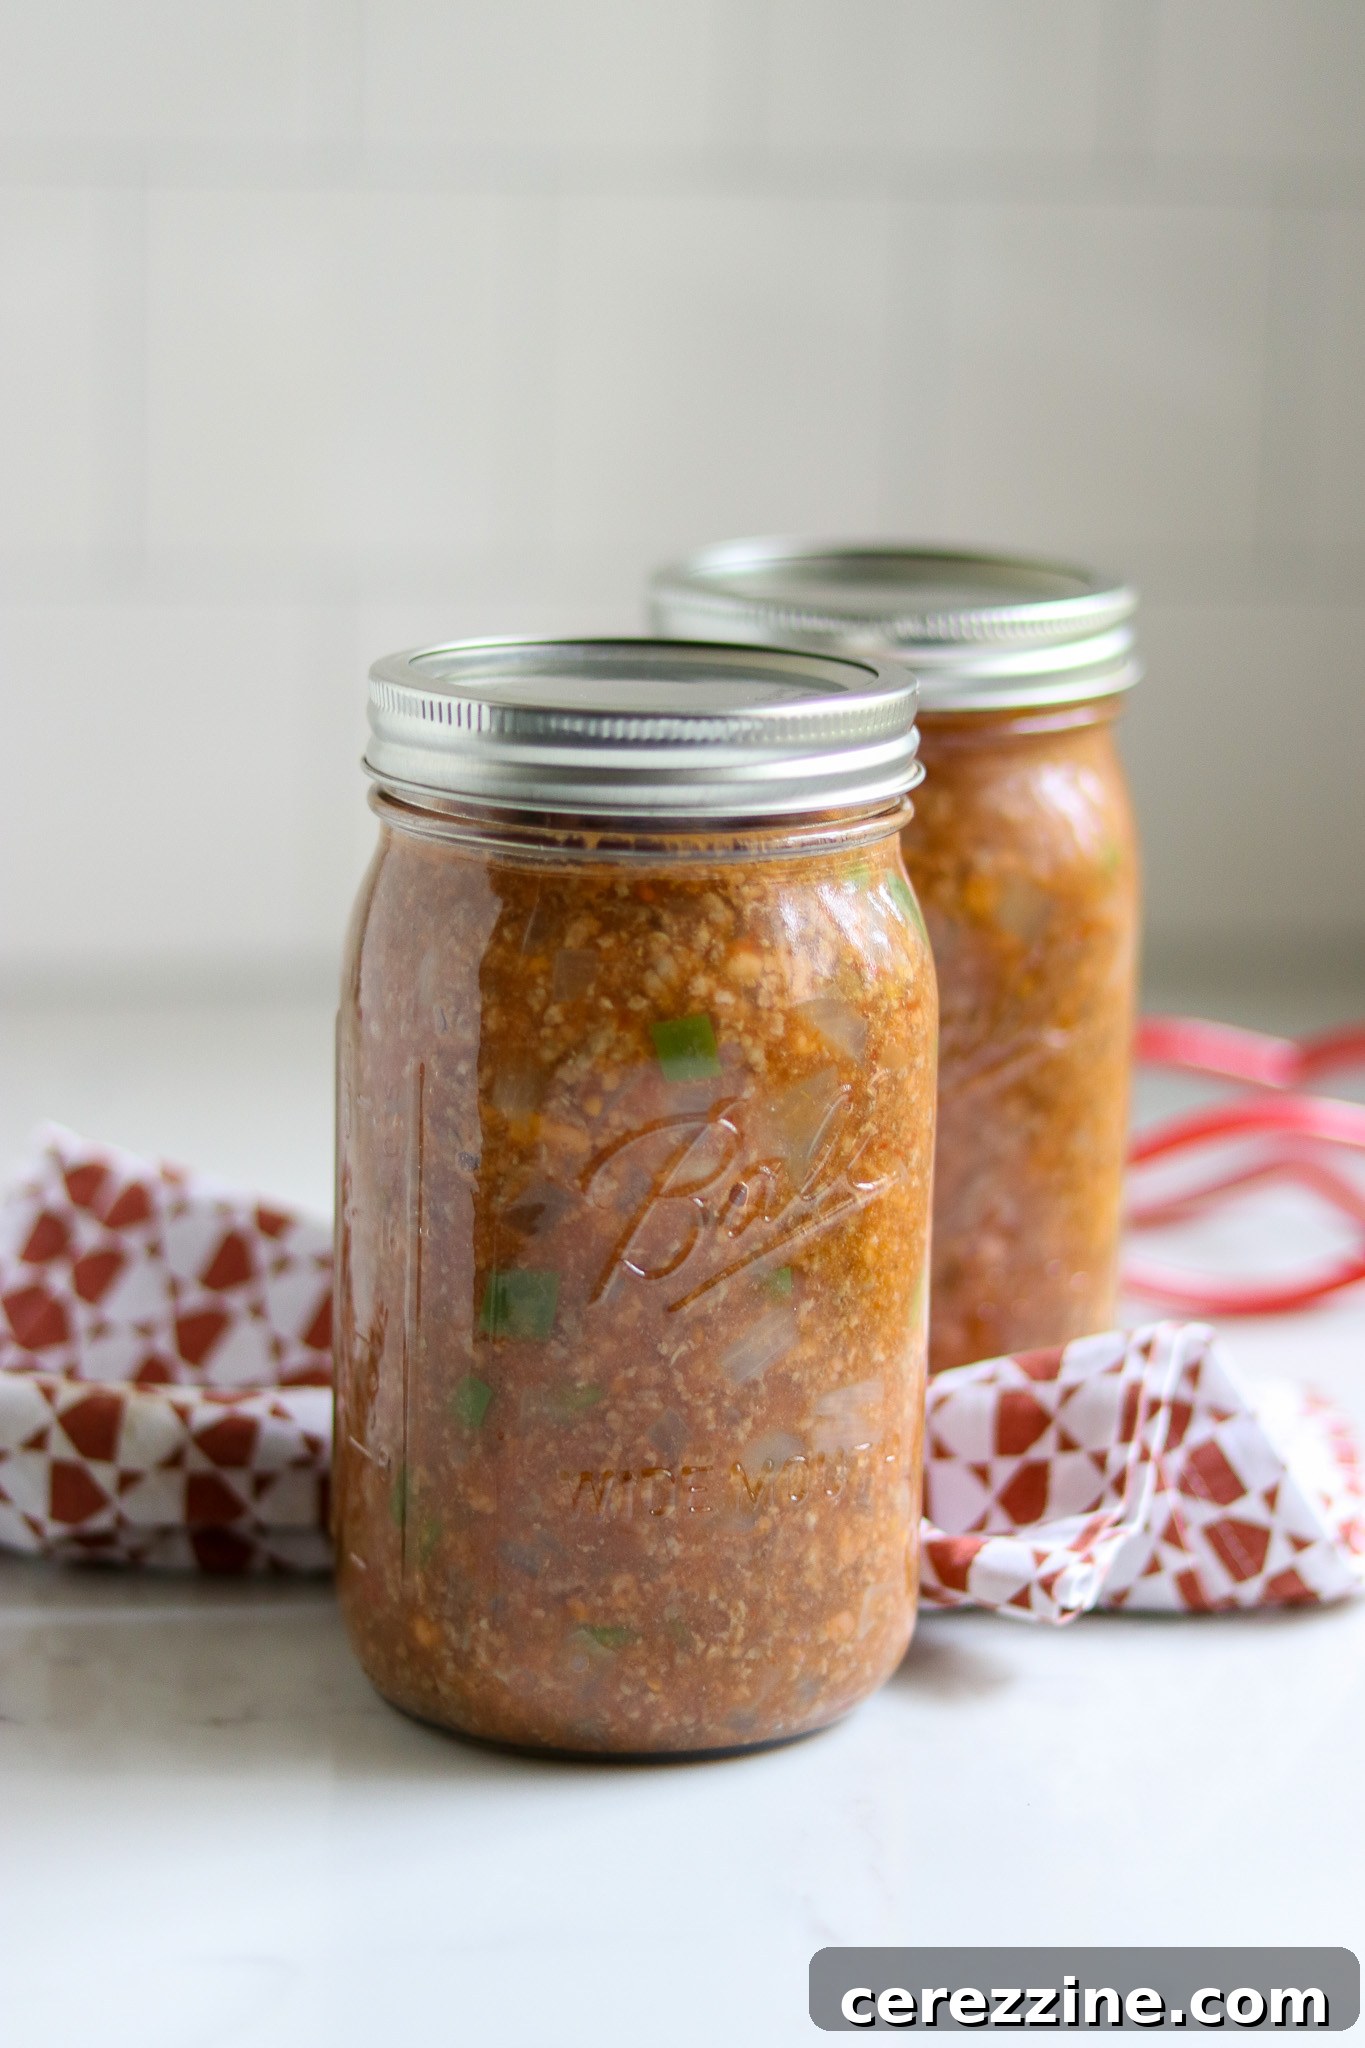
After cooling, check all seals. A properly sealed lid will be concave and will not flex when pressed. Any jars that have not sealed should be refrigerated and consumed within a few days. Label your successfully sealed jars with the contents and date, then store them in a cool, dark place for optimal quality. Home-canned Sloppy Joe filling will maintain peak quality for 12-18 months and remain safe to eat as long as the seal is intact. Always refrigerate after opening.
Altitude Adjustments for Pressure Canning
While the canning time for Sloppy Joe filling remains constant regardless of your altitude, the processing pressure must be adjusted as elevation increases. This ensures that the internal temperature within the canner reaches the necessary level for safe preservation.
Use the following tables to determine the correct processing pressure if you are canning above 1,000 feet in elevation:
For Dial Gauge Pressure Canners:
- 0 to 2,000 feet in elevation – 11 lbs pressure
- 2,001 to 4,000 feet in elevation – 12 lbs pressure
- 4,001 to 6,000 feet in elevation – 13 lbs pressure
- 6,001 to 8,000 feet in elevation – 14 lbs pressure
For Weighted Gauge Pressure Canners:
- 0 to 1,000 feet in elevation – 10 lbs pressure
- Above 1,000 feet – 15 lbs pressure
Serving Your Delicious Canned Sloppy Joe Filling
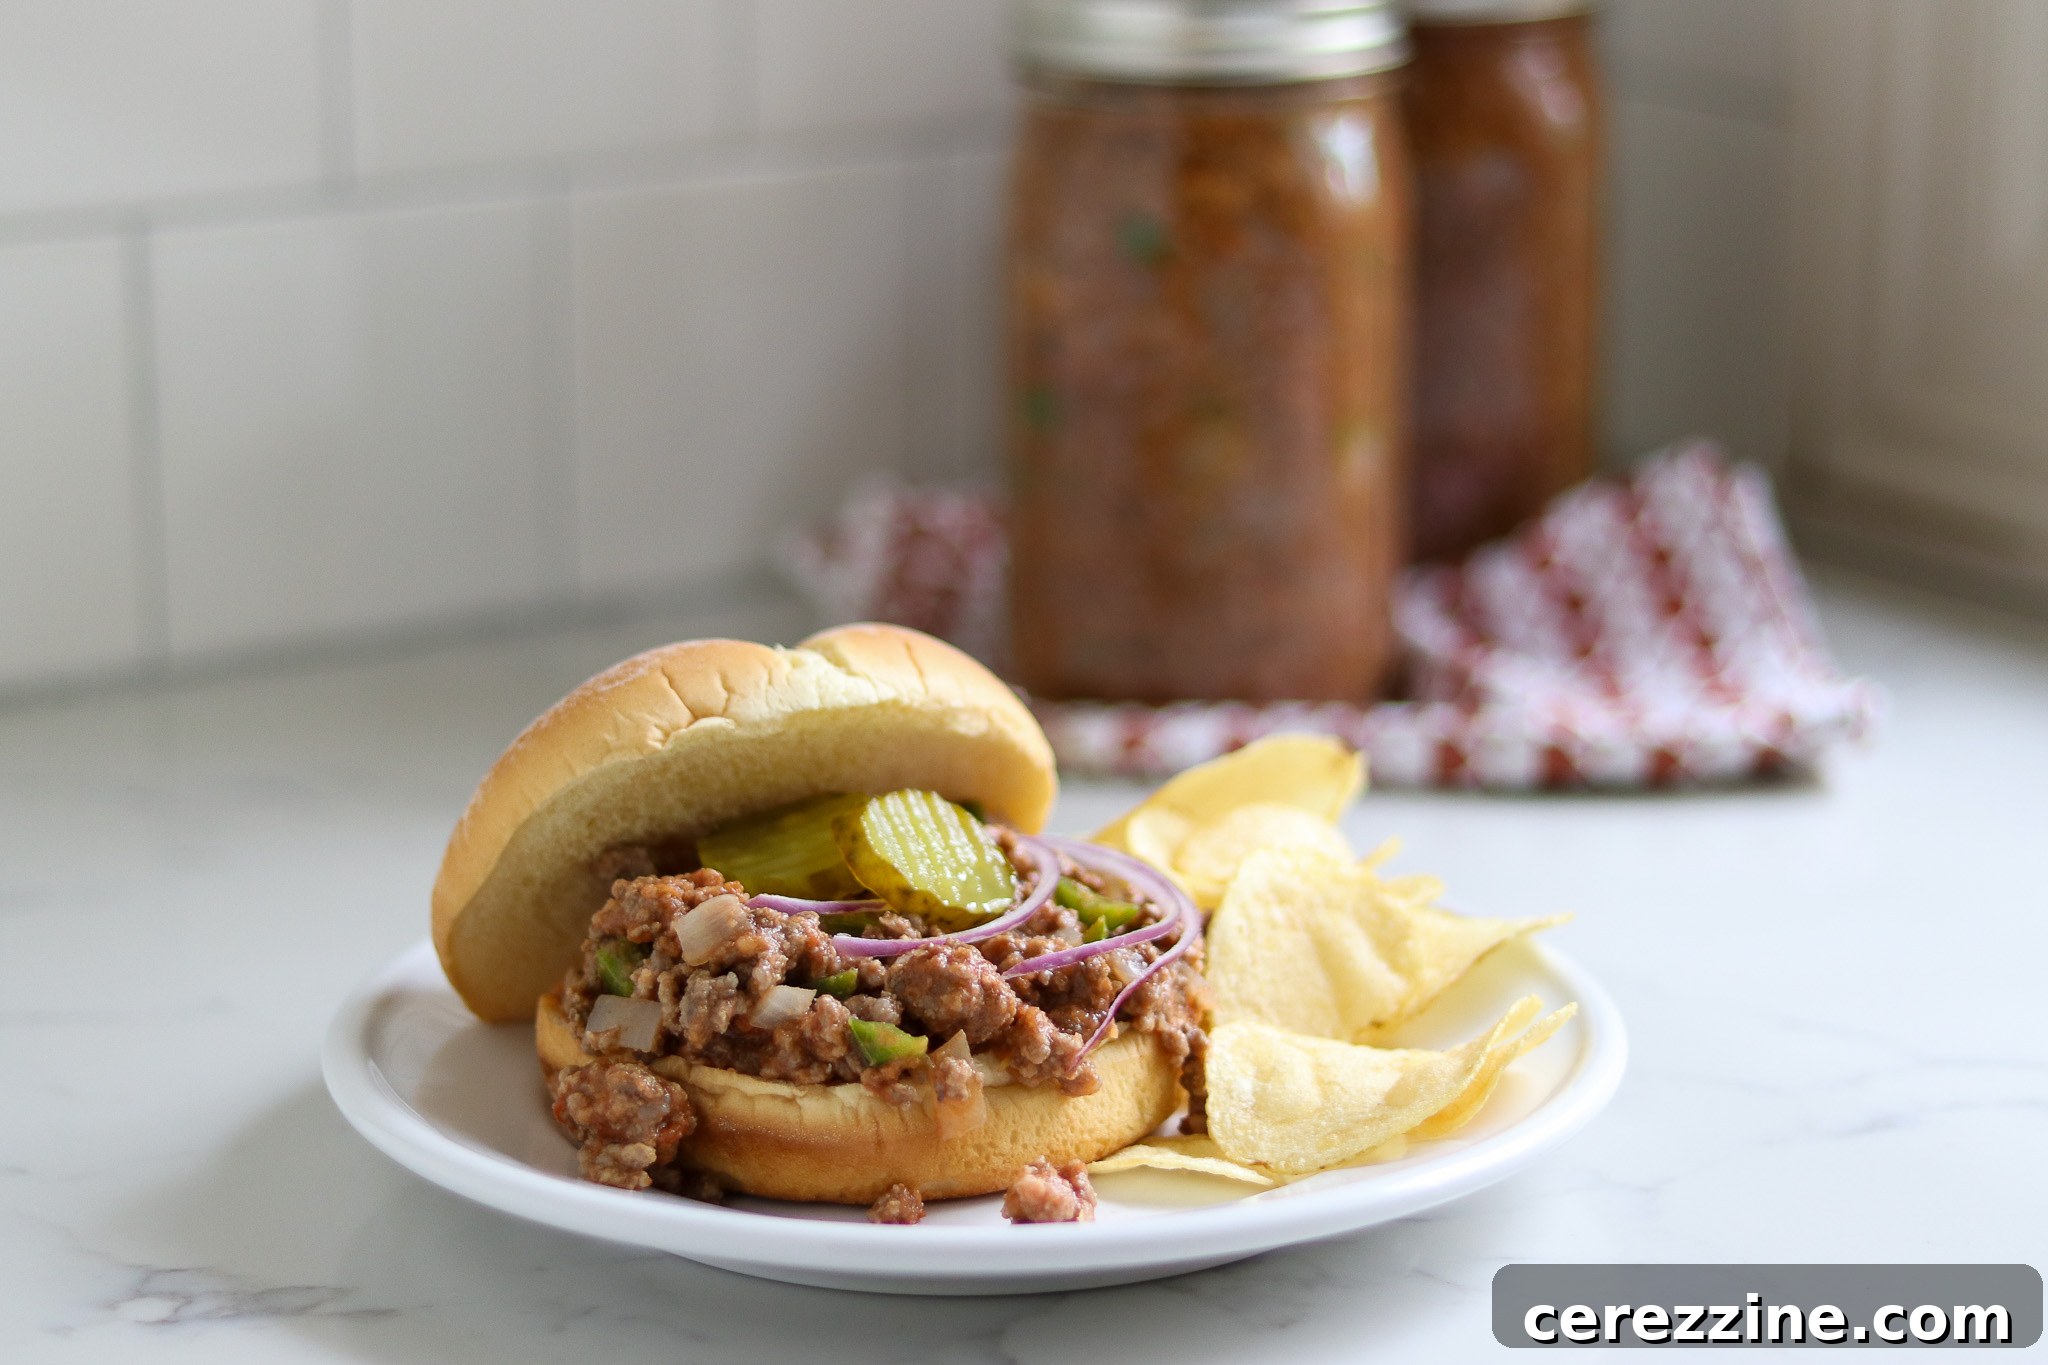
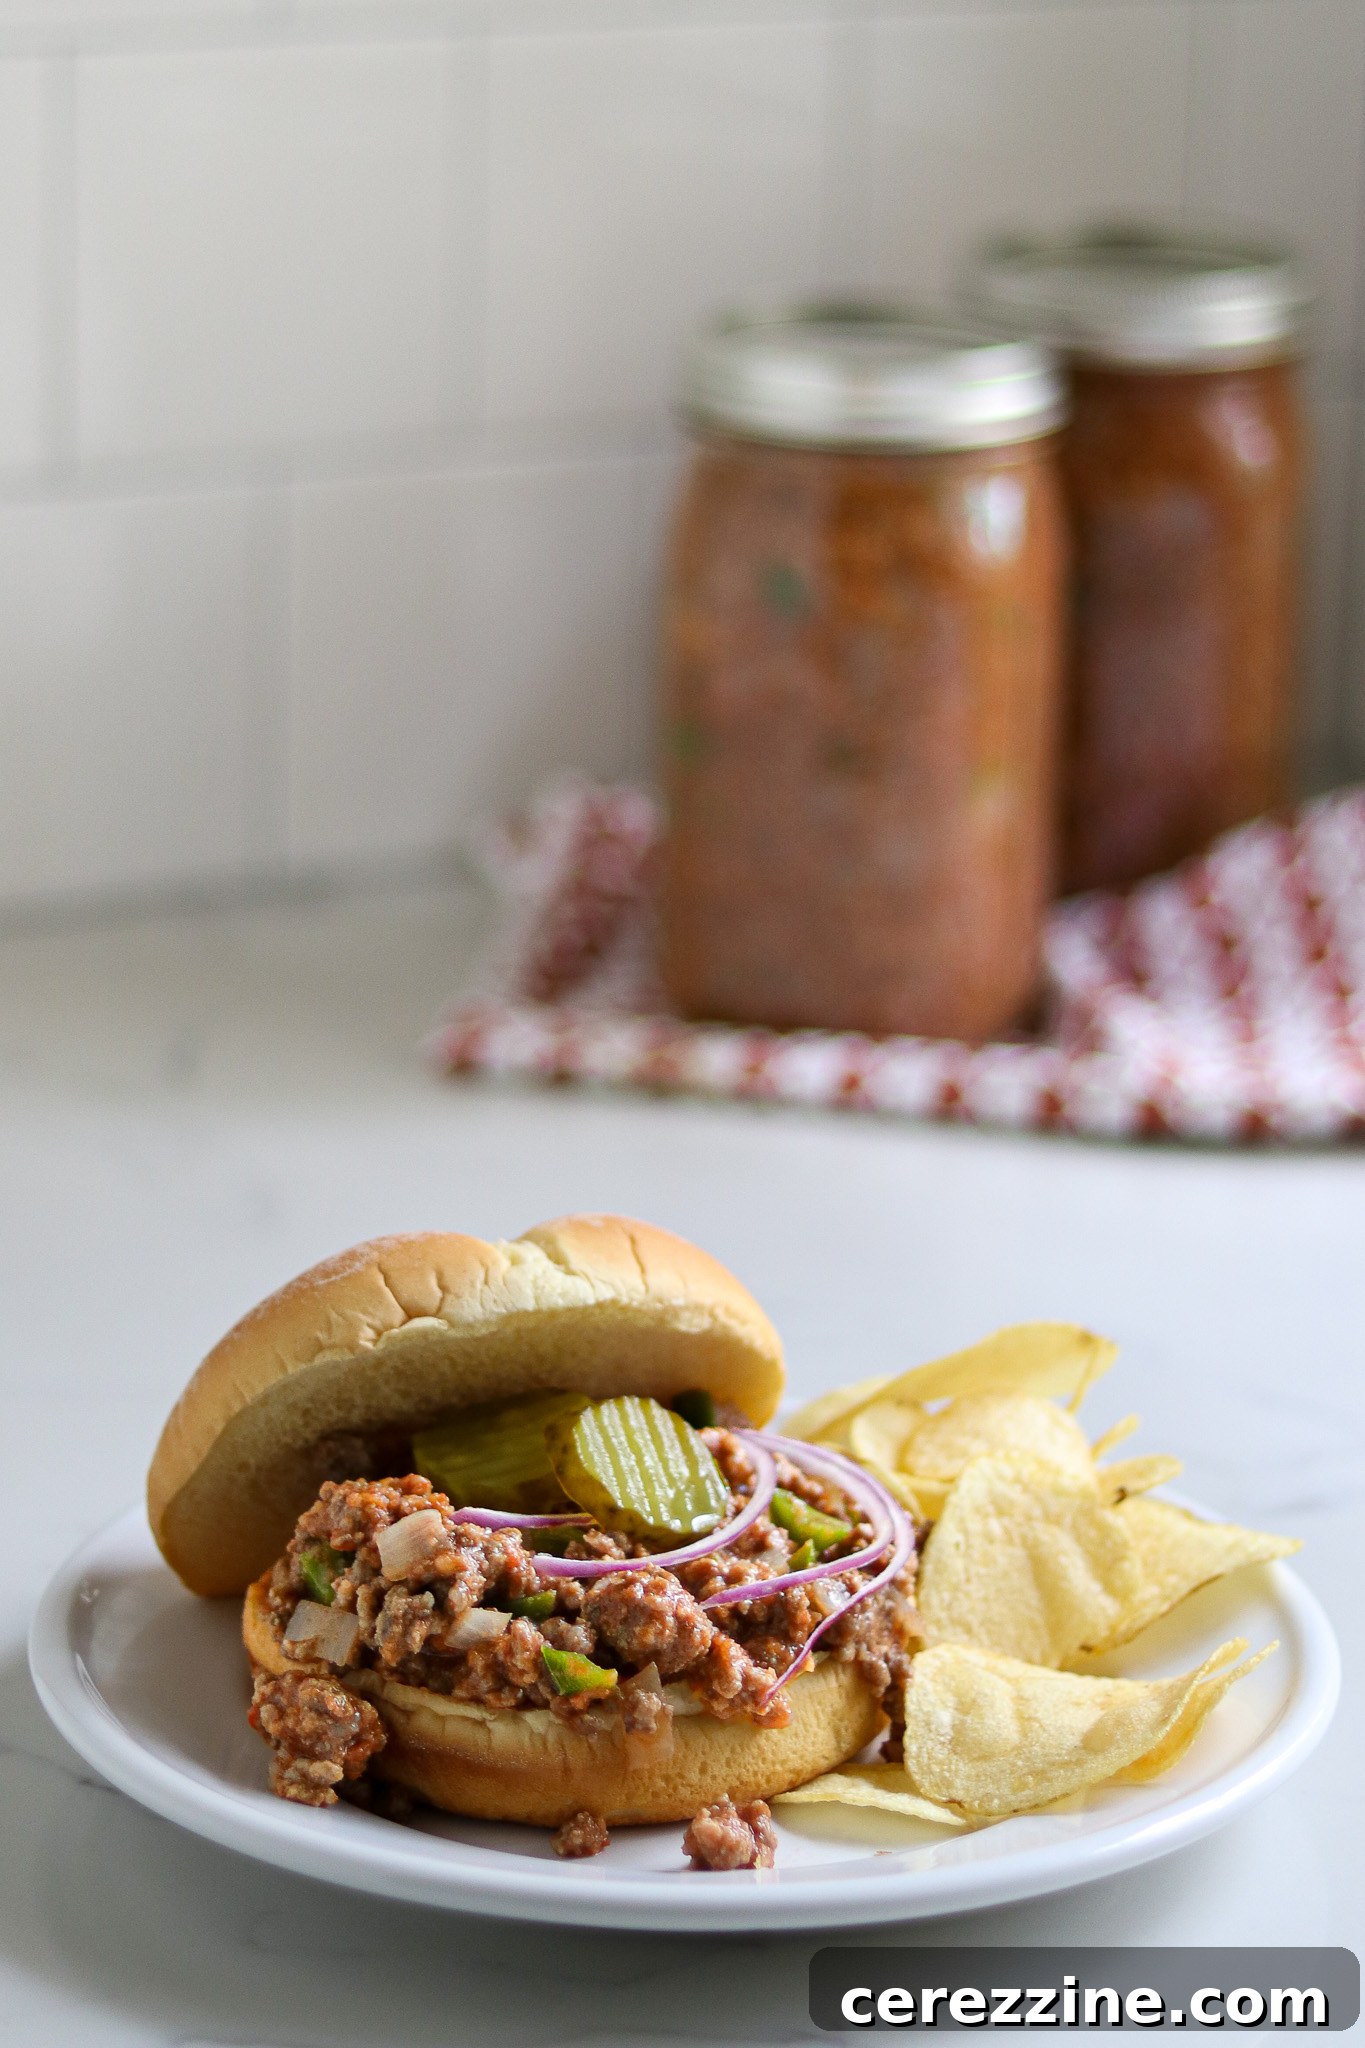
One of the best attributes of Sloppy Joes is their incredible versatility, allowing for a multitude of serving options beyond the traditional sandwich. Classic Sloppy Joe sandwiches, served on toasted buns, are always a hit. But don’t stop there!
Get creative by serving the flavorful filling over fluffy baked potatoes, creamy mashed potatoes, or your favorite pasta noodles for a comforting meal. It also makes a fantastic topping for a hearty green salad, offering a low-carb, high-protein option when served in crisp lettuce cups. Imagine a “Sloppy Joe Bowl” with rice or quinoa as a base!
Perfect Pairings and Topping Ideas
While Sloppy Joes are delicious on their own, they truly shine when accompanied by the right side dishes. Some popular and easy-to-make accompaniments include crispy French fries, creamy coleslaw, savory baked beans, classic potato salad, or sweet corn on the cob. These sides not only complement the rich flavor of the Sloppy Joe filling but also help balance the meal.
Reheating your canned Sloppy Joe filling couldn’t be simpler: just empty a jar into a saucepan and simmer for about 10 minutes, stirring occasionally, until it has thickened to your desired consistency and is heated through. That’s it – a wholesome, homemade meal ready in minutes!
Don’t forget the toppings to elevate your Sloppy Joe experience! Consider adding a sprinkle of shredded cheddar cheese, tangy pickle slices, fresh tomato, or a dollop of sour cream. And a word of advice: make sure you have plenty of napkins on hand. After all, they’re called “sloppy” for a reason, and part of the fun is getting a little messy!
More Ground Beef Canning Recipes to Explore
Are you looking to further stock your pantry with economical and delicious ground beef canning recipes? Home canning beef is a fantastic way to ensure you always have a protein source ready for quick meals. Explore these other fantastic options to expand your home-canned meal repertoire:
- Canning Ground Beef (plain, unseasoned)
- Canning Chili Con Carne
- Canning Taco Soup
Canning Sloppy Joe Filling
By Ashley Adamant
Pressure-canned sloppy joe filling is an easy ground beef canning recipe with a lot of flavor. A jar on your pantry shelf means a quick heat-and-eat meal on a busy weeknight.
Servings: 16 servings (Makes 8 pints or 4 quarts)
Prep Time: 15 mins
Cook Time: 15 mins
Additional Time: 1 hr 30 mins (for canning process)
Total Time: 2 hrs
Equipment
- Pressure Canner
- Canning Jars (Pint or Quart)
- Lids and Bands
- Large Saucepan
- Canning Funnel
- De-bubbling Tool (or wooden chopstick)
Ingredients
- 4 lbs lean ground beef, or other lean ground meat (can also use a combination)
- 3 cups onion, peeled and chopped
- 16 oz tomato sauce (one 16-ounce can, or 2 cups)
- 1 ½ cups green pepper, chopped and cored
- 2 cups tomato ketchup
- 2 cups water
- 1 tbsp salt
- 1 tbsp sugar
- 1 tbsp prepared mustard
- ¾ tsp black pepper
Instructions
- Prepare your pressure canner ahead of time. Place clean, sanitized canning jars and rings in the canner with two inches of water. Heat to just barely simmering (around 180 degrees Fahrenheit) for hot packing.
- In a large saucepan, sauté the ground meat, adding the chopped onion until both are thoroughly browned.
- When the meat has browned, carefully drain off any excess fat.
- Add the remaining ingredients, including tomato products, water, salt, sugar, and spices, to the saucepan. Bring the mixture to a boil and simmer for five minutes. (The mixture will appear somewhat soupy at this point, which is ideal for even heating in the canner. It will thicken upon reheating for serving.)
- Carefully pack the hot mixture into the hot, clean canning jars, leaving an inch of headspace from the rim.
- Use a non-metallic tool to remove any air bubbles by running it around the inside of the jar. Re-check headspace and adjust if necessary.
- Wipe the rims of the jars thoroughly to remove any food residue. Apply new lids and screw bands, tightening them to fingertip tight.
- Load the jars into the pressure canner. Secure the canner lid. Allow the canner to vent steam for 10 minutes. After venting, add the canning weight or close the petcock and bring the canner up to the appropriate pressure (refer to altitude adjustments).
- Once at the correct pressure, process pint jars for 75 minutes and quart jars for 90 minutes. Maintain consistent pressure throughout the processing time. (Canning times do not change with altitude, only pressure does.)
- When the processing time is complete, turn off the heat and allow the canner to depressurize naturally until the gauge reads zero. Wait an additional five minutes before opening the lid. Remove jars and place them on a towel-lined surface to cool for 24 hours.
- After 24 hours, check all seals. Store any unsealed jars in the refrigerator for immediate use. Properly canned and sealed jars can be stored at room temperature in a cool, dark pantry.
- Home-canned sloppy joe filling will maintain peak quality for 12-18 months and is safe to eat as long as the jars remain sealed. Refrigerate any opened jars.
Notes
When the filling goes into the jars, the mixture is going to look a bit soupy, and that’s ok. It’s meant to be a bit soupy when it goes into the jars, and that allows for even heating in the canner. When you go to serve it later out of the jar, you’ll be simmering it in a pot for 10 minutes which brings it to just the right consistency for a bun.
Altitude Adjustments
Canning time remains the same regardless of altitude; however, the processing pressure increases as altitude increase.
Use the following table to determine the correct processing pressure if you’re above 1,000 feet in elevation.
For dial gauge pressure canners:
- 0 to 2,000 feet in elevation – 11 lbs pressure
- 2,001 to 4,000 feet in elevation – 12 lbs pressure
- 4,001 to 6,000 feet in elevation – 13 lbs pressure
- 6,001 to 8,000 feet in elevation – 14 lbs pressure
For weighted gauge pressure canners:
- 0 to 1,000 feet in elevation – 10 lbs pressure
- Above 1,000 feet – 15 lbs pressure
Nutrition
Calories: 334kcal, Carbohydrates: 12g, Protein: 20g, Fat: 23g, Saturated Fat: 9g, Polyunsaturated Fat: 1g, Monounsaturated Fat: 10g, Trans Fat: 1g, Cholesterol: 81mg, Sodium: 906mg, Potassium: 436mg, Fiber: 1g, Sugar: 8g, Vitamin A: 155IU, Vitamin C: 3mg, Calcium: 34mg, Iron: 2mg
Nutrition information is automatically calculated, so should only be used as an approximation.
Enjoyed this recipe? Share your thoughts below!
More Convenient Meal in a Jar Canning Recipes
Looking to further expand your collection of meal-in-a-jar canning recipes? These pre-portioned, ready-to-heat meals are perfect for busy days, camping trips, or emergency food storage. With a well-stocked pantry, you’ll always have a delicious, home-cooked option within reach:
- Boston Baked Beans
- Thai Curry Duck (or chicken)
- White Bean Chicken Chili
- Cajun Red Beans and Sausage