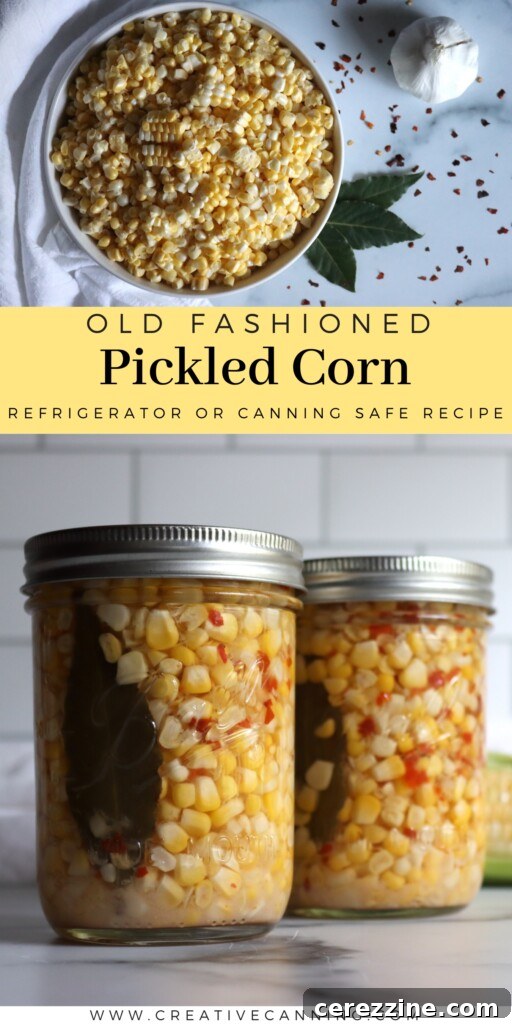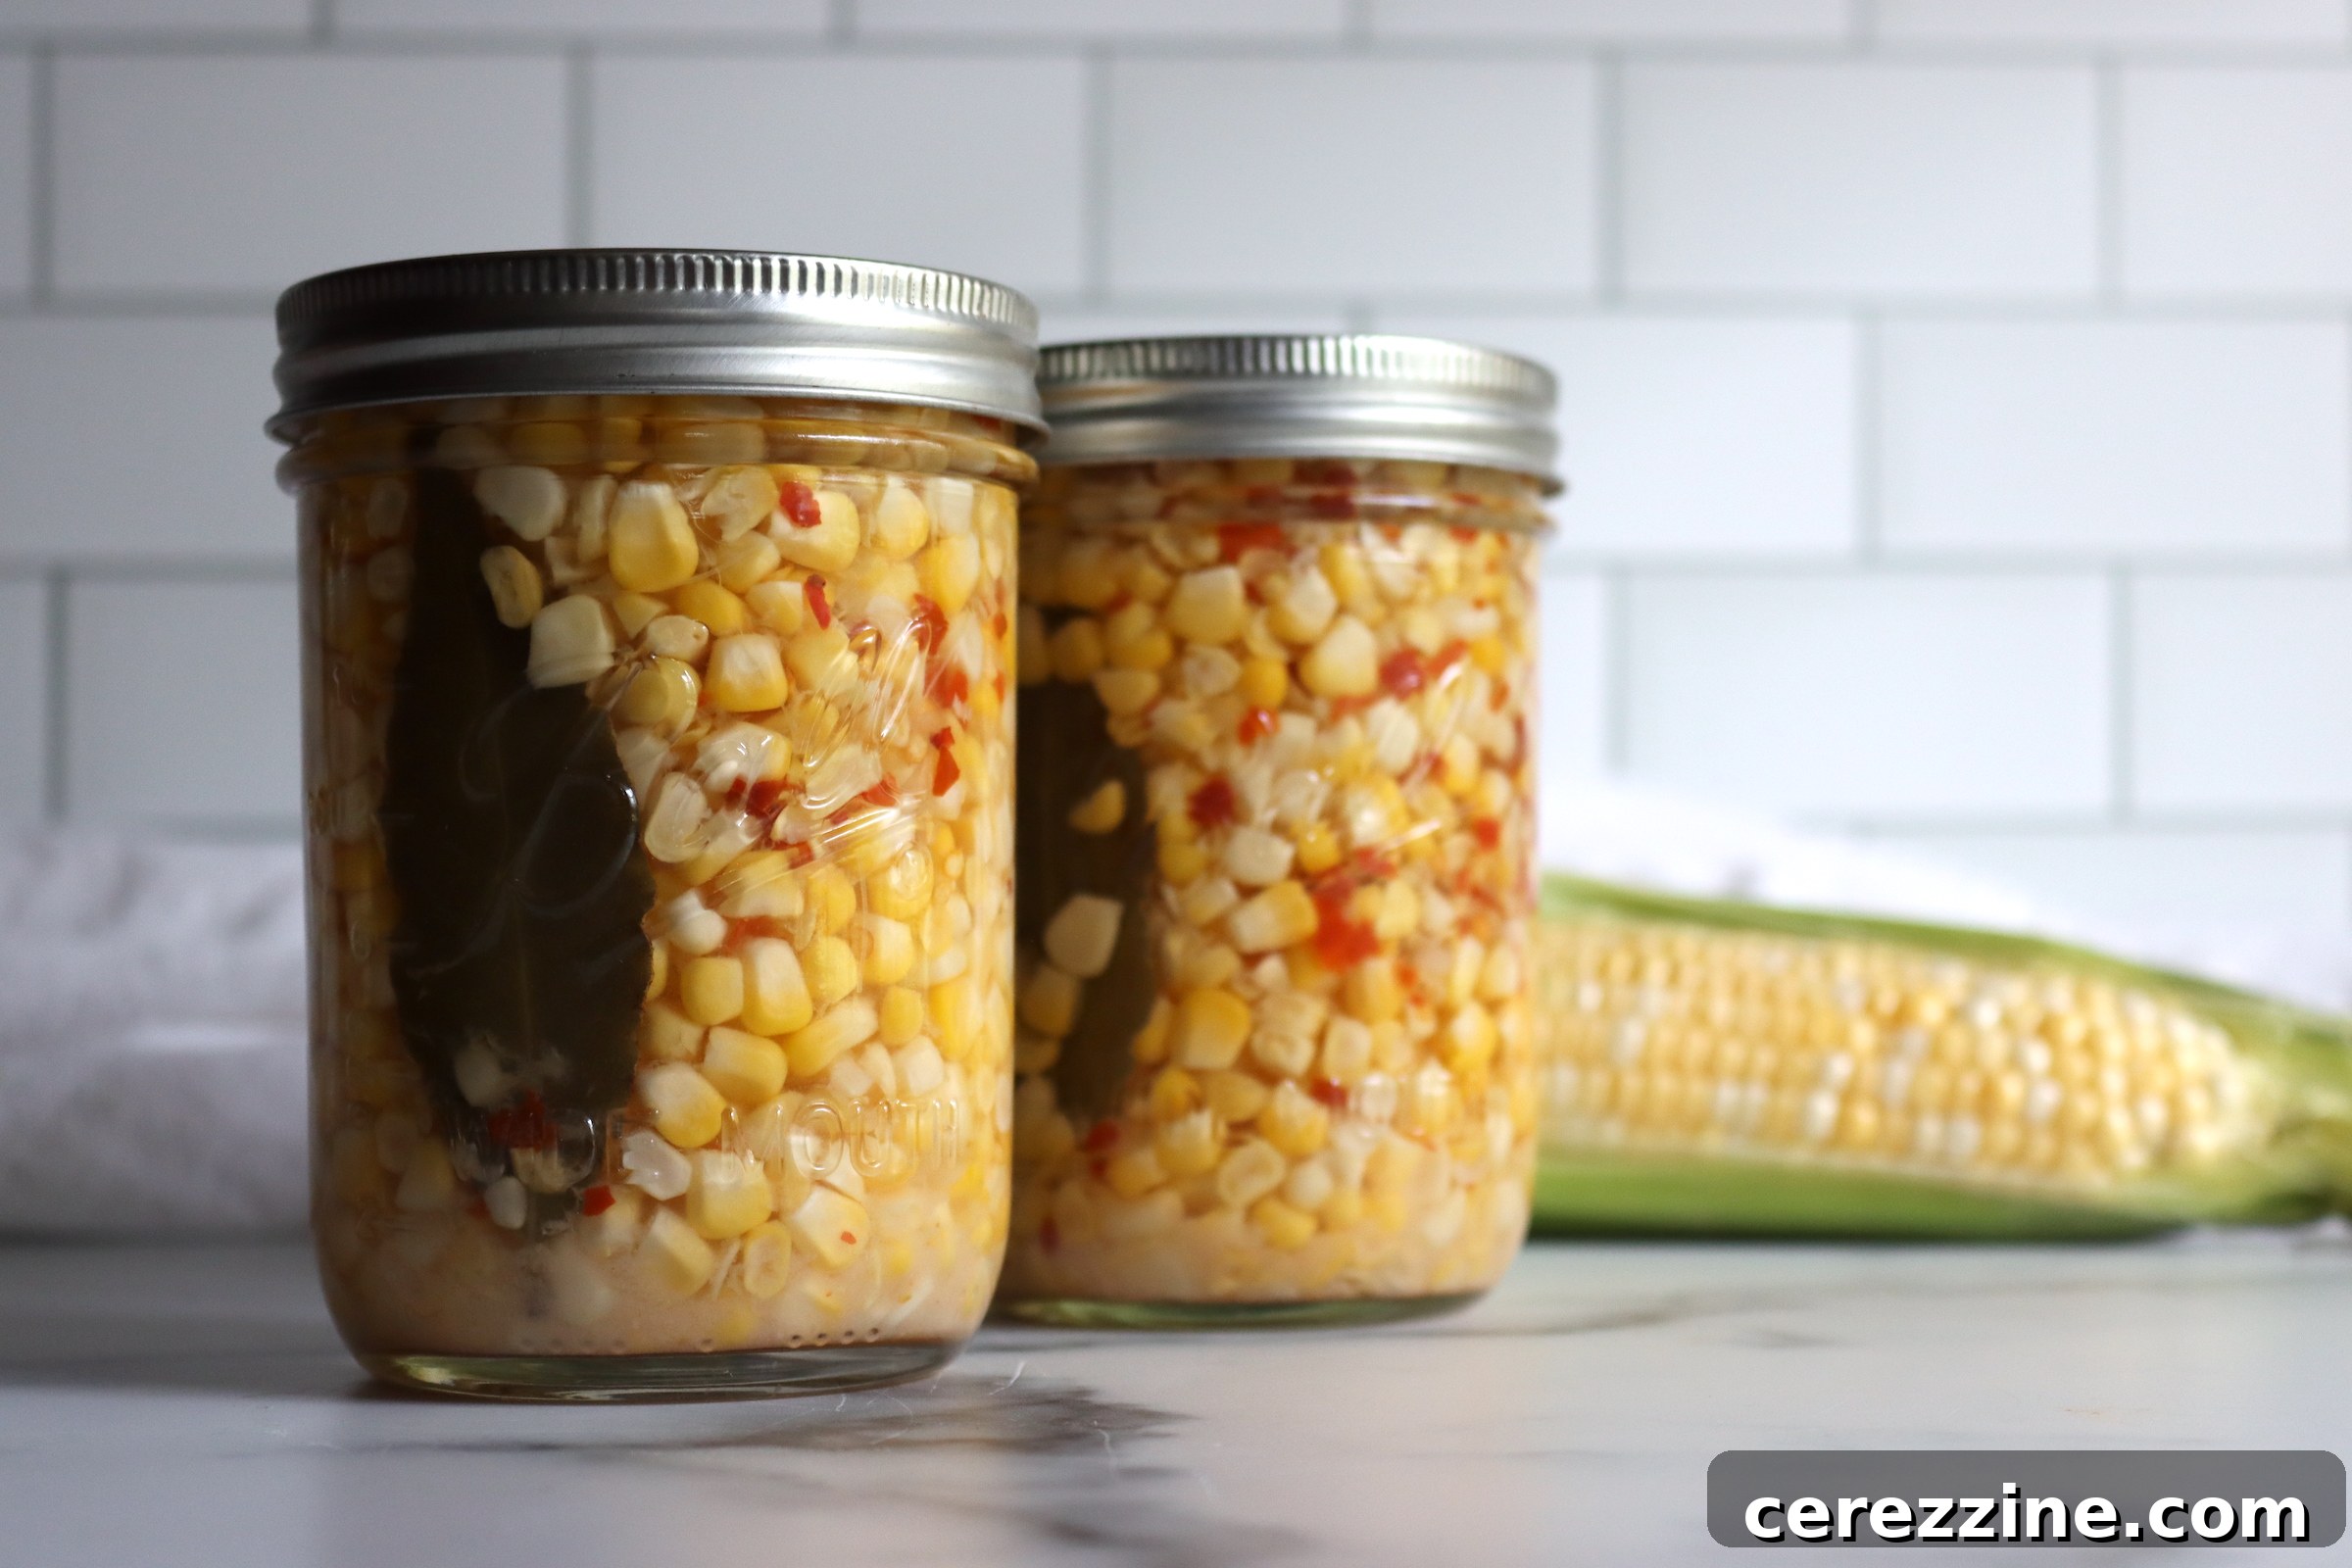
Homemade Pickled Corn Relish: A Taste of Summer All Year Round
Capture the vibrant essence of summer with this incredibly flavorful and satisfying pickled corn relish recipe. Perfectly balanced with sweet, tangy, and a subtle spicy kick, this crunchy condiment is more than just a side dish—it’s a versatile staple you’ll want to spoon onto everything. Imagine the bright burst of summer corn on your hot dogs, burgers, tacos, or even grilled fish, even in the dead of winter!
This beginner-friendly, small-batch recipe is designed to make one pint, offering an ideal way to try out the process without being overwhelmed. It’s a fantastic introduction to home canning, or a quick addition to your pantry if you’re already a seasoned preserver. However, don’t let the small size limit you; this recipe is effortlessly scalable, allowing you to multiply ingredients and create as many jars of this golden goodness as your heart desires.
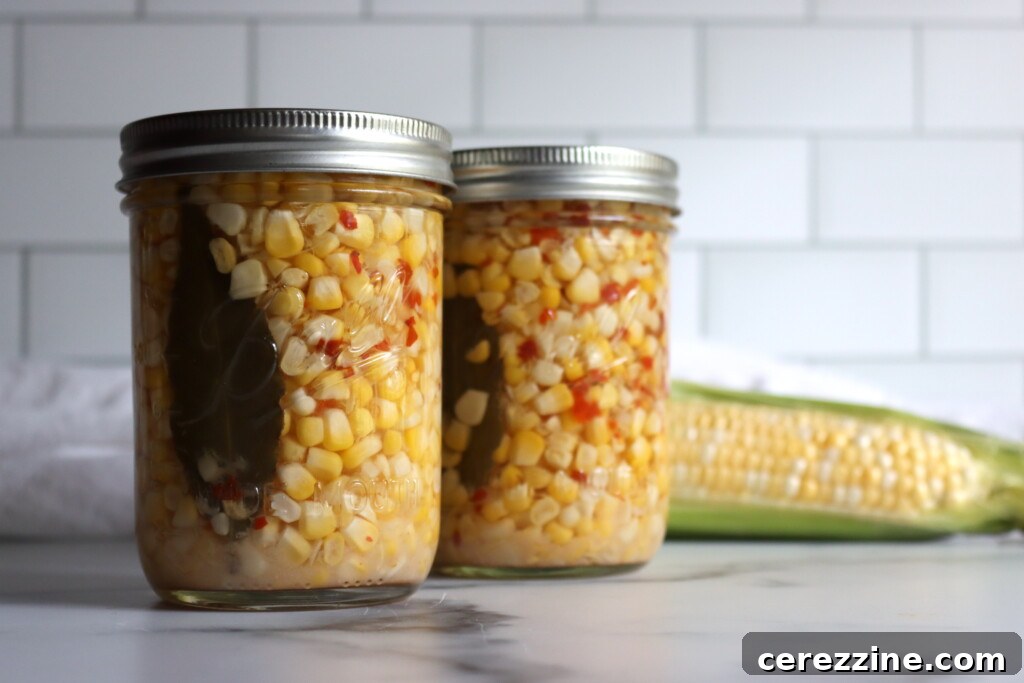
Why You’ll Fall in Love with This Pickled Corn Recipe
There’s a unique satisfaction that comes from opening a jar of homemade pickled corn. It’s a little jar of sunshine, ready to brighten any meal, especially when fresh corn is out of season. This quick and easy corn relish offers a delightful blend of sweet corn, sharp vinegar, a touch of sugar, and the gentle warmth of jalapeños, creating a condiment so irresistible you’ll find endless ways to enjoy it.
Beyond being a simple relish, its versatility is truly remarkable. Use it straight from the jar to elevate:
- Classic BBQ Fare: The perfect companion for hot dogs, bratwursts, and juicy hamburgers.
- Mexican-Inspired Dishes: Add a zesty crunch to your tacos, burritos, and quesadillas.
- Seafood: A surprising but delightful topping for grilled fish, crab cakes, or shrimp.
- Hearty Grain Bowls & Salads: Stir it into quinoa, rice, or farro bowls for an extra layer of flavor and texture.
- Sandwiches & Wraps: Elevate your deli sandwiches or turkey wraps with a spoon of this vibrant relish.
It also makes a truly thoughtful and cherished edible gift for friends and family, sharing a piece of summer’s bounty with those you care about. This recipe is an excellent starting point for those new to the art of canning, offering a manageable one-pint batch that builds confidence. Or, if you’re an experienced canner, it’s a quick way to preserve a small harvest from your garden or a good deal from the farmer’s market. And remember, scaling up for larger batches is incredibly simple!

Key Advantages of This Recipe
- Big Flavor, Manageable Batch: You don’t need a huge harvest or hours in the kitchen. One pint is quick to prepare and easy to handle, perfect for a test run or a small canning session.
- Exceptional Versatility: This pickled corn relish is an incredibly flexible condiment that enhances a wide array of dishes, from savory meats to fresh salads, making it a valuable addition to your culinary repertoire.
- Delightful Crisp Texture: Unlike many softer relishes, this recipe ensures the corn retains its satisfying crunch, adding a unique textural element that truly stands out and makes every bite exciting.
- Customizable Heat Level: Easily adjust the spiciness to your preference, from mild and family-friendly to a fiery kick for chili lovers.
- Economical & Sustainable: A fantastic way to preserve seasonal corn, reducing food waste and enjoying garden-fresh flavors long after harvest.
Essential Ingredients for Perfect Pickled Corn
Every ingredient in this pickled corn relish recipe plays a crucial role, contributing to both its irresistible flavor and safe preservation. This guide is tailored for a single pint jar, but remember, you can easily multiply these quantities for more jars of delicious homemade goodness!
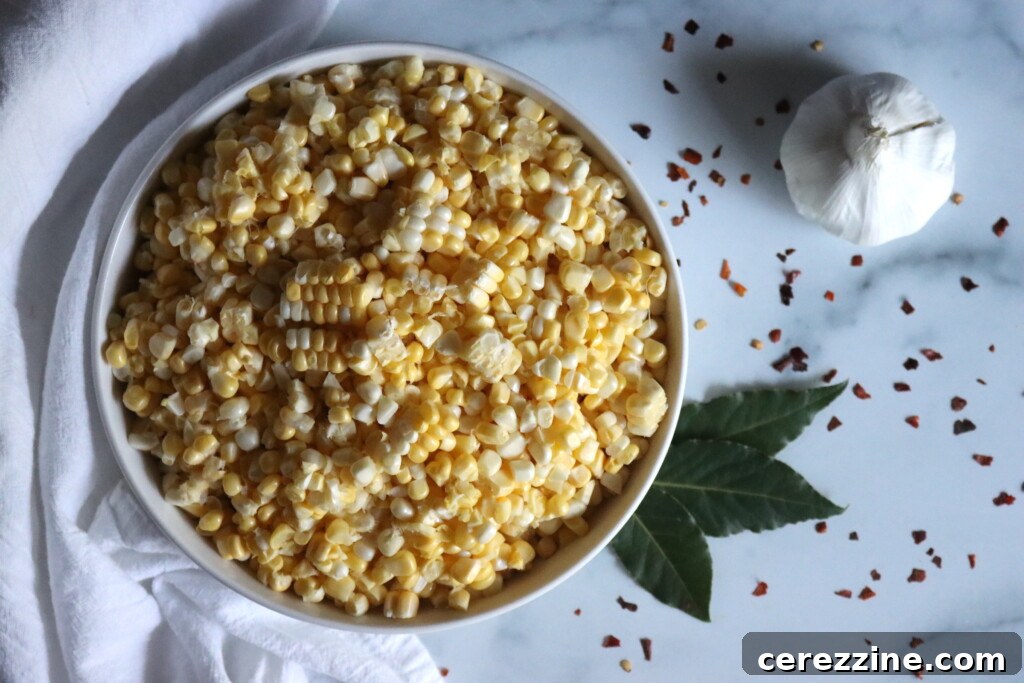
Here’s what you’ll need to make 1 pint of pickled corn:
- Corn: The star of our show! You can use fresh corn, cut straight off the cob for peak summer flavor and crunch, or opt for convenience with frozen corn. If using frozen, there’s no need to thaw it first—it can go directly into the pot. The corn provides sweetness, a delightful pop, and that unmistakable essence of summer.
- Jalapeño: This pepper adds a mild to moderate heat, which you can easily control. For a spicier relish, leave some or all of the seeds and membranes in. For less heat, remove them entirely. You can also experiment with other peppers: try a poblano for a milder earthy note, or even sweet bell peppers for a completely heat-free version. The key is to keep the total diced pepper amount to about ¼ cup per pint to ensure the corn remains the dominant flavor.
- Bay Leaf: An optional but highly recommended addition, a single bay leaf imparts a subtle, savory, almost woodsy background note that deepens the complexity of the pickling brine, making the flavor richer.
- Garlic Clove: A single thinly sliced garlic clove adds a beautiful aromatic depth and a hint of pungent warmth, perfectly rounding out the flavors of the relish. While optional, it significantly enhances the overall taste profile.
- Red Pepper Flakes: While the jalapeño offers some heat and color, red pepper flakes are where you can truly dial up the spice. For a mild pickled corn, stick to ½ teaspoon. If you crave a fiery kick, feel free to increase it to 2 teaspoons per pint for a more robust heat experience.
- White Vinegar: This is the foundational acidic component of your pickling liquid, crucial for both flavor and safe preservation. White vinegar (with 5% acidity) provides a clean, sharp tang. You can substitute it with apple cider vinegar for a slightly mellower, fruitier acidity. Important: Never use vinegar with less than 5% acidity, and do not reduce the total quantity of vinegar in the recipe, as this could compromise food safety.
- Water: Used to dilute the vinegar, balancing its intensity and making the brine more palatable. While you could technically use all vinegar for an intensely tangy pickled corn, it can be quite overwhelming. You can decrease the water and add more vinegar if you prefer a sharper tang, but never increase the amount of water beyond the recipe’s recommendation, as it would reduce the acidity necessary for safe canning.
- Sugar: Sugar provides sweetness, acting as a counterpoint to the vinegar’s tartness and the peppers’ heat. This creates a wonderfully balanced flavor profile. You can adjust the amount to your taste, or experiment with natural sweeteners like honey or maple syrup for different nuances. While sugar isn’t strictly necessary for preservation, it greatly enhances the flavor of the relish.
- Salt: Essential for enhancing flavor and contributing to the overall taste of the pickles. While not the primary preservative in this vinegar-based recipe, salt is vital for creating that classic pickled taste. You can reduce the salt if on a low-sodium diet, but be aware that the flavor will be less robust. Many pickling recipes call for more salt, but 1 teaspoon per pint offers a perfect balance without being overpowering. Always use pickling or kosher salt, avoiding table salt which often contains anti-caking agents that can cloud your brine.
It bears repeating: the preservation of this pickled corn relies entirely on the vinegar’s acidity. You must maintain the specified ratio of vinegar to water and never reduce the total vinegar content per pint. Ingredients like salt, sugar, and spices are purely for flavor and can be adjusted (or omitted, for sugar and spices) without compromising safety, but the vinegar ratio is non-negotiable.
Feel free to get creative with dry spices! Excellent additions that complement corn and vinegar include mustard seeds, coriander seeds, cumin seeds, or a pinch of turmeric for a beautiful golden hue and earthy warmth.
Equipment You’ll Need for Canning Pickled Corn
Having the right tools makes the pickling process smoother and ensures food safety. For this recipe, you’ll need:
- Medium Saucepan or Stockpot: To combine and simmer your ingredients.
- 1 Pint Mason Jar: A clean, sterilized jar is crucial for safe canning.
- Canning Funnel: Helps prevent spills when ladling hot relish into jars.
- Bubble Remover Tool or Chopstick/Butter Knife: Essential for removing air pockets from jars.
- Ladle: For transferring the hot relish.
- Lids and Rings: New canning lids are necessary for a proper seal.
- Boiling Water Bath Canner: A large pot with a rack, designed specifically for water bath canning. This ensures jars are processed at a consistent, safe temperature.
- Jar Lifter: For safely placing and removing hot jars from the canner.
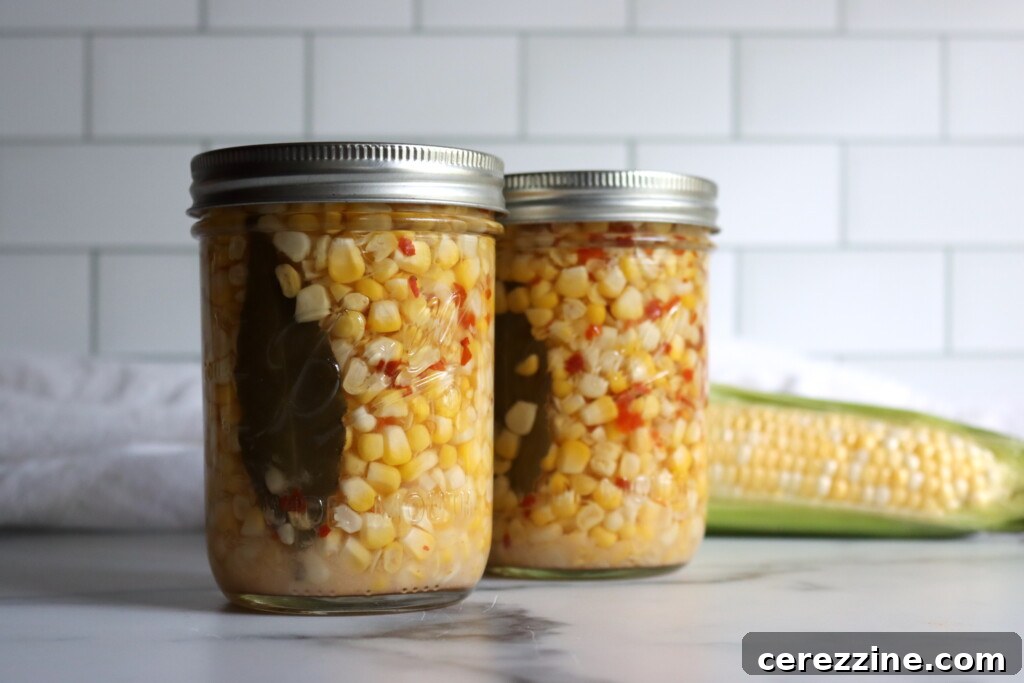
Step-by-Step: How to Make and Can Corn Relish
Making this sweet and tangy pickled corn relish is a straightforward process. Follow these steps carefully for a delicious and safely preserved product:
Preparation:
- Prepare Your Jars: Begin by washing your pint mason jar (and lid/ring) thoroughly with hot, soapy water. Sterilize the jar by either boiling it in water for 10 minutes, running it through a dishwasher cycle that includes a sanitizing wash, or keeping it hot in your boiling water bath canner until ready to fill. New canning lids should be warmed in hot (not boiling) water to soften the sealing compound.
- Combine Ingredients: In a medium saucepan or stockpot, combine all your relish ingredients: corn, diced jalapeño, sliced garlic, red pepper flakes, bay leaf, white vinegar, water, sugar, and salt.
- Bring to a Boil: Place the saucepan over high heat and bring the mixture to a full rolling boil. This ensures all ingredients are properly heated and flavors begin to meld into the brine.
- Simmer for Flavor: Once boiling, reduce the heat to a gentle simmer. Let the mixture continue to cook for 5 minutes. This step allows the vegetables to heat through thoroughly and absorb the pickling liquid’s flavors, creating a more cohesive and delicious relish.
Canning Pickled Corn
If you plan to store your pickled corn at room temperature for an extended period, canning is essential. If you prefer a refrigerator pickle, simply skip the water bath canning step and store the jar in your refrigerator.
- Fill the Jar: Carefully ladle the hot corn relish mixture (ensuring a good balance of solids and liquid) into your prepared, hot pint mason jar. Use a canning funnel to keep the jar rims clean. It’s crucial that the corn and peppers are completely submerged under the pickling brine.
- Ensure Proper Headspace: Leave precisely ½ inch of headspace at the top of the jar (the space between the surface of the food and the rim of the jar). This allows for proper vacuum sealing.
- Remove Air Bubbles: Insert a chopstick, a plastic knife, or a special bubble remover tool along the inside of the jar, gently moving it around to release any trapped air bubbles. Press down lightly on the corn to ensure it remains submerged in the brine.
- Clean the Rim: Wipe the jar rim thoroughly with a clean, damp cloth to remove any food particles or brine. A clean rim is essential for a proper seal.
- Apply Lids and Rings: Center a warm, new canning lid on the clean jar rim. Screw on a canning band (ring) just “finger-tight.” This means tightening it until you feel resistance, then giving it just a slight extra turn. Do not overtighten, as this can prevent air from escaping during processing and lead to seal failure.
- Process in Water Bath Canner: Carefully place the jar into your boiling water bath canner, ensuring it’s covered by at least 1-2 inches of simmering water. Bring the water back to a rolling boil. Process pint jars for 15 minutes. Remember to adjust the processing time based on your altitude (see the Altitude Adjustments section below for details).
- Cool and Store: After the processing time is complete, turn off the heat and carefully remove the jar from the canner using a jar lifter. Place it on a clean towel on your countertop, away from drafts, and allow it to cool undisturbed for 12 to 24 hours. You’ll likely hear a “pop” as the lid seals, indicating a successful vacuum.
Storage Guidelines:
- Check the Seal: After cooling, check the seal by pressing the center of the lid. If it doesn’t flex, the jar is sealed. If a lid did not seal (it flexes when pressed), refrigerate that jar and consume its contents within a few weeks.
- Canned Storage: Label your sealed jars with the date and contents. Store them in a cool, dark, dry place (like a pantry or cellar) for optimal quality for 12-18 months. Once opened, refrigerate the jar and consume within 2-3 weeks.
- Refrigerator Pickles: If you opted not to can, simply store the jar of pickled corn relish in the refrigerator immediately after it cools. It will keep for several weeks.
Altitude Adjustments for Safe Canning
Water boils at lower temperatures at higher altitudes, which means food needs to be processed for a longer duration to ensure proper sterilization and safety. Please adjust your processing time in the boiling water bath canner according to your elevation:
- 0 to 1,000 feet: Process for 15 minutes
- 1,001 to 3,000 feet: Process for 20 minutes
- 3,001 to 6,000 feet: Process for 25 minutes
- Above 6,000 feet: Add an additional 5 minutes for every extra 2,000 feet of elevation.
Pickled Corn Recipe Details
This sweet and tangy pickled corn relish is packed with crunchy kernels, a hint of heat from jalapeño, and just enough vinegar bite to keep things interesting. It’s the perfect topping for everything from hot dogs and tacos to grilled fish and summer salads.
Prep time: 10 minutes
Cook time: 5 minutes
Canning time: 15 minutes (plus altitude adjustments)
Total time: Approximately 30 minutes (excluding cooling)
Servings: 1 pint jar (approximately 16 servings of 2 Tbsp each)
Equipment
- Water Bath Canner
- Wide Mouth Pint Mason Jars
- Wide Mouth Canning Lids & Bands
- Large Saucepan or Stockpot
- Canning Funnel
- Jar Lifter
- Bubble Remover (or chopstick/butter knife)
Ingredients
- 1 ¾ cup corn, fresh or frozen (no need to thaw frozen corn)
- 1 medium jalapeño pepper, diced (remove seeds for less heat)
- 1 clove garlic, sliced thin
- ½ tsp red pepper flakes, or more for extra heat
- 1 medium bay leaf
- ¾ cup white vinegar (5% acidity), or apple cider vinegar
- ½ cup water
- ¼ cup sugar (optional, adjust to taste)
- 1 tsp pickling or kosher salt (do not use table salt)
Instructions
- Sterilize Jars: Begin by sterilizing your pint mason jar(s) and warming new canning lids according to standard canning practices.
- Combine Ingredients: Add the corn, diced jalapeño, sliced garlic, red pepper flakes, bay leaf, white vinegar, water, sugar, and salt to a medium saucepan or stockpot.
- Bring to a Boil: Place the saucepan over high heat and bring the mixture to a full, rolling boil.
- Simmer: Reduce the heat to a gentle simmer and let the mixture cook for 5 minutes. This allows the ingredients to heat through and flavors to infuse into the brine.
- Fill Jars: Carefully ladle the hot corn relish (solids and liquid) into your hot, sterilized pint jar(s), ensuring the corn and peppers are fully submerged in the brine. Leave ½ inch of headspace at the top of the jar.
- Remove Air Bubbles: Use a bubble remover tool, chopstick, or plastic knife to gently release any trapped air bubbles along the sides of the jar.
- Seal Jars: Wipe the jar rim clean with a damp cloth. Center a warm canning lid on the jar and screw on the band just “finger-tight.”
- Process in Water Bath Canner: Place the jar(s) into a boiling water bath canner. Ensure the jars are covered by at least 1-2 inches of water. Bring the water to a rolling boil and process pint jars for 15 minutes. Remember to adjust this time for your altitude (refer to the “Altitude Adjustments” section).
- Cool & Store: After processing, carefully remove the jar(s) from the canner and place them on a towel-lined surface to cool completely and undisturbed for 12-24 hours. Check seals (the lid should not flex when pressed). Label sealed jars and store them in a cool, dark place for up to 12-18 months. Refrigerate after opening.
Notes for Success
- Frozen corn works perfectly: No need to thaw it first; simply add it directly to the pot.
- Adjusting Heat: For a spicier relish, leave the jalapeño seeds and membranes in, choose hotter pepper varieties, or increase the amount of red pepper flakes.
- Scaling Up: This recipe is easily doubled or tripled if you wish to make more jars. Just scale all ingredients proportionally.
- Refrigerator Option: If you prefer not to can, you can skip the water bath processing and store the cooled relish directly in the refrigerator for several weeks.
Nutrition (Approximate per 2 Tbsp serving)
Serving: 2 Tbsp, Calories: 32kcal, Carbohydrates: 7g, Protein: 1g, Fat: 0.3g, Saturated Fat: 0.04g, Polyunsaturated Fat: 0.1g, Monounsaturated Fat: 0.1g, Sodium: 147mg, Potassium: 48mg, Fiber: 0.5g, Sugar: 4g, Vitamin A: 90IU, Vitamin C: 5mg, Calcium: 3mg, Iron: 0.1mg
Nutrition information is automatically calculated and should only be used as an approximation.
Enjoyed this recipe? Leave a comment below and share your experience!
More Delightful Corn Canning Recipes
Are you inspired to explore more ways to preserve the goodness of corn in a jar? We have a variety of recipes that will help you extend the harvest season and enjoy corn-based delights all year long:
Pickled Corn Salad is a fantastic choice if you’re looking for a slightly milder preserve that can double as a vibrant side dish. It’s perfect for potlucks, picnics, and summer gatherings, offering a refreshing and crunchy addition to any meal.
For those who love a bit of zest and spice, our Classic Corn Salsa is an absolute must-try. This recipe allows you to customize the heat level from mild to fiery hot, depending on your preference for peppers. It combines the rich, robust flavor of tomatoes with the delightful sweetness and satisfying crunch of fresh corn, creating a salsa that’s perfect for dipping or as a topping for grilled meats.