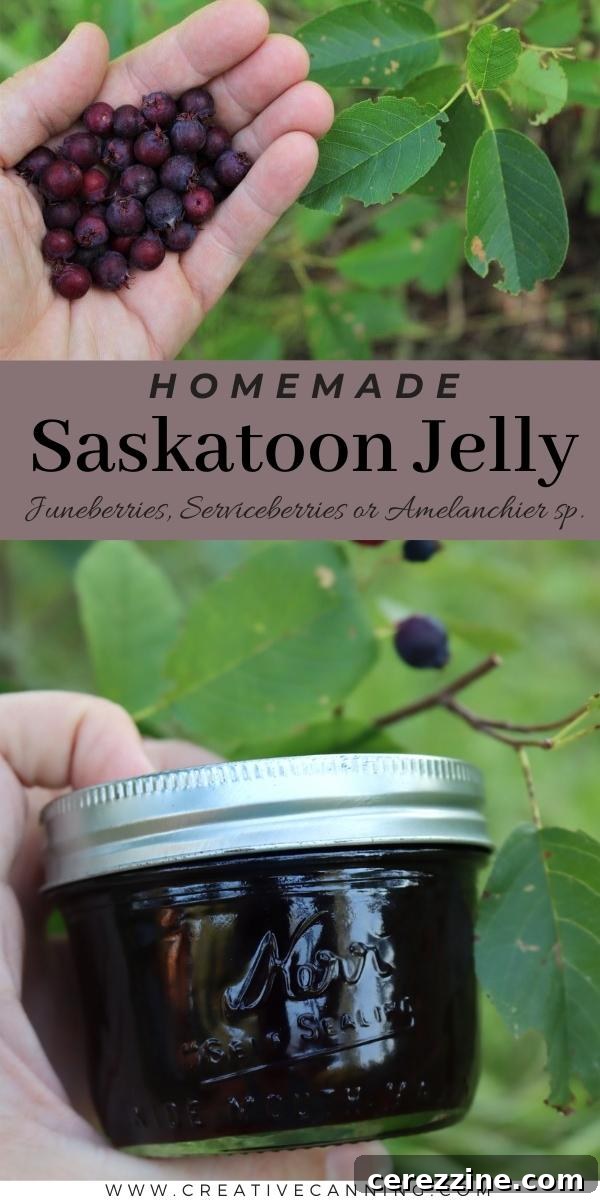
Delicious Homemade Saskatoon Jelly: A Comprehensive Guide to Serviceberry, Juneberry & Shadbush Preserves
There’s something uniquely satisfying about homemade jelly, and Saskatoon jelly stands out with its distinctively rich and vibrant flavor. Crafted from the delightful Saskatoon berries – also affectionately known as serviceberries, Juneberries, or shadbush – this preserve offers a taste experience far beyond your average fruit spread. It’s a simple recipe, requiring just a few staple ingredients, yet it yields a gourmet result perfect for any pantry.
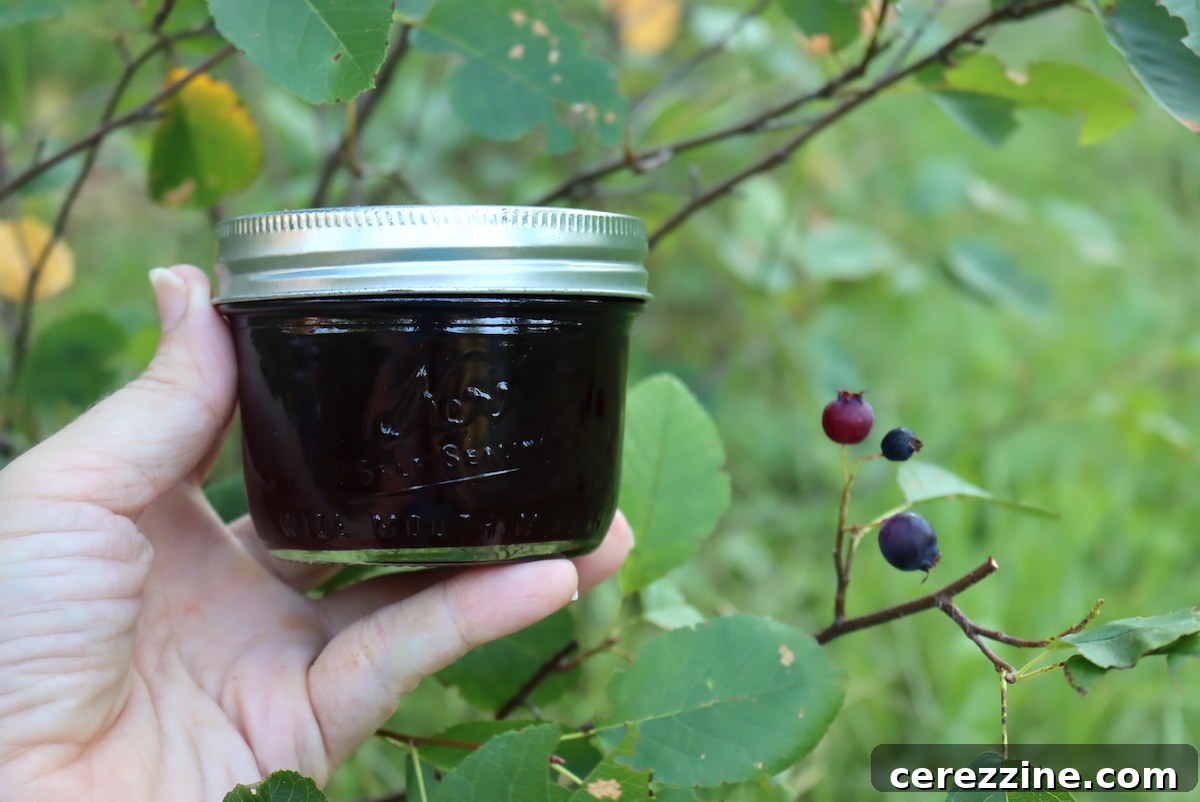
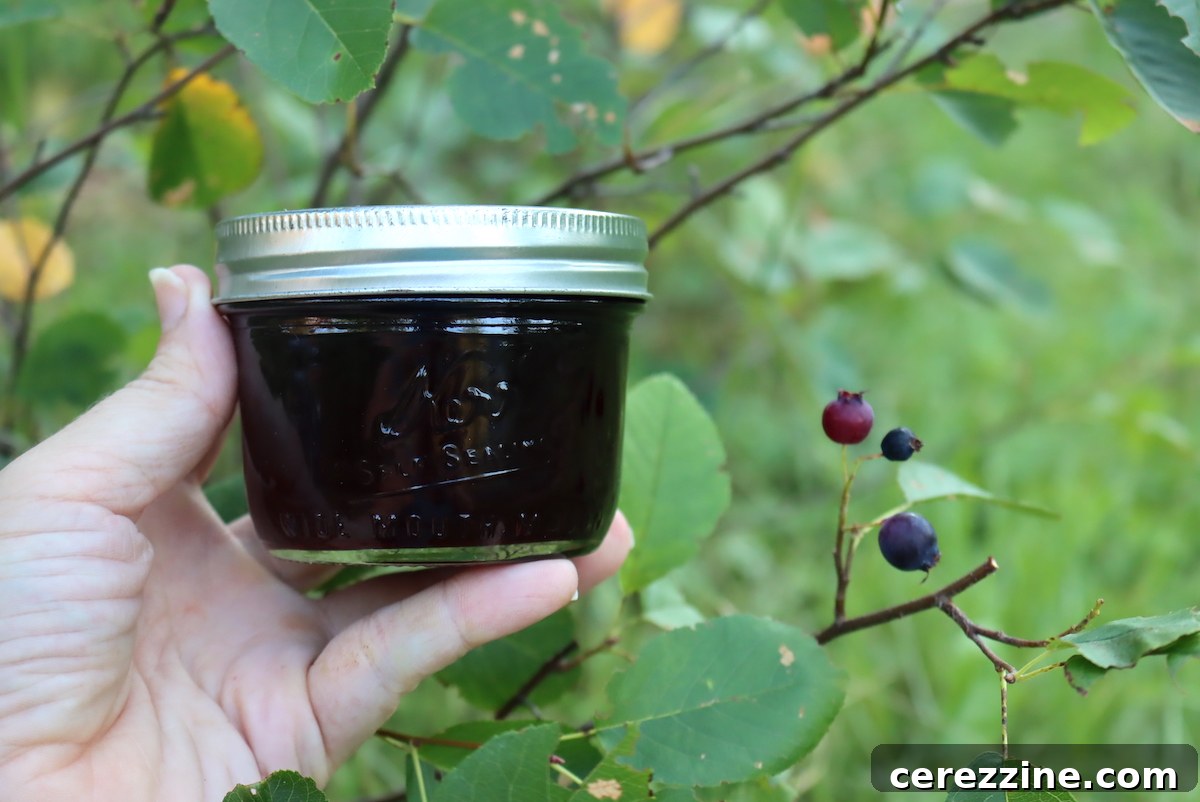
Saskatoon berries are a true culinary gem, boasting a flavor profile often compared to blueberries but with a captivating intensity. Beyond that familiar sweetness, they carry subtle notes of almond and a bright hint of lemon zest, creating a complexity that elevates them. While some fruit jellies can be pleasantly simple, serviceberry jelly is anything but; it’s a burst of nuanced flavor in every spoonful.
As the saying goes, “a beloved child has many names,” and Saskatoon berries are certainly well-loved, known by at least a dozen different monikers. Besides Saskatoon, you might hear them called shadbush, serviceberries, Juneberries, chuckleberries, or sugar plums. This variety of names reflects their wide distribution and the affection people have for these versatile berries across North America.
Each year, we look forward to making delicious Saskatoon jam. While equally tasty, Saskatoon berries contain small but noticeable seeds and a slightly drier pulp that not everyone appreciates in a preserve. These seeds are larger and more prominent than those found in blueberries, which can sometimes detract from the smooth texture desired in a spread.
For those who prefer a silky-smooth preserve without any textural interruptions, a seedless Saskatoon jelly is the superior choice. This method ensures you capture all the rich, complex flavor of the berries while leaving behind any seeds or skins, resulting in a perfectly clear and satisfying jelly.
Unveiling the Saskatoon Berry: A North American Treasure
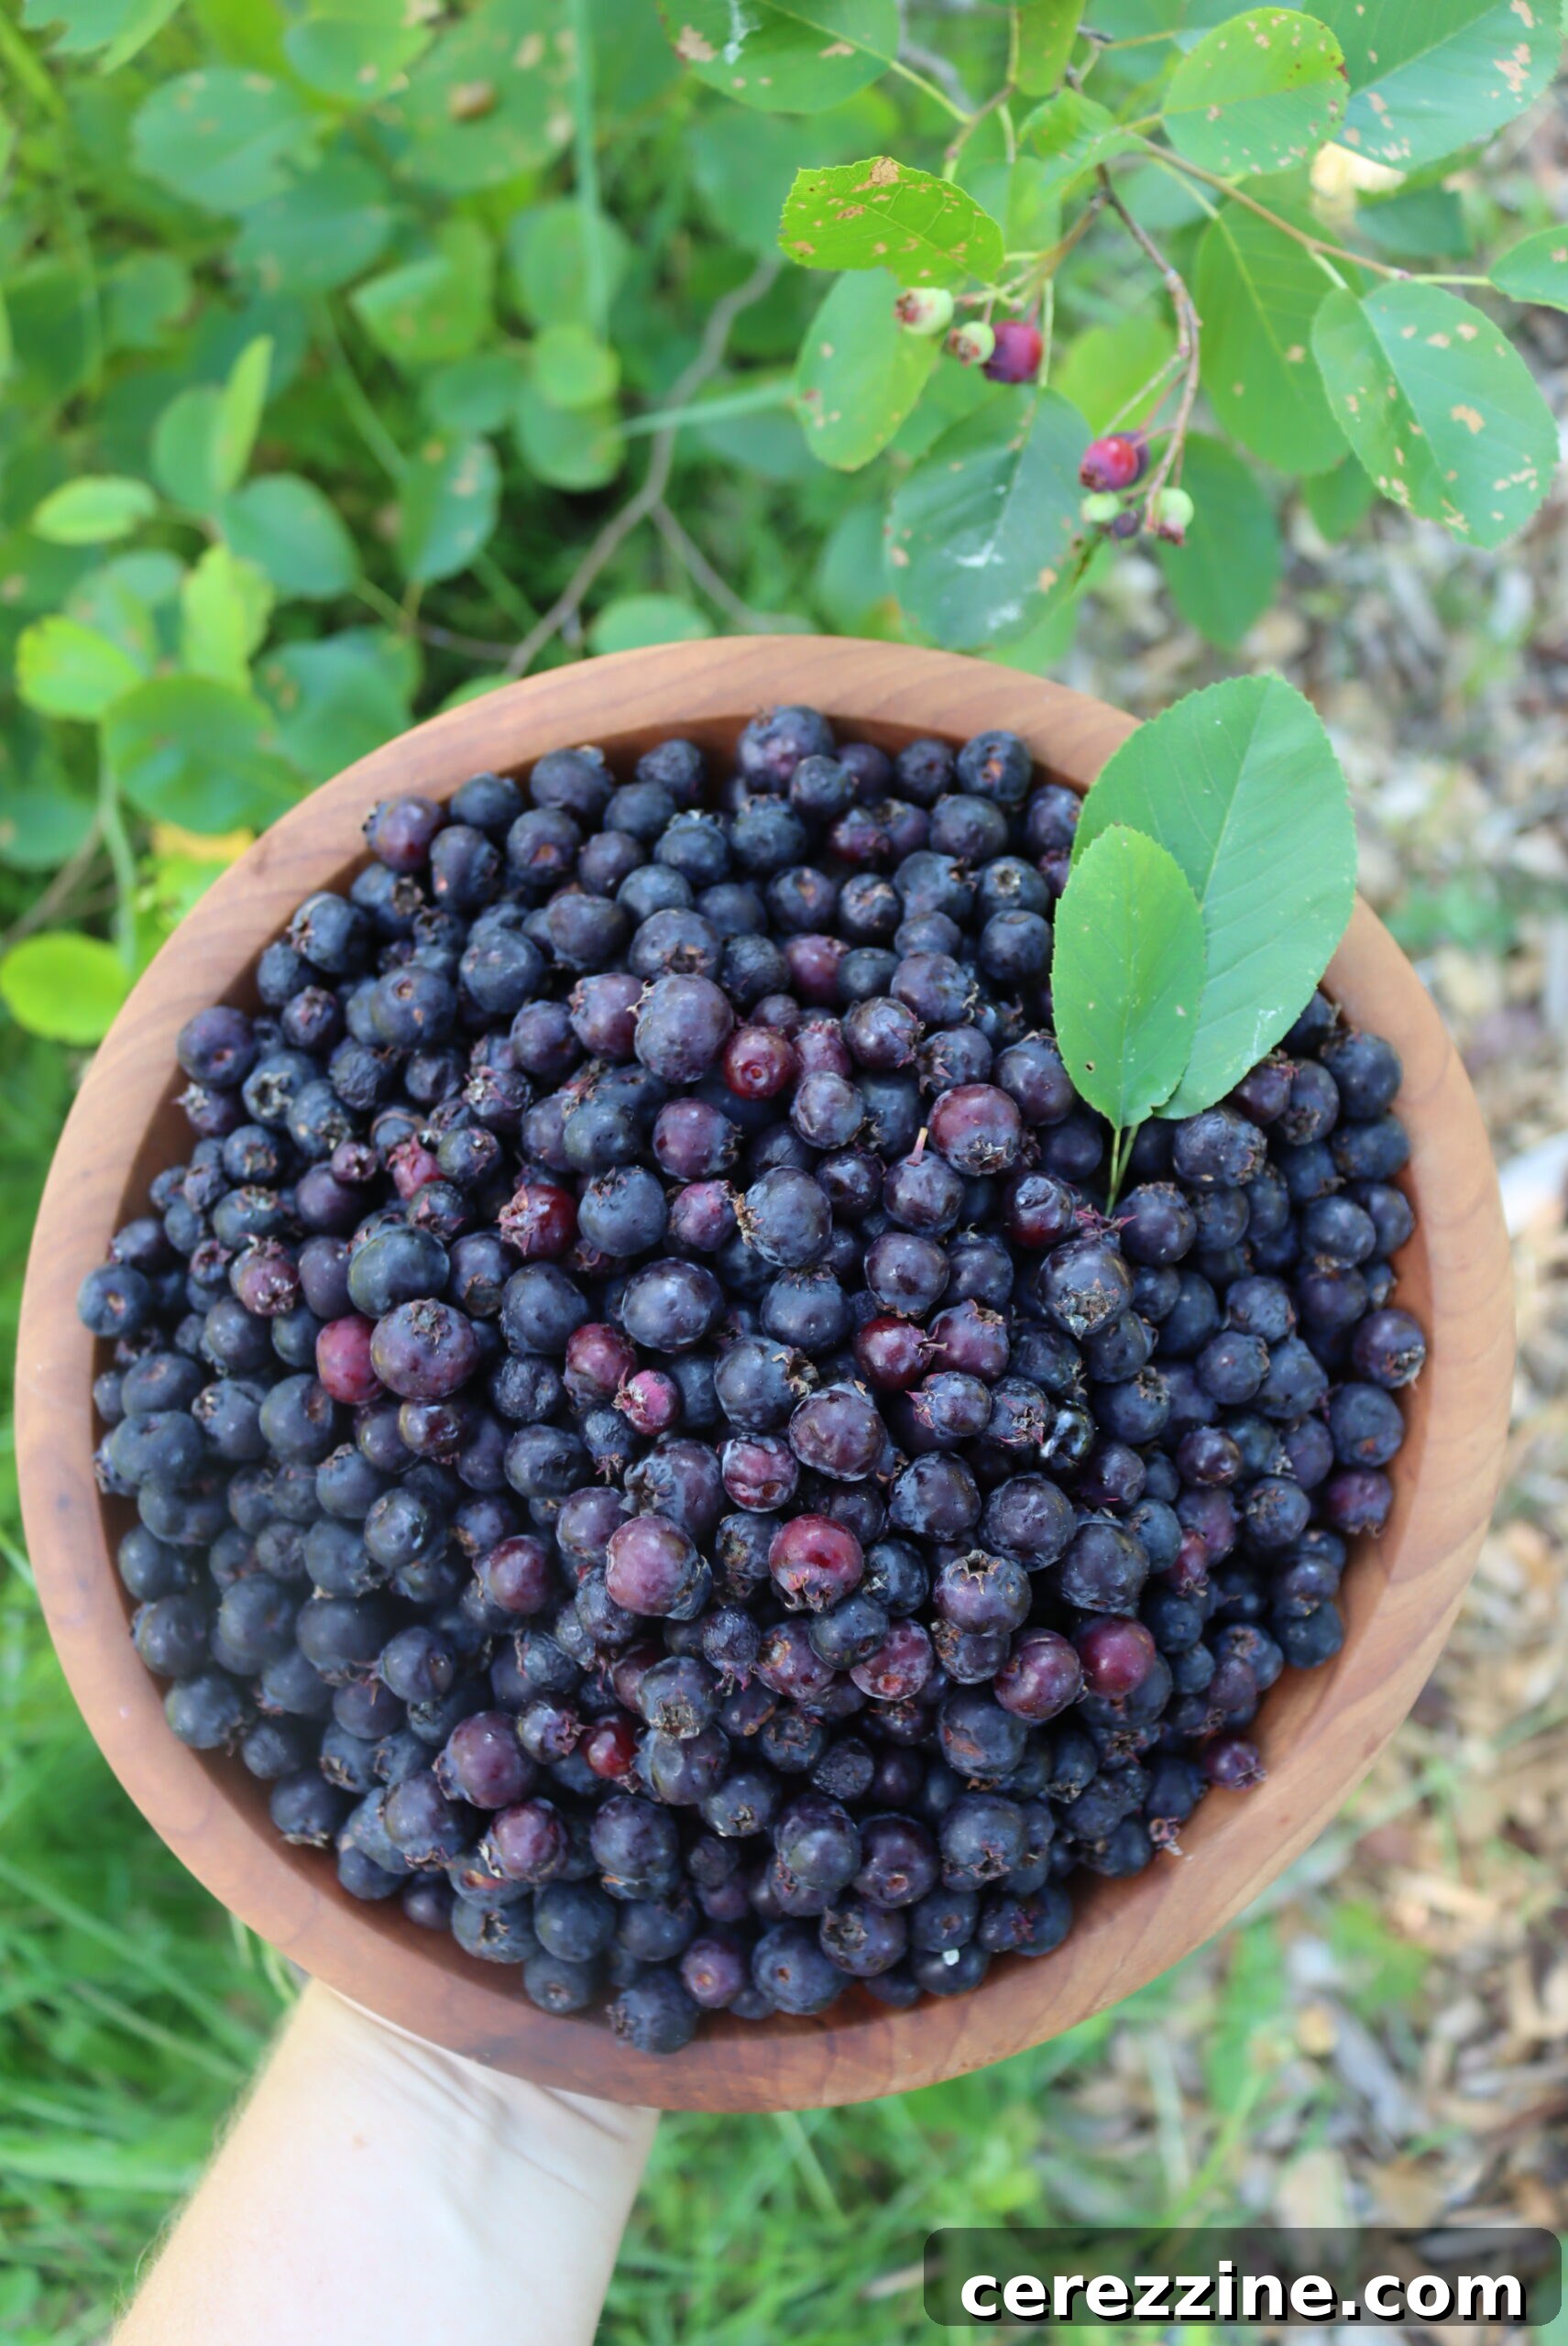
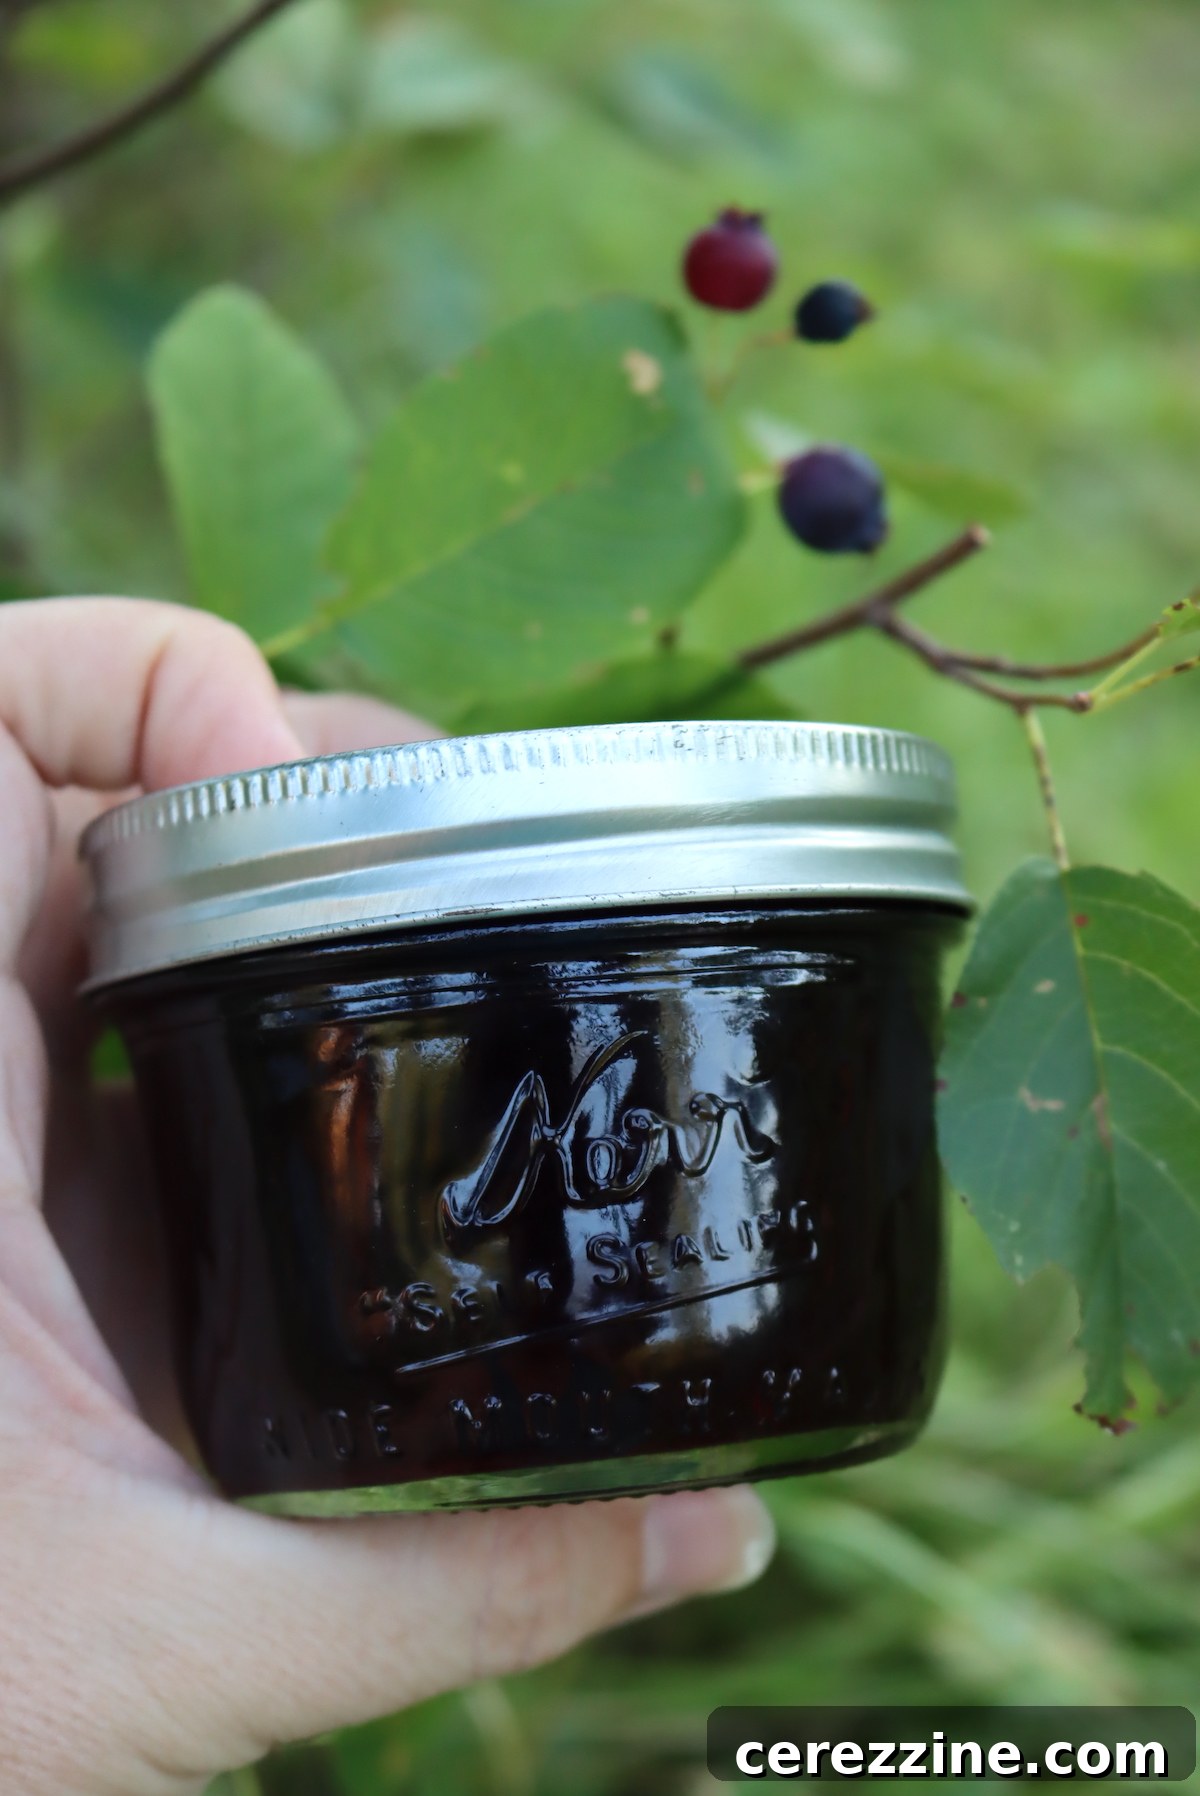
Saskatoons (Amelanchier species) are not just any berries; they are rich, flavorful fruits native to North America, thriving across vast regions of the US and Canada. These hardy berries are commonly found growing wild, but they are also popular choices for backyard gardens and landscape plantings due to their beauty and bounty.
Many describe Saskatoons as “blueberries that grow on trees,” which is an apt comparison given their appearance and taste. However, the Amelanchier genus encompasses dozens of species, with some growing as low-lying bushes and others maturing into impressive trees that can reach over 20 feet tall. Regardless of their growth habit, all species bear edible fruit, and many are incredibly prolific producers, yielding an abundance of berries perfect for preserving.
Beyond their delicious fruit, Saskatoons offer significant ornamental value. They are widely planted in residential landscapes and commercial areas like strip malls because of their stunning white flowers that emerge in early spring, signaling the arrival of warmer weather. Come summer, these blossoms transform into clusters of beautiful, nutrient-rich berries.
If you’re looking to enjoy Saskatoons, you might find them at local farmer’s markets, where they are either harvested from the wild by foragers or cultivated under protective nets, a common practice to keep them safe from their biggest fans: birds. Their sweet, intense flavor makes them a favorite for both humans and wildlife.
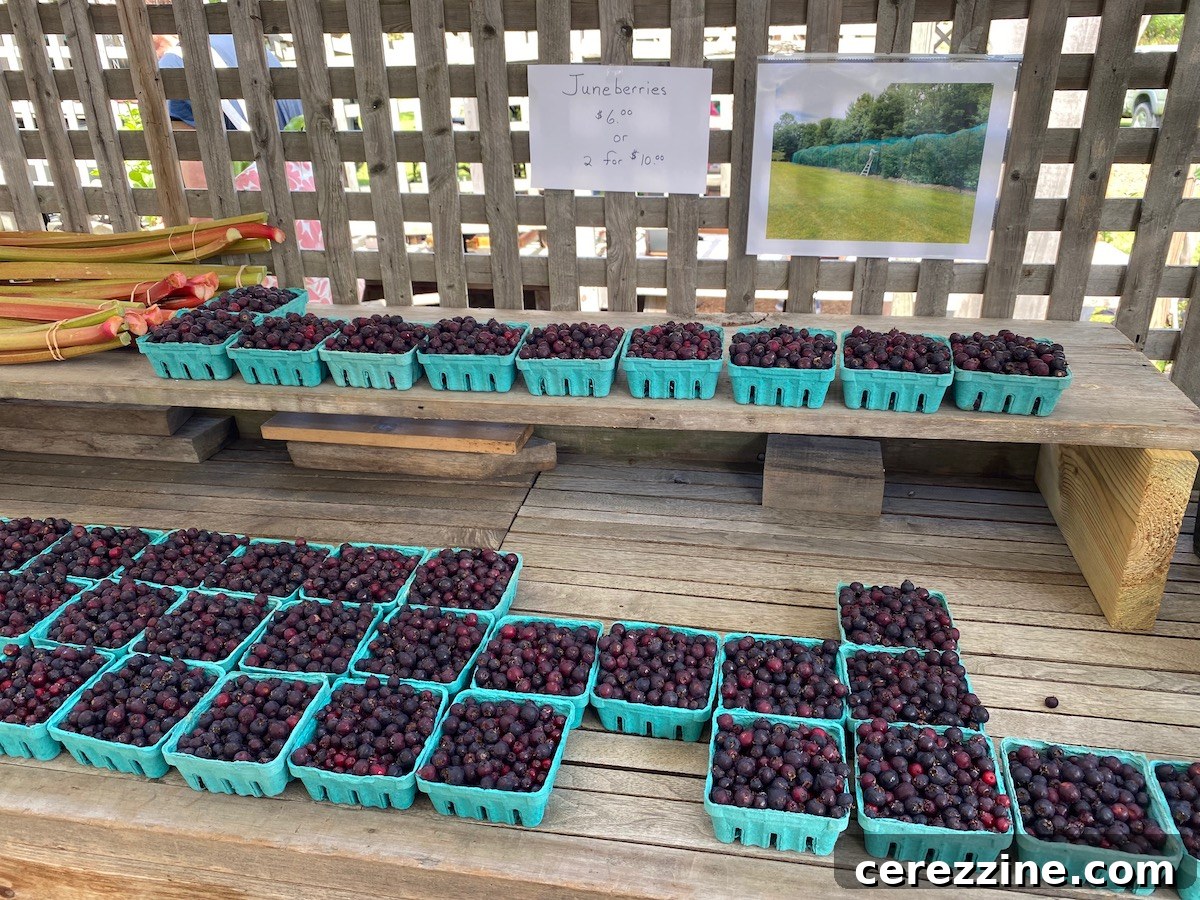
For those adventurous souls hoping to harvest serviceberries in the wild to create this delightful jelly, I highly recommend consulting a reliable guide to foraging serviceberries (or saskatoons). While most Saskatoons are relatively easy to identify, there are a few look-alike plants with inedible fruits, so proper identification is crucial for safe foraging.
Why Choose Seedless Saskatoon Jelly Over Jam?
While Saskatoon jam is undoubtedly delicious, offering a hearty texture with whole fruit pieces, Saskatoon jelly presents a different, often preferred, experience. The key distinction lies in the texture: jelly is made from the strained juice of the fruit, making it entirely seedless and skin-free. This results in a glistening, translucent spread with a remarkably smooth consistency that melts in your mouth.
For many, the small but noticeable seeds in Saskatoon berries can be a minor inconvenience in jam. By making jelly, you bypass this textural element entirely, achieving a pristine clarity and a luxurious mouthfeel that truly lets the pure flavor of the Saskatoon berry shine through. It’s perfect for those who enjoy the essence of the fruit without any pulp or seeds, making it an elegant addition to any breakfast table or dessert.
Essential Ingredients for Your Saskatoon Jelly
Crafting a batch of five 8-ounce jars of exquisite serviceberry jelly requires careful selection of ingredients. Here’s what you’ll need:
- 8 cups fresh Saskatoon berries: The star of our show, providing that unique, intense flavor.
- 4 cups water: Saskatoons are sweet but not excessively juicy, so water is essential to extract their full flavor and create enough liquid for the jelly.
- 2 Tbsp. lemon juice: (from one or two lemons) This brightens the berry flavor and aids in pectin activation.
- 4 cups sugar*: The sweetener and a crucial component for proper gelling with regular pectin.
- 1 box (1.75 oz.) regular pectin: Such as Sure-Jell, essential for achieving a firm set. (Refer to notes for low-sugar pectin options).
Ingredient Deep Dive: Tips for Best Results
As mentioned, Saskatoon berries, while delicious and sweet, aren’t the juiciest fruits for jelly-making. This is precisely why we incorporate a generous amount of water during the initial cooking phase. Mashing the berries thoroughly as they cook helps to infuse their rich flavor into the water, creating a robust liquid foundation for your jelly.
For the lemon juice, you have the option of using freshly squeezed lemons or bottled lemon juice from concentrate. Both varieties perform equally well in terms of function, contributing to flavor enhancement and pectin activation. However, many prefer freshly squeezed lemon juice for the superior quality and brighter taste it imparts. Typically, one large lemon will yield about two tablespoons of juice, but it’s always a good idea to have an extra lemon on hand just in case.
While lemon juice is technically optional and can be adjusted to your taste (you may use less than two tablespoons if preferred), it is highly recommended for Saskatoon jelly. Its acidity acts as a catalyst, bringing out the full spectrum of the berries’ flavor and adding an essential “pop” that truly makes the jelly sing.
This particular recipe is designed for regular pectin, like Sure-Jell, which typically calls for a 1:1 ratio of fruit liquid to sugar for optimal gelling. If you are mindful of your sugar intake or simply prefer a less sweet jelly, you have excellent alternatives.
Consider using a low-sugar pectin, such as Sure Jel Low Sugar (detailed further in the Notes section). With low-sugar pectin, you use the same amount of fruit liquid but significantly less sugar, making it an ideal choice for those who desire a less sugary preserve without compromising on the set. There are also other brands like Pamona’s Universal Pectin which offer different gelling mechanisms and flexibility with sugar content, so always refer to their specific instructions.
Step-by-Step Guide: How to Make Saskatoon Berry Jelly
Making Saskatoon jelly is a rewarding process that transforms fresh berries into a vibrant, flavorful spread. Follow these steps for a perfect batch:
1. Prepare Your Berries
Begin by carefully sorting through your freshly picked Saskatoons. Remove any stems, leaves, or other debris. Discard any berries that are underripe (firm and lacking full color) or overripe (squishy, shriveled, or showing signs of mold). Clean berries are key to a clear, delicious jelly.
2. Cook and Mash the Berries
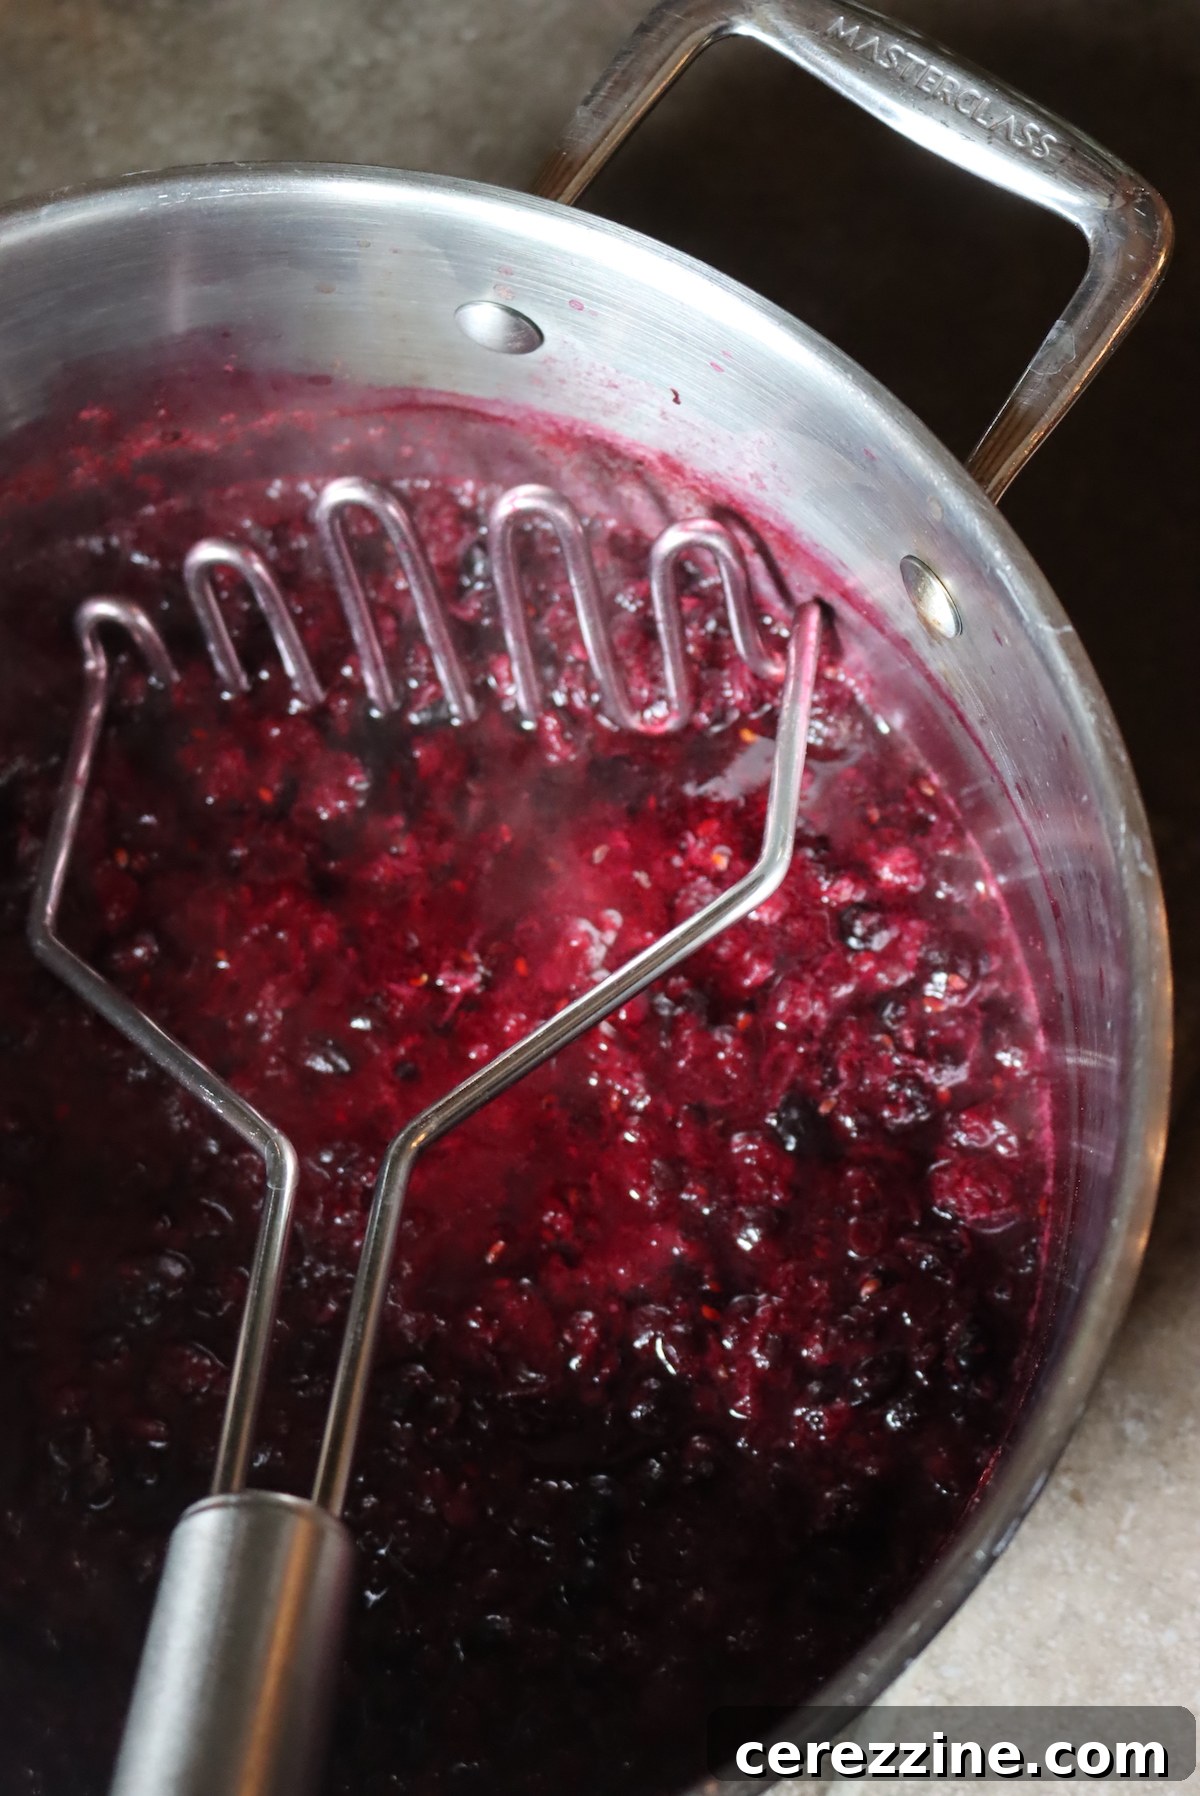
Place the 8 cups of cleaned Saskatoons into a large jam pot or heavy-bottomed saucepan. Add 4 cups of water. Cook the berries over medium-high heat, stirring occasionally. As the berries begin to soften, use a potato masher or a sturdy spoon to mash them thoroughly. This action is crucial for extracting the maximum flavor from the serviceberries, which will infuse into the water to create a rich, flavorful juice base for your jelly.
3. Boil and Simmer
Once the berries are completely mashed and have released their juices, increase the heat to high. Bring the mixture to a rapid, rolling boil, stirring continuously. Maintain this hard boil for 2-3 minutes to further extract flavor and soften the fruit pulp. After this time, remove the berry mixture from the heat.
4. Strain the Juice
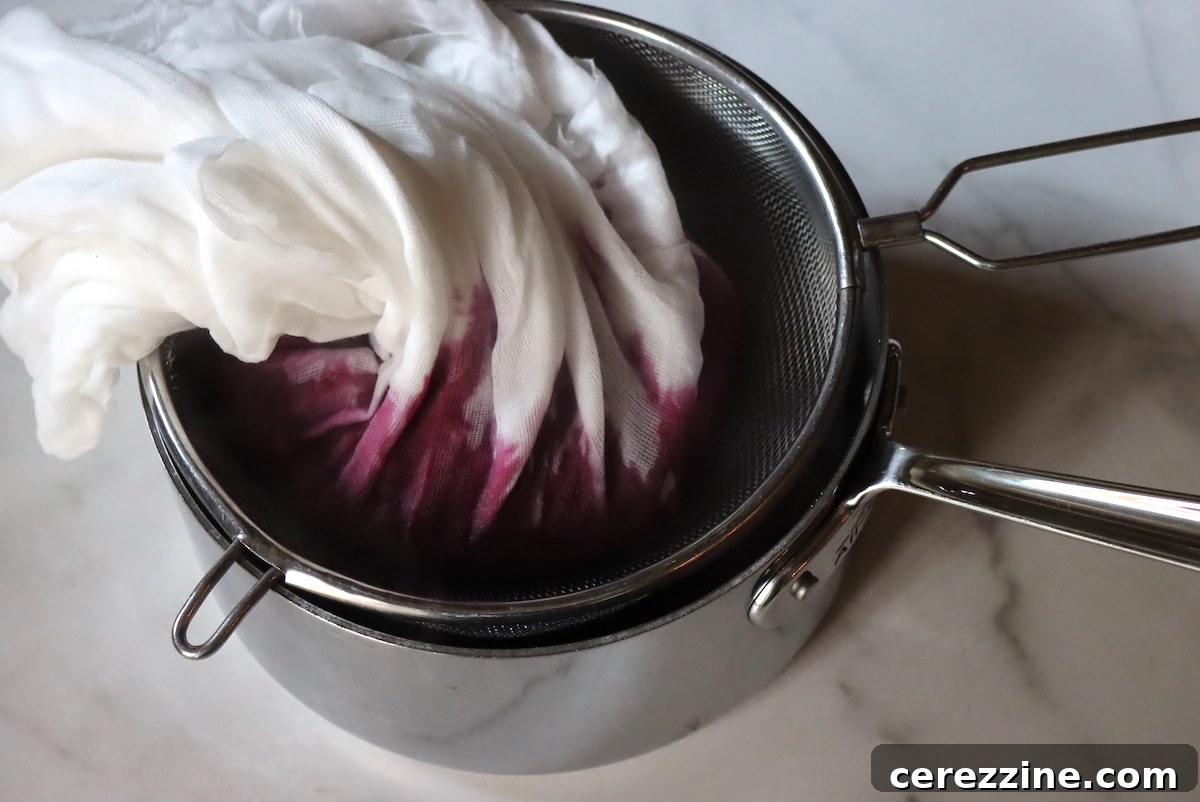
Carefully pour the hot berry mixture into a jelly bag suspended over a large bowl. Allow the juice to drip through the bag naturally. This process can take some time, as the mashed berry mixture is quite thick. For best results, avoid squeezing the bag initially to ensure the clearest juice. Once the dripping has significantly slowed, you may gently squeeze the bag to extract any remaining liquid. Aim for 4 cups of pure berry juice. If you don’t have a jelly bag, line a colander or strainer with several layers of clean cheesecloth. Let the juice drain, then gather the cheesecloth and squeeze out additional liquid. It’s vital to use **several** layers of cheesecloth to prevent pulp from passing into your juice. A cloudy jelly with pulp will not harm the flavor but might affect its clarity and firmness, resulting in a jam-like consistency.
5. Prepare for Gelling
Once you have exactly 4 cups of strained berry juice, you are ready to prepare the jelly. (If you plan to can your jelly, now is the time to prepare your water bath canner, jars, and lids.) Pre-measure 4 cups of sugar (or less, if you’re using low-sugar pectin) and set it aside. If your serviceberry juice falls slightly short of 4 cups, you can top it off with a neutral-flavored bottled juice, such as apple, white grape, or cranberry juice, to reach the correct measurement.
6. Combine and Boil with Pectin
Pour the 4 cups of berry juice into a clean medium saucepan or jam pot. Add two tablespoons of lemon juice (freshly squeezed or bottled). Cook the juice over medium-high heat, stirring occasionally, until it reaches a full, rolling boil. While the juice is at a vigorous boil, slowly add the powdered pectin, stirring constantly to ensure it dissolves completely. Don’t worry if you see a few small pectin lumps initially; they should dissolve as you continue to boil and stir the mixture.
7. The Pectin Boil
Once the pectin is added, continue to boil the mixture at a full, rolling boil for precisely one minute, stirring continuously. This step is critical for activating the pectin.
8. Incorporate Sugar and Final Boil
Slowly add the pre-measured sugar to the boiling mixture, stirring constantly until the sugar is fully dissolved. It’s important to note that the pectin needs to boil in the liquid before the sugar is added. If sugar is added too early, the jelly may not set properly. After all the sugar is dissolved, bring the mixture back to a full, rolling boil once more, stirring continuously. Let it boil hard for 1-2 minutes. Be careful not to over-boil the jelly (avoid boiling for more than 5 minutes total with sugar), as this can also prevent it from gelling correctly.
9. Fill and Seal Jars
Carefully ladle or pour the hot jelly mixture into your prepared, hot jelly jars. Leave a ¼ inch of headspace at the top of each jar. A canning funnel with a ¼” lip is incredibly helpful for achieving an accurate headspace and preventing spills. Wipe the rims of the jars thoroughly with a clean, damp cloth to ensure a proper seal, then cap them with two-part canning lids (flats and rings).
10. Cooling and Storage
If you don’t plan on canning your jelly using the water bath method, simply let the jars cool to room temperature on your counter. Once cooled and set, store this uncanned serviceberry jelly in the refrigerator for up to 1 month, or freeze it for up to 6 months. For all jelly, once opened, it must be refrigerated.
For long-term storage, water bath canning is a simple and effective method. Properly sealed and canned jelly does not require refrigeration until opened and will maintain its quality in your pantry for up to 18 months, allowing you to enjoy the taste of summer throughout the year.
Saskatoon Jelly Variations & Flavor Enhancements
While classic Saskatoon jelly is a delight on its own, its versatile flavor profile lends itself beautifully to various creative enhancements. Experiment with these variations to discover new favorites:
- Mixed Berry Medley: For an added layer of complexity and sweetness, try incorporating other fruits. Add some ripe grapes or tart cranberries to your Saskatoons as they cook. The additional fruit will complement the Saskatoon’s unique notes beautifully.
- Tart Cherry Twist: Tart cherries blend wonderfully with serviceberries. Substituting a portion of the Saskatoons with tart cherries will create a vibrant serviceberry-cherry jelly with a delightful sweet-tart balance.
- Milder Profile: If you prefer a less intense berry flavor, you can dilute the Saskatoon juice slightly. Make your jelly using only 3 cups of serviceberry juice and one cup of a milder juice, such as apple juice or white grape juice. This softens the intensity while still preserving the distinctive Saskatoon essence.
- Spice It Up: A pinch of cinnamon, a tiny grind of cardamom, or a whisper of vanilla extract can add warmth and intrigue to your Saskatoon jelly. Add these spices during the final boiling stage with the sugar.
- Citrus Zest Boost: Beyond lemon juice, consider adding a touch of orange or lime zest during the initial cooking phase for an extra burst of aromatic citrus.
Canning Saskatoon Jelly for Year-Round Enjoyment
Canning your homemade Saskatoon jelly is an excellent way to preserve its fantastic flavor, allowing you to savor a refreshing burst of summer even during the coldest winter months. If you are new to canning or need a refresher, I highly recommend reading a comprehensive beginner’s guide to water bath canning for detailed instructions on the process and the necessary equipment.
Water Bath Canning Steps:
- Prepare Jars: Ensure your canning jars, lids, and rings are clean and sterilized according to canning guidelines.
- Fill Jars: Once your jelly mixture is ready and still hot, carefully ladle or pour it into the hot prepared jelly jars, leaving precisely ¼ inch of headspace at the top of each jar. This headspace is critical for proper sealing.
- Clean Rims and Seal: Wipe the rims of the filled jars thoroughly with a clean, damp cloth to remove any jelly residue that could prevent a seal. Place new, clean canning lids (flats) on top, then screw on the canning rings until they are “finger tight” – meaning snug but not overtightened.
- Process in Canner: Using a jar lifter, carefully place the jars into your prepared hot water bath canner, ensuring they are fully submerged in water by at least an inch. Bring the water back to a rolling boil.
- Processing Time: Once the water reaches a full boil, begin your processing time. Process the jelly jars for 10 minutes. If you are at an elevation above 6,000 feet, increase the processing time to 15 minutes to account for lower boiling temperatures.
- Cool and Check Seals: When the processing time is complete, turn off the heat and let the canner sit for 5 minutes before carefully removing the jars with a jar lifter. Place the hot jars on a clean towel on your counter, leaving them undisturbed for 12-24 hours to cool and seal properly.
- Storage: After 24 hours, check each jar’s seal by pressing on the center of the lid. If it doesn’t flex, the jar is sealed. Any jars that did not seal should be stored in the refrigerator and consumed within one month. Properly canned and sealed jars can be stored in a cool, dry, dark pantry or cellar for up to 18 months, maintaining excellent quality. Once opened, always refrigerate any remaining jelly.
Enjoying your perfectly canned serviceberry jelly throughout the year is a simple pleasure, bringing a taste of homemade goodness to any meal!
Creative Ways to Enjoy Saskatoon Berry Jelly
Saskatoon jelly isn’t just for breakfast; its rich, nuanced flavor makes it incredibly versatile. Here are some delightful ways to incorporate this homemade treat into your culinary repertoire:
- Classic Spreads: The most obvious and beloved use! Spread it generously on your morning toast, flaky croissants, warm English muffins, or your favorite artisan bread. For a truly elevated experience, try it on freshly baked scones with clotted cream.
- Peanut Butter & Jelly Reinvented: Ditch the conventional grape jelly and elevate your next peanut butter and jelly sandwich with Saskatoon jelly. Its unique flavor adds a gourmet twist to this childhood favorite.
- Baking Brilliance: Use Saskatoon jelly as a filling for thumbprint cookies, tarts, or layered cakes. It adds a vibrant fruit flavor and a beautiful glaze.
- Savory Pairings: Don’t limit jelly to sweet dishes. Saskatoon jelly can be an exquisite accompaniment to savory meals. Serve it alongside roasted poultry (chicken, duck, turkey), pork loin, or game meats for a touch of sweet and tangy contrast. It also pairs wonderfully with strong cheeses on a charcuterie board.
- Glazes and Sauces: Whisk a spoonful into salad dressings, or melt it down to create a shiny glaze for baked goods or savory meats. Its natural sweetness and fruitiness make it a fantastic base for quick sauces.
- Yogurt & Oatmeal Topper: Stir a dollop into your morning oatmeal or swirl it into plain yogurt for a flavorful and naturally sweetened breakfast.
- Cocktail Enhancer: For the adventurous, a small amount of Saskatoon jelly can add an intriguing fruit dimension to cocktails, especially those featuring gin or vodka.
- Thoughtful Gifts: Homemade Saskatoon jelly makes an incredibly thoughtful and unique gift. Since shadbush jelly is rarely found in commercial stores, gifting a jar introduces friends and family to a flavor they might not have discovered otherwise, letting them in on what they’re truly missing!
Explore these options and let your culinary imagination run wild with the delightful possibilities of Saskatoon berry jelly!
Saskatoon Jelly
By Ashley Adamant
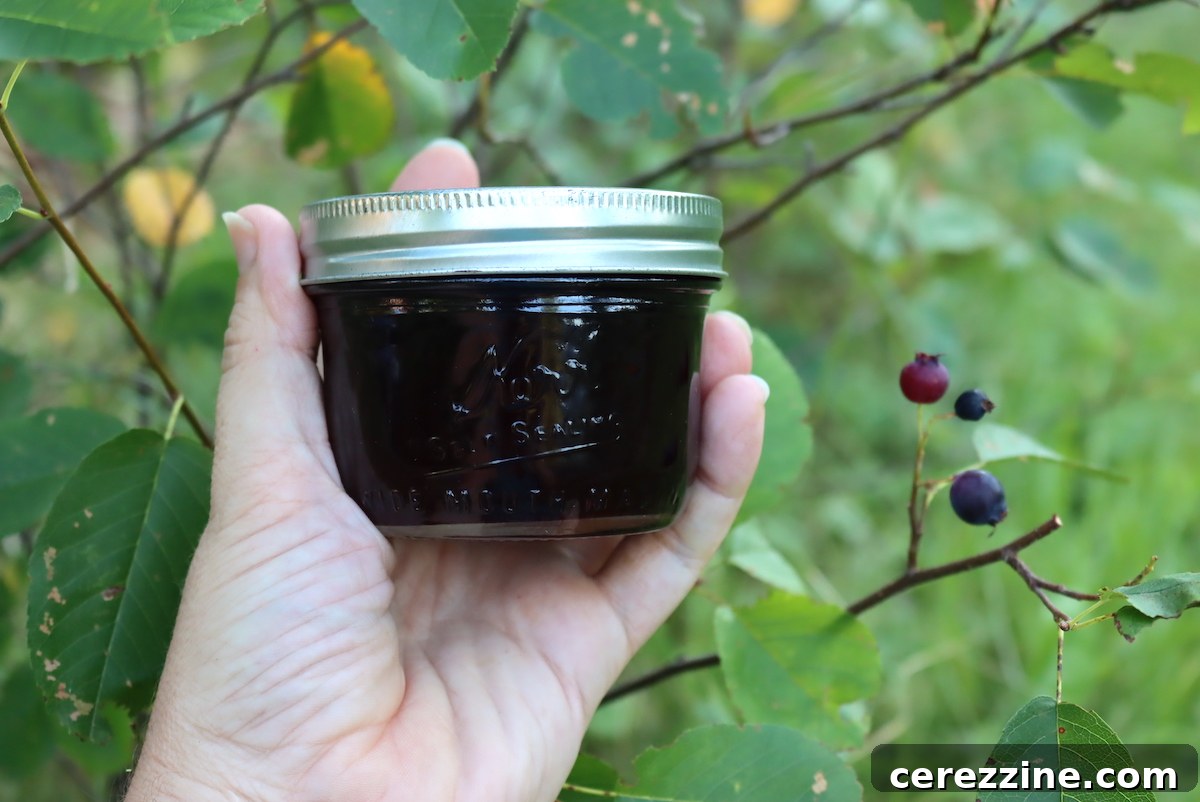
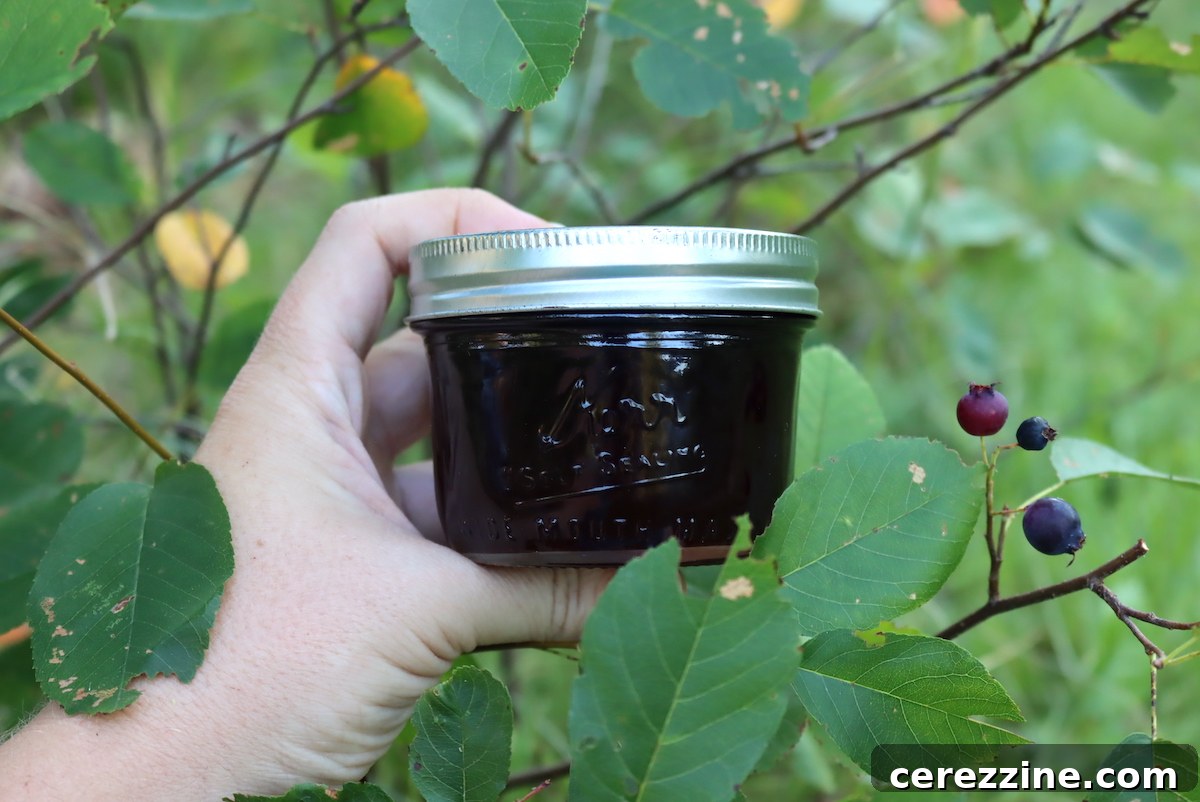
Saskatoon jelly is a rich flavorful jelly that tastes like blueberries with a hint of almonds and citrus zest.
Servings: 40 servings, Makes about 5 half pint (8 oz ) jars
Prep Time: 2 hours 10 mins
Cook Time: 10 mins
Canning Time (optional): 10 mins
Total Time: 2 hours 30 mins
Equipment
- Water Bath Canner
- Jelly Strainer with Bag
Ingredients
- 8 cups saskatoon berries
- 4 cups water
- 2 Tbsp. lemon juice
- 4 cups sugar*, see note
- 1 box powdered pectin, 1.75 oz. regular pectin or 6 tbsp (see Notes for low-sugar recipe)
Instructions
- Using a large saucepan or jam pot, pour 4 cups of water over 8 cups of cleaned, de-stemmed serviceberries.
- Heat the berries with water on medium-high, mashing the berries with a large, durable spoon or masher as they cook.
- Bring the mashed berry mixture to a boil, keeping it at a full, hard boil for 2-3 minutes.
- Using a jelly bag, pour the serviceberry mixture into the bag, allowing the juice to drain through. Once dripping has slowed, squeeze the jelly bag, allowing as much liquid to drain as possible. Use several layers of cheesecloth and a strainer if you do not have a jelly bag.
- Pre-measure the sugar and set it aside.
- Add 2 Tablespoons of lemon juice to the serviceberry juice. (Lemon juice is optional, and not required for preservation, but it does improve flavor.)
- Pour the juice into a medium saucepan or jam pot.
- Turn the burner to high heat and bring the juice to a boil.
- Slowly add the pectin, stirring to dissolve.
- Bring the mixture back to a full boil, and allow it to boil for one minute.
- Slowly add the pre-measured sugar to the mixture, stirring continuously, dissolving the sugar.
- Again, bring the mixture back to a rolling boil, stirring while boiling for 1-2 minutes.
- Ladle or pour the jelly into prepared jelly jars, leaving ¼” headspace, and wipe the rims of the jars with a clean cloth.
- Apply the 2-part canning lid, and either proceed with the canning process using the hot water bath method or leave the jars to cool and set up for 24 hours.
- Store canned jelly in a cool, dry place for up to 18 months. Uncanned jelly can be stored in the refrigerator for up to 1 month or in the freezer for six months. For all jelly, refrigerate once opened.
Notes
Low Sugar Saskatoon Jelly
It is easy to make jelly using less sugar than traditional or “old-fashioned” recipes. The conventional method using regular pectin calls for a 1 to 1 ratio of juice to sugar; for example, if you have 4 cups of juice, you use 4 cups of sugar.
Low-sugar recipes can be made easily using low-sugar pectin instead of regular pectin. Sure Jel Low Sugar comes in a pink box and specifically states it is for low or no-sugar recipes. There are recipe guidelines in the box, but you can typically reduce the sugar by half or even a little more.
For serviceberry jelly, using 4 cups of juice, you can make good jelly using as little as 1/2 cup of sugar with Sure Jel Low Sugar. This will also work with sugar alternatives that are approved for canning.
Another brand of pectin you may opt to use is Pamona’s Universal Pectin. You will need to follow the instructions in the box, as this pectin is a 2-part low-sugar pectin, and the steps are different from regular pectin. Use their recipe and process for blueberry jelly.
*Lowering sugar will also lower yield. The yield of 5 half-pints is for a full sugar (regular pectin) recipe.
Nutrition
Calories: 98kcal, Carbohydrates: 25g, Protein: 0.2g, Fat: 0.2g, Saturated Fat: 0.01g, Polyunsaturated Fat: 0.04g, Monounsaturated Fat: 0.01g, Sodium: 4mg, Potassium: 24mg, Fiber: 1g, Sugar: 23g, Vitamin A: 16IU, Vitamin C: 3mg, Calcium: 3mg, Iron: 0.1mg
Nutrition information is automatically calculated, so should only be used as an approximation.
More Homemade Jelly Recipes to Explore
If you’ve enjoyed making this Saskatoon jelly and are looking to expand your repertoire of homemade preserves, here are some other easy and flavorful jelly recipes to try. Each offers a unique taste experience and the satisfaction of crafting something delicious from scratch:
- Gooseberry Jelly: A delightfully tart and tangy jelly that’s excellent with rich meats or on toast.
- Black Raspberry Jelly (Seedless): A rich, dark berry flavor in a smooth, elegant preserve, perfect for those who love raspberries without the seeds.
- Quince Jelly: An aromatic and firm jelly with a delicate floral flavor, a true gourmet treat.
- Raspberry Jelly: Bright, sweet, and bursting with classic raspberry flavor, a timeless favorite.
- Rose Petal Jelly: A beautifully fragrant and unique jelly that captures the essence of summer roses.
Each of these recipes offers a wonderful opportunity to practice your jelly-making skills and stock your pantry with delicious, homemade goodness.