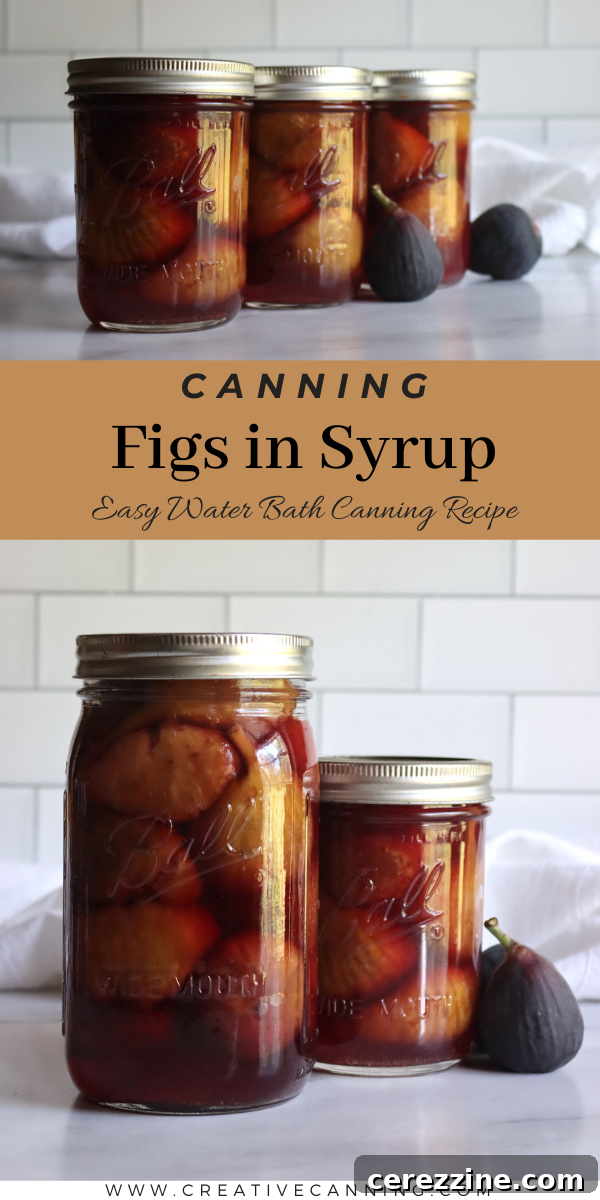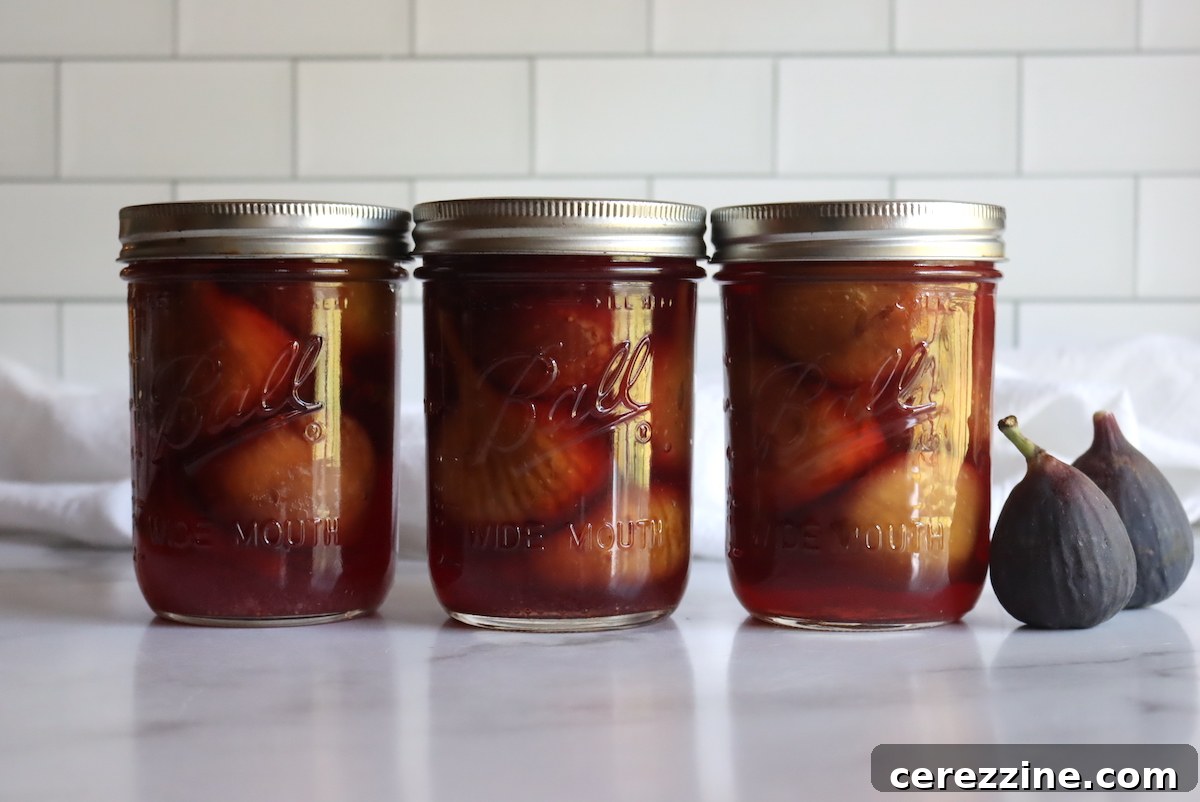
Canning figs at home offers a delightful and simple method to preserve these incredibly sweet and abundant fruits. If you’ve ever grown figs, you know firsthand how prolific fig trees can be, often overwhelming a single family with their generous bounty during peak season. Instead of letting ripe figs go to waste or filling precious freezer space, home canning provides a shelf-stable solution that locks in their fresh flavor for year-round enjoyment.
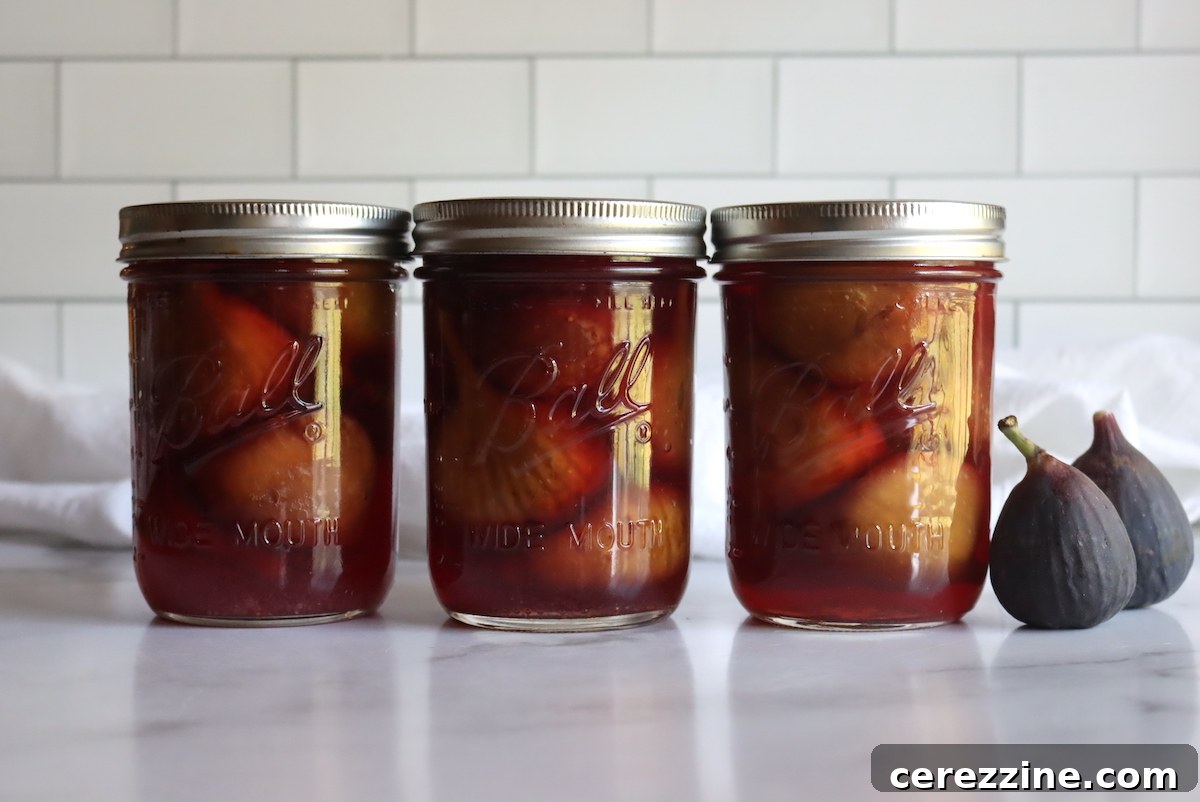
There’s a special charm in opening a jar of homemade canned figs, reminiscent of sun-drenched orchards even in the depths of winter. Unlike frozen figs, which can sometimes become mushy, properly canned figs retain a lovely texture and their signature sweetness, suspended in a delicious syrup. They are incredibly versatile – perfect for eating straight from the jar, serving with a fork as a simple dessert, or incorporating into various baking recipes. Imagine them as an elegant topping for ice cream, yogurt, oatmeal, or even as an accompaniment to a cheese platter. Learning how to can figs at home is an invaluable skill for anyone with a fig tree or access to a plentiful harvest.
This comprehensive guide will walk you through the entire process of water bath canning figs in syrup, ensuring you achieve delicious, safe, and beautifully preserved jars every time. From selecting the best figs to preparing your jars and mastering the processing times, we’ll cover everything you need to know to transform your fresh figs into pantry treasures.
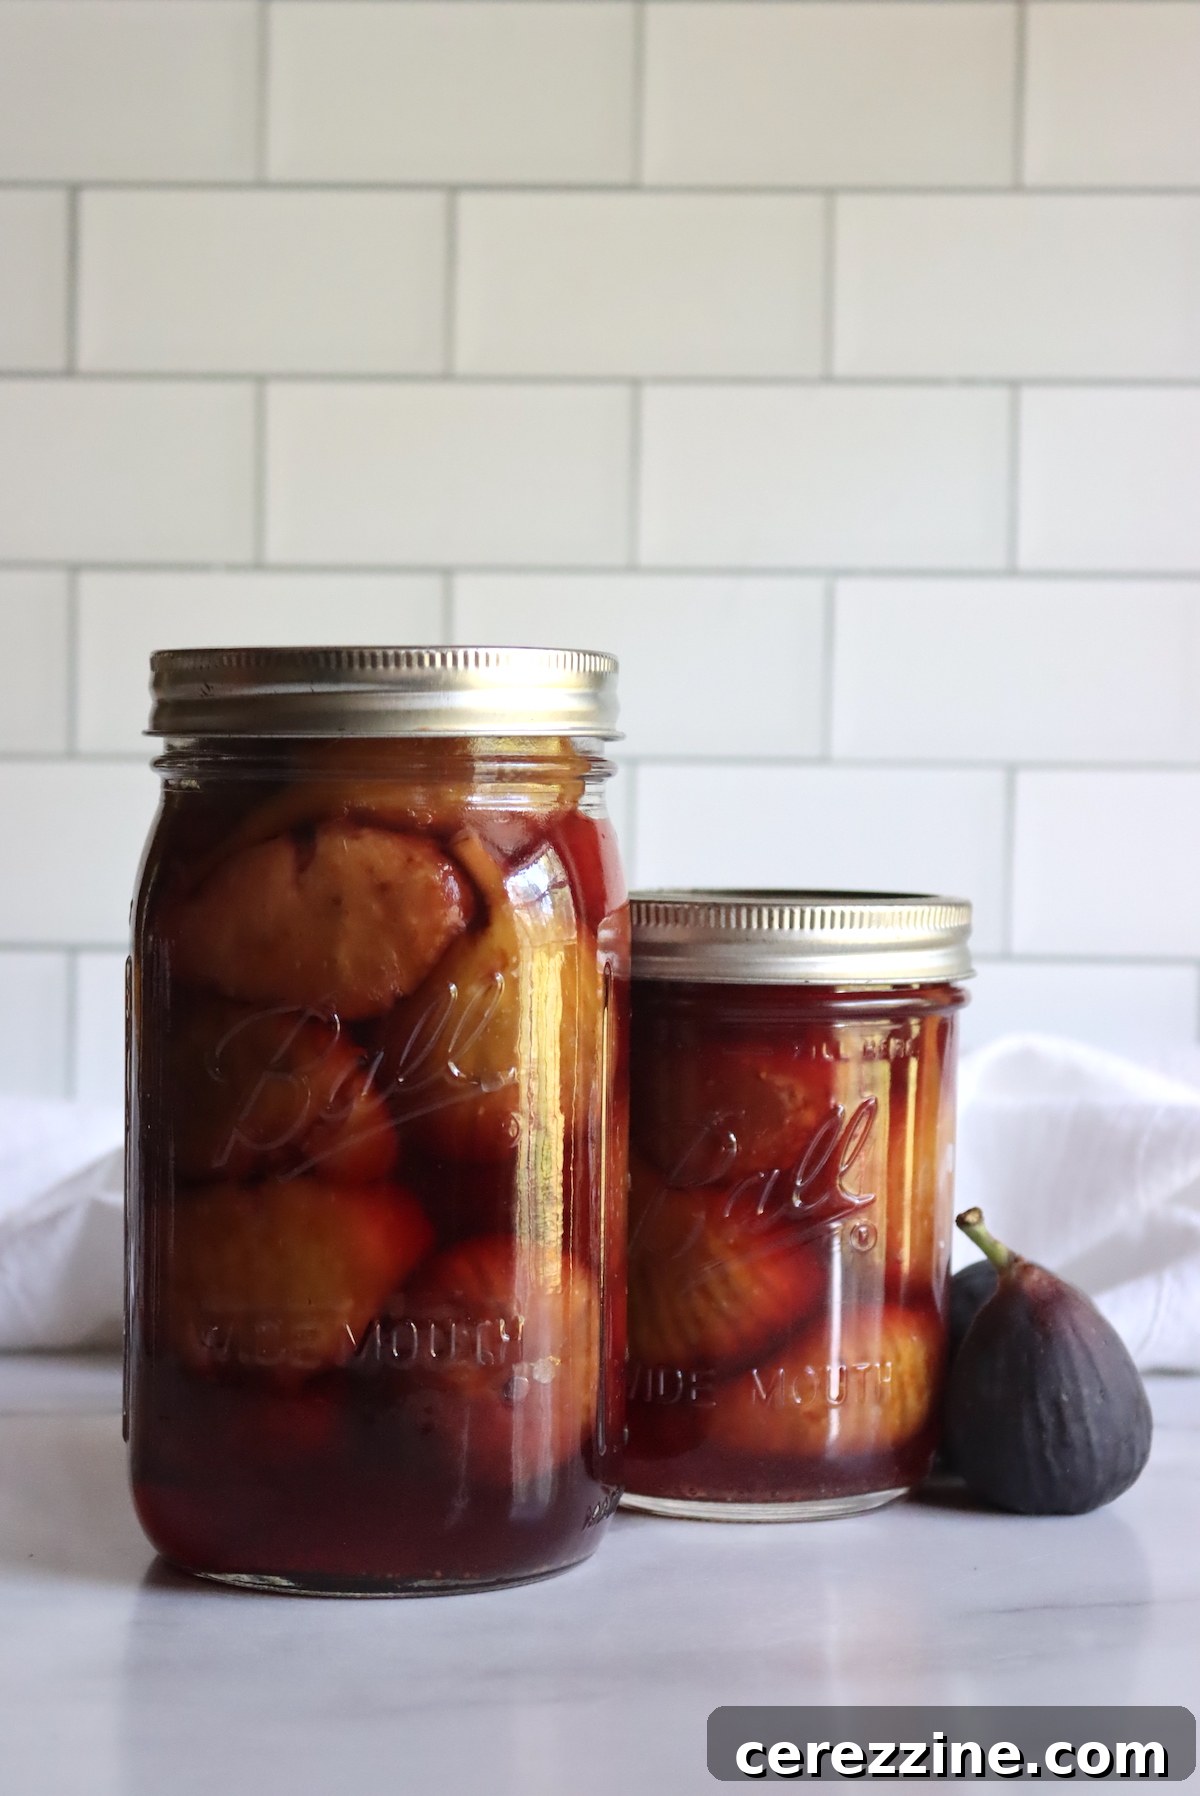
Selecting the Best Figs for Canning
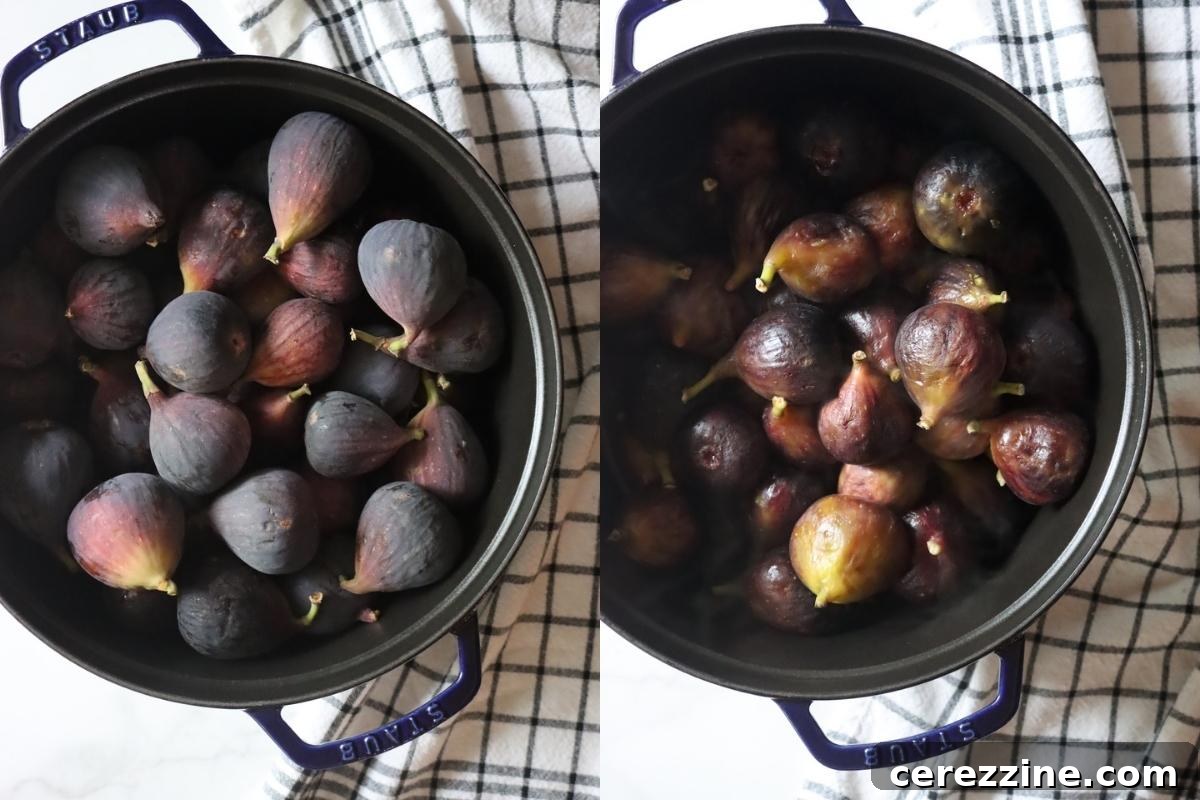
The quality of your canned figs begins with the quality of the fruit you choose. For optimal results, select figs that are ripe but firm. Avoid figs that are overly soft, bruised, or showing signs of mold, as these will not hold up well during the canning process and can affect the final product’s quality and safety. Figs should have a rich, uniform color for their variety and a pleasant, sweet aroma. Gently pick the figs or purchase them from a reputable source, ensuring they are handled with care to prevent bruising.
While most fig varieties can be canned, some are particularly well-suited due to their texture and flavor. Common varieties like Brown Turkey, Black Mission, and Kadota figs are excellent choices. Smaller figs tend to pack more efficiently into jars, but larger ones can also be canned successfully. The key is consistent ripeness and firmness across your batch.
Canning Figs Yield
Understanding the approximate yield is helpful for planning your canning session. The exact amount of figs needed to fill your jars will depend on several factors, including the size of your figs and how densely you pack them. Since figs are hot-packed, they will naturally shrink slightly during the cooking and processing stages, which helps them settle into the jars more compactly.
As a general guideline:
- **For a 7-quart canner load:** You will typically need about **16 pounds of fresh figs**. This translates to roughly **2 1/4 pounds of figs per quart jar**.
- **For a 9-pint canner load:** You will generally require about **11 pounds of fresh figs**. This is approximately **1 1/4 pounds of figs per pint jar**.
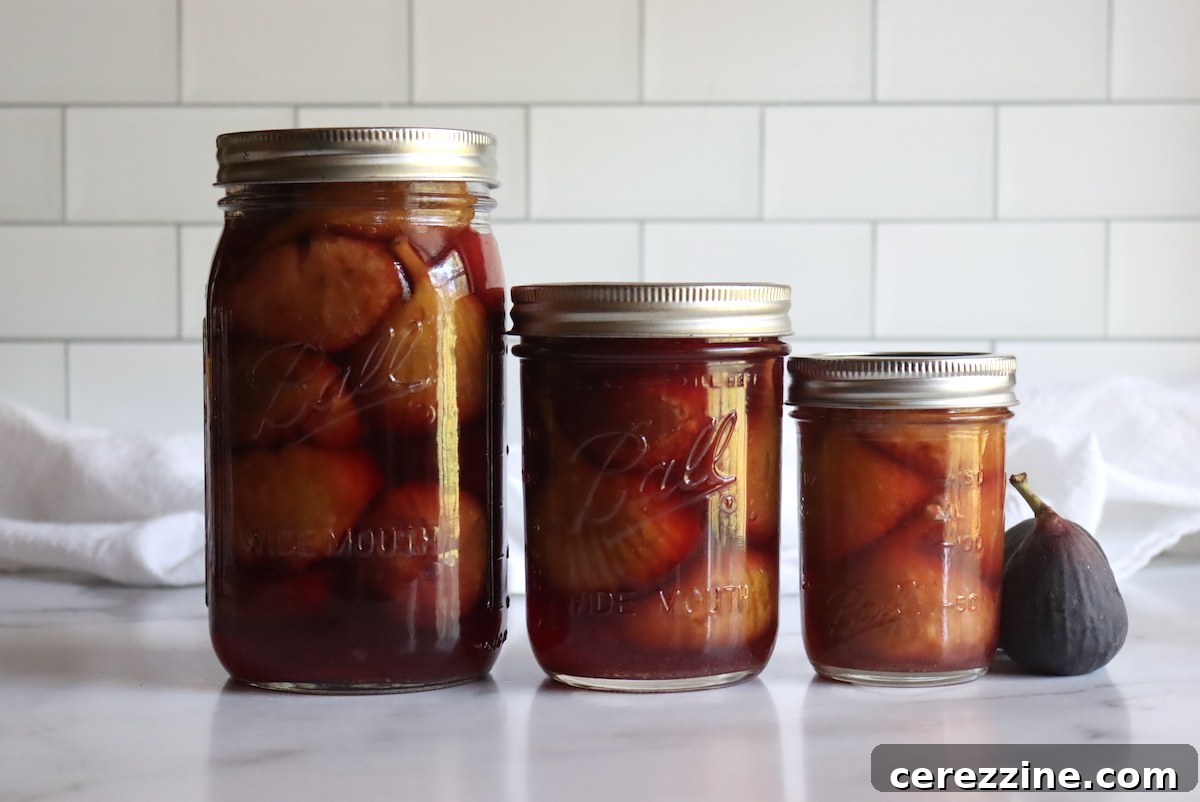
If your figs are on the smaller side, you might need slightly more than these estimates to achieve a full pack. Conversely, very large figs may require a bit less, as they won’t fit as tightly. Figs can be safely canned in quart, pint, or half-pint jars. If you opt for smaller half-pint jars, the processing times remain the same as for pint jars. It is important never to can figs in jars larger than quarts, as this can compromise food safety.
Essential Equipment for Canning Figs
Before you begin, gather all your necessary canning equipment. Having everything organized and ready will make the process smoother and more efficient. Here’s a checklist of what you’ll need:
- **Water Bath Canner:** A large pot with a lid and a rack to keep jars off the bottom, allowing water to circulate. This is crucial for safe water bath canning.
- **Canning Jars:** Mason-type canning jars (pint, quart, or half-pint) that are clean and free of chips or cracks.
- **New Lids and Rings:** Always use new lids for each canning session to ensure a proper seal. Rings can be reused if they are in good condition.
- **Large Stock Pot:** For blanching figs and preparing the canning syrup.
- **Slotted Spoon:** For carefully transferring hot figs into jars.
- **Jar Lifter:** Essential for safely moving hot jars in and out of the canner.
- **Canning Funnel:** To prevent spills and keep jar rims clean during filling.
- **Ladle:** For pouring hot syrup into jars.
- **Bubble Remover/Headspace Tool:** A non-metallic utensil (like a plastic chopstick or specialized tool) to remove air bubbles from filled jars and measure headspace.
- **Clean Towels:** For wiping jar rims and cooling jars.
- **Measuring Cups and Spoons:** For accurate ingredient measurements.
- **Timer:** To keep track of blanching, cooking, and processing times.
Preparing Figs for Canning
The preparation for canning figs is straightforward, and the goal is to keep them as whole and intact as possible. Here’s how to get your figs ready:
- **Rinse Thoroughly:** Gently rinse your fresh figs under cool, running water to remove any dirt or debris. Be careful not to bruise them.
- **Leave Stems On:** It might be tempting to snip off the fig stems, but it’s important to leave them intact before canning. Cutting the stems can cause the figs to “bleed” their milky sap into the canning liquid. This sap can impart a slightly bitter flavor and make your syrup cloudy. The stems are easily removed once the figs are served.
- **Do Not Peel:** Fig skins are delicate and contribute to their structure. Peeling them before canning will cause the figs to break down and become mushy during processing. The skin also contains beneficial nutrients and flavor.
- **Blanching:** Figs require blanching before canning. This step is critical for several reasons:
- It helps to remove some of the natural bitter agents found in the fig’s sap and skin, resulting in a sweeter, cleaner flavor in the final product.
- It softens the figs slightly, making them easier to pack into jars and ensuring they are thoroughly heated during the canning process.
To blanch: Bring a large pot of water to a rolling boil. Carefully add the clean, whole figs to the boiling water. Boil for exactly **2 minutes**. After 2 minutes, immediately strain the figs, discarding the blanching water.
Once your figs are blanched, they are ready for the next steps in the canning process.
How to Can Figs: A Step-by-Step Guide
This recipe outlines the method for water bath canning whole figs in syrup, ensuring a safe and delicious product for your pantry.
1. Prepare Your Canning Setup
- Wash canning jars, lids, and rings in hot, soapy water. Rinse thoroughly.
- Place the canning rack in the bottom of your water bath canner. Fill the canner halfway with water. Place your clean jars into the canner and heat the water to a gentle simmer (around 180°F / 82°C). This keeps the jars hot for hot-pack canning, preventing thermal shock when hot figs and syrup are added. Keep lids and rings warm in a separate small pot of simmering water (not boiling) according to manufacturer’s instructions.
2. Blanch the Figs
- As described above, bring a large pot of water to a rolling boil. Add your prepared figs and boil for **2 minutes**.
- Drain the blanched figs and discard the blanching water.
3. Prepare the Canning Syrup
While light syrup is often preferred for figs as it complements their natural sweetness without overpowering it, you can choose the syrup strength that best suits your taste. Refer to this guide for general syrup measurements if you wish to adjust beyond light syrup: Canning Syrup Guide.
Here are the measurements for **light syrup** for common canning batch sizes:
For a 9-Pint Batch (approx. 11 lbs figs):
- 5 3/4 cups water
- 1 1/2 cups granulated sugar
For a 7-Quart Batch (approx. 16 lbs figs):
- 9 cups water
- 2 1/4 cups granulated sugar
Combine the measured water and sugar in a large stock pot. Bring the mixture to a gentle boil over medium-high heat, stirring until the sugar is fully dissolved. Once boiling, add the blanched figs to the hot syrup and cook them in the syrup for **5 minutes**. This helps the figs absorb some of the syrup and further soften, making them easier to pack and ensuring even heating.
4. Add Acid to Jars
Figs are a low-acid fruit, which means they require added acid to be safely processed in a water bath canner. This is a critical step for preventing the growth of harmful bacteria. **Do not add lemon juice or citric acid to the boiling syrup**, as this can make accurate measurements difficult. Instead, add the acid directly to your empty canning jars before filling them.
- **For quart jars:** Add **2 tablespoons of bottled lemon juice** or **1/2 teaspoon of citric acid** per jar.
- **For pint jars (and half-pints):** Add **1 tablespoon of bottled lemon juice** or **1/4 teaspoon of citric acid** per jar.
Always use bottled lemon juice for canning, as its acidity level is standardized and reliable, unlike fresh lemon juice which can vary. Adding the acid at this stage helps ensure each jar receives the correct amount for safe preservation.
5. Fill the Jars
Carefully remove one hot jar from the canner, emptying any water back into the canner. Using a canning funnel, gently transfer the hot, syrup-boiled figs into the prepared jars. A slotted spoon can be helpful for this, allowing you to pack the figs first. Then, ladle the hot canning syrup over the figs, ensuring they are fully submerged.
**Leave 1/2 inch headspace** from the top of the figs and syrup to the rim of the jar. This headspace is crucial for proper sealing and preventing siphoning during processing.
6. Remove Air Bubbles and Seal
Using a non-metallic bubble remover tool or a plastic chopstick, run it around the inside of each jar to release any trapped air bubbles. Adjust the headspace by adding more syrup if necessary to maintain the 1/2 inch. Wipe the rims of the jars thoroughly with a clean, damp cloth to remove any food residue that could interfere with the seal. Center a clean, warm lid on each jar, then screw on the band fingertip-tight (just until resistance is met).
7. Process in Water Bath Canner
Carefully place the filled jars onto the rack in the hot water bath canner, ensuring they are not touching each other or the sides of the canner. Add more hot water if needed, so the water level covers the tops of the jars by at least 1 to 2 inches. Bring the water to a full, rolling boil. Once boiling, start your timer.
Process the jars for the following times, based on your altitude:
Altitude Adjustment for Canning Whole Figs in Syrup:
| Elevation | Pints | Quarts |
|---|---|---|
| 0 to 1,000 Feet | 45 minutes | 50 minutes |
| 1,001 to 3,000 Feet | 50 minutes | 55 minutes |
| 3,001 to 6,000 Feet | 55 minutes | 60 minutes |
| Above 6,001 Feet | 60 minutes | 65 minutes |
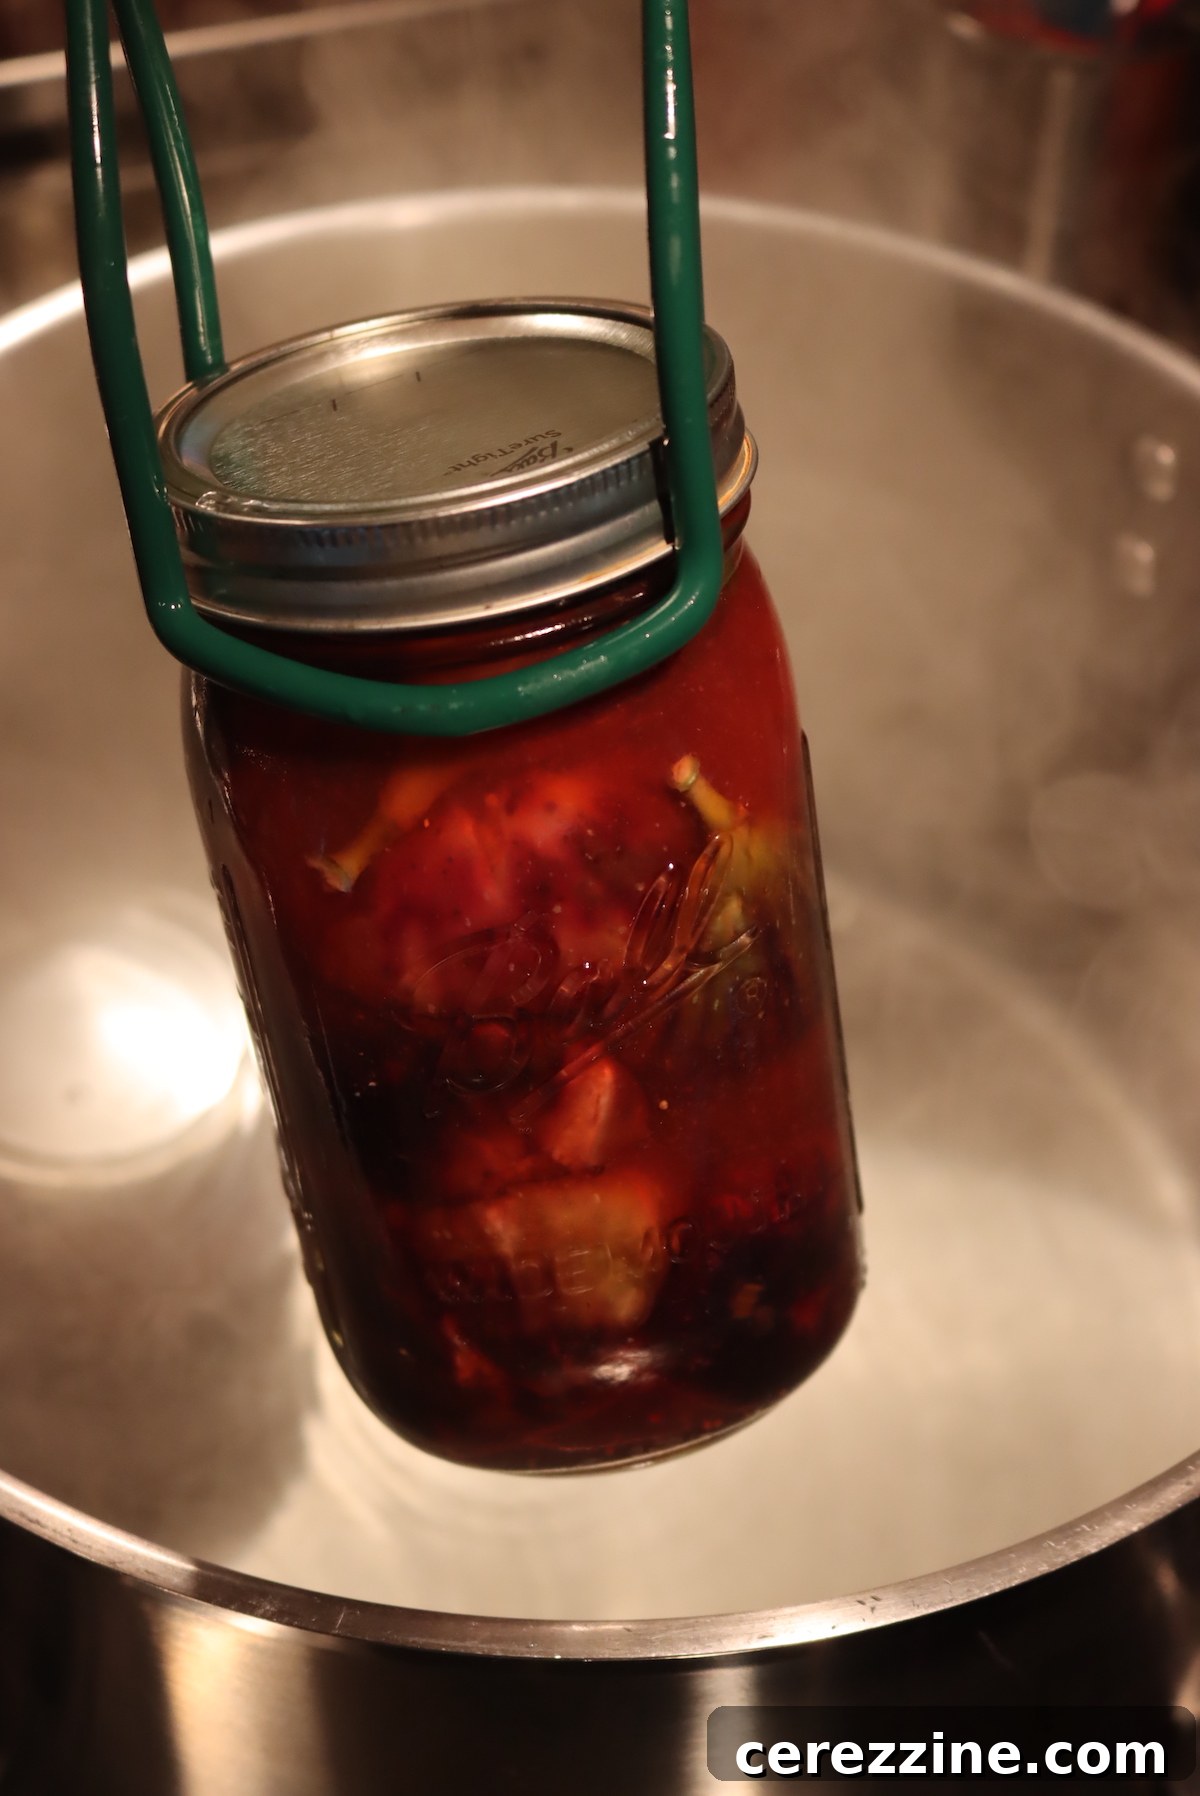
Once the processing time is complete, turn off the heat. Allow the jars to rest in the hot water bath canner for an additional 5-10 minutes before removing them. This helps to partially cool the jars and prevents siphoning (liquid loss) when they are moved. Using a jar lifter, carefully remove the hot jars from the canner and place them upright on a clean towel on your countertop, ensuring there is space between them for air circulation.
8. Cooling and Checking Seals
Allow the jars to cool undisturbed for 12-24 hours. As they cool, you should hear a “ping” sound as the lids seal. After the cooling period, check the seals by pressing down on the center of each lid. If the lid does not flex, it is sealed. If a lid springs back, the jar is not sealed. Any unsealed jars should be refrigerated immediately and consumed within a few days or reprocessed with a new lid (within 24 hours).
9. Storage
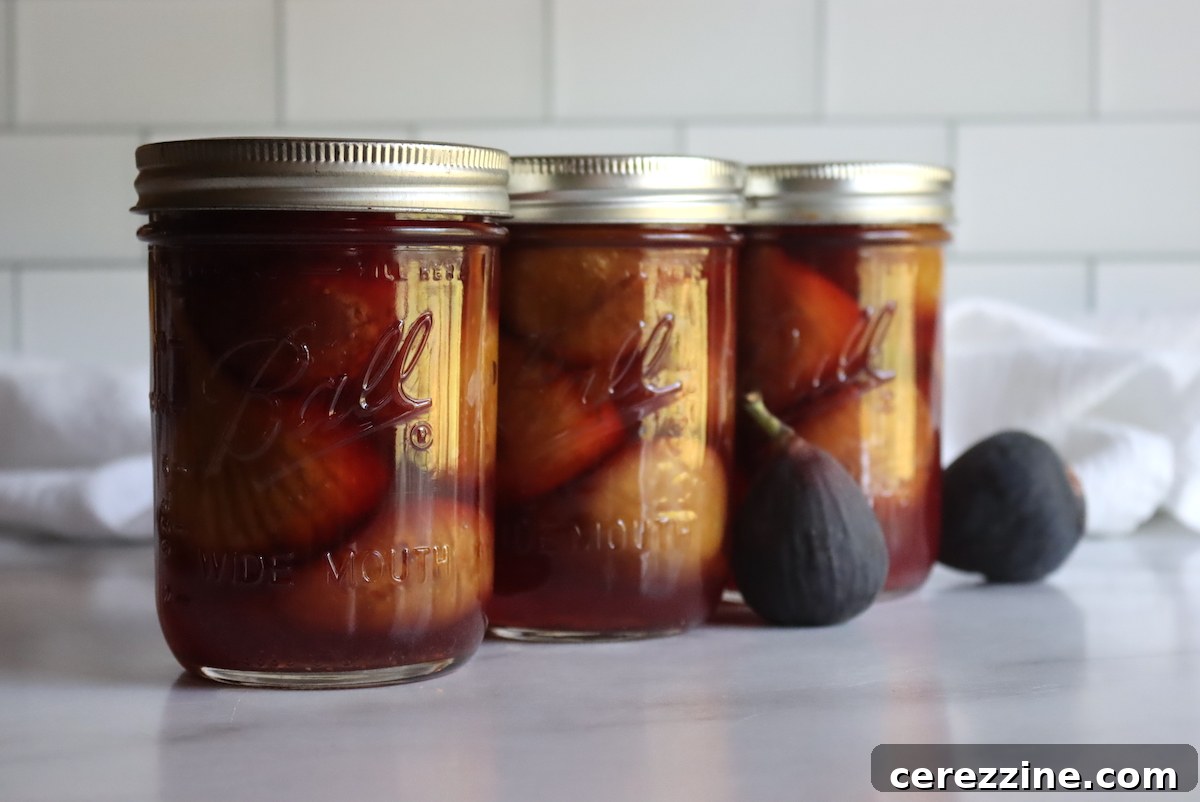
Once properly sealed, remove the bands from the jars, wipe the jars clean, label them with the date and contents, and store them in a cool, dark, dry place. Properly canned and sealed figs will maintain their quality on the pantry shelf for 12-18 months. Enjoy your homemade canned figs throughout the year!
More Fig Canning Recipes
Pickled Figs
Canning Figs
Fig Jam
Other Delicious Ways to Preserve Figs
While canning whole figs in syrup is a highly versatile and rewarding method, it’s certainly not the only way to capture the deliciousness of these fruits. Exploring different preservation techniques allows you to enjoy figs in various forms and textures. Consider these other popular methods:
- **Dehydrating Figs:** Drying figs concentrates their sugars, creating chewy, intensely sweet treats that are perfect for snacking, adding to granola, or incorporating into baked goods.
- **Freeze Drying Figs:** If you have access to a freeze dryer, this method produces lightweight, crisp figs that retain much of their original shape and nutrients. They rehydrate beautifully or can be eaten as a crunchy snack.
- **Freezing Figs:** A straightforward method for short-term preservation. Frozen figs are excellent for smoothies, tarts, and other cooked applications where texture is less critical. They can be frozen whole or sliced, often in a light syrup or simply spread on a baking sheet.
- **Fig Jam:** A classic way to preserve figs, resulting in a rich, spreadable condiment perfect for toast, pastries, or as a glaze for meats. (Find a great fig jam recipe here!)
- **Fig Jelly:** For those who prefer a clear, smooth spread, fig jelly offers the pure, sweet flavor of figs without the seeds. (Recipe coming soon!)
- **Fig Syrup:** A concentrated fig essence, perfect for drizzling over pancakes, waffles, yogurt, or as an ingredient in cocktails and sauces. (Recipe coming soon!)
- **Pickled Figs:** A unique and savory-sweet option, pickled figs offer a delightful contrast of flavors, excellent with cheeses, roasted meats, or charcuterie.
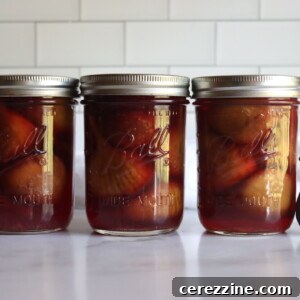
Canning Figs
Equipment
-
Water Bath Canner
Ingredients
For a 7 Quart Batch:
- 16 lbs fresh figs
- 9 cups water, plus more for blanching
- 2 1/4 cups sugar
- A scant cup of bottled lemon juice, 2 Tbsp per jar
For a 9 Pint Batch:
- 11 lbs fresh figs
- 5 3/4 cups water, plus more for blanching
- 1 1/2 cups sugar
- A bit more than half a cup bottled lemon juice, 1 Tbsp per jar
Instructions
-
Prepare a water bath canner, jars, lids and rings before beginning. The canner should be pre-heated for hot pack to a gentle simmer, about 180 degrees F.
-
Bring a pot of water to a boil on the stove and blanch the figs for 2 minutes. Drain and discard the blanching water.
-
Add measured water and sugar to a stock pot and bring it to a boil. The measurements in this recipe make light syrup. See notes for other syrup types.
-
Add blanched figs to the boiling syrup and boil for 5 minutes.
-
While the figs are boiling in syrup, add lemon juice or citric acid directly to the empty canning jars. You’ll need to add 2 Tbsp. of bottled lemon juice per quart, or 1 tbsp per pint. If you’re using citric acid, you can use 1/2 tsp citric acid per quart or 1/4 tsp per pint.
-
Use a slotted spoon to fill the canning jars with figs, and then ladle the canning syrup on top. Be sure to leave 1/2 inch headspace.
-
Seal the jars with 2 part canning lids and process them in a water bath canner for 45 minutes for pints and 50 minutes for quarts (below 1000 feet in elevation). See notes for processing times for higher elevations.
-
Once the processing time is complete, turn off the heat and allow the jars to sit in the canner for an additional 5-10 minutes. This partially cools the jars and helps prevent siphoning as the jars are removed from the canner. Use a jar lifter to remove the jars to cool on a towel on the counter.
-
Check seals after 12-24 hours. Store any unsealed jars in the refrigerator for immediate use. Properly canned and sealed jars will keep on the pantry shelf for 12-18 months.
Notes
- For 0 to 1,000 Feet – 45 min for pints and 50 min for quarts
- For 1,001 to 3,000 Feet – 50 min for pints and 55 min for quarts
- For 3,001 to 6,000 Feet – 55 min for pints and 60 min for quarts
- Above 6,001 Feet – 60 min for pints and 65 min for quarts
Syrup for Canning Figs:
Most people choose to can figs in light syrup, but it’s perfectly fine to reduce the sugar and can them in extra light syrup. You can also increase the sugar and can them in a heavier syrup. The measurements for canning syrups are as follows:
For a canner batch of 9 pints:
- For extra light syrup, use 6 1/2 cups water and 3/4 cup sugar
- For light syrup, use 5 3/4 cups water and 1 1/2 cups sugar
- For medium syrup, use 5 1/4 cups water and 2 1/4 cups sugar
- For heavy syrup, use 5 cups water and 3 1/4 cups sugar
- For extra heavy syrup, use 4 1/4 cups water and 4 1/4 cups sugar
For a canner batch of 7 quarts:
- For extra light syrup, use 10 1/2 cups water and 1 1/4 cups sugar
- For light syrup, use 9 cups water and 2 1/4 cups sugar
- For medium syrup, use 8 1/4 cups water and 3 3/4 cups sugar
- For heavy syrup, use 7 3/4 cups water and 5 1/4 cups sugar
- For extra heavy syrup, use 6 1/2 cups water and 6 3/4 cups sugar
Nutrition
Nutrition information is automatically calculated, so should only be used as an approximation.
Final Thoughts on Fig Canning
Canning figs at home is a time-honored tradition that brings the bounty of a fresh harvest into your kitchen all year long. By following these clear, tested guidelines, you can confidently preserve figs in a way that captures their exquisite taste and versatile nature. Whether you’re a seasoned canner or just starting your home preservation journey, figs are a forgiving and rewarding fruit to work with.
Don’t let another fig season pass by without enjoying the sweet rewards of your labor. The jars of glistening, syrup-soaked figs will be a testament to your efforts, ready to be enjoyed as a simple pleasure or transformed into culinary delights. Happy canning!