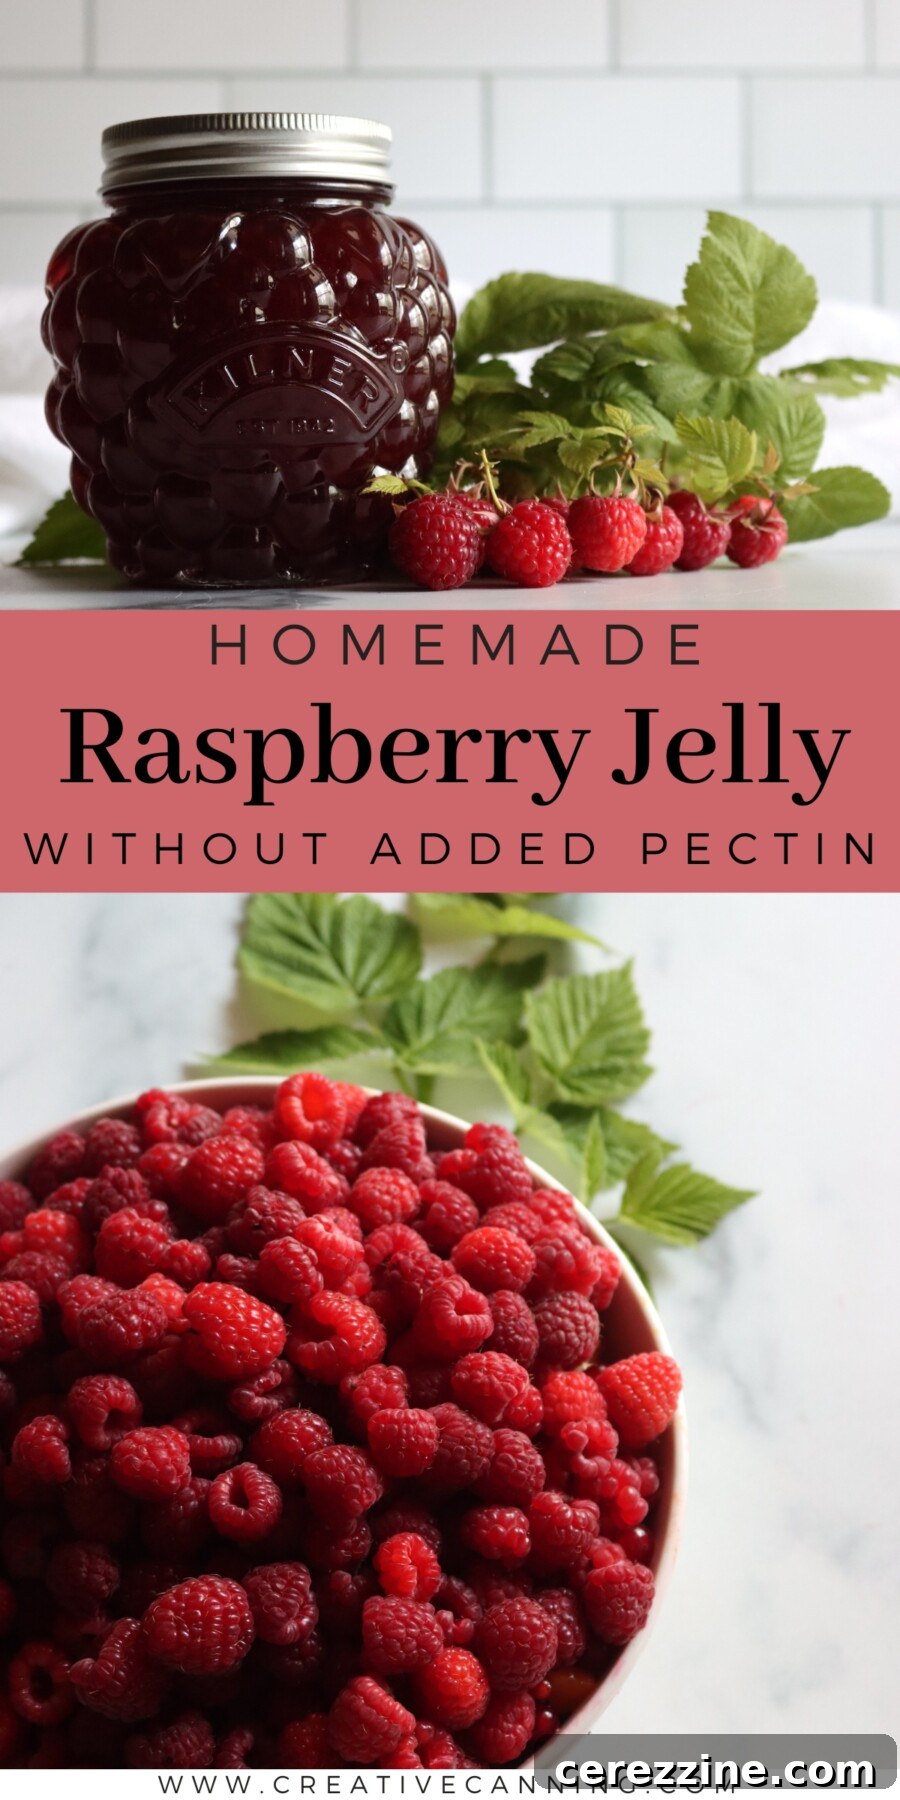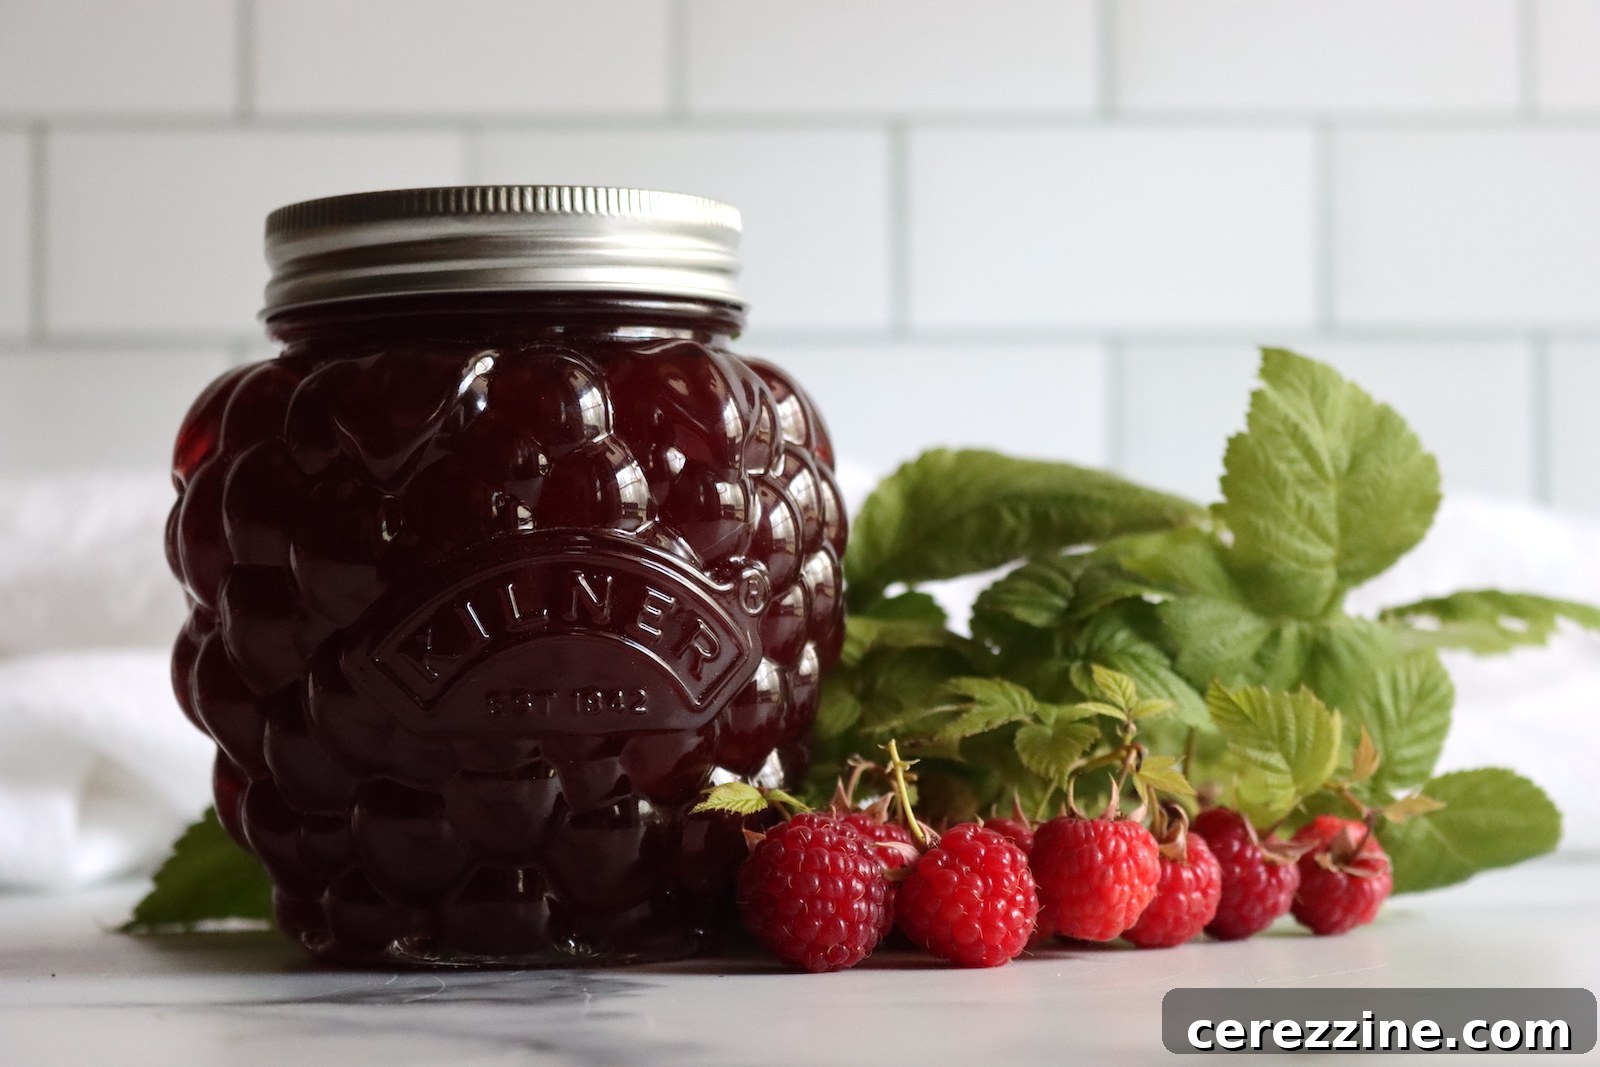
Indulge in the luscious simplicity of Homemade Raspberry Jelly, a classic spread that captures the vibrant essence of fresh raspberries in a silky, seedless form. Unlike jams, this traditional jelly recipe focuses on the pure fruit juice, offering an unparalleled smooth texture without any crunchy seeds. Crafted with just two core ingredients – ripe raspberries and natural sugar – this no-pectin jelly sets beautifully, delivering a perfectly firm yet spreadable consistency that melts in your mouth.
If you adore the bright, tart flavor of raspberries but prefer to avoid the seeds often found in jam, then this crystal-clear preserve is your ideal solution. By carefully straining the juice through a jelly bag, we eliminate all seeds, resulting in a pristine, translucent spread that is wonderfully versatile. Imagine it generously slathered on warm toast, fluffy biscuits, or stirred into creamy yogurt for a burst of authentic fruit flavor.
This authentic Raspberry Jelly recipe has been meticulously reviewed for safety and accuracy by a Master Food Preserver, certified through the esteemed University of Cornell Cooperative Extension. You can proceed with confidence, knowing your homemade jelly will be both delicious and safe for canning.
The Natural Science Behind No-Pectin Raspberry Jelly
One of the most appealing aspects of making raspberry jelly the old-fashioned way is that raspberries are naturally blessed with the perfect balance of acidity and pectin. This inherent composition means you often don’t need to add commercial pectin for a successful set. The magic lies in leveraging the fruit’s natural gelling agents.
For the most reliable set, the secret is to use a thoughtful blend of berries: primarily fully ripe raspberries for their intense flavor, complemented by a small portion of *slightly* underripe berries. These less-ripe berries contain a higher concentration of natural pectin, which is crucial for achieving that ideal firm gel. Paired with precise cooking to the correct temperature, this method guarantees a beautiful, naturally set jelly every time.
Our recipe utilizes a classic 1:1 ratio of juice to sugar. This traditional balance is key not only for a delightful sweetness but also for a consistently firm and desirable set. While you might be tempted to reduce the sugar, be aware that doing so will prolong the cooking time required to reach the gel point, potentially affecting the final texture and reducing your overall yield. For those seeking a significantly lower-sugar option, we recommend exploring recipes specifically developed for low-sugar pectins like Pomona’s Pectin, as they are formulated to compensate for reduced sugar levels.
If you’re a devoted raspberry lover and enjoy the texture of the seeds, our classic raspberry jam recipe offers a delightful alternative. Should you desire the rich body of jam but still prefer a seedless experience, seedless raspberry jam is another fantastic choice. However, bear in mind that achieving its smooth consistency involves the more labor-intensive process of pressing cooked fruit pulp through a fine-mesh strainer, which can be quite time-consuming compared to simply straining juice for jelly.
Notes from My Kitchen: The Joy of Seedless Raspberry Jelly

Raspberry jam has always held a special place among my canning favorites, and I typically prepare it as a simple, no-pectin jam. Yet, even as a devoted raspberry enthusiast, I sometimes find myself wanting that perfectly smooth experience where seeds don’t interrupt the texture. I experimented with seedless raspberry jam, but the process of pushing the thick pulp through a fine mesh strainer proved to be quite an endeavor, consuming a significant amount of time and effort.
That’s when I discovered the true elegance of making raspberry jelly. It offers that coveted smooth, seedless consistency with remarkably less effort. The beauty of this method is its simplicity – letting the juice drip naturally yields a stunningly clear and beautiful jelly that sets up perfectly in the jar. The key is vigilant temperature monitoring to ensure it hits the precise gel point. Don’t forget my secret tip: incorporate a few slightly underripe berries into your batch; their higher pectin content provides that extra boost for a confident set. If, by chance, your jelly doesn’t set as firmly as desired, don’t despair! You can easily remake it with added pectin, or simply embrace it as a luscious raspberry syrup – either way, it’s absolutely spectacular.
In my experience, this particular raspberry jelly recipe rarely fails to set. However, it’s worth noting that the natural pectin content in raspberries can vary based on their variety and growing conditions. Always use your freshest, best quality berries for optimal results.
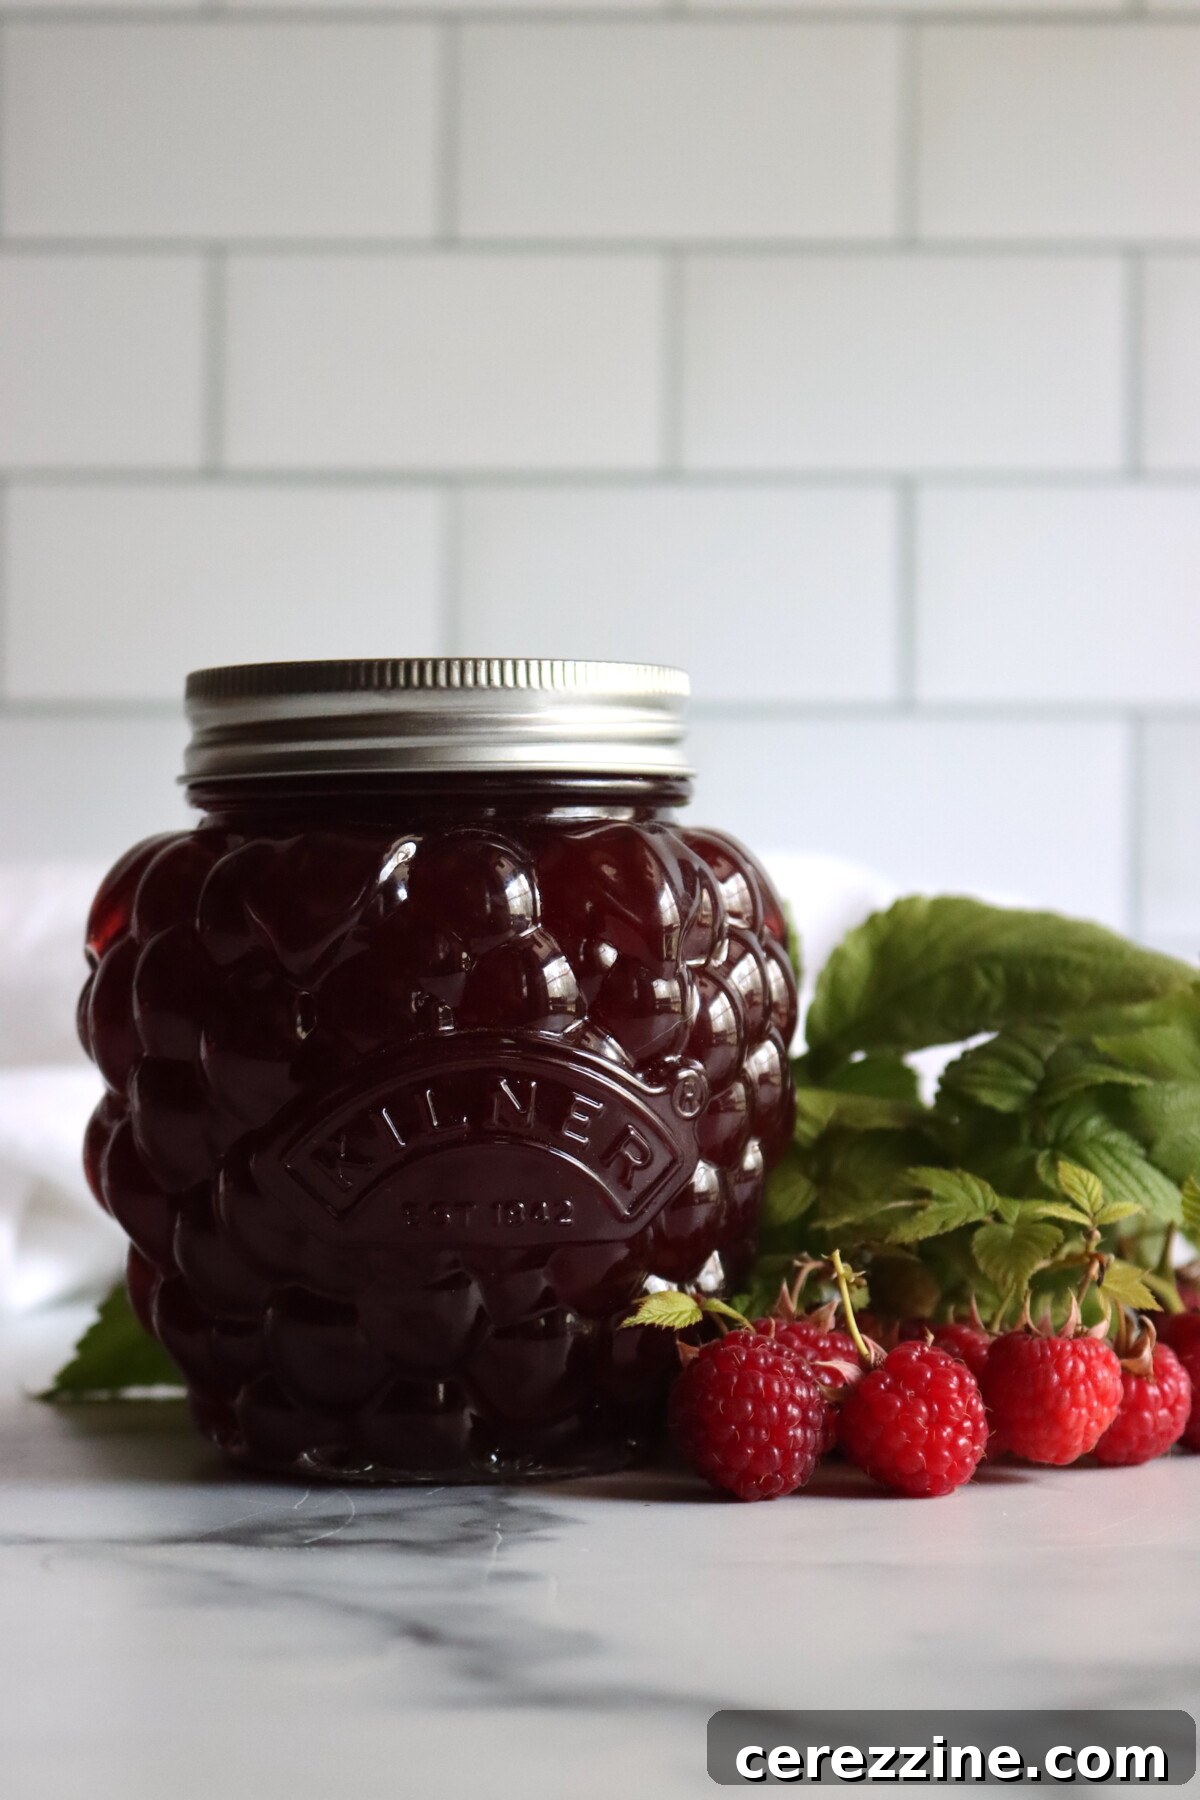
Quick Look at This Delicious Raspberry Jelly Recipe
- Recipe Name: Raspberry Jelly (Without Pectin)
- Recipe Type: Jelly
- Canning Method: Water Bath Canning
- Prep Time: Approximately 1 hour (includes crucial straining time for clear juice)
- Cook Time: About 30 minutes of active boiling
- Canning Time: 10 minutes for half-pint or pint jars
- Yield: Roughly 5 half-pint jars of exquisite raspberry jelly
- Recommended Jar Sizes: Half-pints or pints
- Headspace: A precise 1/4 inch is essential for proper sealing
- Key Ingredients: Fresh, ripe raspberries and granulated sugar
- Safe Canning Recipe Source: Adheres to the rigorous guidelines of the National Center for Home Food Preservation (NCHFP)
- Difficulty: Moderate. Success relies on understanding how to accurately test for a proper gel set in jellies made without added pectin.
- Similar Recipes: Mastering this raspberry jelly is comparable to crafting other delightful old-fashioned fruit jellies that depend on natural fruit pectin for their set. Explore our recipes for black raspberry jelly, crabapple jelly, and muscadine jelly. If you’re a fan of raspberry preserves, be sure to delve into more of our raspberry canning recipes, including classic raspberry jam and luscious raspberry pie filling.
Essential Ingredients for Perfect Raspberry Jelly
Creating exquisite raspberry jelly requires only two primary ingredients, but their quality and proper selection are paramount to achieving the best flavor and set.
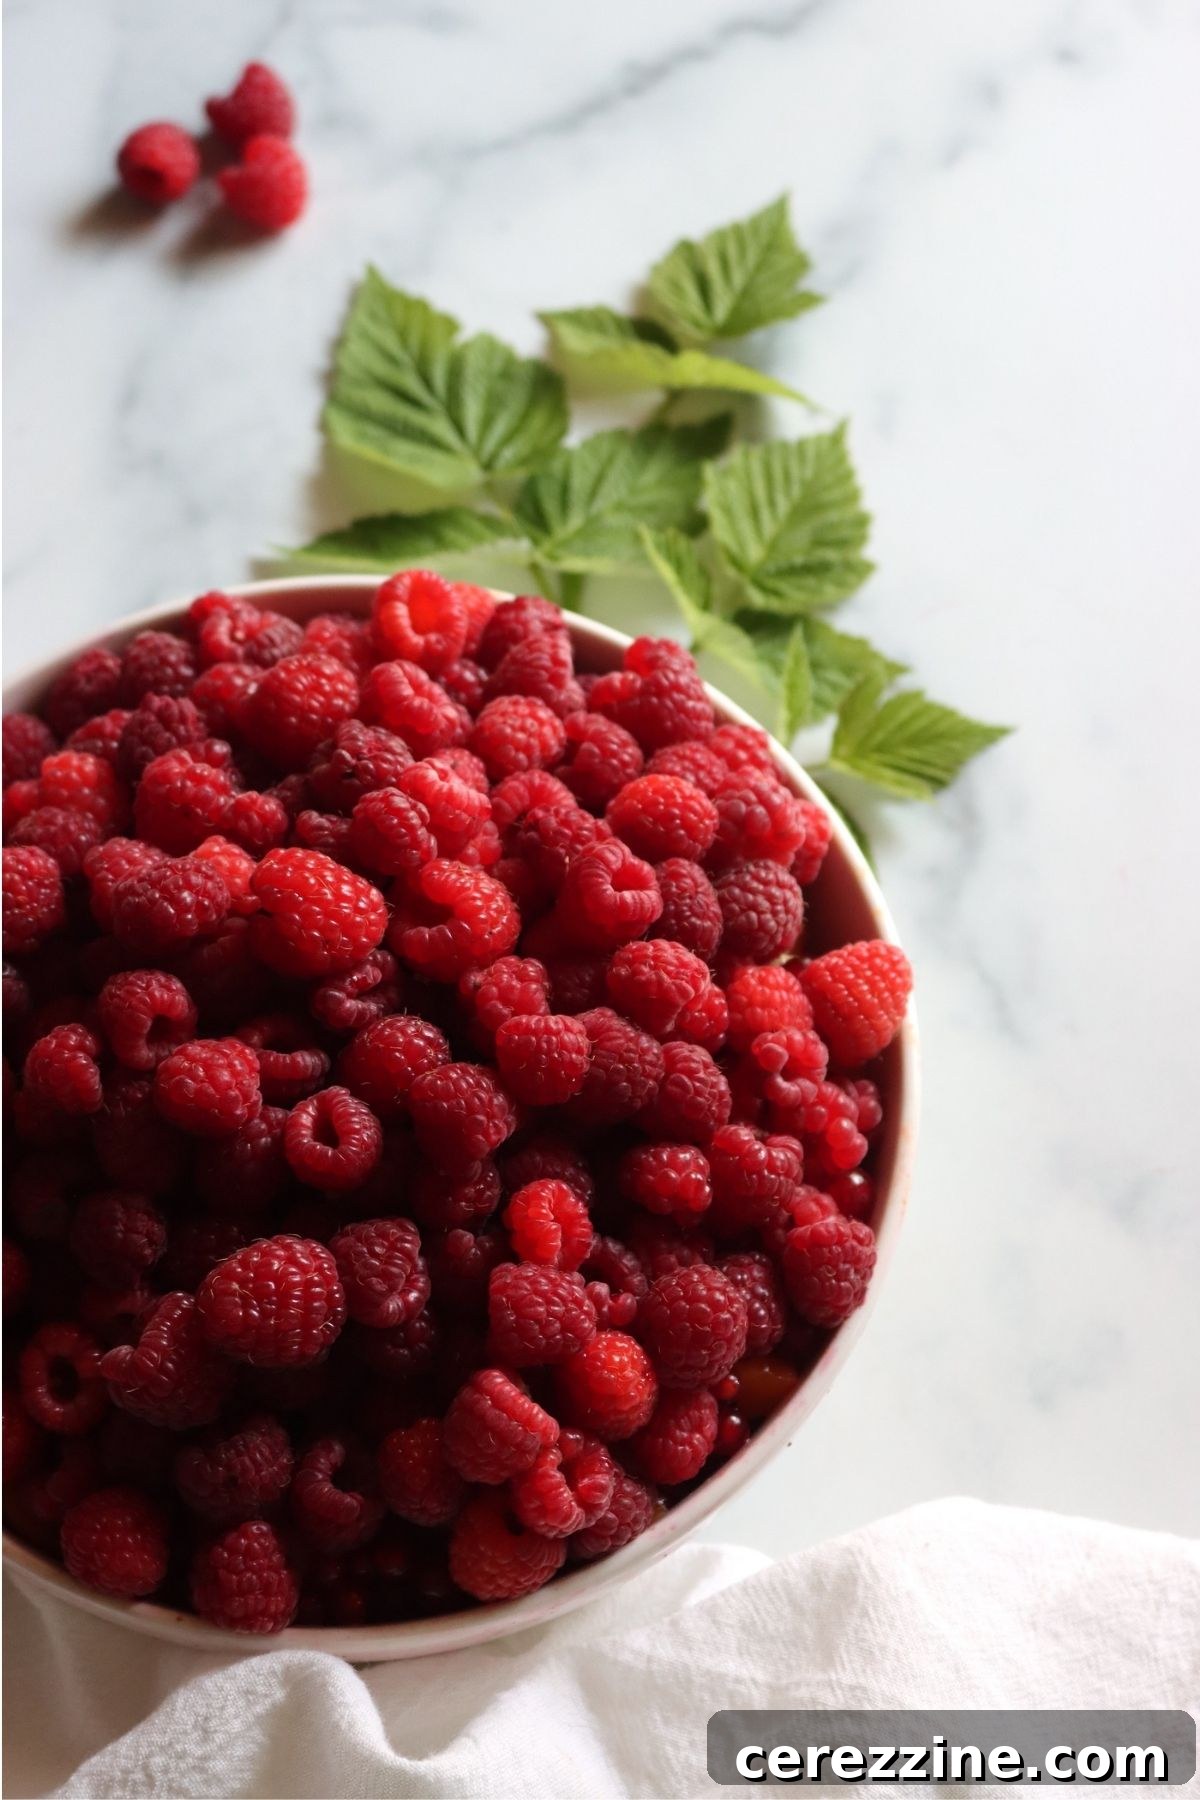
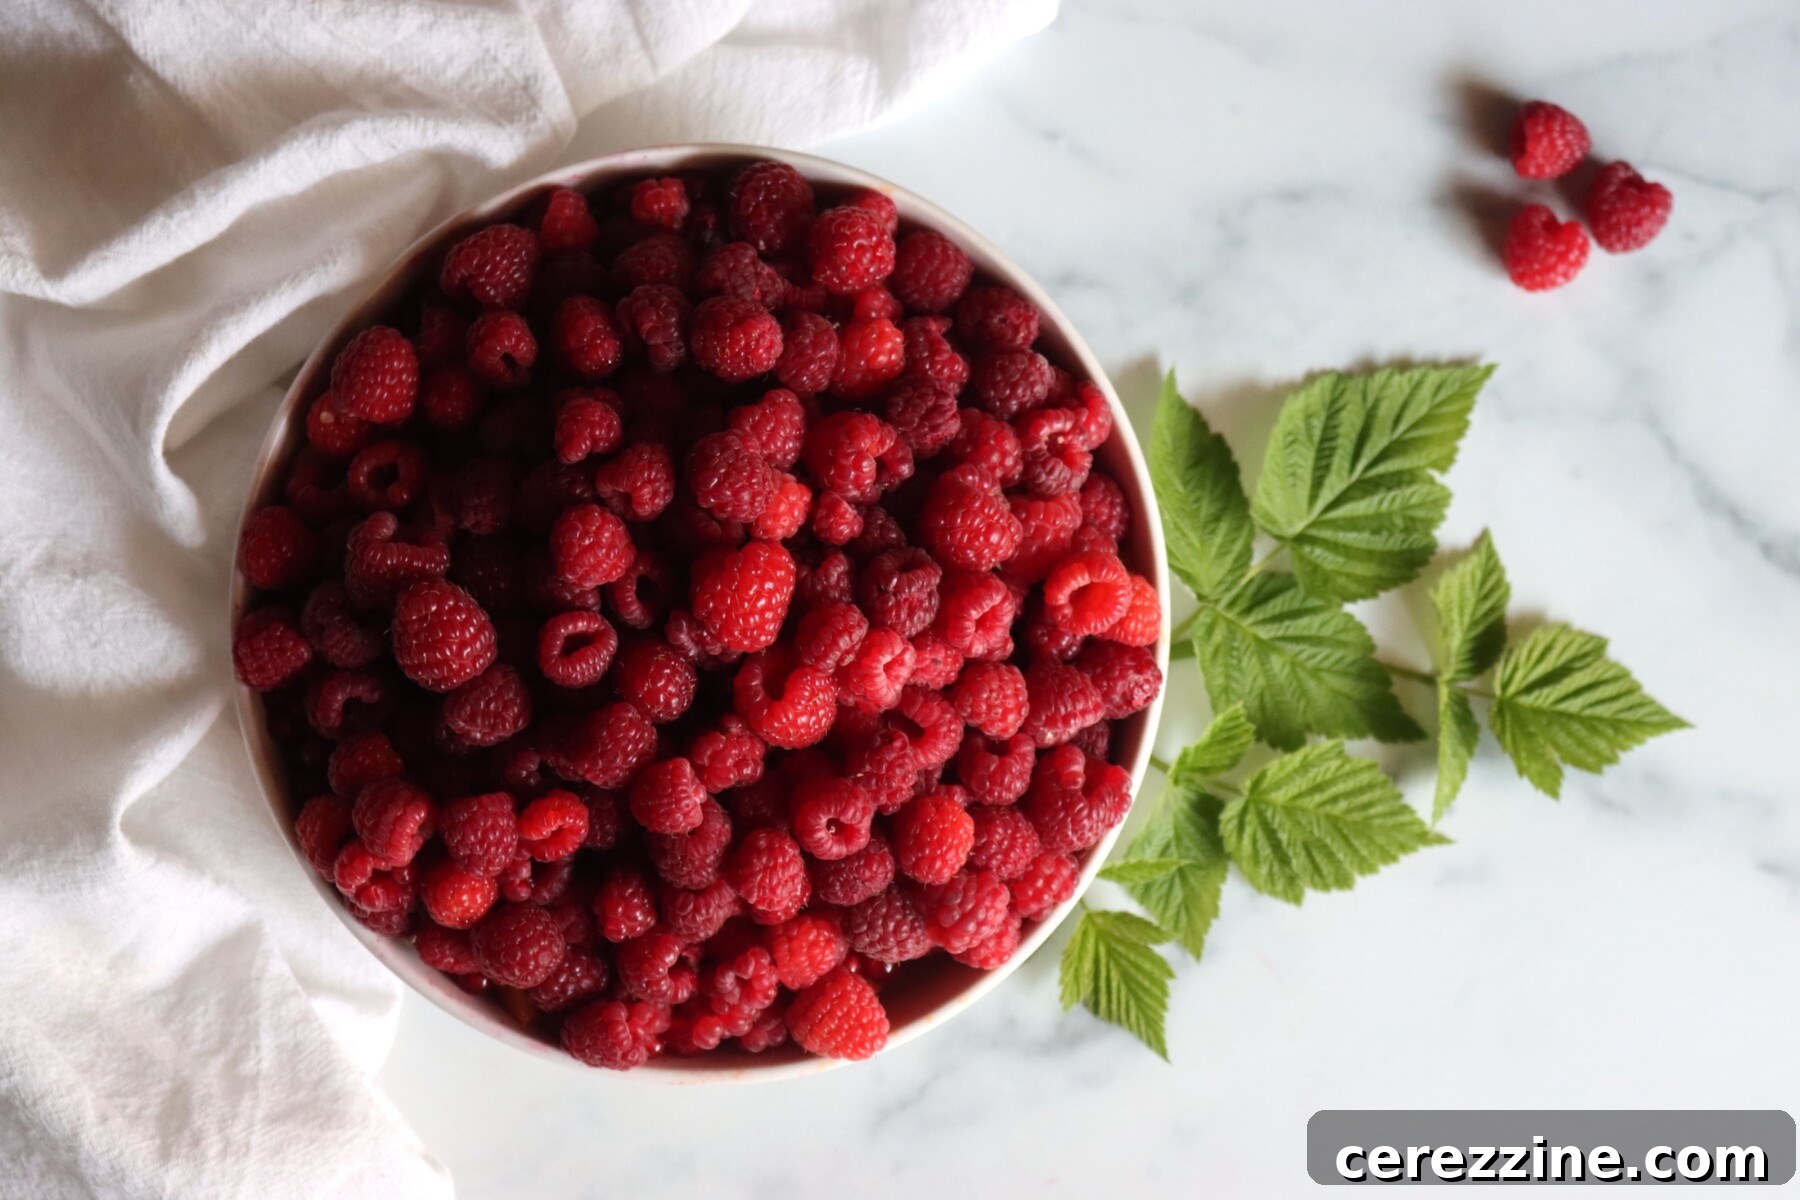
- Raspberries: You will need approximately 4 pounds of fresh raspberries, which typically translates to about 8 pints, to yield the necessary 5 cups of strained juice. For the absolute best and firmest set without added pectin, aim for a blend of berries: roughly three-quarters fully ripe for their peak flavor, and one-quarter slightly underripe. The underripe berries are crucial as they naturally contain higher levels of pectin, aiding in the gelling process. Fresh berries are always recommended, as the pectin in fruit can degrade significantly when frozen. If you must use frozen raspberries, it’s strongly advised to use a recipe specifically designed for raspberry jelly with added commercial pectin to ensure a reliable set.
- Granulated Sugar: Standard granulated sugar is used in a simple and effective 1:1 ratio with your strained raspberry juice. This precise balance is essential for producing a wonderfully sweet jelly with a dependable and firm set. Should you wish to reduce the sugar content, you will undoubtedly need to incorporate a boxed pectin formulated for low-sugar recipes to achieve a proper gel. Without adequate sugar, natural pectin alone cannot form a firm jelly.
Raspberries inherently possess a lovely tartness and high acidity, eliminating the need to add lemon juice for preservation safety. However, incorporating one to two tablespoons of fresh lemon juice can enhance the flavor, lending an even brighter, more piquant note to your finished jelly. For an exciting twist, you can increase the lemon juice significantly, up to 1/2 cup, to create a delightful Raspberry Lemonade Jelly, perfect for a refreshing spread.
Step-by-Step Instructions for Perfect Raspberry Jelly
While the ingredient list is minimal, precise execution of each step is crucial for making delicious, perfectly set raspberry jelly. Do not rush the process, especially the cooking phase to the gel point.
Step 1: Extract the Pure Raspberry Juice
Begin by placing your fresh raspberries in a large, heavy-bottomed pot. Add one cup of water to the berries; this helps prevent them from scorching during the initial cooking stage. Using a potato masher or the back of a sturdy spoon, lightly crush the raspberries. This action helps to release their juices and break down the fruit. Bring the mixture to a gentle simmer over medium heat, stirring occasionally. Continue cooking for 5 to 8 minutes, or until the berries have completely softened and generously released their vibrant juices.
Carefully pour the hot berry mixture into a damp jelly bag or a fine-mesh strainer generously lined with several layers of damp cheesecloth. Position your straining setup over a large bowl, ensuring there’s ample space for the juice to collect. Allow the juice to drip through naturally for at least 4 hours, or ideally, overnight. For the most brilliantly clear jelly, it’s crucial to resist the temptation to squeeze the bag. Patience here is key to clarity.
(A small confession from my kitchen: I often gently squeeze the jelly bag to encourage a little more juice extraction. Even with a gentle squeeze, provided you’re using a dense mesh like fine butter muslin or a high-quality jelly bag, your jelly will still turn out beautifully clear.)
Step 2: Measure and Cook Your Raspberry Jelly to Perfection
Once your juice has fully strained, accurately measure the volume of raspberry juice collected. From approximately 4 pounds of berries, you should yield about 5 cups of juice. For every cup of strained juice, you will add 1 cup of granulated sugar. Pour the measured juice and sugar into a very large, deep pot – remember, the mixture will foam up significantly as it cooks, so size matters to prevent boil-overs. Stir the juice and sugar thoroughly until the sugar is completely dissolved.
Bring the juice and sugar mixture to a vigorous rolling boil over medium-high heat, stirring frequently to prevent any scorching at the bottom of the pot. Continue to boil, stirring often and carefully monitoring for potential boil-overs, until the jelly reaches a temperature of 220°F (104.4°C) on an accurate instant-read thermometer. This temperature is for sea level; adjustments are necessary for higher altitudes (see “Setting Notes”). This gelling stage typically takes around 30 minutes of steady boiling, but the exact time can vary depending on the specific pectin content of your raspberries and the intensity of your heat.
Step 3: Fill Your Prepared Canning Jars
As soon as the jelly reaches its precise gel point temperature, remove the pot from the heat. Promptly use a large metal spoon to skim off any foam that has accumulated on the surface of the jelly. This step helps ensure a beautifully clear finished product. Carefully ladle the hot raspberry jelly into your pre-sterilized, warm canning jars, making sure to leave exactly 1/4 inch of headspace at the top of each jar. This headspace is critical for proper sealing. Wipe the rims of the jars meticulously with a clean, damp cloth to remove any jelly residue, which could interfere with the seal. Apply your new canning lids and screw on the bands, tightening them to “fingertip tight” – just snug enough, not overly tight.
Crucial Notes on Achieving the Perfect Jelly Set
For most fruit jellies, the ideal gel point is reached at 220°F (104.4°C) when at sea level. If you reside at a higher elevation, this gel point temperature decreases by approximately 1°F (0.55°C) for every 500 feet (152 meters) above sea level. For example, at an elevation of 1,000 feet, you should aim for 218°F (103.3°C).
Raspberry jelly, particularly when made without added pectin, can take a considerable amount of time to reach its gel stage – sometimes up to 30 minutes or even longer of consistent, rolling boil. Patience is paramount during this phase. Continue stirring frequently to prevent the sugar from scorching at the bottom of your pot. Be prepared for the mixture to foam up quite a bit as it cooks, which is why using a large, deep pot is essential to avoid messy boil-overs.
While a thermometer is a valuable tool, the most reliable method for confirming a proper set for no-pectin jellies is the cold plate test. Before you even begin cooking, place a small ceramic plate or saucer in your freezer. When you believe the jelly is close to being ready, spoon a small amount onto the chilled plate and let it sit undisturbed for about 30 seconds. Then, gently push the jelly with your finger: if it wrinkles and holds its shape, it has reached its gel point and is ready. For more detailed guidance and solutions if your jelly doesn’t set, consult our comprehensive guide on troubleshooting jelly that didn’t set.
Safe Water Bath Canning for Shelf-Stable Raspberry Jelly
If you don’t plan to preserve your raspberry jelly, it will keep wonderfully in the refrigerator for 2 to 3 weeks. For longer storage, you can freeze it for up to 6 months. However, for a shelf-stable product that you can store in your pantry, processing the filled jars in a boiling water bath is essential.
Ensure your water bath canner is prepared and heating while your raspberry juice is straining or during the early stages of cooking the jelly. The canner should be at a gentle simmer, ready to receive your jars when the jelly is cooked and poured. Carefully lower the hot, filled jars into the canner, making sure they are fully submerged by at least 1 inch of water. Process the half-pint or pint jars for 10 minutes, making sure to adjust the processing time if you live at a higher altitude (see adjustments below).
Once the processing time is complete, turn off the heat but leave the jars in the canner for an additional 5 minutes. This allows the jars to acclimate gradually to the cooler temperature, which helps prevent siphoning and improves seal integrity. After 5 minutes, carefully remove the jars from the canner and place them on a towel-lined counter or a cooling rack, ensuring they are not touching each other. Let them cool completely and undisturbed for 12 to 24 hours. Once cool, check all seals; any jars that haven’t sealed properly should be refrigerated and consumed promptly. Properly sealed jars of raspberry jelly can be stored at room temperature in a cool, dark pantry for 12 to 18 months, preserving that fresh raspberry flavor for many seasons to come.
Crucial Altitude Adjustments for Water Bath Canning
When performing water bath canning, the boiling point of water decreases at higher elevations. To ensure safe preservation, processing times must be adjusted accordingly:
- 0 to 6,000 feet (0-1,830 meters): Process for 10 minutes
- Above 6,000 feet (above 1,830 meters): Increase processing time to 15 minutes
Understanding Your Raspberry Jelly Yield
This recipe is formulated to start with approximately 4 pounds of fresh raspberries, which typically measures out to about 8 pints of fruit. From this quantity, you can expect to extract around 5 cups of pure, strained raspberry juice. When this juice is combined with 5 cups of sugar and meticulously cooked to the perfect gel stage, you should anticipate filling about 5 standard half-pint (8 oz) jars with your finished homemade raspberry jelly.
Generally, the yield for this recipe maintains a close 1:1 ratio: each cup of strained fruit juice will produce roughly one cup of finished jelly, which perfectly fills one half-pint jar. It’s important to note that if you choose to reduce the sugar content in an attempt to make a lower-sugar jelly without added pectin, your final yield will likely be lower. This is because reduced sugar necessitates a longer cooking time to reach the gel point, leading to greater evaporation of liquid from the mixture and, consequently, less finished product.
Delightful Ways to Enjoy Your Homemade Raspberry Jelly
The smooth, vibrant flavor of raspberry jelly makes it an incredibly versatile spread, perfect for both sweet and savory applications. Here are some inspiring ideas to savor your homemade creation:
Sweet Indulgences:
- Breakfast & Brunch Classics: There’s nothing quite like slathering warm, glistening raspberry jelly on freshly toasted bread, flaky homemade biscuits, or classic English muffins. Its smooth texture makes it a dream for peanut butter and jelly sandwiches, providing a pure fruit burst without any unexpected seeds.
- Yogurt & Oatmeal Enhancer: Stir a spoonful or two into your morning yogurt, Greek yogurt, or creamy oatmeal for an instant upgrade in flavor and a beautiful swirl of color.
- Baking Brilliance: Raspberry jelly shines as a filling. Use it in traditional thumbprint cookies, elegant Linzer cookies, or to create a stunning jelly roll cake.
- Dessert Glaze: Gently warm the jelly until it’s slightly fluid, then use it as a glossy glaze over cheesecakes, fresh fruit tarts, or fruit pies for an extra layer of sweetness and shine.
- Chocolate Pairing: The tartness of raspberries beautifully complements rich chocolate. Incorporate your jelly as a layer in chocolate cakes, swirl it into brownies, or serve it alongside chocolate lava cakes.
Savory Surprises:
- Meat Glaze: For a sophisticated touch, use raspberry jelly as a sweet and tangy glaze for roasted duck, succulent pork loin, or even chicken.
- Pan Sauces: Stir a dollop into pan sauces towards the end of cooking for a fruity, complex finish that elevates savory dishes.
- Cheese Board Companion: Raspberry jelly is a delightful addition to any cheese board. Its sweet and tart profile pairs exceptionally well with soft, creamy cheeses like brie, camembert, or goat cheese, offering a lovely contrast to savory crackers.
Frequently Asked Questions About Raspberry Jelly
While fresh raspberries are always preferred for natural pectin content, you can use frozen raspberries for making jelly. There’s no need to thaw them beforehand; simply add them to the pot and proceed with the juice extraction as usual. Interestingly, frozen berries can sometimes yield a slightly higher amount of juice compared to fresh ones. However, be aware that frozen berries may have degraded pectin, which can impact the final set. For the most reliable results with frozen fruit, consider using a recipe that includes added commercial pectin.
Raspberries naturally contain a moderate amount of pectin, but its concentration varies. Very ripe berries tend to have less pectin than slightly underripe ones. If your jelly failed to set, the most common reasons are that it didn’t reach the critical gel point temperature during cooking, or your batch of berries consisted entirely of very ripe fruit with insufficient natural pectin. Don’t worry if this happens! You can try remaking it with added commercial pectin. Alternatively, embrace your delicious creation as raspberry syrup, which is absolutely heavenly drizzled over pancakes, waffles, or ice cream.
This particular raspberry jelly recipe relies heavily on a precise 1:1 ratio of fruit juice to sugar to achieve its natural, firm set without any added pectin. Sugar plays a crucial role not only in sweetness and flavor but also in the gelling process itself. If your goal is to make a low-sugar raspberry jelly, you will absolutely need to use a specialized low-sugar pectin, such as Pomona’s Pectin or Sure-Jell for Less Sugar, as these products are specifically formulated to gel with reduced amounts of sugar.
Both raspberry jelly and seedless raspberry jam offer a delightful seed-free experience, but their production methods and resulting textures are distinct. Raspberry jelly is crafted exclusively from the strained, clear juice of the fruit, which gives it a beautifully transparent, firm, and perfectly smooth consistency. The process of straining juice through a jelly bag is generally less labor-intensive. In contrast, seedless raspberry jam is made by pressing the cooked whole fruit pulp through a fine-mesh strainer to remove the seeds while retaining the fruit solids. This results in a thicker, more opaque spread with a richer, “fruity” body and texture, making the straining process for jam more rigorous and time-consuming.
More Delightful Raspberry Canning Recipes
Black Raspberry Jelly (Seedless)
Canning Raspberry Pie Filling
Classic Raspberry Jam (without Added Pectin)
We hope you enjoyed this Raspberry Jelly Recipe! If you tried it, or any other recipe on Creative Canning, please consider leaving a ⭐ star rating and share your thoughts in the 📝 comments section below!
And make sure you stay connected with us by following on social media for more canning tips and delicious recipes!
40
servings, makes about 5 half pints
Raspberry Jelly (Without Pectin)
1 hour
30 minutes
10 minutes
1 hour
40 minutes
Rate
Equipment
-
Water Bath Canner
-
Half pint canning jars
-
Canning lids and bands
-
Jar lifter
-
Jelly Strainer with Bag
-
Heavy-bottomed pot
-
Instant Read Thermometer
Ingredients
For the Juice
- 4 pounds fresh raspberries, about 8 pints
- 2 tablespoons water
For the Jelly
- 5 cups raspberry juice, strained
- 5 cups sugar
Instructions
-
Place raspberries in a large pot with the water. Crush lightly with a potato masher. Bring to a simmer over medium heat and cook for 5 to 8 minutes until berries have completely broken down. Pour into a damp jelly bag or cheesecloth-lined strainer over a bowl. Let drip for at least 4 hours or overnight.
-
Measure 5 cups of strained juice into a large, deep pot. Add 5 cups of sugar (1 cup sugar per cup of juice). Bring to a boil over medium-high heat, stirring frequently. Continue boiling until the mixture reaches 220°F, about 30 minutes. Stir often to prevent scorching and watch for boil-overs.
-
Remove from heat and skim off foam. Ladle hot jelly into prepared jars, leaving 1/4 inch headspace. Wipe rims, apply lids and bands to fingertip tight.
-
Lower filled jars into a prepared water bath canner. Process for 10 minutes for half pints or pints, adjusting for altitude.
-
Turn off heat and let jars stand in canner for 5 minutes. Remove to a towel-lined counter and cool undisturbed for 12 to 24 hours. Check seals before storing.
Notes
Frozen berries have less pectin, and may not set properly. Reduced sugar recipes also may not set properly without pectin.
If you’d like to reduce the sugar or use frozen fruit, I’d suggest using added pectin.
Storage
Properly canned and sealed jars keep at room temperature for 12 to 18 months. Without canning, store in the refrigerator for 2 to 3 weeks or freeze for up to 6 months. Refrigerate after opening.
Altitude Adjustments
- 0 to 6,000 feet: 10 minutes
- Above 6,000 feet: 15 minutes
Nutrition
Carbohydrates: 34g,
Protein: 1g,
Fat: 0.4g,
Saturated Fat: 0.01g,
Polyunsaturated Fat: 0.2g,
Monounsaturated Fat: 0.03g,
Sodium: 3mg,
Potassium: 119mg,
Fiber: 3g,
Sugar: 30g,
Vitamin A: 15IU,
Vitamin C: 12mg,
Calcium: 14mg,
Iron: 1mg
Nutrition information is automatically calculated, so should only be used as an approximation.
Enjoy this recipe? Share your thoughts below!
Explore More Homemade Jelly Recipes
How to Make Flower Jelly (with 20+ Recipes!)
Redbud Jelly (& Syrup)
Wild Grape Jelly
Find the perfect recipe
Searching for something else? Enter keywords to discover your next favorite recipe!