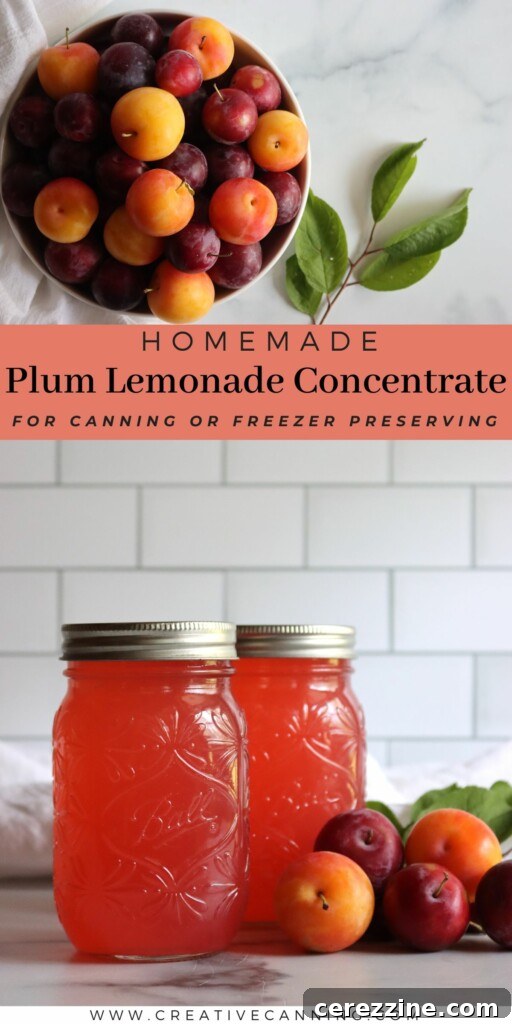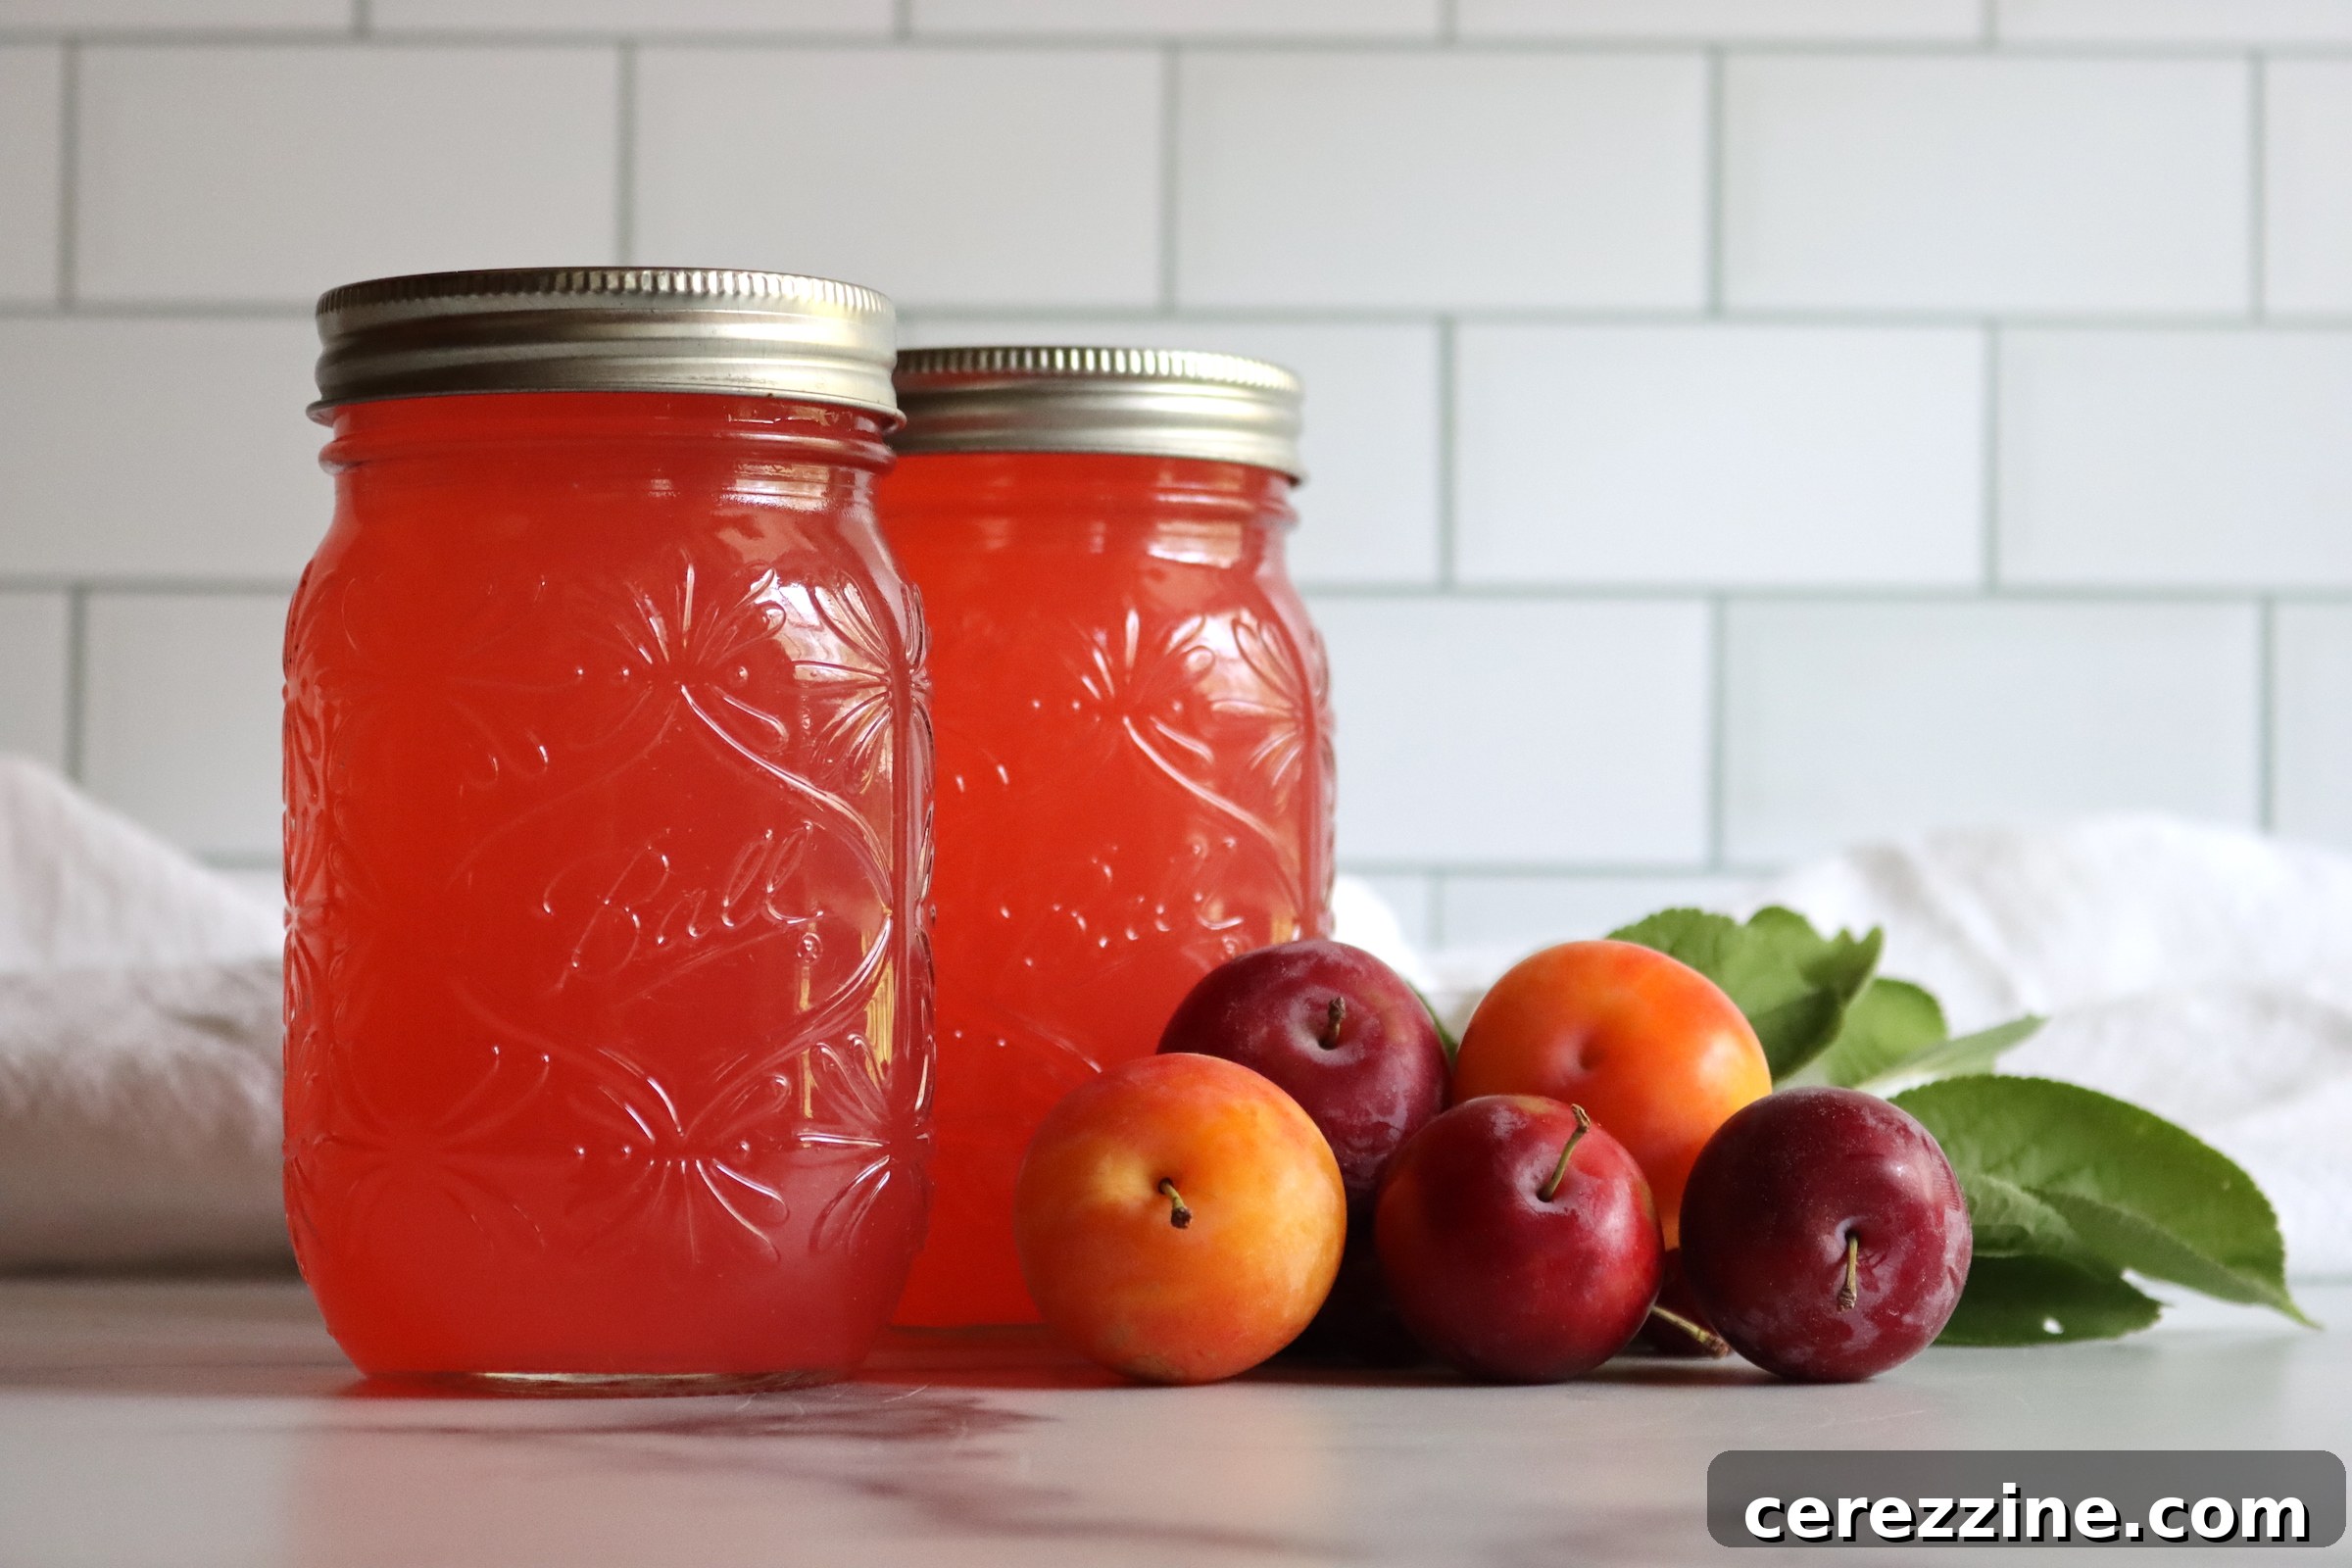
Unlock the vibrant taste of summer all year long with a homemade Plum Lemonade Concentrate. This bright, sweet-tart concoction is an exquisite way to preserve your bountiful plum harvest into a shelf-stable drink mix. Imagine the convenience of having a refreshing, all-natural beverage base readily available, crafted with fresh plum juice, tangy lemon juice, and a touch of sugar. Perfect for water-bath canning, this concentrate transforms into a delightful homemade soda when mixed with still or sparkling water, making it a beloved staple for any season.
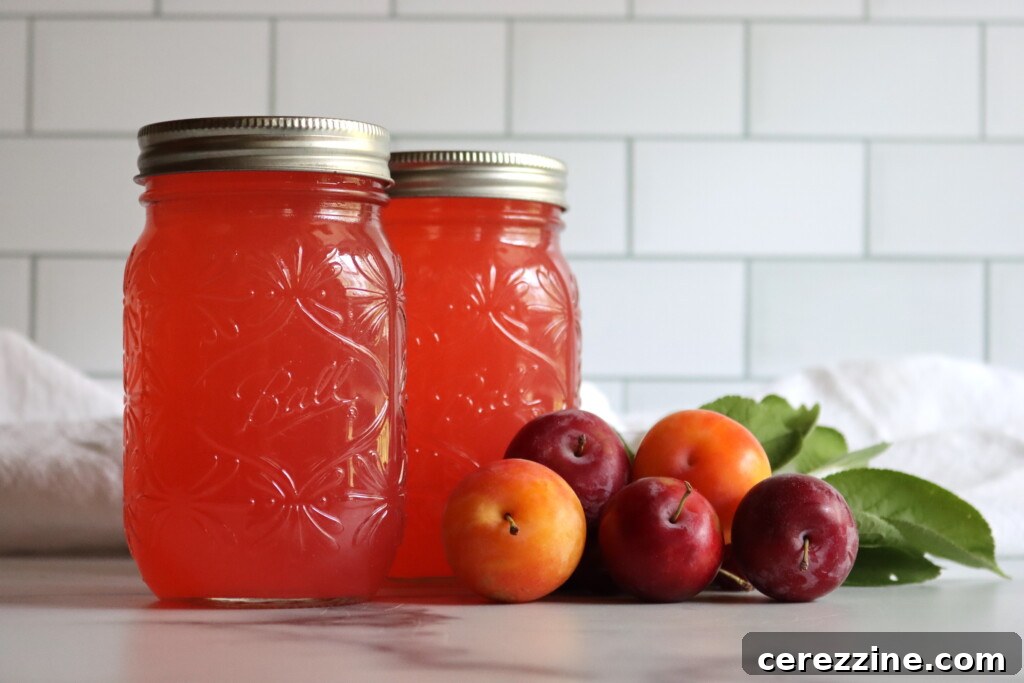
Why Make Plum Lemonade Concentrate? A Summer Essential Preserved
If your garden or local market is overflowing with plums, this plum lemonade concentrate offers an easy, crowd-pleasing solution that stands out from traditional plum canning recipes like jams or jellies. It delivers a unique blend of sweet and tart flavors, creating a refreshingly different profile. Not only is it delicious when simply diluted with water, but it also shines as a quick homemade soda when combined with seltzer or a zesty mixer for cocktails with a splash of ginger ale. Beyond its delightful taste, preserving plums in this concentrate form extends their seasonal enjoyment, bringing a welcome ray of summer sunshine into the colder months.
This recipe is designed for water bath canning, ensuring shelf-stable storage and convenience. However, for those who prefer not to can, the concentrate can also be frozen in smaller portions, offering flexible preservation options. Regardless of your chosen method, it’s an excellent strategy to make the most of your plum harvest, ensuring that no fruit goes to waste and you have a supply of this luscious beverage base whenever the craving strikes.
After you’ve filled your pantry with delectable plum jam, shimmering plum jelly, and perhaps even some tangy pickled plums or simple plums canned in syrup, there’s still plenty of room to explore new and exciting ways to preserve this versatile fruit. Plum lemonade concentrate truly rounds out a well-stocked pantry, providing a liquid dose of summer flavor that’s both practical and delicious.
Crafting Your Concentrate: Essential Ingredients
This recipe is designed to yield approximately 4 pints (or 8 half-pints) of finished concentrate, making it a perfect batch size for home canners. Here’s what you’ll need to gather:
- 4 cups plum juice: This will require about 4 pounds of ripe plums, which are cooked and then strained to extract their flavorful juice.
- 2 cups lemon juice: You can opt for fresh-squeezed or bottled lemon juice. This ingredient is crucial for both acidity, which is vital for canning safety, and for adding that signature tartness that balances the plums’ sweetness.
- 4 cups granulated sugar: Sugar plays a dual role here. It enhances the overall sweetness of the concentrate, making it palatable, and contributes to the preservation process.
A key aspect of this recipe’s safety for water-bath canning lies in its acidity. Both plums and lemons are naturally acidic, ensuring that the final pH of the concentrate is well below 4.6, which is the generally accepted safe pH level for water bath canning. This means you have the flexibility to use either fresh or bottled lemon juice. While bottled lemon juice offers consistent acidity, many prefer the bright, robust flavor that freshly squeezed lemons provide. Feel free to choose what best suits your taste and convenience.
Selecting the Right Plums for Your Lemonade
The type of plum you choose will significantly influence the color and flavor of your concentrate. While most varieties will work, some yield superior results:
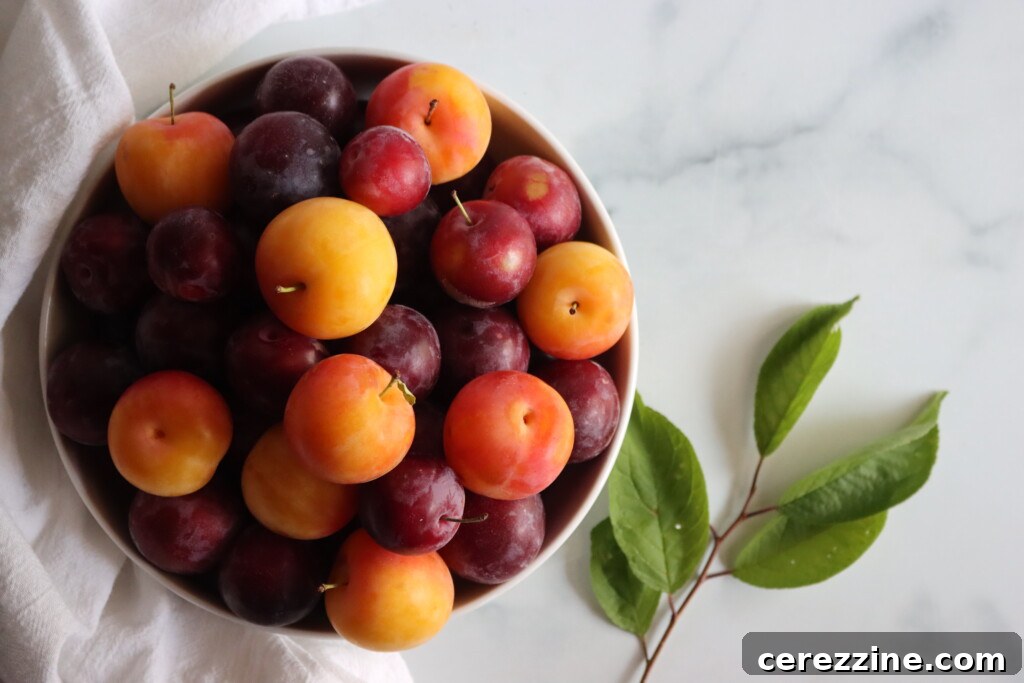
- Red or Purple Plums: These varieties often provide a beautiful, deep color and a robust, balanced flavor that shines through the lemon. They tend to have a good balance of sweetness and acidity.
- Avoiding Tannic Varieties: Varieties like Damson plums can be quite tannic, which might result in a somewhat astringent taste in the lemonade. These are better suited for rich Damson jam where the tannins can be mellowed.
- Mild Plums: Greengages and Golden Mirabelle plums, while delicious on their own or in a Greengage jam, can have a very mild flavor that might get overshadowed by the lemon in this concentrate. If using them, be prepared for a more subtle plum note.
Step-by-Step Guide: How to Extract Plum Juice
The foundation of an outstanding plum lemonade concentrate is, naturally, high-quality plum juice. This process is straightforward and yields a wonderfully flavorful base. You’ll begin with approximately 4 pounds of ripe plums. Thoroughly wash the fruit and remove any stems. There’s no need to meticulously peel or pit them at this stage; simply cut the plums into manageable chunks.
Place your chopped plums into a large stockpot. Add 1 cup of water to the pot. Cover it and bring the mixture to a boil over high heat. Once boiling, reduce the heat to a gentle simmer and let it cook for about 10 minutes. As the plums soften during simmering, use a sturdy spoon or a potato masher to gently mash them. This action helps to break down the fruit further and encourages the release of its natural juices, intensifying the flavor and yield.
Once the fruit has significantly broken down and looks soft, it’s time to strain the mixture. Carefully pour the plum mixture into a jelly bag, or a fine-mesh strainer generously lined with damp cheesecloth. Allow the juice to drain naturally for at least an hour. For a crystal-clear concentrate, resist the urge to press the pulp; patience is key here. If you don’t mind a slightly cloudier concentrate with a bit of pulp (which can add to the natural fruitiness), you can gently press the pulp to extract a greater quantity of liquid. Your goal is to measure out 4 cups of this freshly extracted plum juice for the concentrate recipe. Don’t discard any leftover juice or pulp; the remaining juice can be used for jelly, fruit syrups, or even refreshing homemade popsicles, while the pulp might find a home in baked goods or fruit leather.
Making the Plum Lemonade Concentrate
With your plum juice ready, the next step is to combine the key ingredients to create the concentrate. In a large, heavy-bottomed saucepan, combine the measured 4 cups of plum juice, 2 cups of lemon juice, and 4 cups of granulated sugar. Stir the mixture thoroughly until the sugar completely dissolves. This ensures a smooth consistency and even sweetness throughout your concentrate.
Place the saucepan over medium-high heat. Using a reliable kitchen thermometer, monitor the temperature of the mixture. You want to heat the concentrate to precisely 190°F (88°C). Stir the mixture occasionally during heating to prevent any sticking or scorching at the bottom of the pan. It’s crucial not to let the mixture come to a rolling boil; simply reaching the target temperature is sufficient. This heating step is essential for two main reasons: it helps to fully dissolve the sugar, creating a homogeneous syrup, and it prepares the concentrate for safe canning by pasteurizing it slightly without overcooking the fruit flavors. Keep a close eye on the thermometer, as the mixture will reach the desired temperature quite rapidly.
Once the concentrate reaches 190°F, immediately remove the saucepan from the heat. It’s now ready for the canning process, preserving its delicious flavor for future enjoyment.
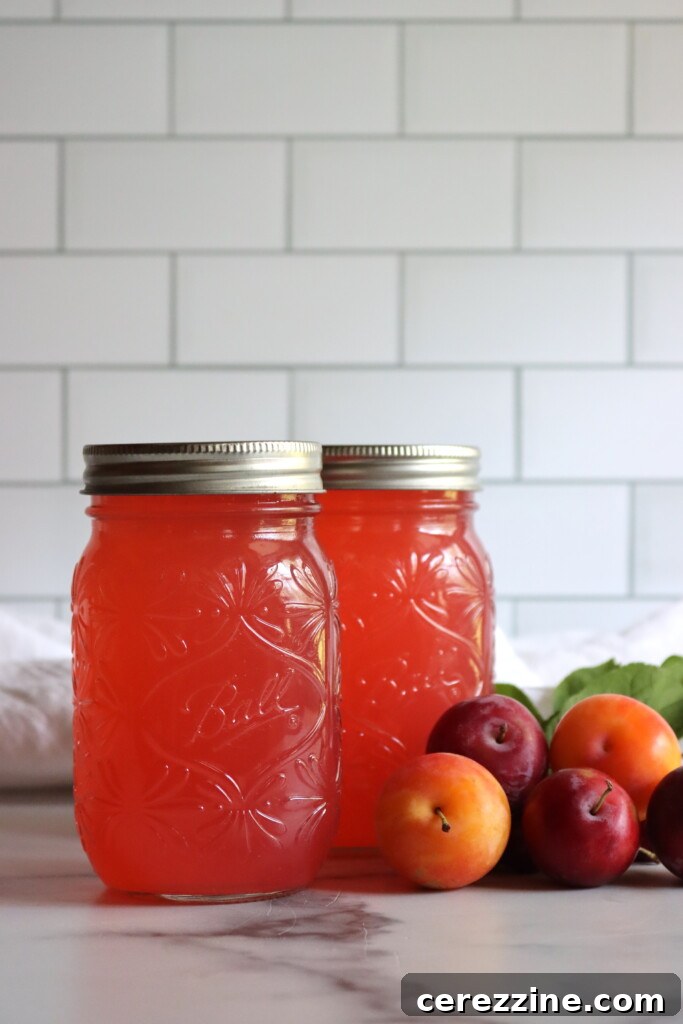
Water Bath Canning Instructions for Shelf-Stable Goodness
Canning your plum lemonade concentrate allows you to store this delightful beverage base on your pantry shelf for extended periods, ready to use whenever you desire a taste of summer. Begin by preparing your canning jars, lids, and rings. Ensure your jars are clean and hot. This recipe will yield enough concentrate to fill approximately 4 pint-sized jars. You may also opt for half-pint jars for smaller, more convenient servings.
Carefully ladle the hot concentrate into your prepared hot jars, leaving exactly 1/4-inch headspace from the rim. Headspace is crucial for proper sealing and to prevent food from bubbling out during processing. After filling, use a damp, clean cloth to wipe the rims of each jar thoroughly, removing any sticky residue that could interfere with the seal. Center the lids onto the jars, and then screw on the rings until they are fingertip tight – not overtightened.
Process the filled jars in a boiling water bath canner according to your elevation:
- For elevations up to 1,000 feet: Process for 15 minutes.
- For elevations between 1,000 and 6,000 feet: Process for 20 minutes.
- For elevations above 6,000 feet: Process for 25 minutes.
These processing times align with the safety guidelines for “fruit purees” established by the National Center for Home Food Preservation (NCHFP). It’s important to note that the processing times remain consistent for half-pint, pint, and quart jars. However, for safety and proper heat penetration, do not can this recipe in jars larger than quarts.
An interesting point regarding the NCHFP guidelines for fruit purees is that they allow for some pulp. This means that if you choose, you can blend pitted plums into a puree and incorporate that pulp into your lemonade concentrate rather than strictly filtering for clear juice. While a clear juice often presents a more refined aesthetic, including the pulp can add a richer texture and even more concentrated plum flavor, similar to how strawberry lemonade concentrate recipes often include pureed fruit. This flexibility allows you to customize your concentrate to your preferred texture and intensity.
Once the processing time is complete, turn off the heat, remove the canner lid, and let the jars sit in the hot water for 5 minutes before carefully removing them. Place the hot jars on a clean towel or cooling rack, ensuring they are not touching, and allow them to cool undisturbed for 12 to 24 hours. During this cooling period, you should hear a “ping” sound as the lids seal. After cooling, check each jar for a proper seal by pressing the center of the lid; it should not flex. Any unsealed jars should be refrigerated and consumed promptly. Finally, label each sealed jar with the contents and the date of canning for easy pantry management.
Explore More Lemonade Concentrate Canning Recipes
Beyond this delightful plum variant, the world of homemade lemonade concentrates is vast and exciting. You can utilize lemon juice (or even lime juice) with a wide array of fruits to create unique drink bases for any occasion. Why not experiment with a vibrant purple blueberry lemonade concentrate for an antioxidant boost, or a tangy cherry limeade concentrate that’s bursting with sweet-tart goodness?
For something truly exotic and refreshing, consider whipping up a batch of watermelon lemonade concentrate, capturing the essence of a summer picnic in a jar. And of course, if you simply have an abundance of citrus on hand, you can always stick to the classics and can plain lemonade concentrate or a crisp limeade concentrate. The possibilities for homemade, preserved beverages are truly endless!
Canning Plum Lemonade Concentrate
Canning Blueberry Lemonade Concentrate
Canning Watermelon Lemonade Concentrate
Serving Suggestions: Unlock the Flavor
Once your Plum Lemonade Concentrate is cooled and sealed, the real fun begins – enjoying it! The beauty of a concentrate lies in its versatility. To serve a basic, refreshing drink, the general guideline is to mix the concentrate with water, seltzer, tonic, or ginger ale in a 1:1 ratio. This means one part concentrate to one part liquid.
However, taste preferences vary, and you might find you prefer a slightly less intense flavor. Many people, myself included, enjoy a slightly more diluted mix, often opting for a 2:1 ratio of liquid to concentrate (e.g., two parts water to one part concentrate). The best approach is to start with a 1:1 ratio and then adjust to your personal taste, adding more water or seltzer until you reach your desired strength and sweetness. This is especially true if you used particularly sweet plum varieties, which might benefit from more dilution.
Beyond the Glass: Creative Uses
- Refreshing Mocktails: Elevate your concentrate with fresh mint, lime slices, or a few berries for a sophisticated non-alcoholic drink.
- Signature Cocktails: Plum lemonade concentrate makes an excellent mixer for spirits like vodka, gin, or light rum. Its sweet-tart profile adds depth and complexity.
- Dessert Drizzle: Use the undiluted concentrate as a vibrant syrup over vanilla ice cream, panna cotta, or a fruit salad for an extra burst of plum flavor.
- Iced Tea Sweetener: Stir a spoonful or two into your favorite herbal or black iced tea for a fruity twist and natural sweetness.
Freezer Option: An Alternative to Canning
For those who prefer not to embark on the canning journey, or simply want to keep a smaller batch of concentrate on hand, this plum lemonade concentrate freezes beautifully. Freezing is a simple and effective way to preserve its fresh flavor.
To freeze, simply pour the cooled concentrate into freezer-safe containers. Ideal portion sizes are typically 1 to 2 cups, which makes thawing and mixing convenient for individual servings or small gatherings. Remember to leave adequate headspace for expansion (at least 1 inch from the top) in your containers, as liquids expand when frozen. Once frozen, the concentrate can be stored for several months. When you’re ready to enjoy, thaw the desired portion in the refrigerator overnight or by running the container under cool water. Once thawed, mix with your preferred liquid as usual, adjusting the ratio to taste.
Plum Lemonade Concentrate Recipe
This plum lemonade concentrate combines sweet plum juice with tart lemon for a refreshing drink base that’s easy to can. Just mix with water or seltzer to serve, and enjoy the taste of summer any time.
Prep Time: 1 hour
Cook Time: 15 minutes
Canning Time: 15 minutes
Total Time: 1 hour 30 minutes
Servings: 32 servings, makes 4 pints
Equipment
- Water Bath Canner
- Jelly Strainer with Bag
Ingredients
- 4 cups plum juice (from about 4 lbs ripe plums and 1 cup water)
- 2 cups lemon juice (fresh or bottled)
- 4 cups sugar
Instructions
Extracting Plum Juice
- To make 4 cups of plum juice, start with about 4 pounds of ripe plums. Wash the fruit, remove stems, and cut into chunks—no need to peel or pit. Place the plums in a stockpot with 1 cup of water.
- Cover and bring to a boil, then reduce heat and simmer for 10 minutes, mashing the fruit as it softens.
- Strain the mixture through a jelly bag or cheesecloth-lined strainer. Let it drain for at least 1 hour.
- For a clear juice, avoid pressing the pulp; for more yield with light pulp, press gently. Measure out 4 cups of juice for the recipe.
Making Plum Lemonade Concentrate
- Combine plum juice, bottled lemon juice, and sugar in a large saucepan. Stir to dissolve the sugar.
- Heat to 190°F, stirring occasionally. Do not boil.
- Remove from heat and ladle hot concentrate into prepared jars, leaving 1/4-inch headspace.
- Wipe rims, apply lids, and screw on rings until fingertip tight.
- Process in a boiling water bath for 15 minutes (adjusting for altitude).
- Remove jars and let cool undisturbed for 12–24 hours. Check seals and label.
Notes
- Mix 1 part concentrate with 1 part water, tonic, or ginger ale. Adjust to taste. For a less strong mix, try 2 parts liquid to 1 part concentrate.
- The sugar in this recipe primarily contributes to flavor and is not solely for preservation. Feel free to reduce the sugar content or use canning-safe alternative sweeteners if desired.
- Plum juice is extracted by simmering 4 lbs chopped plums with 1 cup water for 10 minutes, then straining through a jelly bag or dampened cheesecloth until 4 cups of juice are collected.
- This recipe is only safe for canning when using either fresh or bottled lemon juice to ensure adequate acidity. While bottled lemon juice offers consistent acidity, fresh lemon juice is encouraged for superior flavor.
- For freezer storage, pour the cooled concentrate into freezer-safe containers, leaving at least 1 inch of headspace to allow for expansion. Thaw in the refrigerator before use.
Altitude Adjustments for Canning
- Process half pints, pints, and quarts in a water bath canner for 15 minutes (below 1,000 feet in elevation).
- Between 1,000 and 3,000 feet, increase the processing time to 20 minutes.
- Between 3,000 and 6,000 feet, jars should be processed for 25 minutes.
- For elevations above 6,000 feet, process for 30 minutes.
- This recipe follows the canning times for “fruit purees” as established by the National Center for Home Food Preservation. Their recommended processing times are the same for all three jar sizes (half-pint, pint, and quart). Do not use half-gallon jars; the maximum allowable jar size is a quart for this recipe.
Nutrition (Approximate per serving, based on 32 servings per batch)
- Calories: 116 kcal
- Carbohydrates: 30g
- Protein: 0.2g
- Fat: 0.1g
- Saturated Fat: 0.01g
- Polyunsaturated Fat: 0.003g
- Monounsaturated Fat: 0.001g
- Sodium: 3mg
- Potassium: 67mg
- Fiber: 0.05g
- Sugar: 28g
- Vitamin A: 1IU
- Vitamin C: 6mg
- Calcium: 4mg
- Iron: 0.2mg
Nutrition information is automatically calculated and should only be used as an approximation.
More Delicious Plum Canning Recipes
If you’ve fallen in love with preserving plums, there are many other delightful ways to capture their flavor in jars. Explore these fantastic plum canning recipes to expand your pantry with homemade goodness:
Damson Jam
Greengage Jam
30+ Plum Canning Recipes