
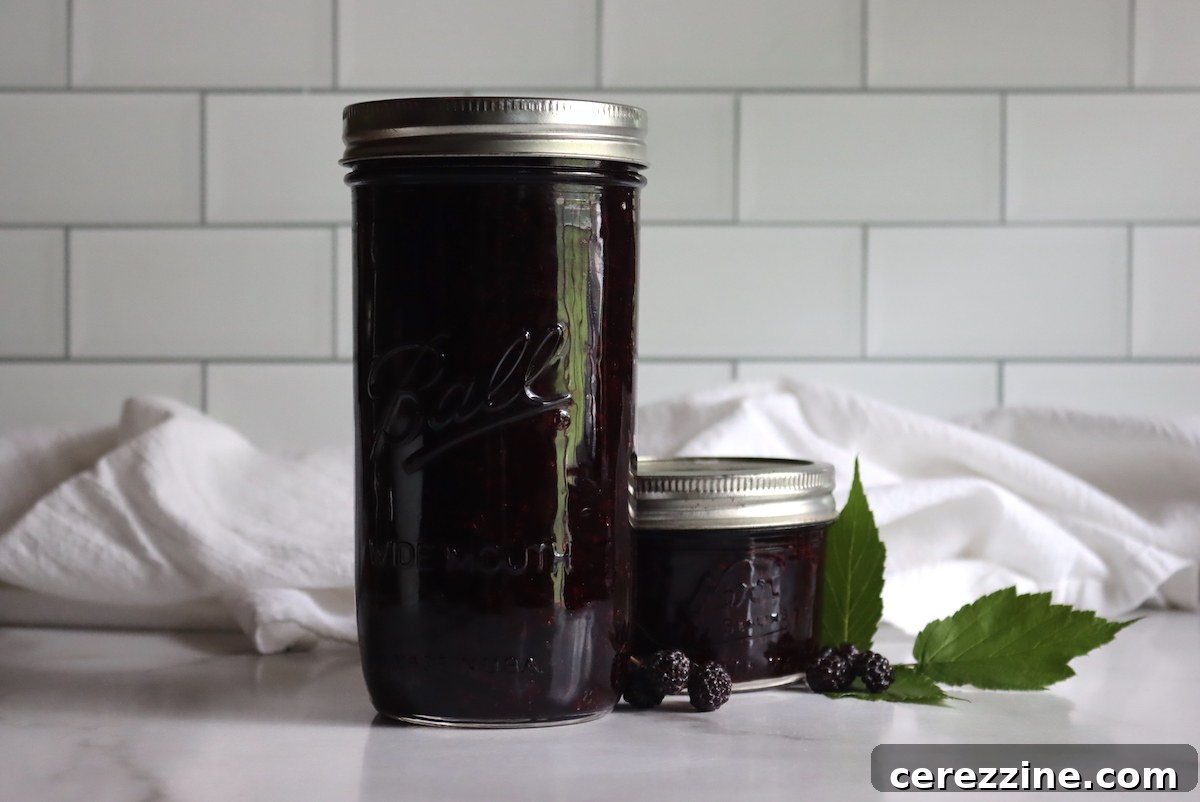
Canning black raspberry pie filling is an exquisite way to capture the vibrant taste of summer, especially when these deep-hued berries are at their peak abundance in mid-season. This comprehensive guide will walk you through creating a delicious, shelf-stable pie filling that brings a touch of warmth and intense berry flavor to your pantry year-round, allowing you to enjoy the essence of summer long after the season ends.
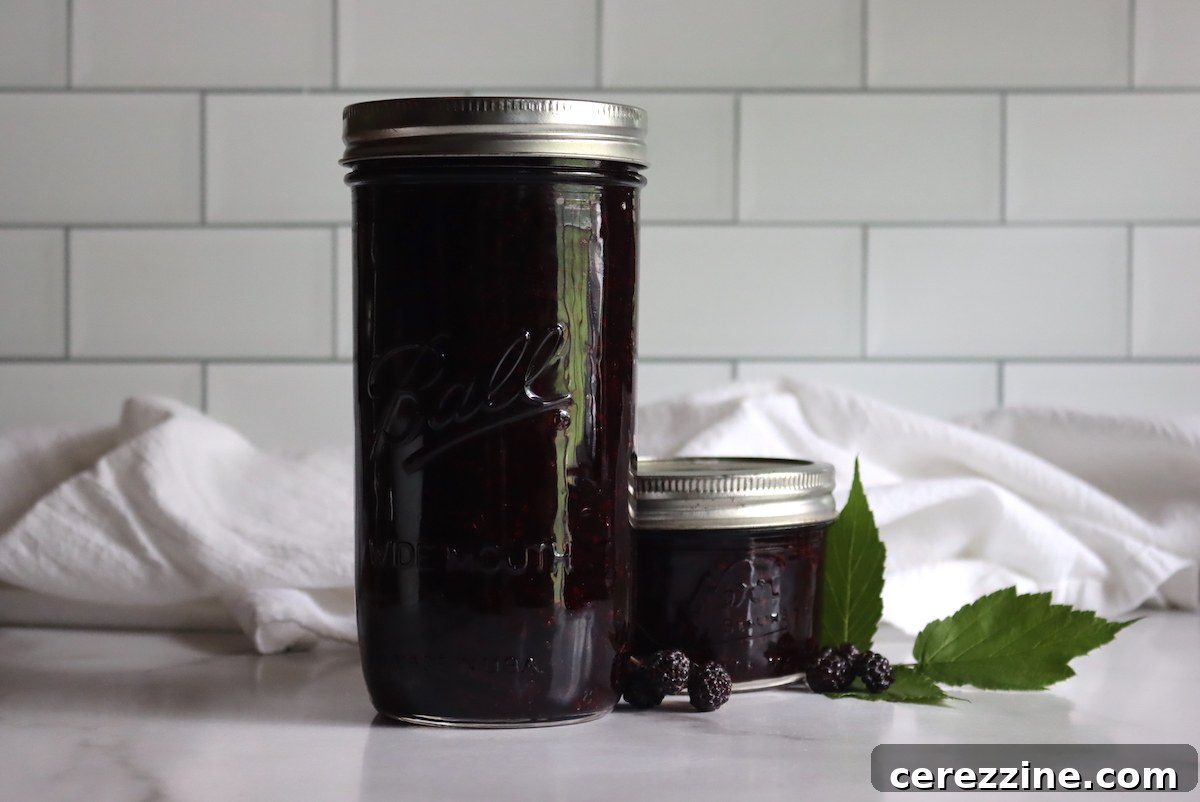
Black raspberries, distinct from their red and purple counterparts, boast a unique sweet-tart flavor and a rich, dark hue that makes them a favorite among berry enthusiasts. While undeniably delightful when eaten fresh, their short growing season makes preservation a popular and rewarding endeavor for home cooks and canners. Beyond crafting this exceptional pie filling, these versatile berries lend themselves beautifully to many other forms of preservation and culinary uses. Imagine starting your day with homemade black raspberry jam spread generously on warm biscuits or fluffy pancakes, or delighting guests with delicate jam-filled cookies bursting with berry goodness. Fresh black raspberries also elevate various baked goods, adding a burst of flavor to morning scones, moist crumb cakes, or transforming into a luxurious, creamy black raspberry ice cream. For those moments when the harvest is plentiful but time is scarce, remember that simply freezing the fresh fruit is an excellent way to extend your enjoyment of this summer bounty throughout the entire year. However, for a truly comforting and endlessly versatile preserve, dedicating a few quarts to this tried-and-true black raspberry pie filling recipe is an absolute must. This filling is not limited to traditional pies; its robust flavor profile makes it perfect for rustic cobblers, elegant turnovers, or even a simple yet sophisticated topping spooned over waffles, pancakes, or a creamy yogurt parfait for an elevated breakfast or dessert experience.
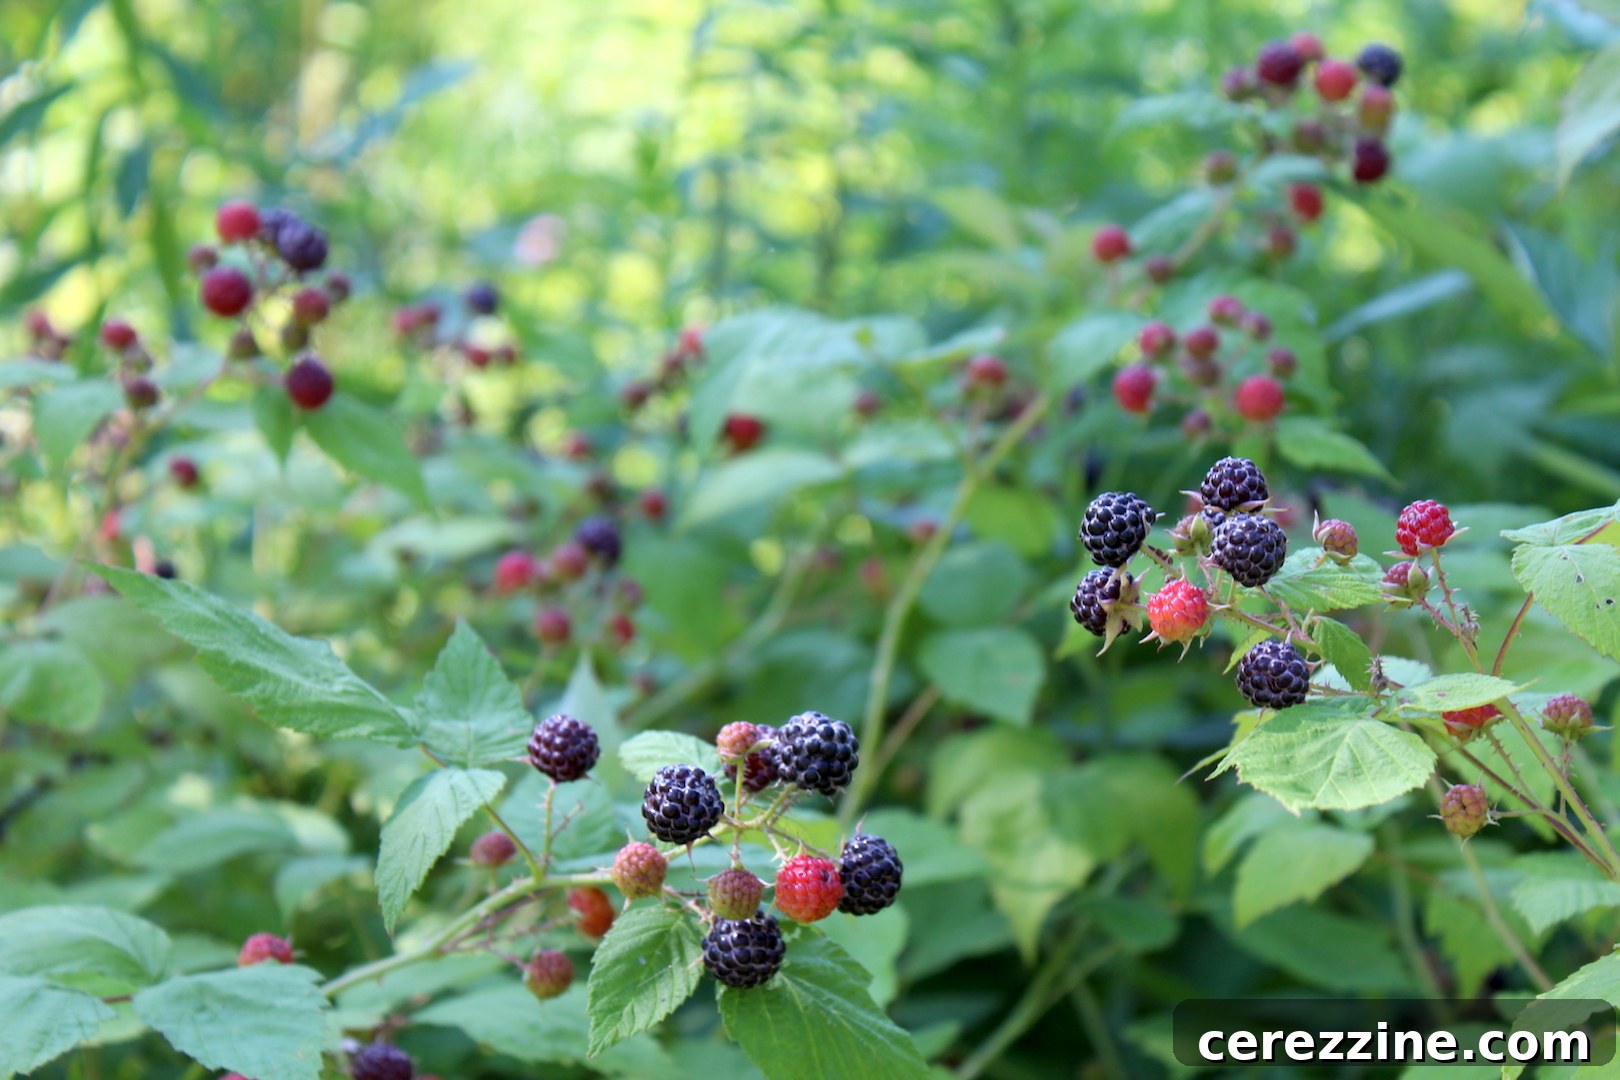
Essential Ingredients for Homemade Black Raspberry Pie Filling
Crafting homemade black raspberry pie filling requires careful attention to specific ingredients, each playing a crucial role in ensuring both delicious flavor and safe, long-term preservation. You have the flexibility to use either fresh, vibrantly ripe black raspberries gathered directly from the bush, or convenient frozen berries for this recipe. If you opt for frozen berries, it’s essential to thaw them thoroughly before you begin. A clever trick when thawing is to place them in a colander set over a bowl; this allows you to collect any juice released, which can be wonderfully incorporated into the recipe later to intensify the natural berry flavor of your pie filling.
Ingredients for a Single Quart Jar of Black Raspberry Pie Filling:
- 3 ½ cups black raspberries (fresh or frozen)
- ¾ cup plus 2 tablespoons granulated sugar
- ¼ cup plus 1 tablespoon Clear Jel
- 1 cup cold water (or reserved berry juice for enhanced flavor)
- 3 ½ tsp bottled lemon juice
Ingredients for a Full 7-Quart Batch of Black Raspberry Pie Filling:
- 6 quarts black raspberries (fresh or frozen)
- 6 cups granulated sugar
- 2 ¼ cups Clear Jel
- 7 cups cold water (or reserved berry juice)
- ½ cup bottled lemon juice
A critical note regarding the thickening agent: this recipe **specifically requires regular Clear Jel**. Instant Clear Jel, while also a thickener, is chemically formulated differently and is not suitable for canning recipes. Its properties do not provide the necessary thickening stability or, more importantly, the safety required for long-term shelf storage. For your convenience, one pound of regular Clear Jel is approximately equivalent to 3 cups by volume.
Important Recipe Note on Lemon Juice: Canning Safety First! The precise amount of lemon juice specified in this recipe is absolutely critical for the safety of your home-canned black raspberry pie filling. You may encounter varying lemon juice quantities in older or improperly copied canning guidelines for berry pie fillings. Historically, a long-standing typographical error in a publication from the University of Washington incorrectly listed 3 tablespoons per quart and ½ cup for 7 quarts. The **correct and scientifically tested ratio, which has been thoroughly confirmed by the National Center for Home Food Preservation (NCHFP)**, is precisely 3½ teaspoons of bottled lemon juice per quart of filling. This calculates accurately to ½ cup for a full 7-quart batch. These verified and corrected amounts are diligently used throughout this recipe to ensure consistent acidity and, thus, consistent safety across all batch sizes, whether you’re preserving a single quart or undertaking a full canner load. Adhering to this exact measurement is non-negotiable for safe home canning.
Customizing Your Black Raspberry Pie Filling Safely
This tested recipe for canning black raspberry pie filling is meticulously based on reliable guidelines provided by the Washington State University Extension, a highly trusted authority in home food preservation. While canning recipes are generally quite rigid to guarantee food safety, there are some aspects of this pie filling that you can carefully adjust to suit your personal taste preferences, alongside critical components that must, under no circumstances, be altered.
You have the flexibility to modify the **sugar content** and incorporate various **spices** (such as a pinch of cinnamon, a dash of nutmeg, or a hint of allspice) to align with your individual palate. For example, if your black raspberries are exceptionally sweet, you might consider slightly reducing the sugar. Conversely, if you desire a spicier or more complex flavor profile, feel free to experiment with a small amount of your favorite warming spices. Additionally, you can **decrease the amount of Clear Jel** if you prefer a looser, less dense pie filling. A good starting point for achieving a softer set would be to reduce the Clear Jel to ¼ cup per quart of filling. However, it is absolutely imperative that you **do not increase the amount of Clear Jel** beyond what is specified in the recipe, as an excess could impede proper heat penetration during the water bath canning process and potentially compromise the safety of your canned product.
What absolutely **cannot be altered or decreased** in this recipe is the precise amount of **lemon juice**. This ingredient is not merely for flavor; it plays an absolutely vital role in ensuring the proper acidity (pH level) required for safe water bath canning. The correct pH level is essential to inhibit the growth of harmful bacteria, particularly *Clostridium botulinum*, which thrives in low-acid environments. Decreasing the lemon juice could dangerously elevate the pH, rendering the product unsafe for shelf storage. Furthermore, it is highly recommended and, in fact, mandated by USDA canning guidelines, that you use **bottled lemon juice** in place of fresh lemon juice. Bottled lemon juice has a standardized, consistent acidity level, which is the only method approved to guarantee the precise pH needed for canning safety. Fresh lemons, on the other hand, can vary significantly in their acidity depending on variety, ripeness, and storage conditions, making them an unreliable choice where precise pH is critically important for safe preservation.
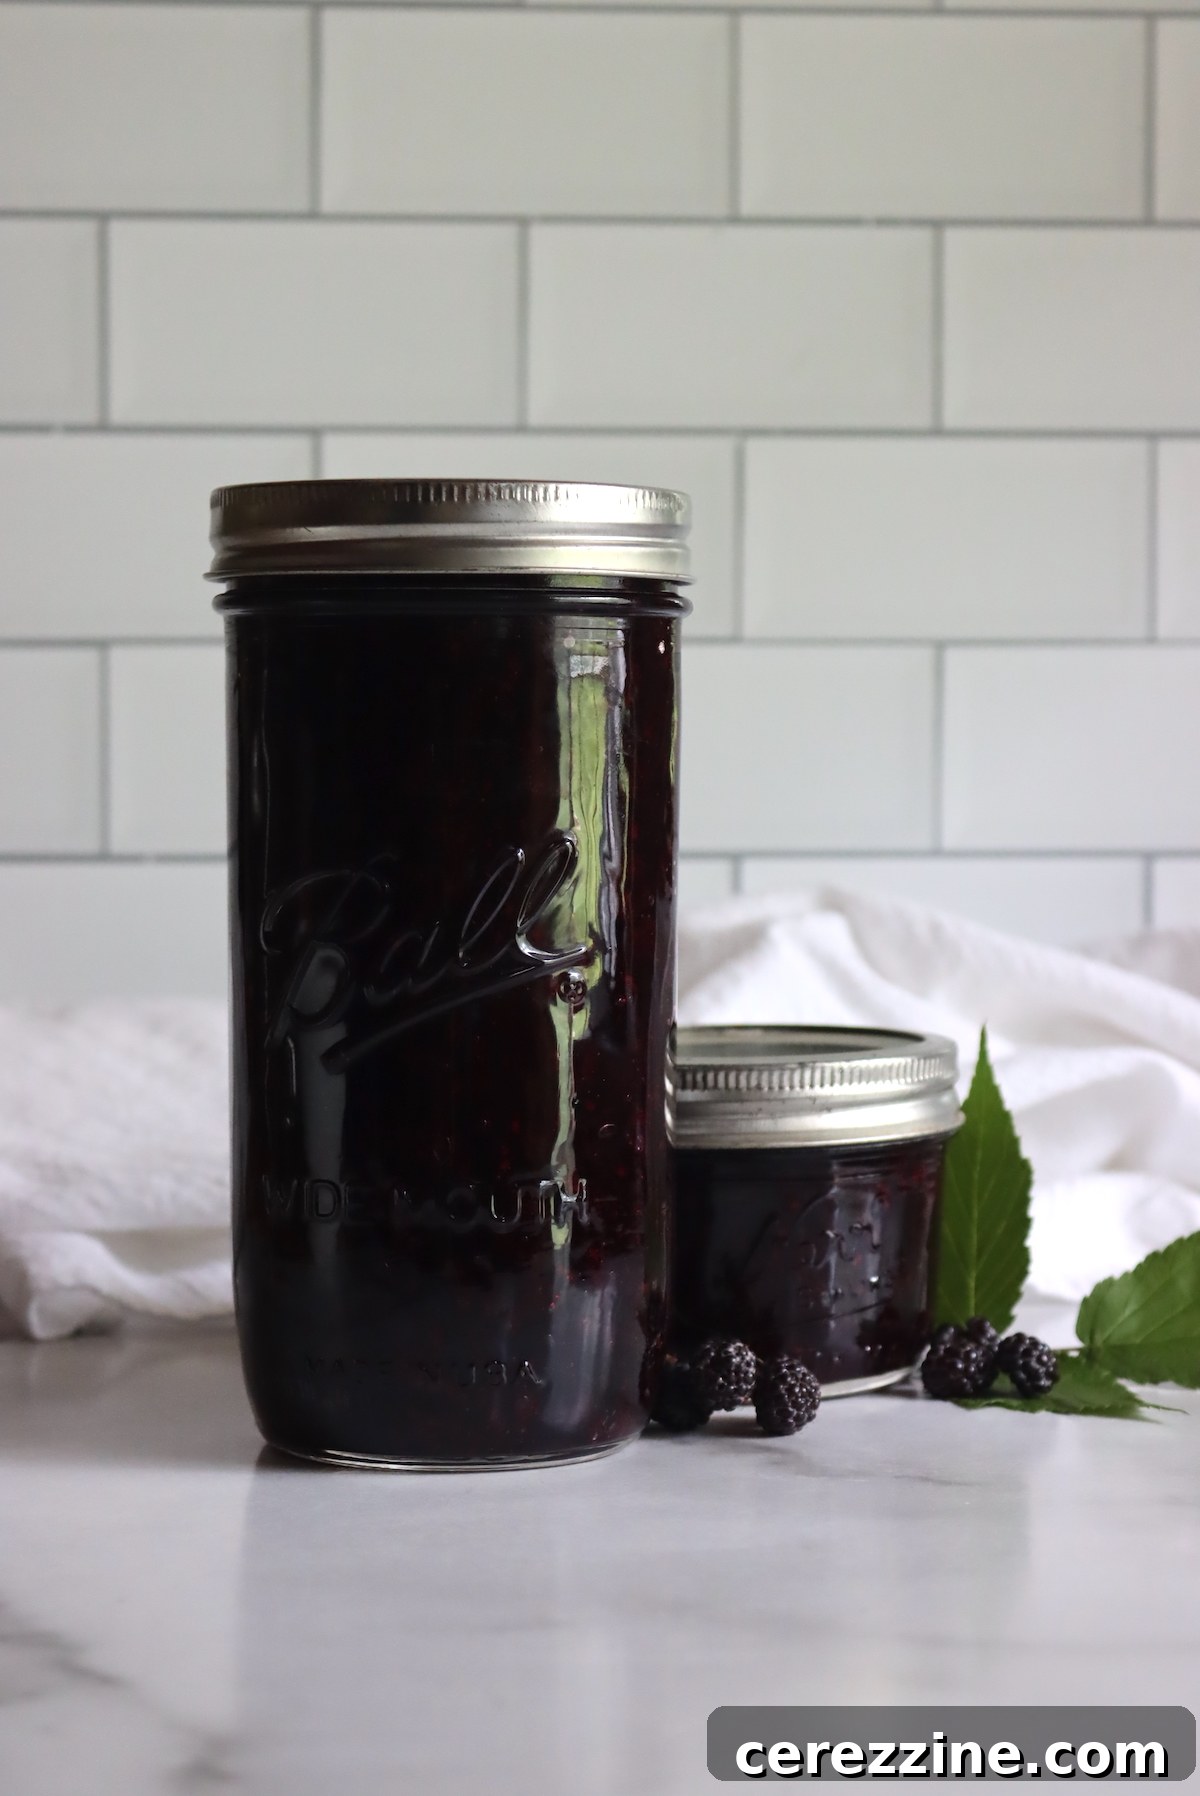
Step-by-Step Guide: How to Can Black Raspberry Pie Filling Safely
For those new to the rewarding and delicious world of home preservation, it’s highly recommended to first review a reliable beginner’s guide to water bath canning before embarking on this recipe. A thorough understanding of fundamental safe canning practices is paramount to ensure both the quality and safety of your preserved goods.
- Prepare Your Canning Setup: Before you even begin the cooking process, ensure your canning jars are meticulously clean and adequately heated. Sterilize them either by boiling them for 10 minutes or by running them through a “sterilize” or “canning” cycle in your dishwasher. Prepare your two-piece canning lids (flats and rings) according to the manufacturer’s specific instructions, which often involves simmering the flats in warm water to soften the sealing compound. Fill your water bath canner with sufficient water and bring it to a steady simmer, ready for the processing stage.
- Black Raspberry Preparation: Begin by thoroughly washing and draining your black raspberries under cool running water. If you are utilizing frozen berries, place them in a colander that is set over a large bowl to thaw. The precious juice that collects at the bottom during this thawing process should be saved; it can be wonderfully incorporated into the recipe later to significantly enhance the overall natural berry flavor of your pie filling.
- Blanch the Berries: In a large, clean pot, bring a few quarts of water to a vigorous rolling boil. Carefully add the washed or thawed berries to the boiling water and blanch them for precisely one minute. This quick boil serves two important purposes: it helps to soften the berries slightly and prevents them from floating excessively in the jars after processing, ensuring a more even distribution. Promptly drain the blanched berries or remove them with a slotted spoon, then place them immediately in a covered pot or bowl to keep them warm while you prepare the thickening mixture. For larger batches, it’s advisable to blanch the berries in smaller quantities, ideally no more than 6 cups at a time, to ensure uniform heating.
- Create the Thickening Mixture: In another large, heavy-bottomed pot, combine the granulated sugar and the Clear Jel. This crucial dry mixing step ensures that the Clear Jel is evenly dispersed. Gradually add the cold water (or your reserved berry juice) to the sugar and Clear Jel mixture, whisking continuously and vigorously until the Clear Jel is completely dissolved and no clumps remain. Skipping this thorough whisking will almost certainly result in undesirable clumps once the mixture is heated, leading to an unappetizingly unevenly textured filling.
- Cook the Filling Base: Once the Clear Jel is fully dissolved and the mixture is smooth, place the pot over medium-high heat. Stir constantly to prevent the mixture from sticking to the bottom of the pot and to ensure even thickening. As the mixture heats, it will gradually begin to thicken. Continue stirring until it reaches a vigorous, rolling boil. At this critical point, add the precisely measured bottled lemon juice, which, as discussed, is vital for the safety of your canned product. Continue to boil the mixture for an additional minute, maintaining constant stirring throughout.
- Combine Berries and Fill Jars: Remove the thickened mixture from the heat. Gently fold in the blanched black raspberries, distributing them evenly throughout the thick liquid. Immediately ladle the hot pie filling into your prepared, hot canning jars, ensuring you leave precisely 1 inch of headspace (this is the empty space between the top of the food and the rim of the jar). Due to the thick consistency of the filling, it’s crucial to de-bubble the jars thoroughly using a non-metallic utensil (like a plastic knife or specialized de-bubbler), gently moving it around the inside of the jar to release any trapped air pockets. Clean the jar rims meticulously with a clean, damp cloth to remove any residue, as even a small particle can prevent a proper seal. Center your two-part canning lids (flats) on the jars and apply the bands, tightening them only “fingertight” – this means snugly, but not overly tight.
- Process in Water Bath Canner: Carefully place the hot, filled jars onto the rack in your simmering water bath canner, ensuring they are fully submerged by at least 1 inch of water. Cover the canner with its lid. Bring the water in the canner back to a vigorous, rolling boil, then begin your processing time. Process the jars for **30 minutes**, making sure to adjust this time as needed for your specific altitude above sea level (please refer to the altitude adjustment chart below for precise timing).
- Cool and Check Seals: Once the processing time is complete, turn off the heat to your water bath canner. Crucially, allow the jars to rest undisturbed in the hot water for an additional 10 minutes before removing them. This vital resting period helps to equalize the temperature and pressure, significantly reducing the chances of siphoning, where liquid is drawn out of the jars. Using a jar lifter, carefully remove the hot jars from the canner and place them upright on a towel-covered countertop or a wire rack, ensuring they are spaced apart to allow for proper air circulation. Let them cool undisturbed at room temperature for 12 to 24 hours. After cooling, check all seals by pressing firmly on the center of each lid – it should be concave and not flex or pop. Remove the screw bands (they are not needed for storage and can even trap moisture, leading to rust). Any jars that have not sealed properly should be refrigerated immediately and consumed within a few weeks. Properly sealed and stored jars of black raspberry pie filling will maintain their peak quality for up to 12 months in a cool, dark place. Once opened, refrigerate the jar and consume its contents within a week or two.
Altitude Adjustments for Canning Black Raspberry Pie Filling
When performing water bath canning, it is absolutely essential to adjust your processing times based on your elevation above sea level. This is because water boils at a lower temperature at higher altitudes. Consequently, a longer processing time is required to ensure that the internal temperature of your food reaches a level sufficient for safe preservation and to eliminate potential spoilage organisms. Please consult the chart below and adjust your canning time precisely according to your geographical elevation:
- 0 to 1,000 Feet in Elevation: 30 minutes
- 1,001 to 3,000 Feet in Elevation: 35 minutes
- 3,001 to 6,000 Feet in Elevation: 40 minutes
- Above 6,000 Feet in Elevation: 45 minutes
Enhancing Flavor: Choosing Juice or Water for Your Canning Liquid
While plain cold water is perfectly acceptable and will result in a delicious pie filling for this recipe, opting to use a mixture of juice and water, or even pure juice, can significantly enhance and deepen the natural flavor of your black raspberry pie filling. This approach allows for a richer, more concentrated berry taste that truly stands out in your final product.
There are several effective ways to obtain juice for your filling. You might consider extracting juice directly from fresh fruit, a method similar to what’s expertly done when making a vibrant black raspberry jelly. This traditional process typically involves boiling and mashing the berries with a small amount of water (approximately ¼ cup of water per cup of whole fruit), then simmering the mixture for 10 to 15 minutes to fully release the juices. Afterward, the mixture is strained through a jelly bag or several layers of fine cheesecloth to collect the clear, flavorful juice. It’s worth noting that black raspberries, compared to some other berries like blackberries, tend to yield slightly less juice; you’ll generally need about 3 to 4 cups of whole fruit to produce one cup of concentrated juice.
Another convenient and modern option for obtaining fresh juice is by utilizing a countertop juicer. This method can save considerable time and effort, especially if you have a substantial quantity of berries to process. For an interesting and complex flavor twist, you can also incorporate the juice of other complementary fruits or berries, such as blackberry or red raspberry, into your filling. These thoughtful additions will subtly alter and enhance the flavor profile of your black raspberry pie filling, introducing their own unique sweet or tart notes and creating a more complex and exciting taste experience that will delight your palate.
Creative Ways to Enjoy Your Home Canned Black Raspberry Pie Filling
Your homemade black raspberry pie filling is far too versatile and flavorful to be confined solely to traditional pie recipes! While it is an undeniable star in classic cobblers, crumbles, and traditional double-crust pies, its robust sweet-tart flavor profile opens up a world of culinary possibilities, effortlessly transforming everyday meals and desserts into something truly special and memorable.
Beyond traditional baking applications, consider incorporating this delightful filling into homemade ice cream for a vibrant, fruity swirl that’s bursting with berry goodness, or layering it into a refreshing no-bake ice cream pie for an easy yet incredibly impressive dessert. For a breakfast upgrade that feels like a special treat, spoon a generous dollop atop fluffy pancakes, golden waffles, or warm French toast. You can also elegantly roll it into delicate stuffed crepes for an exquisite brunch dish, or simply mix it into your morning oatmeal, Greek yogurt, or overnight oats for a nutritious and incredibly flavorful start to your day.
Still craving more creative uses? Utilize the pie filling as a decadent compote alternative to top creamy cheesecakes, panna cottas, or even vanilla ice cream sundaes. It makes a fantastic, juicy filling for pastries, hand pies, turnovers, or charming thumbprint cookies. For a unique dessert bar experience that combines fruitiness with creaminess, try incorporating it into recipes like these delightful black raspberry cheesecake bars, where its bright fruitiness perfectly complements rich, creamy textures. The possibilities for enjoying your home canned black raspberry pie filling are truly endless, making it an indispensable pantry staple you’ll find yourself reaching for again and again throughout the year.
Canning Black Raspberry Pie Filling
Preserving black raspberries in the form of pie filling is a tasty method of ensuring delicious pies and other warm, baked delights are available year-round.
By Ashley Adamant
Yields: 8 servings (Recipe makes 1 quart or 7 quarts)
Prep Time: 20 minutes
Cook Time: 10 minutes
Canning Time: 30 minutes
Total Time: Approximately 1 hour
Equipment You’ll Need
- Water Bath Canner with rack
- Large, heavy-bottomed pot (at least 6-8 quart capacity)
- Canning jars (quart size), cleaned and sterilized
- Two-piece canning lids (flats and rings)
- Jar lifter
- Slotted spoon
- Whisk
- Non-metallic de-bubbler tool (or plastic knife)
- Clean damp cloth for wiping rims
Ingredients List
For a Single Quart Jar:
- 3 ½ cups black raspberries, fresh or frozen (thawed)
- ¾ cup plus 2 tablespoons granulated sugar
- ¼ cup + 1 Tbsp. Clear Jel (regular, not instant)
- 1 cup cold water, or reserved berry juice
- 3 ½ tsp bottled lemon juice (critical for safety, see notes)
For a Full 7-Quart Canner Batch:
- 6 quarts black raspberries, fresh or frozen (thawed)
- 6 cups granulated sugar
- 2 ¼ cups Clear Jel (regular, not instant)
- 7 cups cold water, or reserved berry juice
- ½ cup bottled lemon juice (critical for safety, see notes)
Step-by-Step Instructions
- Begin by preparing your water bath canner: fill it with water and bring it to a simmer (approx. 180°F / 82°C). Wash and sterilize your canning jars, and prepare your two-piece canning lids (flats and rings) according to the manufacturer’s directions.
- Thoroughly wash and drain the black raspberries. If using frozen berries, thaw them in a colander placed over a bowl to collect any released juice.
- Blanch the berries: In a large pot, bring several quarts of water to a rolling boil. Add the berries and cook for precisely one minute. Drain the berries immediately or remove them with a slotted spoon, then place them in a covered dish or pot to keep them warm.
- In a separate large, heavy-bottomed pot, combine the granulated sugar and Clear Jel, whisking them together thoroughly until well mixed.
- Gradually add the cold water (or reserved berry juice) to the sugar and Clear Jel mixture, whisking continuously and vigorously until the Clear Jel is completely dissolved and no lumps remain.
- Place the pot over medium-high heat. Stir constantly as the mixture heats and begins to thicken. Continue stirring until it reaches a vigorous, rolling boil.
- Once boiling, add the measured bottled lemon juice and boil for an additional minute, maintaining continuous stirring.
- Remove the thickened mixture from the heat. Gently fold in the blanched black raspberries, distributing them evenly.
- Immediately ladle the hot pie filling into your prepared, hot canning jars, leaving exactly 1 inch of headspace.
- Carefully de-bubble the jars using a non-metallic utensil, gently moving it around the inside of the jar to release trapped air pockets.
- Meticulously clean the jar rims with a damp cloth to ensure a proper seal. Center the two-part canning lids on the jars and apply the screw bands, tightening them only “fingertight.”
- Carefully place the filled jars into the simmering water bath canner, ensuring they are fully submerged by at least 1 inch of water. Bring the water back to a rolling boil.
- Process the jars for 30 minutes, increasing the processing time as needed for your specific altitude (refer to the “Notes” section for adjustment chart).
- After the processing time is complete, turn off the heat to the canner. Allow the jars to rest undisturbed in the hot water for an additional 10 minutes to prevent siphoning.
- Using a jar lifter, carefully remove the hot jars from the canner and place them upright on a towel-covered countertop or wire rack, ensuring they are spaced apart to cool undisturbed for 12 to 24 hours.
- After cooling, check all jar seals. A properly sealed lid will be concave and will not flex when pressed. Remove the screw bands before storing.
- Any jars that have not sealed properly should be refrigerated immediately and consumed within a few weeks. Properly sealed jars will maintain their best quality for up to 12 months when stored in a cool, dark place. Refrigerate any opened jars and consume within 1-2 weeks.
Important Notes and Tips
Altitude Adjustments for Canning:
- 0 to 1,000 Feet in Elevation: 30 minutes
- 1,001 to 3,000 Feet in Elevation: 35 minutes
- 3,001 to 6,000 Feet in Elevation: 40 minutes
- Above 6,000 Feet in Elevation: 45 minutes
This recipe thoughtfully provides precise measurements for both a full 7-quart canning batch and a single quart yield. For quantities in between these two, simply multiply the single-quart recipe ingredients to achieve your desired number of quarts.
To reduce the risk of siphoning (liquid loss from jars during processing), it is highly recommended to leave the jars in the hot water bath canner for an extra 10 minutes after the processing time is complete and the heat has been turned off. Afterward, carefully remove them and place them on a towel-covered countertop to cool completely.
If you wish to enhance your pie filling with additional spices (such as a pinch of cinnamon, nutmeg, or allspice), simply fold them in along with your blanched berries at the very last stage of making the pie filling, just before ladling into jars.
Clarification on Lemon Juice Amounts:
As confirmed by the NCHFP, the correct and tested ratio for safe canning of this berry pie filling is precisely 3½ teaspoons of bottled lemon juice per quart of filling. This exact amount translates to ½ cup of bottled lemon juice for a full 7-quart batch. These carefully corrected amounts are meticulously used throughout this recipe to ensure consistent safety and adequate acidity, whether you are preparing a small 1-quart batch or a larger 7-quart batch.
Estimated Nutrition Facts (per serving)
Nutrition information provided is an approximation, automatically calculated, and may vary based on ingredient specificities. It should be used for general guidance only.
| Calories: | 101 kcal |
| Carbohydrates: | 25g |
| Protein: | 1g |
| Fat: | 0.4g |
| Saturated Fat: | 0.01g |
| Polyunsaturated Fat: | 0.2g |
| Monounsaturated Fat: | 0.03g |
| Sodium: | 1mg |
| Potassium: | 85mg |
| Fiber: | 3g |
| Sugar: | 21g |
| Vitamin A: | 18 IU |
| Vitamin C: | 16mg |
| Calcium: | 14mg |
| Iron: | 0.4mg |
Expand Your Pantry: More Delicious Home Canned Pie Fillings
If you’ve thoroughly enjoyed the process of preserving black raspberry pie filling, you’ll undoubtedly love the satisfaction of adding even more delightful varieties to your home pantry. Home-canned pie fillings are an incredibly convenient and delicious way to ensure you always have a fantastic base for spontaneous desserts, ready to go whenever inspiration strikes. Explore these other popular, equally satisfying, and versatile pie filling recipes to keep your pantry fully stocked:
- Canning Apple Pie Filling
- Canning Blackberry Pie Filling
- Canning Peach Pie Filling
- Canning Cherry Pie Filling
Master Fruit Preservation: Additional Fruit Canning Recipes
Black raspberries are just one of many wonderful fruits that can be beautifully preserved through home canning, locking in their fresh flavors for months. Diversify your home pantry with a wide array of fruit canning recipes, allowing you to enjoy the authentic taste of various seasons all year long. From succulent stone fruits to juicy berries, there’s a whole world of natural flavor waiting to be jarred and savored:
- Canning Peaches
- Canning Blackberries
- Canning Plums
- Canning Blueberries
- Canning Cherries
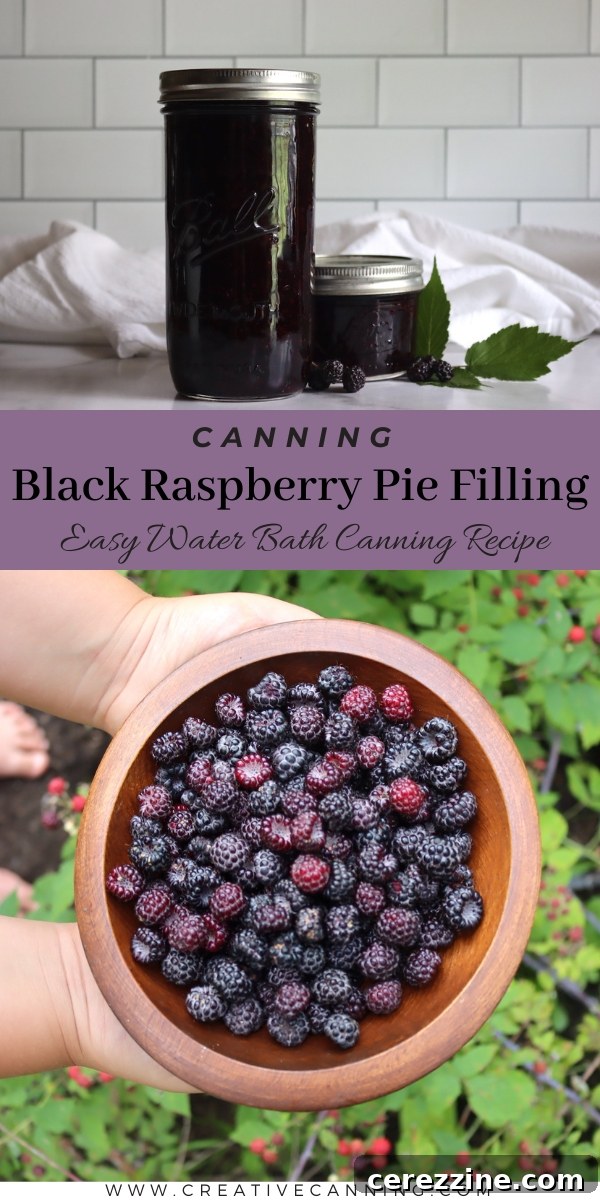
Canning black raspberry pie filling is far more than just a culinary task; it’s a delightful act of savoring the season, a valuable skill that brings immense joy and deliciousness to your kitchen and beyond. With this detailed and carefully crafted guide, you are now well-equipped to create perfect, safe, and flavorful batches of this delightful preserve. Ensuring that the unique, vibrant taste of black raspberries is always within easy reach for your next homemade pie, comforting cobbler, or an elevated breakfast treat. Happy canning and enjoy the sweet rewards of your labor!