
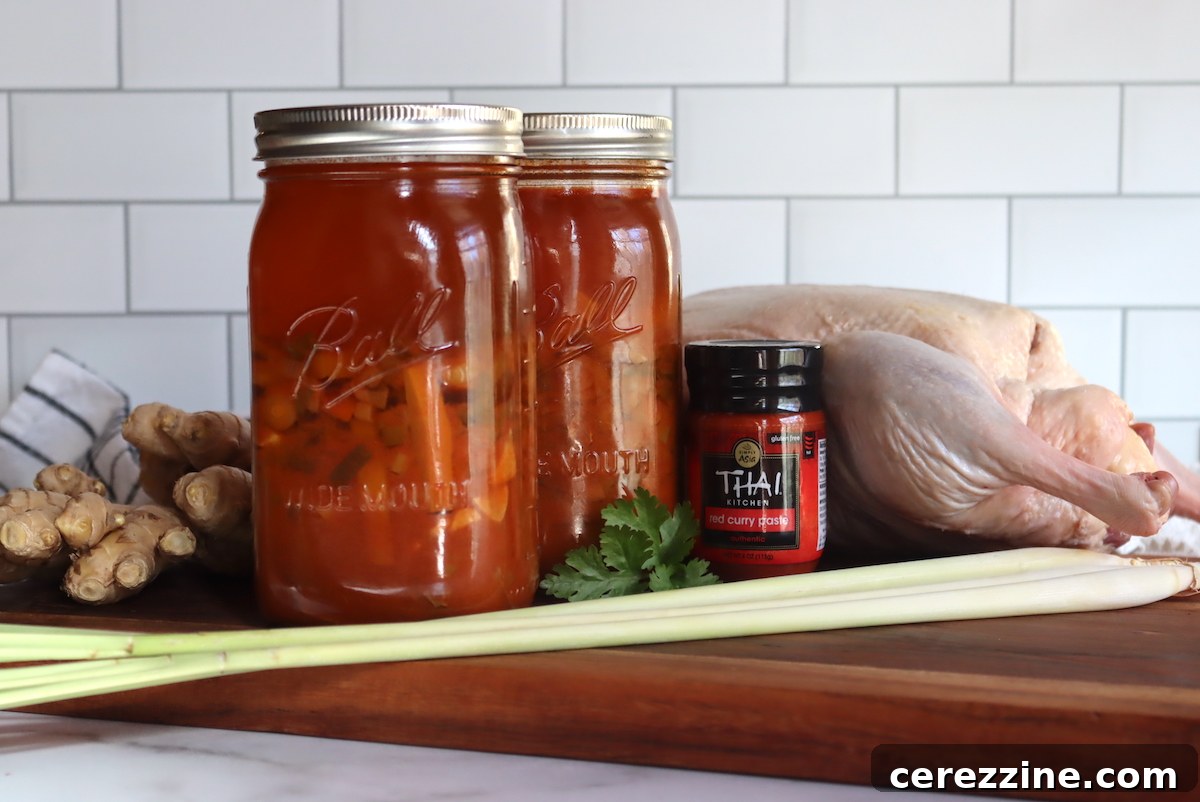
Thai red curry duck is more than just a dish; it’s a culinary experience, revered in countless households for its rich, complex flavors and comforting embrace. Imagine the sheer convenience of having this gourmet staple readily available on your pantry shelf, transforming a traditionally intricate preparation into a simple heat-and-serve solution. This comprehensive guide will illuminate the path to converting this incredibly flavorful Thai recipe into a safe, shelf-stable, and effortlessly convenient option for your home pressure canner. Prepare to savor the delight of authentic, homemade Thai curry with minimal effort, whenever the craving strikes.
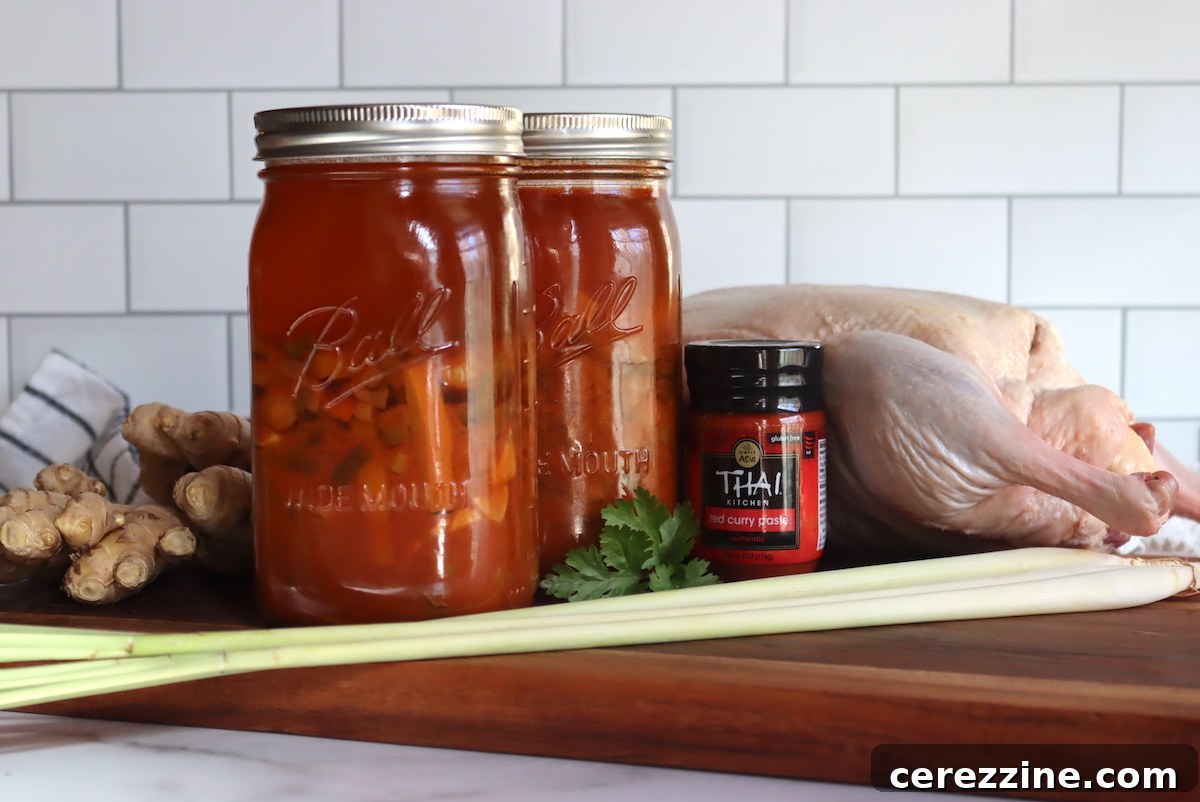
The allure of Thai curries lies not only in their exquisite depth of flavor but also in their surprising adaptability and ease of preparation, particularly when you strategically utilize shelf-stable ingredients. Many foundational components, such as potent curry paste, luxurious coconut milk, and a variety of crunchy vegetables like water chestnuts, emerge directly from cans or jars on your pantry shelf. This intelligent approach allows for swift assembly, demanding only the fresh addition of meat and garden-grown vegetables to complete a truly satisfying and wholesome meal.
In our home, Thai curry has firmly established itself as a regular fixture in our meal planning, typically gracing our table every other week. Among the many variations, red duck curry holds a special place as one of our most beloved choices. Our history with raising ducks for both their succulent meat and fresh eggs is extensive; at one point, our flock numbered over 50 birds. This firsthand experience with duck has naturally cultivated a deep appreciation for its rich flavor and versatility, making it a frequent and cherished ingredient in our kitchen.
(It’s important to note the remarkable versatility of this curry recipe. While duck is our preferred protein, it can be prepared with equal success and deliciousness using chicken, or even heartier options like beef or pork, allowing for perfect customization to suit individual tastes and dietary needs.)
My personal revelation in the realm of canning Thai red curry duck dawned when I discovered a groundbreaking recipe in Angi Schneider’s truly exceptional cookbook, Pressure Canning for Beginners and Beyond. The very concept of safely preserving such an intricate and cherished dish was utterly transformative for me, immediately sparking an undeniable urge to replicate it in my own kitchen. Angi’s book is an indispensable treasure, brimming with some of the most innovative, practical, and thoroughly tested pressure canning recipes I have ever encountered. For anyone who owns a home pressure canner, this volume is an absolute essential, promising to dramatically expand your repertoire of preserved meals and your confidence in food preservation.
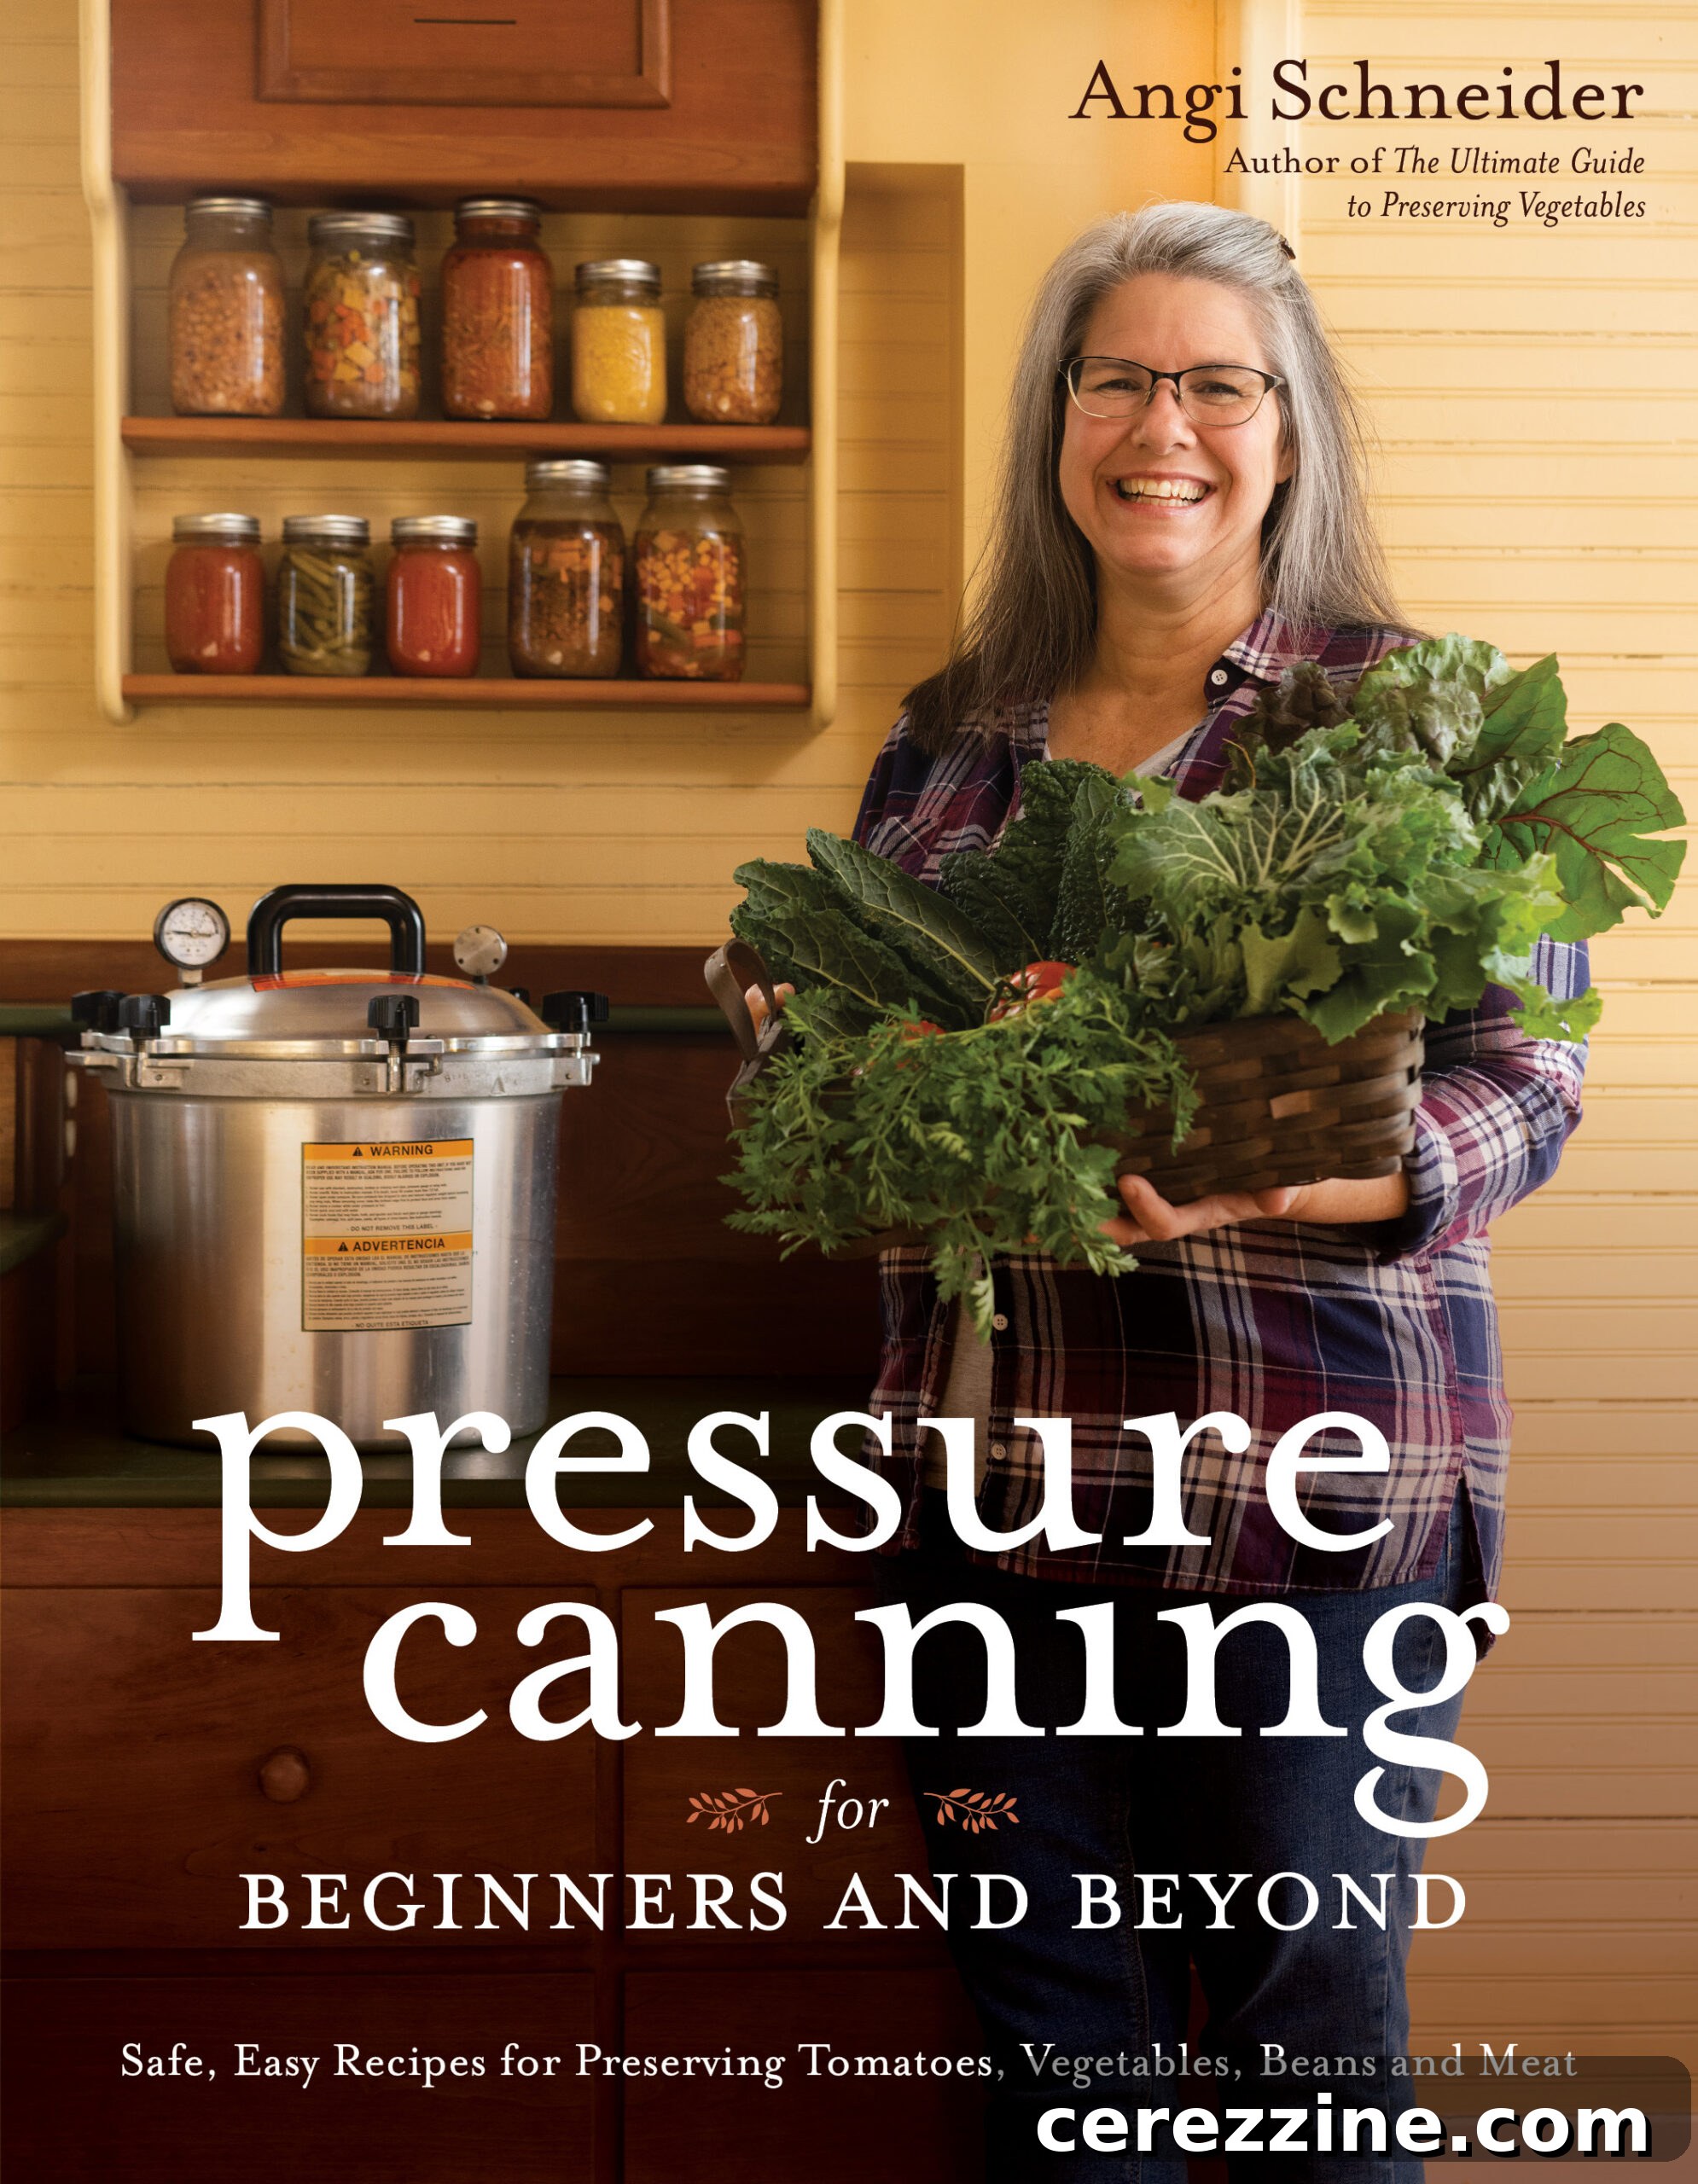
Annually, we dedicate significant time to preserving countless “meal in a jar” recipes—from hearty beef stews to comforting chicken noodle soups—ensuring our pantry remains perpetually stocked with convenient, ready-to-eat options. Yet, the innovative concept of canning entire curries had, until recently, remained outside my realm of consideration. Angi’s pioneering method was a genuine eye-opener, demonstrating conclusively that this rich, aromatic, and seemingly complex cuisine could indeed be made perfectly shelf-stable.
Upon deeper reflection, the suitability of canning curry becomes strikingly obvious. Fundamentally, it’s a flavorful amalgamation of meat and vegetables suspended within a deeply seasoned broth. The crucial distinction, and a paramount food safety consideration, is that coconut milk—a signature ingredient integral to the authentic texture and taste of Thai curry—is not approved for direct canning within the jar. Its fat content and stability under pressure canner conditions make it unsuitable for safe, long-term preservation. Instead, it is always incorporated at the final stage, when the meal is being prepared for serving.
This method of adding coconut milk during reheating is remarkably simple and ensures both the highest standards of canning safety and the preservation of that authentic, creamy texture and irresistible flavor profile that defines Thai curry. Since coconut milk itself is a readily available, shelf-stable canned product, it can conveniently reside on your pantry shelf right alongside your home-canned jars of curry. This strategic separation allows you to enjoy a freshly finished, restaurant-quality meal every single time, without compromising on safety or taste.
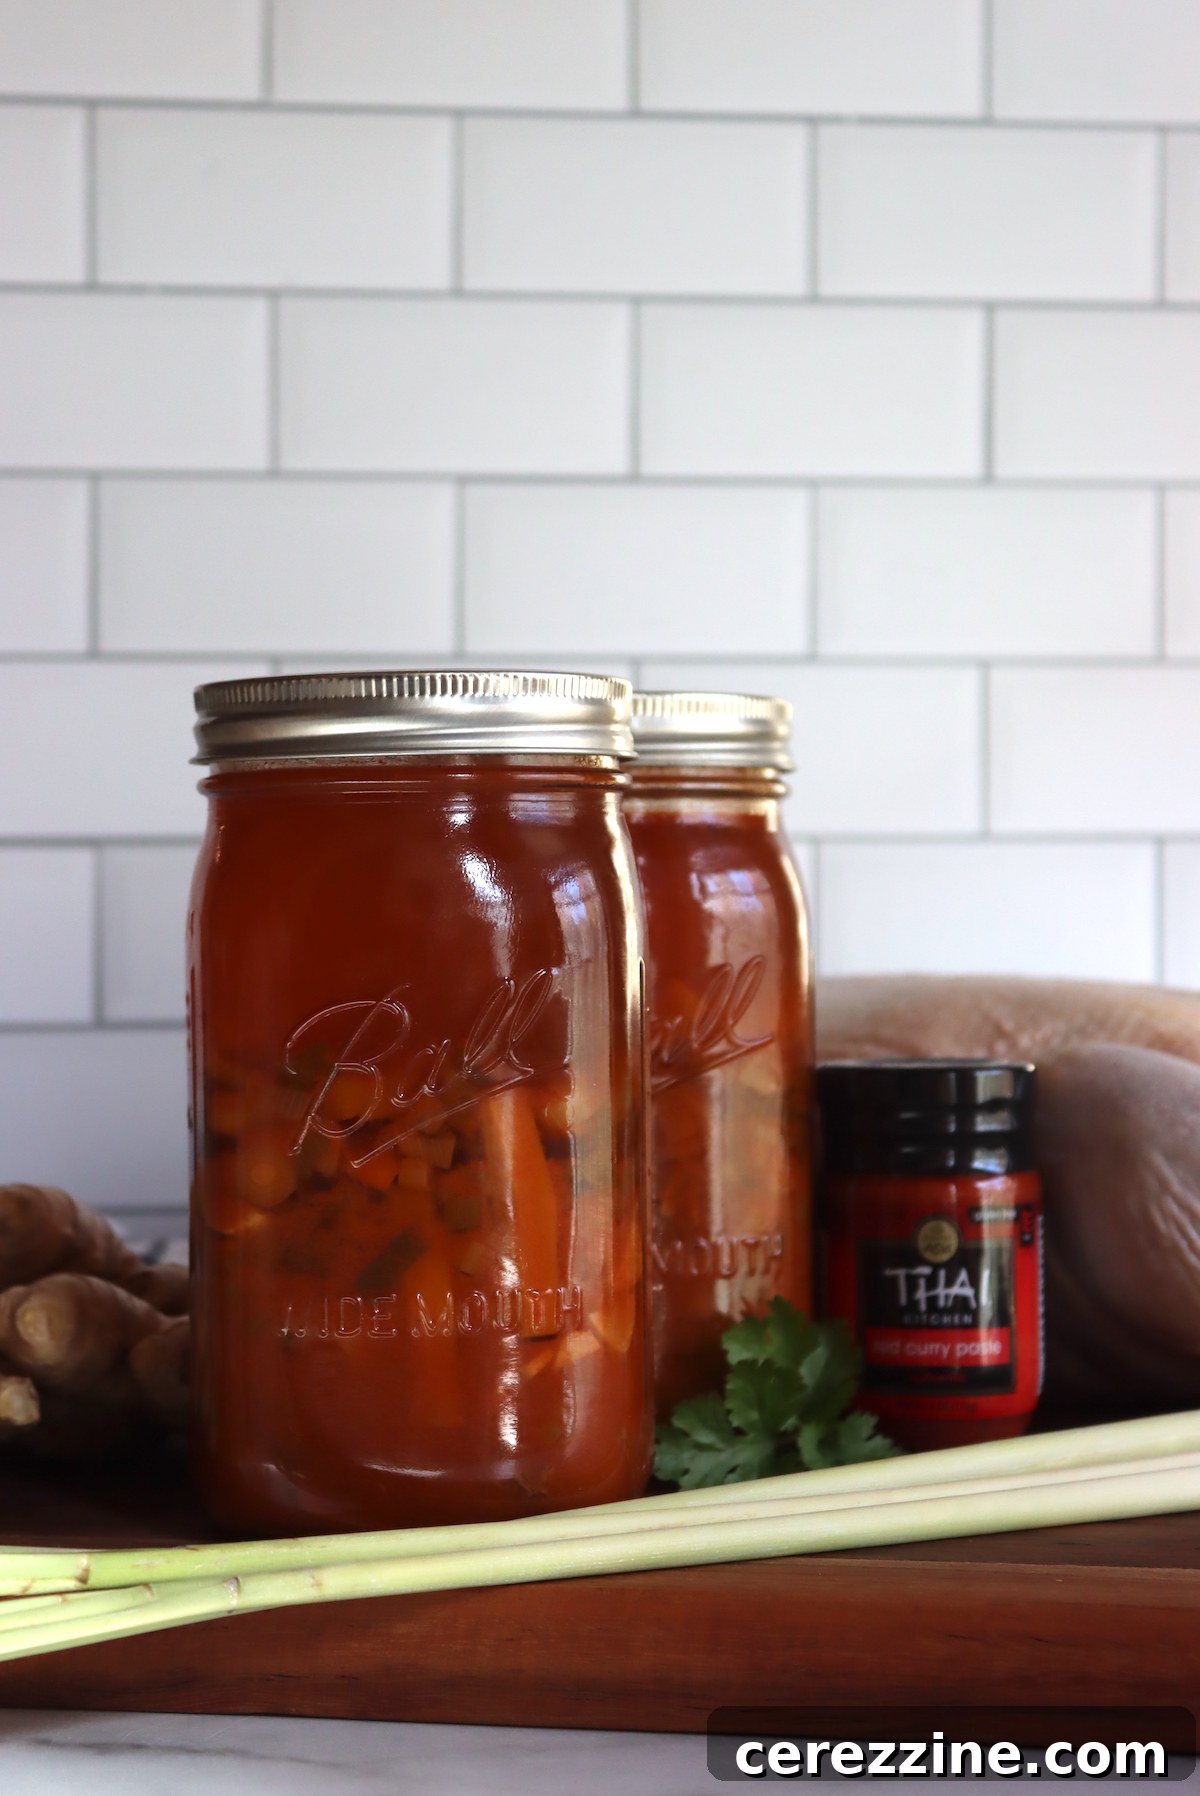
Is Thai Curry Safe for Home Canning? Understanding Essential Guidelines
The paramount consideration in all home canning endeavors is safety. Fortunately, reputable authorities such as the National Center for Food Preservation (NCFP) and the USDA have established comprehensive guidelines that unequivocally permit the safe preservation of Thai curry. When approaching the canning of complex dishes like curry, it is critical to understand and adhere to one of two primary, approved methods, each meticulously designed to guarantee food safety and prevent spoilage.
The NCFP serves as an invaluable resource, providing detailed guidance for both developing your own canning recipes and safely preserving various food combinations. This includes precise instructions for seasoning meat in a jar or crafting safe mixtures of meat and vegetables, such as hearty soups and flavorful curries. These guidelines are foundational, ensuring that low-acid foods—a category encompassing most meats and vegetables—are processed at temperatures and for durations sufficient to eliminate harmful bacteria, including the risk of botulism.
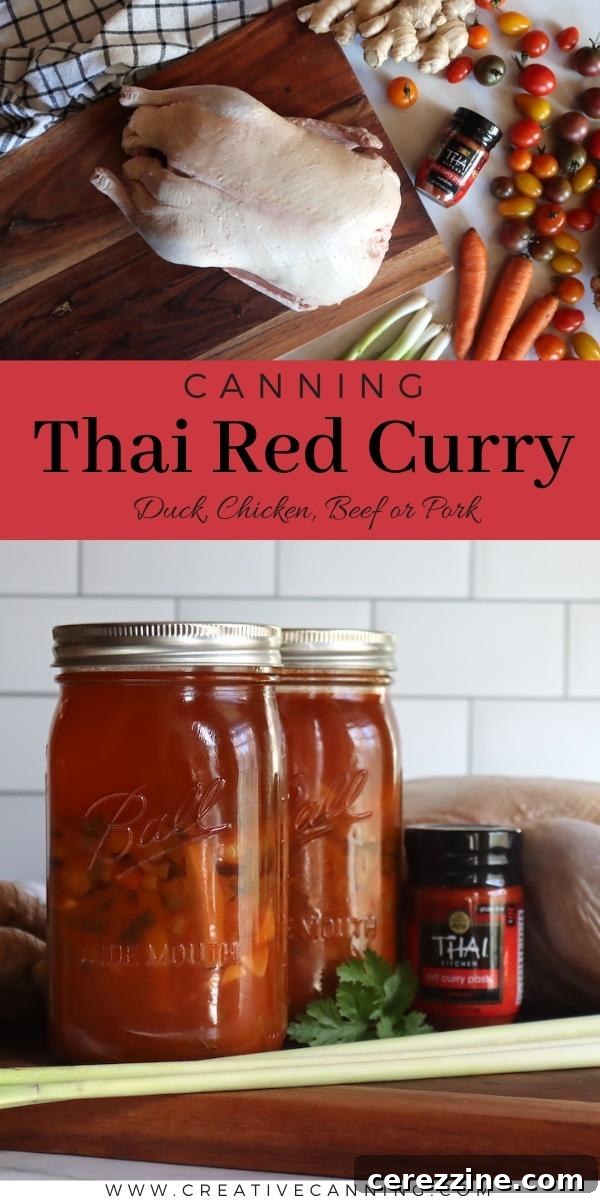
Angi Schneider’s ingenious method, meticulously detailed in her acclaimed canning book, cleverly adapts the established principles for canning plain meat. Her recipe involves a “raw pack” technique, where bone-in duck is placed into canning jars and then submerged in a deeply aromatic and seasoned curry broth. When it’s time to serve this convenient meal, the process is straightforward: the broth is poured into a saucepan, reheated, and then enriched with a can of full-fat coconut milk to achieve its characteristic creamy consistency. The tender pieces of duck (or chicken, if substituted) are then carefully retrieved from the jars using tongs and gently heated within the newly enriched, luscious broth. This method consistently yields beautifully seasoned, fall-off-the-bone duck complemented by a rich, savory broth, delivering an exceptional dining experience that closely mirrors a freshly prepared curry, all while strictly adhering to critical meat canning safety protocols.
My family’s culinary preference for Thai curries tends toward a richer, more substantial soup-like texture, typically enjoyed generously poured over steamed rice—a style that is a hallmark of authentic Thai restaurant fare. This “soup-like” interpretation of Thai curry is also entirely safe for home canning, provided you diligently follow the USDA’s authoritative “Your Choice Soup” canning recipe guidelines. The underlying principle here is that you can safely combine a diverse mix of individually approved canning ingredients, encompassing cooked meat and various vegetables, along with your chosen seasonings.
However, adherence to several crucial conditions is non-negotiable for safe preservation:
- Every single ingredient included in your curry mixture must possess an individually tested and approved canning recipe. This stipulation means you cannot introduce ingredients like fresh cabbage or certain types of dense squash into your jars, as they lack established safety guidelines for mixed soup canning.
- The jars should be filled only approximately halfway with solid ingredients, with the remaining volume generously filled with broth. This specific solids-to-liquid ratio is vital, as it ensures adequate heat penetration throughout the jar during the pressure canning process, a critical factor for eliminating bacterial spores. Conveniently, this ratio naturally aligns with the inherently broth-heavy nature of traditional Thai curries.
- It is strictly prohibited to add any thickening agents, such as flour, cornstarch, or rice starch, directly into the jars before canning. Thickeners can impede the crucial transfer of heat, creating “cold spots” that compromise the sterilization process and jeopardize food safety.
- Dairy products (like cream or milk) and coconut milk are expressly forbidden for inclusion in home-canned soups. Their unique composition and fat content make them unstable and unsafe for processing under pressure canning conditions. As a safe and delicious workaround, simply add these creamy elements fresh from your pantry at the time of serving.
By rigorously adhering to these clear, scientifically backed guidelines, you can confidently and safely preserve delectable Thai curries, creating a highly convenient supply of ready-to-eat, flavorful meals that do not compromise on either safety or exceptional taste.
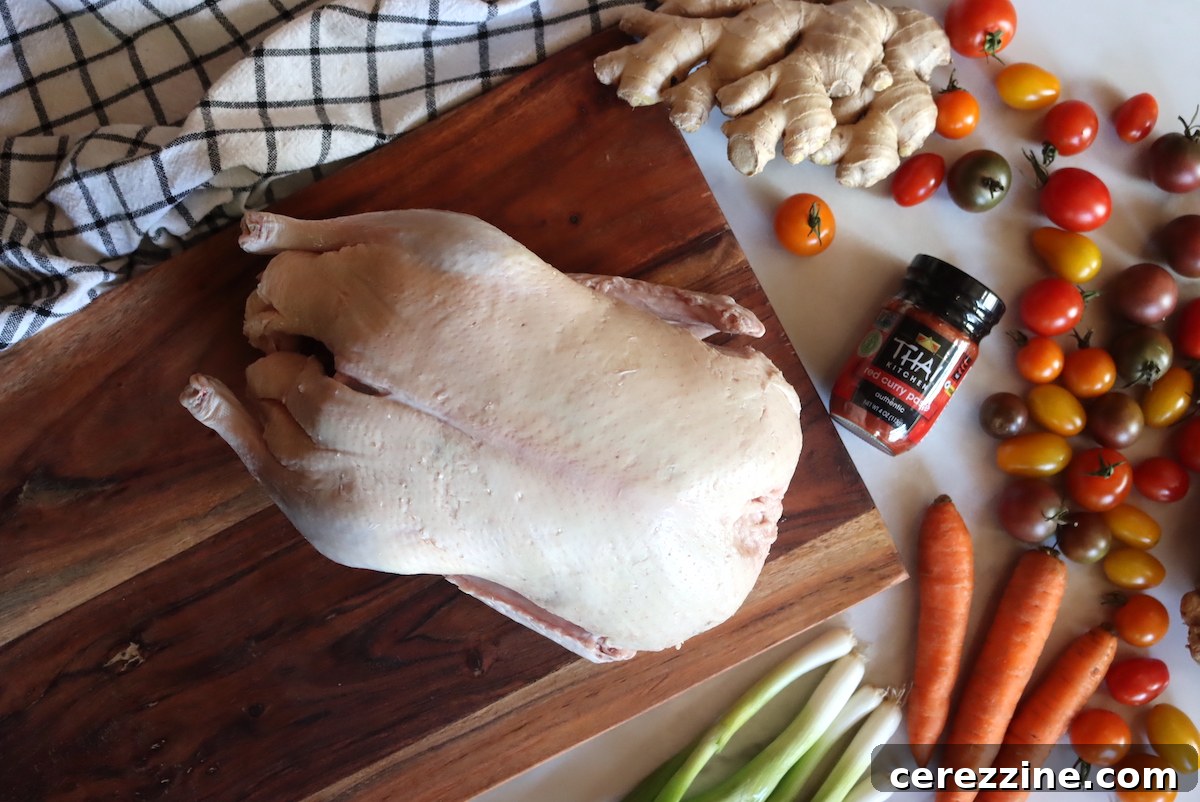
Ingredients for Canning Thai Curry: Two Proven Approaches
When embarking on the rewarding journey of canning Thai curry, you are presented with the flexibility to choose between two distinct yet equally delicious and safe methods. Each approach is firmly grounded in established canning safety principles, ensuring reliable and delicious results. The foundational seasoned broth recipe, thoughtfully inspired by Angi Schneider’s invaluable cookbook, offers a beautifully balanced flavor profile that permeates every ingredient within the curry. Below, I will meticulously outline both Angi’s original bone-in duck method and my adapted version, which incorporates a wider array of vegetables, allowing you to confidently select the approach that best aligns with your preferences, available ingredients, and desired meal complexity.
Version 1: Thai Curry Broth for Bone-In Duck (Angi Schneider’s Method)
Angi’s innovative recipe places its focus squarely on deeply infusing the duck meat itself with rich, aromatic flavors, primarily utilizing dry spices and a robust broth. This method is particularly well-suited for duck cuts that are inherently difficult to debone, providing a practical solution for preserving them. The result is consistently tender, exquisitely seasoned protein that can later be combined with fresh coconut milk and other dynamic additions at the point of serving. This specific recipe yields a generous quantity of broth, sufficient to tightly pack approximately three quart jars with bone-in duck meat.
Ingredients for Curry Broth:
- 1 quart (960 ml) chicken or duck broth (either homemade for superior flavor or a high-quality store-bought option)
- 2 stalks lemongrass, thoroughly bruised (this step is optional but significantly enhances the aromatic depth)
- 2 tbsp (30 g) red curry paste
- 2 tsp (10 ml) fish sauce
- 4 tsp (11 g) garlic powder
- 2 tsp (5 g) onion powder
- 1/2 tsp crushed red pepper flakes (optional, for a subtle kick; increase the amount for greater heat intensity)
- 2 tsp (3 g) dried ground ginger
- 2 tsp (12 g) salt (exercise caution and adjust this amount to your personal taste, remembering that both fish sauce and curry paste contribute significant sodium)
- 1 tsp ground black pepper
- 2 tsp (10 g) sugar
Preparation and Canning Instructions for Version 1:
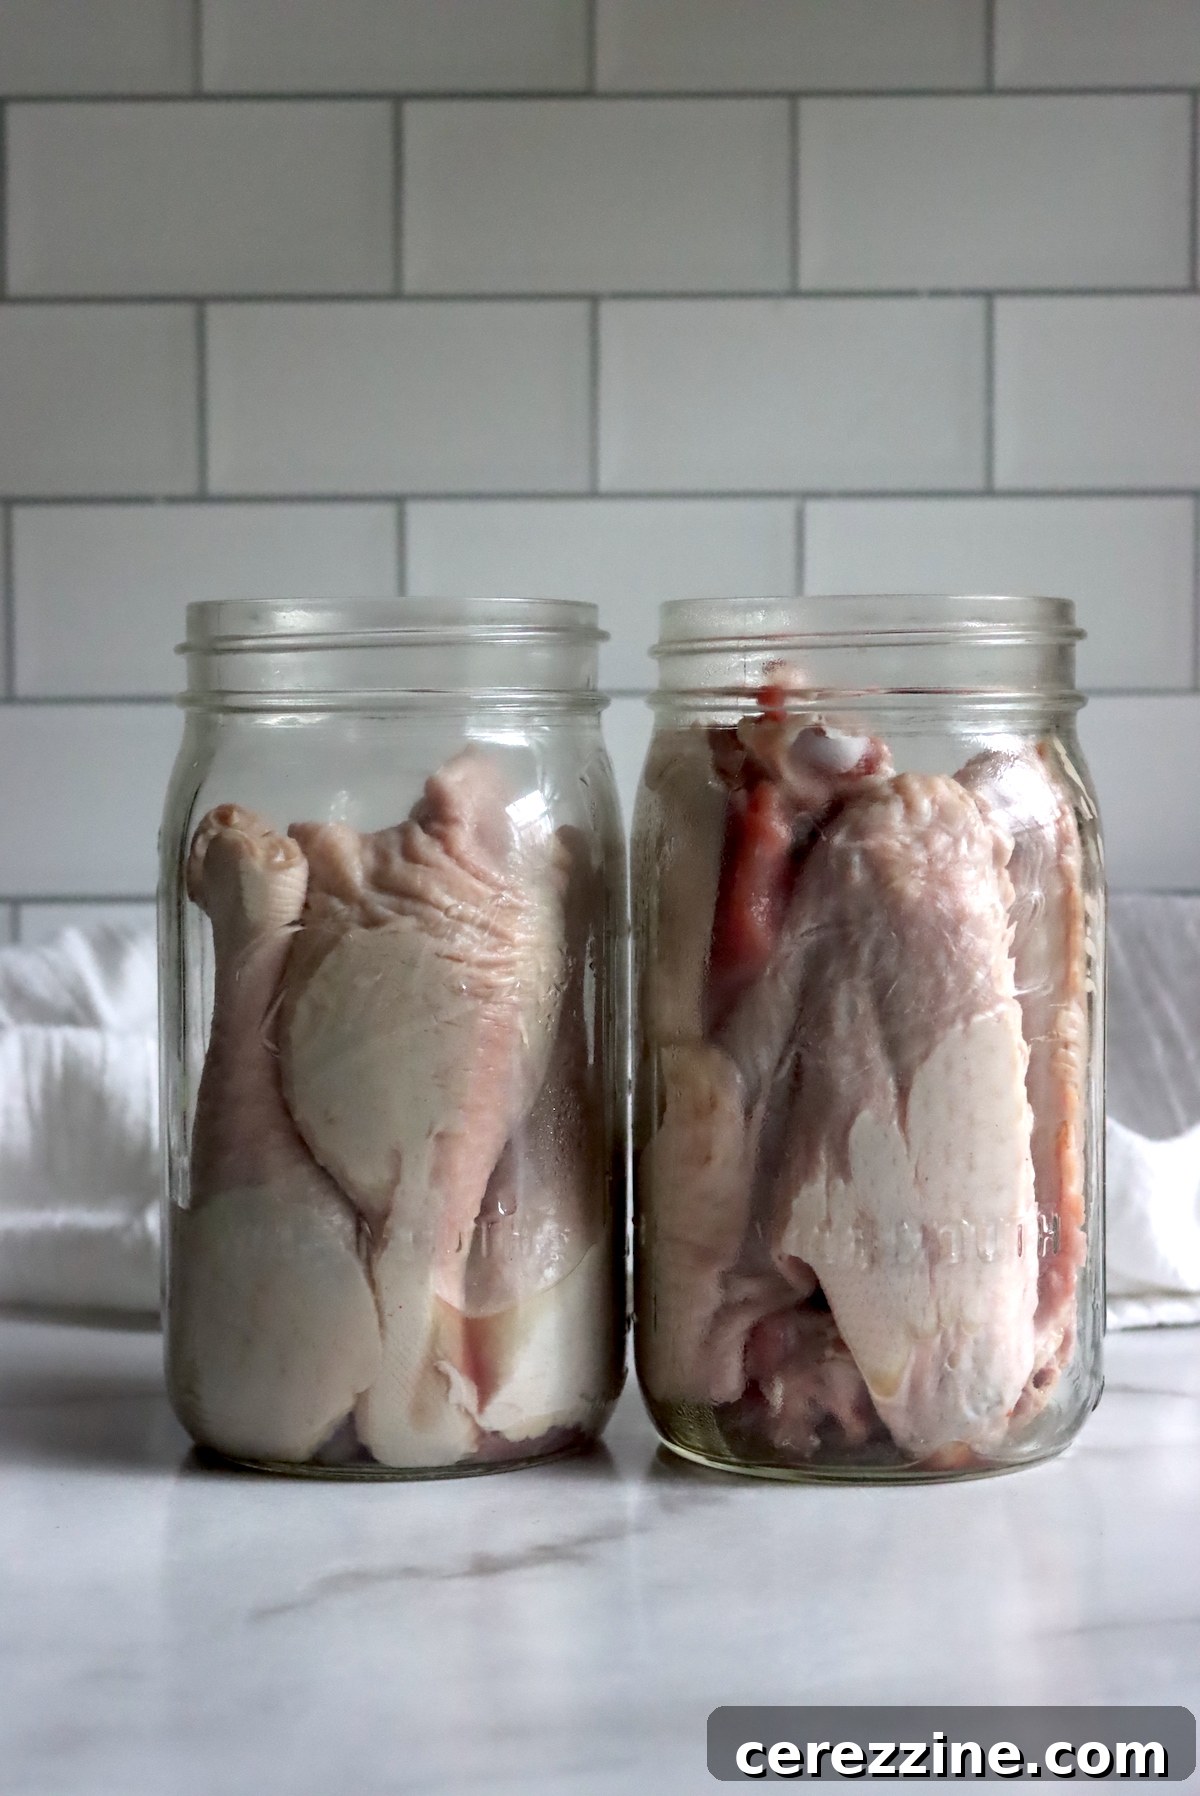
In Angi’s original and highly effective recipe, this intensely flavored broth is designed to accompany a whole 6-pound duck, which is carefully divided and packed into three quart jars. The duck is expertly butchered into bone-in sections—including breasts, thighs, legs, and wings—before being meticulously raw-packed into the meticulously prepared jars. The piping hot, boiling broth is then poured directly over the raw, bone-in meat in the jars, ensuring a critical 1-inch headspace from the rim. The filled jars are then securely capped with lids and processed in a pressure canner at a consistent 10 pounds pressure for 90 minutes for quart jars. It is absolutely essential to adjust this pressure based on your specific altitude; higher elevations necessitate increased pressure to guarantee that the internal temperature required for safe processing is consistently achieved.
From my personal experience, this particular method proves exceptionally advantageous for preserving duck legs and wings. These cuts are notoriously challenging to debone, making bone-in canning an incredibly practical and efficient solution. The results are consistently superb, yielding duck that is both incredibly tender and deeply infused with flavor. A vital note regarding salt content: Angi’s recipe, as written, can sometimes be quite potent in terms of salinity for certain palates. I frequently recommend a cautious reduction or even the complete omission of additional salt, as both fish sauce and many commercial curry pastes are already rich in sodium. Always take a moment to taste the broth before it is poured over the duck, but also bear in mind that the meat will naturally absorb a significant portion of the salt during processing, and the flavors will continue to meld and deepen over time in storage. This represents a delicate balance that is best fine-tuned to your individual taste preferences.
Version 2: Thai Red Curry Duck with Approved Vegetables (My “Soup” Method)
My adapted recipe takes a slightly different trajectory, aligning with the USDA’s comprehensive “Your Choice Soup” canning instructions while simultaneously infusing the dish with an authentic and vibrant array of Thai spices. A fundamental divergence from Angi’s bone-in meat-only method is the safe inclusion of fresh ingredients. The “meat only” canning protocol generally restricts additions primarily to dry spices for safety reasons. However, the “soup” protocol, which mandates a higher proportion of liquid to solids, safely permits the incorporation of specific fresh vegetables and aromatic herbs. Consequently, my recipe thoughtfully integrates fresh garlic, ginger, and scallions, alongside crisp carrots and sweet pineapple, to craft a more holistic and visually appealing curry meal ready for the jar.
It is imperative to understand that while I may choose to incorporate additional elements like canned water chestnuts, bamboo shoots, or baby corn at the moment of serving (alongside the crucial coconut milk), these items are strictly excluded from the actual canning process itself. This exclusion is vital because these specific ingredients have not undergone individual testing for safe pressure canning within a mixed soup environment. Rigorous adherence to the list of approved ingredients for canning is not merely a recommendation but a critical prerequisite for ensuring absolute food safety.
Ingredients for a 7-Quart Canner Batch of Thai Red Curry:
- 7 to 8 cups cooked duck meat, meticulously de-boned (sourced from 2 whole roasted ducks, each weighing approximately 5-6 lbs)
- 5 quarts duck stock (preferably homemade from duck carcasses for richer flavor, or a high-quality store-bought chicken stock)
- 4 cups carrots, precisely chopped into 2-inch long matchsticks (equating to roughly 1 pound)
- 2 1/2 to 3 cups chopped pineapple (freshly prepared or one 20-ounce can, ensuring it is thoroughly drained)
- 3 cups chopped scallions (derived from 3 bunches, or approximately 8 oz in total weight)
- 1 whole bulb garlic, carefully peeled and finely diced (or pressed)
- 12 ounces red curry paste (typically equivalent to three standard 4-oz jars)
- 2 to 4 inches fresh ginger, peeled and finely grated (adjust the quantity to suit your desired level of ginger flavor)
- 1/4 cup fresh lime juice
- 2 Tbsp fish sauce
- 2 tsp salt (adjust cautiously to taste, taking into account the inherent saltiness of the stock and curry paste)
Preparation and Canning Instructions for Version 2:
This meticulously crafted recipe is designed to yield approximately 7 quarts of sumptuous Thai red curry. The cornerstone of safe “soup” canning lies in strictly maintaining the correct ratio of solid ingredients to liquid broth. To achieve this, each canning jar should be filled approximately halfway with the prepared solid components (which include the cooked duck meat, carrots, pineapple, scallions, diced garlic, and grated ginger). The remaining volume within the jar, up to a precise 1-inch headspace from the rim, is then generously topped off with the vibrant and flavorful curry broth.
You are afforded the creative flexibility to incorporate other approved vegetables into this recipe, provided that each chosen vegetable possesses an individually tested and validated canning recipe. For instance, small cherry tomatoes, crisp bell peppers, or even tender mushrooms can serve as excellent, flavor-enhancing additions, simultaneously boosting the nutritional value and complexity of your curry. However, it is absolutely paramount to always cross-reference that your selected vegetables are explicitly deemed safe for pressure canning as part of a mixed soup, and to rigorously adhere to the ‘half solids’ rule to guarantee optimal heat penetration throughout the entire jar during processing. Vegetables such as fresh coconut (beyond the milk added at serving) or cabbage are generally not recommended for home canning in mixed soups due to a critical absence of scientifically tested safety guidelines for these specific applications.
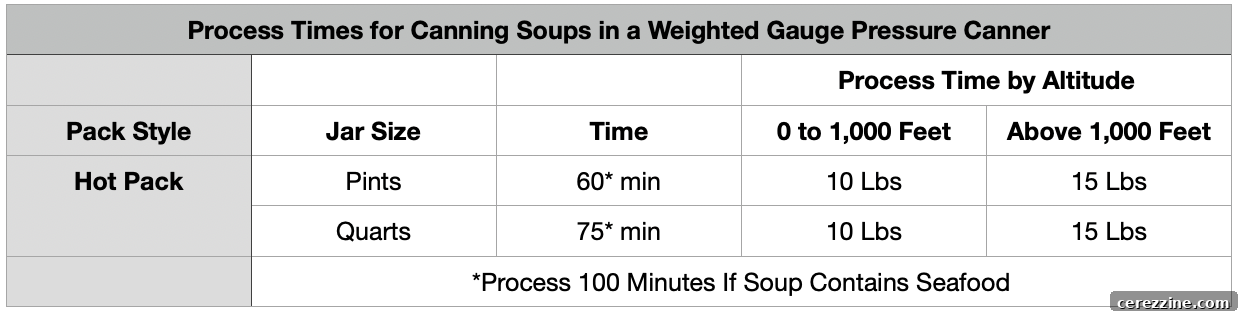
This particular recipe must be processed exclusively in a pressure canner, following the precise guidelines outlined in the “USDA Your Choice Soup” instructions. The processing times are standardized and remain constant regardless of the jar size or altitude: 60 minutes for pint jars and 75 minutes for quart jars. Should your soup happen to contain any type of seafood, the processing time must be extended to a minimum of 100 minutes for both pint and quart jars to ensure adequate safety. The specific canning pressure required will vary, contingent upon the type of canner you are using (either a dial gauge or a weighted gauge model) and your geographical altitude above sea level.
Pressure Adjustments for Canning Soups:
For Dial Gauge Pressure Canners:
When using a dial gauge pressure canner, higher altitudes necessitate a proportionate increase in pressure to ensure that the internal temperature within the canner reaches and maintains the critical level required for safe processing and sterilization.
- 0 to 2,000 feet in elevation: Maintain 11 lbs pressure.
- 2,001 to 4,000 feet in elevation: Maintain 12 lbs pressure.
- 4,001 to 6,000 feet in elevation: Maintain 13 lbs pressure.
- 6,001 to 8,000 feet in elevation: Maintain 14 lbs pressure.

For Weighted Gauge Pressure Canners:
Weighted gauge canners utilize specific weights that are placed on the vent pipe to achieve and maintain the necessary pressure levels. The weights are fixed, so adjustments for altitude are made by choosing the appropriate weight or increasing the standard weight.
- 0 to 1,000 feet in elevation: Use a 10 lbs pressure weight.
- Above 1,000 feet in elevation: Use a 15 lbs pressure weight.
Serving Your Home-Canned Thai Curries: A Flavorful Finish
Once your delectable Thai curries are meticulously canned, safely sealed, and resting confidently on your pantry shelf, the process of enjoying them is remarkably simple and deeply gratifying. The unparalleled convenience of having a gourmet meal ready in mere minutes truly validates and rewards the effort invested in the canning process. Here’s a detailed guide on how to expertly prepare and serve your home-canned Thai curries to achieve the ultimate flavor profile and most satisfying texture.
Reheating and the Essential Addition of Coconut Milk:
To prepare your canned curry for serving, simply pour the entire contents of a quart jar (or, if using smaller jars, the equivalent of two pint jars) into a suitably sized saucepan. Gently begin to reheat the curry over medium heat on your stovetop, allowing it to gradually warm through. The transformative moment occurs when you introduce the defining and absolutely essential component of any authentic Thai curry: rich coconut milk. For each quart of canned curry base, diligently stir in one standard 15-ounce can of full-fat coconut milk while the curry is reheating. This step is not merely optional; it is absolutely crucial. The coconut milk not only imparts that characteristic luscious, creamy texture but also masterfully mellows the vibrant spices and expertly balances the overall flavor profile, elevating the canned base into a truly restaurant-quality dish. Continue to stir the curry gently and consistently until it is thoroughly heated through, ensuring the coconut milk is fully incorporated and the mixture is simmering softly.
Optional Additions for Enhanced Flavor, Texture, and Bulk:
While the base curry, when combined with coconut milk, is inherently delicious and satisfying, you possess the creative freedom to further enhance your meal with optional additions that elevate both its flavor complexity and textural intrigue, as well as its overall substance. At the precise moment of serving, consider stirring in drained cans of various vegetables that, due to canning safety guidelines, were not approved for direct inclusion in the jar during preservation. Excellent choices for these fresh additions include crisp water chestnuts, tender bamboo shoots, or naturally sweet baby corn. These thoughtfully chosen ingredients not only provide a delightful textural contrast and an additional layer of flavor but also contribute valuable nutrients, effectively bulking out the meal into an even more robust and satisfying family dinner.
Thoughtful Serving Suggestions and Portion Guidance:
Traditional Thai curries are almost invariably served generously ladled over a bed of light, fluffy white rice. The rice serves as the perfect canvas, expertly absorbing the rich, aromatic sauce and completing the meal in a harmonious fashion. For my husband and I, whose daily routines often involve strenuous outdoor activities that cultivate hearty appetites, a single quart jar of this home-canned curry, once combined with coconut milk and served over ample rice, constitutes a truly fulfilling and satisfying dinner for two. If you identify as a more moderate eater, a single quart jar of curry, especially when paired with a generous quantity of rice, can comfortably yield 3-4 reasonable and satisfying servings, making it an incredibly versatile option for various family sizes or for ensuring delightful leftovers. The synergistic combination of steamed rice and creamy coconut milk significantly extends the reach of this dish, transforming it into a flexible and beloved meal solution.
Canning Thai Red Curry Duck (or Chicken) Recipe Summary
By: Ashley Adamant (adapted for home canning)
Canning Thai red curry offers a unique and convenient meal solution, providing a delicious dish at a moment’s notice, directly from your pantry shelf. This recipe allows you to safely preserve a flavorful duck (or chicken) curry base, ready to be finished with fresh coconut milk.
- Prep Time: 20 minutes (active preparation for ingredients)
- Cook Time (before canning): 10 minutes (simmering curry base)
- Total Active Time: 30 minutes
Ingredients (for a 7 Quart Canner Batch of Version 2 – Soup Method):
- 7 to 8 cups cooked duck meat, de-boned (from 2 whole roast ducks, 5-6 lbs each)
- 5 Quarts of Duck Stock (homemade from duck carcasses or quality store-bought chicken stock)
- 4 cups carrots, chopped into 2” long matchsticks (about 1 pound)
- 2 1/2 to 3 cups chopped pineapple (fresh or one 20-ounce can, well-drained)
- 3 cups chopped scallions (from 3 bunches, or about 8 oz in weight)
- 1 whole bulb garlic, peeled, and diced (or pressed)
- 12 ounces red curry paste (typically three 4 oz jars)
- 2 to 4 inches fresh ginger, peeled and grated (adjust to taste)
- 1/4 cup fresh lime juice
- 2 Tbsp fish sauce
- 2 tsp salt (adjust to taste, considering salt in stock and curry paste)
Detailed Instructions for Canning (Version 2 – Soup Method):
- Start by preparing your duck meat: From two whole roasted ducks, carefully remove all meat from the bones and break it into small, bite-sized pieces suitable for canning.
- Prepare your stock: If opting for homemade duck stock, simmer the duck carcasses with a few carrots and onions for approximately 4 to 12 hours, until a rich, flavorful broth is achieved. Strain thoroughly. Alternatively, use a high-quality commercially prepared duck or chicken broth.
- Pre-Canning Preparation: Ready your pressure canner by placing a few inches of water in the bottom and beginning to preheat it gently. Simultaneously, ensure all your canning jars, lids, and rings are immaculately clean and appropriately sterilized.
- Combine and Simmer Curry Base: In a substantial stock pot or Dutch oven, combine all the listed ingredients for your curry base: the cooked duck meat, prepared stock, chopped carrots, pineapple, scallions, diced garlic, red curry paste, grated ginger, lime juice, fish sauce, and salt. Stir all ingredients together thoroughly to ensure they are well incorporated. Bring the mixture to a gentle simmer and allow it to cook for about 5 minutes, giving the flavors time to meld and the ingredients to heat through evenly.
- Fill Jars with Solids: Using a slotted spoon, evenly distribute the solid ingredients (duck, carrots, pineapple, scallions, garlic, ginger) among 7 quart-sized canning jars (or 14 pint-sized canning jars). It is crucial that each jar is filled only approximately halfway with solids.
- Add Broth and Headspace: Pour the hot curry broth over the solids in each jar. Crucially, ensure that a precise 1-inch headspace is left from the rim of the jar. This headspace is essential for proper sealing and safe processing.
- Prepare for Processing: Carefully wipe the rims of each jar clean with a damp cloth to ensure a perfect seal. Center the prepared lids on the jars, and then secure them with screw bands until they are “fingertip tight”—meaning snug but not overtightened. Gently place the filled jars onto the rack inside your preheated pressure canner.
- Vent the Canner: Securely fasten the lid onto your pressure canner. Bring the canner up to temperature until a steady stream of steam is escaping from the vent pipe. Allow this steam to vent continuously for a full 10 minutes. This step is critical to expel all trapped air from the canner, ensuring that the internal temperature reaches the necessary level.
- Process Under Pressure: After the 10-minute venting period, place the appropriate canning weight onto the vent port (for weighted gauge canners) or close the petcock and wait for the dial gauge to rise. Bring the canner up to the specific pressure recommended for your altitude and canner type (refer to the altitude adjustment tables provided above).
- Maintain and Cool: Process quart jars for 75 minutes, or pint jars for 60 minutes. If your soup contains any seafood, the processing time must be extended to 100 minutes for both pint and quart jars. Once the processing time is complete, turn off the heat source and allow the canner to depressurize naturally until the pressure gauge reads zero (or until the weighted gauge can be easily removed without force). Do not attempt to cool the canner quickly, as this can lead to siphoning and unsafe seals.
- Check Seals and Store: When the jars have cooled sufficiently (typically after 12-24 hours), carefully remove them from the canner. Check the seals: the center of each lid should be concave and should not flex when pressed. Any jars that have not properly sealed should be immediately refrigerated and consumed within a few days. Properly canned and sealed jars can be stored in a cool, dark place on your pantry shelf. When correctly processed, this Thai curry will maintain its peak quality for 12-18 months and remain perfectly safe to eat as long as the seal remains intact. Always refrigerate promptly after opening a jar.
- To Serve: Pour the contents of a quart jar into a saucepan and bring it to a boil. Add 1 standard 15-ounce can of full-fat coconut milk. Stir everything to thoroughly incorporate and heat through, then serve hot over a generous portion of steamed rice.
Important Notes on Altitude Adjustments for Pressure Canning:
While the processing time for pressure canning remains constant irrespective of your altitude, the canning pressure itself must be precisely adjusted as you ascend above sea level. This adjustment is non-negotiable and ensures that the internal temperature within the canner reaches the scientifically determined level critical for effectively killing harmful bacteria and ensuring the safety of your preserved food.
For Dial Gauge Pressure Canners:
- For elevations from 0 to 2,000 feet: Process at 11 lbs pressure.
- For elevations from 2,001 to 4,000 feet: Process at 12 lbs pressure.
- For elevations from 4,001 to 6,000 feet: Process at 13 lbs pressure.
- For elevations from 6,001 to 8,000 feet: Process at 14 lbs pressure.
For Weighted Gauge Pressure Canners:
- For elevations from 0 to 1,000 feet: Use a 10 lbs pressure weight.
- For elevations above 1,000 feet: Use a 15 lbs pressure weight.
Explore More Convenient Meal in a Jar Canning Recipes
If the unparalleled convenience and deep satisfaction of having wholesome, ready-to-eat meals effortlessly stored on your pantry shelf truly resonate with you, then delving into “meal in a jar” canning recipes is an absolutely fantastic and efficient strategy to keep your home abundantly stocked. These ingenious recipes are specifically designed to streamline weeknight dinners, guaranteeing that you always have a nutritious, delicious, and homemade option readily available at your fingertips, even on the busiest of days. Discover more inspiring and practical ideas to keep your pantry perpetually well-supplied with delightful meals:
- Canning Beef Stew: A Hearty Winter Staple
- Canning Boston Baked Beans: Sweet and Savory Perfection
- Canning Sloppy Joe Filling: Quick and Easy Family Favorite
- Canning Beef Stroganoff: Creamy Comfort, Preserved
Essential Pressure Canning Recipes for Every Home Preserver
Mastering the art of using your pressure canner dramatically expands the horizons of possibilities for safely preserving an astonishing array of ingredients. Beyond the convenience of complex, full-meal solutions, acquiring the knowledge and skill to safely can basic vegetables is an absolutely fundamental step for any dedicated home preserver. Keep your pressure canner actively running and your pantry brimming with these simple, yet profoundly essential, pressure canning recipes designed to build your foundational food preservation skills:
- Canning Potatoes: A Versatile Pantry Staple
- Canning Carrots: Sweetness Preserved for Later
- Canning Corn: Capturing Summer’s Sweetness
- Canning Sweet Potatoes: Nourishing and Delicious