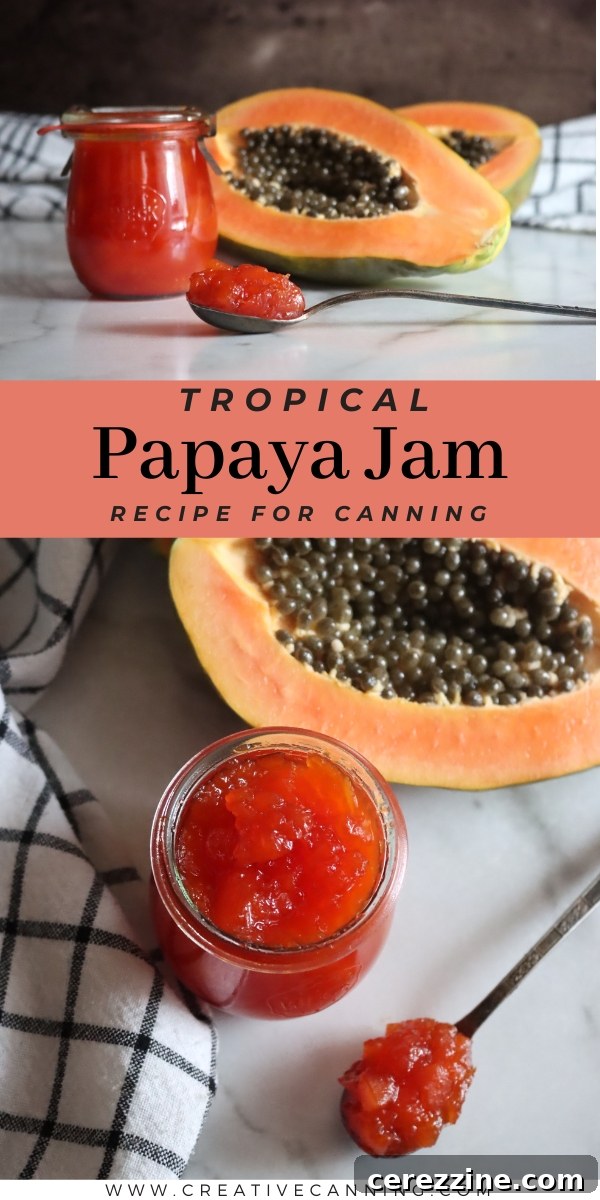
Papaya Jam is a delicious way to preserve the taste of the tropics in a jar. Experience a burst of sunshine with every spoonful of this vibrant, homemade delight.
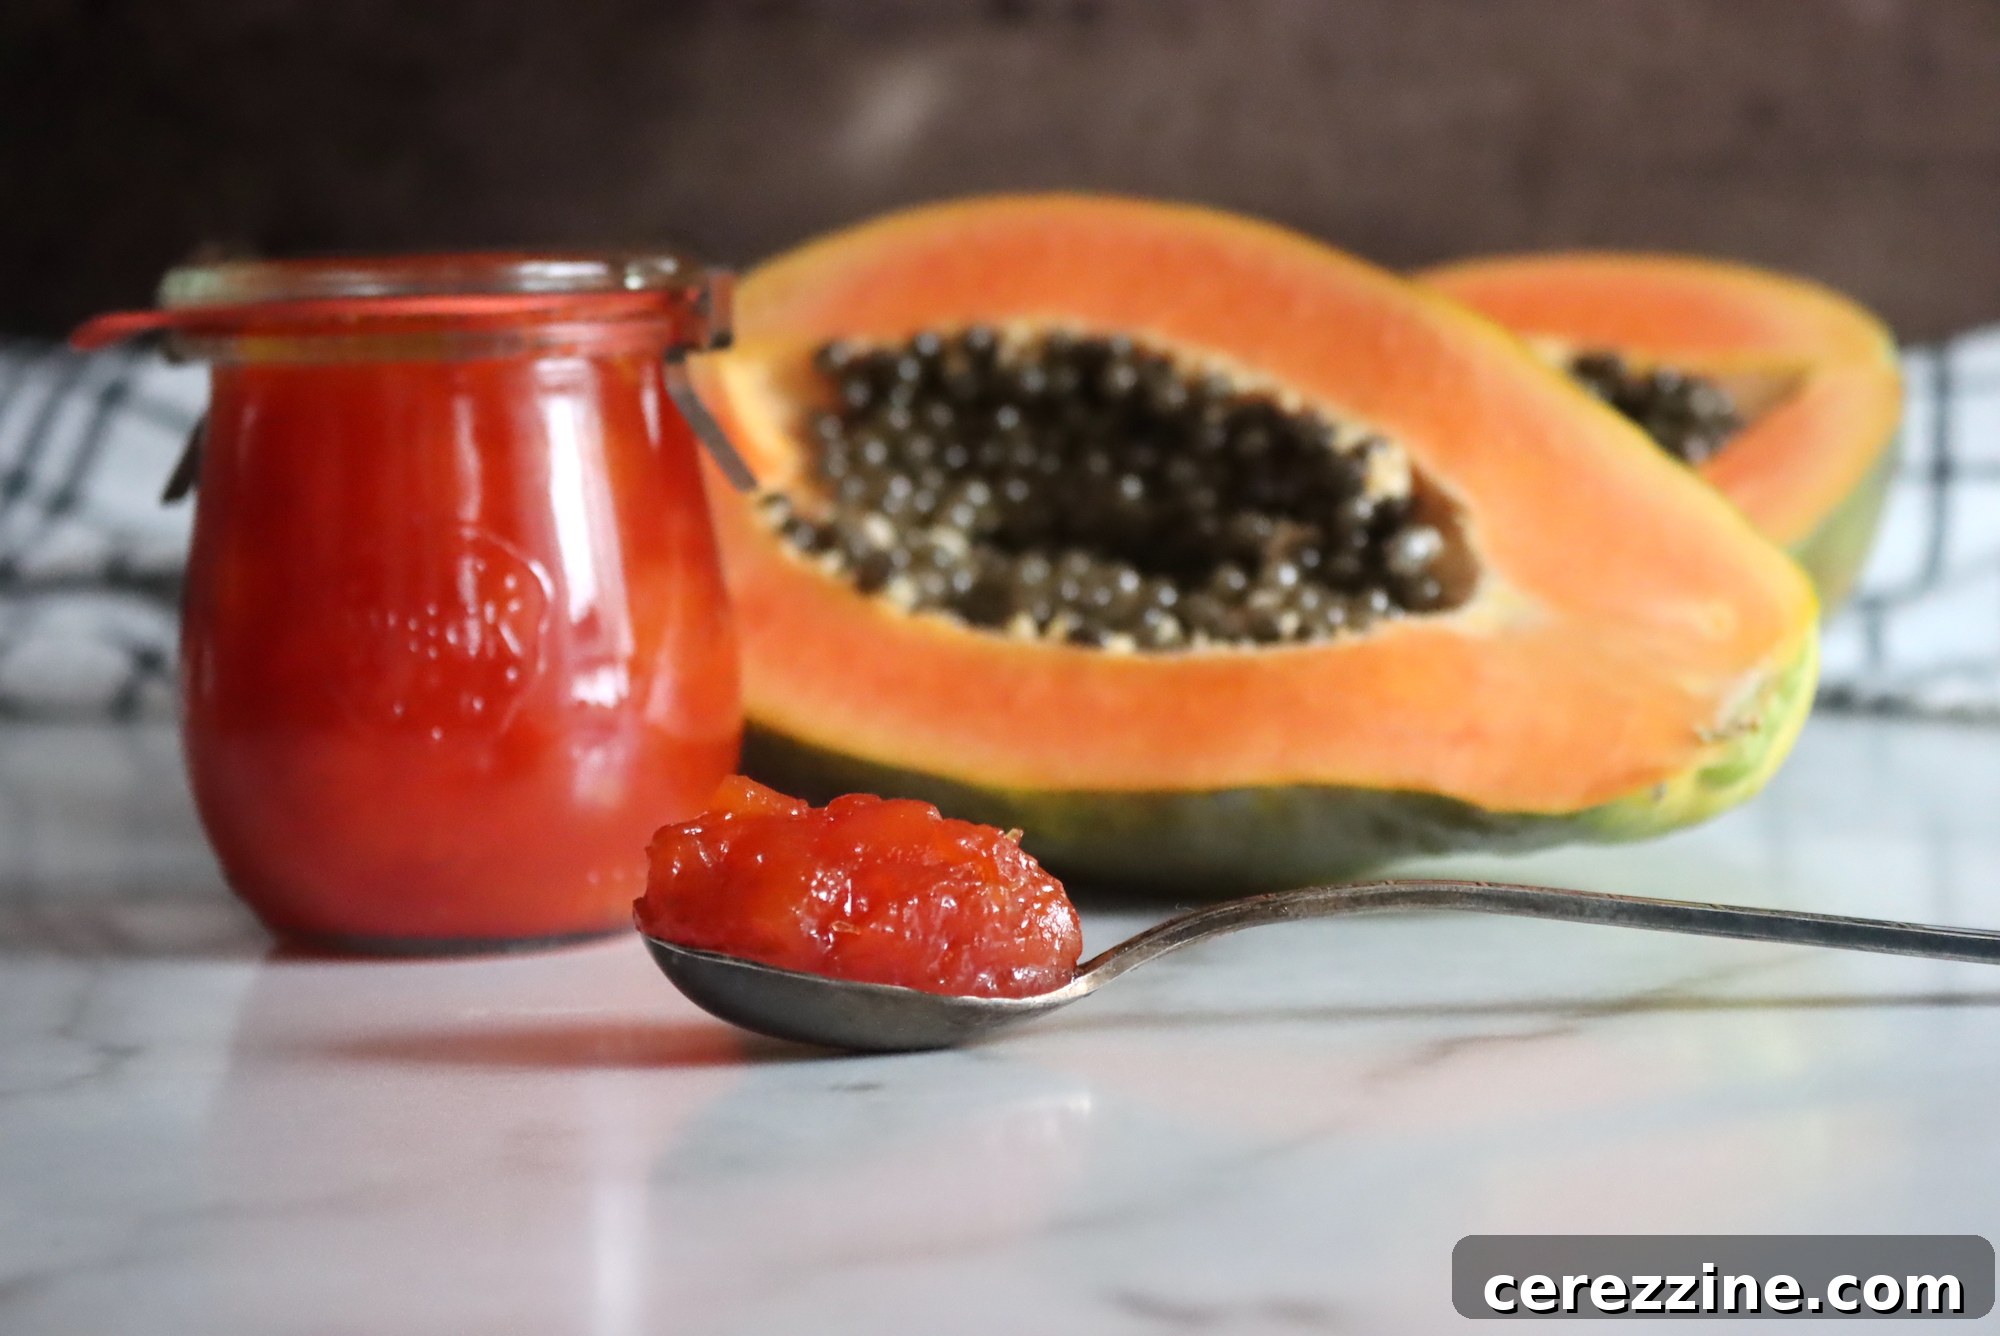
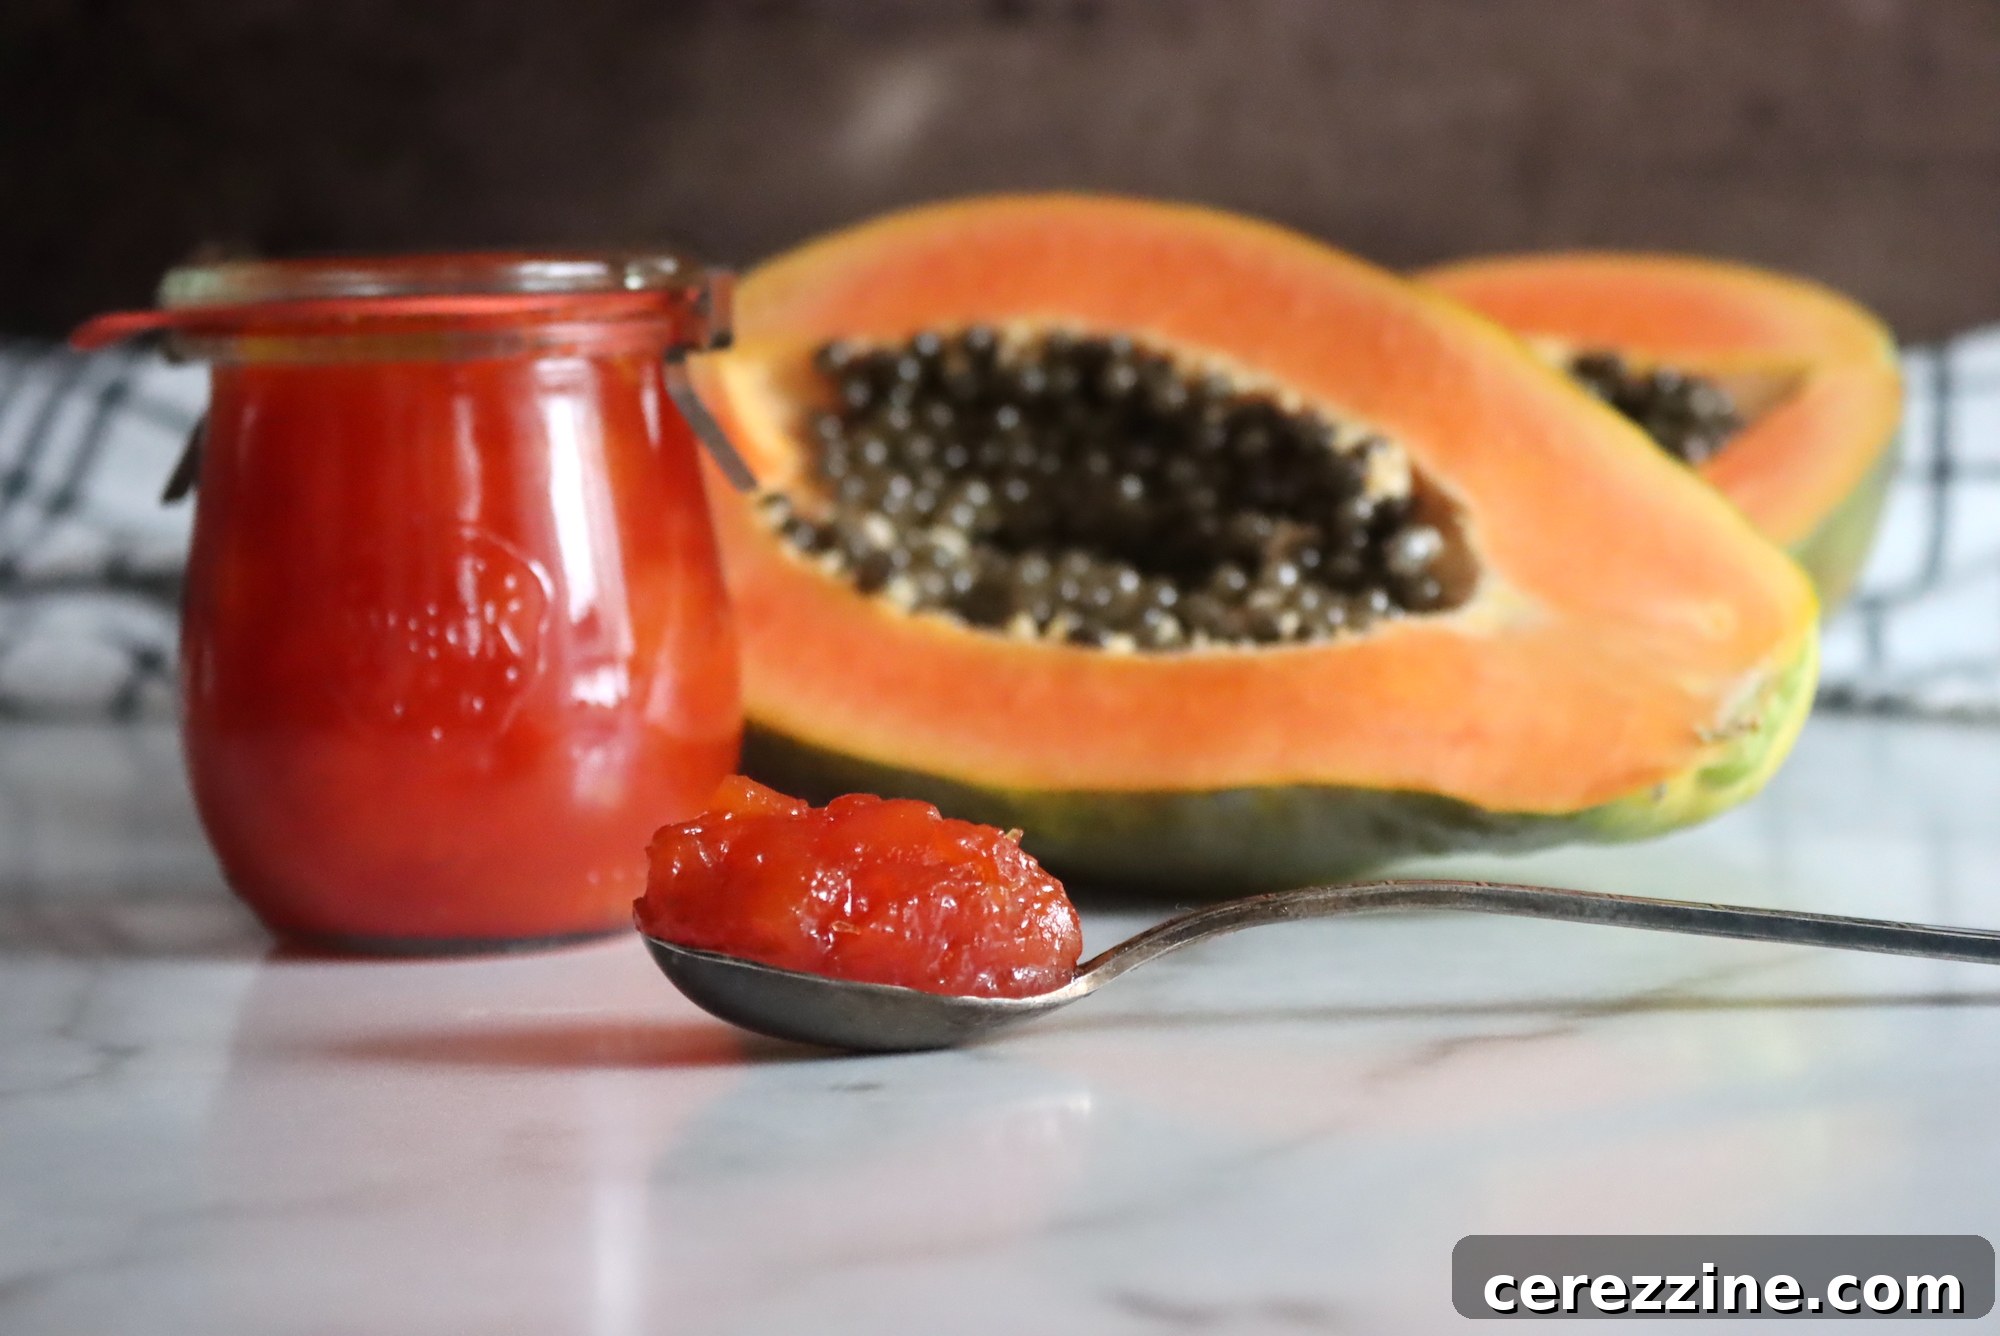
There’s something uniquely enchanting about a truly exceptional preserve, and for me, papaya jam holds a special place. My love affair with this tropical spread began during a college spring break trip to Puerto Rico. While my peers sought out vibrant nightlife, I found myself drawn to local markets, discovering exotic fruits and artisanal preserves. It was there, amidst the bustling stalls, that I first tasted homemade papaya jam, and as a self-proclaimed “jam nerd,” I was instantly captivated by its sweet, fragrant allure.
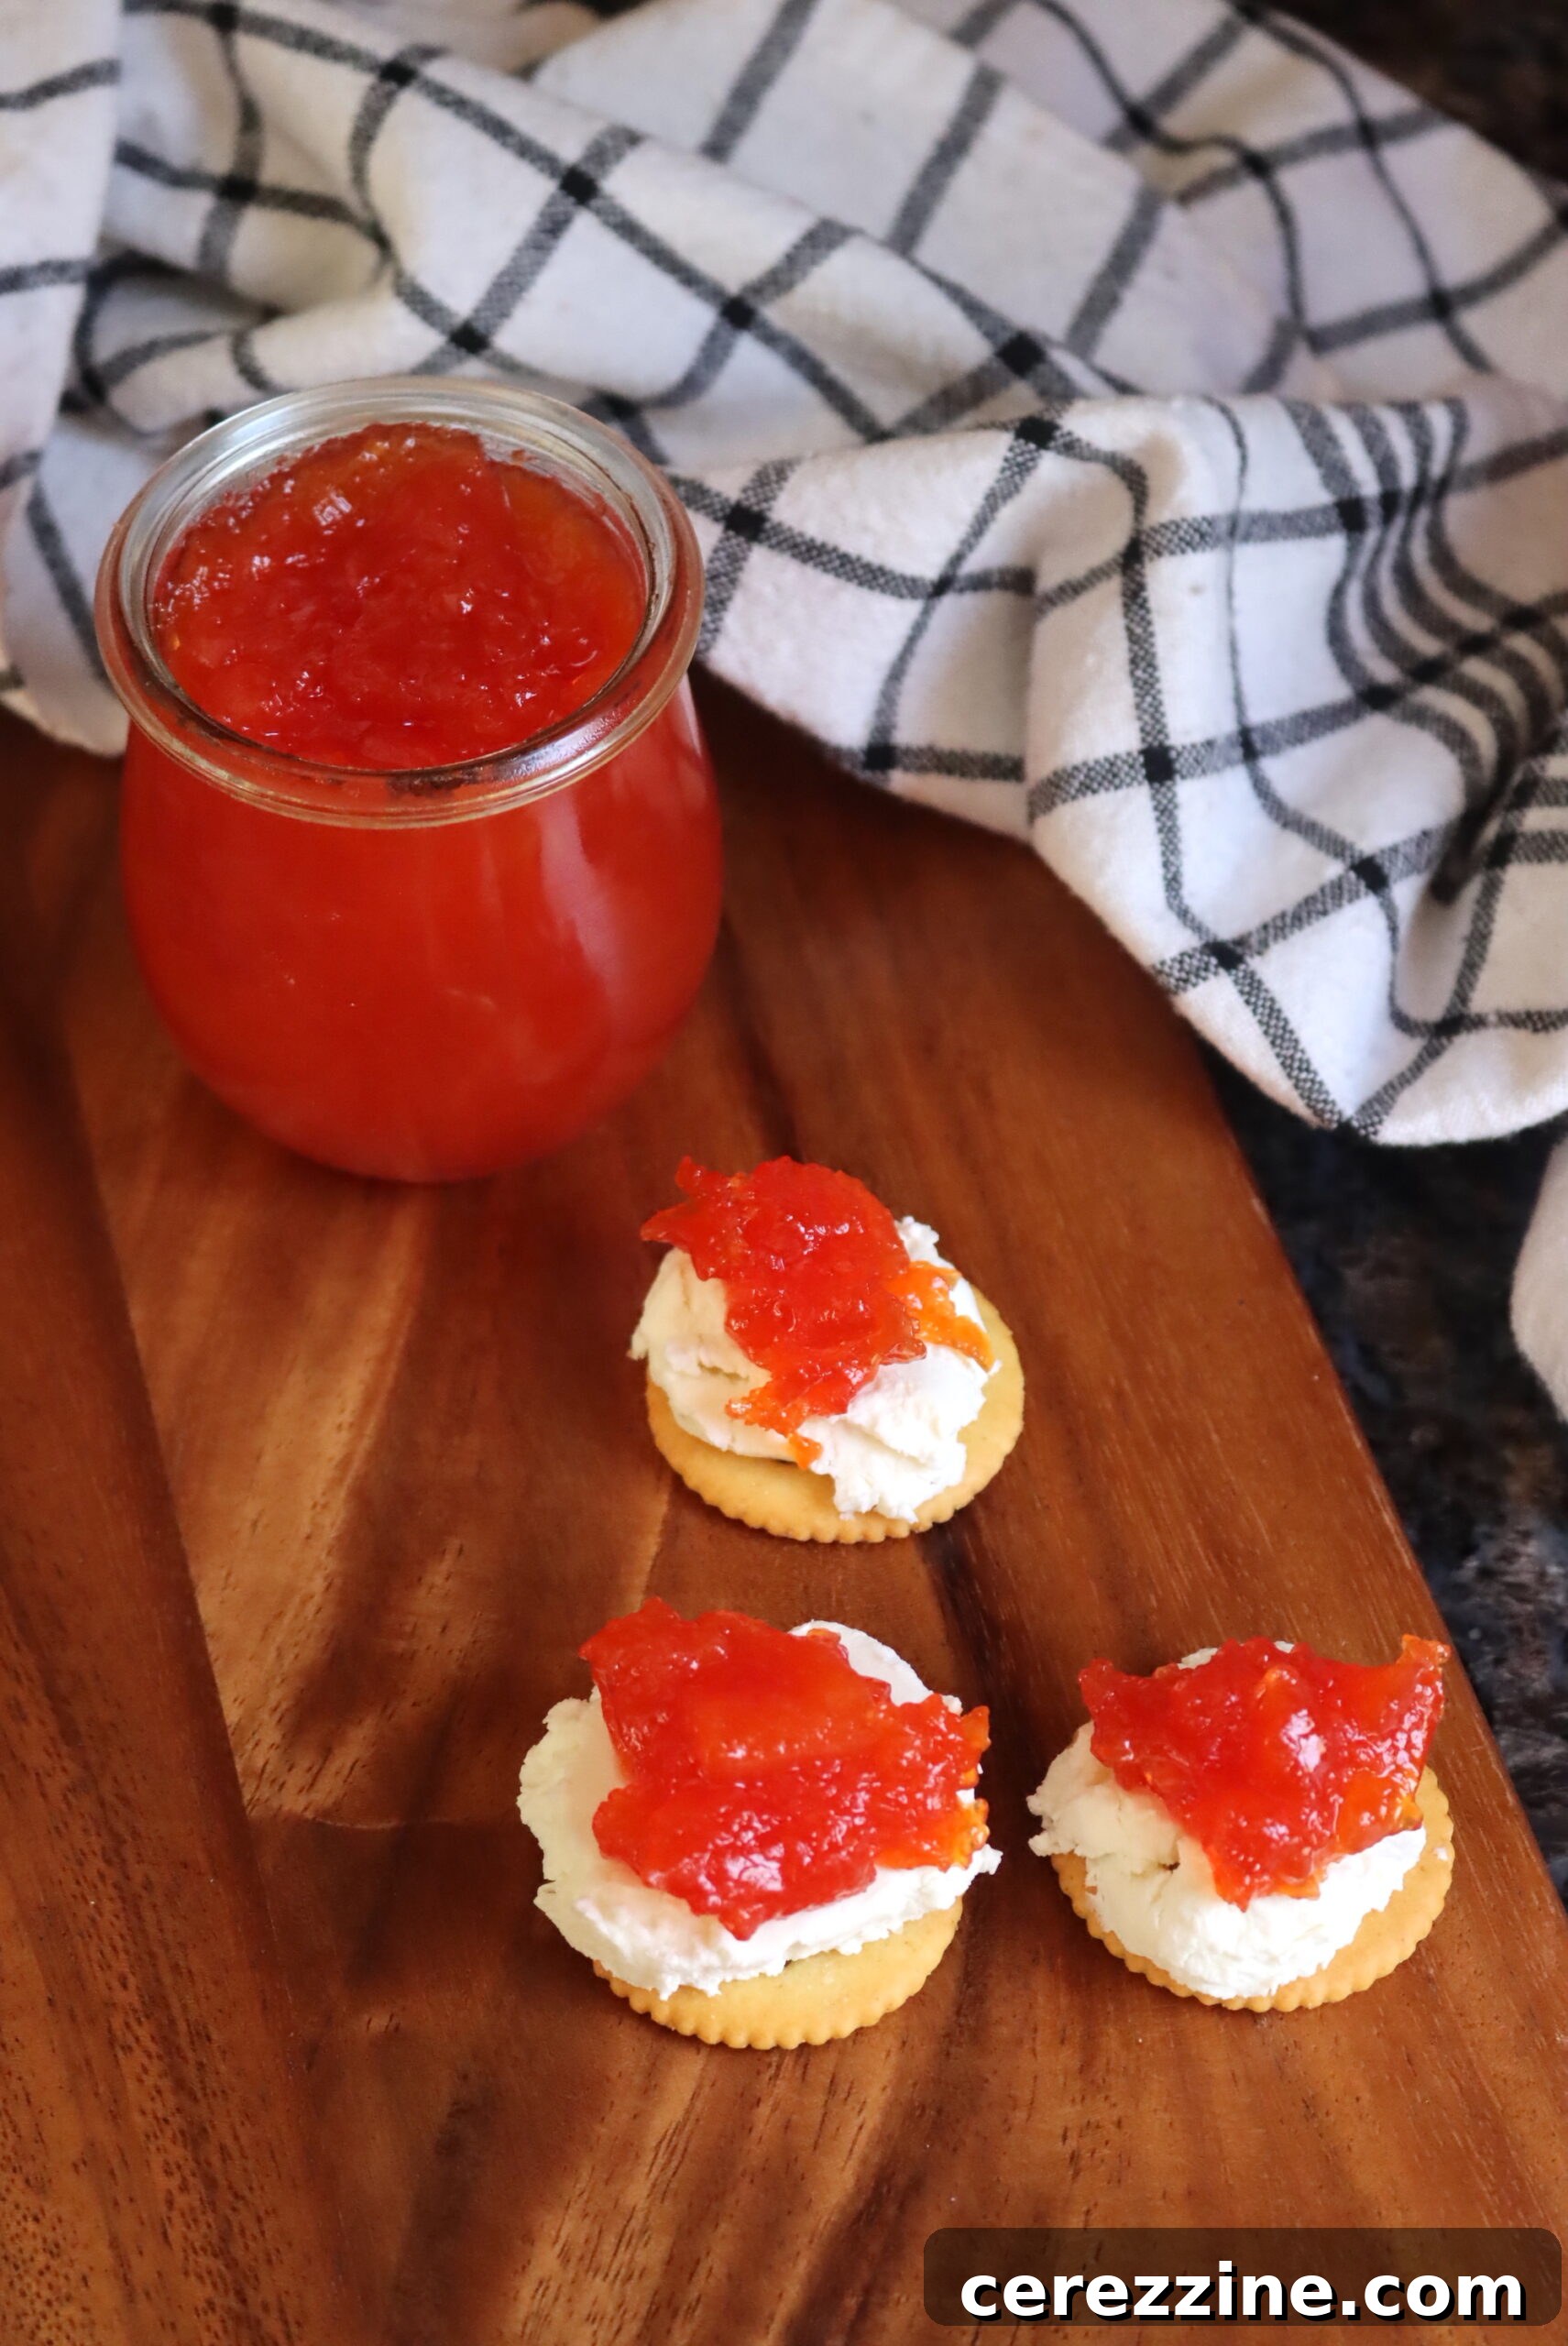
This isn’t just any jam; it’s a taste of paradise. The radiant, sweet flavor of ripe papaya, perfectly balanced with a hint of tang, transcends the ordinary. It’s incredibly versatile, making a delightful addition to morning toast and even complementing savory dishes in unexpected ways. Traditionally, in many tropical regions, papaya jam is served alongside crackers or crusty bread with a dollop of tangy, soft goat cheese. The creamy, slightly acidic cheese creates an exquisite counterpoint to the jam’s tropical sweetness, resulting in a flavor combination that is simply divine.
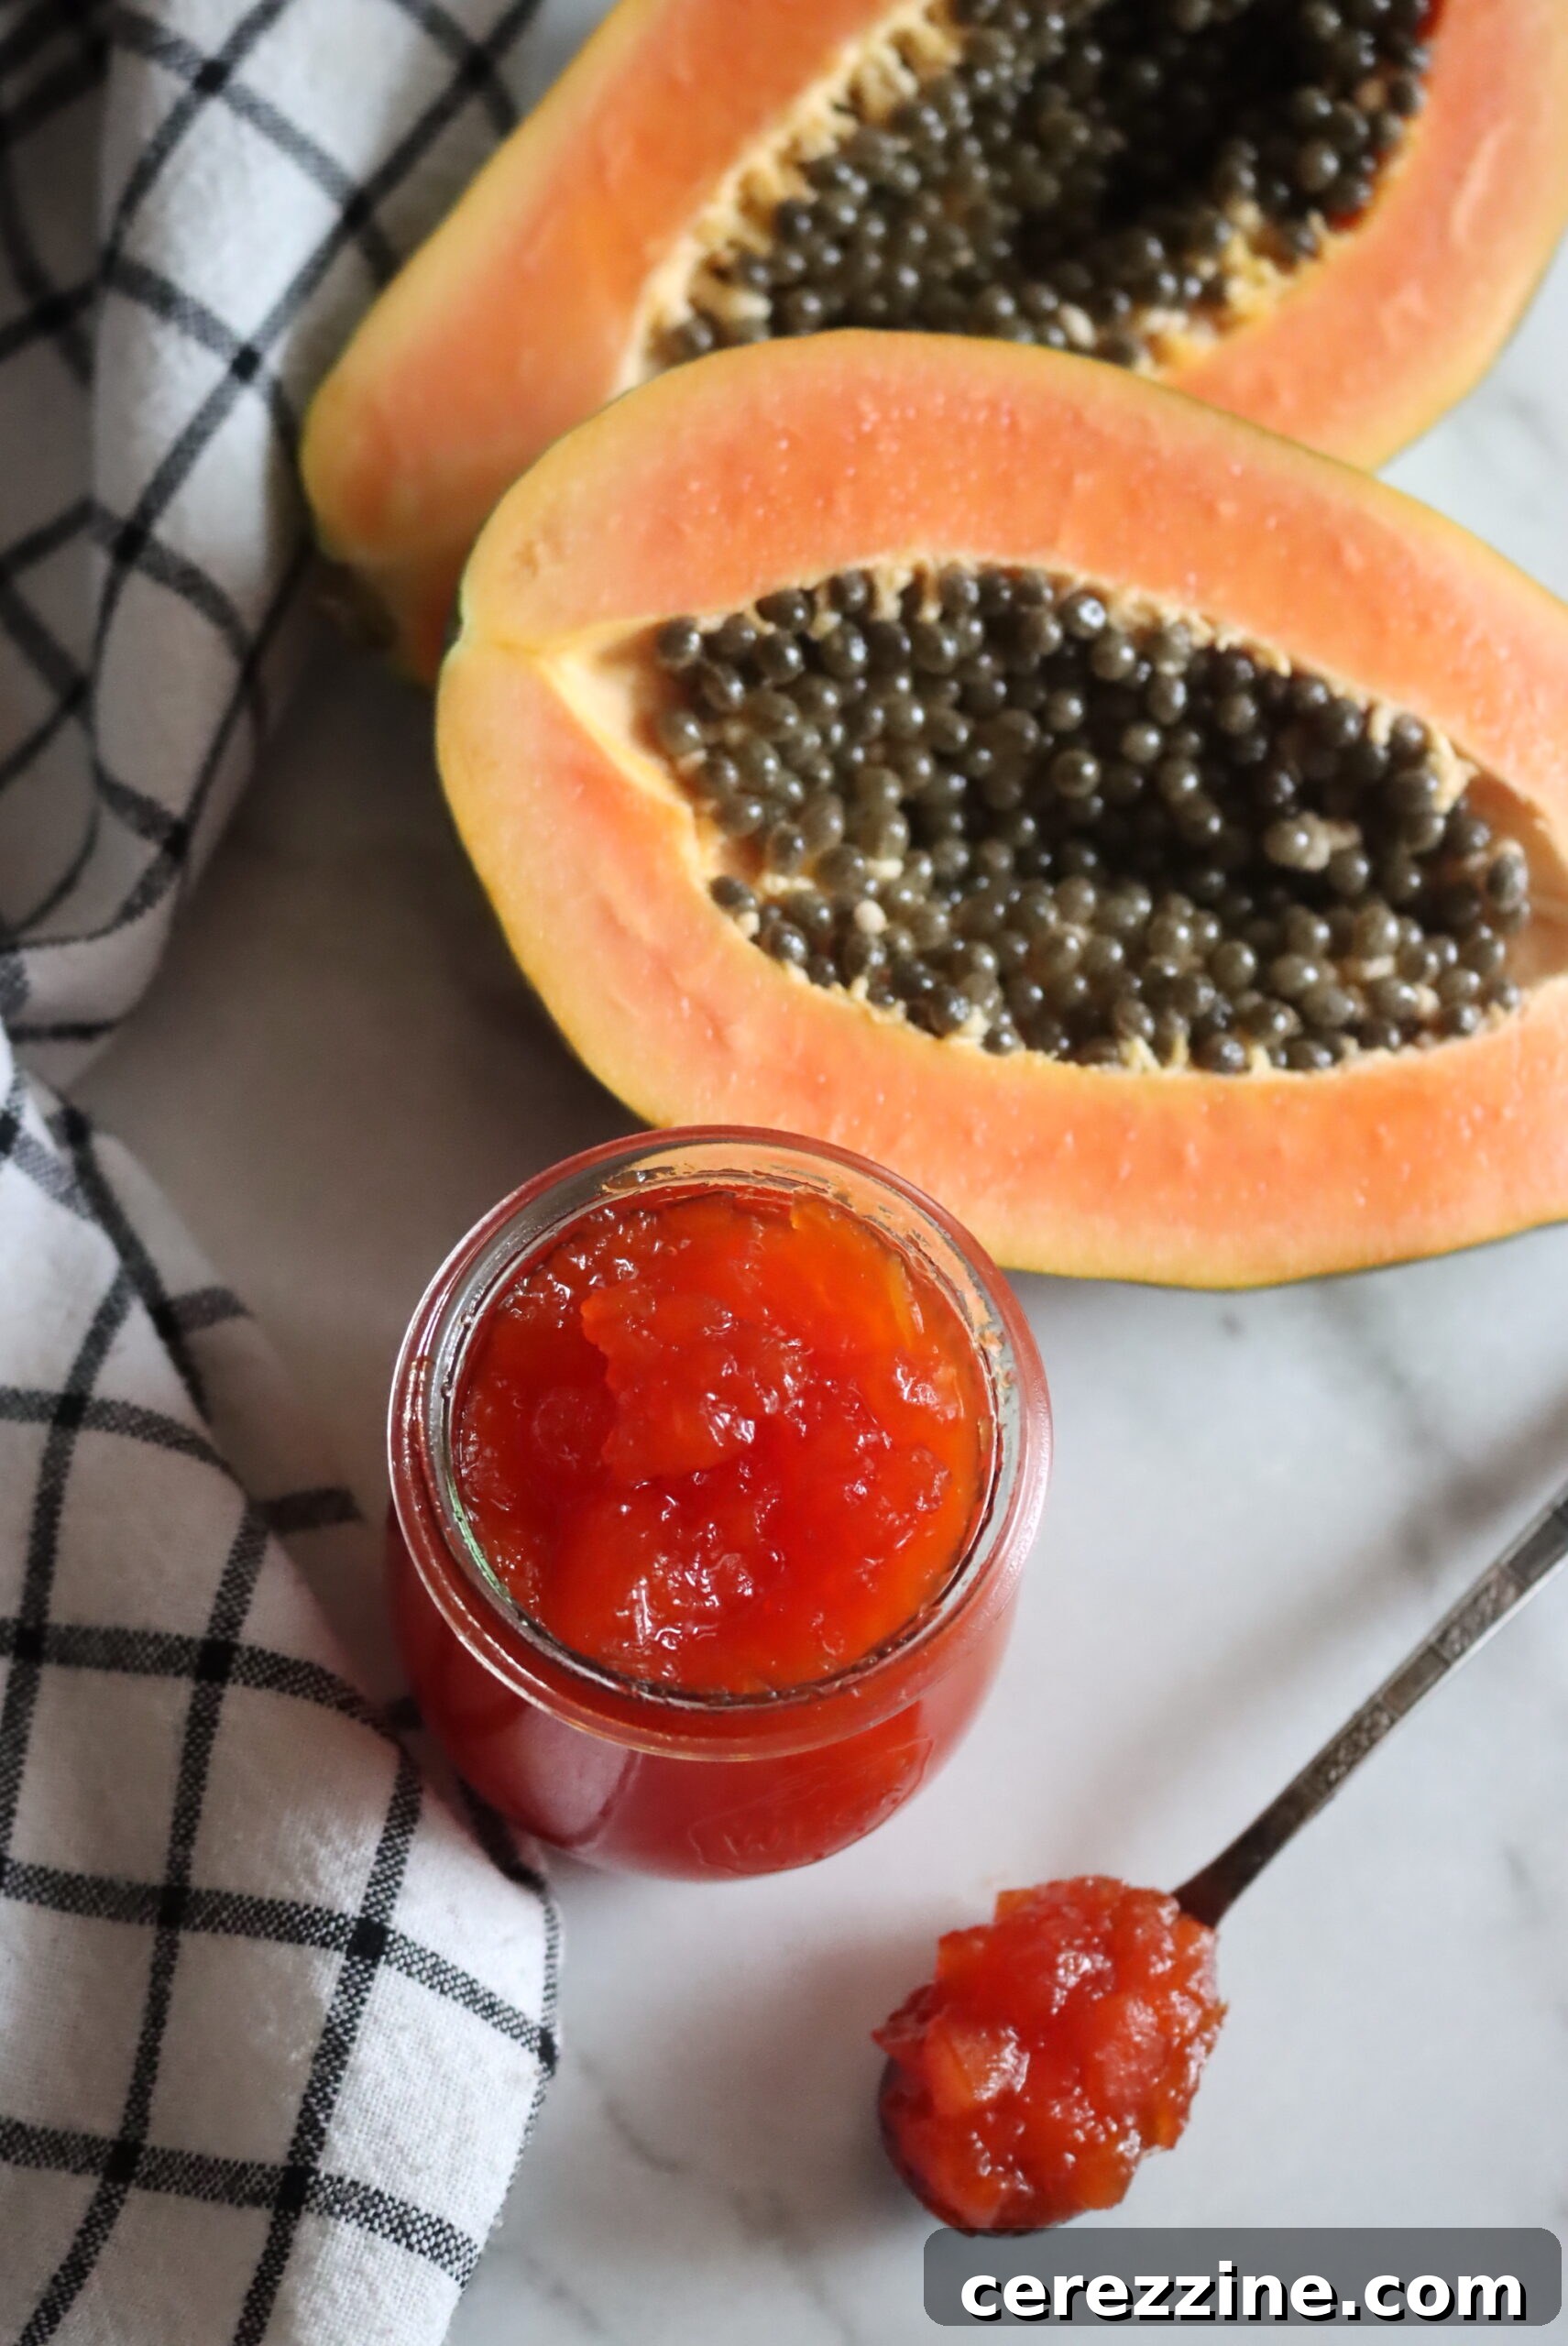
Unlocking Tropical Flavors: A Guide to Homemade Papaya Jam
Making your own papaya jam is a rewarding experience, allowing you to capture the essence of the tropics in convenient jars, ready to brighten any meal. This recipe is inspired by the timeless principles found in “The Joy of Jams, Jellies and Other Sweet Preserves” by Linda Ziedrich, simplified for home cooks. With just a few basic ingredients and a little patience, you’ll create a batch of vibrant, flavorful jam that tastes far superior to anything store-bought.
Essential Ingredients for Your Tropical Preserve
For this recipe, which yields approximately five half-pint (8 oz) jelly jars of delicious papaya jam, you will need:
- 2 pounds of ripe papayas: The star of our show! Choosing the right papaya is crucial for flavor and texture.
- 3 cups granulated sugar: More than just a sweetener, sugar acts as a preservative and contributes to the jam’s desirable thick consistency.
- ½ cup lemon juice: Essential for both flavor and the setting process.
Selecting the Perfect Papaya: Key to a Flavorful Jam
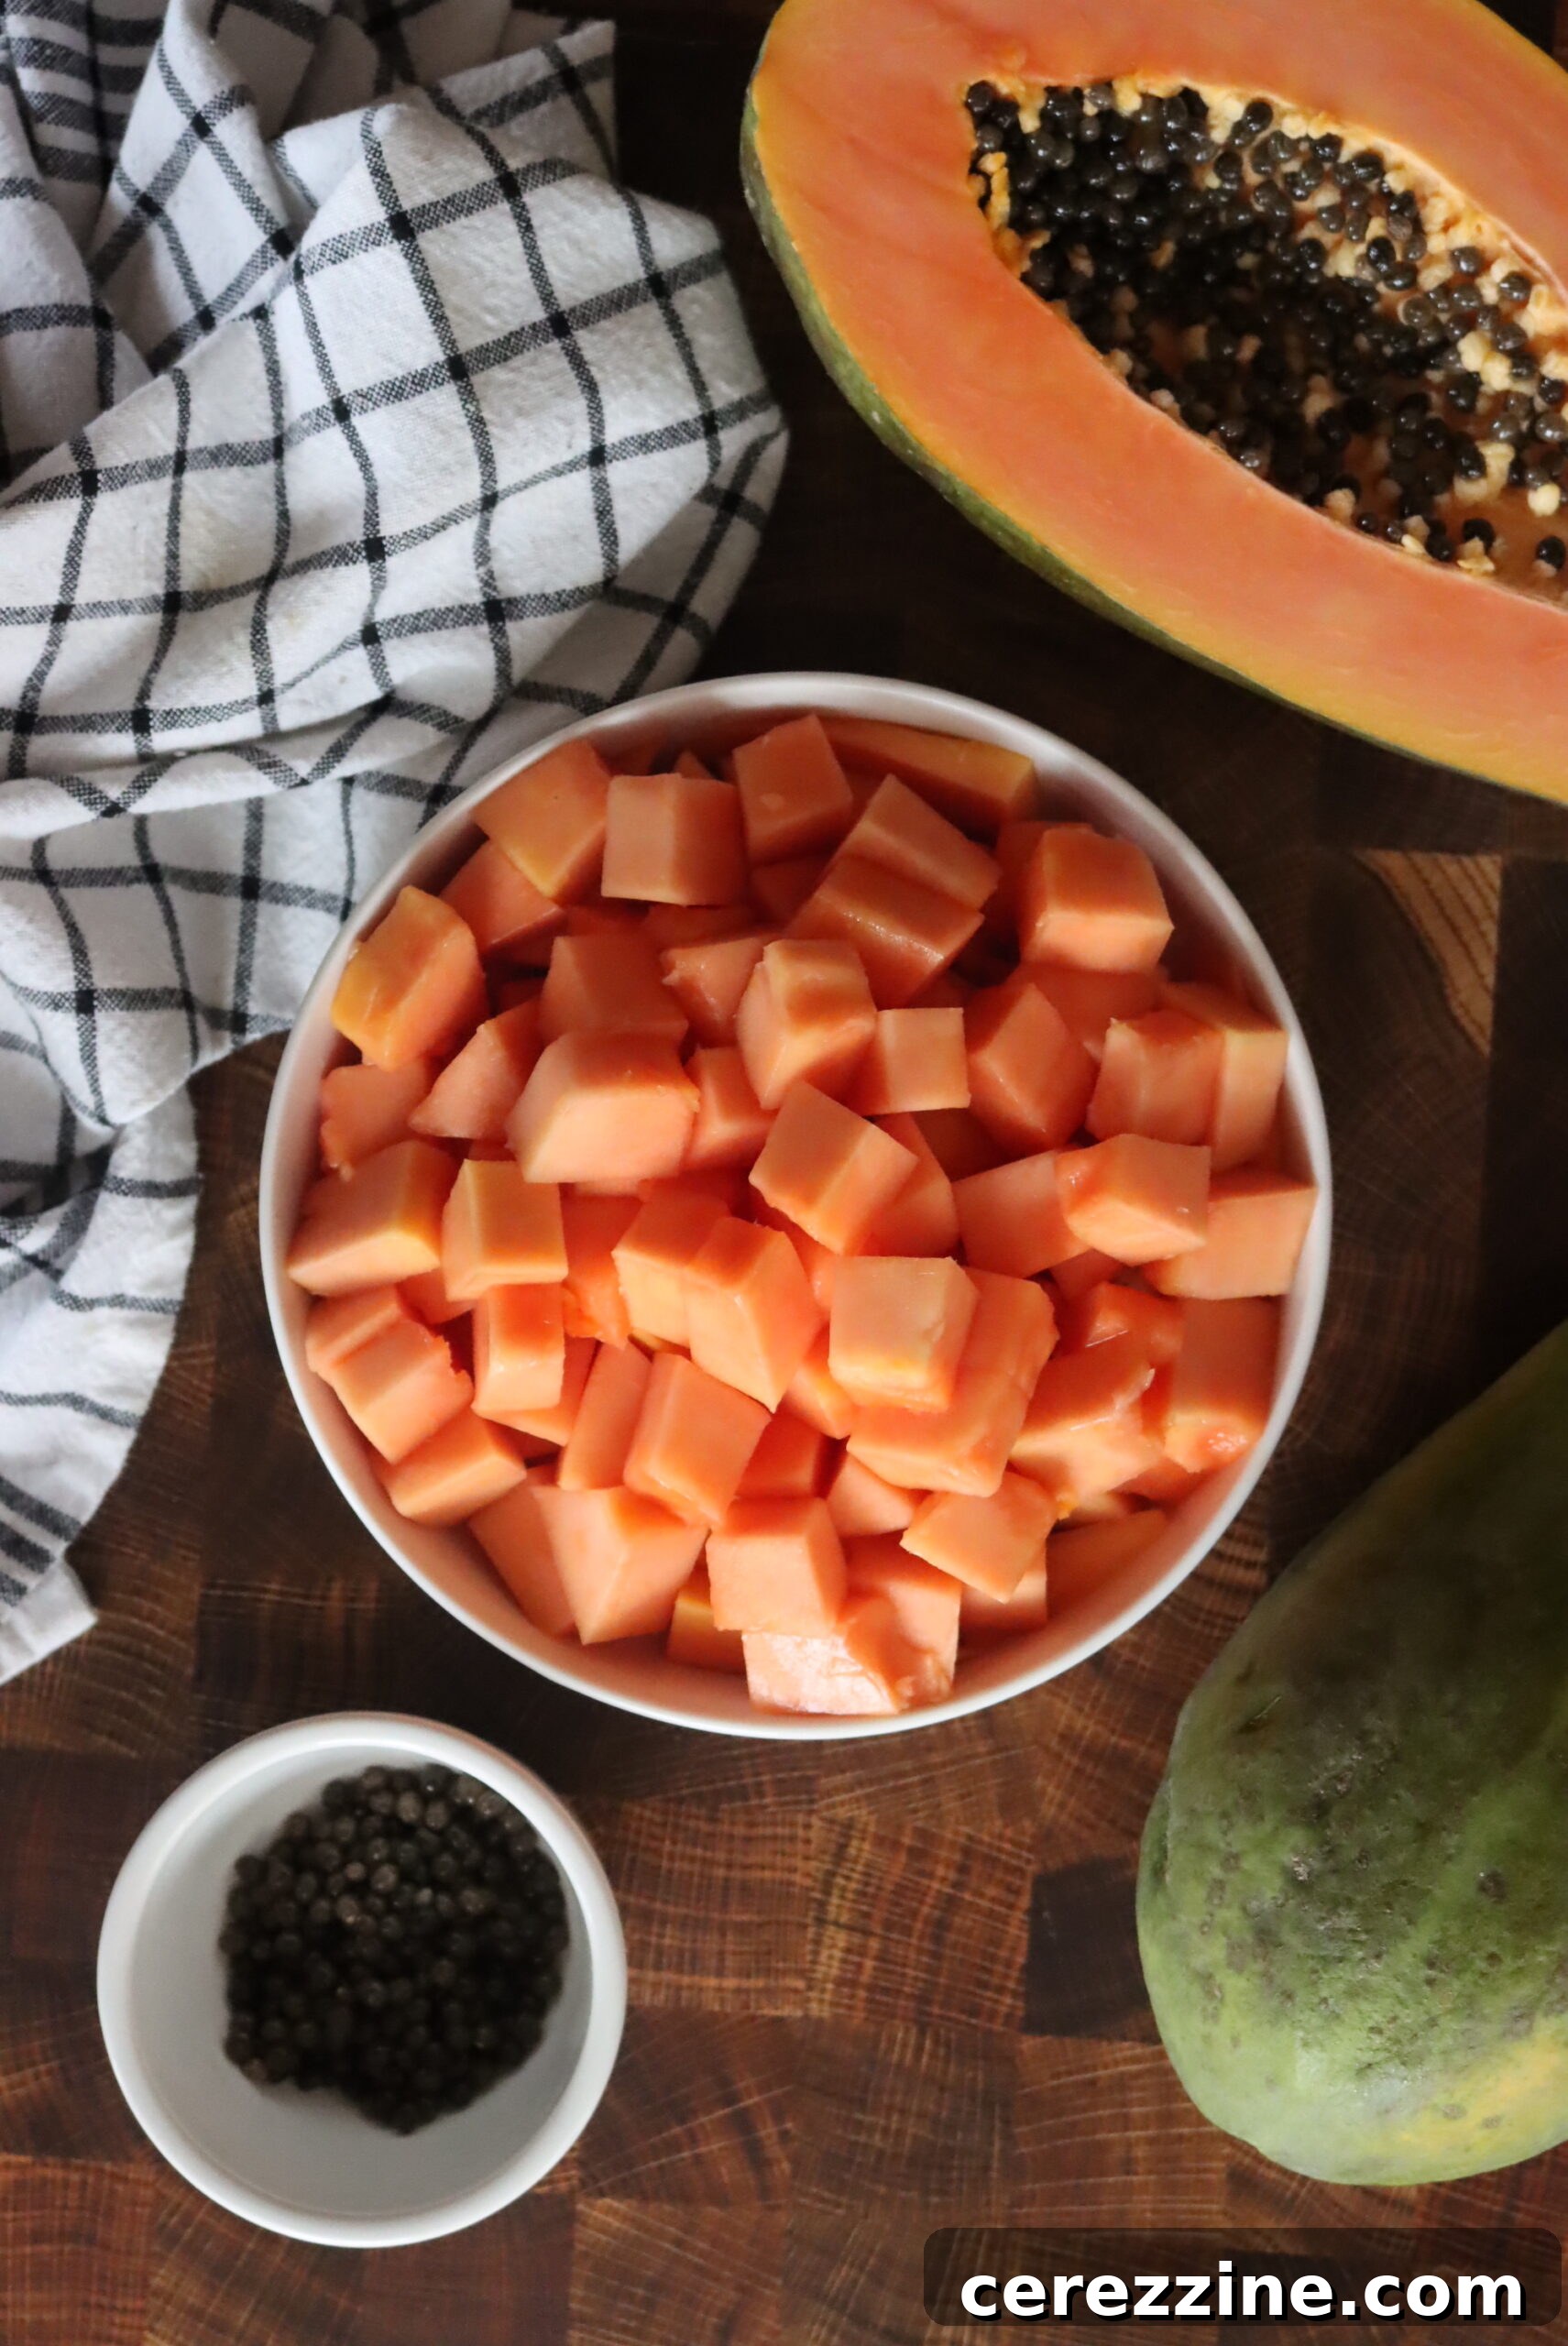
The quality of your jam largely depends on the fruit you choose. Always opt for fresh papayas at their peak of ripeness. A ripe papaya should have a skin that is predominantly bright yellow or orange, with perhaps a few green streaks. When gently squeezed, it should feel slightly soft, yielding to gentle pressure without being mushy. Avoid papayas with extensive bruising, brown spots, or a fermented smell, as these indicate overripeness, which can impact the jam’s flavor and setting ability.
If you find papayas that are mostly green, don’t fret! Unripe papayas will typically ripen beautifully in a few days when left at room temperature on your kitchen counter. Storing them in the refrigerator, however, will significantly slow down the ripening process, so keep them out until they reach that ideal yellow-orange hue and soft touch.
The variety of papaya can also influence the flavor. Hawaiian (Solo) papayas are smaller, pear-shaped, and very sweet, while Mexican papayas are larger and slightly less sweet with a more melon-like flavor. Either will work wonderfully for jam, so choose what’s available and fresh.
The Crucial Role of Lemon Juice in Jam Making
Lemon juice is more than just a flavor enhancer in this recipe; it plays a vital scientific role. Papayas are naturally low in pectin, the natural gelling agent found in fruits that helps jam set. The acidity from the lemon juice not only brightens the tropical notes of the papaya but also activates any natural pectin present and helps create a firm gel when combined with sugar during cooking. For canning purposes, using bottled lemon juice is often recommended over fresh, as it provides a consistent and reliable acidity level, which is important for food safety.
Crafting Your Own Tropical Papaya Jam: Step-by-Step Instructions
Creating homemade papaya jam is a straightforward process that yields incredibly rewarding results. Follow these detailed steps to transform fresh papayas into a luscious preserve.
1. Preparing the Papaya
Begin by thoroughly washing your ripe papayas under cool, clean running water. Gently scrub the skin with your hands or a soft brush to remove any dirt or residue. Once clean, use a vegetable peeler or a sharp knife to carefully remove the skin, discarding the peelings. Slice each papaya in half lengthwise, revealing the vibrant orange flesh and the cluster of black seeds within. Using a paring knife or a sturdy spoon, scoop out all the seeds. While papaya seeds are edible and have a peppery flavor, they are not typically used in jam and can be set aside for other culinary uses or discarded.
2. Cooking the Fruit to Tenderness
Cut the peeled and deseeded papaya halves into small, uniform chunks. Smaller pieces will break down more easily and quickly. Place these papaya chunks into a large, heavy-bottomed saucepan or a dedicated jam pot. Cook the papaya over medium-high heat, stirring frequently. This initial cooking phase helps to release the natural juices from the fruit and prevents scorching. Continue cooking until the papaya pieces have softened significantly and a good amount of liquid has accumulated in the pot. Reduce the heat to a gentle simmer, cover the pan, and continue to cook for approximately 15 minutes, stirring occasionally to ensure even cooking and prevent sticking. The papaya should be very tender at this point, easily mashed.
3. Mashing and Combining Ingredients
Once the papaya is tender, remove the pan from the heat. Use a potato masher to thoroughly mash the cooked papaya into a pulp. You can mash it to your desired consistency – some prefer a smoother jam, while others enjoy small, soft chunks of fruit. After mashing, add the 3 cups of granulated sugar and ½ cup of lemon juice to the papaya pulp. Stir well to combine all ingredients, ensuring the sugar begins to dissolve into the warm fruit mixture.
4. Preparing for the Gel Test
Before you return the jam to the heat, place three or four small ceramic plates or saucers in your freezer. These chilled plates will be essential later for testing the jam’s gel stage, helping you determine when it’s perfectly set.
5. Boiling to Perfection: Reaching the Gel Stage
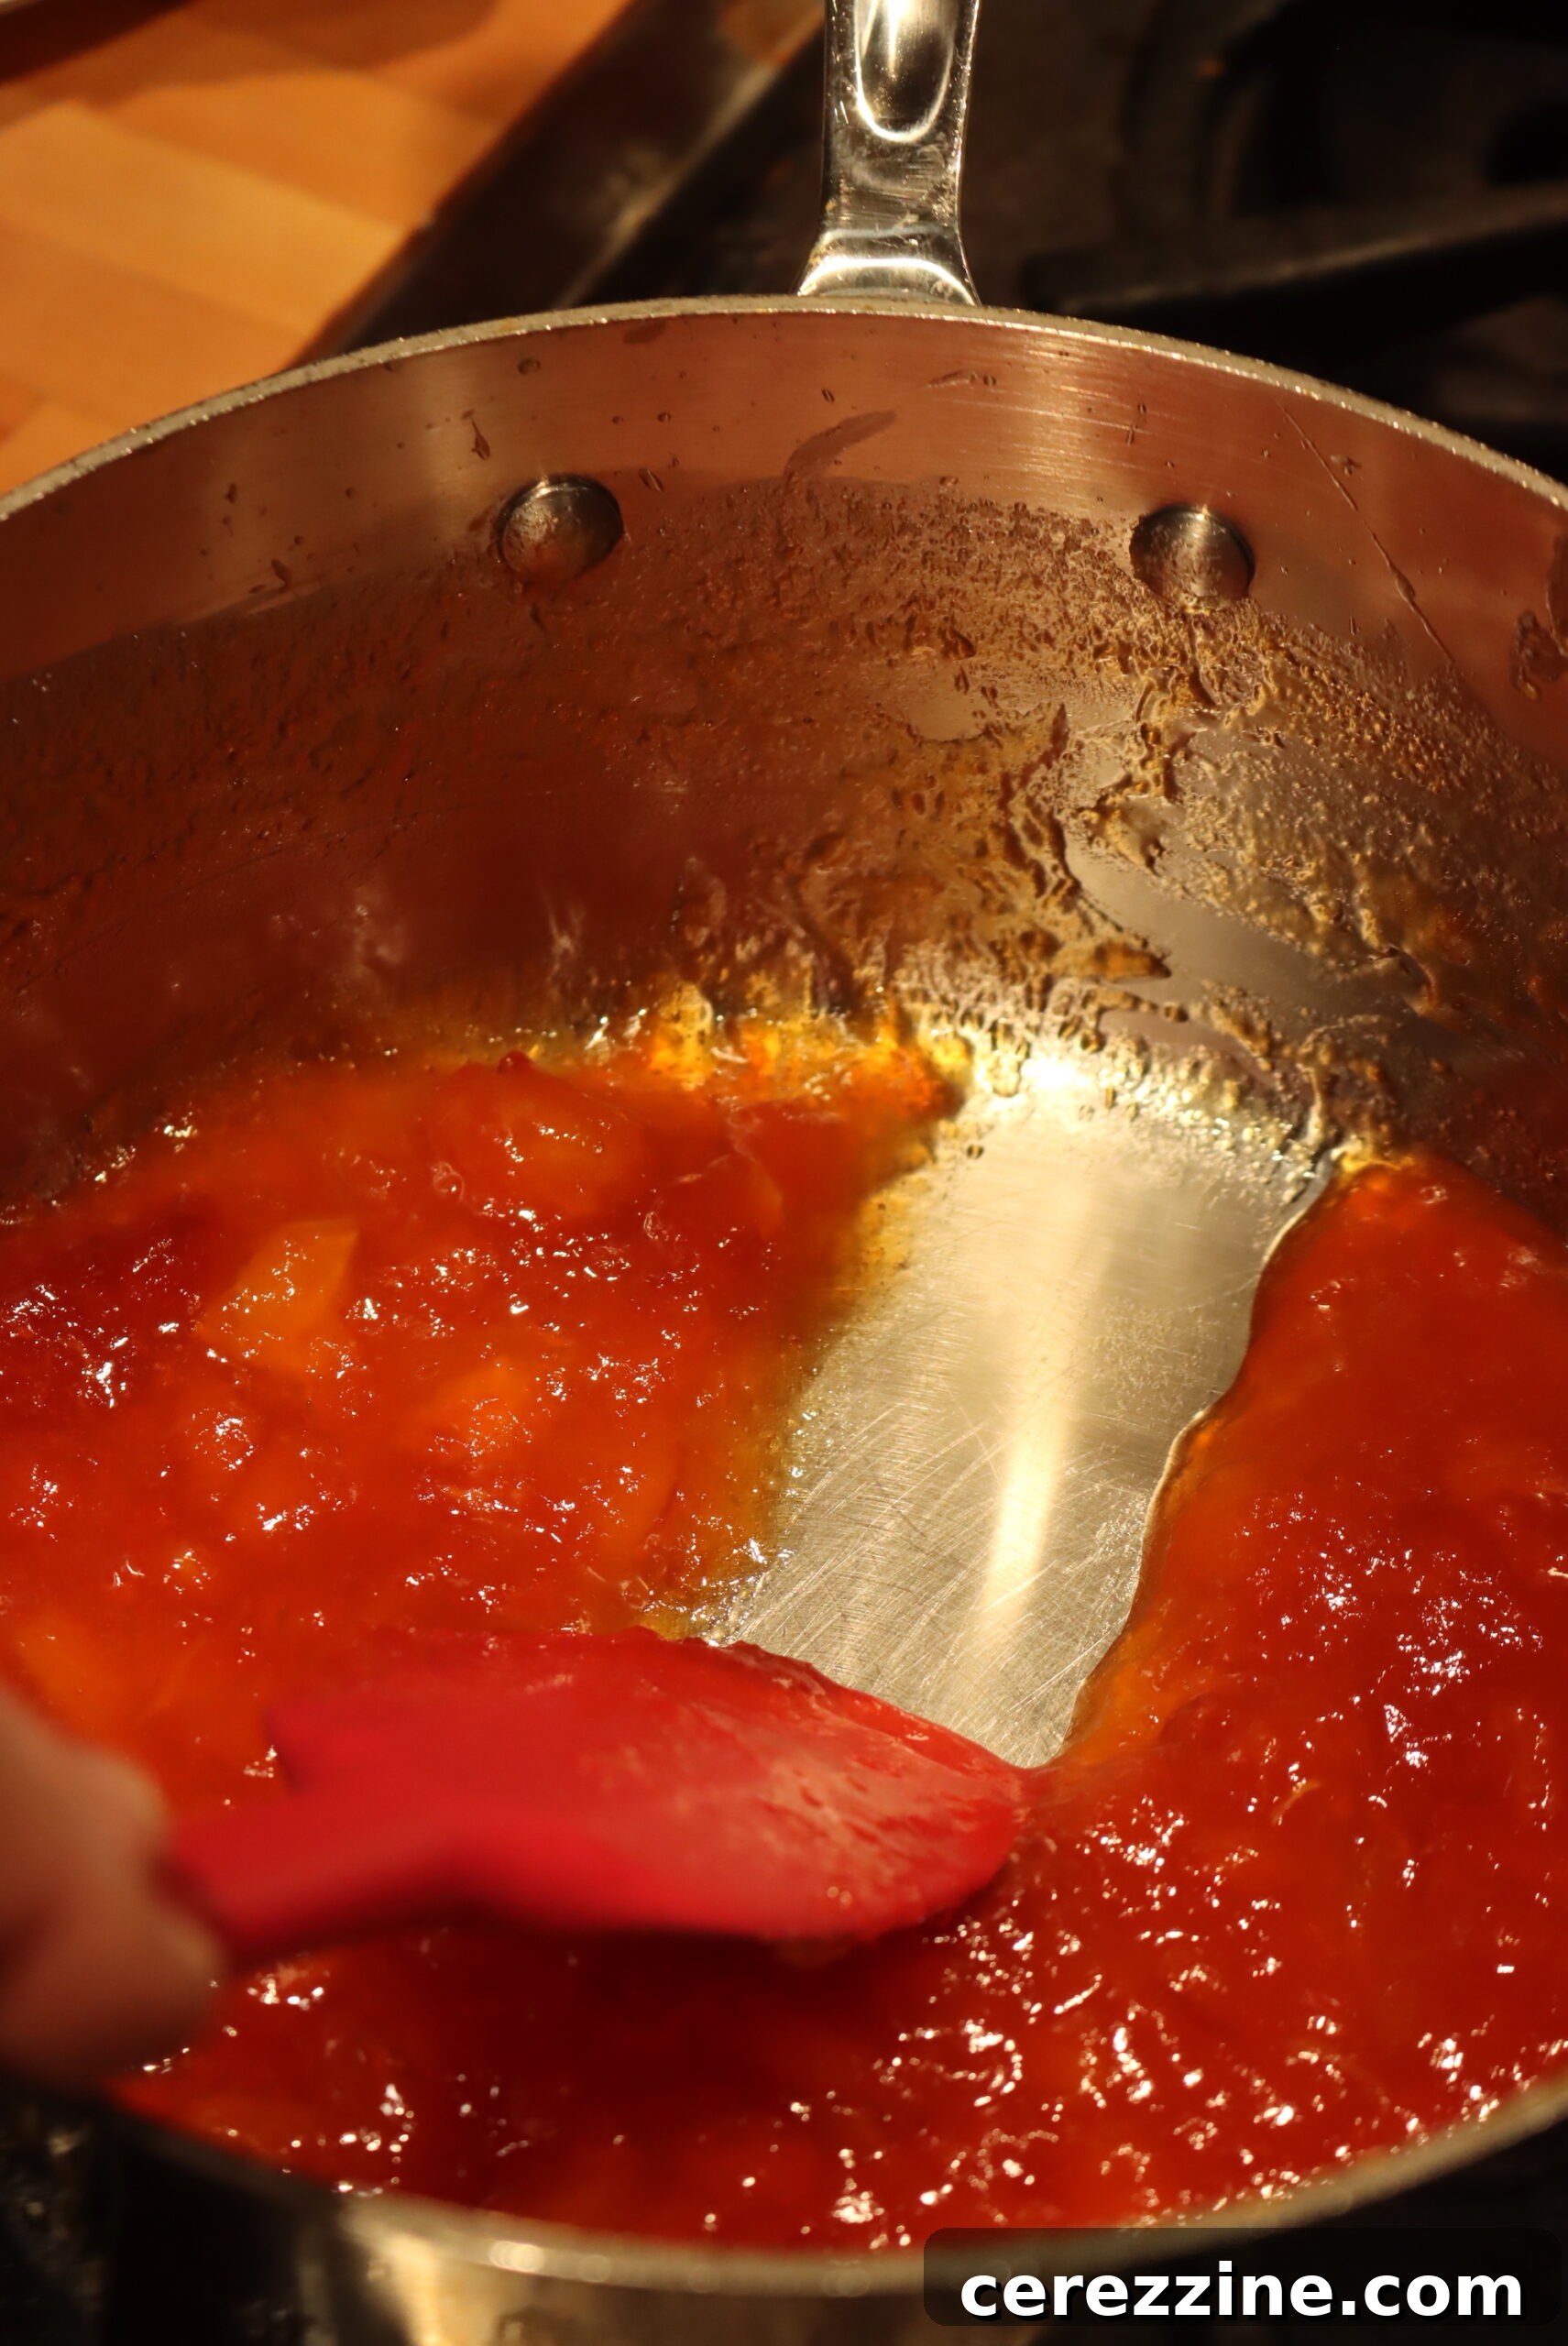
Return the pan with the papaya mixture to the stove over medium heat. Bring the mixture to a slow, rolling boil, stirring frequently to prevent it from sticking to the bottom of the pan and burning. Continue cooking at this slow boil for approximately 15 minutes, or until the jam begins to thicken. The exact cooking time can vary based on your stove, pot, and the moisture content of the fruit, so pay close attention to the consistency.
6. The Freezer Plate Gel Test
To determine if your jam has reached the perfect gel stage, retrieve one of your chilled plates from the freezer. Drop about a tablespoon of the hot jam onto the cold surface. Return the plate to the freezer for one minute. After one minute, remove the plate. With your fingertip, gently push or “nudge” the dollop of jam. If the jam has set, it will form a visible “skin” on top that wrinkles when pushed. It should also appear mounded on the plate, rather than spreading out or appearing runny. If your finger slides right through the jam, or if it remains too thin, continue to cook the mixture for several more minutes and repeat the gel test with a fresh cold plate until you achieve the desired consistency. This test is crucial for ensuring your jam sets properly.
7. Finishing Touches and Filling Jars
Once your jam has reached the perfect gel stage, remove the pan from the heat. If any foam has formed on the surface during cooking, gently skim it off using a spoon. This step improves the clarity and appearance of the finished jam. Carefully ladle or pour the hot jam into your prepared containers (jars or freezer-safe containers), leaving ¼ inch of headspace at the top. Headspace is essential for proper sealing if canning, and for expansion if freezing.
8. Storage Options: Refrigerator, Freezer, or Pantry
If you prefer not to can your papaya jam, simply allow the filled containers to cool on your counter until they reach room temperature. Once cooled, label them and store them in the refrigerator, where they will remain fresh for approximately 3 weeks. For longer storage without canning, use freezer-safe containers, label them, and freeze the jam. Frozen jam maintains its peak quality for up to 6 months. For pantry storage, proceed to the “Canning Papaya Jam” section below.
Elevate Your Jam: Exciting Papaya Jam Variations
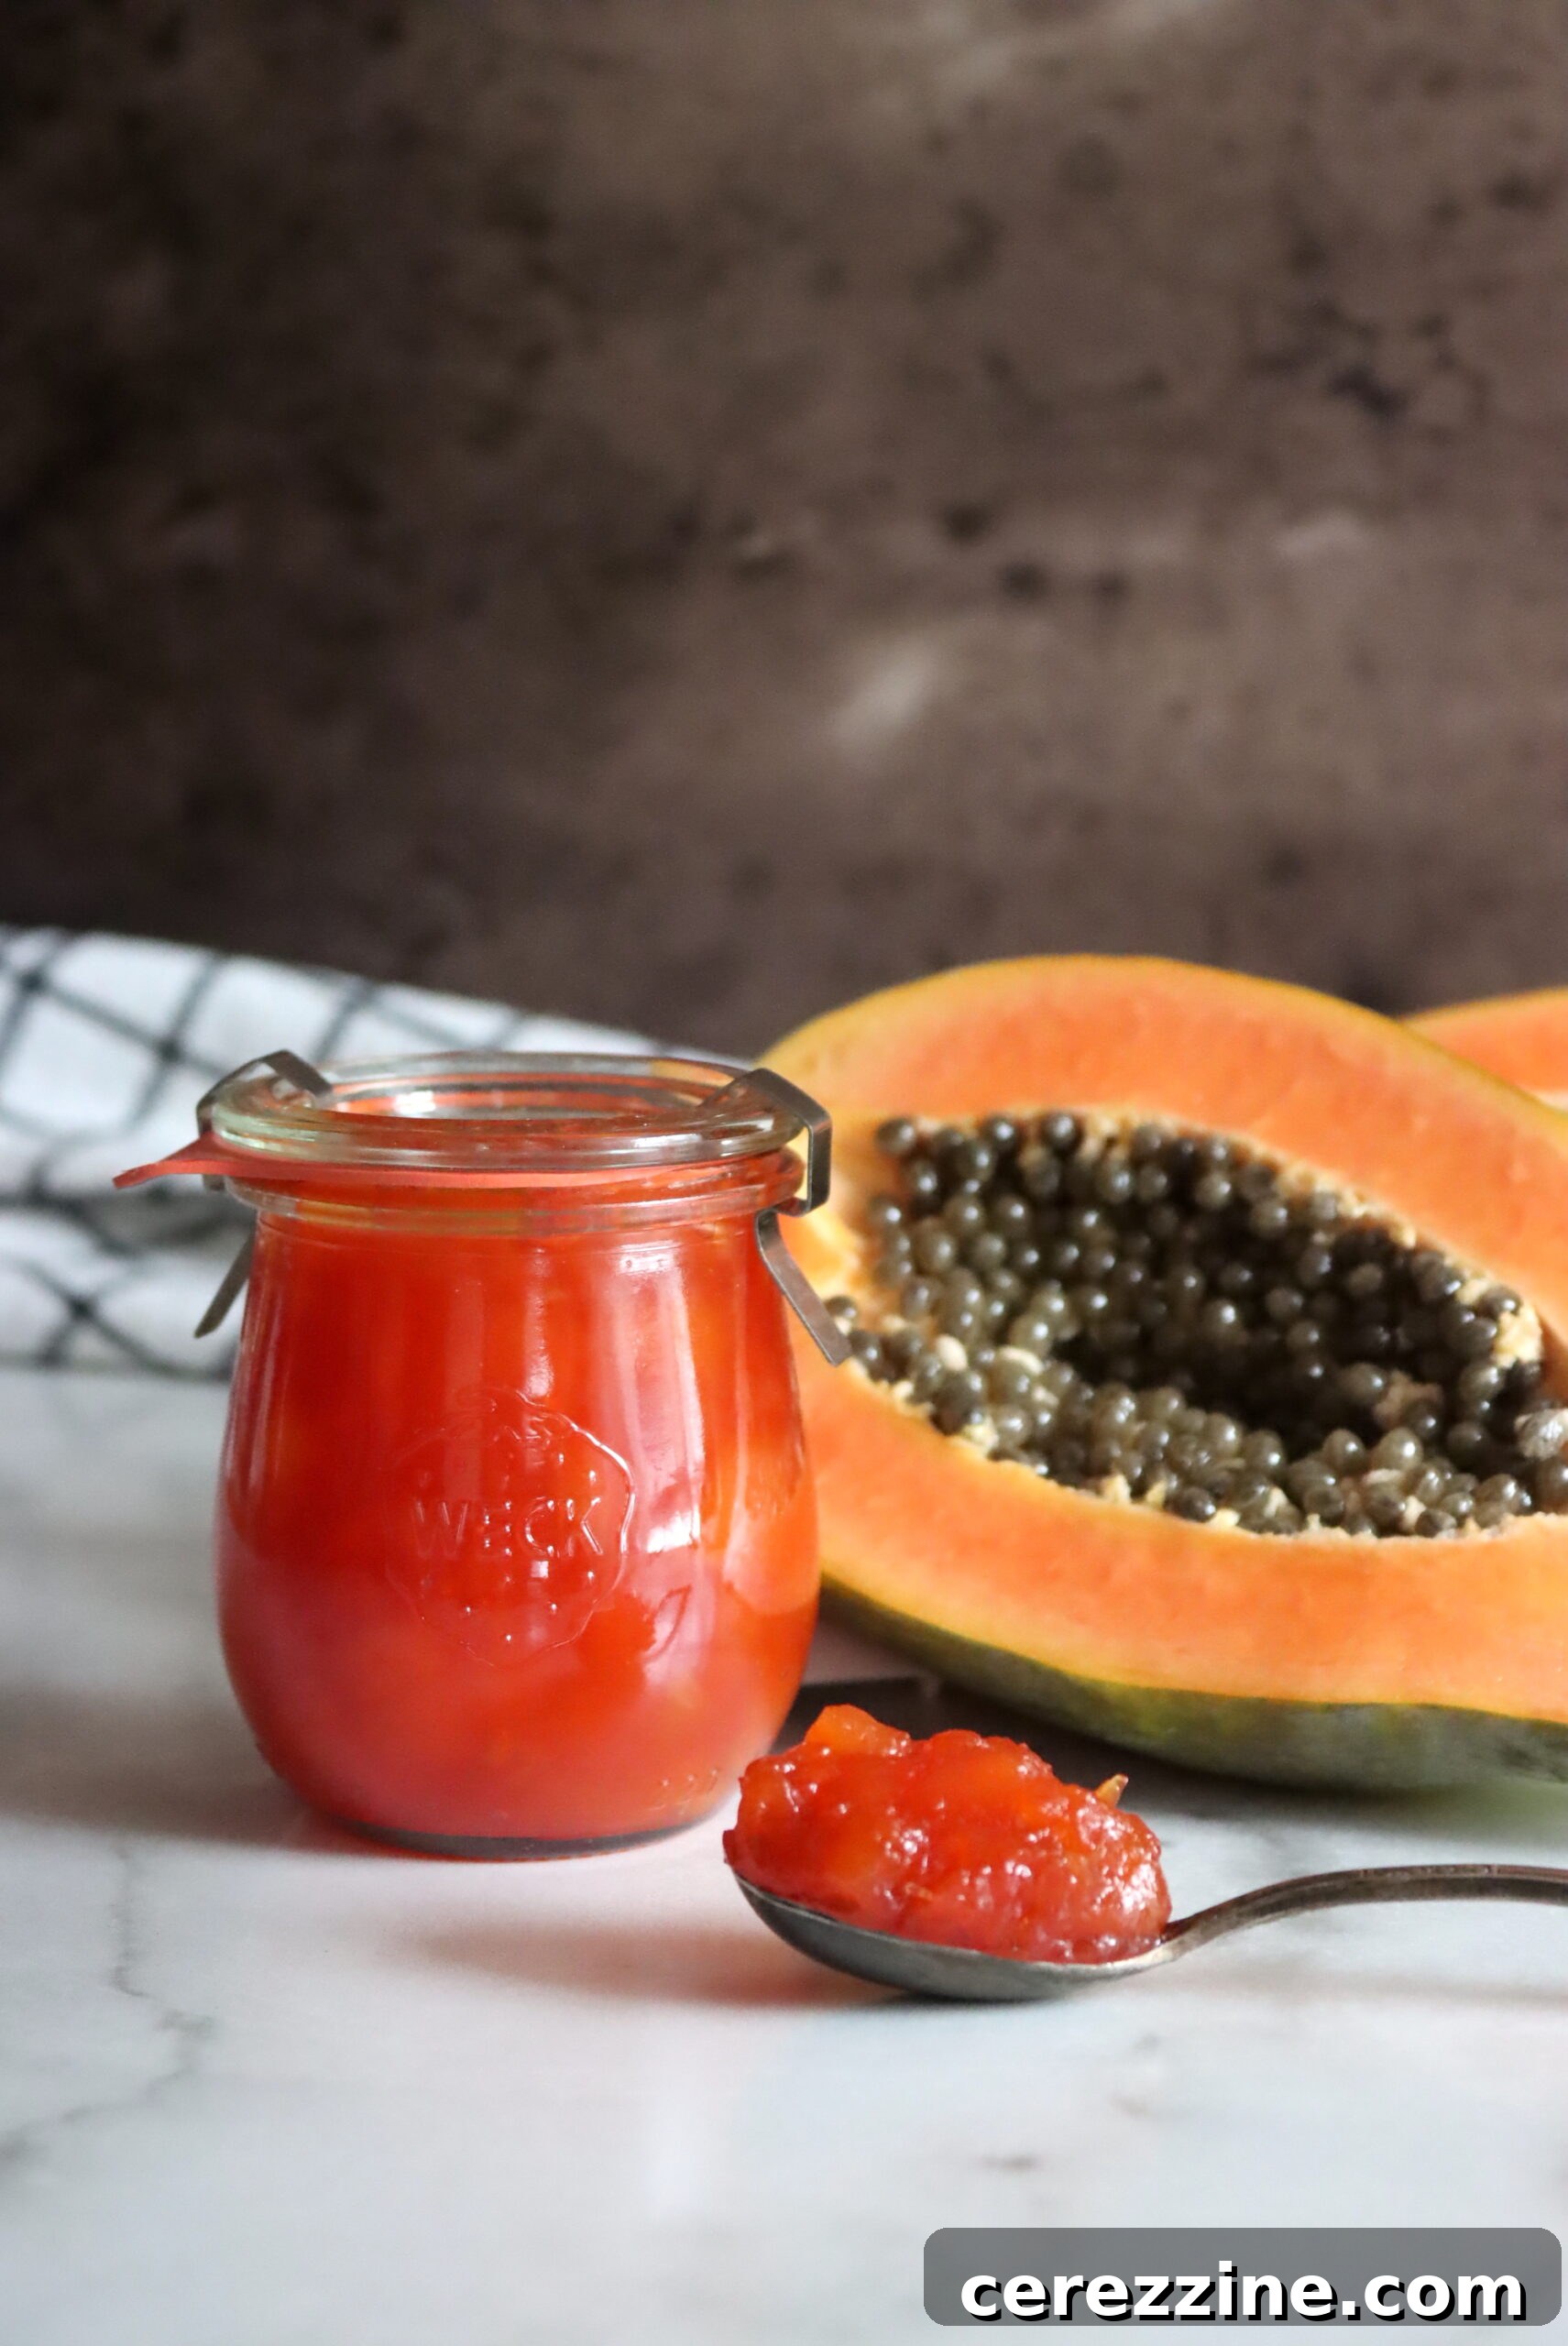
While classic papaya jam is a tropical dream, don’t hesitate to experiment with flavor variations to personalize your preserve. These additions can transform the jam’s character, offering new dimensions of taste.
- Citrus Swap: Lime for Lemon: For an equally bright yet distinct citrusy kick, substitute lime juice for lemon juice in the same quantity. Lime offers a slightly more assertive and aromatic tang that beautifully complements papaya.
- Warm Spices: A Cozy Twist: Introduce warm spices during the cooking process to add depth and complexity.
- Cinnamon Stick: Add one or two whole cinnamon sticks to the papaya as it simmers. Remove them before mashing. This imparts a delicate, comforting warmth.
- Fresh Ginger: A 1-inch piece of grated or thinly sliced fresh ginger, added with the papaya, can provide a subtle spicy undertone. Remove it before mashing, or leave finely grated ginger in for texture.
- Vanilla Bean: Split half a vanilla bean lengthwise and scrape the seeds into the cooking papaya. Add the pod to the pot as well, removing it before mashing. This creates an incredibly aromatic and luxurious jam.
- Other Spices: A pinch of ground nutmeg, cloves, or allspice (or a combination) can be added with the sugar. These spices will lend a richer, less intensely sweet flavor profile to the jam, perfect for pairing with cheeses or hearty breads. Start with a very small amount (¼ teaspoon) and adjust to your preference.
- Chunky Papaya Preserves: If you prefer a more substantial preserve with larger fruit pieces, you can also can plain papaya in a light syrup. This creates a “chunky treat” that can be enjoyed on its own or used in desserts. (For detailed instructions on canning plain papaya, refer to dedicated canning resources like Canning Papaya in Syrup).
Canning Papaya Jam for Long-Term Storage
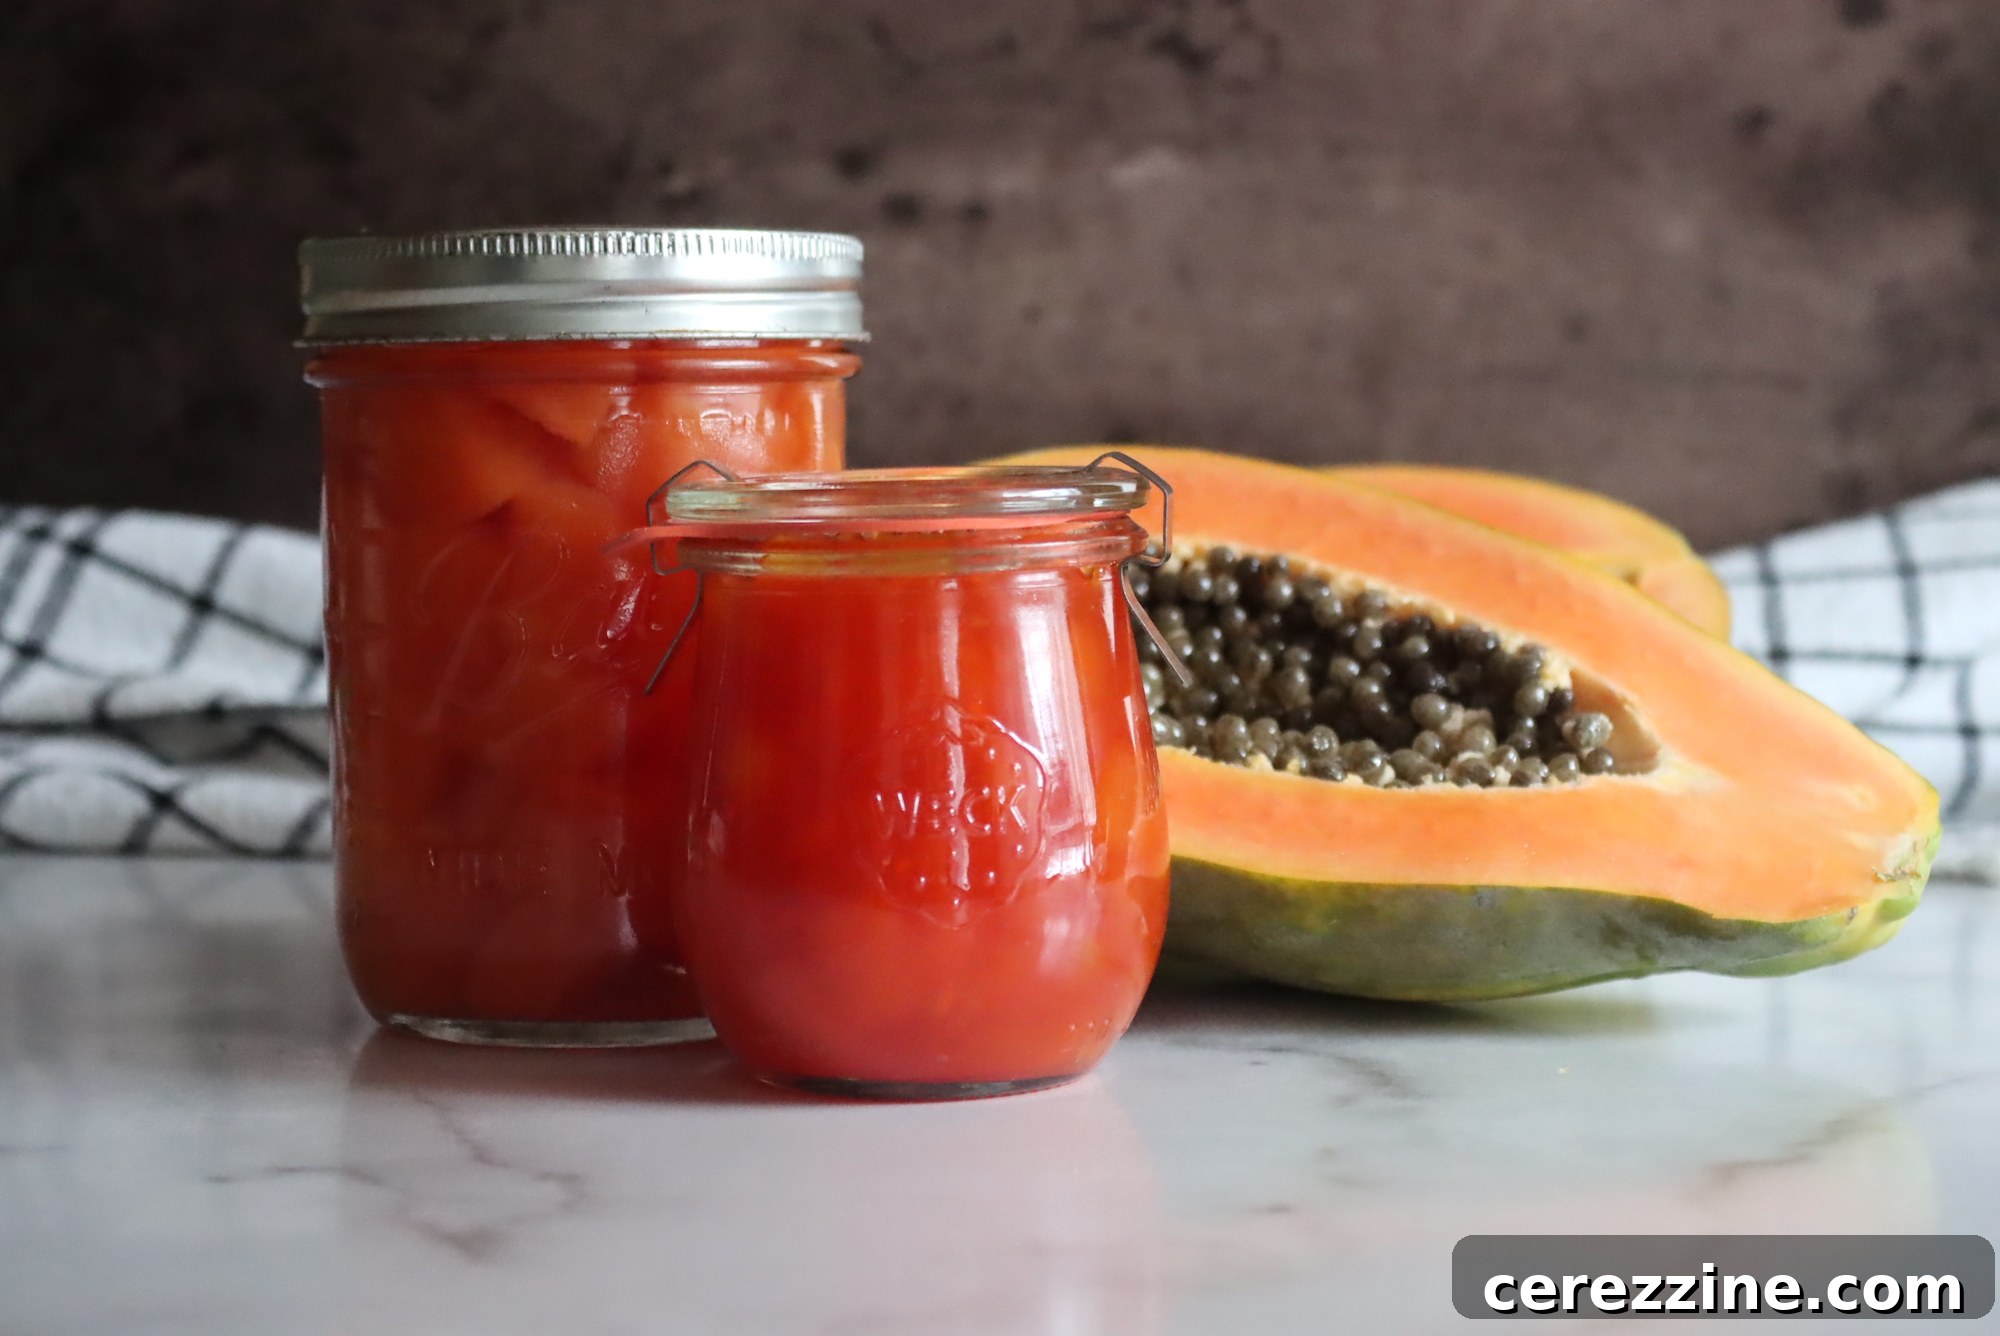
For pantry-stable papaya jam that you can enjoy throughout the year, water bath canning is the preferred method. This process ensures safety and extends the shelf life of your homemade preserve significantly. If you are new to water bath canning, it’s highly recommended to consult a beginner’s guide to familiarize yourself with the equipment and safety protocols before you begin.
1. Prepare Your Canning Setup
Before you even start cooking your jam, ensure your water bath canner is ready, along with your canning jars and lids. Sterilize your jars by submerging them in boiling water for at least 10 minutes, or by running them through a sanitize cycle in your dishwasher. Keep the jars hot until you are ready to fill them. Prepare your two-piece canning lids according to the manufacturer’s instructions, usually by simmering the flats in hot water.
2. Filling the Jars
Once your jam has reached the gel stage and is still hot, carefully ladle it into the hot, sterilized jars. It is crucial to leave ¼ inch of headspace at the top of each jar. This space allows for proper sealing and prevents siphoning during processing. A canning funnel with headspace measurements can make this step much easier and less messy.
3. Cleaning Rims and Applying Lids
After filling, meticulously wipe the rims of the filled jars with a clean, damp cloth. Any residue on the rim can prevent a proper seal. Place a prepared flat lid onto each jar, then screw on the canning band only until it is “finger-tight.” Avoid overtightening, as this can hinder air from escaping and prevent a vacuum seal from forming.
4. Handling Partially Filled Jars
If you have a jar that is only partially filled (less than three-quarters full), do not attempt to process it in your hot water canner. The headspace will be too great for a reliable seal. Instead, allow the jam in that jar to cool and firm up on its own. Store this jar in the refrigerator and use its contents within 3 weeks.
5. Processing the Jam
Carefully load the filled and lidded jars into your preheated water bath canner, ensuring they are fully submerged in water by at least an inch. Bring the water to a full, rolling boil. Once the water reaches a vigorous boil, start your timer. Process the jars for 10 minutes. If you are at an elevation above 6,000 feet, you will need to increase the processing time to 15 minutes to account for the lower boiling point of water at higher altitudes.
6. Cooling and Sealing
After the processing time is complete, turn off the heat and remove the cover from the canner. Allow the jars to rest undisturbed in the hot water for an additional 5 minutes. This step helps to equalize the temperature and aids in the sealing process. Using a jar lifter, carefully remove the hot jars from the canner and place them on a clean towel on your counter. Ensure there is adequate space between the jars for air circulation. Do not disturb the jars or tighten the bands further as they cool. Over the next 12-24 hours, you should hear satisfying “ping” sounds as the lids seal. Once completely cooled, check the seals by pressing down on the center of each lid; if it doesn’t flex, the jar is sealed.
7. Storage and Shelf Life
Store sealed jars of papaya jam in a cool, dark, and dry place, such as a pantry or cellar. Properly canned papaya jam will maintain its peak quality on the shelf for approximately 18 months, or even longer, as long as the seal remains intact. Once opened, always refrigerate the jam and consume it within a few weeks.
Creative Ways to Enjoy Your Papaya Jam
Once you’ve made a batch of this glorious homemade papaya jam, you’ll discover its endless possibilities. Its bright, tropical flavor makes it incredibly versatile, suitable for much more than just breakfast.
- Classic Breakfast Spreads: The most obvious and perhaps most cherished way to enjoy papaya jam is spread generously on warm biscuits, flaky croissants, toasted English muffins, or your favorite artisan breads. It’s a delightful way to start any day, instantly transporting you to a tropical paradise.
- Dessert Delights:
- Cookie Filling: Use it as a vibrant, fruity filling for thumbprint cookies or sandwiched between two shortbread biscuits.
- Cake Layer: Spread a thin layer between cake layers for a delicious and unexpected tropical twist in your desserts. It pairs wonderfully with vanilla, coconut, or even chocolate cakes.
- Pastry Perfection: Incorporate it into homemade tarts, turnovers, or Danish pastries for a burst of exotic flavor.
- Ice Cream Topping: Drizzle warmed papaya jam over vanilla bean ice cream or yogurt for a simple yet decadent treat.
- Savory Pairings: Embrace the sweet and savory combination that makes papaya jam so special.
- Cheese Boards: As mentioned, serving papaya jam on crackers or crusty bread with soft, tangy goat cheese is a match made in heaven. Its sweetness beautifully cuts through the richness of various cheeses, making it a fantastic addition to any charcuterie board.
- Glazes and Marinades: Whisk a spoonful of jam into a vinaigrette for a tropical salad dressing, or warm it slightly and use it as a glaze for roasted chicken or pork. The fruit sugars caramelize beautifully, adding a delicious sheen and flavor.
- Beverage Boost: Stir a teaspoon into a glass of iced tea or sparkling water for a refreshing tropical drink. You can even use it in simple cocktail creations for a fruity twist.
40
servings, Makes five 8 oz jars
Papaya Jam
Ashley Adamant
10
mins
30
mins
10
mins
50
mins
Rate
Equipment
-
Water Bath Canner
Ingredients
- 2 lbs papaya
- 3 cups sugar
- ½ cup lemon juice, bottled
Instructions
-
Wash the papaya under cool water. Peel the papaya and discard the peelings.
-
Cut the papaya in half lengthwise, and use a knife or spoon to remove the seeds. Cut the papaya into small pieces.
-
Place the papaya pieces in a medium saucepan or jam pot.
-
Heat the papaya pieces over medium heat, stirring frequently.
-
Reduce the heat to simmer and cover, stirring occasionally. Simmer the papaya for 15 minutes until the pieces are soft.
-
Remove the pot from heat, and use a potato masher to mash the papaya.
-
Add 3 cups of sugar and ½ cup lemon juice to the papaya pulp and stir to combine.
-
Return the saucepan to the stove and cook over medium heat at a slow boil, stirring frequently.
-
Use the cold plate method to test for the gel stage. Once the dollop of jam on a cold plate forms a mound and is not runny, remove the papaya preserves from heat and skim off any foam if necessary.
-
Ladle or pour the jam into prepared jars or containers, leaving ¼” headspace at the top of the container. Wipe the rims of the jars or containers with a clean, damp cloth. Affix the lids.
-
If you do not plan on canning your jam, leave the containers on the counter to cool until they have reached room temperature. Label and store the jam in the refrigerator for up to 3 weeks or in the freezer for up to 6 months.
-
To preserve the jam using a hot water bath canning method, affix 2-part canning lids to the jars after cleaning the rims with a cloth.
-
Process the jam in a prepared hot water bath canner for 10 minutes once the water has returned to boiling or for 15 minutes if you are above 6,000 feet in elevation.
-
After processing, remove the cover from the canner, turn off the heat, and allow the jars to sit in the hot water for 5 minutes.
-
Using a jar-lifter, remove the jars from the canner and allow them to cool on a towel on the counter, leaving them undisturbed for at least 12 hours. Check the seals and refrigerate any unsealed jars to use within 3 weeks. Store sealed jars in a cool, dark place or pantry for up to 18 months for peak quality.
Nutrition
Calories: 68kcal, Carbohydrates: 18g, Protein: 0.1g, Fat: 0.1g, Saturated Fat: 0.02g, Polyunsaturated Fat: 0.01g, Monounsaturated Fat: 0.02g, Sodium: 2mg, Potassium: 45mg, Fiber: 0.4g, Sugar: 17g, Vitamin A: 216IU, Vitamin C: 15mg, Calcium: 5mg, Iron: 0.1mg
Nutrition information is automatically calculated, so should only be used as an approximation.
Frequently Asked Questions About Papaya Jam
Q: Can I use less sugar in this recipe?
A: Sugar plays a critical role in jam making, not just for sweetness but also for preserving the fruit and achieving the correct gel consistency. Reducing the sugar significantly can affect the jam’s texture and its ability to set, as well as its shelf life if you plan to can it. For best results and food safety, especially when canning, it’s recommended to stick to the recipe’s sugar ratio.
Q: What if my jam doesn’t set after cooling?
A: If your jam doesn’t set after cooling for 12-24 hours, it means it hasn’t reached the gel point. You can often re-process it. Return the jam to a saucepan, bring it back to a rolling boil, and cook for another 5-10 minutes, performing the cold plate test every few minutes until it sets. Sometimes adding a small amount of commercial pectin (following package directions) can help if the fruit is very low in natural pectin.
Q: Can I make this jam without canning?
A: Yes! You can definitely enjoy this papaya jam without canning. Simply store the cooled jam in airtight containers in the refrigerator for up to 3 weeks, or freeze it in freezer-safe containers for up to 6 months. Canning is primarily for extended, shelf-stable storage.
Q: How can I tell if my papaya is ripe enough?
A: A ripe papaya should have mostly yellow or orange skin and yield slightly when gently pressed. Green skin indicates it’s unripe, and it should be left at room temperature for a few days to ripen. Avoid papayas that are mushy or have dark, soft spots.
More Tropical Jam Recipes to Explore
Looking for more ways to preserve the taste of the tropics in your kitchen? Dive into these other delightful fruit jam recipes:
- Mango Jam
- Pineapple Jam
Embrace the vibrant flavors of the tropics and enjoy the satisfaction of homemade preserves. Papaya jam is not just a spread; it’s a jar of sunshine waiting to brighten your day.