Homemade Strawberry Syrup: Capturing the Fresh Taste of Spring All Year Long
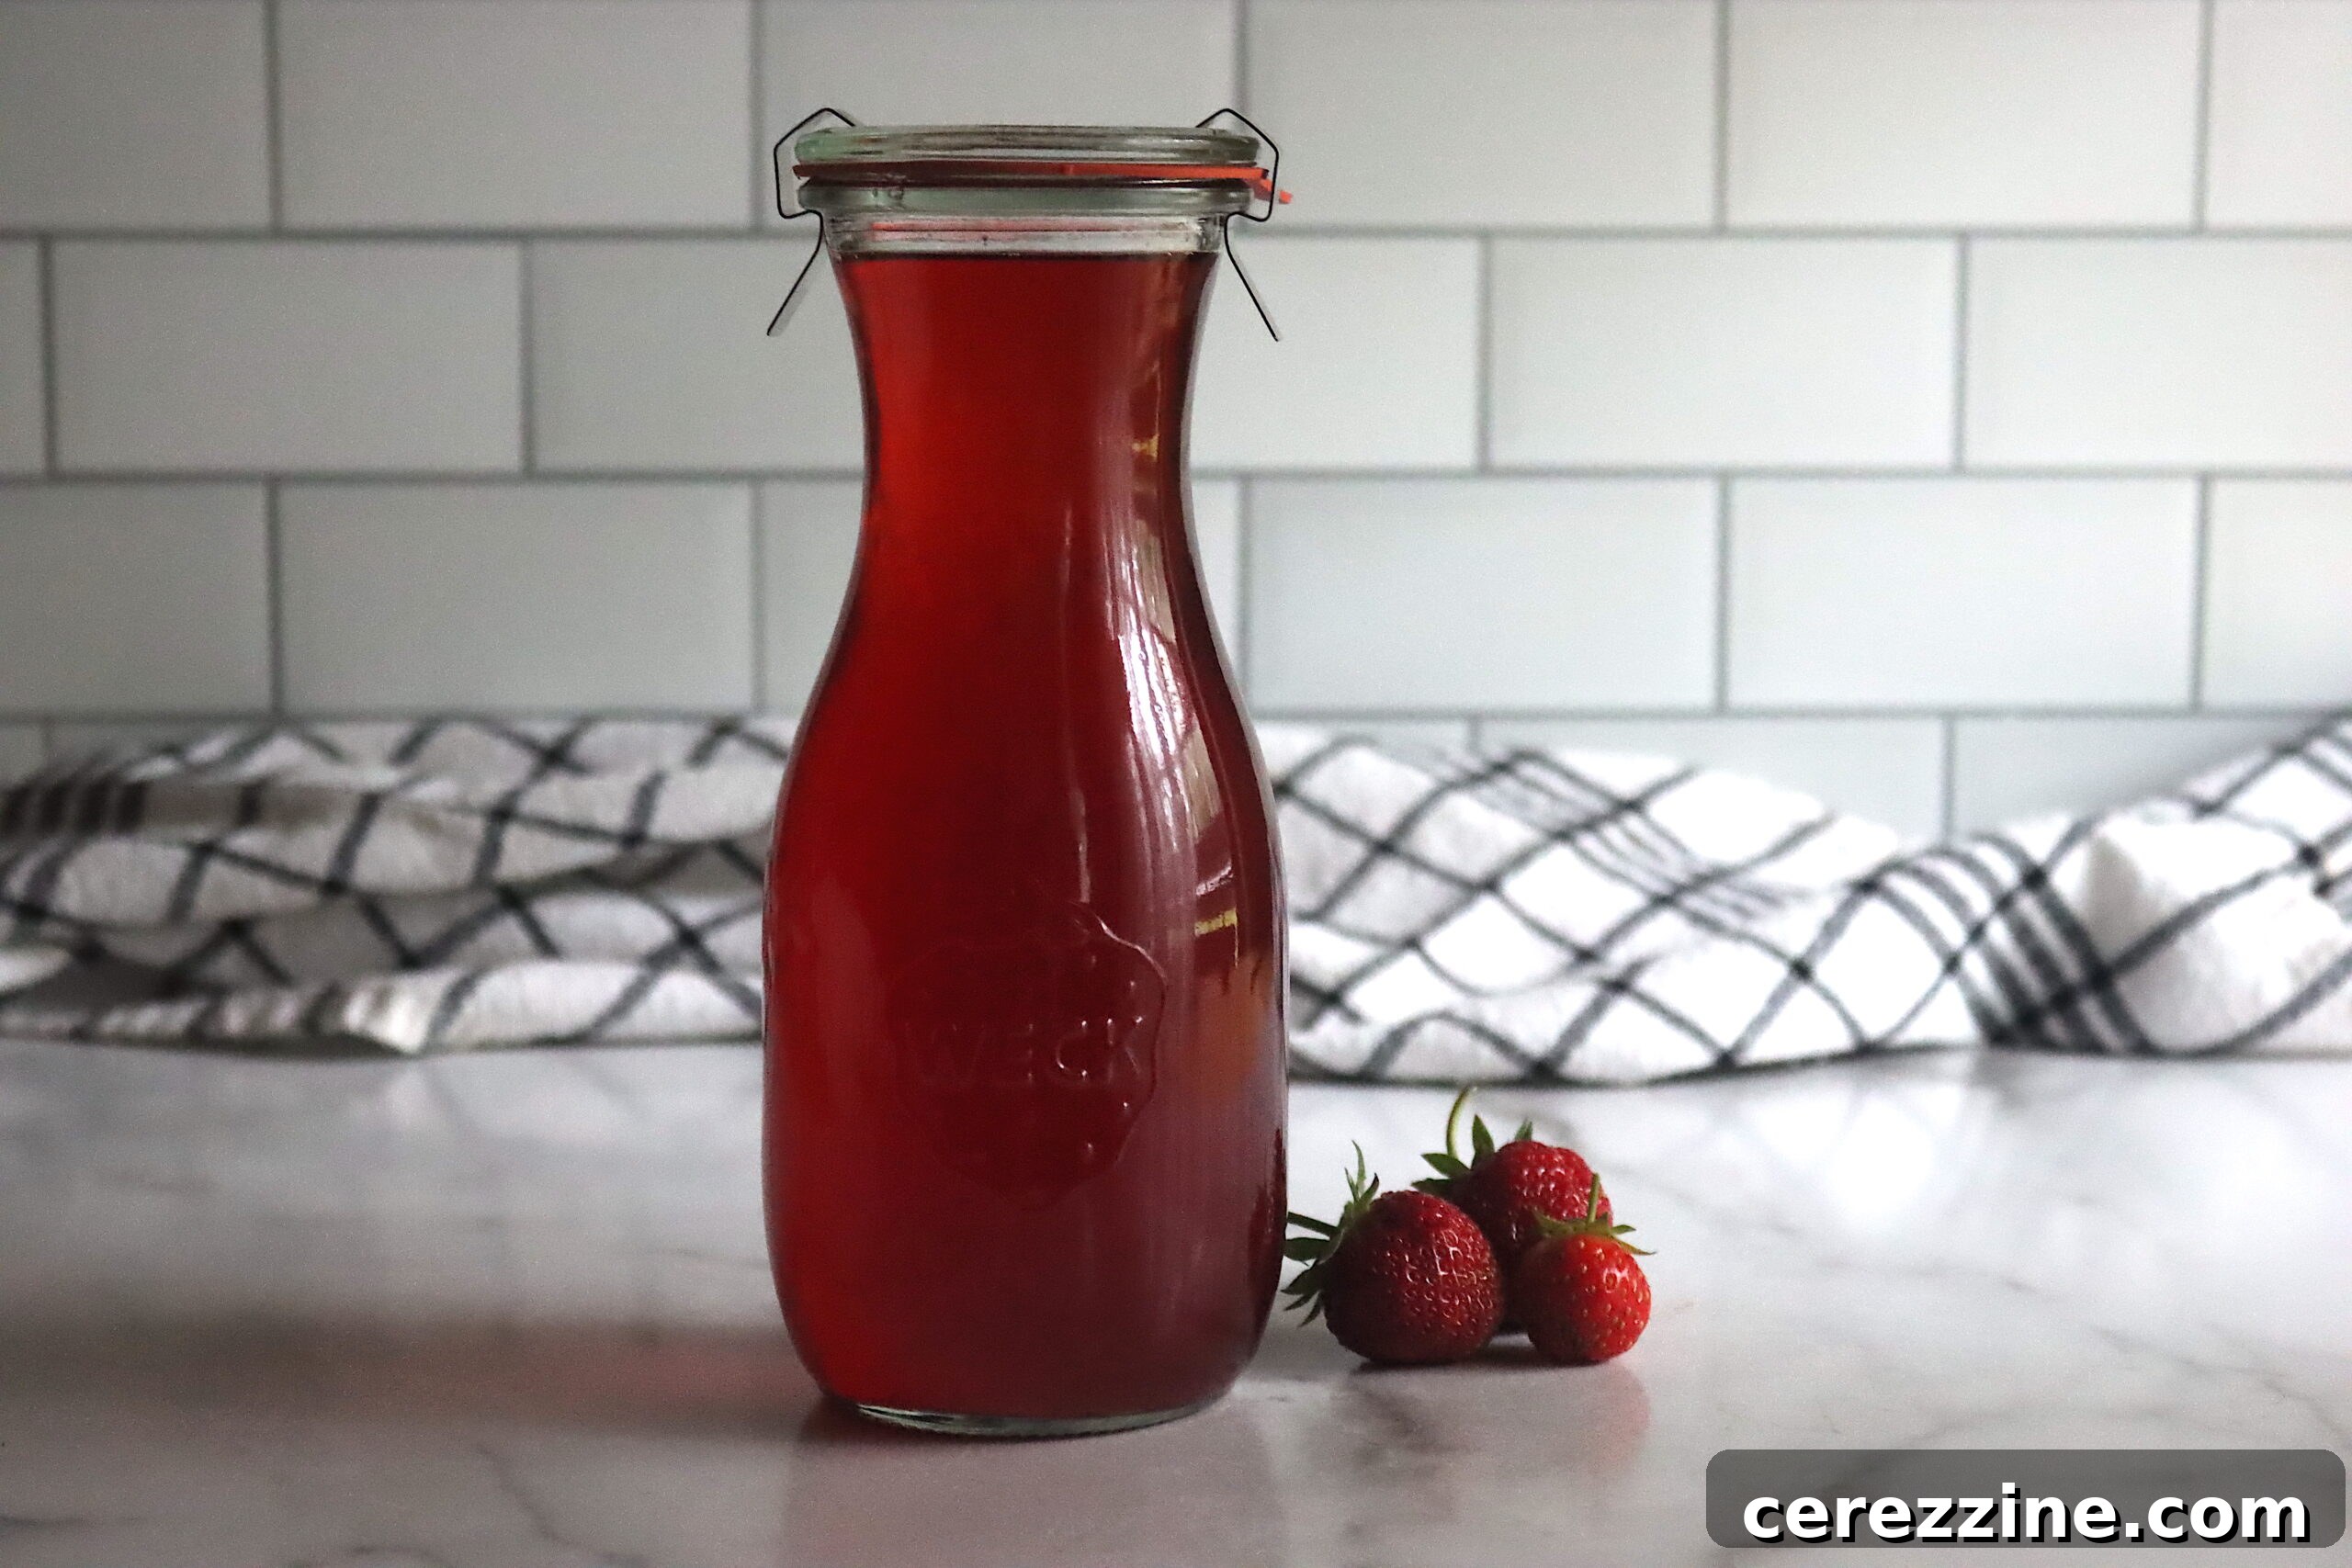
There’s an undeniable magic in the arrival of strawberry season, when fields overflow with vibrant, sweet, and juicy berries. While their peak is gloriously brief, the desire to savor that fresh flavor year-round is strong. Homemade strawberry syrup offers an exquisite solution, bottling the very essence of spring into a versatile, ruby-red liquid. Imagine drizzling this luminous syrup over a stack of fluffy pancakes on a chilly morning, stirring it into a frosty glass of lemonade on a hot afternoon, or using it to create stunning desserts. This simple yet elegant syrup transcends seasonal boundaries, bringing a touch of gourmet sweetness and bright fruit flavor to countless culinary creations.
Why Make Your Own Strawberry Syrup?
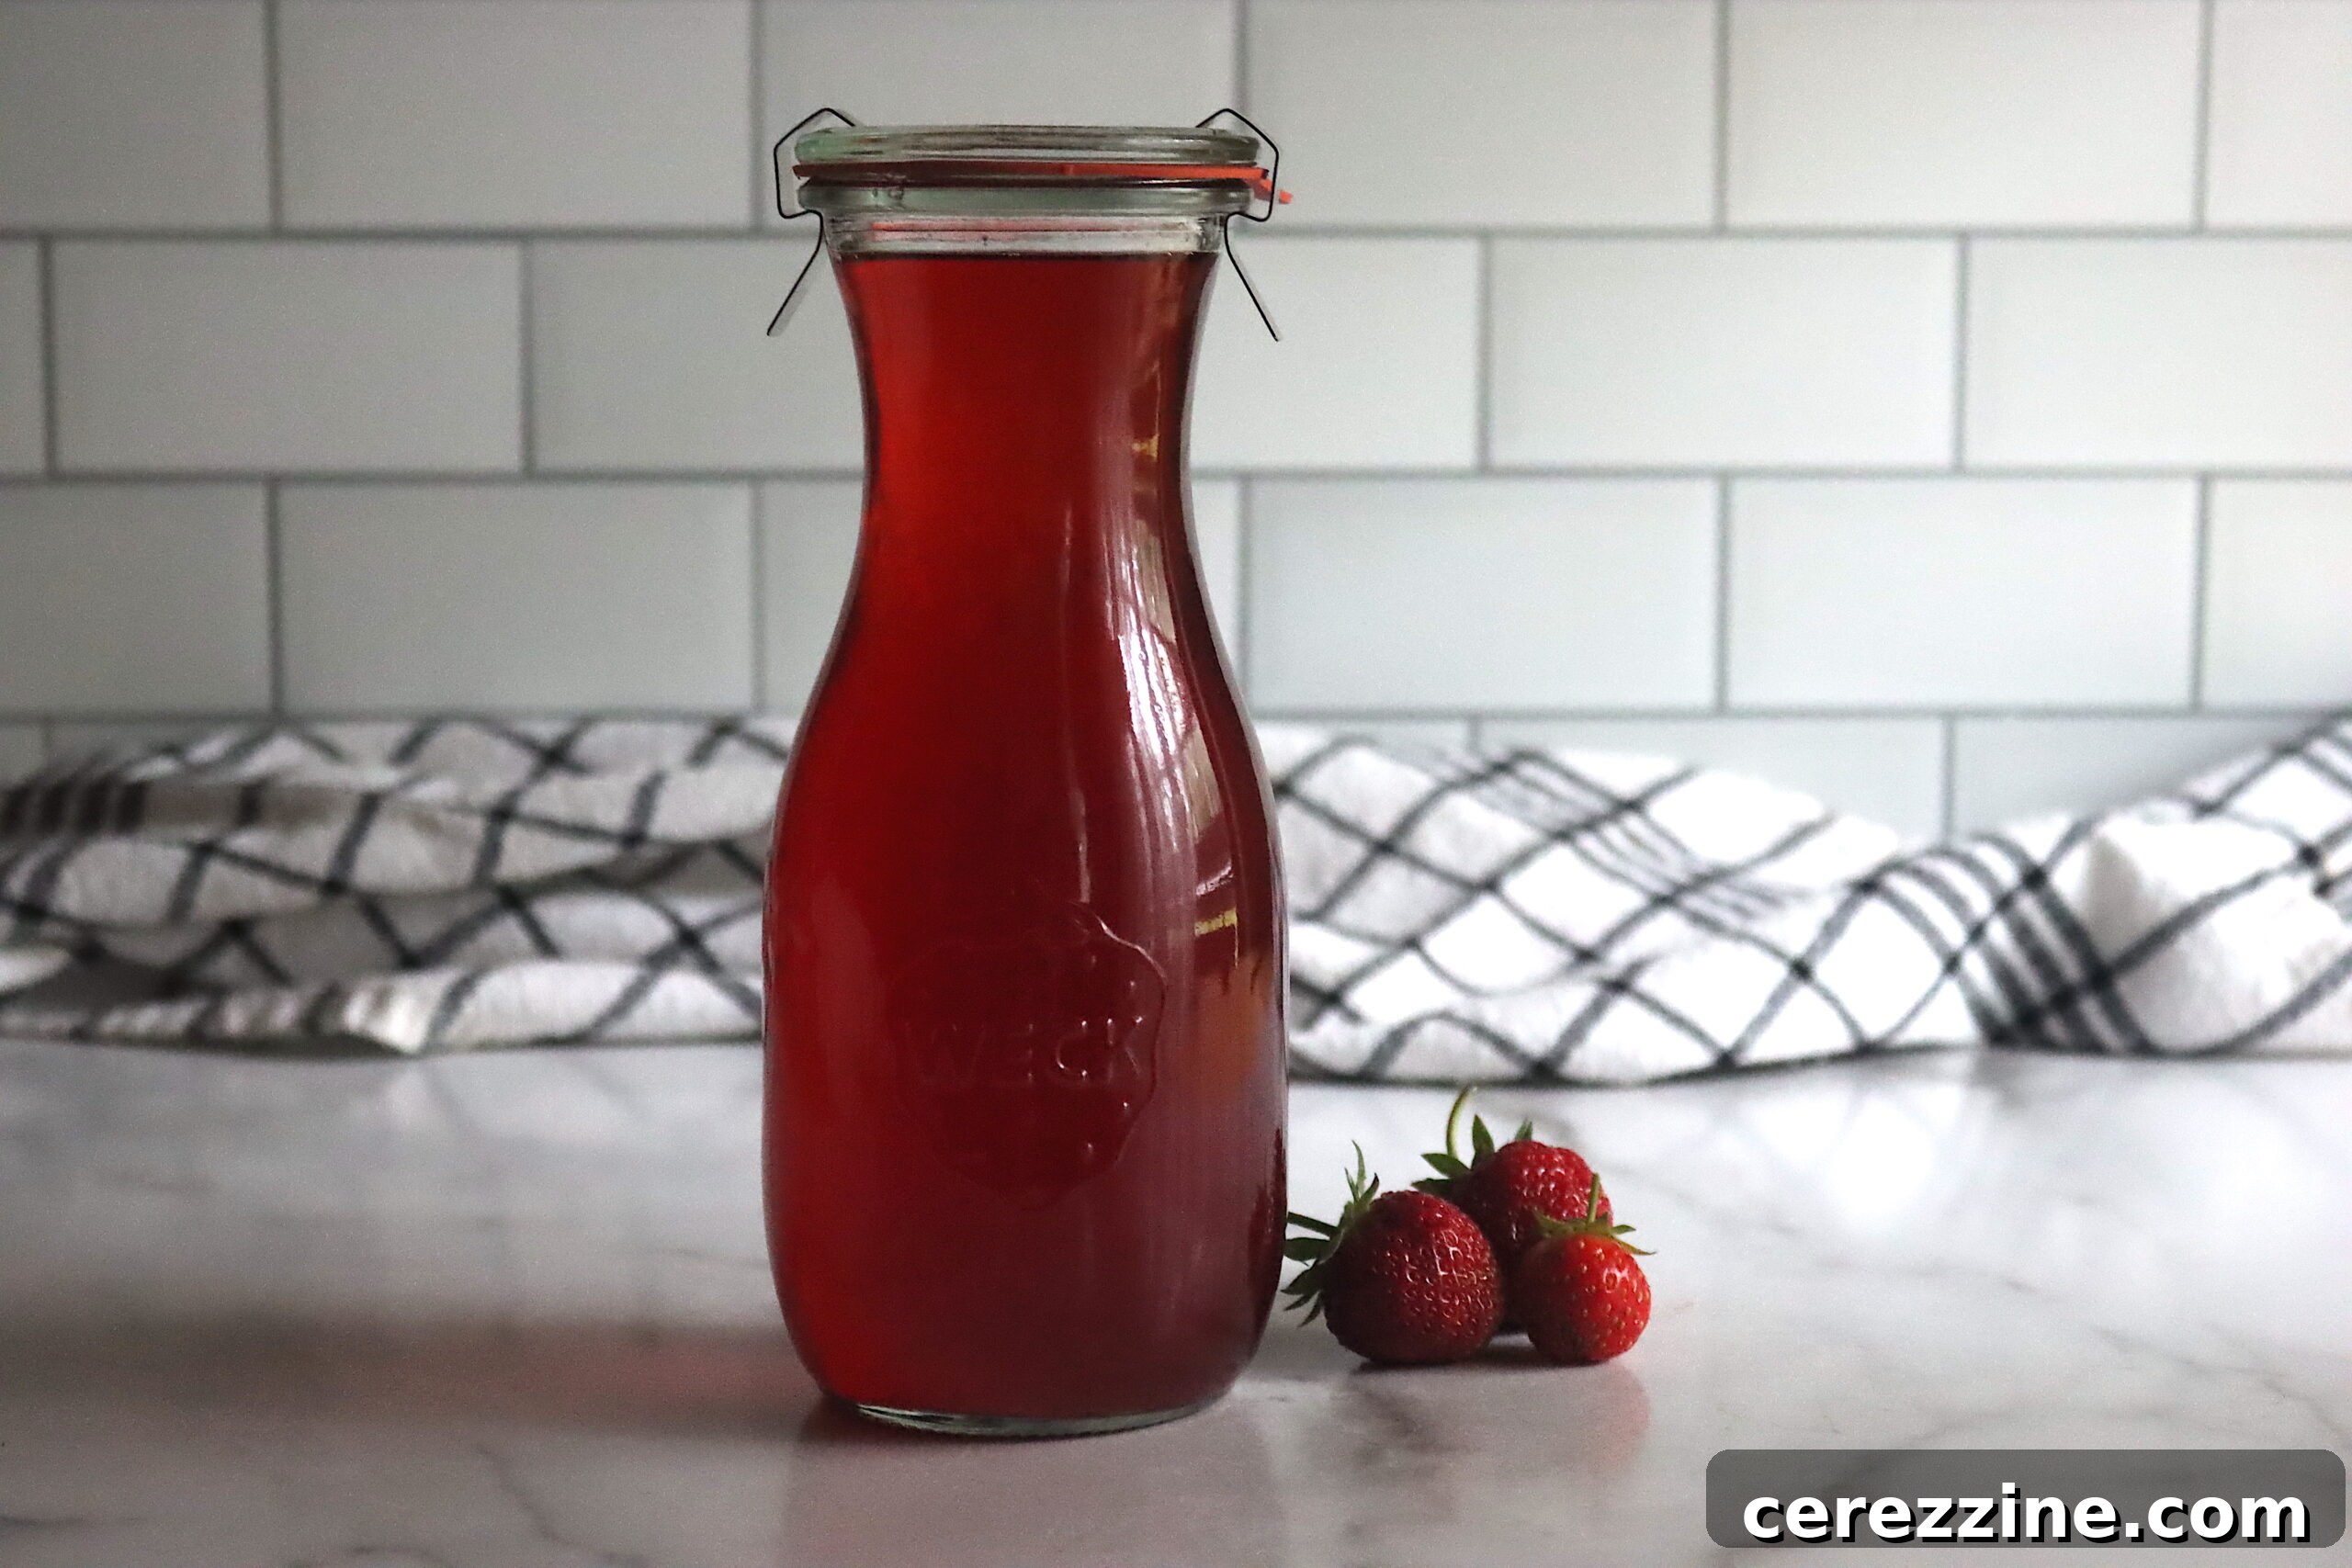
While classic homemade strawberry jam holds a special place in the hearts of home preservers, strawberry syrup presents a distinct and equally rewarding alternative. Unlike chunky jams, which are perfect for spreading, syrup boasts a smooth, pourable consistency that opens up a different realm of culinary applications. It effortlessly blends into beverages, drizzles beautifully over desserts, and can be incorporated into recipes where a thicker preserve wouldn’t quite fit.
Beyond its versatility, crafting strawberry syrup from scratch offers numerous advantages over store-bought options. You gain complete control over the ingredients, ensuring your syrup is free from artificial colors, flavors, high-fructose corn syrup, or unnecessary preservatives. The result is a pure, intense strawberry flavor that simply cannot be replicated by commercial products. It’s a taste of authentic freshness and natural sweetness that transforms everyday meals and treats into something truly special.
Choosing and Preparing the Best Strawberries
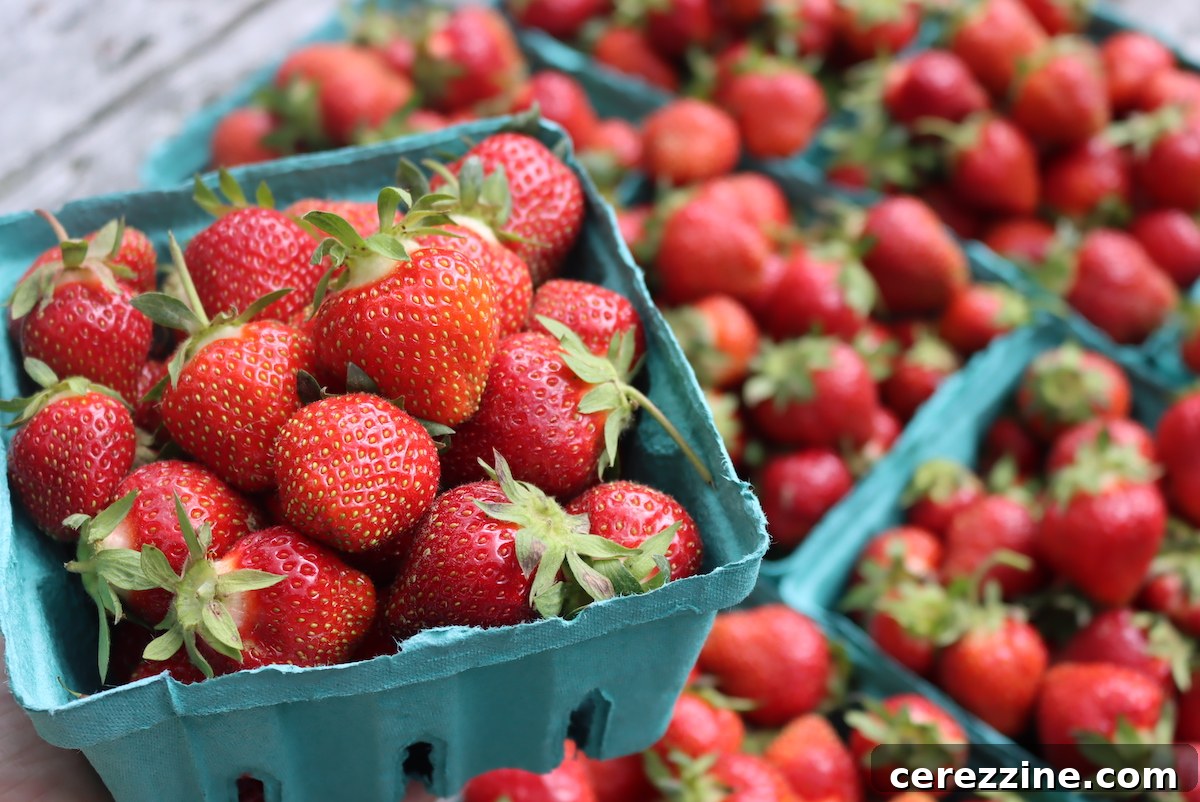
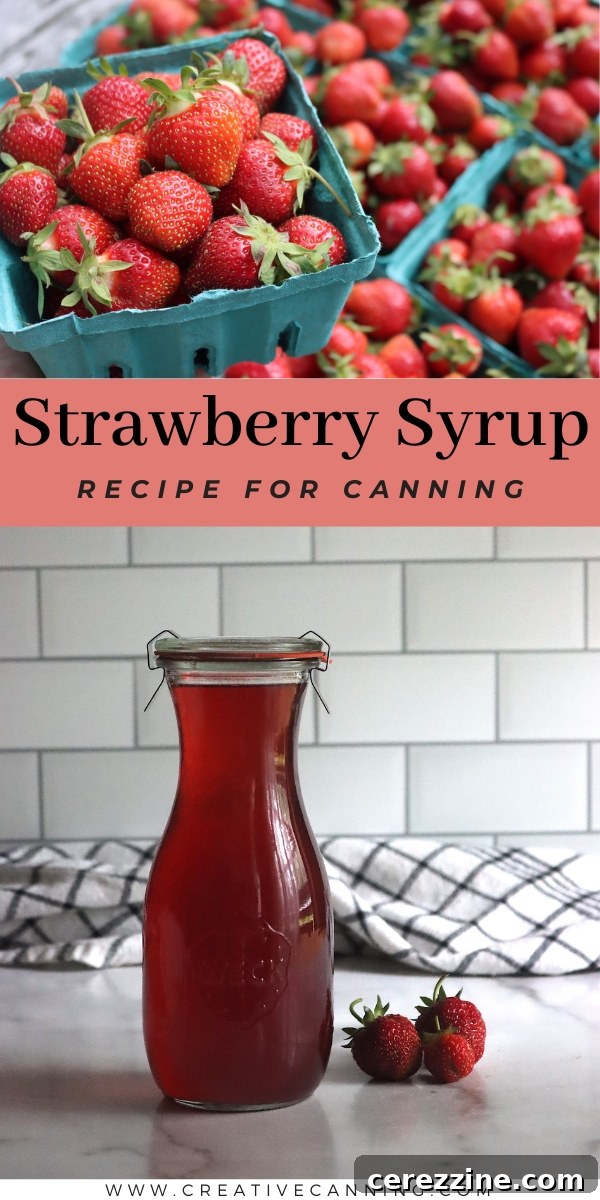
The foundation of an exceptional strawberry syrup lies in selecting the highest quality fruit. For optimal flavor, aroma, and juice yield, always choose fresh, perfectly ripe strawberries. Look for berries that are:
- Bright Red: Indicating full ripeness and sweetness throughout.
- Plump and Firm: Avoid any that are shriveled or excessively soft.
- Fragrant: A strong, sweet strawberry aroma is a clear sign of good flavor.
Steer clear of underripe strawberries, which tend to be tart and may not produce enough sweet juice. Similarly, avoid any berries with bruises, soft spots, or visible mold, as these can negatively impact the flavor and quality of your entire batch. If possible, source your strawberries locally and in season; these often offer the freshest and most vibrant flavors.
Once you have your perfect berries, prepare them for syrup making. Rinse the strawberries thoroughly under cool running water to remove any dirt or debris. Carefully examine each berry, discarding any that are spoiled. Remove the green stems (hull them), and then cut the strawberries into quarters or smaller pieces. This smaller size will aid in efficient mashing and maximum juice extraction during the cooking process.
Essential Ingredients for Your Homemade Strawberry Syrup
This recipe is wonderfully straightforward, requiring just a handful of ingredients to create a batch of approximately six half-pint (8-ounce) jars or three pint jars of delightful strawberry syrup. The simplicity allows the natural flavor of the strawberries to truly shine.
- 3 Quarts Fresh Strawberries: This generous amount of fruit is the heart of our syrup, providing a rich, concentrated strawberry flavor. It typically yields about 4 cups of pure strawberry juice.
- 1 Cup Water: Added during the initial cooking phase, the water helps to soften the strawberries and facilitate the release of their juices without scorching.
- ¼ Cup Fresh Lemon Juice (filtered): Squeezed from one or two lemons. While this recipe’s high sugar content makes lemon juice optional for canning safety, it is highly recommended for its flavor-enhancing properties. Lemon juice brightens the overall taste, adds a pleasant tartness that balances the sweetness, and helps to bring out the best in the strawberry flavor. Bottled lemon juice can be used, but fresh juice provides a noticeably superior taste profile.
- 4 Cups Granulated Sugar: Essential for transforming the strawberry juice into a viscous syrup and acting as a natural preservative. The sugar also contributes significantly to the syrup’s stability and shelf life, particularly when canning.
Step-by-Step Guide: Crafting Your Own Delicious Strawberry Syrup
Making homemade strawberry syrup is a rewarding process that transforms fresh berries into a liquid gold. Follow these detailed instructions carefully for the best results:
1. Prepare the Strawberries
After rinsing and inspecting your strawberries, remove all green stems and any undesirable spots. Cut the clean berries into quarters or smaller pieces. This increases the surface area, making them easier to mash and more efficient at releasing their juice.
2. Mash the Berries Thoroughly
Place the prepared strawberries into a large, sturdy pot or bowl in small, manageable batches. Using a potato masher or a robust spoon, firmly crush the strawberries until they are well broken down. The goal is to rupture the fruit cells, releasing as much liquid as possible for maximum juice extraction.
3. Cook for Juice Extraction
Transfer all the mashed strawberries into a large jam pot or stockpot. Add the 1 cup of water to the pot. Place the pot over medium-high heat and bring the mixture to a full boil, stirring frequently to prevent sticking. Once boiling, reduce the heat to medium-low, cover the pot, and let the strawberries simmer gently for 10 minutes. This simmering process further softens the fruit and extracts maximum juice and flavor.
4. Cool and Skim
Remove the pot from the heat and take off the cover. Using a spoon or rubber spatula, carefully skim off any foam that has accumulated on the surface of the cooked strawberries. Allow the mixture to sit, uncovered, and cool for approximately 15 minutes. This brief cooling period helps the fruit solids settle, making the initial straining process more effective.
5. First Strain: Separating Solids from Liquid
Set a fine mesh sieve over a large, clean bowl or another pot. Ladle a portion of the cooled strawberry mixture into the sieve. Allow the natural juices to slowly drain through into the bowl below. For the most efficient straining, work in small batches, letting each portion drain for about 30 minutes. Once a batch has yielded its liquid, remove the remaining strawberry pulp (which can be saved for fruit leather or composted), and add another portion of the cooked berries. Continue this process until all the strawberry mixture has been strained, collecting as much juice as possible.
6. Second Strain: Refining with Cheesecloth
After the initial straining, thoroughly wash the mesh sieve to remove any residual pulp. Line the clean sieve with 3 to 4 layers of high-quality cheesecloth. Position this cheesecloth-lined sieve over a clean bowl or pot. Carefully pour the strawberry juice collected from the first strain through the cheesecloth. This step is crucial for capturing finer particles and ensures a clearer syrup. Allow the liquid to drain completely, without pressing the pulp, until it stops dripping. Discard the cheesecloth and any trapped sediment.
7. Final Strain for Crystal Clarity
For a truly sparkling and crystal-clear syrup, perform one final straining step. Line your clean sieve with a fresh paper coffee filter. Place this over yet another clean large bowl or pot. Pour the partially filtered strawberry juice through this coffee filter-lined sieve. The coffee filter acts as a super-fine barrier, guaranteeing an exceptionally clear syrup with no visible pulp. Once all the juice has passed through, your primary ingredient for the syrup is ready.
8. Measure Your Strawberry Juice
Accurately measure out exactly 4 cups of the meticulously strained strawberry juice. If you find you are slightly short of this amount, you can top it off with a small quantity of plain water or a mild, complementary fruit juice like apple or cranberry juice. However, if you have a significant shortfall, it’s recommended to prepare an additional small batch of strawberries following the initial cooking and straining steps to reach the full 4 cups for optimal flavor and syrup consistency.
9. Prepare for Syrup Making & Optional Canning
At this stage, if you intend to preserve your syrup through canning, ensure your canning jars are clean, sterilized, and kept hot. Also, prepare your hot water bath canner, filling it with water and bringing it to a gentle simmer so it’s ready when needed.
10. Combine Juice and Dissolve Sugar
Pour the measured 4 cups of filtered strawberry juice into a clean, heavy-bottomed jam pot or saucepan. Squeeze fresh lemons to yield precisely ¼ cup of lemon juice. Filter this lemon juice through a fine sieve or a piece of cotton cloth to remove any pulp or seeds, then add it to the strawberry juice in the pot. Stir in the 4 cups of granulated sugar. Place the pot over medium-low heat and stir continuously until all the sugar is completely dissolved. This step is vital to prevent crystallization in your finished syrup and ensures a smooth texture.
11. Boil and Simmer to Syrup Perfection
Once the sugar has fully dissolved, increase the heat to medium-high and bring the syrup mixture to a full, rolling boil, stirring occasionally to prevent it from boiling over. Once a vigorous boil is achieved, reduce the heat to medium-low and allow the syrup to simmer gently for 15 minutes, uncovered. This simmering time allows the syrup to thicken slightly and for the flavors to meld beautifully. After simmering, remove the pan from the stove and, if necessary, skim off any remaining foam from the surface using a spoon or rubber spatula.
12. Fill Jars and Prepare for Storage
Carefully ladle or pour the hot strawberry syrup into your prepared hot jars, ensuring you leave precisely ¼ inch of headspace at the top of each jar. Using a canning funnel with a ¼-inch lip is highly recommended as it helps achieve accurate headspace and minimizes spills of the hot syrup. Promptly wipe the rims of the jars with a clean, damp cloth to remove any drips or residue; this is critical for ensuring a proper seal. Cap the jars immediately with the two-part canning lids (the flat sealing lid and the screw band).
Preserving Your Homemade Strawberry Syrup: Storage Options
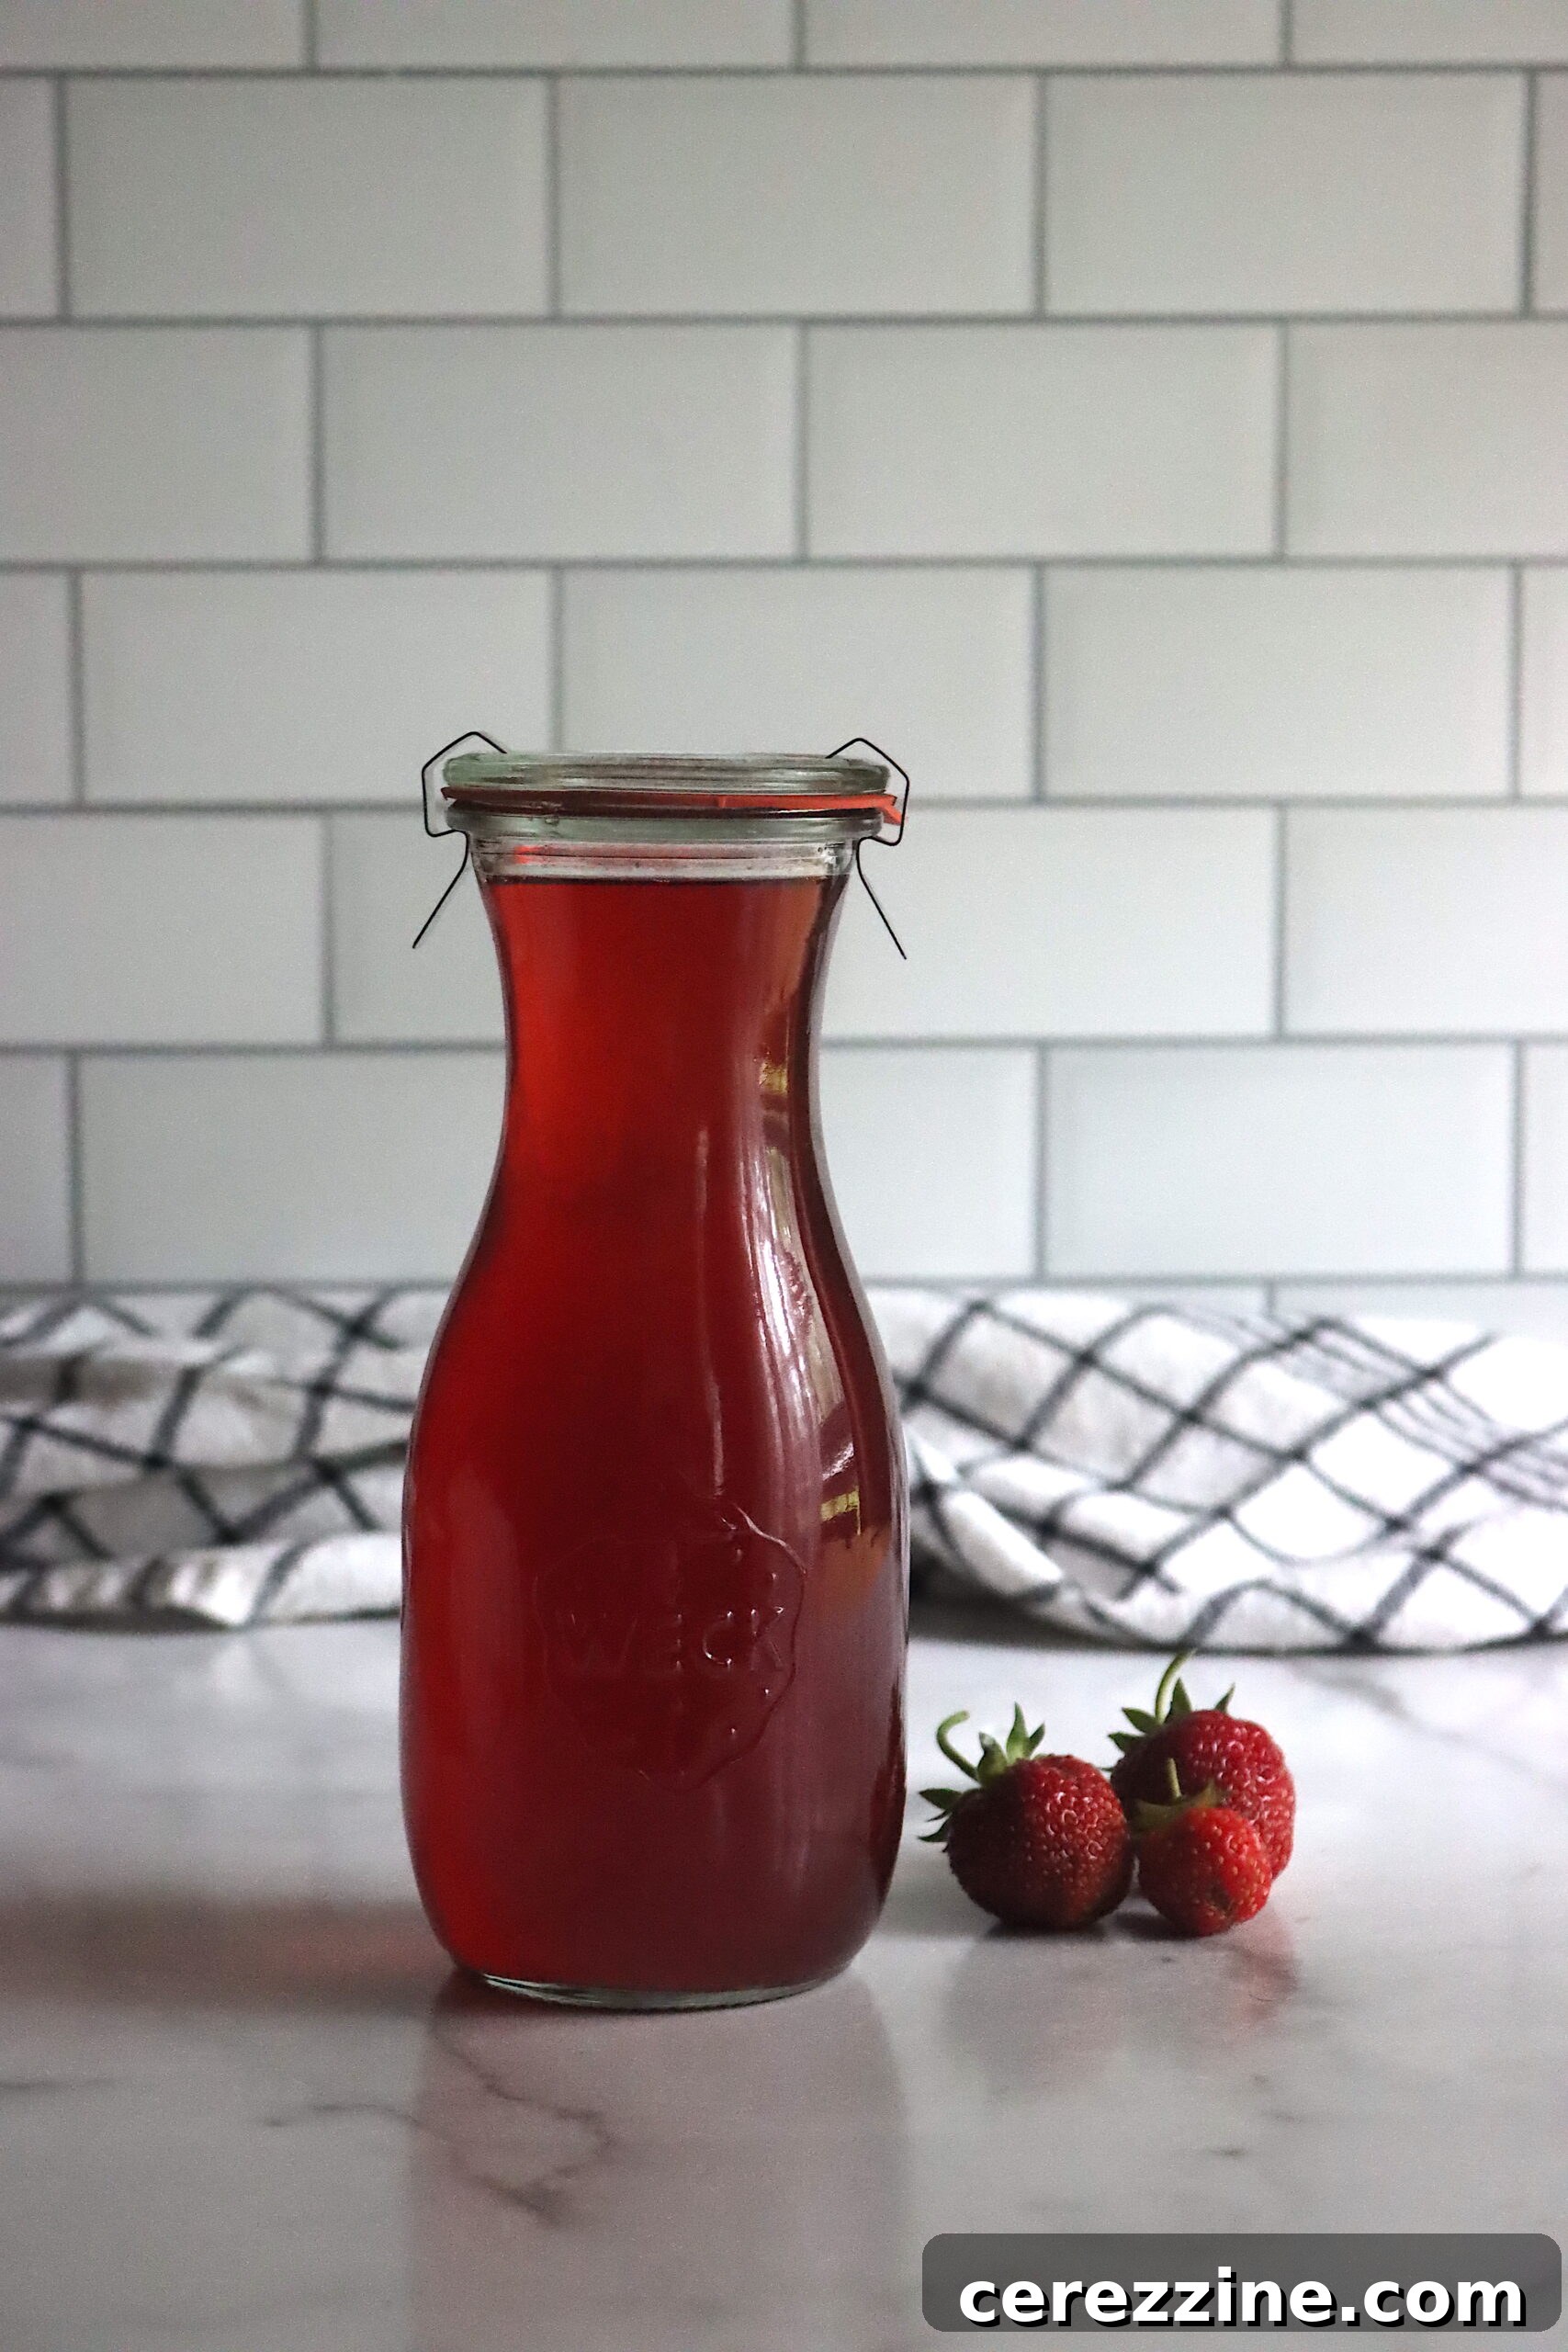
Once you’ve crafted your delectable strawberry syrup, you have several excellent options for preserving it, depending on your intended usage and desired shelf life.
Short-Term Storage: Refrigeration
If you anticipate using your homemade strawberry syrup within approximately one month, refrigeration is a perfectly suitable and simple storage method. After you’ve filled your jars, allow them to cool completely to room temperature on your kitchen counter. Once cooled, transfer the sealed jars to your refrigerator. The syrup will maintain its vibrant flavor and quality for up to 1 month.
Mid-Term Storage: Freezing
For a slightly extended shelf life, homemade strawberry syrup freezes exceptionally well. After the syrup has cooled to room temperature, pour it into freezer-safe containers, ensuring you leave at least an inch of headspace to accommodate for expansion during freezing. Alternatively, for convenient smaller portions, you can freeze the syrup in ice cube trays, then transfer the frozen cubes to a freezer-safe bag. Frozen strawberry syrup will retain its quality for up to 6 months. Simply thaw it in the refrigerator overnight before use.
Long-Term Storage: Hot Water Bath Canning for Pantry Stability
For ultimate convenience and pantry-stable storage, hot water bath canning is a reliable and time-tested method. Properly processed and sealed jars of strawberry syrup do not require refrigeration until they are opened. When stored in a cool, dark pantry or cellar, your canned syrup will maintain its peak quality for up to 18 months, allowing you to enjoy the taste of fresh strawberries far beyond their season.
If you are a novice canner or would like a detailed refresher on safe canning practices, it is strongly recommended to consult a reputable guide on water bath canning. These resources provide essential information on necessary supplies, safety precautions, and step-by-step instructions for successful preservation. Always prioritize food safety when canning.
Detailed Canning Instructions:
- Prepare Canning Setup: Before you start, ensure your canning jars are sterilized and kept hot. Your two-part canning lids (flat sealing lids and screw bands) should also be ready. Fill your hot water bath canner with water and bring it to a simmer (around 180°F / 82°C).
- Fill Hot Jars: Carefully ladle or pour the hot strawberry syrup into your hot, prepared mason jars, leaving precisely ¼ inch of headspace at the top of each jar.
- Clean Rims: Using a clean, damp cloth or paper towel, meticulously wipe the rims of each jar. Any syrup residue can interfere with the sealing process.
- Apply Lids and Bands: Center a flat lid onto each jar rim. Then, screw on the canning ring until it is “finger-tight.” This means it’s snug but not overtightened, allowing air to escape during processing.
- Load Canner: Using a jar lifter, carefully place the filled, lidded jars into the prepared hot water bath canner. Ensure that the water level covers the tops of all jars by at least one inch. If needed, add more simmering water.
- Process Jars: Bring the water in the canner to a vigorous, rolling boil. Once boiling, begin timing the processing.
- For half-pint (8-ounce) jars: Process for 10 minutes. If you reside above 6,000 feet in elevation, increase this processing time to 15 minutes.
- For pint jars: Process for 15 minutes. If you reside above 6,000 feet in elevation, increase this processing time to 20 minutes.
- Cool Down Period: When the processing time is complete, turn off the heat under the canner. Leave the jars undisturbed in the hot water for an additional five minutes. This helps prevent thermal shock to the jars and assists in creating a strong seal.
- Remove and Cool: Using the jar lifter, carefully remove the hot jars from the canner. Place them upright on a towel-lined counter, ensuring there is space between each jar for air circulation. Allow them to cool completely, undisturbed, for a full 24 hours. You may hear “pinging” sounds as the lids seal – a reassuring sign!
- Check Seals: After 24 hours, check all jars to confirm they have properly sealed. The center of the lid should be concave (curved inwards) and should not flex when pressed. If any jars did not seal (the lid springs back), store those jars of syrup in the refrigerator and consume them within one month.
With proper canning, your homemade strawberry syrup will be a versatile pantry staple, ready to be enjoyed throughout the year. Remember to refrigerate any jar promptly after opening to maintain freshness and quality.
Creative Variations for Your Strawberry Syrup
While the pure, bright flavor of classic strawberry syrup is delightful on its own, it also provides an excellent canvas for culinary creativity. Experiment with these variations to craft unique flavor profiles:
- Tart Berry Infusion: To introduce a refreshing zing and subtly cut through the sweetness, consider adding other tart berries. Incorporate a handful of fresh or frozen cranberries or tart cherries along with your strawberries during the initial cooking phase. Ensure these additional berries pop open, and gently mash them with a spoon as they cook to fully release their vibrant juices and flavors.
- Mellow Fruit Blend: For a softer, more nuanced strawberry flavor, or if you’re slightly low on strawberry juice, try blending fruit juices. Use 3 cups of strawberry juice and complement it with 1 cup of mild white grape juice or crisp apple juice in your syrup. This combination yields a beautifully balanced and less intense berry profile.
- Vanilla Elegance: Elevate your syrup with the warm, sophisticated notes of vanilla. You can achieve this by adding a split vanilla bean directly to the syrup while it simmers, removing it just before jarring. Alternatively, stir in 1 to 2 teaspoons of high-quality pure vanilla extract after the syrup has finished cooking and has been removed from the heat.
- Aromatic Herbal Notes: For an unexpectedly refreshing and gourmet twist, infuse your syrup with fresh herbs. A sprig of fresh mint or a few basil leaves added during the simmering stage can impart a wonderfully subtle aromatic complexity. Always remove the herbs before jarring the syrup.
- Spiced Warmth: A tiny pinch of freshly ground black pepper, a hint of cardamom, or a whisper of cinnamon can introduce a sophisticated warmth to your strawberry syrup. These spices create an intriguing flavor profile perfect for drizzling over decadent desserts or even pairing with savory dishes like roasted duck.
Delicious Ways to Enjoy Your Homemade Strawberry Syrup
The versatility of homemade strawberry syrup is truly remarkable, allowing it to transform ordinary meals and drinks into extraordinary culinary experiences. Its vibrant flavor and beautiful color make it a fantastic addition to almost any course. Here are just a few inspiring ways to incorporate your handcrafted syrup:
- Breakfast and Brunch Delights: Take your morning meal to the next level by generously drizzling strawberry syrup over classic buttermilk pancakes, golden waffles, or a stack of French toast. It’s equally fantastic stirred into a warm bowl of oatmeal, swirled into creamy Greek yogurt, or poured over a crunchy granola parfait.
- Irresistible Beverages: Create refreshingly delicious drinks by mixing a spoonful of strawberry syrup into a glass of homemade lemonade, iced tea, or sparkling water for a natural, fruit-infused soda. It’s an indispensable ingredient for vibrant strawberry milkshakes, fruit smoothies, and can even be used as a mixer in creative cocktails or sophisticated mocktails.
- Decadent Dessert Topping: Turn simple desserts into showstoppers. Pour strawberry syrup generously over slices of delicate angel food cake or moist sponge cake, serving them alongside fresh strawberries and a dollop of freshly whipped cream. It makes an exquisite topping for vanilla ice cream, panna cotta, cheesecake, or fruit tarts.
- Culinary Accents: Beyond the obvious, consider using strawberry syrup to glaze roasted meats like pork tenderloin for a sweet and savory contrast. It can also be incorporated into salad dressings for fresh greens, especially those featuring goat cheese, nuts, and additional berries, adding a unique fruity tang.
- Baking and Beyond: Use it as a soak for cake layers to add moisture and flavor, mix into buttercream frosting for a fruity touch, or incorporate into glazes for muffins and scones.
Strawberry Syrup Recipe
By Ashley Adamant
Homemade strawberry syrup is easy to make at home with just a few ingredients, perfect for preserving the vibrant taste of spring for year-round enjoyment.
Yields: Approximately 96 servings, making Six half-pint (8-oz.) or three pint jars
Prep Time: 30 minutes
Cook Time: 25 minutes
Additional Time (Straining/Cooling): Approximately 10 minutes active, plus extended passive straining time
Total Time: Approximately 1 hour 5 minutes (excluding extended straining)
Equipment
- Large jam pot or stockpot
- Potato masher or large, durable spoon
- Fine mesh sieve
- Cheesecloth
- Paper coffee filters
- Large bowls or pans for juice collection and straining
- Canning funnel (optional, but highly recommended for accuracy)
- Canning jars (half-pint or pint) with two-part lids
- Water bath canner (if canning)
- Jar lifter (if canning)
- Clean cloths for wiping jar rims
Ingredients
- 3 Quarts fresh, ripe strawberries
- 1 cup water
- ¼ cup fresh lemon juice (squeezed from 1-2 lemons, then filtered)
- 4 cups granulated sugar
Instructions
- Rinse the strawberries under cool water. Carefully remove stems, any soft or brown spots, or shriveled/moldy berries. Cut the clean strawberries into quarters or smaller pieces.
- Working in small batches, place the cut strawberries in a flat-bottomed pan or bowl and use a potato masher or durable spoon to crush them thoroughly.
- Combine all mashed strawberries in a large jam pot or stockpot. Add 1 cup of water.
- Bring the mixture to a full boil over medium-high heat, stirring occasionally to prevent sticking.
- Once boiling, reduce the heat to medium-low, cover, and gently simmer the strawberries for 10 minutes.
- Remove the pot from the stove. Uncover and skim off any foam from the surface using a spoon or rubber spatula. Allow the strawberry mixture to cool, uncovered, for 15 minutes.
- Place a fine mesh sieve over a large, clean bowl. Ladle a portion of the cooled strawberry mixture into the sieve and allow the juices to strain through naturally. Let each batch strain for approximately 30 minutes. Remove the strawberry pulp, then add another portion of mixture to the sieve. Repeat this process until all the strawberry juice has been extracted.
- Discard the strawberry pulp (or save it for fruit leather). Thoroughly wash the sieve. Line the clean sieve with 3 to 4 layers of cheesecloth. Place it over another large, clean bowl. Pour the strained strawberry juice through the cheesecloth, allowing the liquid to drain completely until it stops dripping. Discard the cheesecloth and any captured pulp.
- For an exceptionally clear syrup, perform a final strain. Line the clean sieve with a paper coffee filter and place it over a fresh, large bowl or pot. Pour the strawberry juice through this filter for ultimate clarity.
- Measure out exactly 4 cups of the filtered strawberry juice into a large saucepan or jam pot. If slightly short, top off with a little water or a mild fruit juice.
- Squeeze fresh lemons to obtain at least ¼ cup of juice. Filter the lemon juice through a fine sieve or cotton cloth to remove any pulp or seeds, then add it to the strawberry juice in the pot.
- Add 4 cups of granulated sugar to the juice mixture. Place the pot over medium-low heat and stir continuously until all the sugar is completely dissolved.
- Increase the heat to medium-high and bring the syrup to a vigorous, rolling boil, stirring occasionally.
- Once a full boil is achieved, reduce the heat to medium-low and simmer the syrup for 15 minutes, uncovered. Remove the pan from the stove and skim off any remaining foam.
- Carefully ladle or pour the hot syrup into your prepared hot jars, leaving precisely ¼ inch of headspace at the top of each jar. Wipe the rims of the jars meticulously with a clean, damp cloth.
- Immediately apply the two-part canning lids (flat sealing lid and screw band), screwing the bands on until “finger-tight.”
- If Canning: Place the filled jars into a prepared hot water bath canner. Bring water to a full boil. Process half-pint (8-ounce) jars for 10 minutes (15 minutes if above 6,000 feet elevation). Process pint jars for 15 minutes (20 minutes if above 6,000 feet elevation). After processing, turn off heat, let sit 5 minutes, then remove jars to cool undisturbed for 24 hours. Check seals.
- If Not Canning: Allow the filled jars to cool completely to room temperature. Store uncanned syrup in the refrigerator for up to 1 month, or freeze for up to 6 months. For all syrup, refrigerate immediately after opening.
- Store properly canned and sealed syrup in a cool, dry pantry or cellar for up to 18 months for best quality.
Notes
While optional, lemon juice is highly recommended in this recipe as it significantly brightens and enhances the natural strawberry flavor. Freshly squeezed lemon juice will always yield a superior taste profile compared to bottled versions.
Nutrition
(Nutritional values are approximate per serving.)
Carbohydrates: 11g
Protein: 0.2g
Fat: 0.1g
Saturated Fat: 0.005g
Polyunsaturated Fat: 0.05g
Monounsaturated Fat: 0.01g
Sodium: 1mg
Potassium: 46mg
Fiber: 1g
Sugar: 10g
Vitamin A: 4IU
Vitamin C: 18mg
Calcium: 5mg
Iron: 0.1mg
Nutrition information is automatically calculated and should only be used as an approximation.
More Delicious Strawberry Canning and Preservation Recipes
If you’ve enjoyed preserving the bounty of strawberry season with this syrup recipe, you’ll love exploring other ways to capture their delightful flavor in a jar. Here are some fantastic recipes for more strawberry preservation projects:
- 30+ Strawberry Canning Recipes
- Pickled Strawberries
- Strawberry Lemonade Concentrate
- Old Fashioned Strawberry Jam
- Strawberry Pie Filling
Embarking on the journey of creating your own homemade strawberry syrup is a wonderfully rewarding culinary endeavor. It not only allows you to capture the peak flavor of fresh, seasonal strawberries but also equips you with a versatile, delicious ingredient that can elevate countless dishes and beverages. Whether you opt for the simplicity of refrigeration, the convenience of freezing, or the long-term stability of water bath canning, you’ll have a taste of spring ready to brighten your meals and treats throughout the entire year. Enjoy the sweet rewards of your labor and happy syrup making!