
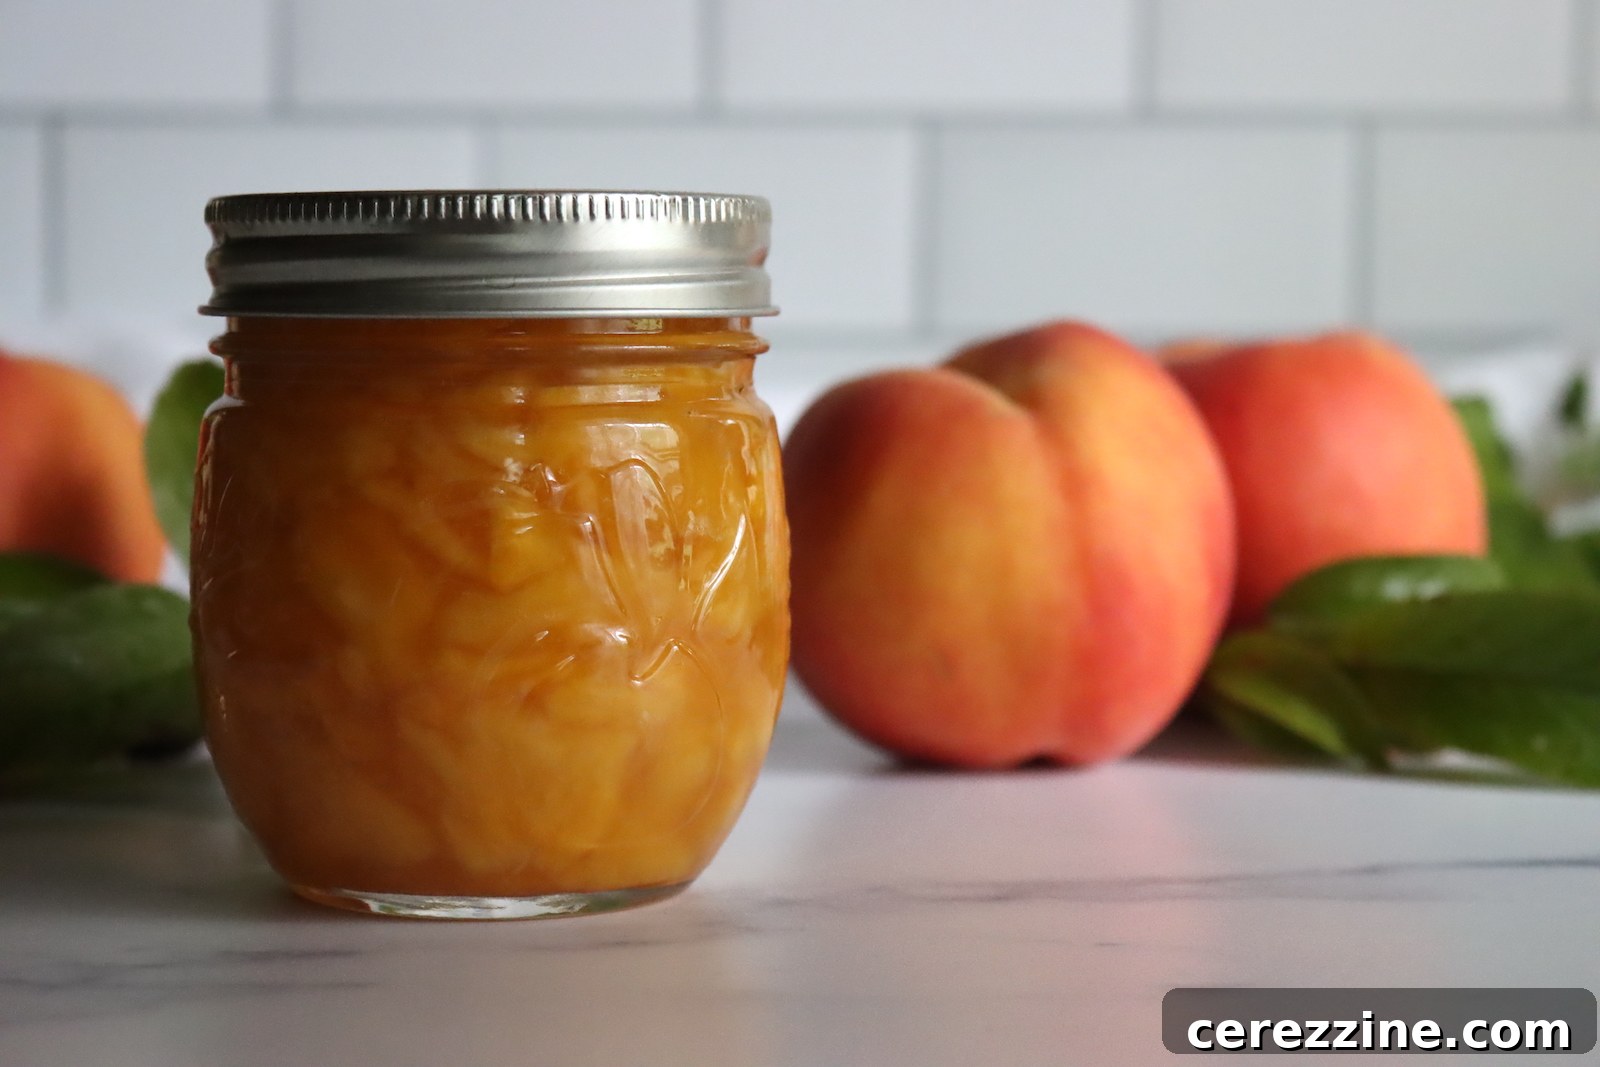
There’s nothing quite like the vibrant, sun-kissed flavor of fresh, ripe peaches, especially when they’re transformed into a glistening, homemade jam. This comprehensive guide provides a versatile peach jam recipe, perfect for capturing the essence of summer in a jar. Whether you have a small basket of fruit or a bountiful harvest, our adaptable instructions cover both small-batch and full-batch preparations. Get ready to fill your pantry with this delightful preserve, a true taste of sunshine to be enjoyed all year long.
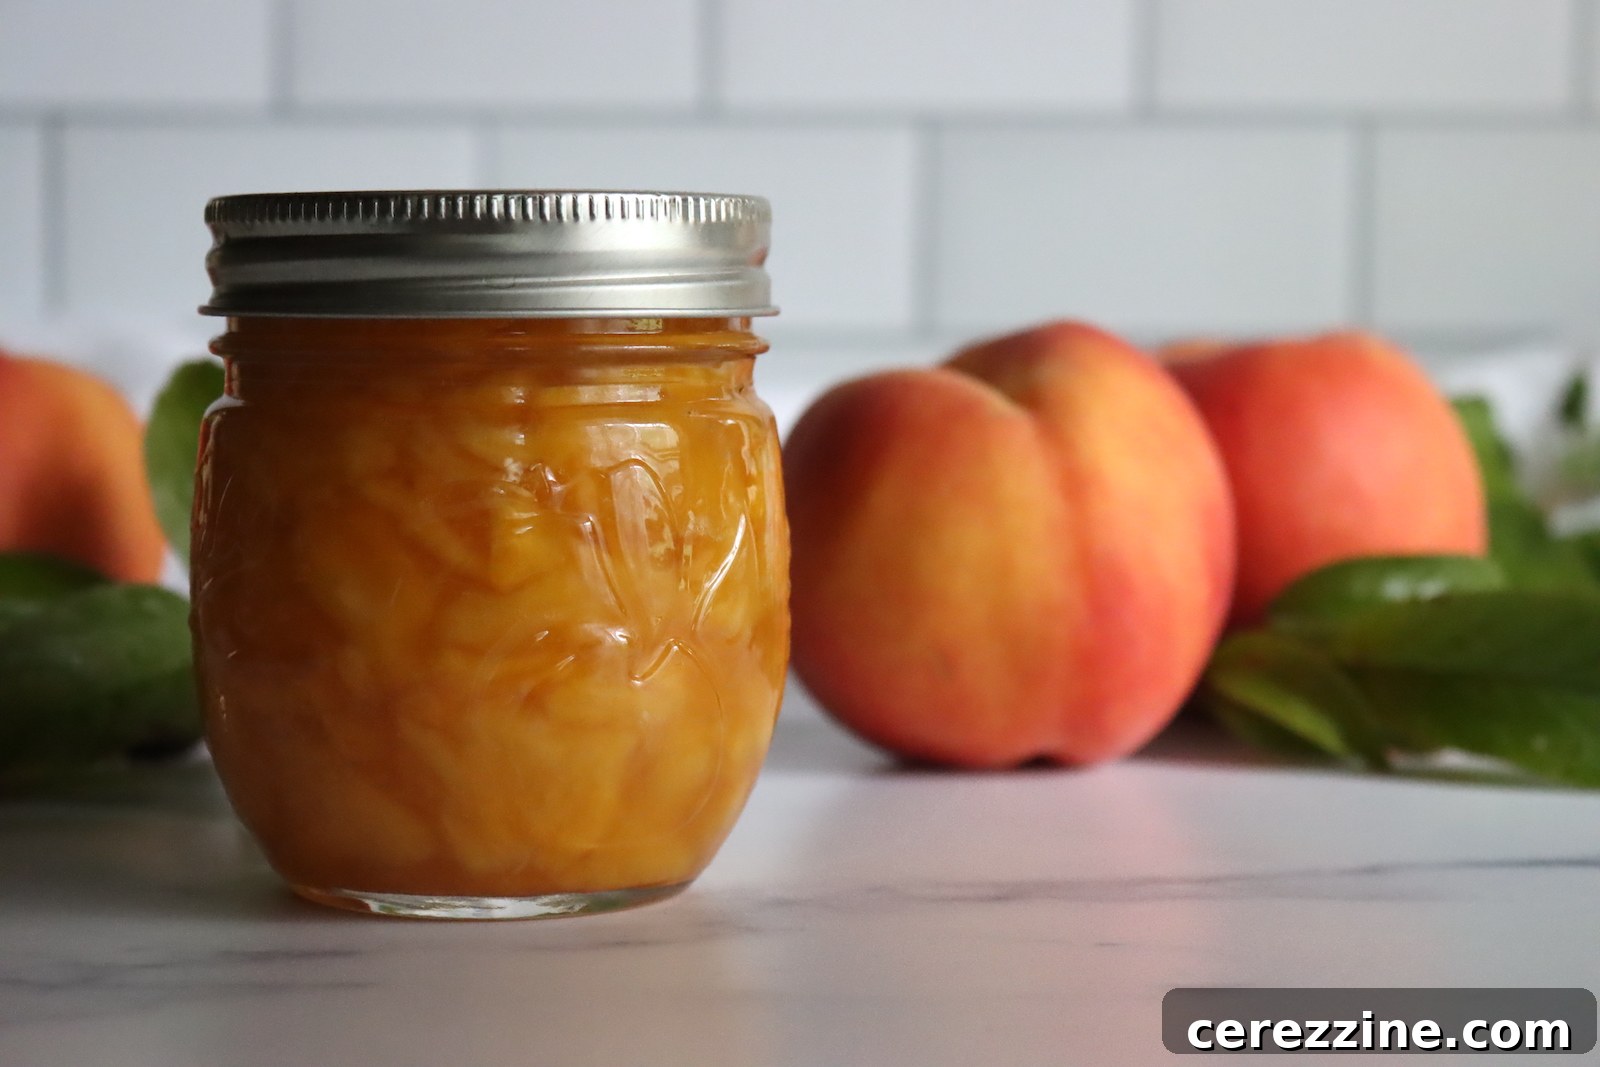
While some regions are world-renowned for their sprawling peach orchards, it might surprise you to learn that even in colder climates, dedicated growers cultivate hardy peach varieties that thrive. Regardless of whether your peaches come from your backyard tree, a local farmer’s market, or a community food co-op, the annual tradition of making peach jam is a cherished summer ritual. Some years bless us with an incredible abundance, leading to countless jars of this golden nectar, while in other seasons, a smaller yield makes each precious half-pint even more special.
This recipe builds upon classic canning wisdom, adapted to provide maximum flexibility and ease. We’ll clarify the process of using pectin, whether you’re opting for traditional boxed pectin or a convenient, measure-as-you-go “flex batch” variety. The beauty of this recipe lies in its adaptability, allowing you to scale it perfectly to your needs, ensuring that every ripe peach finds its way into a delicious jar of homemade jam.
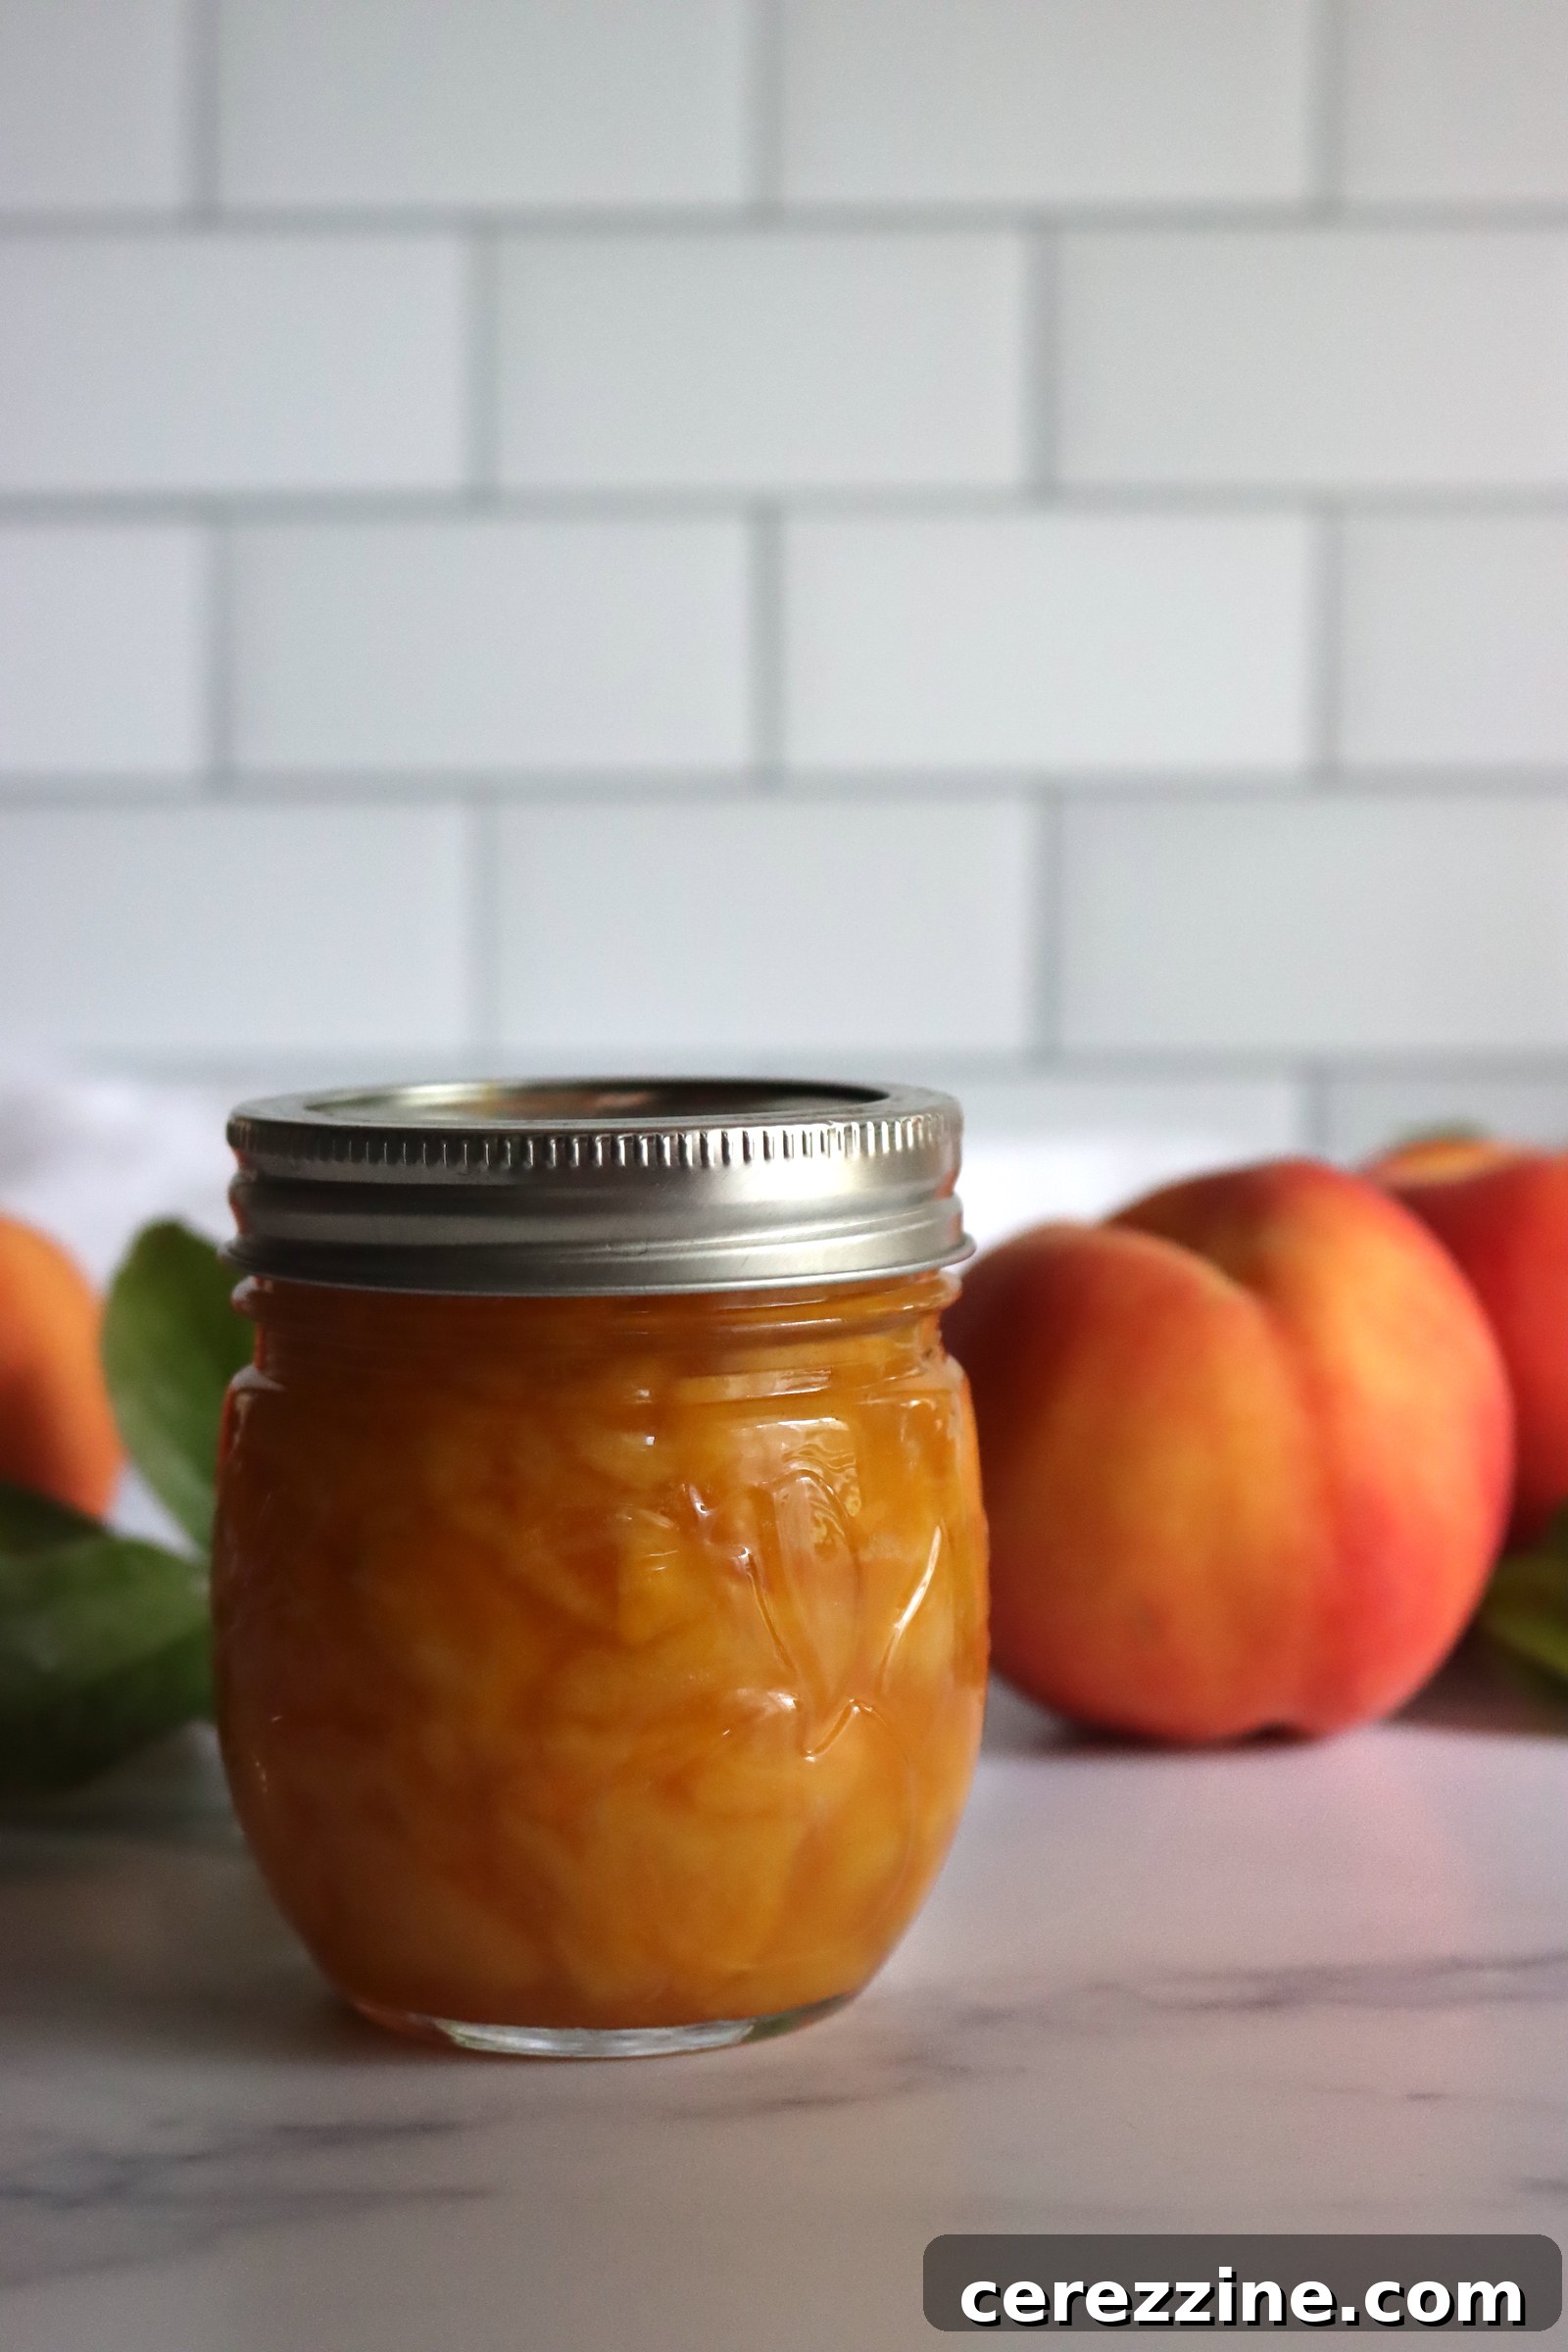
Selecting Perfect Peaches and Mastering Essential Ingredients
Crafting truly exceptional peach jam begins with selecting the finest ingredients. For a preserve that bursts with fresh fruit flavor, you’ll need ripe, aromatic peaches, high-quality pectin, granulated sugar, and a touch of lemon juice. Each component plays a vital, specific role in achieving the perfect balance of taste, texture, and safe preservation.
Choosing Your Peaches Wisely
The star of our jam, peaches should be fully ripe, fragrant, and yield slightly to gentle pressure. Yellow-fleshed peaches are the top choice for canning and jam-making due to their naturally higher acidity. This acidity is a critical factor for food safety when using the water bath canning method. It is highly recommended to avoid using white peaches in this recipe, as their significantly lower acidity levels make them unsuitable for traditional water bath canning without complex and potentially flavor-altering acidification adjustments.
Whether you choose clingstone peaches (where the flesh adheres tightly to the pit) or freestone peaches (where the pit separates easily), ensure your fruit is fresh, firm, and free from bruises or blemishes. The exact amount of peaches required can vary slightly based on their size and how efficiently you peel and pit them. As a general guideline, plan for approximately 1.5 to 2 pounds of whole peaches for a small batch (yielding about 3 cups of chopped fruit), and 3 to 4 pounds for a full batch (yielding around 6 cups).
Demystifying Pectin: The Gelling Agent
Pectin is a naturally occurring polysaccharide found in fruits, essential for giving jam its characteristic gel-like consistency. For this recipe, we provide options for using two common types of powdered pectin:
- Ball Flex Batch Pectin: This convenient pectin comes in a canister, allowing you to measure out the precise amount needed for your chosen batch size. It simplifies the process of scaling recipes up or down.
- Sure-Jell (or similar powdered pectin): Typically sold in pre-measured boxes, a standard full box (approximately 1.75 oz) contains roughly 6 tablespoons of pectin. For a half batch, you would simply measure out 3 tablespoons.
The core principle to remember is that a precise fruit-to-pectin ratio is paramount for achieving a consistent and appealing set. Don’t worry about needing a specific brand; understanding the measurement equivalence allows you to use whichever powdered pectin is most readily available to you.
The Sweet Role of Sugar
Sugar in jam serves multiple crucial purposes: it acts as a vital preservative, contributes significantly to the delicious sweet flavor, and works in conjunction with pectin and acid to create the desired gel. This classic peach jam recipe calls for a substantial amount of sugar, resulting in a rich, traditional preserve with a delightful texture. However, for those seeking a less sweet option, guidance for a low-sugar alternative is provided further below.
Lemon Juice: Balancing Flavor and Ensuring Safety
While yellow peaches possess natural acidity, adding a touch of lemon juice fulfills two critical functions in jam making:
- Flavor Enhancement: Peaches are inherently sweet, and the bright tartness of lemon juice beautifully balances their flavor profile, preventing the jam from tasting overly sweet or flat. It truly enhances the fruit’s natural zest.
- Canning Safety: For successful and safe water bath canning, consistent acidity levels are absolutely vital to inhibit the growth of harmful bacteria. Although yellow peaches are generally considered acidic enough, lemon juice provides an extra layer of assurance and pH consistency, especially important given natural variations in peach ripeness and variety. Always use fresh or bottled lemon juice for consistent acidity, never lemon extract, which lacks the necessary acidic properties.
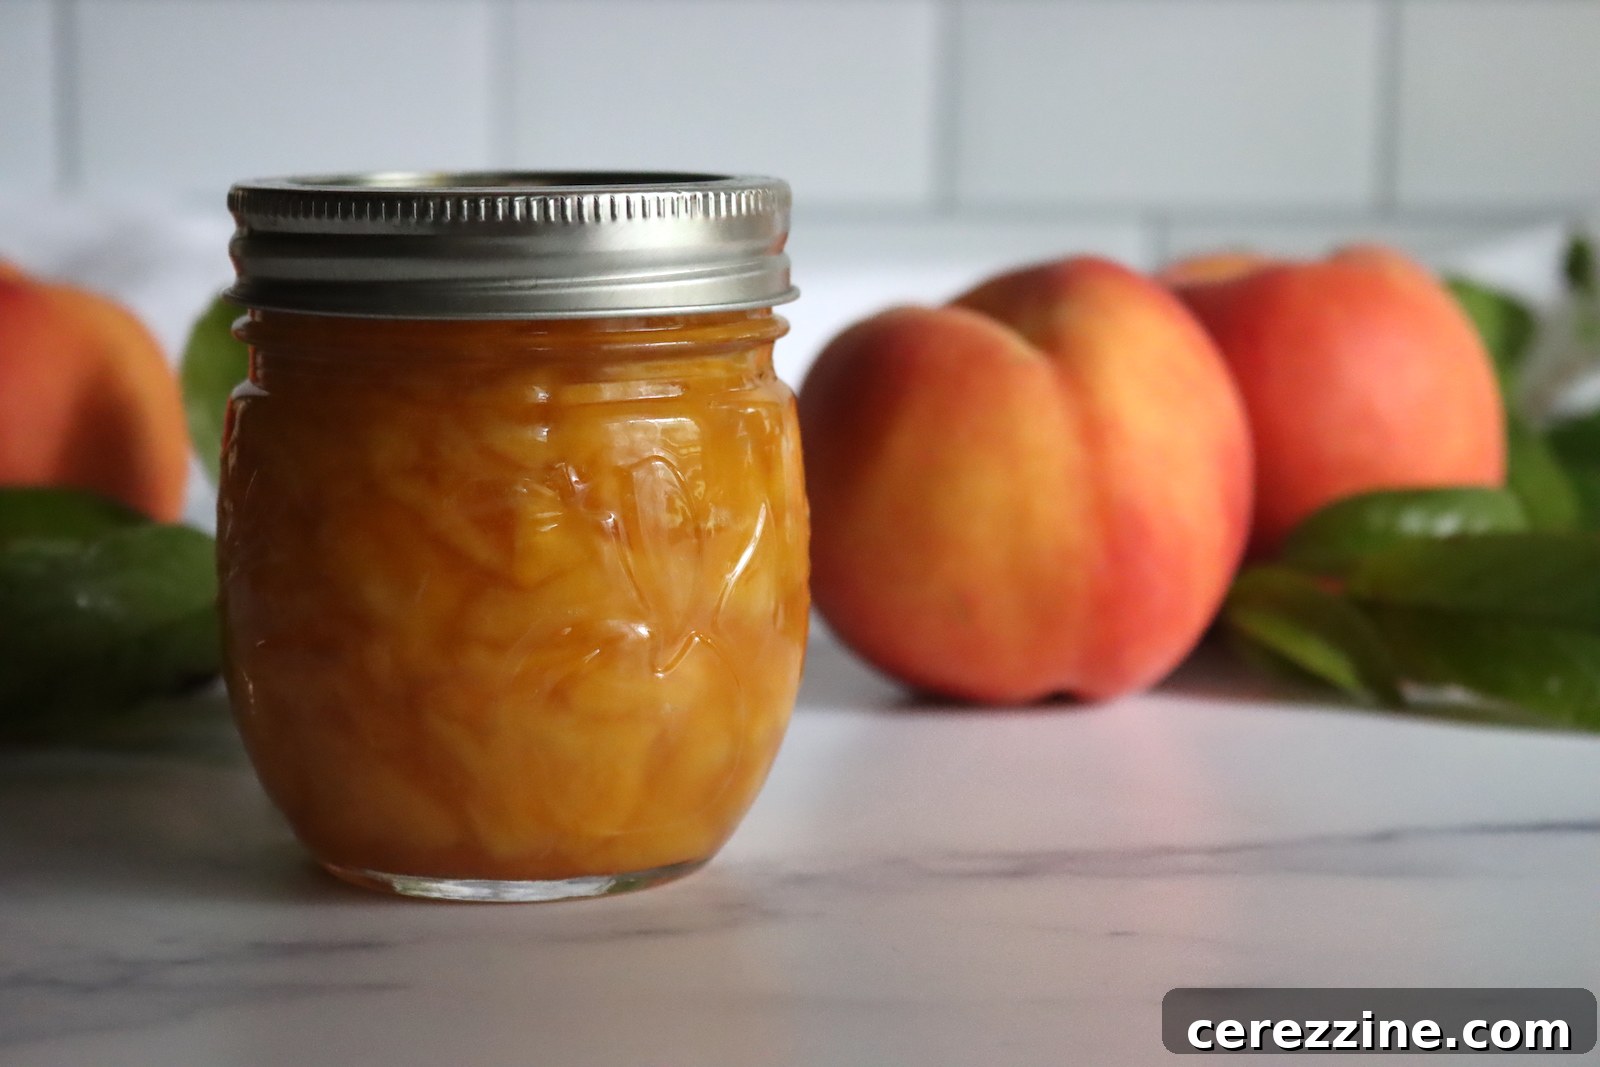
The Ultimate Peach Jam Recipe: Small and Full Batches
This versatile recipe is designed to cater to your needs, whether you’re making a cozy small batch to enjoy immediately or preserving a bountiful harvest for long-term storage. Choose the option that best suits your supply of fresh, ripe peaches.
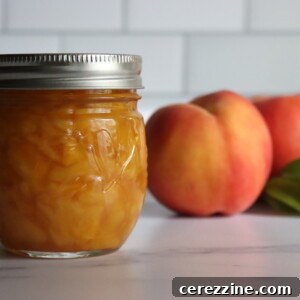
6 to 12 half-pint jars (depending on batch size)
Classic Peach Jam Recipe
10-15
5-8
10-15
25-38
Equipment
-
Water Bath Canner (optional, for long-term storage)
-
Large Non-Reactive Pot (Stainless Steel or Enamel)
-
Canning Jars with Lids and Bands (half-pint or pint recommended)
-
Basic Canning Tools: Jar Lifter, Canning Funnel, Ladle
-
Potato Masher (optional, for smoother jam)
Ingredients
Small Batch Recipe (Yields approx. 6 half-pint jars)
- 3 cups chopped peaches (fully ripe, peeled, and pitted before chopping; approx. 1.5-2 lbs whole peaches)
- 3 Tbsp. Ball Flex Batch Pectin (or 1/2 box Sure-Jell or similar powdered pectin)
- 3 1/2 cups granulated sugar
- 2 Tablespoons fresh or bottled lemon juice
Full Batch Recipe (Yields approx. 12 half-pint jars)
- 6 cups chopped peaches (fully ripe, peeled, and pitted before chopping; approx. 3-4 lbs whole peaches)
- 6 Tbsp. Ball Flex Batch Pectin (or 1 full box Sure-Jell or similar powdered pectin)
- 7 cups granulated sugar
- 1/4 cup fresh or bottled lemon juice
Instructions
-
Prepare Peaches: Wash your peaches thoroughly. For easier peeling, you can blanch them in boiling water for 30-60 seconds, then immediately transfer to an ice bath; the skins will slip right off. Alternatively, a sharp paring knife works well for smaller batches. Once peeled, cut the peaches in half, remove the pits, and chop the flesh into small, consistent chunks (about 1/4 to 1/2 inch in size). Uniform pieces ensure even cooking.
-
Prepare Canner (if canning): If you plan to water bath can your jam for shelf-stable storage, begin preparing your water bath canner, jars, lids, and rings now. Wash jars and lids thoroughly in hot, soapy water, rinse well, and keep jars hot (e.g., in simmering water) until ready to fill.
-
Combine Fruit & Lemon Juice: Place the chopped peaches and lemon juice in a large, deep, non-reactive pot (stainless steel or enamel is ideal). Ensure the pot is large enough to prevent boil-overs during cooking – it should not be more than halfway full to allow for vigorous boiling and foaming.
-
Cook Peaches: Heat the fruit mixture over medium-high heat, stirring frequently. As the peaches cook, they will soften and release their juices. Cook for about 5-8 minutes, or until the peaches are tender. For a smoother jam, you can mash some of the peaches with a potato masher at this point. For a chunkier jam, leave them as is. Bring the fruit to a full, rolling boil (a boil that cannot be stirred down).
-
Add Pectin: Once the fruit mixture is at a full rolling boil, stir in the measured pectin thoroughly until it is completely dissolved. Continue to boil hard for exactly 1 minute, stirring constantly to activate the pectin’s gelling properties and prevent scorching.
-
Introduce Sugar: Immediately after the 1-minute pectin boil, add all the granulated sugar to the pot. Stir vigorously and continuously until all the sugar is completely dissolved. This step is critical for both the jam’s flavor and its proper set.
-
Final Boil: Bring the entire jam mixture back to a full, vigorous rolling boil that cannot be stirred down. Boil hard for 1 additional minute, stirring constantly. This final rapid boil helps to ensure the jam reaches its setting point.
-
Fill Jars: Remove the hot peach jam from the heat. Carefully ladle the hot jam into your prepared jars.
- For Canning: Leave exactly 1/4 inch of headspace (the space between the jam and the rim of the jar). Wipe jar rims thoroughly with a clean, damp cloth to remove any residue, ensuring a proper seal. Center new canning lids on the jars, then apply the bands and tighten them to “fingertip tight” (snug but not overtightened).
- For Freezer Jam: Use straight-sided, freezer-safe jars and leave 1 inch of headspace to allow for expansion as the jam freezes.
-
Process (if canning): Using a jar lifter, carefully place the filled jars onto the rack in your preheated water bath canner. Ensure the jars are completely submerged in water by at least 1-2 inches. Cover the canner with its lid and bring the water to a full, rolling boil.
-
Processing Time: Once the water reaches a full rolling boil, start your timer. Process half-pint or pint jars for 10 minutes. If you are at an elevation above 6,000 feet, increase the processing time to 15 minutes to account for lower boiling points.
-
Cool Down & Check Seals: After the processing time is complete, turn off the heat and carefully remove the canner lid. Allow the jars to sit undisturbed in the hot water for an additional 5 minutes; this helps prevent siphoning (loss of liquid from the jars) and encourages a strong seal. Remove jars with a jar lifter and place them on a towel-lined counter or wire rack, ensuring there’s space between each jar for air circulation. Let them cool undisturbed for 12-24 hours. After cooling, check the seals: the center of the lid should be concave and not flex when pressed. Any jars that have not sealed properly should be stored in the refrigerator and consumed within a few weeks.
-
Store: Properly canned and sealed jars of peach jam will maintain their peak quality on the pantry shelf for 12-18 months when stored in a cool, dark place. Once opened, refrigerate and consume within a month. Freezer jam can be stored in the freezer for up to 6 months.
Notes for Perfect Peach Jam
Making Low Sugar Peach Jam
Generally, a “classic” peach jam contains a fair amount of sugar, contributing to its rich sweetness and thick consistency. If you prefer a less sweet spread, you can make peach jam as a low-sugar preserve by using a specialized low-sugar pectin. Brands like Sure Jel Low Sugar (often found in a pink box) or Ball Flex Batch Low Sugar Pectin are excellent choices.
When using low-sugar pectin, the fruit-to-pectin ratio remains consistent (e.g., 6 cups chopped peaches to 1 full box of low-sugar pectin, or 6 Tbsp. Ball Flex Batch Low Sugar Pectin). From there, you have the flexibility to significantly decrease the amount of added sugar – to as little as 1/2 cup – or you can substitute honey or maple syrup as your preferred sweetener. Always ensure you follow the specific instructions provided on the package of your chosen low-sugar pectin, as their activation and preparation methods can differ from traditional pectins.
Using Pomona’s Universal Pectin: If you choose to use Pomona’s Universal Pectin, it’s important to note that its instructions are distinct from conventional pectins. This type often requires the preparation of calcium water to activate the pectin, and the pectin itself is usually mixed with a small portion of the sugar before being added to the fruit. Always refer to the specific directions on the Pomona’s package for accurate usage.
A Word on Liquid Pectin
While liquid pectin is an option, it is generally less recommended for reliable gelling compared to powdered varieties, and it often requires an astronomically high amount of sugar to set properly. Additionally, some liquid pectins may contain preservatives that you might prefer to avoid in homemade jam. If liquid pectin is all you have on hand, the method of preparation will differ significantly. Typically, the peaches, sugar, and lemon juice are brought to a boil first, and the liquid pectin is added at the very end of the cooking process to set the jam. For instance, you might need around 4 cups of chopped peaches to 7 cups of sugar and one pouch of liquid pectin, but always defer to the specific instructions provided on the liquid pectin package.
Nutrition (Approximate per serving)
Carbohydrates: 47g,
Protein: 0.3g,
Fat: 0.2g,
Saturated Fat: 0.01g,
Polyunsaturated Fat: 0.03g,
Monounsaturated Fat: 0.02g,
Sodium: 4mg,
Potassium: 38mg,
Fiber: 0.4g,
Sugar: 46g,
Vitamin A: 94IU,
Vitamin C: 2mg,
Calcium: 2mg,
Iron: 0.1mg
Nutrition information is automatically calculated and should only be used as an approximation. Actual values may vary.
Enjoyed this recipe? Share your thoughts in the comments below!
How to Make Peach Jam: Step-by-Step Guide
Making homemade peach jam is a rewarding culinary adventure. Follow these detailed steps carefully to ensure a delicious and perfectly set jam every time. Precision in preparation and vigilant attention during the cooking process are key to your success.
Preparing Your Peaches for Jam
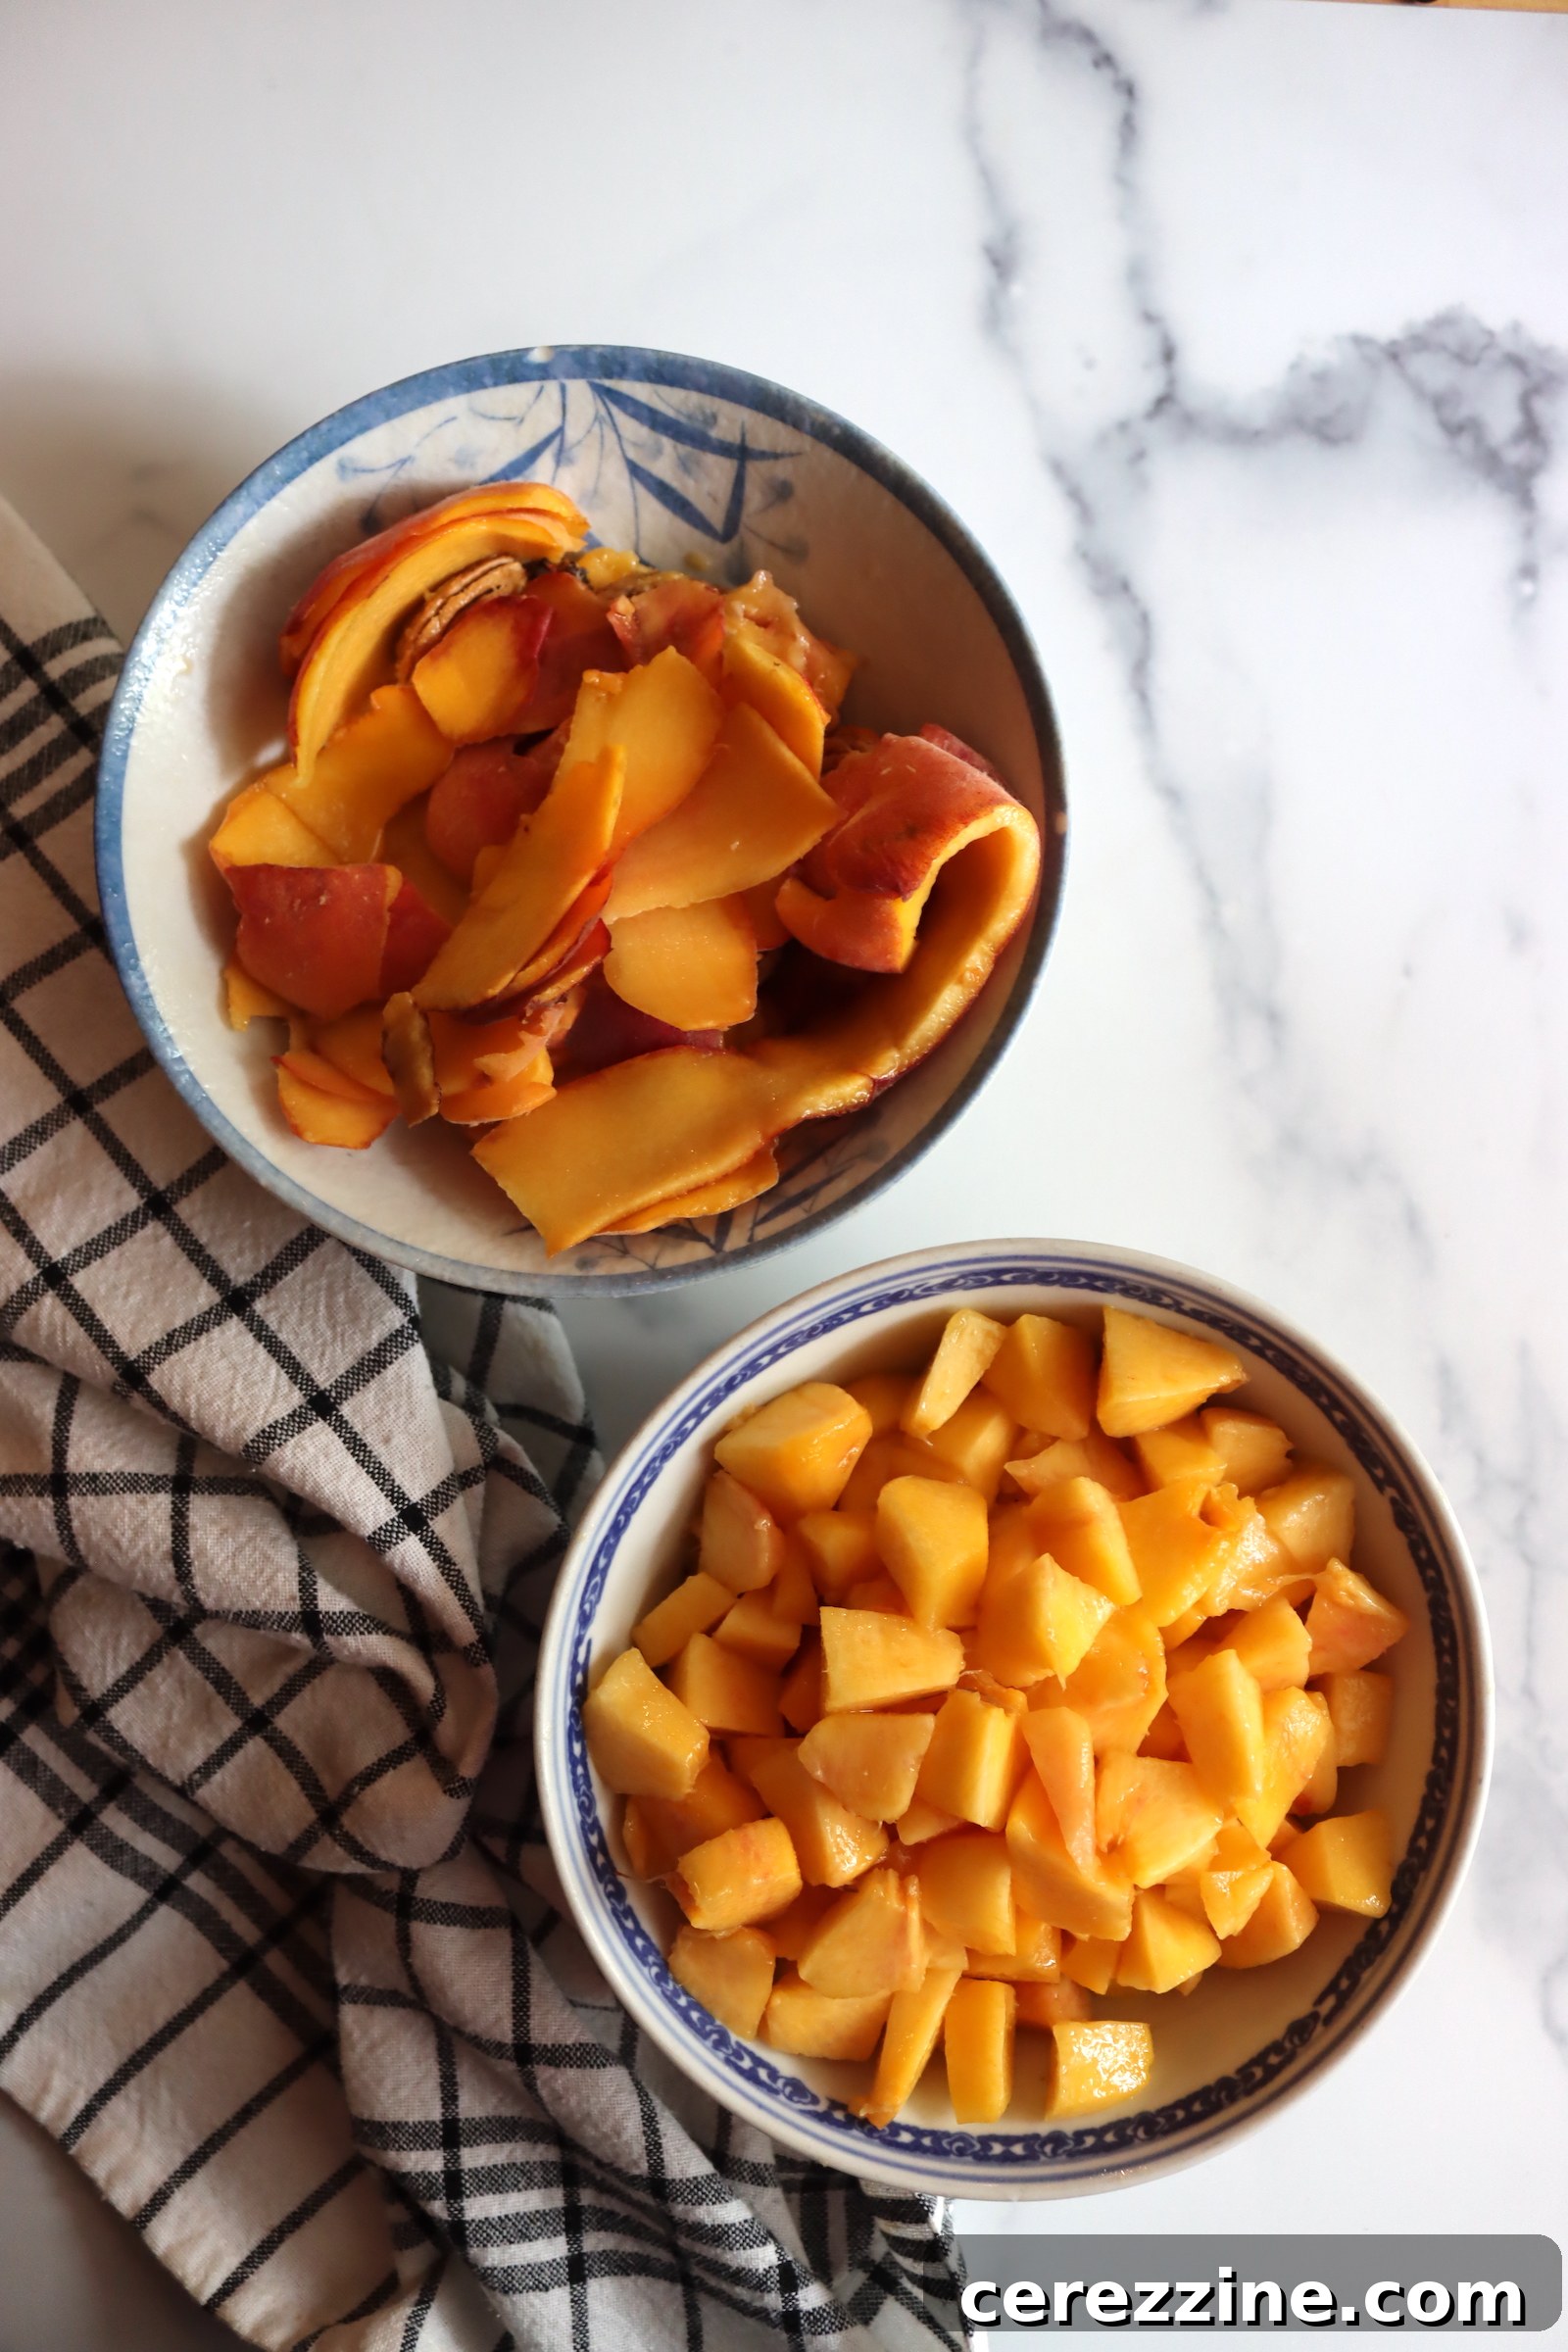
The initial step, preparing your peaches, is crucial for both flavor and texture. While larger-scale peach preservation often involves blanching peaches in boiling water to loosen their skins, for the quantities typically used in home jam making, a sharp paring knife is often more efficient. Begin by washing your peaches thoroughly. Then, gently score the bottom of each peach with a small ‘X’, and carefully peel the skin, working upwards from the score. Once peeled, cut the peaches in half, remove the pit, and chop the flesh into small, uniform pieces, ideally about 1/4 to 1/2 inch in size. Consistent piece size ensures the jam cooks evenly and sets beautifully. A delightful bonus: don’t discard those peach peels! They can be repurposed to make a light and delicate peach jelly.
The Jam Cooking Process: A Detailed Walkthrough
- Initial Cook with Lemon Juice: Place your precisely chopped peaches and measured lemon juice into a large, heavy-bottomed pot or Dutch oven. It is absolutely essential to use a pot significantly larger than the volume of your ingredients, as the jam mixture will foam and boil vigorously. Bring the fruit and lemon juice to a full rolling boil over medium-high heat, stirring frequently to prevent sticking and to encourage the peaches to release their natural juices. Continue to cook for approximately 5-8 minutes, or until the peach pieces have softened. At this stage, if you prefer a smoother jam consistency, you can use a potato masher to break down some of the larger peach chunks. For a more rustic, chunky preserve, simply leave the pieces as they are.
- Adding Pectin: Once your fruit mixture has reached a rapid, full rolling boil, stir in the measured pectin thoroughly until it is completely dissolved. It’s critical that the pectin is fully incorporated. Continue to boil hard for precisely 1 minute, stirring constantly throughout this minute to activate the pectin’s gelling properties and prevent any scorching on the bottom of the pot.
- Incorporating Sugar: Immediately after the intense 1-minute pectin boil, add all the granulated sugar to the pot. Stir vigorously and continuously until every sugar crystal is completely dissolved. This step is vital not only for the jam’s desired sweetness but also for the proper interaction with the pectin and acid to achieve a perfect set.
- Final Boil for Set: Bring the entire jam mixture back to a full, vigorous rolling boil – one that cannot be stirred down. Boil hard for an additional 1 minute, maintaining constant stirring. This final rapid boil is crucial for ensuring the jam reaches its optimal setting point.
- Testing for Set (Optional but Recommended): While modern pectin recipes are generally quite reliable, performing a quick “plate test” can provide extra confidence. Place a small spoonful of the hot jam onto a chilled plate (placed in the freezer for a few minutes prior). Allow it to cool for about 30 seconds, then gently push your finger through the jam. If the surface wrinkles, your jam is ready!
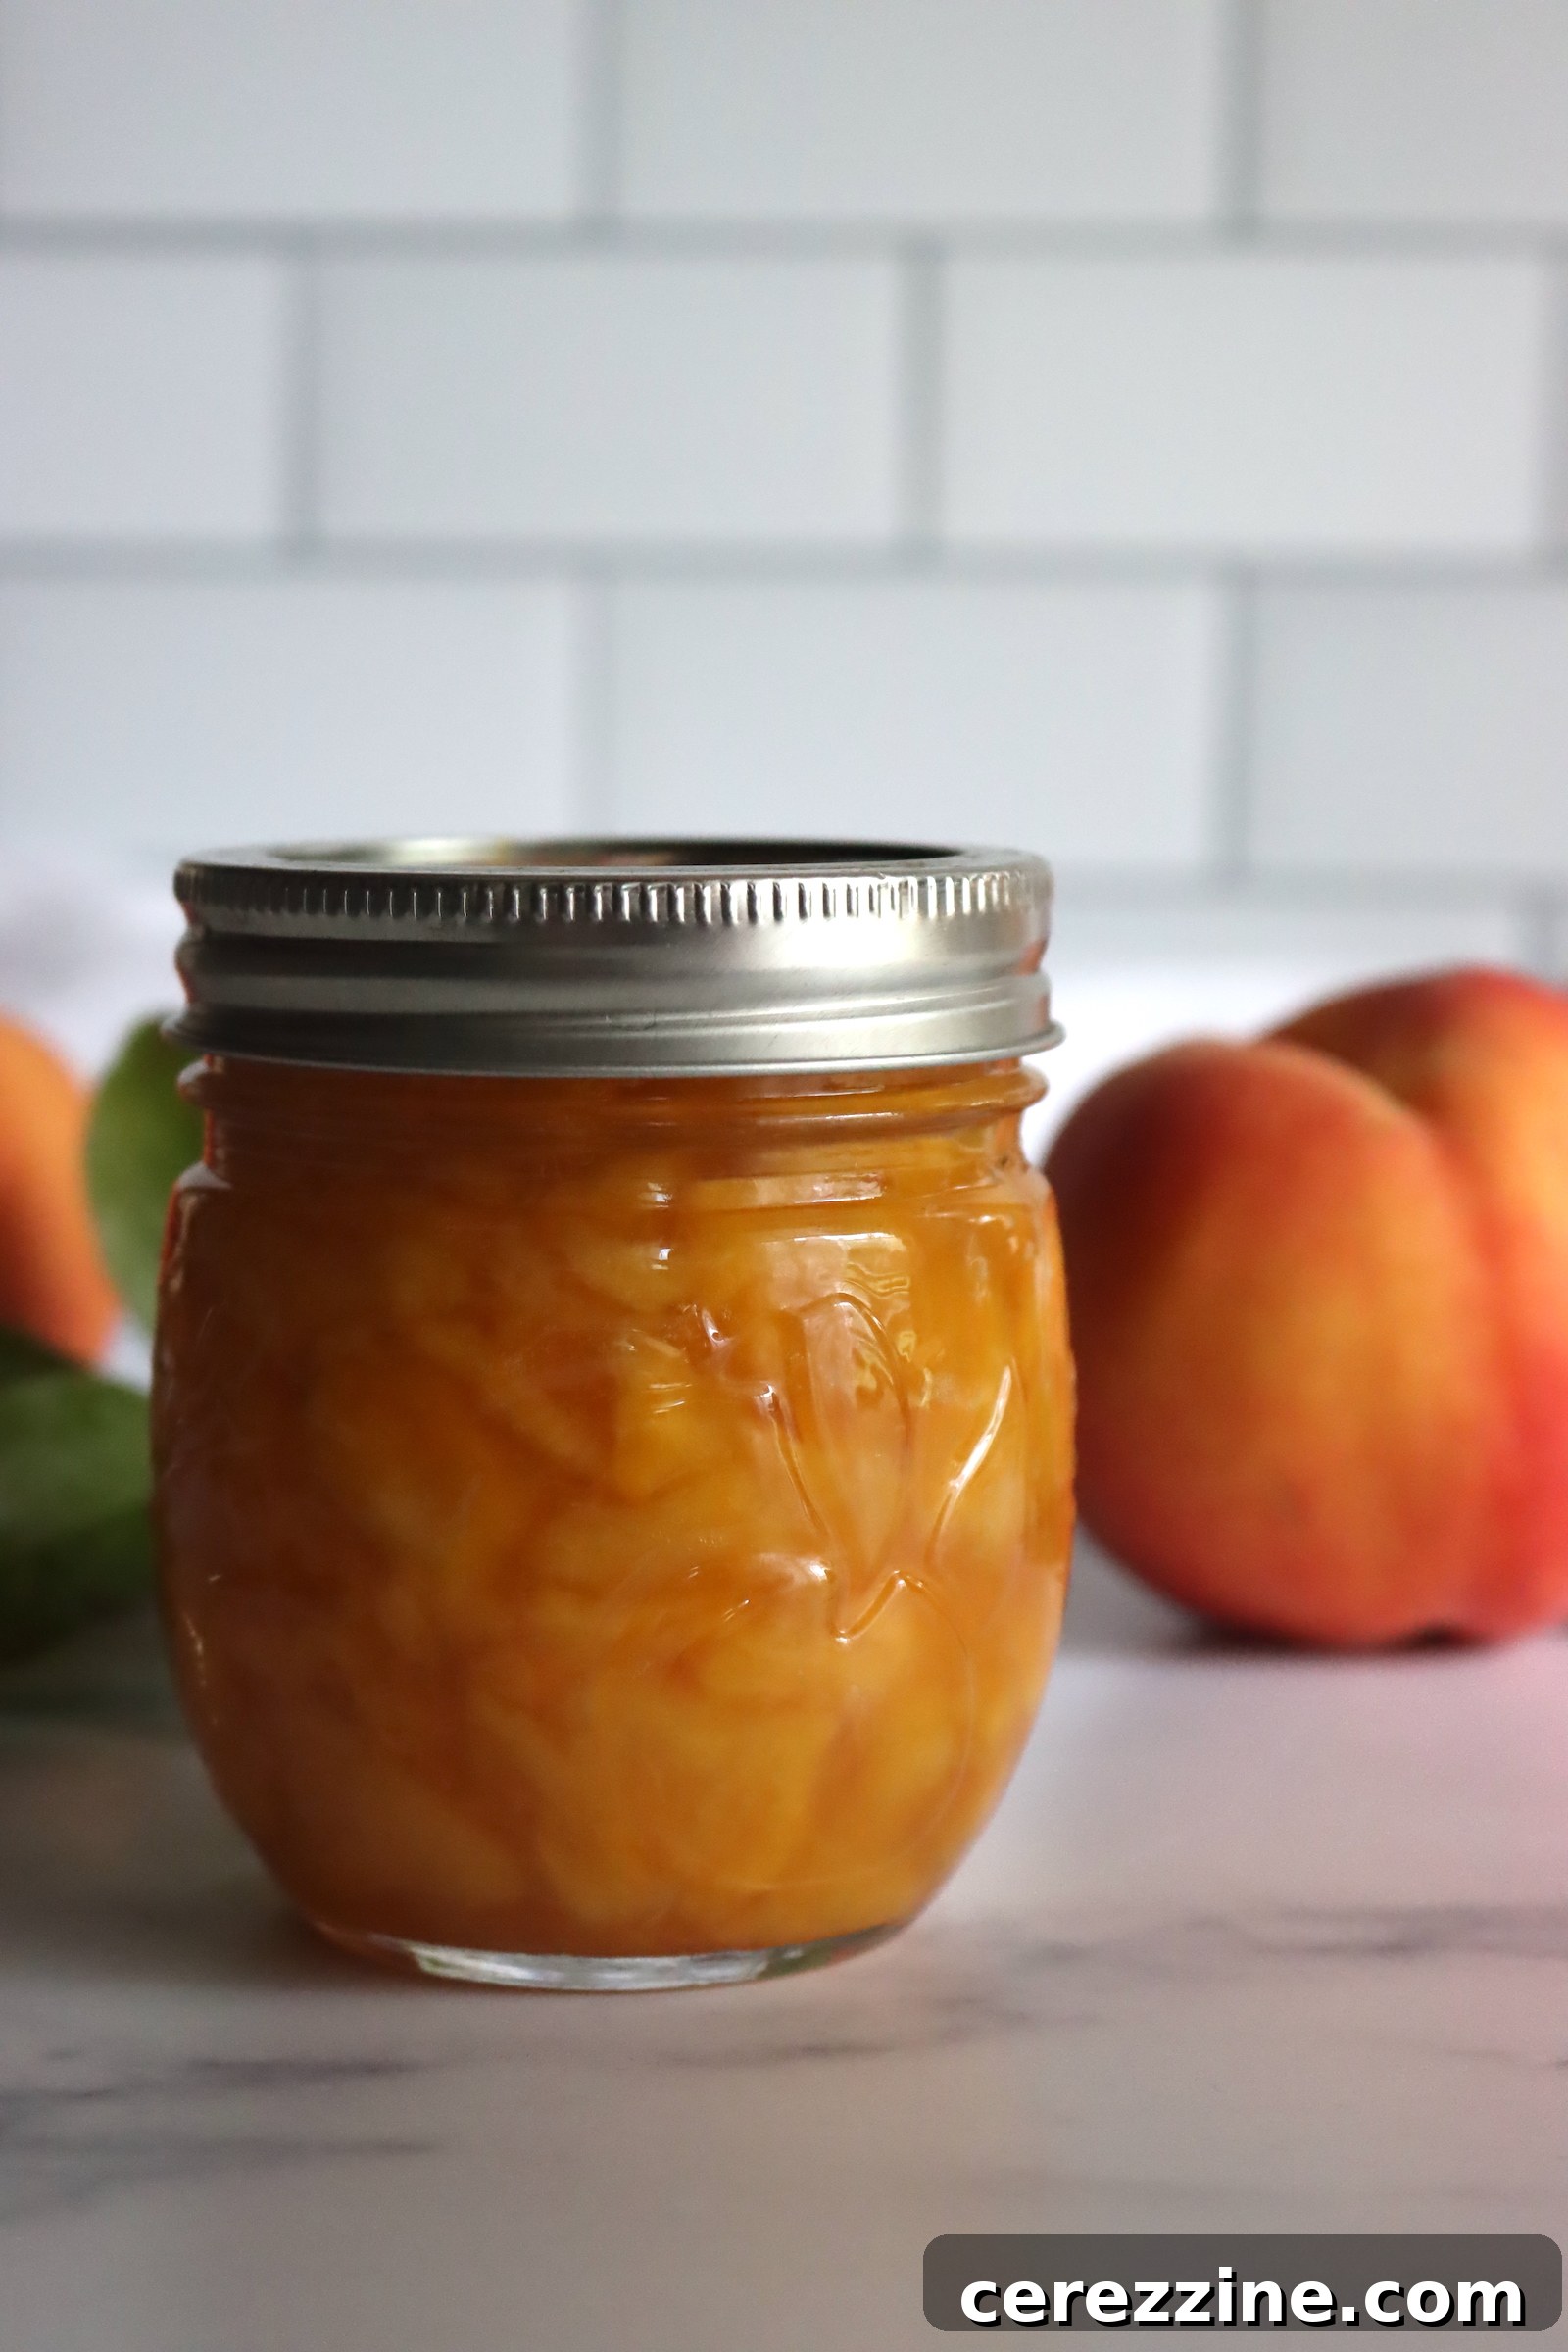
Preserving Your Peach Jam: Canning or Freezing
Once your delicious homemade peach jam is cooked to perfection, you have several excellent options for long-term storage. Water bath canning is the gold standard for creating shelf-stable preserves, while refrigeration or freezing offer convenient methods for shorter-term enjoyment.
Water Bath Canning Peach Jam for Shelf Stability
For those who wish to savor the vibrant flavor of peach jam year-round from the pantry, water bath canning is the ideal and safest method. This process creates a vacuum seal that effectively preserves the jam for months.
- Prepare Your Canner and Jars: Even before you begin cooking the jam, ensure your water bath canner is prepared. Fill it with water and bring it to a gentle simmer (approximately 180°F / 82°C). Your canning jars should be thoroughly washed in hot, soapy water, rinsed well, and kept hot (either in the simmering canner water or a warm oven/dishwasher) until you are ready to fill them.
- Fill Jars with Hot Jam: Carefully ladle the piping hot jam into your hot, prepared canning jars. It is crucial to leave precisely 1/4 inch of headspace – this is the empty space between the top of the jam and the rim of the jar. This specific headspace is critical for allowing proper vacuum seal formation during processing.
- Clean Rims and Secure Lids: After filling, carefully wipe the rims of the jars thoroughly with a clean, damp cloth to remove any jam residue. Even a tiny speck can prevent a proper seal. Center new, flat canning lids onto the clean jar rims, then apply the screw bands and tighten them to “fingertip tight” (snug but not overly tight).
- Process Jars in Canner: Using a jar lifter, carefully place the hot, filled jars onto the rack inside your preheated water bath canner. Ensure that the jars are completely submerged in water by at least 1-2 inches. Cover the canner with its lid and bring the water to a full, rolling boil.
- Processing Time: Once the water reaches a vigorous, full rolling boil, start your timer. Process half-pint or pint jars for 10 minutes. If you are at an elevation above 6,000 feet, you must increase the processing time to 15 minutes to compensate for the lower boiling point at higher altitudes.
- Cool Down Period: After the processing time is complete, turn off the heat and carefully remove the canner lid. Allow the jars to sit undisturbed in the hot water within the canner for an additional 5 minutes. This crucial step helps to prevent siphoning (where liquid is drawn out of the jars) and encourages the formation of a strong, reliable seal.
- Final Cooling and Seal Check: Remove the jars from the canner using a jar lifter and place them on a towel-lined counter or a wire rack, ensuring there’s ample space between each jar for proper air circulation. Let them cool undisturbed for a full 12-24 hours. After cooling, check the seals: the center of each lid should be concave (curved inward) and should not flex when pressed. Any jars that have not sealed properly should be stored in the refrigerator and consumed within a few weeks.
Properly canned and sealed jars of homemade peach jam will maintain their peak quality for about 12-18 months when stored in a cool, dark place. Once a jar is opened, it should be refrigerated and consumed within approximately one month.
Refrigerator and Freezer Jam Options for Shorter Storage
If you prefer not to engage in the water bath canning process, you can still enjoy delicious homemade peach jam using simpler storage methods:
- Refrigerator Jam: Simply ladle the hot jam into clean jars, allow it to cool completely at room temperature, and then store it in the refrigerator. Refrigerator jam will typically last for approximately 3-4 weeks.
- Freezer Jam: When making freezer jam, use straight-sided, freezer-safe jars and ensure you leave 1 inch of headspace. This extra space is essential to account for the jam’s expansion as it freezes. Allow the jam to cool completely at room temperature before transferring it to the freezer. Freezer jam generally maintains excellent quality and flavor for up to 6 months.
More Ways to Preserve Peaches & Other Summer Fruits
Once you’ve mastered the art of making and canning peach jam, you might find yourself inspired to explore other delicious ways to preserve this luscious fruit or to extend your canning adventures to other seasonal produce. Expanding your repertoire of preserved goods is a deeply satisfying endeavor. Here are a few ideas to keep your pantry bursting with homemade goodness:
Additional Peach Preservation Ideas:
- Canning Peaches (as sweet slices or halves in syrup)
- Rich & Velvety Peach Butter
- Clear Peach Jelly
- Homemade Peach Wine
Explore More Homemade Jam Recipes:
Keep your pantry stocked with a delightful variety of homemade jams, each capturing the unique flavor of different fruits:
- Classic Raspberry Jam
- Sweet Cranberry Apple Jam
- Bright Nectarine Jam
- Delicious Apricot Jam
- Exotic Persimmon Jam
Summer Canning Adventures Beyond Peaches:
Beyond peaches, the summer harvest offers a magnificent bounty of produce that is perfect for preserving and enjoying throughout the cooler months:
- Canning Fresh Corn
- Versatile Tomato Canning Recipes
- Crisp Dill Pickles
- Sweet & Tangy Bread and Butter Pickles
- Creative Zucchini Canning Recipes
Embrace the joyful tradition of homemade preserves and savor the taste of summer long after the season ends. Happy canning and enjoy your delicious peach jam!