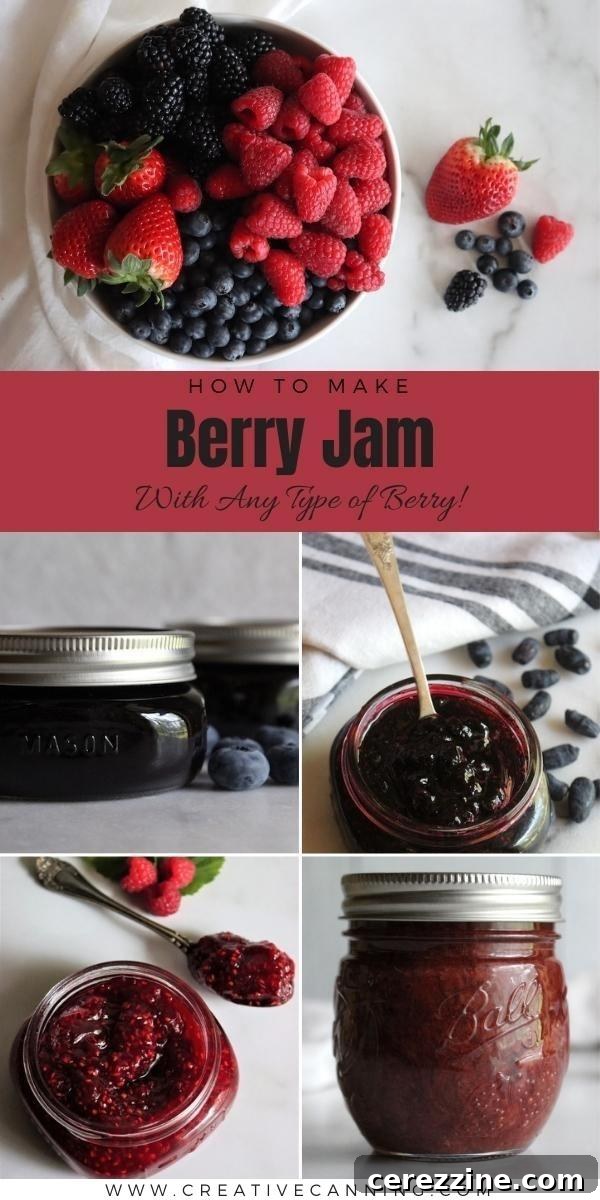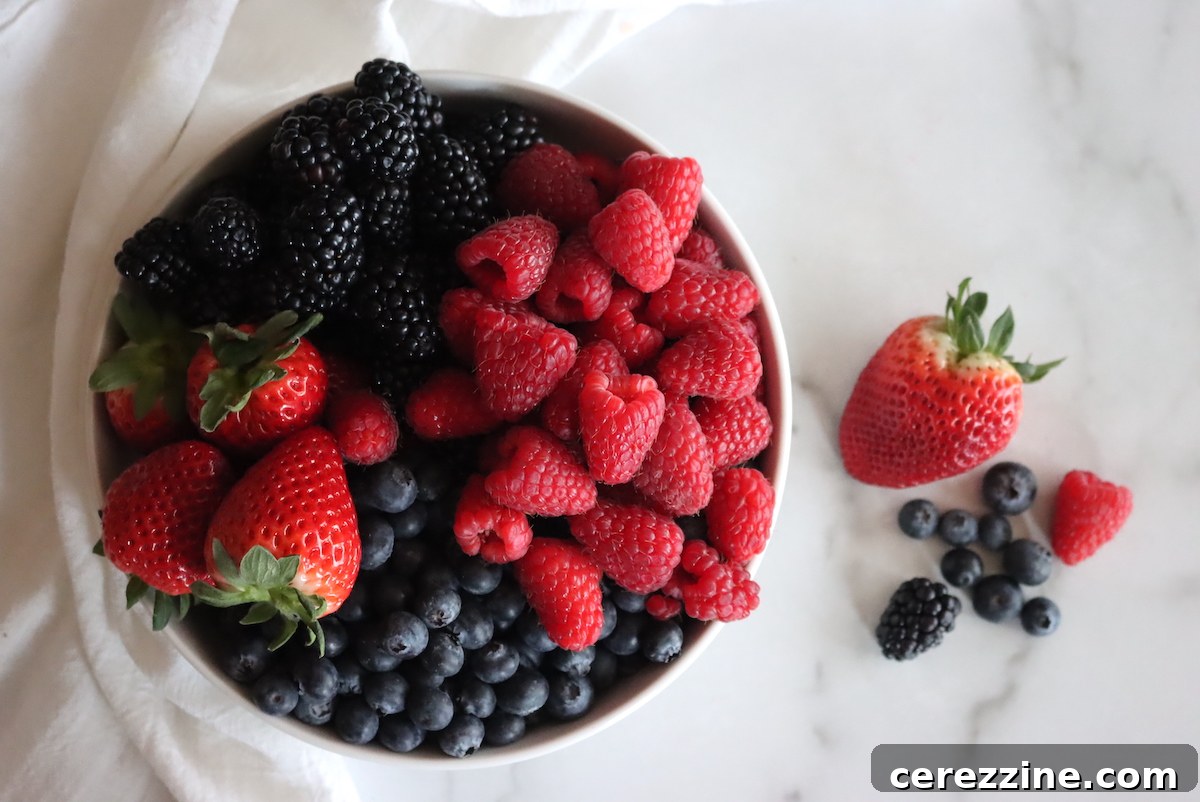
Berry jam stands as a quintessential celebration of summer’s fleeting sweetness, perfectly capturing the delicate flavors of fresh fruits. This incredibly versatile berry jam recipe is designed to work flawlessly with virtually any type of berry you have on hand, making it ideal for crafting a delightful mixed berry jam. Whether you’re a fan of a classic triple berry blend featuring equal parts strawberries, raspberries, and blueberries, or prefer the rich depth that blackberries bring in place of raspberries, this recipe ensures a delicious outcome. Indeed, any berry, or combination thereof, can be transformed into a wonderful homemade jam.
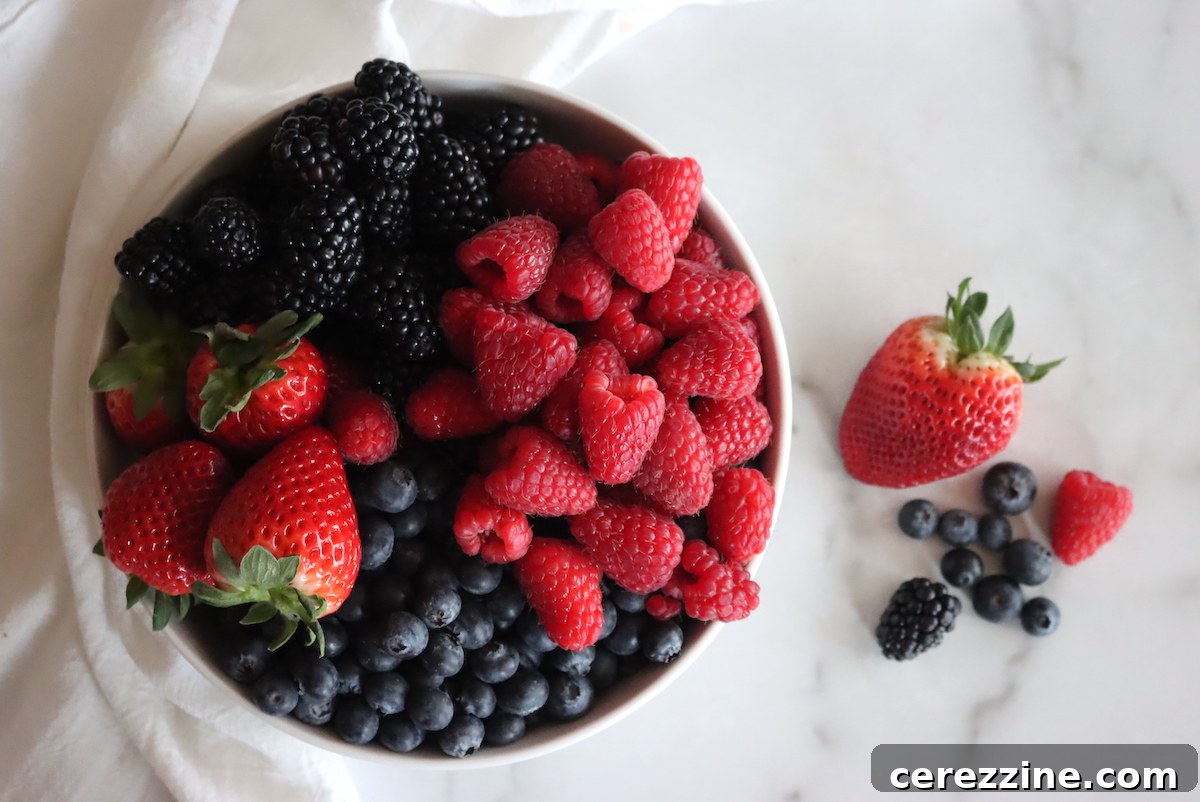
For those of us fortunate enough to grow our own fruit, the peak of summer often brings an overwhelming abundance of berries. Our homestead, for instance, yields dozens of different berry varieties, all ripening in a glorious, albeit demanding, synchronicity. While I’ve developed specific recipes for many individual fruits, there are times when a reliable, all-encompassing recipe is essential – especially when time is short, and the harvest is plentiful.
This particular berry jam recipe shines in its adaptability, proving itself invaluable for creating exquisite mixed berry jams from diverse harvests. It’s a common scenario for home growers to have small quantities of several berry types, not quite enough for a full batch of single-fruit jam, particularly during the early season. This recipe offers the perfect solution, allowing all those varied fruits to come together in one pot, resulting in a truly unique and flavor-packed homemade berry jam.
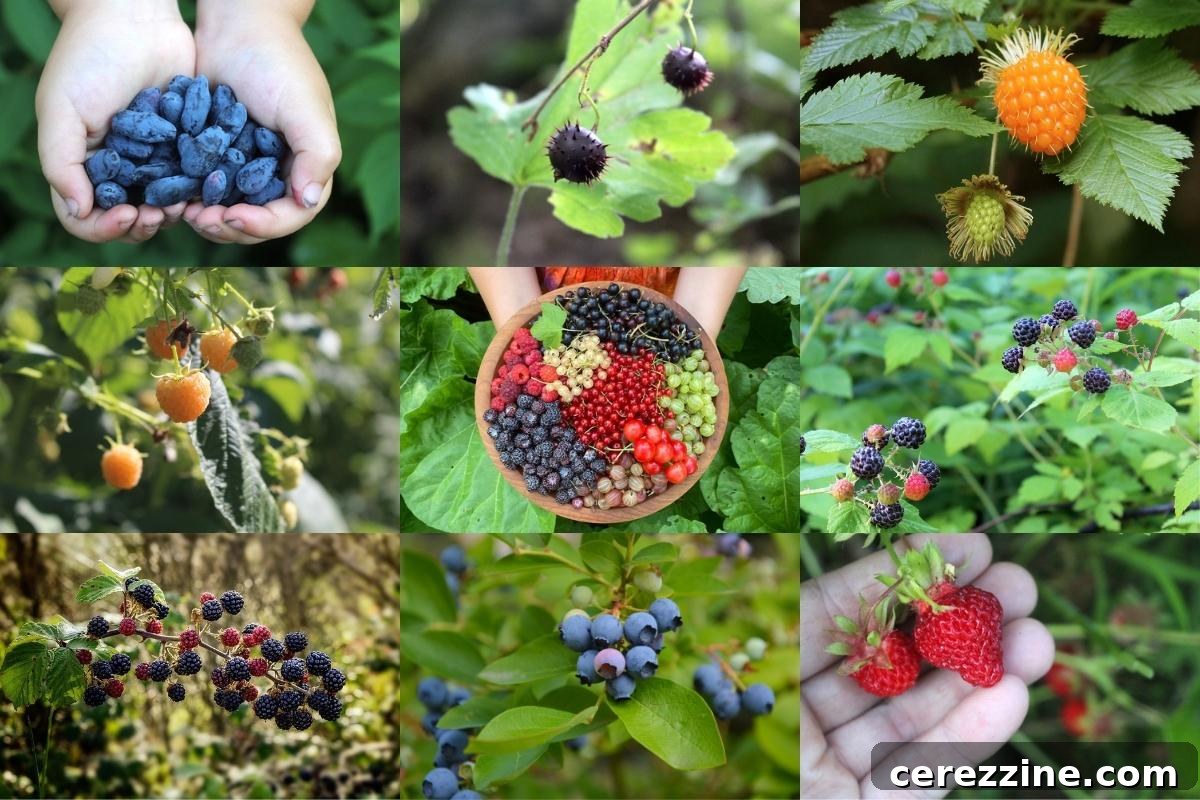
Despite their individual nuances in flavor and texture, almost any berry can be successfully used in this simple berry jam recipe. Here’s a comprehensive list of fruits that perform wonderfully:
- Blackberry
- Blueberry (note: tends to result in a looser set due to lower pectin)
- Boysenberry
- Dewberry
- Gooseberry (yields an extra-firm set; be careful not to overcook)
- Honeyberry
- Lingonberry
- Loganberry
- Partridgeberry
- Raspberry
- Salmonberry
- Serviceberry
- Strawberry (also results in a looser set)
- Youngberry
- Wild Strawberries (or Alpine Strawberries)
- Wineberries
While a botanist might argue that many of these are not “true berries” in the strictest scientific sense, rest assured, this distinction holds no bearing when it comes to making delicious jam. Each of these fruits contributes beautifully to this foundational berry jam recipe, offering delightful flavors and textures.
Understanding Berry Jam Yield and Measurements
Achieving a consistent jam often begins with accurate fruit measurement. Since berries vary in size, shape, and density, leading to different packing efficiencies in a measuring cup, this recipe simplifies things by starting with mashed fruit. This ensures you’re working with a more consistent volume, avoiding the confusion that can arise from measuring whole fruit by volume or relying solely on weight, which can fluctuate with fruit ripeness and moisture content.
For a standard batch, yielding approximately 6 cups or 6 half-pint (8 oz) jars of delectable berry jam, you will need:
- 9 cups of mashed berries (any type or combination)
- 6 cups of granulated sugar
To give you a better idea of quantities, 9 cups of mashed berries typically equates to just under 5 pounds (or about 2 kilograms) of fresh, whole fruit. When purchasing berries from a farmer’s market or harvesting your own, keep in mind that a dry pint of whole blackberries or raspberries generally yields about 1 cup of mashed fruit. Denser berries, such as blueberries and strawberries, tend to pack more tightly into a pint container and may yield slightly more mashed fruit per pint.
Scaling the Recipe: This recipe is flexible! If your harvest is smaller, you can easily adjust the batch size downwards. Simply use 2/3 cup of sugar for every 1 cup of mashed berries. However, for best results and proper gelling, I strongly advise against significantly increasing the batch size beyond the recommended 9 cups of fruit. Overfilling your jam pot can lead to uneven heating, which might prevent the jam from reaching its optimal gelling point and result in a runny product.
It’s also worth noting that the type of berry you choose can influence the final yield and cooking time. High-pectin fruits like blackberries and gooseberries will reach the gel point more quickly and might produce a slightly larger volume of jam. Conversely, low-pectin berries such as strawberries and blueberries will require a longer cooking duration and may yield a bit less. Regardless of these minor variations, this versatile recipe remains effective for all types of berries, consistently delivering wonderful homemade jam.
Mastering the Art: A Step-by-Step Guide to Making Berry Jam
Making your own berry jam is a rewarding culinary experience, filling your kitchen with an irresistible aroma and your pantry with homemade goodness. Follow these steps for a perfect batch:
1. Prepare Your Berries
Begin by carefully sorting through your berries. Remove any stems, leaves, or spoiled fruit. Don’t worry if some berries are slightly underripe; these are actually beneficial as they contain higher levels of natural pectin, which aids in the gelling process. Thoroughly wash the berries under cool running water and drain them well.
Next, mash the berries. You can do this with a potato masher, a fork, or a food processor (pulse briefly to maintain some texture). Once mashed, measure out the required 9 cups. While precision is good, remember that homemade jam allows for slight variations. However, resist the urge to drastically reduce the sugar quantity, as sugar plays a crucial role in both gelling and preservation.
2. Combine and Cook
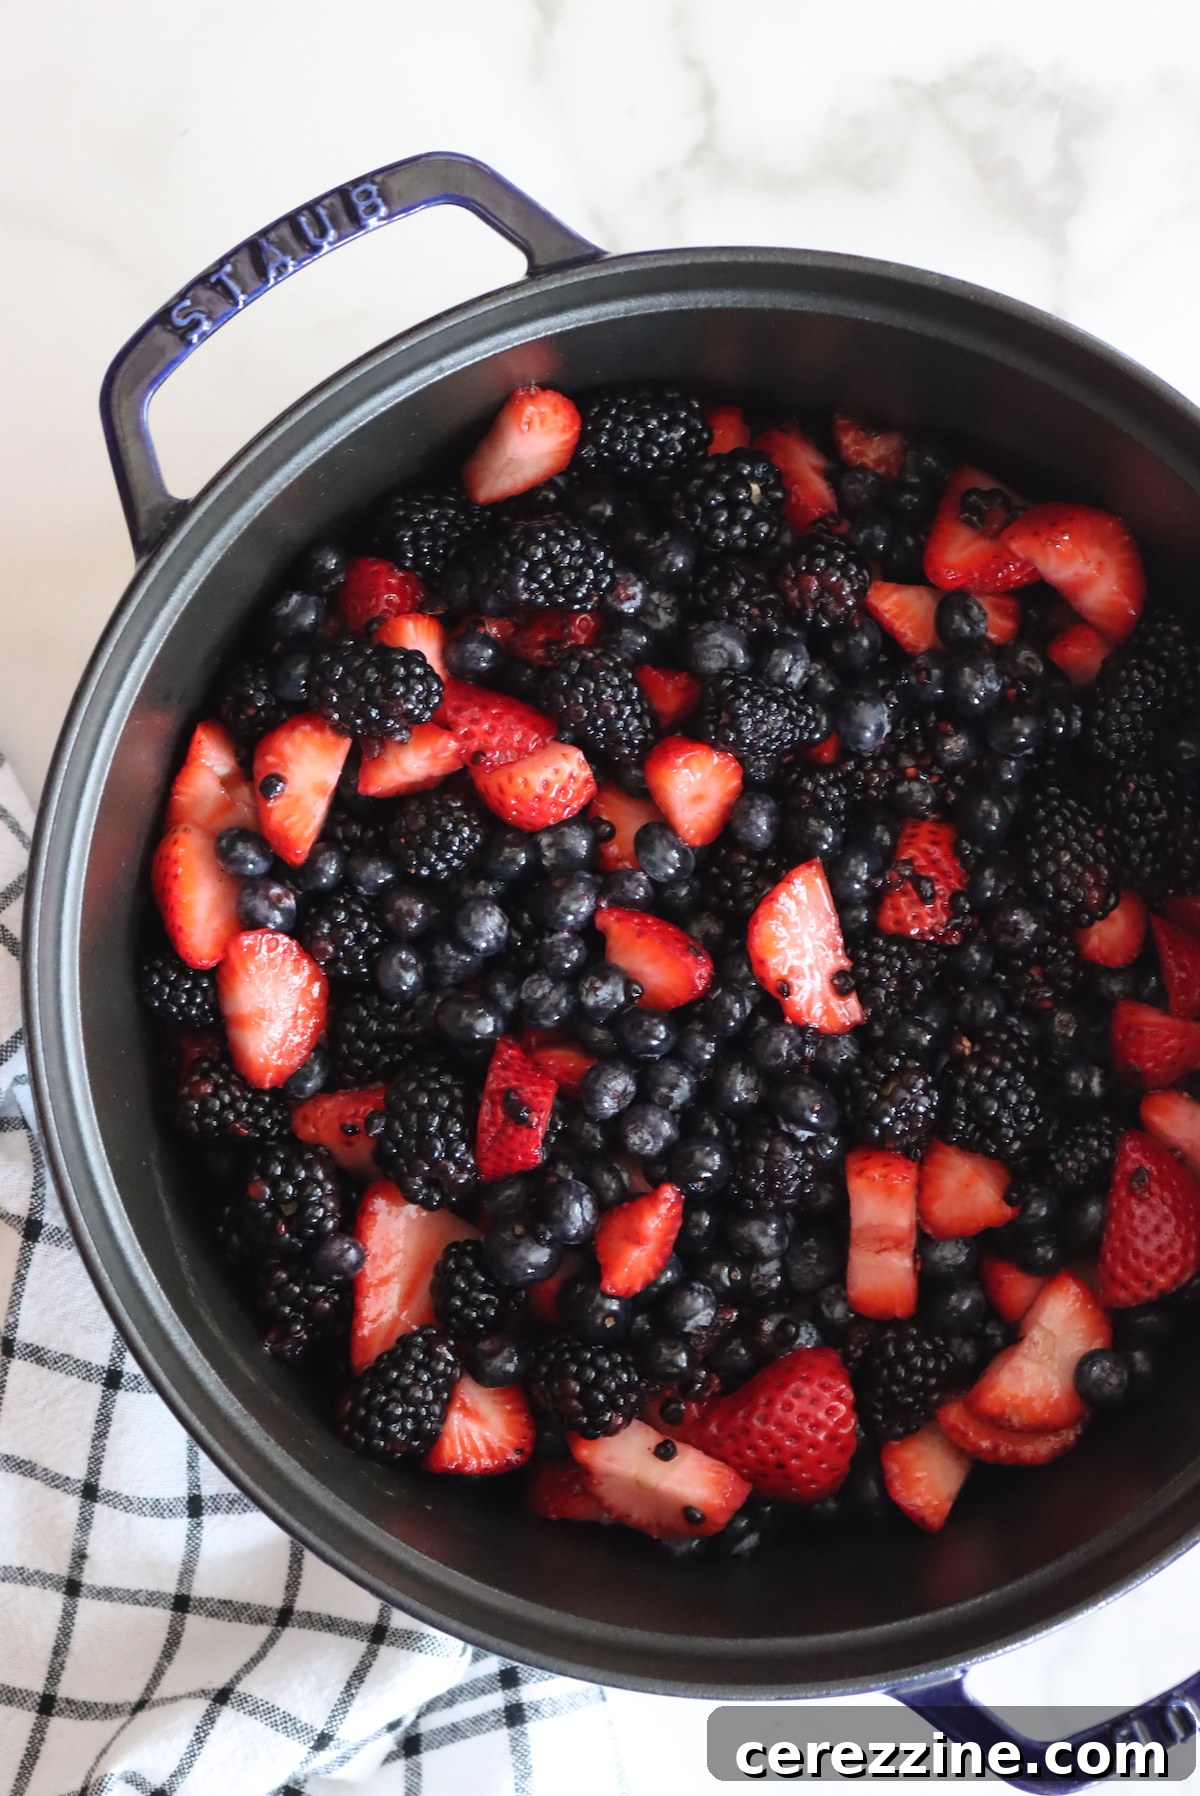
Transfer your mashed berries and measured sugar into a large, deep jam pot or Dutch oven. It’s vital to use a pot that can comfortably accommodate the volume, as berry jam tends to foam considerably as it cooks. The unmashed berries should ideally not fill more than halfway up the sides of the pot, and the mashed mixture should occupy no more than about one-third of the pot’s capacity. This extra space prevents messy boil-overs.
Place the pot over medium-high heat. Stir frequently, especially as the mixture begins to heat up, to prevent the sugar from scorching at the bottom of the pot. Continue stirring and bring the mixture to a rolling boil – a boil that cannot be stirred down.
3. Reaching the Setting Point
The crucial stage is cooking the jam until it reaches its setting point, or “gel stage.” This is when the jam thickens sufficiently to set properly once cooled. Cooking times will vary depending on the pectin content of your chosen berries. High-pectin fruits like gooseberries and blackberries will set faster (sometimes as quickly as 5-10 minutes of active boiling), while lower-pectin fruits like strawberries and blueberries may require 20-30 minutes or even longer.
There are two primary methods to test for the set point:
The Freezer Plate Test:
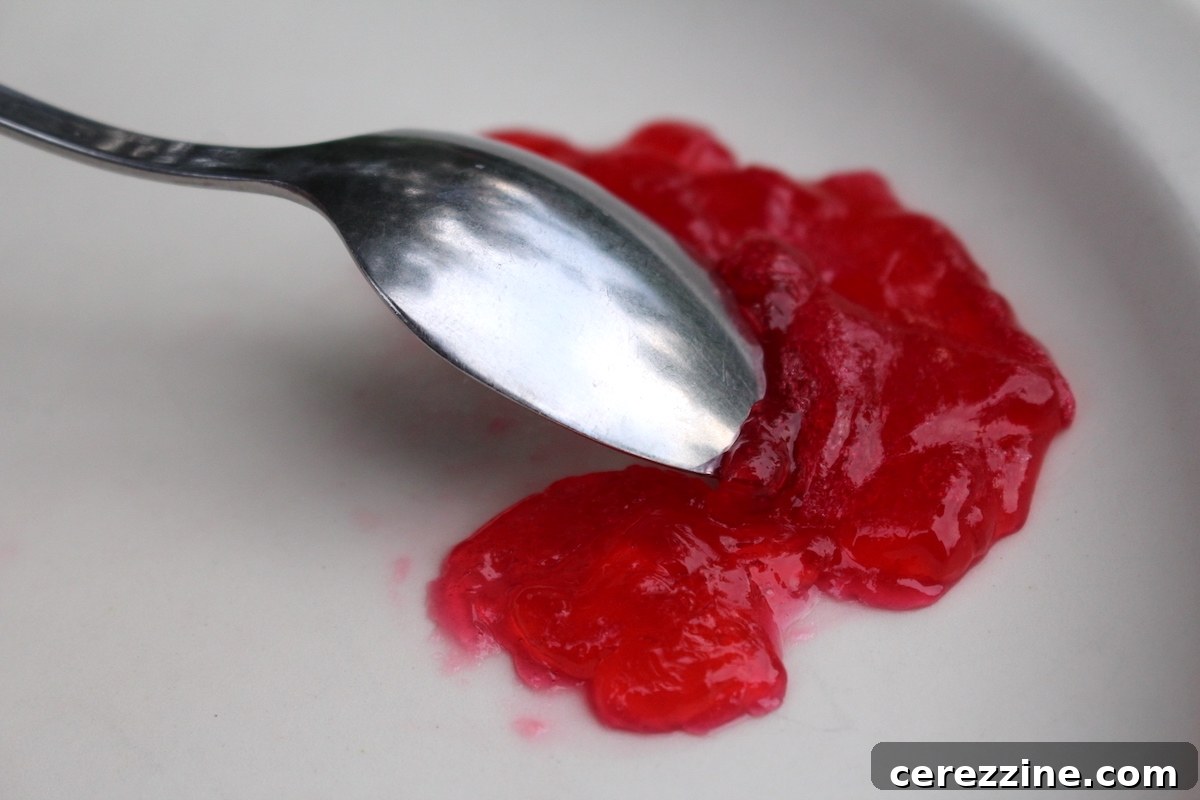
Before you begin cooking, place a small plate or saucer in your freezer. When you believe the jam is nearing its set point, remove the plate from the freezer. Spoon a small amount of hot jam onto the cold plate. Let it cool for about 30-60 seconds, then gently push the jam with your finger or the back of a spoon. If the jam wrinkles back and appears thick, it has reached its set point. If it’s still runny, continue cooking and retest every few minutes with a fresh cold plate.
The Thermometer Method:
For consistent and reliable results, especially for beginners, an instant-read thermometer is an invaluable tool. Jam typically reaches its set point at 220 degrees Fahrenheit (104 degrees Celsius) at sea level. However, this temperature needs to be adjusted for altitude: subtract 1 degree Fahrenheit for every 500 feet above sea level. For example, if you’re at 1,000 feet elevation, your target set point would be 218 degrees Fahrenheit.
While experienced jam makers can often discern the gel stage by visual cues – observing changes in the bubbles, which become glossier and thicker, or how the jam sheets off a spoon – the thermometer method offers the most dependable way to ensure a perfect set without the risk of overcooking or undercooking.
4. Jarring the Jam
Once your berry jam has reached its ideal set point, promptly remove the pot from the heat. Ladle the hot jam into clean, sterilized jars, leaving approximately 1/4 inch of headspace at the top. This space is crucial for proper sealing during canning or for expansion if freezing.
Optional: Canning Your Berry Jam for Shelf-Stable Storage
While this berry jam recipe can certainly be enjoyed as a refrigerator or freezer jam, canning is a fantastic way to extend its shelf life, allowing you to enjoy summer’s flavors long into the colder months, right from your pantry shelf.
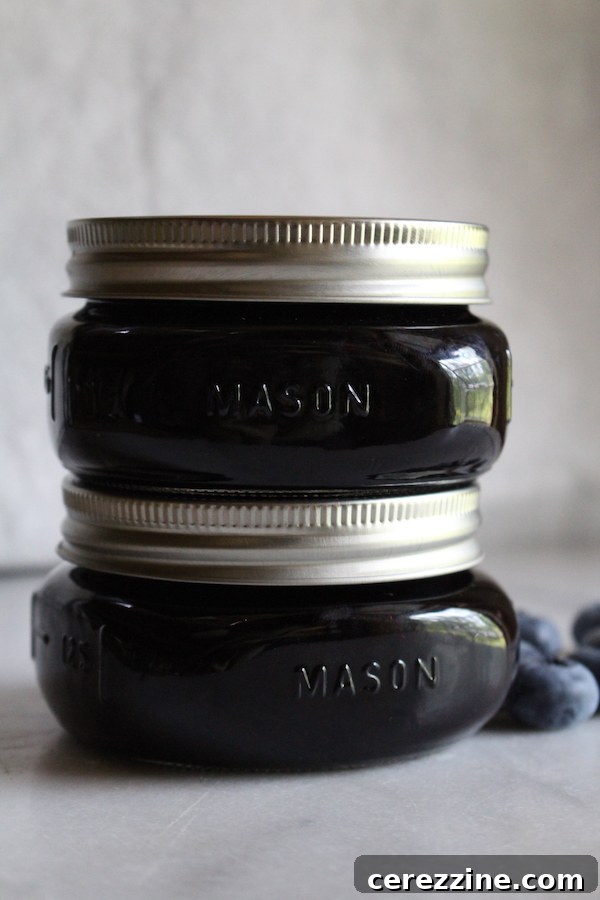
If you choose to can your jam, it’s essential to prepare your water bath canner and jars beforehand, ensuring they are clean and hot as you finish cooking the jam. After filling your jars, apply clean two-part lids (consisting of a flat lid and a screw band). Process the jars in a boiling water bath canner for 10 minutes. If you reside at an elevation above 6,000 feet, increase the processing time to 15 minutes to account for the lower boiling point of water.
After processing, carefully remove the hot jars from the canner and place them on a towel-lined counter, allowing them to cool undisturbed for 12 to 24 hours. During this cooling period, you should hear the satisfying “ping” sound as the lids seal. After 24 hours, check all seals; the lid should be concave and not flex when pressed. Any unsealed jars should be refrigerated immediately and consumed within a few weeks.
Versatile Berry Jam Recipe
Ashley Adamant
10 mins
10-30 mins
10-15 mins
30-55 mins
Equipment
-
Water Bath Canner (optional, for canning)
-
Large, Deep Jam Pot or Dutch Oven
-
Potato Masher or Fork
-
Instant-Read Thermometer (recommended)
-
Sterilized Jars and Lids
Ingredients
- 9 cups berries, mashed (approximately 5-6 lbs whole fruit)
- 6 cups granulated sugar, (approximately 3 lbs sugar)
Instructions
-
Inspect berries for any stems, leaves, or spoiled fruit. Slightly underripe fruit is beneficial as it contributes more natural pectin. Wash and drain berries thoroughly.
-
Mash the berries using a potato masher or fork. Measure exactly 9 cups of mashed berries.
-
If canning, prepare your water bath canner and sterilize your jam jars and lids according to manufacturer’s instructions. Keep them hot until ready to fill.
-
Combine the mashed berries and sugar in a large, deep jam pot. Bring the mixture to a rolling boil over medium-high heat, stirring frequently to prevent sticking or scorching.
-
Continue boiling, stirring as needed, until the jam reaches its setting point. This can be tested using the cold plate method (jam wrinkles when pushed) or with an instant-read thermometer. The set point is 220°F (104°C) at sea level, adjusting 1°F down for every 500 feet of elevation (e.g., 218°F at 1,000 feet). Cooking time varies greatly (5-30 minutes) depending on berry pectin levels.
-
Once the jam reaches the set point, remove the pot from the heat. Ladle the hot jam into prepared jars, leaving 1/4 inch headspace.
-
Wipe jar rims clean, center flat lids on top, and apply screw bands until fingertip tight.
-
If canning, process the jars in a boiling water bath canner for 10 minutes (or 15 minutes if above 6,000 feet in elevation). Remove jars from canner and let them cool on a towel-lined counter for 12-24 hours. Check seals; lids should be concave and not flex. Refrigerate any unsealed jars for immediate use.
-
This jam will keep for several weeks in the refrigerator or up to 6 months in the freezer. Properly canned and sealed jars will maintain peak quality for up to 18 months on the pantry shelf. Refrigerate after opening.
Notes
It is crucial to avoid overcooking your berry jam. Cooking it much past the recommended 220°F set point can cause the sugar to crystallize, resulting in a jam that is overly stiff or has a candy-like texture, making it difficult to spoon from the jar. Always cook just to the set point, and no further.
Nutrition
Calories:
111kcal
,
Carbohydrates:
28g
,
Protein:
0.1g
,
Fat:
0.3g
,
Saturated Fat:
0.02g
,
Polyunsaturated Fat:
0.1g
,
Monounsaturated Fat:
0.03g
,
Sodium:
1mg
,
Potassium:
16mg
,
Fiber:
1g
,
Sugar:
27g
,
Vitamin A:
13IU
,
Vitamin C:
1mg
,
Calcium:
3mg
,
Iron:
0.1mg
Nutrition information is automatically calculated and should be used as an approximation.
Enjoyed this recipe? Share your thoughts below!
Exploring More Berry Jam Recipes
While this versatile recipe is perfect for any berry, sometimes you might desire a jam tailored to a specific fruit, considering its unique pectin levels and flavor profile. For instance, raspberries often benefit from a touch more sugar to balance their natural tartness, while gooseberries require a shorter cook time due to their high pectin content. Strawberries, on the other hand, being lower in pectin, may need a bit more cooking time and will typically result in a softer set.
If you have a particular berry in abundance and wish to explore its full potential in jam form, I encourage you to check out these specialized, pectin-free berry jam recipes:
- Blackberry Jam
- Black Raspberry Jam
- Blueberry Jam
- Gooseberry Jam
- Honeyberry Jam
- Raspberry Jam
- Wild Strawberry Jam
All the recipes listed above are crafted without added pectin, making them quite similar in principle to this master berry jam recipe. Variations primarily involve differing sugar ratios to account for the fruit’s natural sweetness or tartness, and some may incorporate a splash of lemon juice to enhance flavor and boost natural pectin activity.
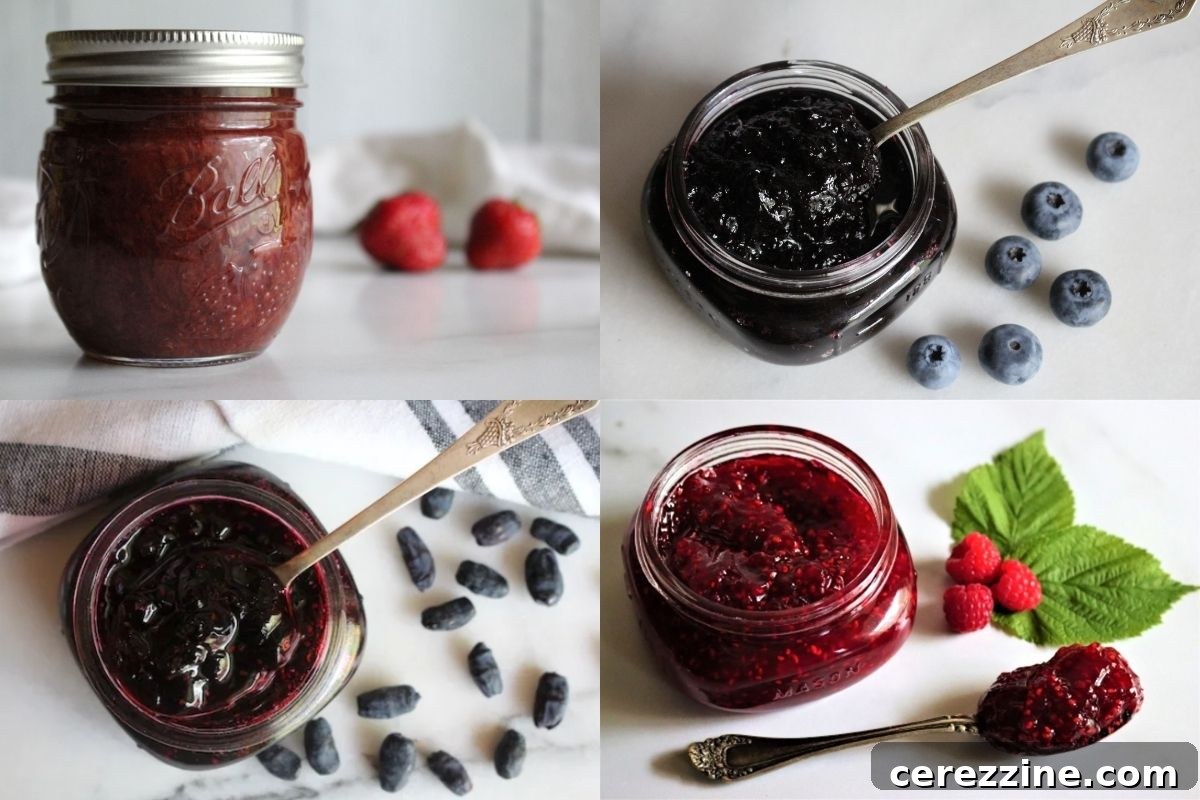
Craving Smoothness? Explore Berry Jelly Recipes!
If you prefer the smooth, clear texture of jelly over the rustic chunkiness of jam, consider these delightful homemade berry jelly recipes. Jellies are made from fruit juice, filtered to remove pulp and seeds, resulting in a sparkling spread that’s equally delicious:
- Blackberry Jelly
- Black Raspberry Jelly
- Blueberry Jelly
- Gooseberry Jelly
- Raspberry Jelly
- Strawberry Jelly
Beyond Jam: Diverse Summer Berry Canning Recipes
Summer berries offer a plethora of preservation possibilities far beyond just jams and jellies. You can extend their enjoyment throughout the year by transforming them into rich fruit butters, versatile pie fillings, or simply preserving them whole in jars. Here are some fantastic canning recipes to make the most of your berry harvest:
- Canning Blackberries
- Canning Strawberries
- Canning Blueberries
- Canning Raspberries
- Canning Gooseberries
For those new to the world of home preserving, I highly recommend reviewing my beginner’s guide to making jam before you embark on your first batch. Furthermore, if your goal is to create shelf-stable preserves that can be stored in your pantry for extended periods, it is crucial to familiarize yourself with safe home canning practices. Please consult my comprehensive beginner’s guide to water bath canning if you are not yet confident with the process.
Remember, canning is an optional step. This berry jam recipe can be successfully made as a refrigerator jam, which will keep fresh for several weeks, or as a freezer jam, offering up to 6 months of deliciousness. When properly canned and sealed, your homemade berry jam will maintain its peak quality on the pantry shelf for up to 18 months, providing a taste of summer whenever you desire. Always refrigerate the jam after opening any jar.