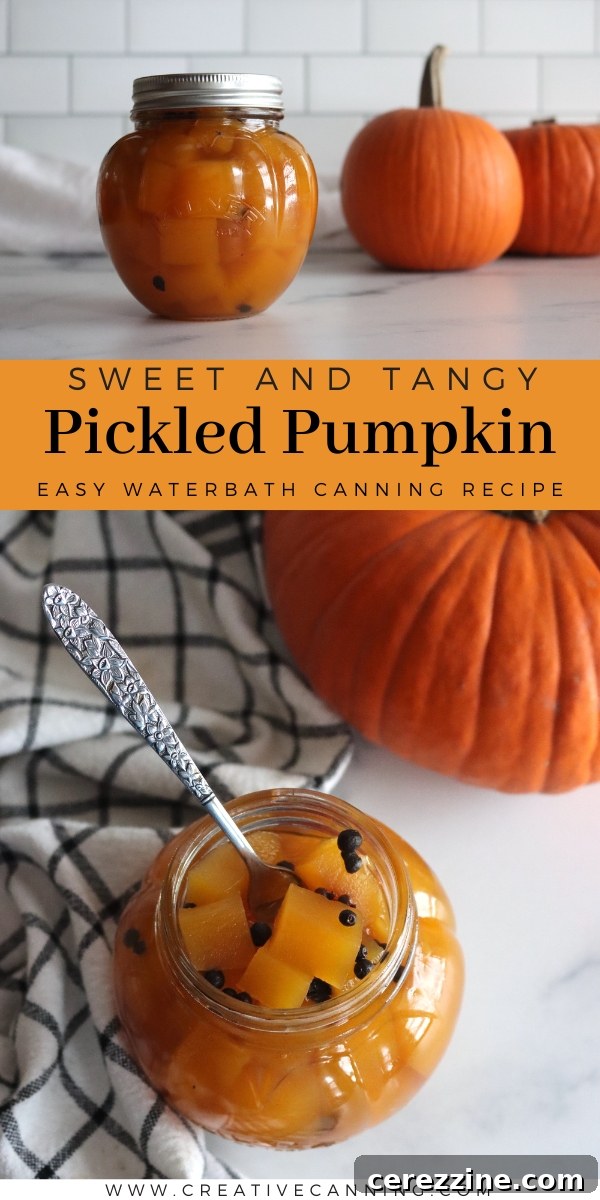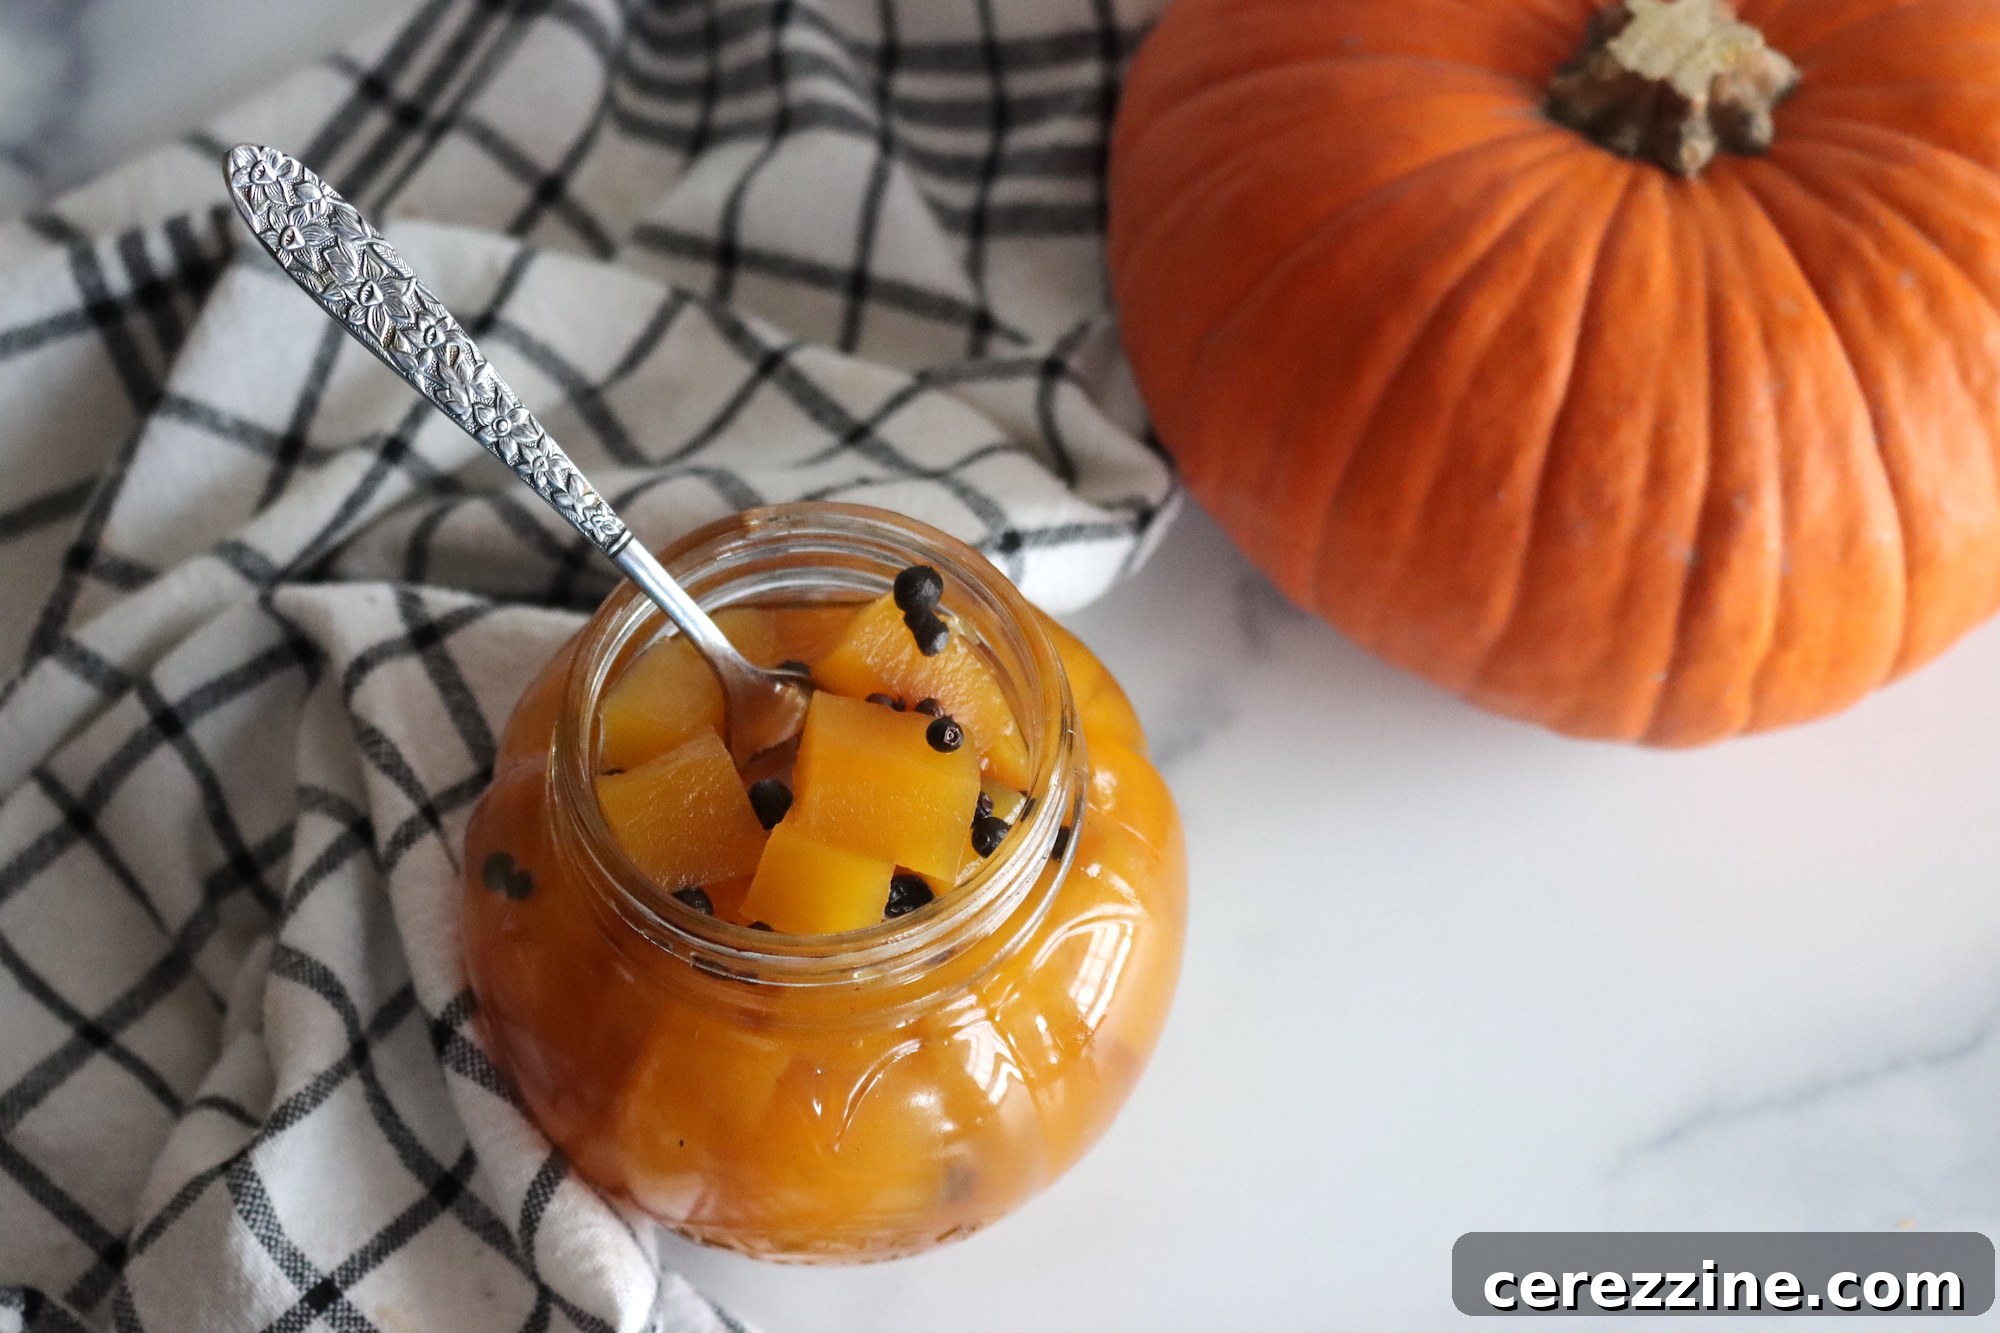
Pickled pumpkin is a sweet and tangy treat that’ll surprise you. It’s an easy water bath canning recipe for a pumpkin that’s safe due to the added vinegar but still sweet and delicious thanks to the sugar. It comes out perfect for sweet or savory recipes, and it’s sure to be a hit at your holiday meal.
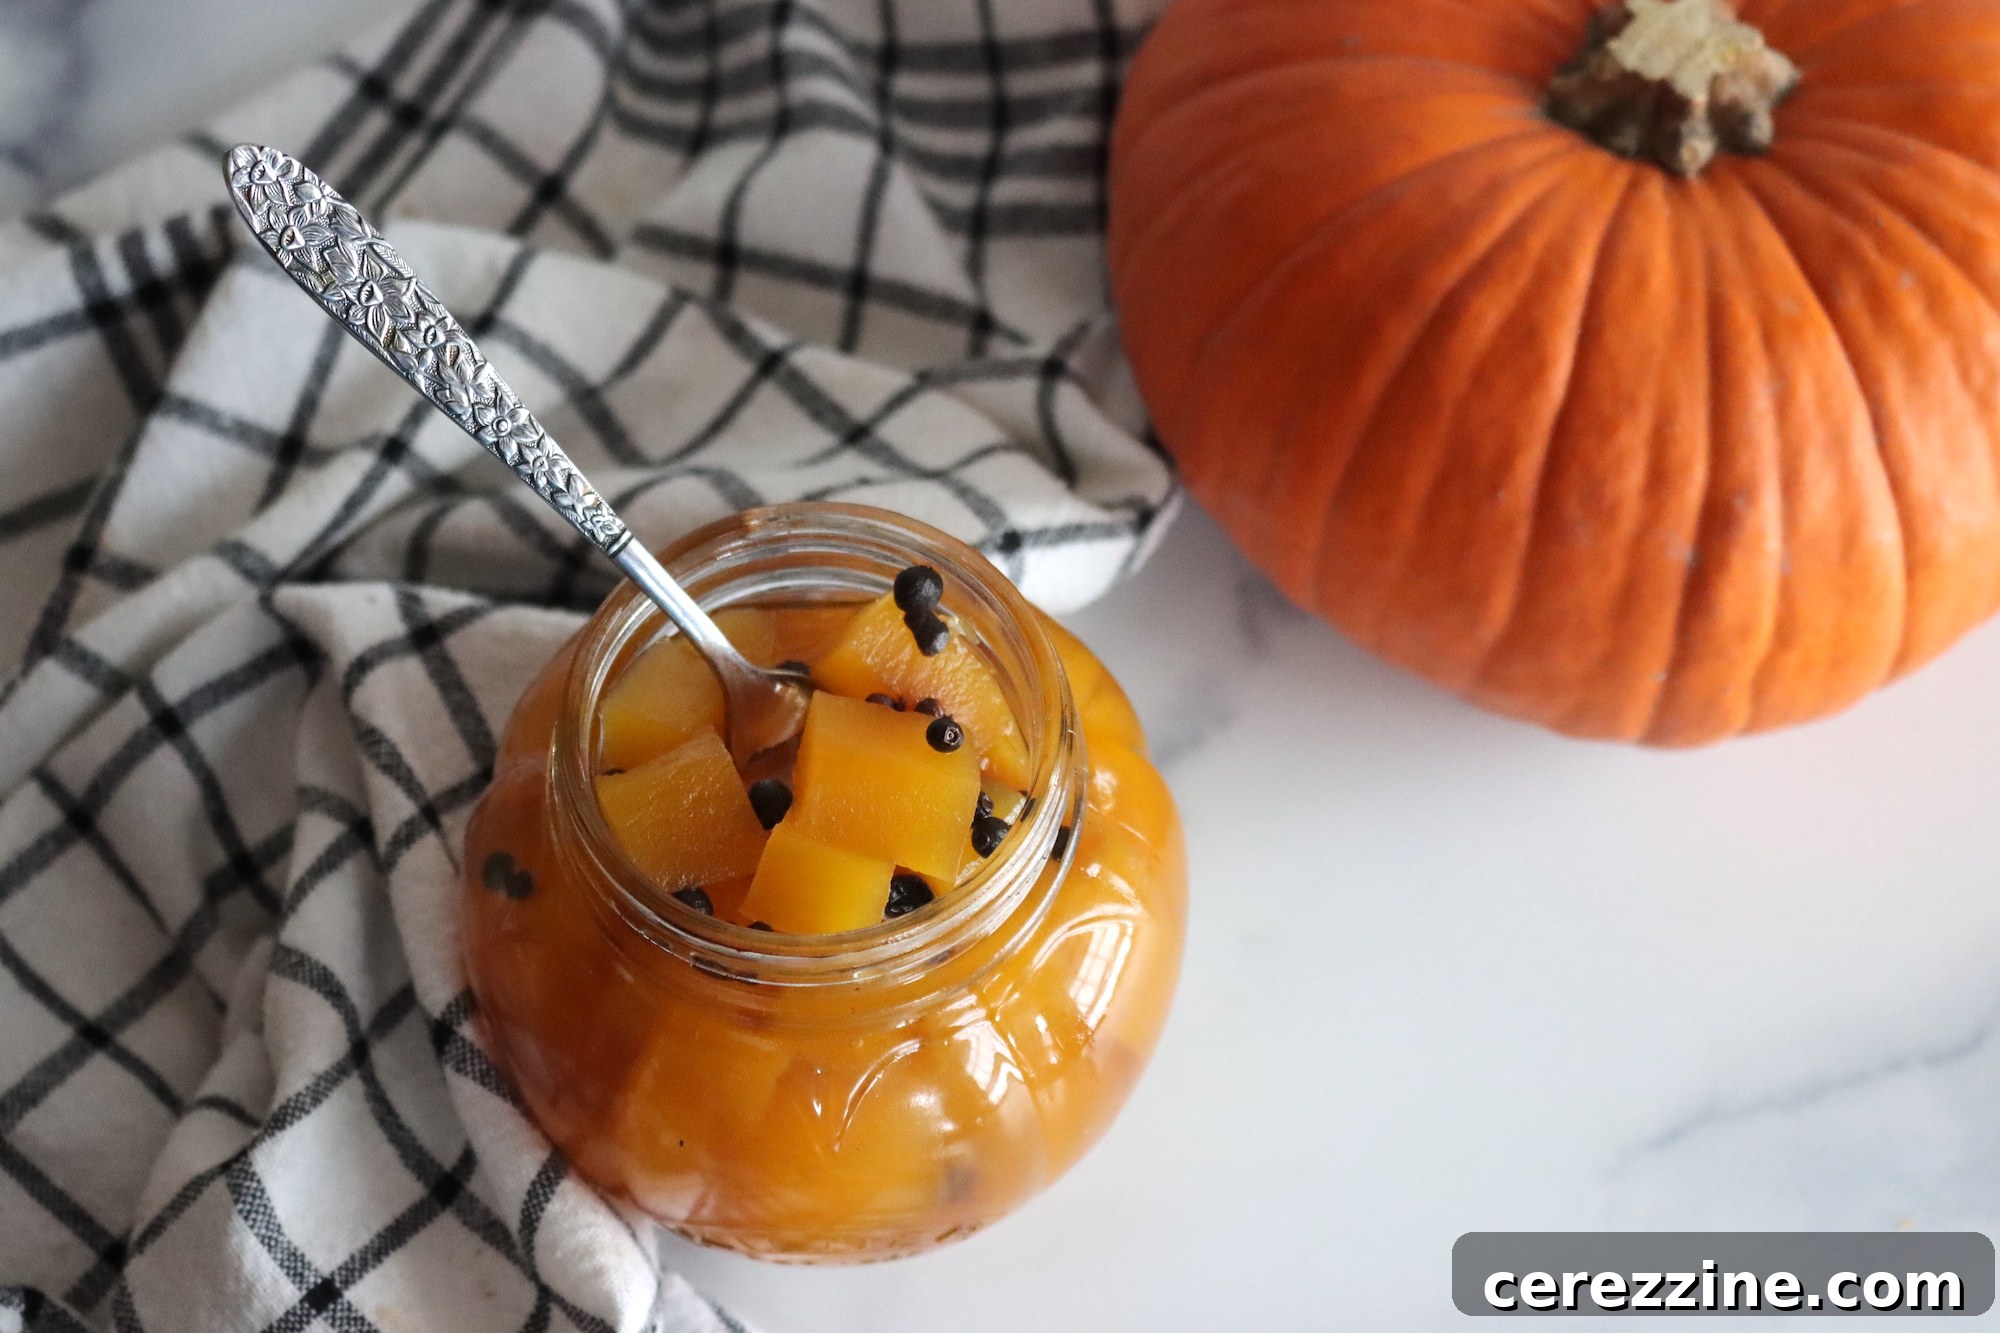
Are you searching for an exciting and unique way to savor the rich flavors of autumn? Look no further than **pickled pumpkin**! This delightful culinary creation offers a surprising blend of sweet and tangy notes that will tantalize your taste buds and elevate any meal. Whether you’re a seasoned canner or new to the art of food preservation, this water bath canning recipe for homemade pickled sugar pumpkin is straightforward, safe, and incredibly rewarding. Prepare to transform your fall harvest into a pantry staple that’s bursting with flavor.
Discover the Sweet and Tangy Magic of Pickled Pumpkin
While pumpkin often takes center stage in traditional pies or hearty savory dishes, its potential truly shines when it undergoes the pickling process. Through canning, this versatile squash transforms into a gourmet ingredient, offering a surprising depth of flavor. The natural sweetness of the pumpkin is exquisitely balanced by the sharp acidity of the pickling vinegar, creating an unforgettable taste sensation that is both refreshing and complex.
The versatility of pickled pumpkin makes it an exceptional addition to a wide array of culinary creations. Imagine serving an elegant charcuterie board featuring artisan cheeses, thinly sliced cured meats, crusty bread, and a glistening bowl of your homemade pickled pumpkin. The contrast of textures and the interplay of sweet, tangy, and savory flavors create an unforgettable appetizer experience. For salads, especially those featuring peppery greens like arugula or radicchio, and creamy elements such as goat cheese, small cubes of pickled pumpkin add a vibrant burst of flavor and a delightful chewiness that brightens the entire dish.
But the uses don’t end with savory applications! The inherent sweetness of sugar pumpkin means it can also shine in unexpected desserts. A generous scoop of vanilla bean ice cream or a dollop of whipped cream, topped with chilled pickled sugar pumpkin, offers a refreshing contrast. The surprising tang cuts through the richness, waking up your palate with every spoonful and leaving a lasting impression. This unique treat is sure to be a conversation starter and a favorite at your holiday gatherings, proving that pumpkin can indeed surprise and delight in more ways than one.
Essential Ingredients for Perfect Pickled Sugar Pumpkin
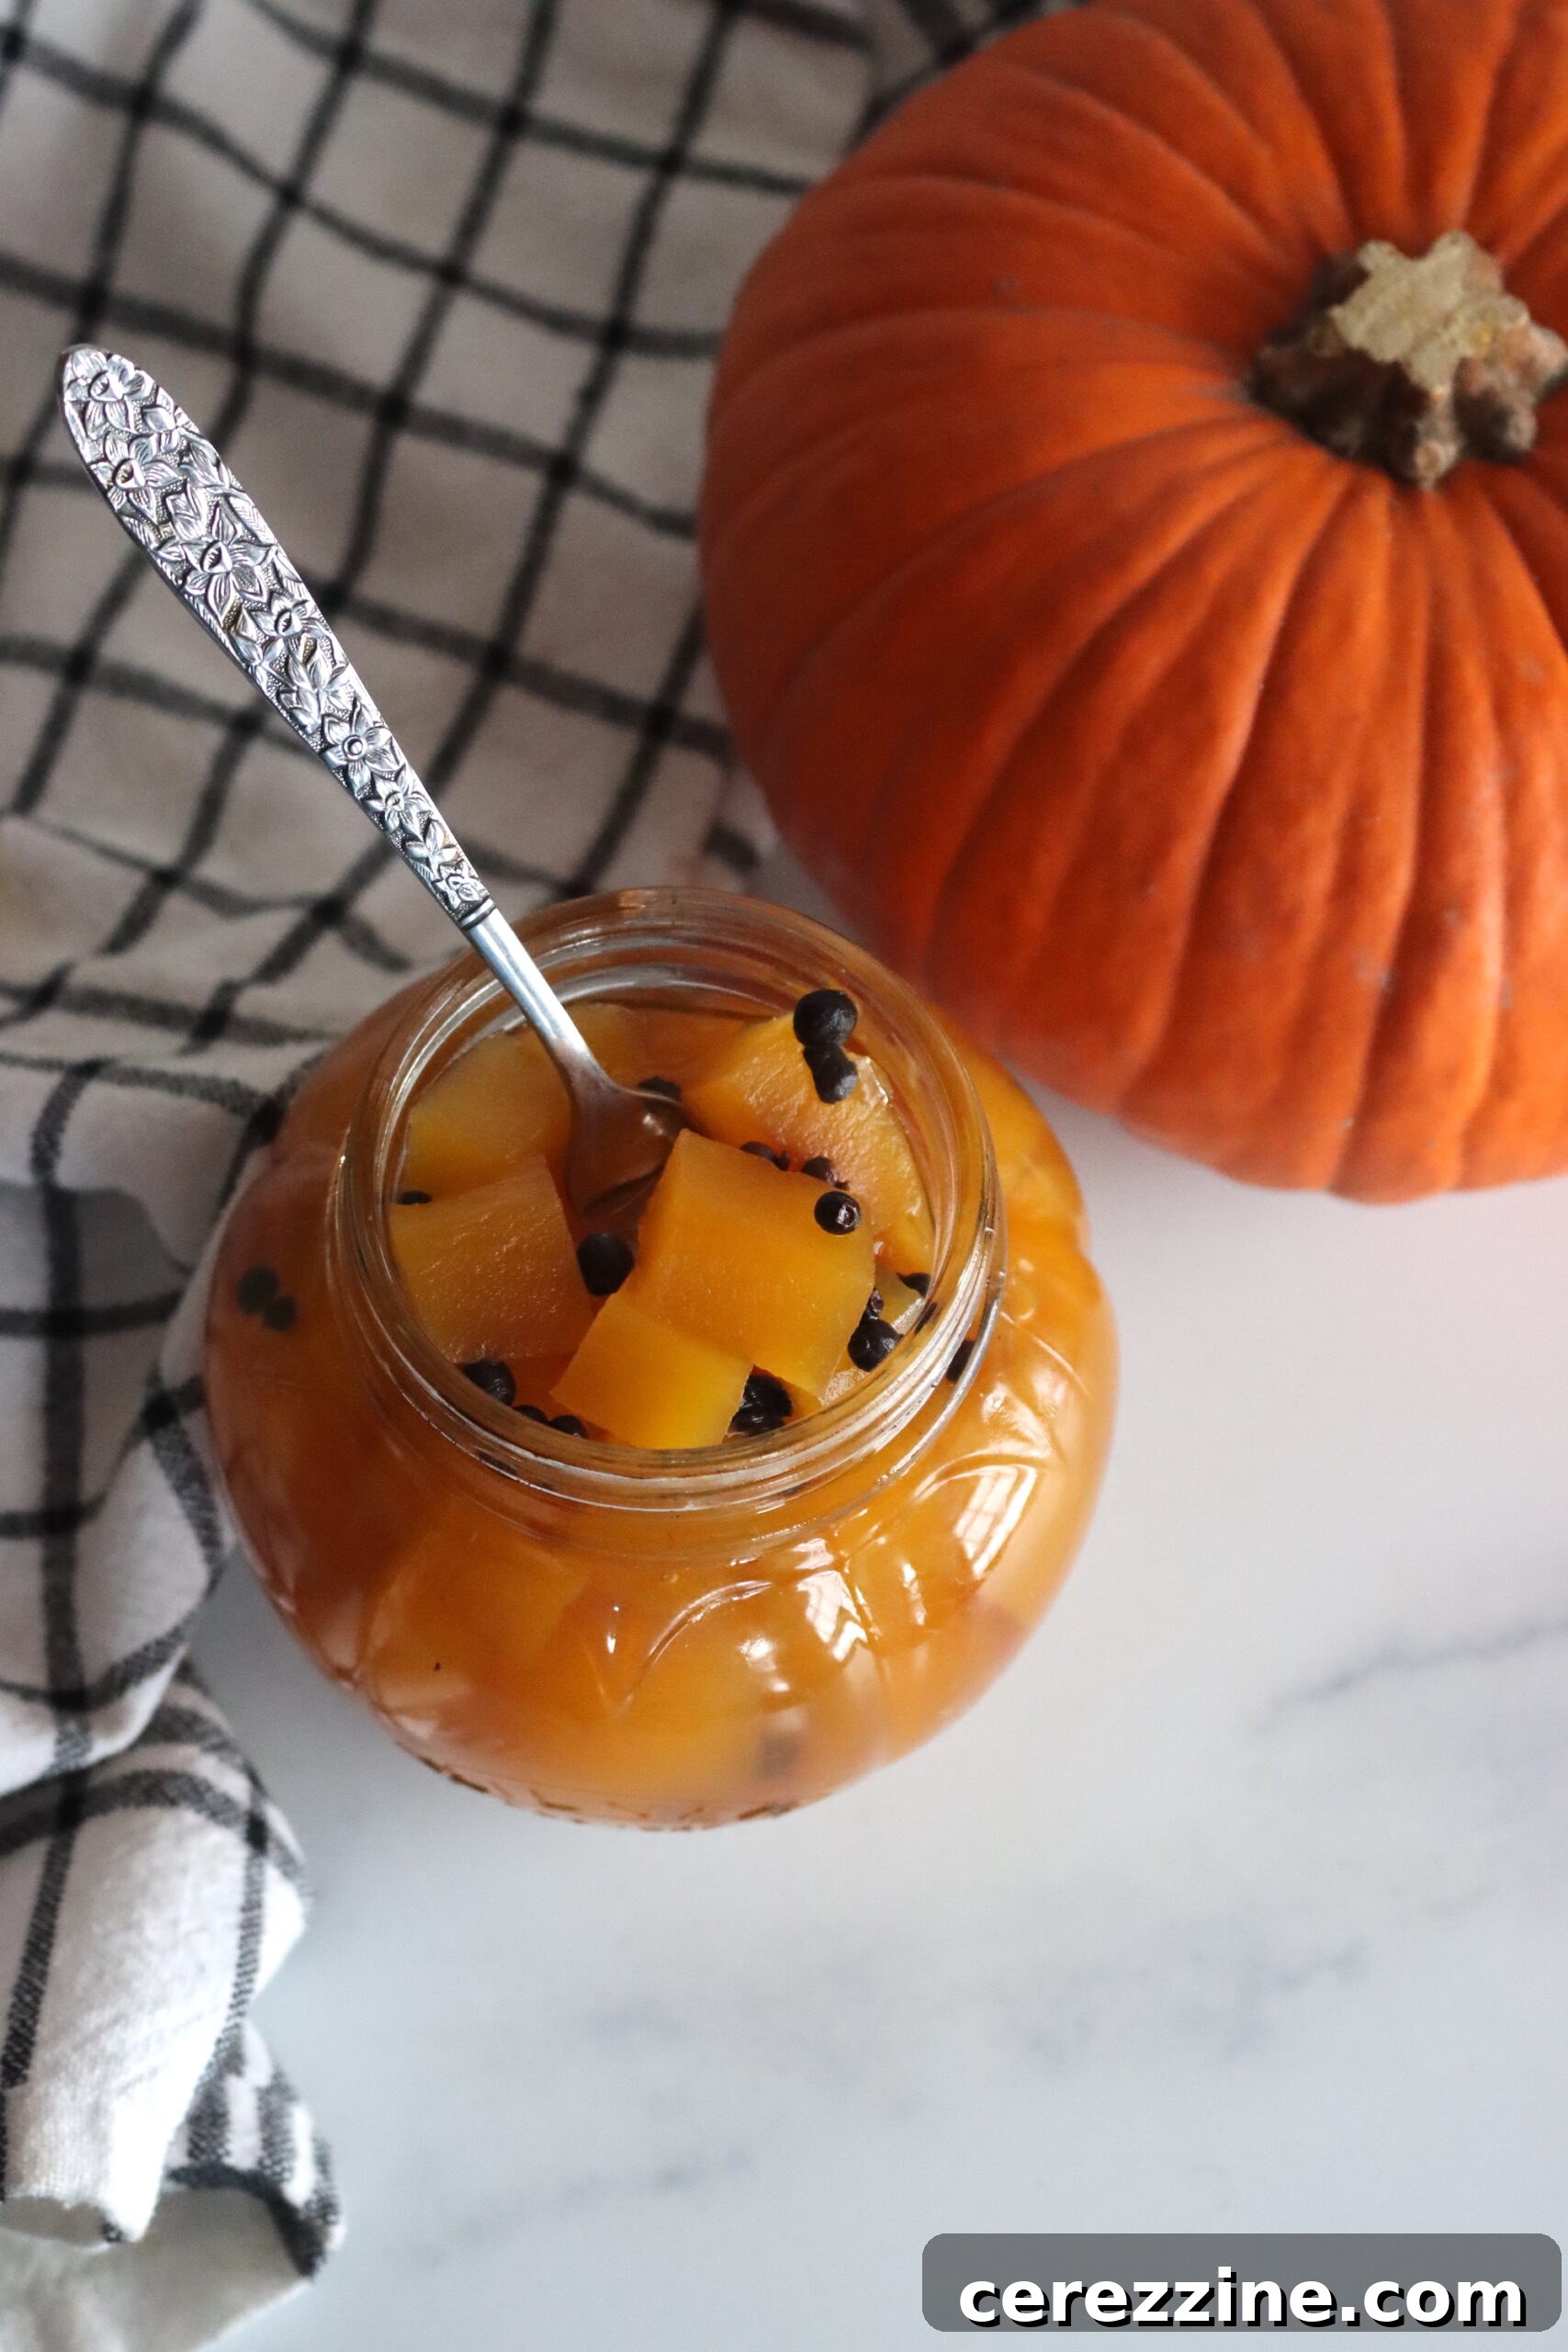
This tried-and-true **pickled pumpkin recipe**, thoughtfully adapted from “Preserving By the Pint: Quick Seasonal Canning Recipes for Small Spaces” by Marissa McClellan, is perfectly scaled for small batches, making it ideal for beginners or those with limited pantry space. Utilizing one small sugar pumpkin, typically weighing around 1.5 pounds (680 grams), you can expect to yield approximately one pint of this delectable pickled treat.
What You’ll Need to Begin:
- 1 small sugar pumpkin: (approximately 1.5 pounds / 680 g as purchased). Sugar pumpkins, also affectionately known as pie pumpkins, are the ideal choice for this recipe. Their dense, sweet flesh and manageable size ensure a superior texture and flavor compared to the larger, stringier carving pumpkins. Opting for a quality sugar pumpkin is the first step to a delicious outcome.
- 2 cups (480 ml) cider vinegar: This ingredient is the very cornerstone of our pickling brine. It provides the essential acidity not only for developing that signature tangy flavor but, more importantly, for ensuring the safety and longevity of your canned goods.
- 1.5 cups (360 ml) filtered water: Used to dilute the cider vinegar, creating the perfect balance for the brine. Filtered water helps maintain the purity of flavors in your pickled pumpkin.
- 1 cup (200 g) granulated sugar: Beyond merely sweetening the pumpkin, granulated sugar plays a critical role in firming the pumpkin pieces. This prevents them from becoming mushy during the simmering and canning processes. Furthermore, sugar contributes significantly to the safety of the recipe by creating an environment less conducive to spoilage, making it a vital component you should not reduce.
- 10 black peppercorns: These add a subtle yet warm, classic spice note that beautifully complements the natural sweetness of the pumpkin.
- 8 whole cloves: Offering a pungent, intensely aromatic depth, whole cloves are a characteristic element of traditional pickling spices, infusing a rich holiday essence.
- 5 allspice berries: These small berries are powerhouse spices, delivering a complex flavor profile that hints at cloves, cinnamon, and nutmeg all at once, adding layers of warmth to the brine.
- 1 cinnamon stick, crushed: A crushed cinnamon stick infuses a sweet, woody warmth that is inherently compatible with pumpkin, evoking comforting autumn flavors.
- 1 bay leaf: For an earthy, slightly floral undertone that subtly enhances the overall flavor profile of the pickling brine, adding a touch of sophistication.
From a 1.5-pound pumpkin, you can expect to yield about 12 ounces (or roughly 3 cups) of raw pumpkin cubes. These cubes will undergo a slight shrinkage as they simmer in the aromatic syrup, ultimately resulting in approximately one pint of finished pickled pumpkin. Your exact yield may vary slightly based on the size and density of your specific pumpkin. The critical point to remember throughout the process is to ensure that all pumpkin pieces remain fully submerged in the pickling brine within your canning jars. Should you find yourself with a little less brine than needed, simply top off the jars with more cider vinegar to guarantee proper preservation and safety.
While this specific blend of spices is carefully curated to create a wonderfully balanced flavor profile—perfect for pairing with holiday meats, enhancing salads, or even elevating desserts—the seasonings are ultimately a matter of personal preference. Feel free to customize this mix to suit your palate. For instance, if you prefer a spicier kick, consider adding a pinch of red pepper flakes. Exploring other aromatic spices like star anise or a slice of fresh ginger can also introduce different, intriguing twists. However, for a universally appealing and classically delicious pickled pumpkin, the recommended spice blend provides an exceptional starting point.
It is absolutely vital to understand and respect the crucial roles played by both sugar and vinegar in this recipe. The sugar does more than just sweeten; it acts as a critical firming agent, helping the pumpkin maintain its desirable texture and preventing it from becoming mushy or falling apart during the cooking and canning stages. Reducing the sugar content can compromise the pumpkin’s texture, leading to an undesirably soft product, and critically, it can jeopardize the safety of the canning process by altering the osmotic pressure. Likewise, the vinegar is indispensable as it provides the necessary high acidity required to make this recipe safe for water bath canning. Under no circumstances should you reduce the amounts of either vinegar or sugar specified in this recipe, as these ratios are carefully balanced for both optimal taste and, most importantly, food safety.
The cooking process itself is just as crucial as the ingredient ratios. Simmering the pumpkin chunks in the sugar and vinegar syrup until they become tender and beautifully translucent is a non-negotiable step. This extended simmer allows the acidic, sugary brine to thoroughly penetrate and infuse into the very center of each pumpkin cube. While it might seem counterintuitive that prolonged cooking wouldn’t cause the pumpkin to disintegrate, this particular simmering process actually helps to firm the pumpkin, rather than breaking it down. This infusion ensures uniform flavor and, critically, guarantees that the proper acidity is distributed throughout the pumpkin for safe preservation. Therefore, do not skip this essential simmering phase; it is the key to achieving both the perfect texture and the delectable, safe flavor of your pickled pumpkin.
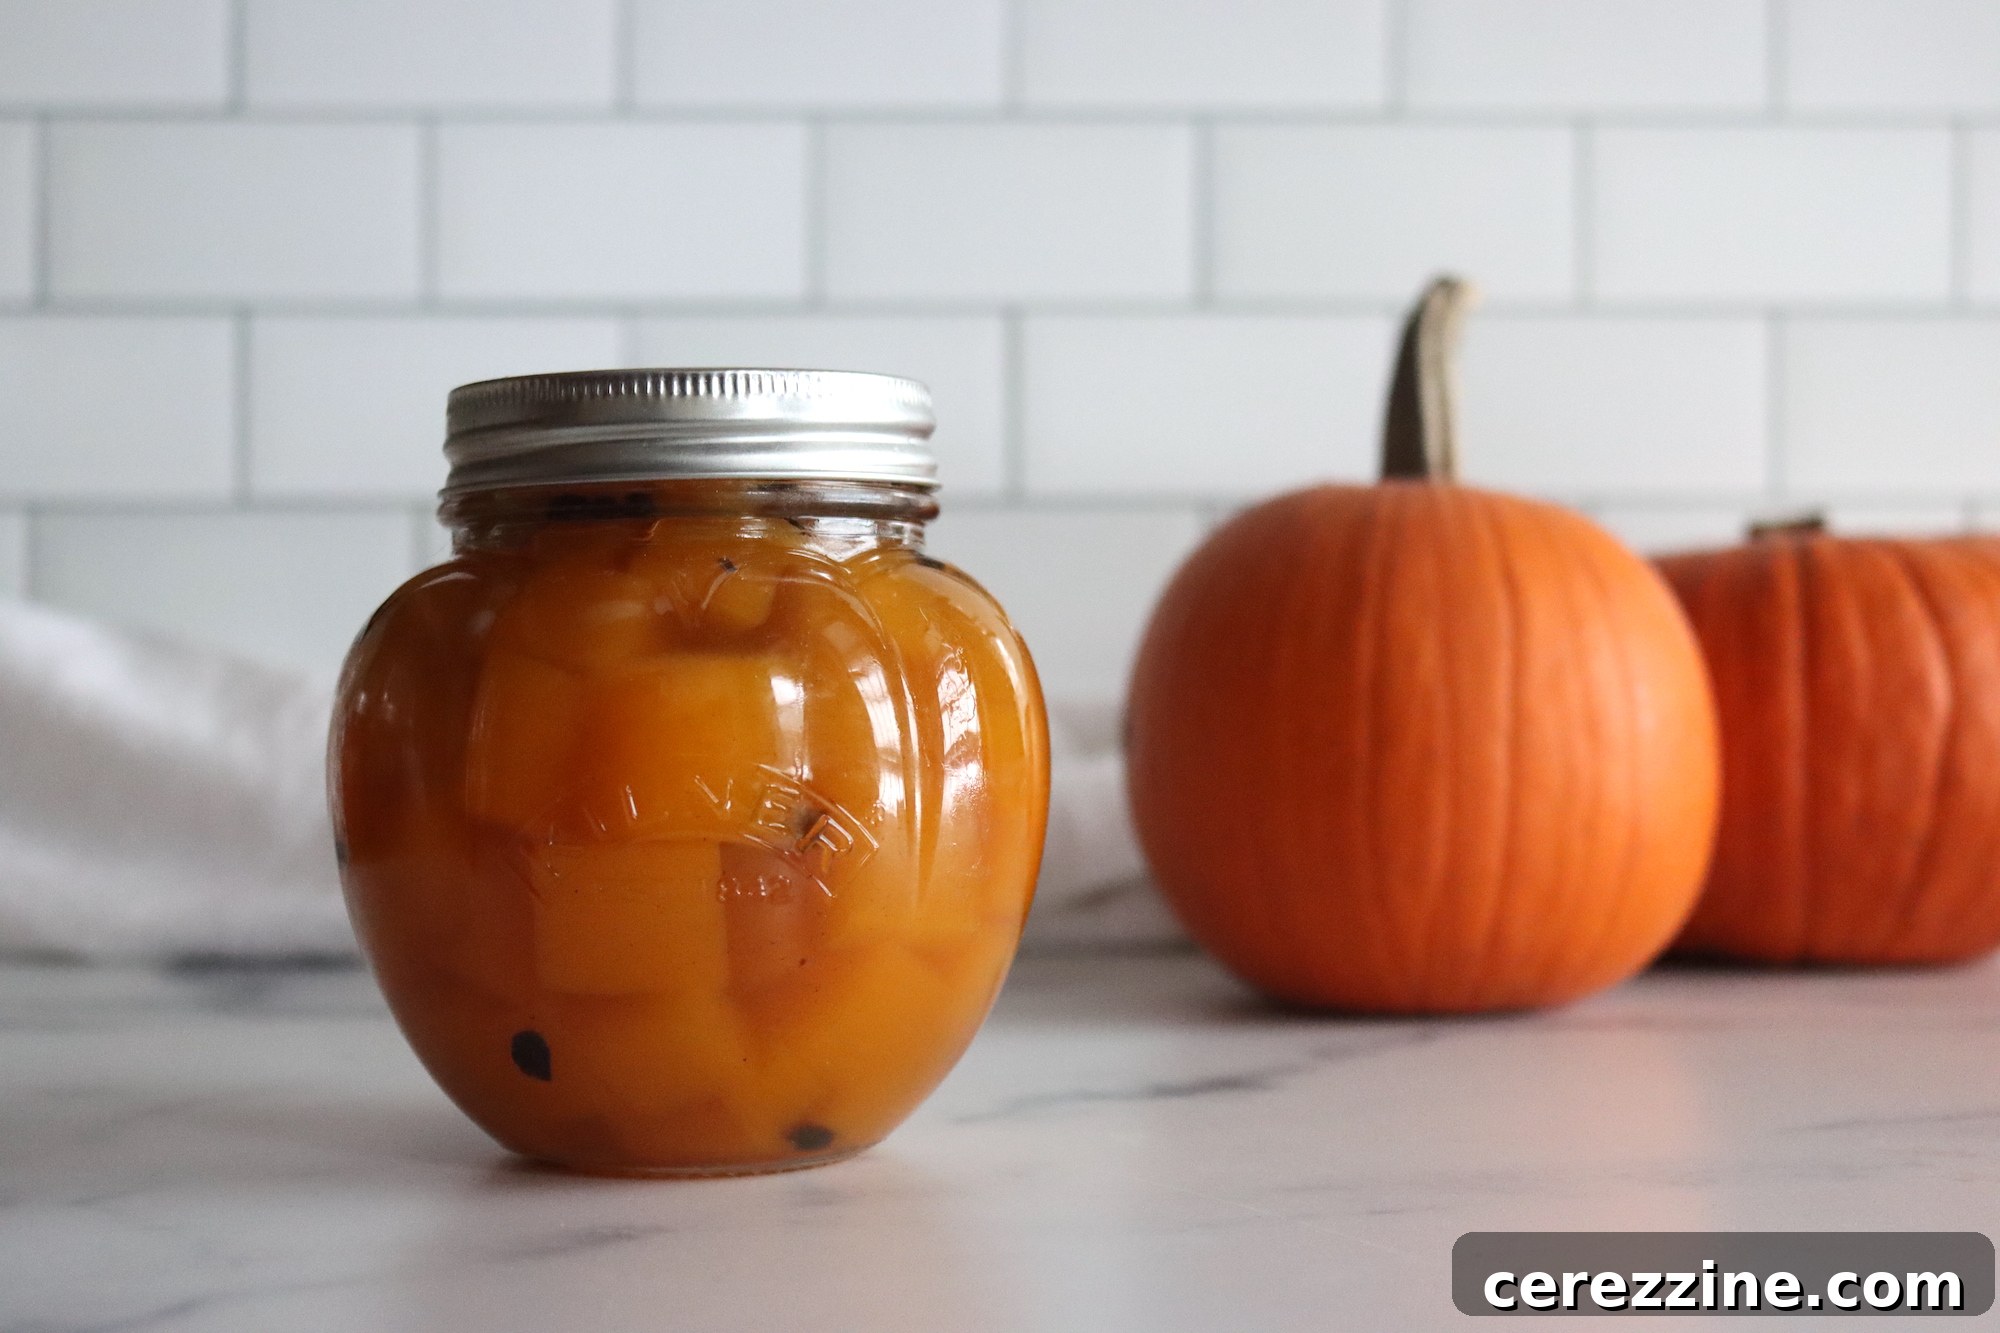
Step-by-Step Guide to Making Pickled Pumpkin
Embarking on the journey of making your own pickled pumpkin is a rewarding experience, culminating in a delicious product. Follow these detailed steps carefully to ensure a successful and safe batch.
- Prepare Your Canning Setup: Begin by preparing a small boiling water bath canner. Fill it with water and bring it to a gentle simmer while you prepare your jars. Sterilize two half-pint (or pint) jars, along with their bands, according to standard safe canning procedures. This typically involves washing them in hot, soapy water, rinsing well, and then heating them in the canner or a dishwasher to sterilize. While the jars are sterilizing, place the new, unused canning lids in a small saucepan with water (enough to cover them) and bring them to a gentle simmer (do NOT boil) to soften the sealing compound. Keep them warm until ready to use.
- Pumpkin Preparation: Carefully peel your chosen sugar pumpkin. Once peeled, use a spoon to thoroughly remove all seeds and fibrous strings from the cavity. After cleaning, cut the pumpkin flesh into uniform ½-inch (1.5 cm) dice. Uniformity in size is crucial here, as it ensures that all pumpkin pieces cook evenly and absorb the pickling brine consistently.
- Crafting the Brine: In a medium-sized, non-reactive pot (stainless steel is ideal), combine the cider vinegar, filtered water, and granulated sugar. Place this mixture over medium heat, stirring occasionally, until all the granulated sugar completely dissolves, creating a clear, fragrant syrup. Bring the mixture to a full rolling boil.
- Infuse with Spices: Gather your whole spices: black peppercorns, whole cloves, allspice berries, the crushed cinnamon stick, and the bay leaf. Place these spices into a small muslin spice bag or tie them securely in a piece of cheesecloth to form a sachet. This makes for easy removal later. Add this spice sachet directly to the pot with the simmering sugar syrup. Alternatively, if you don’t mind straining the spices out later, you can simply toss them directly into the pot.
- Simmer the Pumpkin: Add the uniformly diced pumpkin chunks and the spice bag to the hot syrup in the pot. Bring the entire mixture to a full, rolling boil. Immediately after it reaches a boil, reduce the heat to a very gentle simmer. Cover the pot and allow the pumpkin to cook for 30 to 40 minutes, or until the pumpkin pieces become translucent and are easily pierced with a fork (fork-tender). This slow simmer is a critical step, allowing the pumpkin to thoroughly absorb the sweet and tangy brine, which is essential for both flavor and safety.
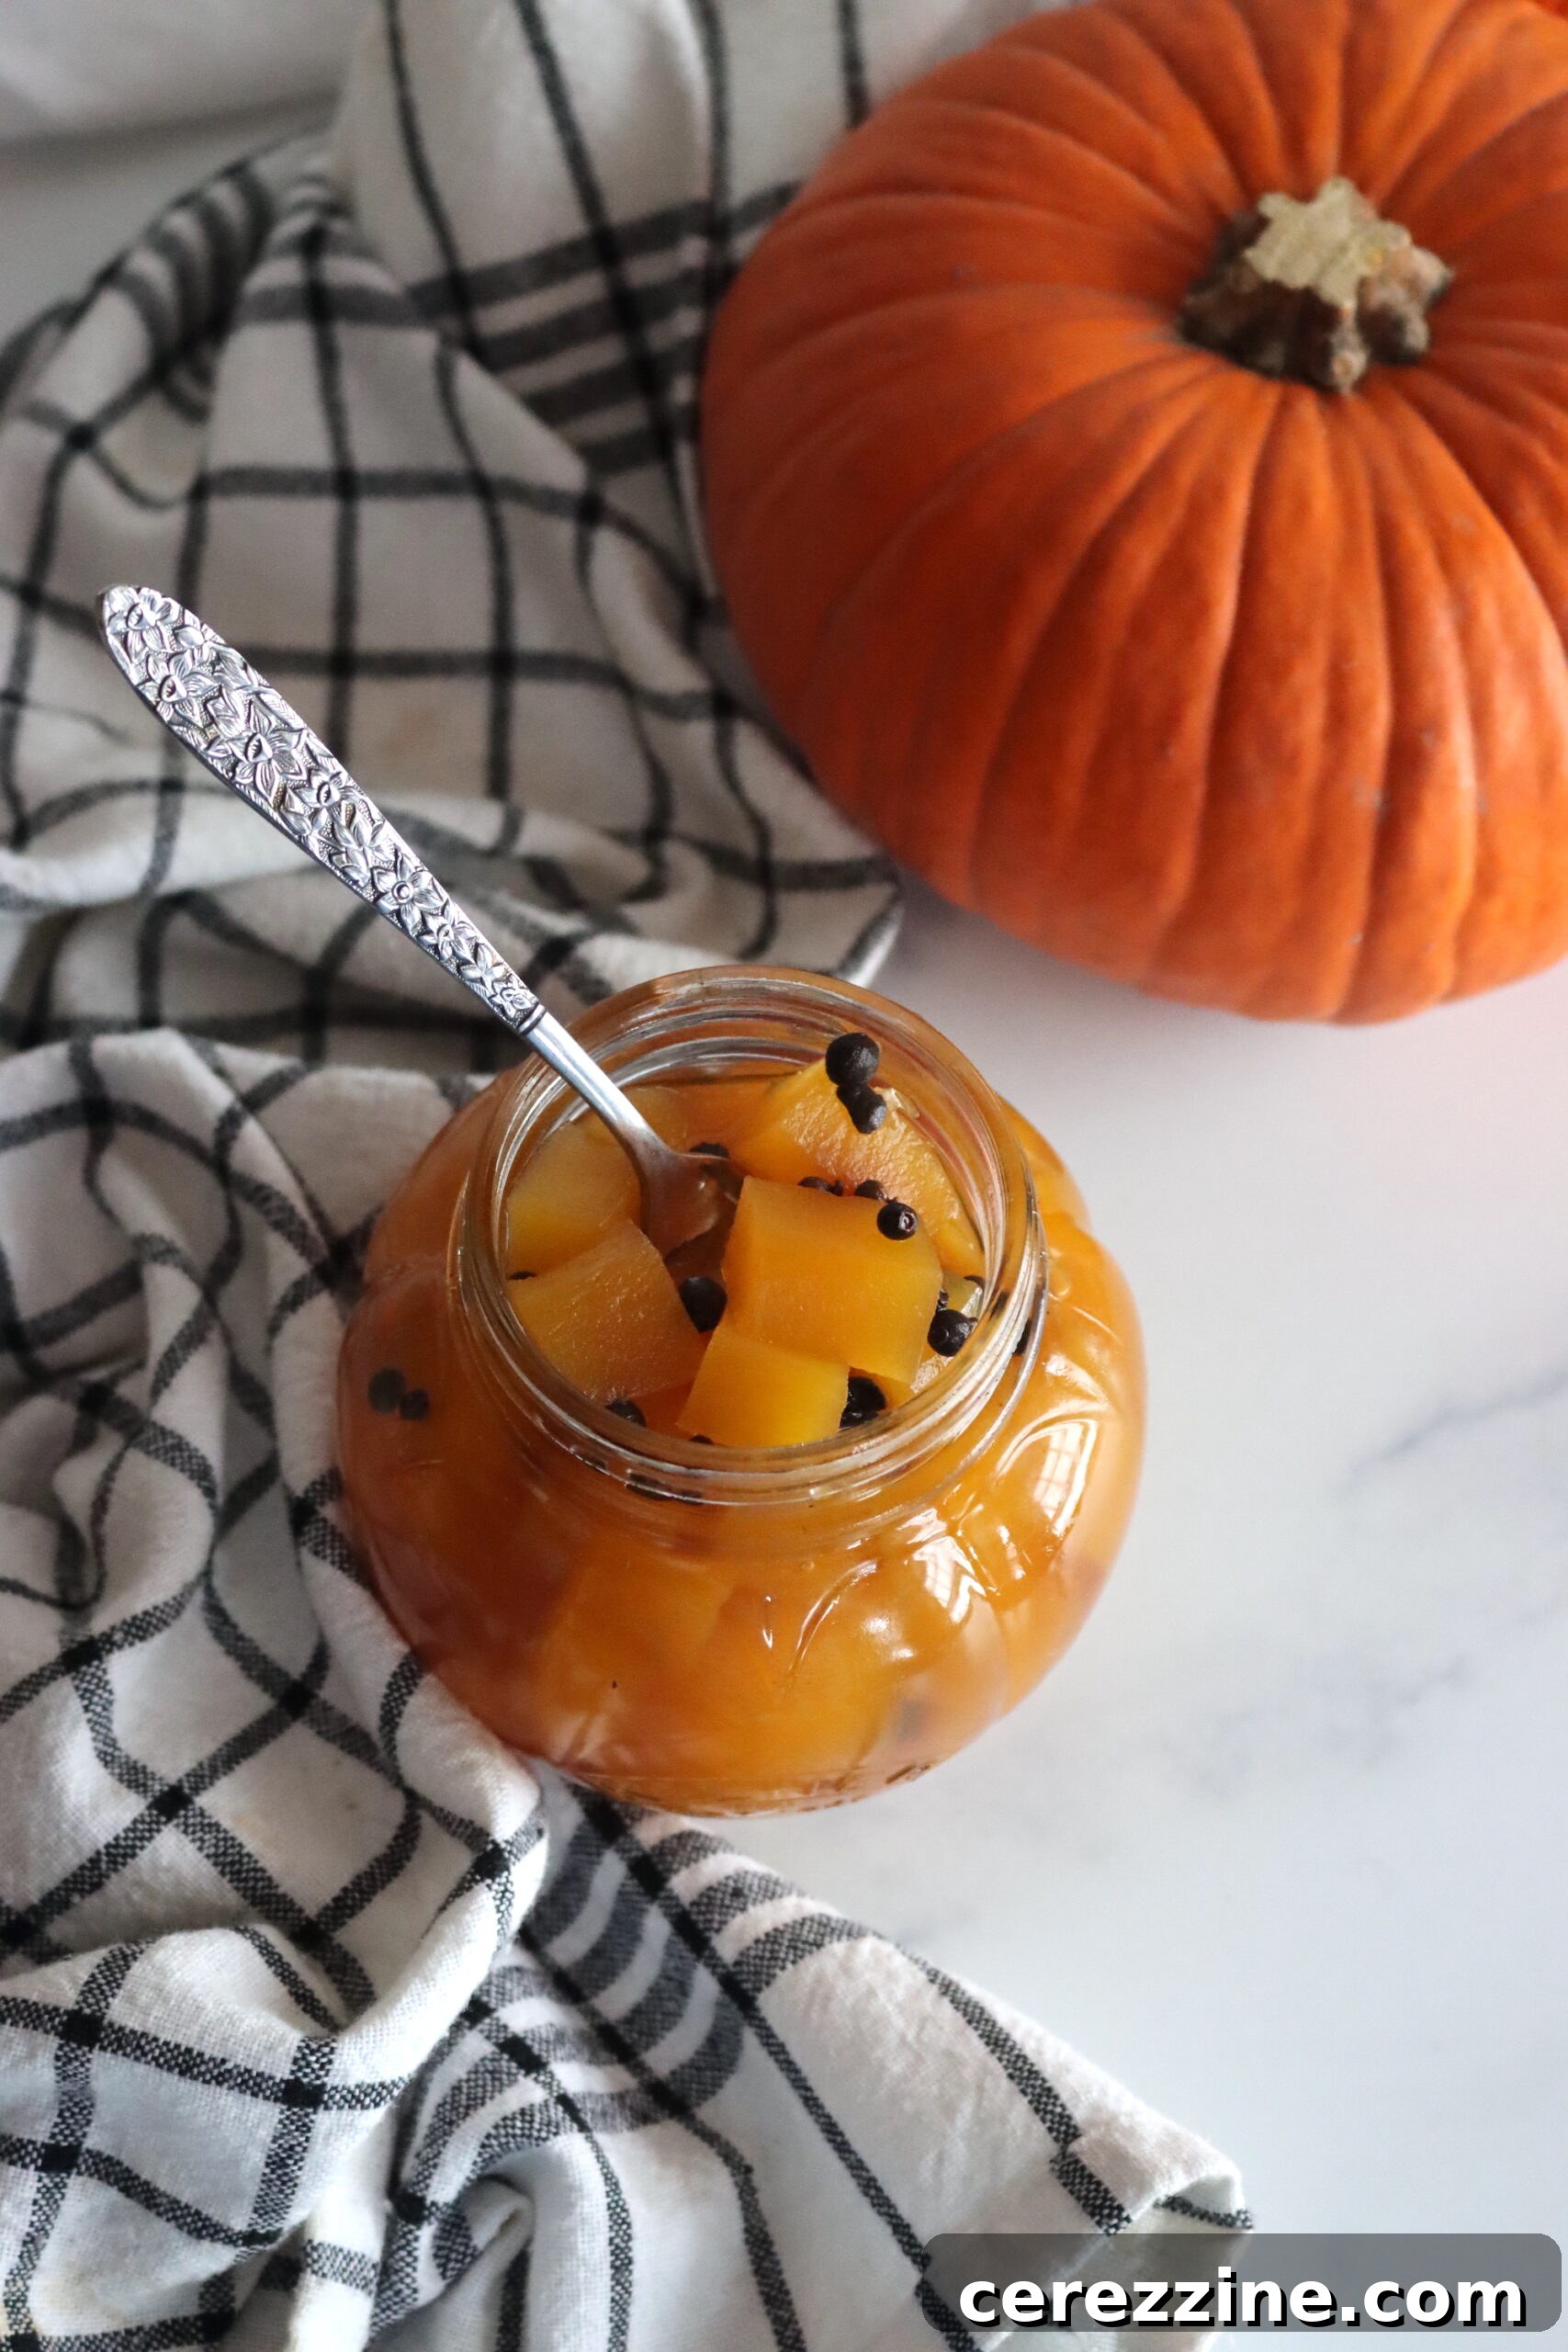
Canning Pickled Pumpkin for Long-Term Storage
While you can certainly enjoy these as quick refrigerator pickles – simply skipping the water bath canning step and storing them in the fridge for a few weeks – the true benefit and versatility come from preserving them for long-term enjoyment. Canning allows you to stock your pantry shelves with delicious homemade goodness and creates wonderful, thoughtful gifts for friends and family throughout the year.
- Fill the Jars: Once the pumpkin has finished cooking and reached the desired tenderness and translucency, carefully remove the spice bag. Ladle the hot pumpkin pieces into your prepared, sterilized half-pint (or pint) jars. Distribute the pumpkin chunks evenly among the jars. Then, ladle the hot pickling brine over the pumpkin, ensuring you leave about ½ inch (1.2 cm) of headspace from the rim of each jar. This headspace is vital for proper sealing during processing.
- Prepare for Sealing: Using a clean, damp cloth, thoroughly wipe the rims of the jars. Any sticky syrup residue on the rim can prevent a proper seal. Center the warmed canning lids (from your simmering saucepan) on top of the jars. Screw on the bands finger-tight. This means tightening until you feel resistance, then giving just a small extra turn. Do not overtighten, as this can interfere with the sealing process.
- Process in Water Bath: Carefully lower the filled and lidded jars into your boiling water bath canner. Ensure that the jars are fully submerged by at least one inch of water. Cover the canner with its lid. Bring the water in the canner back to a vigorous, rolling boil. Once boiling, begin your processing time. Process pint and half-pint jars for 20 minutes. Remember, it is absolutely crucial to adjust this processing time if you live at a higher altitude (please refer to the detailed altitude adjustment section below for specific guidance).
- Cool and Cure: After the processing time is complete, turn off the heat and remove the canner lid. Allow the jars to sit in the hot water for an additional 5 minutes before carefully lifting them out of the canner with a jar lifter. Place the hot jars upright on a clean kitchen towel or a wire cooling rack, ensuring they are not touching each other and are out of drafts. Let them cool completely undisturbed for 12 to 24 hours. During this cooling period, you should hear the satisfying “ping” of the lids sealing. Once completely cooled, check the seals by pressing on the center of each lid; the lid should be concave and should not flex up or down. For optimal flavor development and to allow the complex pickling flavors to fully meld and deepen, allow your homemade pickled pumpkin to cure for at least two weeks before enjoying. This patience will be richly rewarded with an exquisite taste.
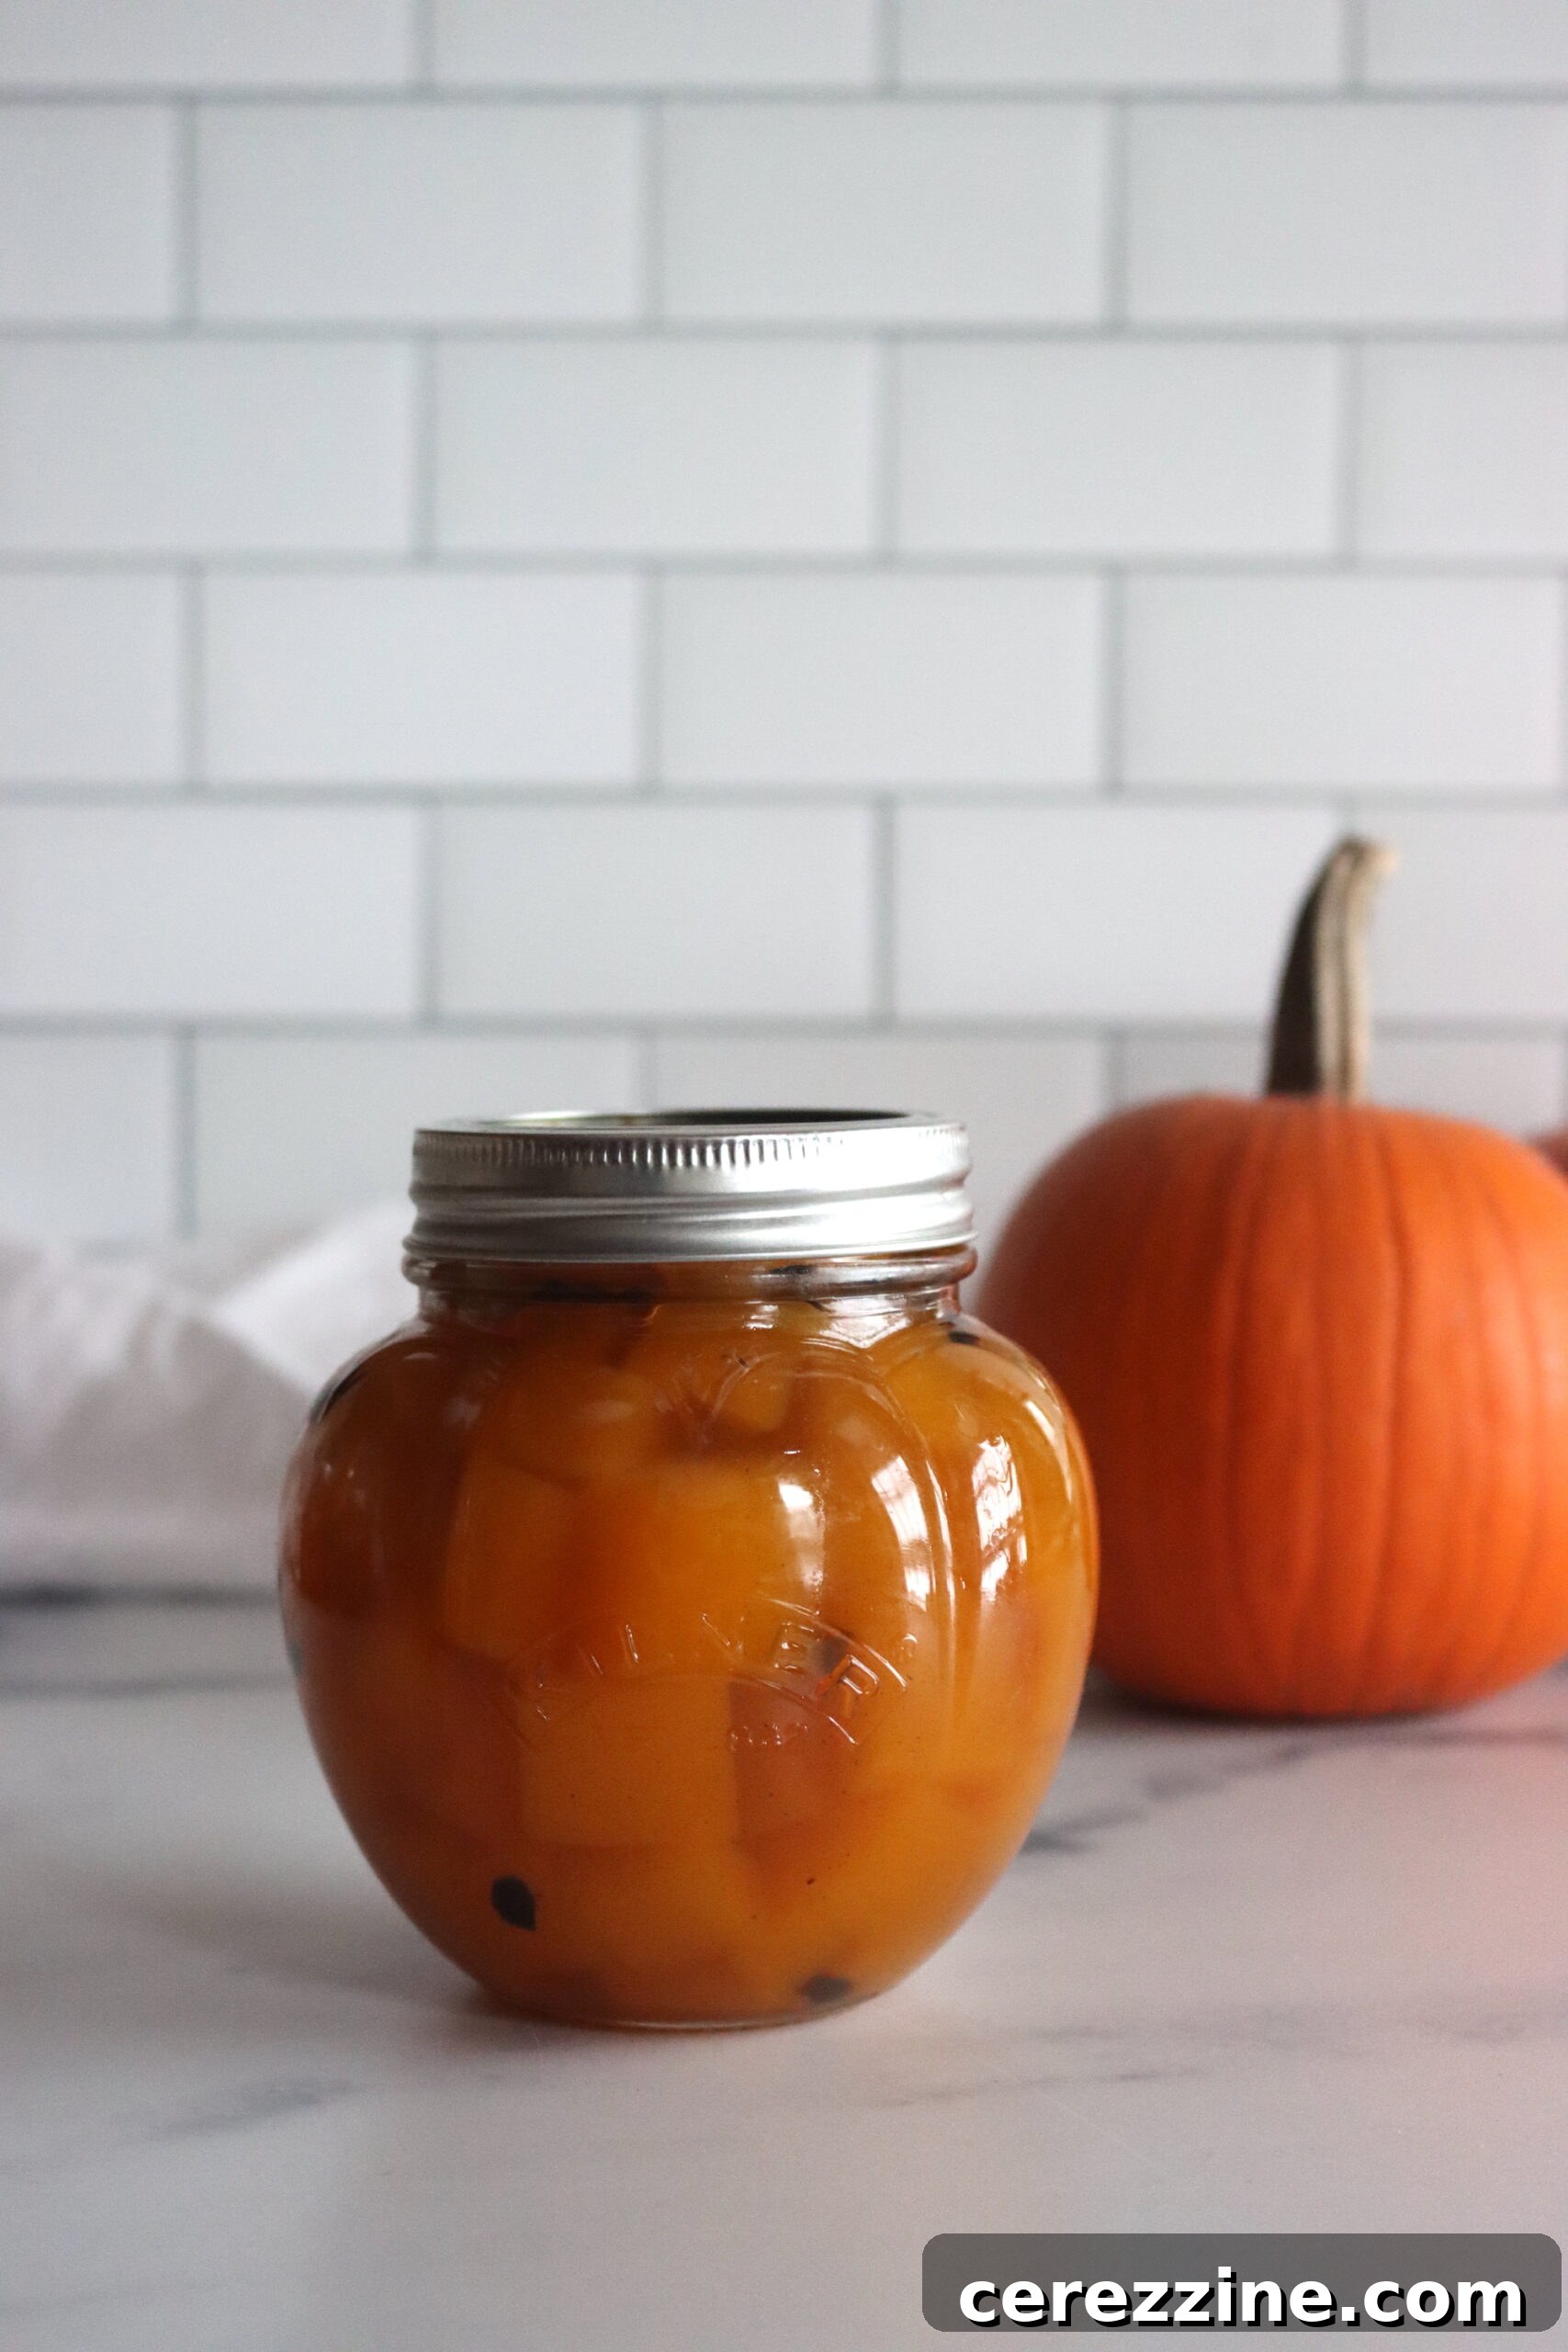
Altitude Adjustments for Safe Canning
Altitude plays a critical role in the safety and effectiveness of home canning. At higher elevations, water boils at lower temperatures. This means that to ensure the proper sterilization and safe processing of your canned pickled pumpkin, you must increase the processing time accordingly. These adjustments compensate for the lower boiling point, guaranteeing that your jars reach the necessary temperature for safe preservation:
- For 0 to 1,000 Feet in Elevation: Process pint and half-pint jars for 20 minutes. This is the standard processing time for sea level and low altitudes.
- For 1,001 to 6,000 Feet in Elevation: Process pint and half-pint jars for 25 minutes. An additional 5 minutes is required to achieve proper sterilization at these mid-range altitudes.
- Above 6,001 Feet in Elevation: Process pint and half-pint jars for 30 minutes. At higher elevations, a further increase in processing time is necessary to ensure the safety and quality of your preserved goods.
A Crucial Note on Canning Safety
It is widely known and an important safety principle in home canning that plain pumpkin or pumpkin purée is considered a low-acid food. As such, it is unsafe to can plain pumpkin or pumpkin purée in a boiling water bath; these products require the use of a pressure canner to reach temperatures high enough to destroy harmful bacteria. However, **pickled pumpkin** falls into a different category. The key difference lies in the significant amount of vinegar added to the brine. This vinegar provides the necessary high acidity (lowering the pH below 4.6), which makes this specific recipe safe for water bath canning, provided the pumpkin is cut into small, uniform chunks and all steps, especially processing times and headspace, are followed precisely.
It is paramount to reiterate that the step of simmering the pumpkin in the vinegar and sugar syrup *before* filling the jars is absolutely non-negotiable. This pre-processing cook ensures that the acidic brine fully penetrates and infuses into every piece of pumpkin. This infusion guarantees that the entire contents of the jar reach the required pH level for safe water bath canning, and also contributes to the desired firm yet tender texture. Therefore, do not, under any circumstances, skip this essential cooking step; it is fundamental for both the safety and quality of your pickled pumpkin.
8
Servings, Makes about 1 pint
Pickled Sugar Pumpkin
Ashley Adamant
15 minutes
40 minutes
20 minutes
1 hour
15 minutes
Ingredients
- 1 small sugar pumpkin, about 1.5 pounds/680 g
- 2 cups cider vinegar
- 1.5 cups filtered water
- 1 cup granulated sugar
- 10 black peppercorns
- 8 whole cloves
- 5 allspice berries
- 1 cinnamon stick, crushed
- 1 bay leaf
Instructions
-
Prepare a water bath canner by preheating it for hot pack canning, along with jars, lids, and rings.
-
Peel the pumpkin, remove seeds and strings, and cut into ½-inch (1.5 cm) dice.
-
In a medium pot, combine cider vinegar, filtered water, and granulated sugar. Heat until sugar dissolves.
-
Place black peppercorns, cloves, allspice berries, crushed cinnamon stick, and bay leaf in a muslin spice bag or cheesecloth. (Or just toss them into the pot.)
-
Add pumpkin chunks and spice bag to the syrup. Bring to a boil, then cover and reduce the heat to a very gentle simmer for 30 to 40 minutes until fork-tender.
-
Ladle the pumpkin into prepared jars, leaving ½ inch (1.2 cm) headspace. Cover with brine.
-
Wipe the rims, apply lids, and process in the boiling water bath for 20 minutes, adjusting for altitude (see notes).
-
Let the jars cool, then allow the pickles to cure for at least 2 weeks before enjoying.
Notes
Altitude Adjustments
Water boils at a lower temperature at higher altitudes, so jars need to be processed a bit longer as you go up in elevation. Here are the altitude adjustments for canning Pickled Pumpkin:
- For 0 to 1,000 Feet in Elevation – Process pint and half pint jars for 20 minutes.
- For 1,001 to 6,000 Feet in Elevation – Process pint and half pint jars for 25 minutes.
- Above 6,001 Feet in Elevation – Process pint and half pint jars for 30 minutes.
Nutrition
(Approximate values per serving, based on 8 servings per pint)
Calories: 155 kcal, Carbohydrates: 37 g, Protein: 2 g, Fat: 0.3 g, Saturated Fat: 0.1 g, Polyunsaturated Fat: 0.03 g, Monounsaturated Fat: 0.03 g, Sodium: 8 mg, Potassium: 628 mg, Fiber: 1 g, Sugar: 30 g, Vitamin A: 14476 IU, Vitamin C: 15 mg, Calcium: 48 mg, Iron: 2 mg
Nutrition information is automatically calculated, so should only be used as an approximation.
Serving Suggestions: Unleash the Versatility of Pickled Pumpkin
Once your homemade pickled pumpkin has cured and developed its full flavor, it’s ready to delight and surprise. Its unique sweet-tangy profile makes it incredibly versatile across a wide range of culinary applications, transforming ordinary meals into extraordinary experiences:
- Elegant Appetizers & Charcuterie Boards: Elevate your next charcuterie spread by serving pickled pumpkin alongside cured meats, a selection of artisanal cheeses (especially creamy goat cheese or sharp cheddar), crackers, and briny olives. The vibrant orange chunks add a beautiful pop of color and a delightful counterpoint to rich and salty flavors.
- Vibrant Salads: Dice the pickled pumpkin into smaller cubes and toss them into your favorite green salads. They pair exceptionally well with bitter greens such as arugula or radicchio. Enhance the salad with toasted nuts (pecans or walnuts work beautifully), crumbled feta or goat cheese, and a light vinaigrette for an unforgettable side dish or a refreshing light lunch.
- Savory Main Dish Pairings: Pickled pumpkin is a fantastic accompaniment to roasted meats like pork loin, chicken, or a festive holiday turkey. Its bright, acidic notes cut through the richness of the meat, offering a refreshing palate cleanser and adding a sophisticated, festive touch to any holiday meal. Consider it a gourmet alternative to traditional cranberry sauce.
- Unique Desserts: Don’t hesitate to explore its sweet potential! Serve chilled pickled pumpkin over scoops of vanilla ice cream, plain Greek yogurt, or alongside a slice of simple pound cake or cheesecake. The unexpected tang amidst the sweetness creates a delightful and memorable surprise for your dessert course.
- Gourmet Sandwiches & Wraps: For an unexpected burst of flavor and texture, add a few thin slices or small cubes of pickled pumpkin to your next gourmet sandwich, wrap, or even a veggie burger. It provides an exciting layer of complexity.
- Chutney Alternative: Lightly mash the pickled pumpkin and serve it as a unique chutney with curries, roasted vegetables, or other spicy dishes. It provides a wonderful cooling, sweet, and tangy element that balances heat.
Storage and Shelf Life of Pickled Pumpkin
Proper storage is key to enjoying your delicious homemade pickled pumpkin for months to come. If canned correctly using the water bath method outlined in this recipe, jars of pickled pumpkin, stored in a cool, dark pantry or cellar, can last for at least one year, and often longer. Always check for a proper seal before storage.
Once an individual jar of pickled pumpkin is opened, it must be stored in the refrigerator. Consume the contents within 2-3 weeks for the best quality and flavor. If you opted for refrigerator pickles (meaning you skipped the water bath canning step), they should always be stored in the refrigerator from the start and will typically keep fresh for about 3-4 weeks.
Frequently Asked Questions (FAQ) About Pickled Pumpkin
Here are answers to some common questions about making and enjoying pickled pumpkin:
- Can I use any type of pumpkin for pickling? For the best pickling results, we highly recommend using sugar pumpkins, also widely known as pie pumpkins. Their flesh is significantly denser, sweeter, and less stringy compared to larger carving pumpkins. This makes them ideal for pickling, as they maintain a desirable firm yet tender texture after cooking and processing. Using other pumpkin varieties may lead to a mushy or less flavorful end product.
- Is it safe to reduce the sugar or vinegar in this recipe? Absolutely not. It is critically important for both the safety and quality of this recipe that you do not reduce the specified amounts of either sugar or vinegar. Both ingredients are crucial for the preservation process: the vinegar provides the necessary acidity for safe water bath canning, while the sugar not only adds flavor but also helps to firm the pumpkin and maintain its texture during cooking. Altering these ratios can compromise food safety and result in an inferior product.
- How long does pickled pumpkin need to cure? For the absolute best flavor, we strongly recommend allowing your homemade pickled pumpkin to cure for a minimum of two weeks before opening and enjoying. This dedicated curing time is essential as it allows the robust flavors of the pumpkin and the aromatic pickling spices to thoroughly meld, deepen, and harmonize, resulting in a far more complex and satisfying taste experience.
- What if my jar lids don’t seal properly? If, after 12 to 24 hours of cooling, you find that a lid has not sealed (it will flex when pressed in the center), you have a couple of options. You can immediately reprocess the jar within 24 hours by replacing the old lid with a brand-new, properly warmed lid, and repeating the full processing time. Alternatively, you can simply store that unsealed jar directly in the refrigerator and plan to consume its contents within a few weeks as refrigerator pickles.
Expand Your Canning Skills with More Autumn Recipes
If you’ve enjoyed the satisfying process of making and preserving pickled pumpkin, we encourage you to continue exploring the wonderful world of home canning. It’s a rewarding skill that allows you to capture the bounty of each season and bring delicious, homemade goodness to your pantry shelves year-round.
More Pumpkin & Winter Squash Canning Recipes:
Discover additional ways to preserve these versatile autumn staples for future enjoyment:
- Canning Plain Pumpkin (Note: This recipe requires a pressure canner for safety due to pumpkin’s low acidity.)
- Butternut Squash and White Bean Soup
- Butternut Squash Soup Base
- Thai Butternut Squash Soup
More Delicious Autumn Canning Recipes:
Keep your canner warm and your pantry stocked with these delightful seasonal favorites, perfect for enjoying the flavors of fall all year long:
- Cranberry Apple Jam
- Pear Jam
- Canning Sweet Potatoes
- Sweet Cider Apple Butter
- Pear Butter
- Caramelized Onion Jam