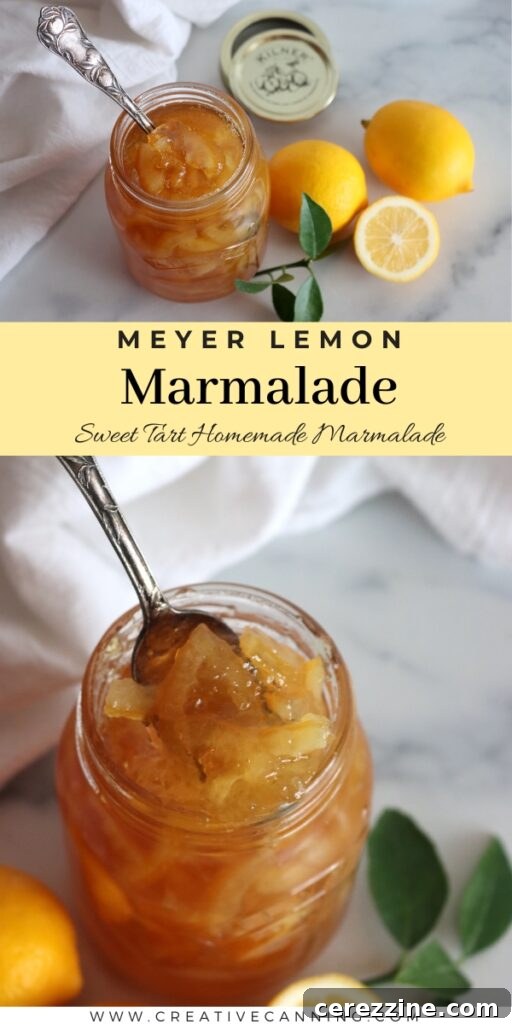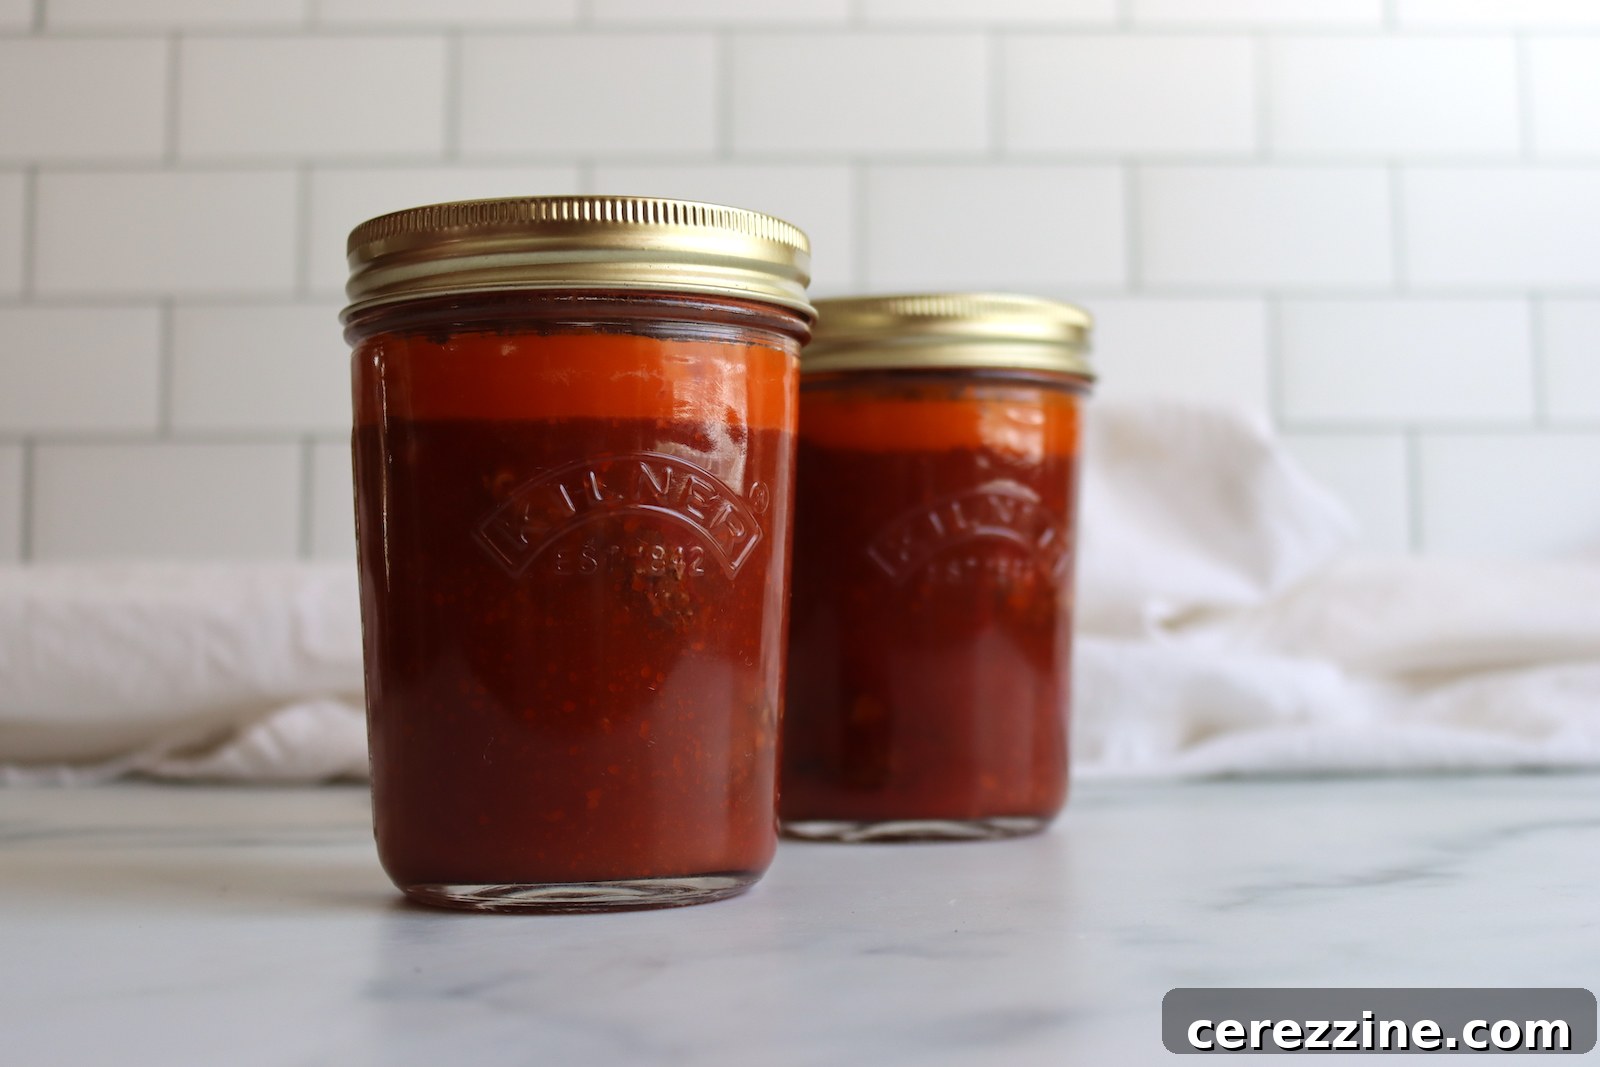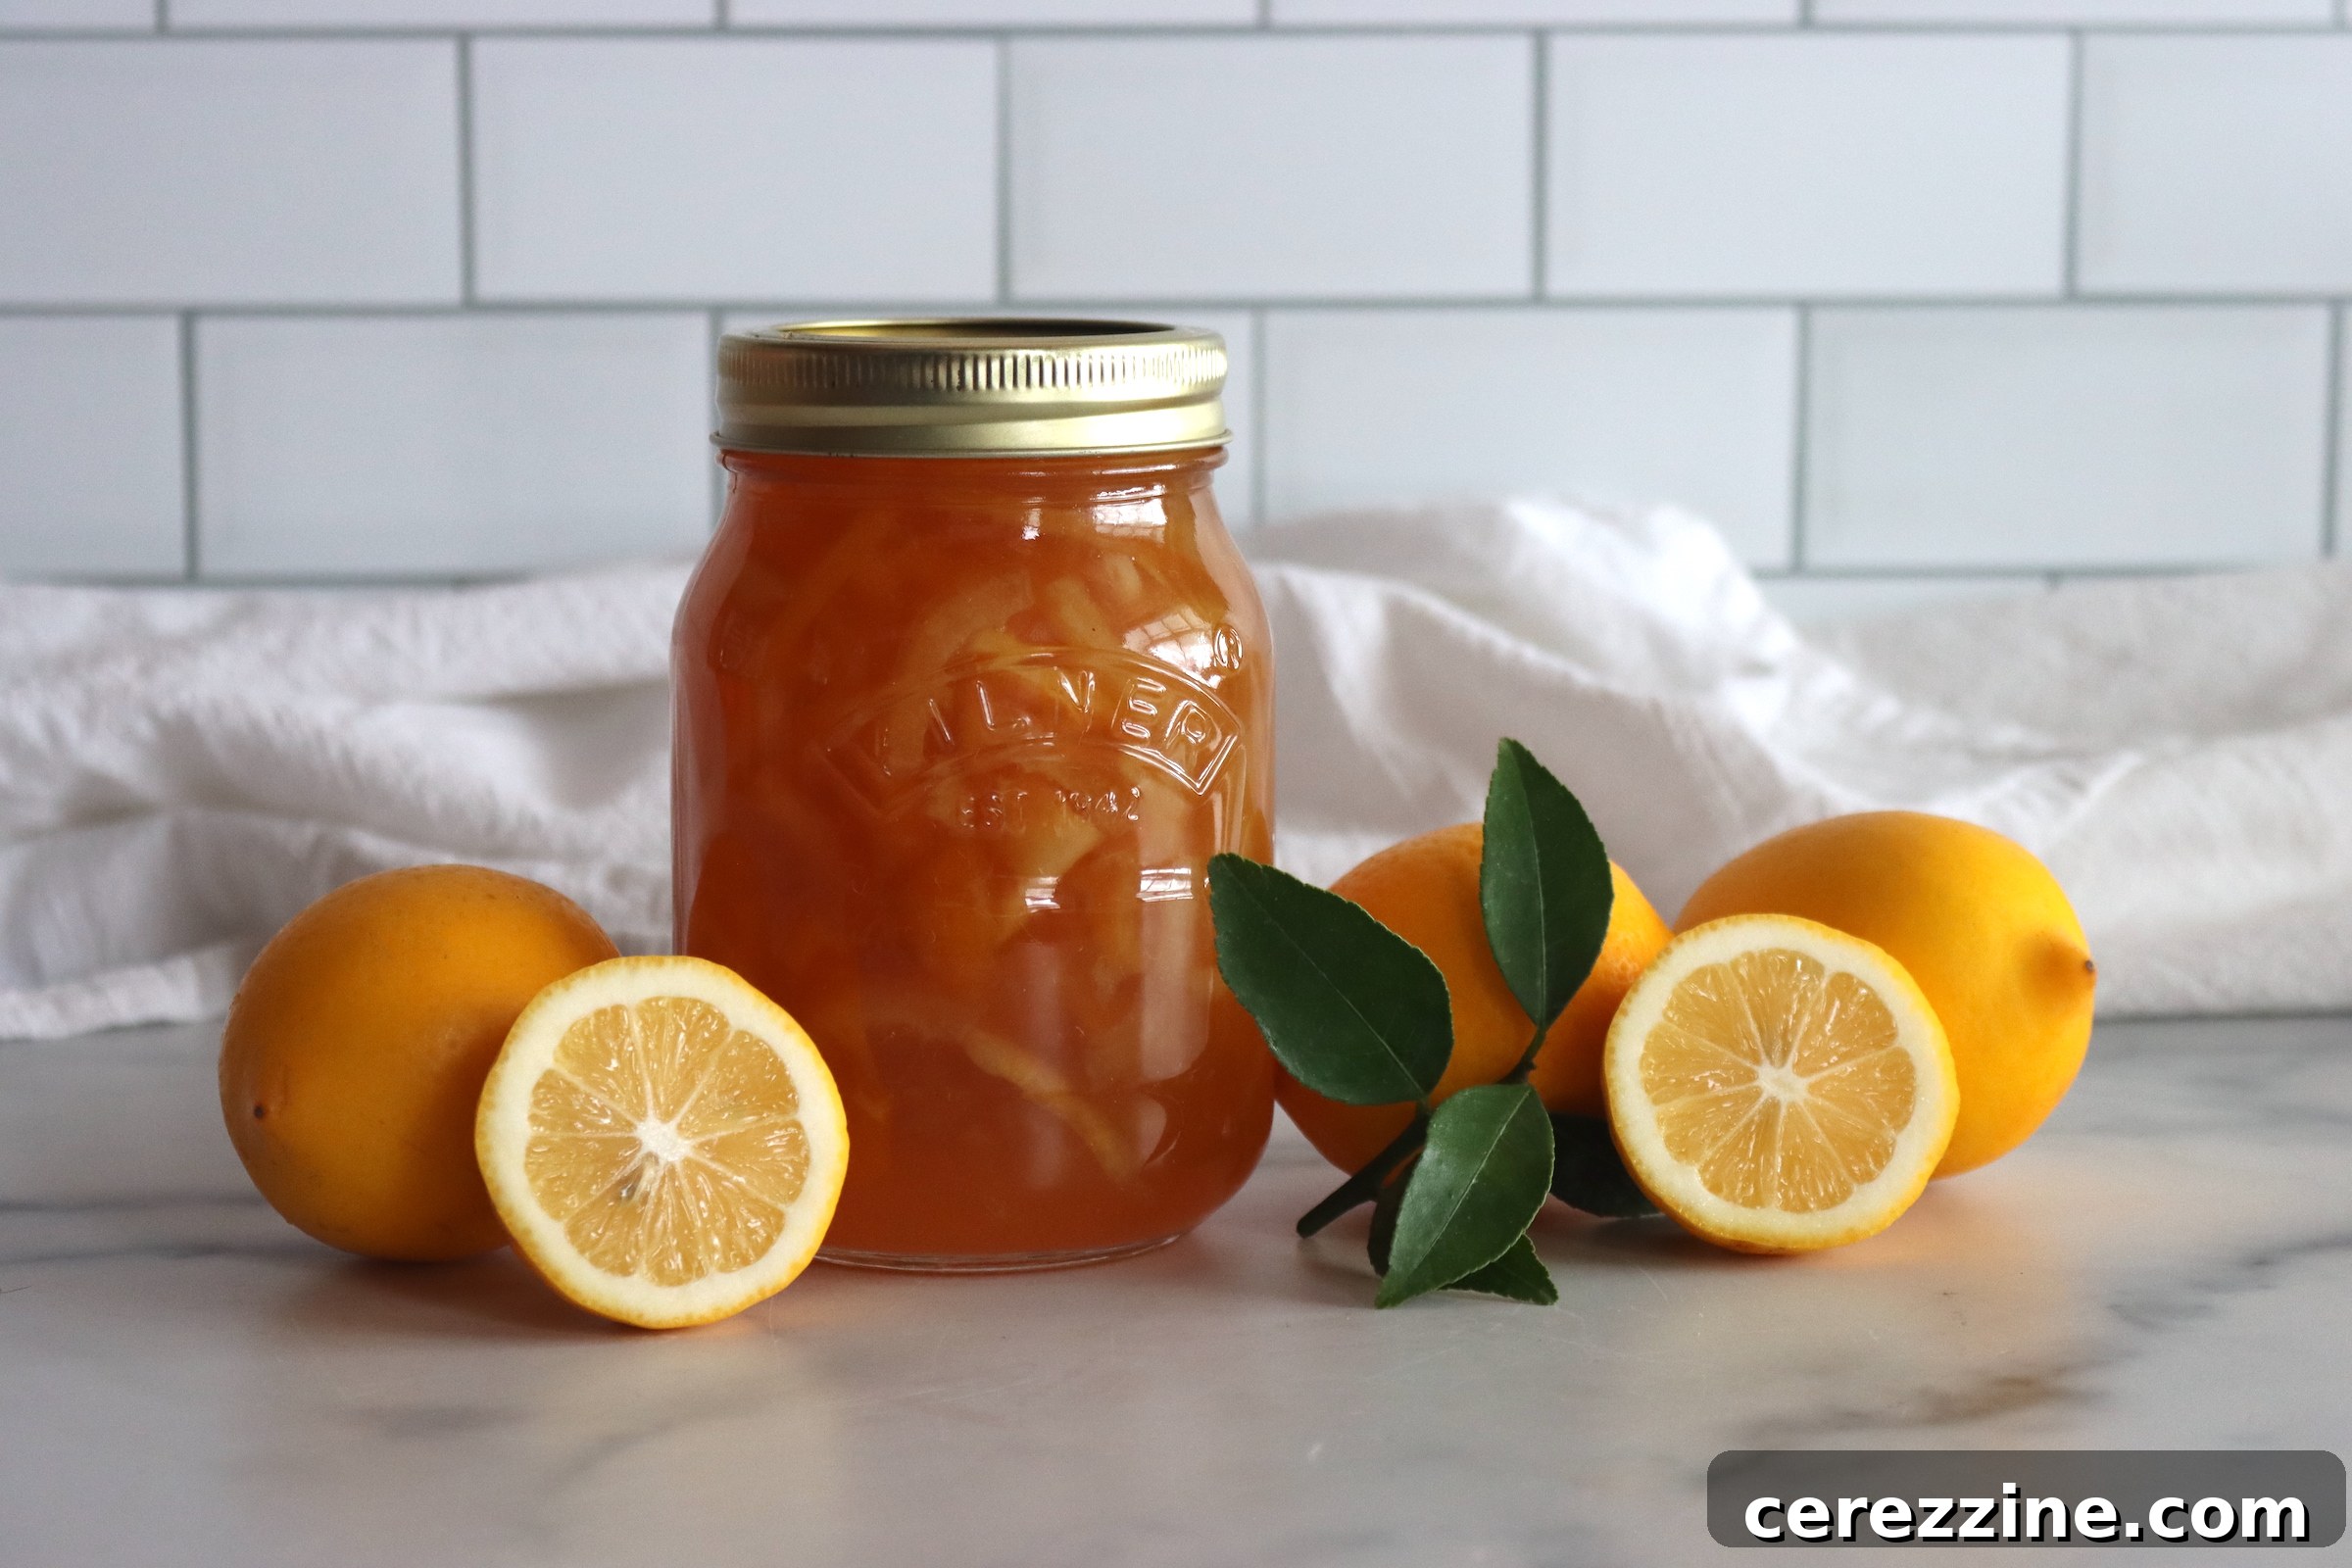
Unlock the vibrant, aromatic world of homemade preserves with this exquisite Meyer Lemon Marmalade recipe. Far surpassing the flavor profile of ordinary lemon marmalade, this traditional preparation captures the unique sweetness, floral notes, and zesty brightness of Meyer lemons, transforming them into a delectable spread. With just a few simple ingredients – lemons, sugar, and a dash of patience – you can create a golden, shimmering marmalade that’s as rewarding to make as it is to savor.
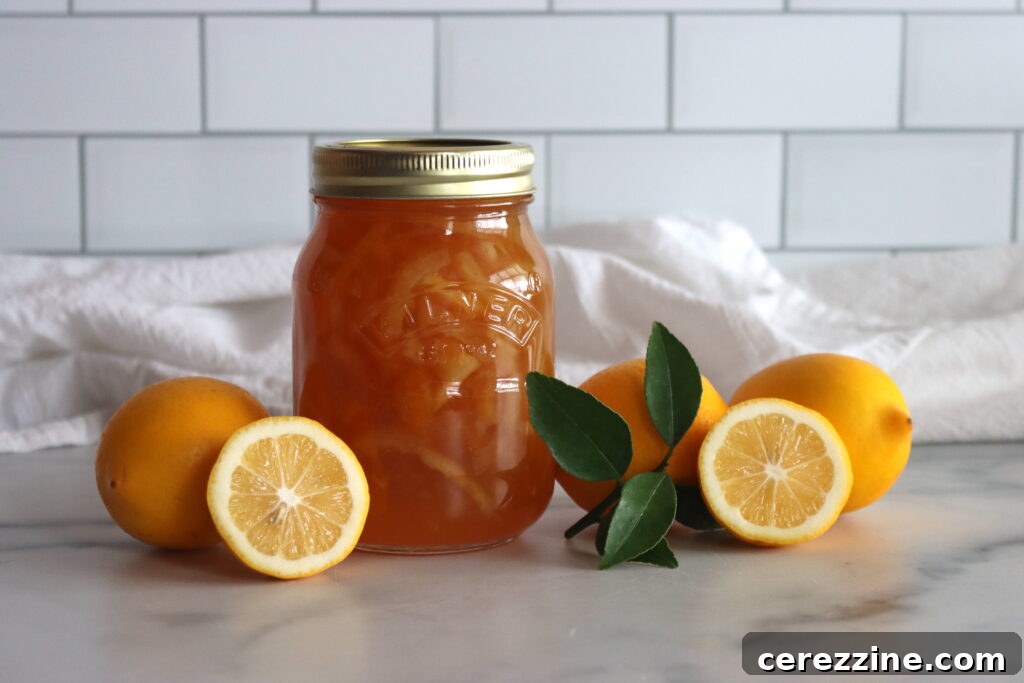
If you appreciate the nuanced tang and sweet undertones of fine citrus preserves, then Meyer lemon marmalade is about to become your new kitchen obsession. This recipe streamlines the traditional marmalade-making process, making it accessible for home cooks while delivering a superior product.
Meyer lemons, believed to be a natural hybrid of a lemon and a mandarin orange, boast a distinctively sweeter, less acidic, and more fragrant flavor compared to their standard counterparts like Lisbon or Eureka lemons. Their thin, tender skin is infused with aromatic oils, and their pith (the white part under the rind) is significantly less bitter. These characteristics make Meyer lemons an unparalleled choice for crafting marmalade, offering a smoother, more palatable zest and a brighter, more complex taste. The delicate balance of sweetness and tartness, combined with their alluring floral aroma, elevates this marmalade beyond the ordinary.
Traditional lemon marmalade, often made with conventional lemons, can be a time-intensive, three-day endeavor. This extended process is necessary to soften their thick, tough skins and mellow out the bitterness inherent in their pith. However, the naturally soft peel and reduced bitterness of Meyer lemons allow for a remarkable shortcut. This recipe guides you through making a luscious, full-flavored homemade marmalade in a mere two days, without compromising on quality or the intricate citrus flavor. This efficient method saves valuable time while still yielding a vibrant, flavorful spread that’s perfect for gifting or enjoying yourself.
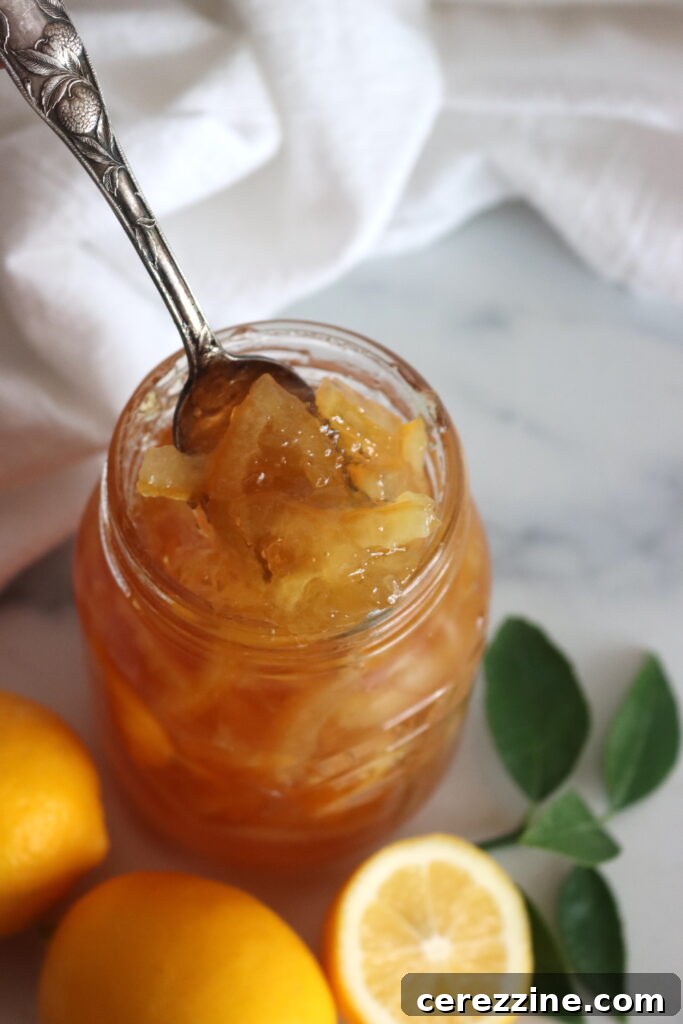
Ingredients for Perfect Meyer Lemon Marmalade
Crafting this delightful Meyer lemon marmalade begins with selecting the right ingredients. This recipe is thoughtfully adapted from the authoritative All New Ball Book of Canning and Preserving, ensuring reliable results. The quantities below will yield approximately six half-pint jars of exquisite marmalade.
- 2 lbs Meyer lemons, divided: These are the star of our marmalade, offering their signature sweet and floral notes. Look for firm, brightly colored lemons with smooth, unblemished skin.
- 2 regular lemons (e.g., Lisbon or Eureka): While Meyer lemons are wonderful, a touch of traditional lemon acidity helps to balance the flavors and ensure a robust set.
- 6 cups water, divided: Water is essential for extracting pectin from the lemon peels and creating the liquid base for the marmalade.
- 5 cups granulated sugar: Sugar acts as both a sweetener and a crucial preservative, contributing to the marmalade’s texture and shelf stability.
- 1/4 cup fresh lemon juice (from 1 to 2 additional regular lemons): This additional boost of acidity is included purely for flavor enhancement, adding a bright, zesty counterpoint to the sweetness. It is not strictly for canning safety, as Meyer lemons are naturally acidic enough.
It’s important to understand the role of regular lemons in this recipe. Their inclusion is primarily for flavor. Meyer lemons, while less acidic than standard lemons, still possess a pH level well within the safe range for preserves, meaning they do not require additional acid for canning safety. The bright, sharp notes of a regular Lisbon lemon complement and amplify the unique character of the Meyer lemons, resulting in a more complex and well-rounded marmalade. However, if Meyer lemons are all you have on hand, you can certainly use them exclusively without any safety concerns; the flavor profile will simply be slightly different, leaning more heavily into the floral sweetness of the Meyer variety.
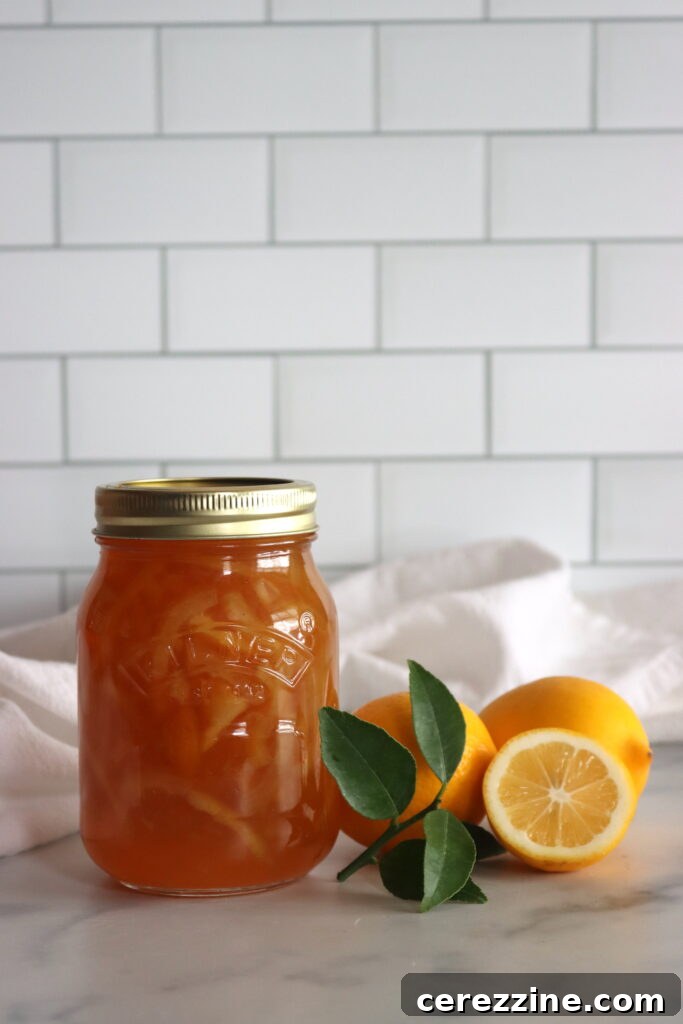
Making Meyer Lemon Marmalade: A Two-Day Culinary Journey
This recipe is a testament to the beauty of a two-day approach, allowing the natural pectin within the fruit to be slowly and effectively extracted. The first day is dedicated to fruit preparation and an overnight rest, which is crucial for drawing out the pectin that gives marmalade its characteristic set. The second day brings everything together with the addition of sugar, the final cooking, and the canning process, culminating in jars of golden, sun-kissed marmalade.
Day 1: Preparing Your Lemons for Pectin Perfection
The first day sets the stage for a beautifully set marmalade. Begin by carefully quartering 1 lb of Meyer lemons (which is half of your total Meyer lemons for the recipe) along with the 2 regular lemons. Cut them lengthwise. Transfer these quartered lemons into a large (at least 6-quart) stainless steel or enameled Dutch oven. These materials are non-reactive and ideal for preserving citrus. Add 3 cups of water to the pot. Bring the mixture to a rolling boil over high heat, then reduce the heat to a gentle simmer. Allow it to simmer, uncovered, for approximately one and a half hours. During this simmering period, stir occasionally and use a potato masher or the back of a spoon to gently press the lemons. This action helps to release their juices and, more importantly, to encourage the pectin from the peels and pith into the liquid.
You’ll notice the lemons becoming increasingly soft, and the liquid in the pot will begin to thicken into a syrupy consistency. Once this stage is reached, remove the pot from the heat, cover it tightly, and let it sit undisturbed at room temperature overnight. This overnight resting period is a critical step, allowing the citrus to fully release its natural pectin into the liquid. This pectin-rich citrus jelly base is what will ultimately help your marmalade achieve its perfect, shimmering set on day two.
While the first batch of lemons is simmering, prepare the remaining 1 lb of Meyer lemons. Quarter these lengthwise as well. Carefully remove any visible seeds – these can contribute bitterness to your marmalade. Once seeded, slice these lemon quarters crosswise into very thin slices. The thinner the slices, the more delicate and appealing the texture of your finished marmalade will be. Place these thinly sliced lemons into a separate 6-quart stainless steel or enameled Dutch oven and cover them with the remaining 3 cups of water. Bring this second pot to a boil, then reduce the heat to a simmer and cook uncovered for about 30 minutes, stirring occasionally. This pre-softens the peels and further prepares them for the next day’s cooking. After 30 minutes, remove the pot from heat, cover, and let it also sit at room temperature overnight.
By the end of Day 1, all your lemons will be prepped and soaking, their natural pectin slowly extracting. At this point, you’ll still have your granulated sugar and the ¼ cup of fresh lemon juice ready to be incorporated on Day 2.
Day 2: The Transformation – Cooking and Canning Your Marmalade
Day 2 is when the magic truly happens, transforming your prepared lemons into beautiful marmalade. Start by preparing your canning equipment. If you plan to preserve your marmalade for long-term storage, set up a boiling water canner according to the manufacturer’s instructions. Sterilize your canning jars, lids, and bands. Jars can be sterilized by boiling them in water for at least 10 minutes, or by running them through a dishwasher’s sanitizing cycle. Lids and bands should be simmering in hot, non-boiling water.
Next, retrieve the first lemon mixture that rested overnight. Carefully strain it through a fine-mesh sieve, positioned over a large Dutch oven. Be sure to press firmly on the solids (the softened lemon pieces) with the back of a spoon or a ladle to extract as much of the pectin-rich juice as possible. This liquid is the heart of your marmalade’s set. Discard the remaining solids – their work is done.
To the strained liquid in the large Dutch oven, add the thinly sliced lemons from the second pot that also rested overnight, along with the ¼ cup of fresh lemon juice. Bring this combined mixture to a boil over medium-high heat.
Once boiling, gradually add the 5 cups of granulated sugar. Stir constantly as you add the sugar to ensure it dissolves completely. Continue boiling the mixture, stirring frequently to prevent scorching, until it reaches the setting point. There are two reliable ways to determine this:
- Candy Thermometer Method: The marmalade is ready when it reaches 220°F (104°C) at sea level. Use a reliable candy thermometer, ensuring it doesn’t touch the bottom of the pot.
- Plate Test (Wrinkle Test): Place a few small plates in the freezer at the beginning of Day 2. When you think the marmalade is nearing readiness, spoon a small amount onto a chilled plate. Wait 30-60 seconds, then push the marmalade with your finger. If the surface wrinkles, it has reached the setting point. If not, continue cooking for a few more minutes and retest with a fresh cold plate.
Achieving the setting point typically takes at least 20 minutes of active boiling after the sugar is added, but it can sometimes take as long as 40 minutes, depending on the fruit’s pectin content and the intensity of your heat. Do not rush this step, as proper setting is key to good marmalade.
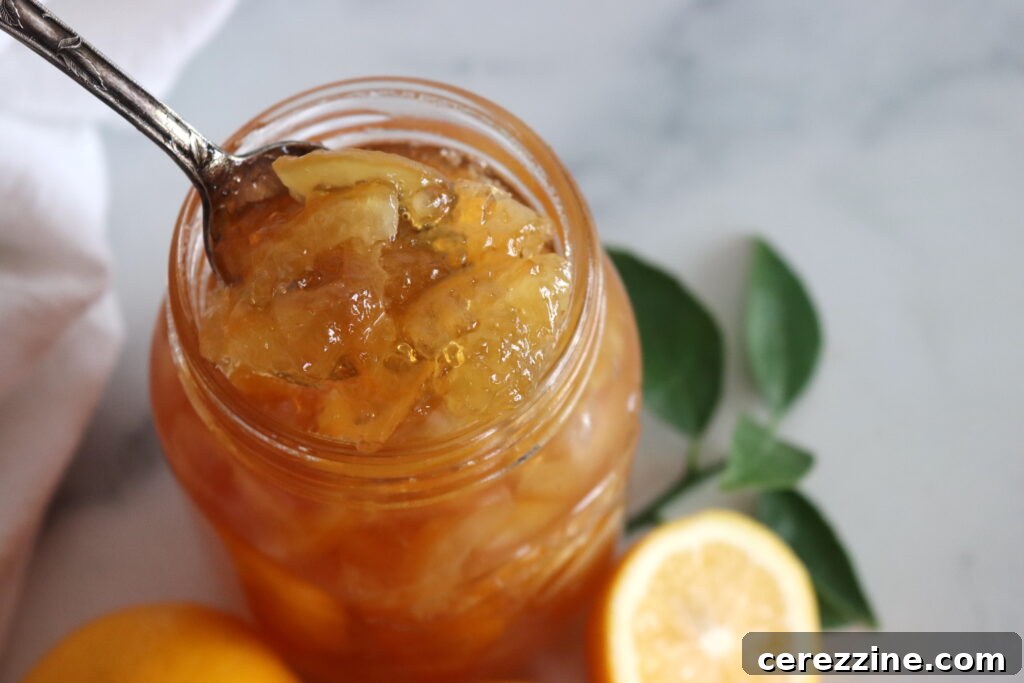
Once your marmalade is ready, carefully ladle the hot mixture into the sterilized jars, leaving precisely 1/4-inch headspace from the rim of the jar. This headspace is crucial for proper sealing and creating a vacuum. Use a clean, damp cloth to wipe the rims of the jars thoroughly, removing any drips or sticky residue that could prevent a proper seal. Place the prepared lids and screw on the bands fingertip-tight. Do not overtighten.
Carefully transfer the filled jars into your boiling water canner, ensuring they are fully submerged in water by at least an inch. Bring the water back to a rolling boil and process the jars for 10 minutes. If you are canning at an elevation above 6,000 feet, you will need to increase the processing time to 15 minutes to compensate for the lower boiling point of water. Refer to specific altitude adjustments for your area if necessary.
After the processing time is complete, turn off the heat and let the jars sit in the canner for 5 minutes before carefully removing them. Use a jar lifter to place the hot jars on a towel-lined surface or a wire rack, ensuring there’s space between each jar for air circulation. Let them cool undisturbed for 12 to 24 hours. As the jars cool, you should hear a “pop” sound as the lids seal. Before storing, check that all lids have sealed properly by pressing on the center of each lid; it should not flex or pop. Any unsealed jars should be stored in the refrigerator and consumed within a few weeks. Properly canned marmalade, with a good seal, can be stored in a cool, dark place for up to a year, bringing sunshine to your pantry all year round.
Delightful Ways to Enjoy Your Homemade Meyer Lemon Marmalade
Once cooled and set, your homemade Meyer Lemon Marmalade is ready to brighten up any meal. Its unique blend of sweet, tart, and floral flavors makes it incredibly versatile:
- Classic Breakfast Treat: Spread generously on warm toast, fluffy biscuits, or freshly baked scones for a truly bright and invigorating start to your day.
- Yogurt and Oatmeal Swirl: Stir a spoonful into plain Greek yogurt or hot oatmeal for a burst of natural sweetness and citrusy zing.
- Elegant Glaze: Use it as a vibrant glaze for roasted chicken, duck, or ham, adding a delicious sweet-and-sour depth. It also works beautifully as a top coat for pound cakes or fruit tarts.
- Savory Sandwich Spread: Whisk it with Dijon mustard to create a quick, flavorful spread for turkey or ham sandwiches, adding an unexpected gourmet twist.
- Cheese Board Companion: Pair it with soft cheeses like brie or goat cheese, or sharp aged cheddars, alongside crackers and crusty bread for a sophisticated appetizer.
- Cocktail Enhancer: A small dollop can add a complex citrus note to cocktails, especially gin or whiskey-based drinks.
- Dessert Filling: Use as a luscious filling for crepes, thumbprint cookies, or as a layer in sponge cakes.

30
Servings (about 5 half-pint jars)
Meyer Lemon Marmalade
1 day
35 mins
10 mins
Print Recipe
Ingredients
- 2 lbs Meyer lemons, divided
- 2 lemons, regular Lisbon lemons
- 6 cups water, divided
- 5 cups sugar, white cane sugar
- 1/4 cup lemon juice, fresh, from 1 to 2 additional regular lemons
Instructions
Day 1: Preparation
-
Quarter 1 lb of Meyer lemons (half of the total in the recipe) and the 2 regular lemons lengthwise. Place them in a large pot with 3 cups of water. Bring to a boil, then reduce heat and simmer, uncovered, for 1 hour and 30 minutes, pressing lemons occasionally to release juices and pectin. Once lemons are very soft and liquid is syrupy, remove from heat, cover, and let sit at room temperature overnight.
-
Meanwhile, take the remaining 1 lb of Meyer lemons, quarter them lengthwise, remove seeds, then slice them crosswise into very thin slices. Place these lemon slices in another pot with the remaining 3 cups of water. Bring to a boil, reduce heat, and simmer uncovered for 30 minutes. Once done, remove from heat, cover, and let sit at room temperature overnight as well.
Day 2: Cooking and Canning
-
The next day, prepare your canning equipment. Set up a boiling water canner and sterilize jars, lids, and bands according to standard canning practices.
-
Strain the first lemon mixture (from step 1) through a fine-mesh sieve into a large Dutch oven, pressing on the solids to extract as much pectin-rich juice as possible. Discard the solids.
-
Add the pre-softened, thinly sliced lemons (from step 2) and the ¼ cup of fresh lemon juice to the strained liquid in the large Dutch oven.
-
Bring this mixture to a boil over medium-high heat. Gradually add the 5 cups of granulated sugar, stirring constantly until it is completely dissolved.
-
Continue boiling the mixture, stirring occasionally, until it reaches 220°F (104°C) on a candy thermometer or passes the cold plate test (where a spoonful wrinkles when pushed). This can take 20-40 minutes.
-
Once the marmalade is at the setting point, carefully ladle the hot mixture into your sterilized jars, leaving exactly 1/4-inch headspace.
-
Wipe the jar rims clean with a damp cloth, apply the lids, and screw on the bands fingertip-tight. Process the jars in a boiling water canner for 10 minutes (adjust for altitude if necessary: add 5 minutes for every 1000 feet above 6,000 feet elevation).
-
After processing, carefully remove the jars from the canner and let them cool undisturbed on a towel-lined surface for 12-24 hours. Check that the lids have sealed properly before storing.
Notes on Troubleshooting Your Meyer Lemon Marmalade
Troubleshooting Your Meyer Lemon Marmalade
Why is my marmalade too runny? If your marmalade hasn’t achieved a proper set, it likely means it didn’t reach the critical temperature of 220°F (104°C) during the final cooking stage, or that the pectin hasn’t fully activated. You can attempt to reboil the marmalade. Empty the unsealed jars back into a clean pot, bring it back to a boil, and retest using a candy thermometer or the plate test. Be patient, as this might take longer the second time.
Why is my marmalade too thick? Overcooking is the common culprit if your marmalade becomes overly thick or gummy. This happens when too much moisture evaporates, concentrating the sugar and pectin excessively. If this occurs, try gently reheating the marmalade with a small amount of hot water or lemon juice (a tablespoon at a time) before serving, which can help loosen its consistency. For future batches, watch your temperature carefully and remove it from heat promptly once the setting point is reached.
My marmalade is too bitter—what went wrong? While Meyer lemons are notably less bitter than standard lemons, excessive pith (the white part under the rind) in your slices can still contribute an undesirable bitterness. Ensure you remove all seeds and slice the lemons as thinly as possible to minimize large pieces of pith. If you find that your lemons are still yielding a bitter marmalade, an effective trick is to parboil the slices: bring them to a boil for 5 minutes, then discard the water before resuming the recipe as written, adding fresh water to the slices and continuing the cooking process. This helps leach out some of the bitter compounds.
Why are my jars not sealing properly? A proper seal is vital for safe, long-term storage. Ensure that jar rims are impeccably wiped clean before applying lids – even a small speck of food can prevent a vacuum seal. Also, verify that the jars are processed for the full recommended time in the boiling water canner. Lids should be tightened fingertip-tight, not overly tight, to allow air to escape during processing. If a jar doesn’t seal after cooling for 12-24 hours, simply store it in the refrigerator and plan to use its contents within a few weeks.
Can I reduce the sugar in this recipe? Sugar plays a multifaceted role in marmalade: it’s a sweetener, a gelling agent (interacting with pectin), and a preservative that inhibits microbial growth. While you can experiment with slightly reducing the sugar, be aware that significantly lowering the sugar content can affect both the final consistency (making it runnier) and the shelf stability of the marmalade. If you desire a low-sugar spread, you will typically need to incorporate a box of low-sugar or no-sugar pectin, as these products are formulated to gel with less sugar.
Nutrition
Carbohydrates: 37g,
Protein: 0.4g,
Fat: 0.2g,
Saturated Fat: 0.02g,
Polyunsaturated Fat: 0.03g,
Monounsaturated Fat: 0.004g,
Sodium: 3mg,
Potassium: 54mg,
Fiber: 1g,
Sugar: 34g,
Vitamin A: 8IU,
Vitamin C: 21mg,
Calcium: 12mg,
Iron: 0.2mg
Nutrition information is automatically calculated, so should only be used as an approximation.
Explore More Marmalade Recipes
Once you’ve successfully crafted this delicate Meyer Lemon Marmalade, you might find yourself inspired to delve deeper into the diverse world of citrus preserves. The art of marmalade making is a rewarding journey, and there are many other delightful varieties waiting to be explored.
Expand your repertoire by trying your hand at traditional Lemon Marmalade, which offers a zestier, more pronounced citrus bite. For those seeking a visually stunning and intensely flavored spread, our Blood Orange Marmalade is an excellent choice, known for its deep crimson hue and rich, berry-like undertones. If you’re in search of a truly unique and aromatic experience, the exotic Buddha’s Hand Marmalade boasts a distinct, complex flavor profile unlike any other. And for health-conscious enthusiasts, our Low Sugar Orange Marmalade (which incorporates pectin for a reliable set) provides a lighter alternative without sacrificing flavor. Each recipe offers a chance to experiment with different citrus characteristics and expand your preserving skills.