
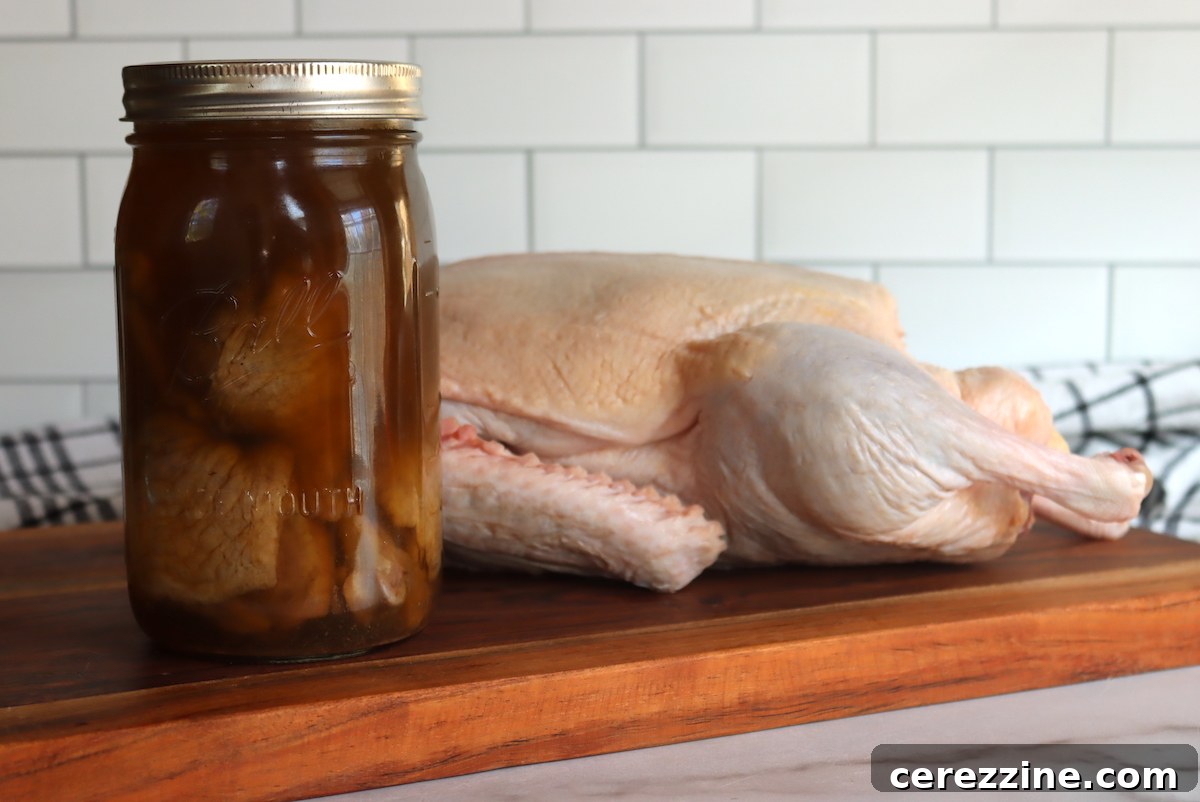
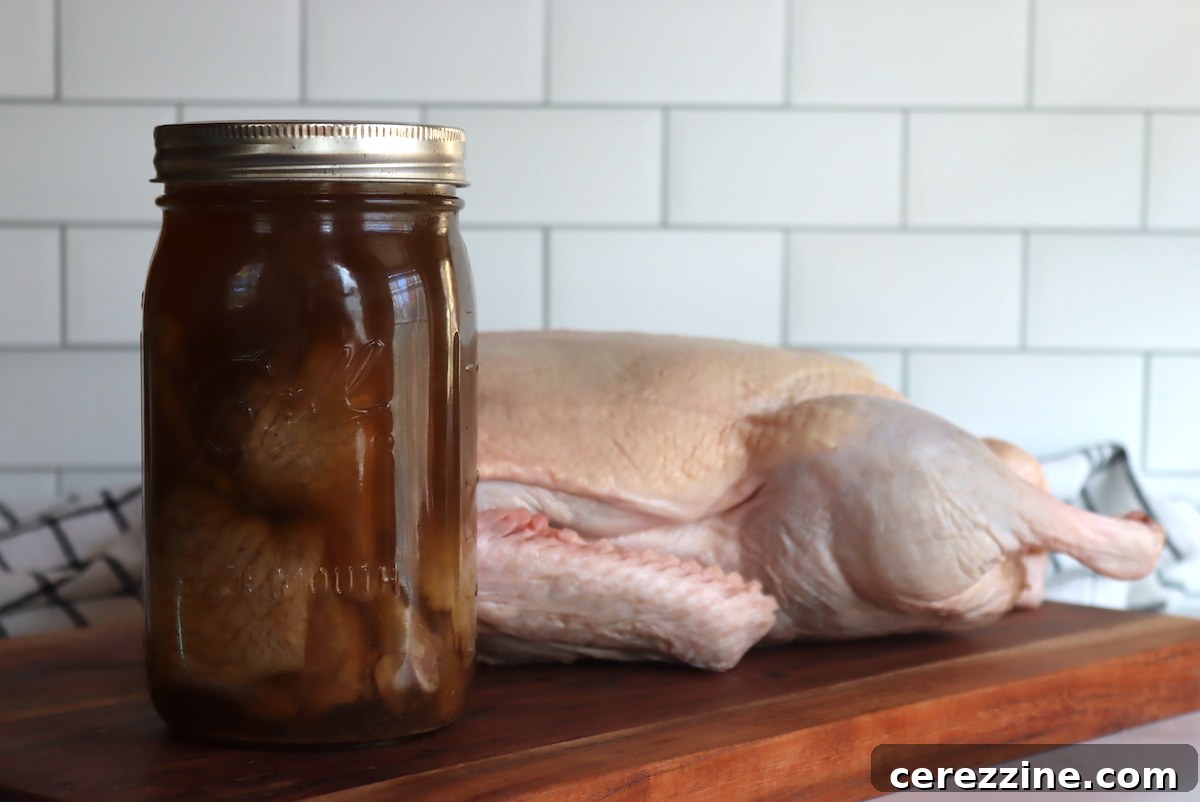
Preserving duck or goose meat through canning offers a highly practical and flavorful solution, whether you’re working with a domestic bird from your backyard or a successful wild hunt. This guide will walk you through the essential steps to safely and effectively can these delicious game birds, ensuring you have a convenient, shelf-stable source of protein ready for any meal.
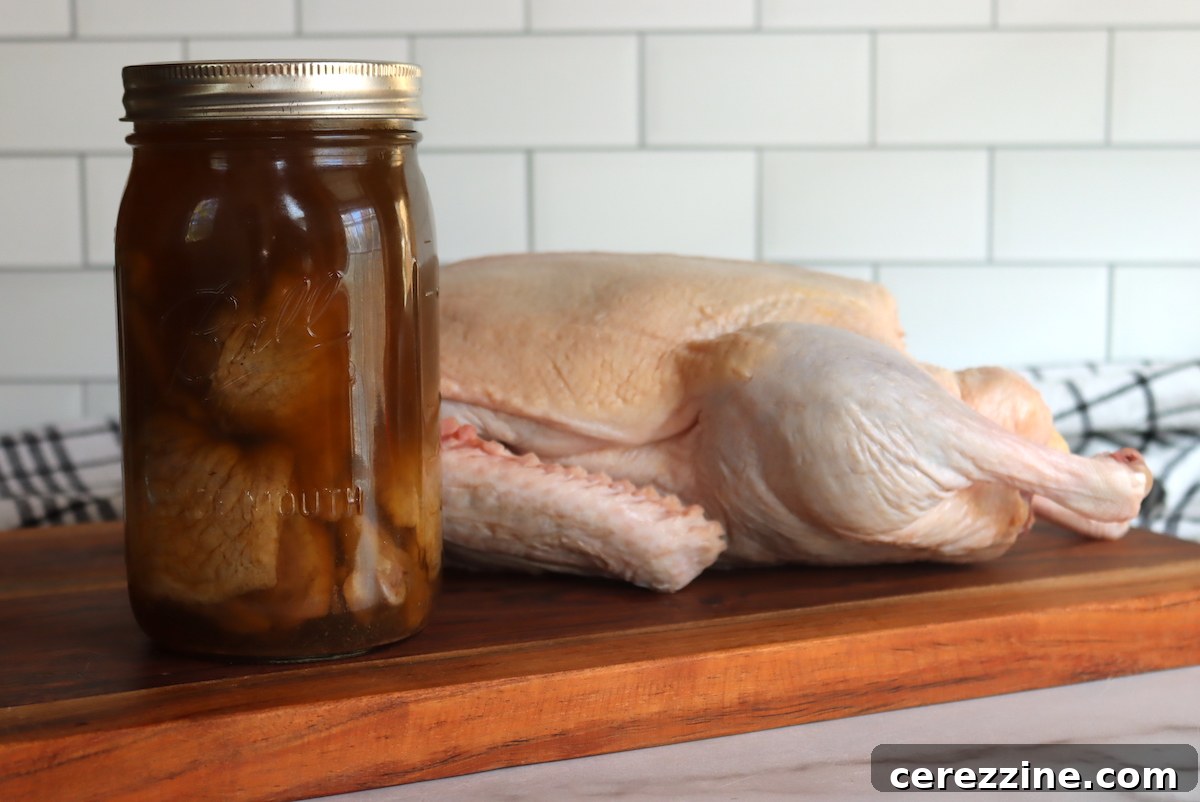
Duck and goose are cherished for their distinctive rich flavor and tender, succulent meat. Popular among hunters and gourmet cooks alike, these game birds provide a bountiful harvest that savvy individuals often seek to preserve for year-round enjoyment. While freezing is a common method, it ties up valuable freezer space and can sometimes lead to freezer burn. Canning, however, emerges as an superior method for long-term meat preservation, offering a shelf-stable product that retains its quality and flavor without refrigeration.
Canning duck and goose meat is a straightforward process, surprisingly similar to canning chicken or canning turkey. By following proper pressure canning techniques, you can safely store this nutritious meat for extended periods, making it an invaluable addition to your pantry. Imagine pulling a jar of perfectly cooked duck from your shelf, ready to transform into a quick weeknight meal or a sophisticated dinner party dish. This comprehensive guide will equip you with all the knowledge needed to successfully can your duck and goose, regardless of whether it’s store-bought, wild-harvested, or home-raised poultry.
Essential Ingredients for Canning Duck and Goose
The beauty of canning duck and goose lies in the simplicity of its core ingredients. You primarily need the prepared meat, and then optional additions like salt and broth to enhance flavor and quality. Always prioritize fresh, high-quality meat for the best canning results and safety.
- Dressed Duck or Goose: This refers to birds that have been plucked, eviscerated, and cleaned. This can be wild-caught, domestically raised, or commercially purchased poultry.
- Canning Salt (Optional): Used for flavor, not preservation. Ensure you use canning or pickling salt, which is free of anti-caking agents that can cloud your canning liquid.
- Hot Water or Broth (Optional): Adding hot liquid helps create a better seal, ensures proper heat penetration, and results in a more appealing final product, especially for hot pack methods.
The quantity of meat required will vary significantly based on whether you’re canning bone-in or boneless pieces, and the size of the birds. As a general guideline, approximately 24 pounds of raw, dressed duck or goose meat will yield about 10 pint jars or 5 quart jars of canned product. Feel free to adjust this quantity based on your needs; scaling the recipe down does not affect the canning safety or processing times, as long as you adhere to the specified pressures and durations.
Step-by-Step Guide to Canning Duck and Goose
Proper preparation is key to safe and successful pressure canning. Follow these steps meticulously to ensure your canned duck and goose are both delicious and safe for long-term storage.
1. Prepare the Meat
Start by selecting fresh, healthy birds. If you’ve harvested wild game, ensure it has been properly field-dressed and cooled immediately. For store-bought or frozen birds, thaw them completely in the refrigerator before beginning the canning process. Larger birds tend to yield more meat and often provide a richer flavor profile for canning.
Once dressed, it’s highly recommended to chill the birds for six to twelve hours. This crucial step allows the muscle fibers to relax, leading to a more tender and flavorful finished product. After chilling, remove any excessive fat from the bird. While some fat is desirable for flavor, too much can interfere with proper jar sealing. Then, cut the meat into manageable pieces. The size of these pieces should allow for easy packing into jars while leaving adequate headspace. You can choose to can the meat with bones or boneless, as long as all pieces fit comfortably into your canning jars with the required headspace.
2. Choose Your Packing Method: Hot Pack vs. Raw Pack
You have two primary options for packing your duck or goose meat into jars: the hot pack method or the raw pack method. Both are safe when properly pressure canned, but they can affect the final quality and appearance of the meat.
Hot Pack Method (Recommended for Best Quality)
The hot pack method is generally preferred for poultry as it helps to maintain better liquid coverage and overall quality during storage. In this method, the meat is partially cooked before being packed into jars.
- Pre-cook the Meat: Boil, bake, or steam your cut duck or goose pieces until they are about two-thirds cooked through. This means the meat should no longer be pink but not fully cooked and browned.
- Season (Optional): If desired, add a teaspoon of canning salt per quart jar, or half a teaspoon per pint jar, for flavor. Remember, salt is purely for taste and does not contribute to the preservation process.
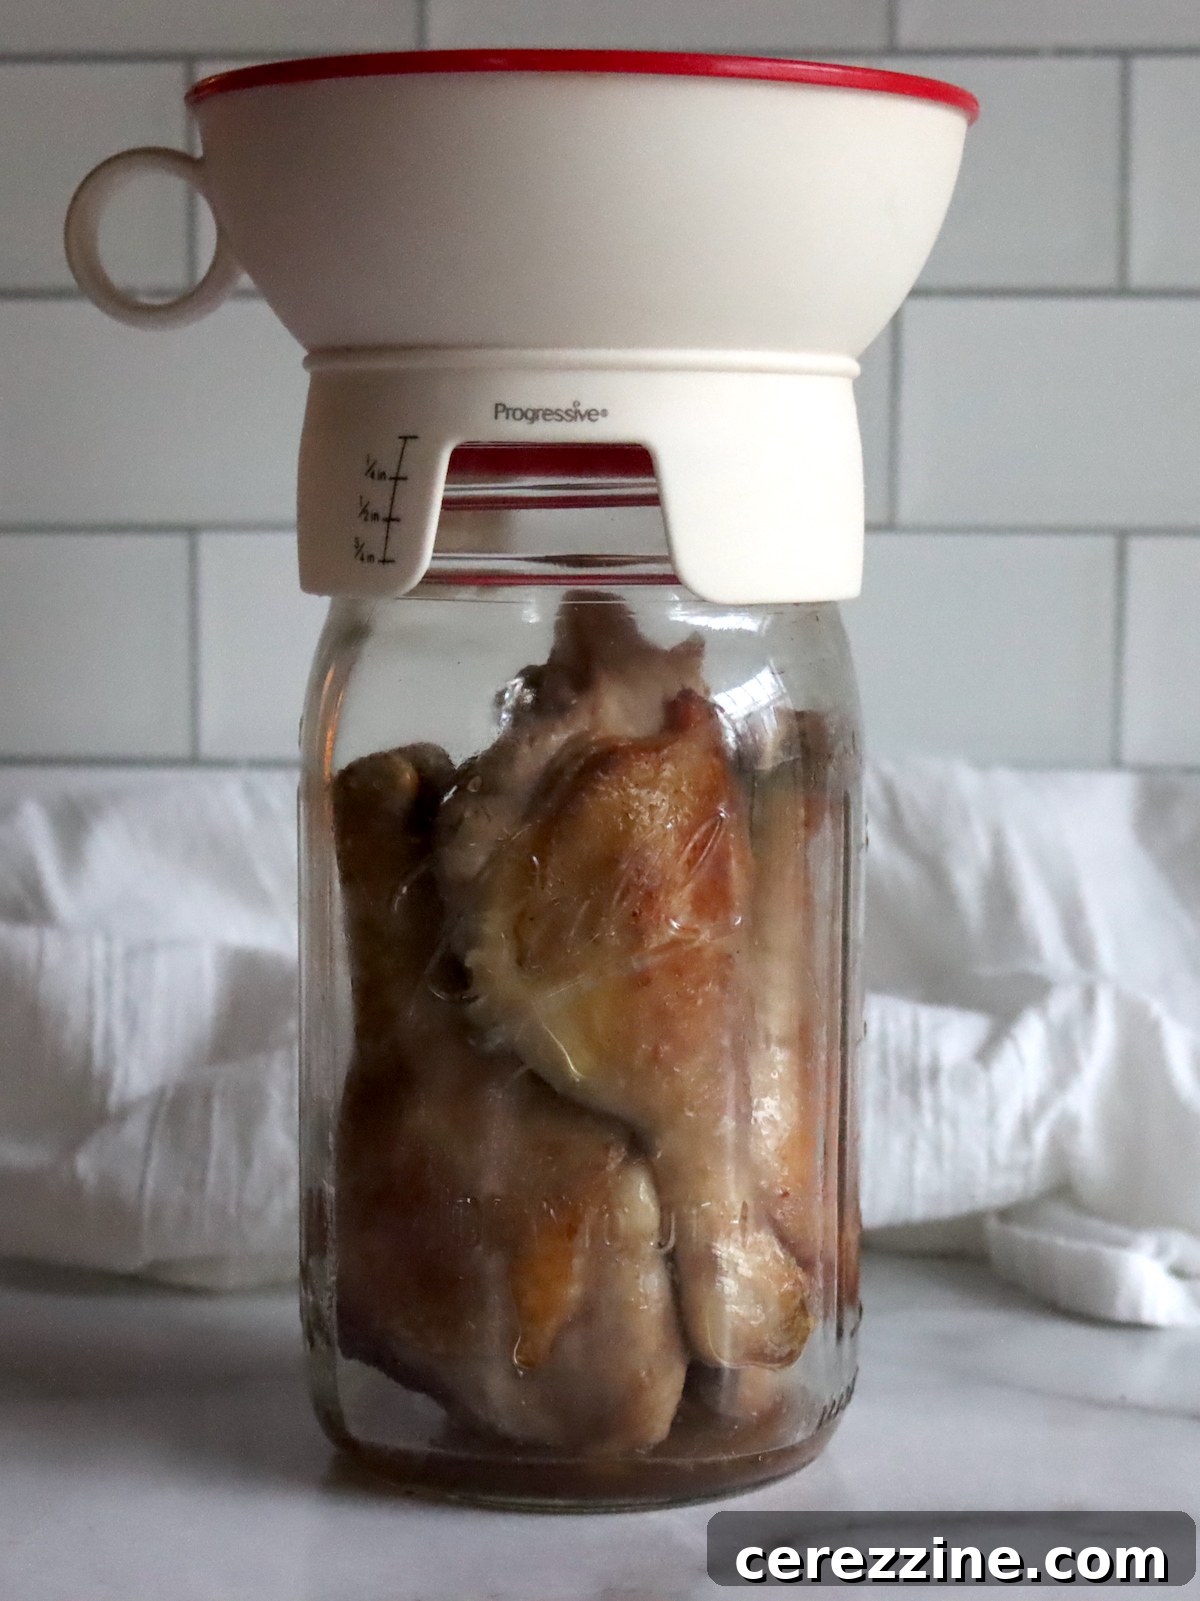
- Pack the Jars: Carefully fill clean, hot canning jars with the pre-cooked meat pieces. Pack them relatively tightly but without force.
- Add Hot Liquid: Ladle hot broth (preferably made from the bird’s bones or neck) or boiling water over the meat, ensuring that you leave a 1-inch headspace from the rim of the jar. This headspace is critical for creating a proper vacuum seal.
Raw Pack Method
The raw pack method is quicker to prepare initially but often results in less liquid in the jars after processing, which can lead to some meat discoloration or drying at the top of the jar. While safe, the quality may not be as consistently high as with hot packing.
- Season (Optional): Add a teaspoon of canning salt per quart jar, or half a teaspoon per pint jar, if desired for flavor.
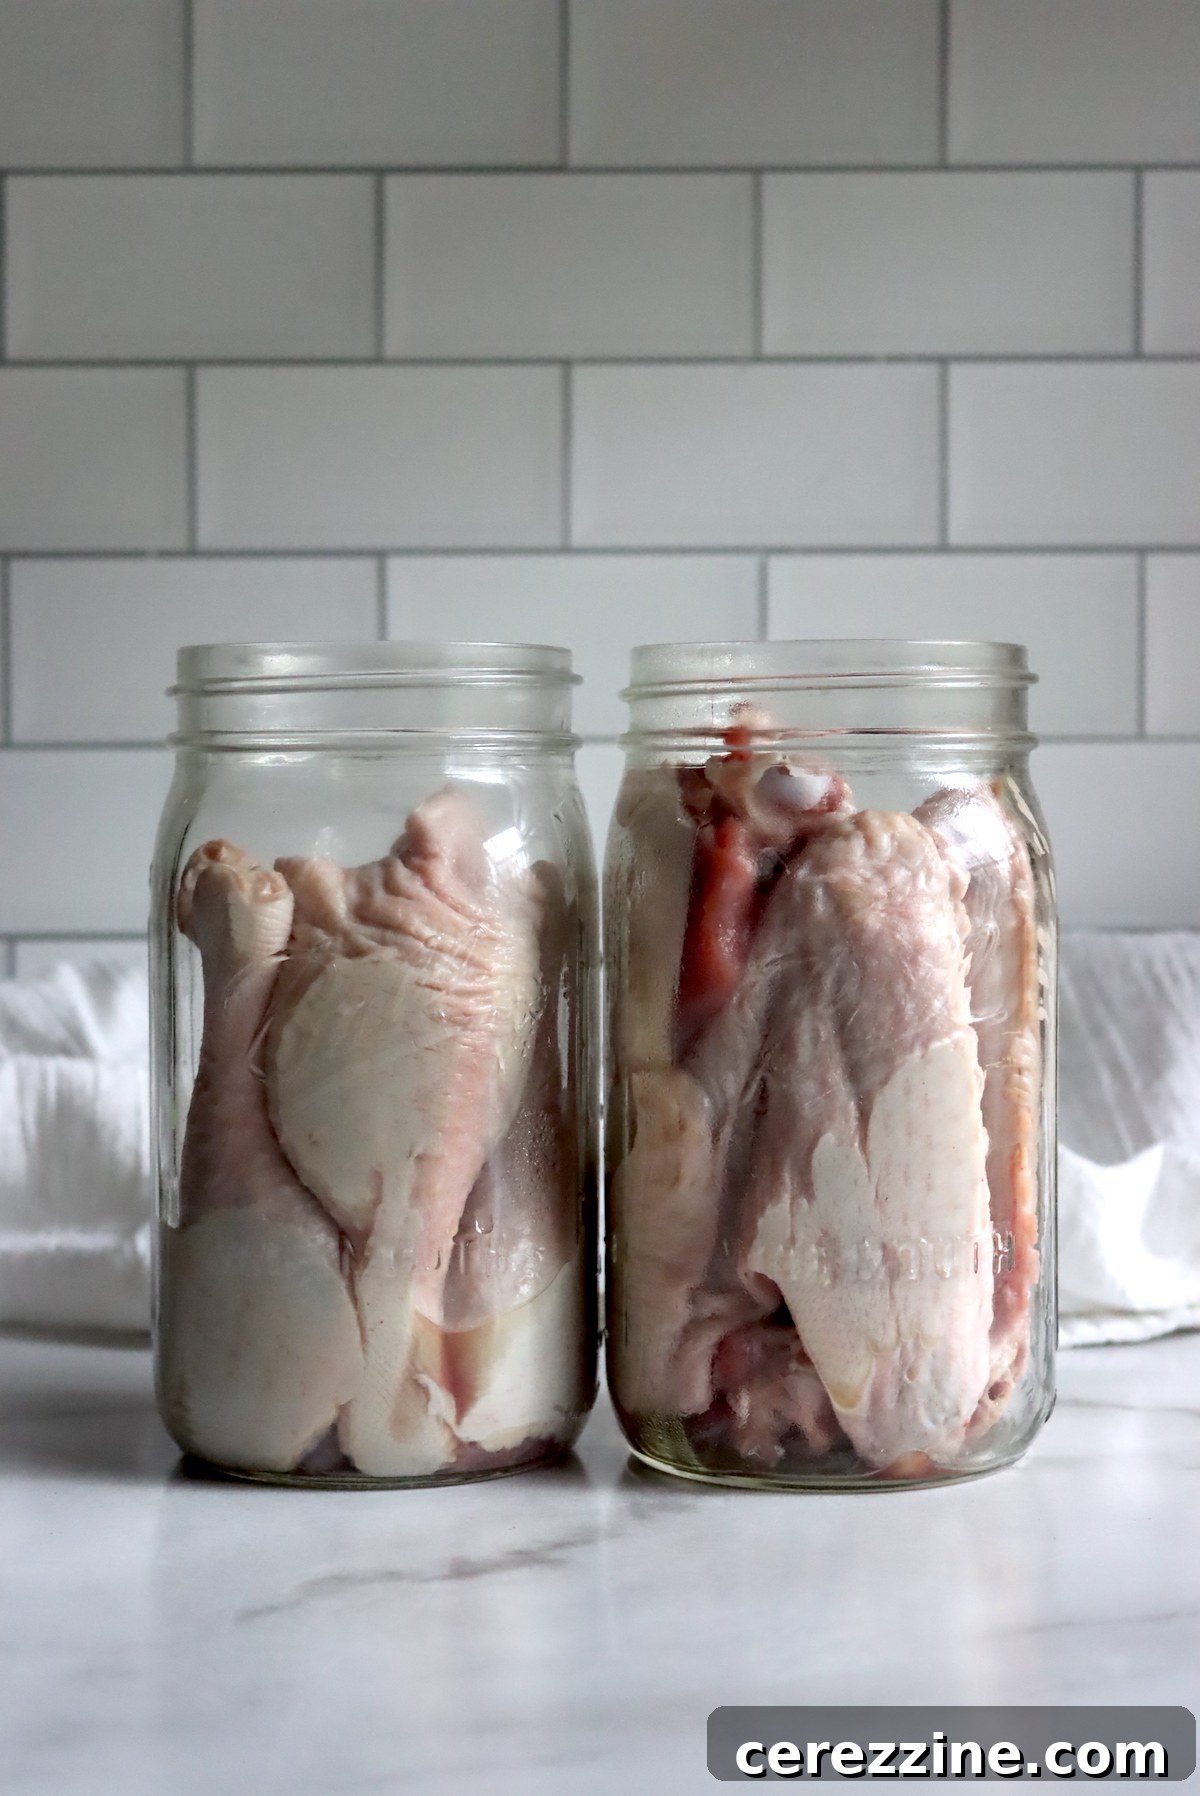
- Pack the Jars: Fill clean, hot canning jars with raw meat pieces, leaving a 1-inch headspace. Pack the meat firmly, but do not crush it.
- Add Hot Liquid: Pour boiling hot water or broth over the raw meat, maintaining the 1-inch headspace. The liquid will help with heat transfer and minimize air pockets.
Raw Pack Without Added Liquid: While an approved method for poultry, raw packing without added liquid is less ideal for quality. In this case, you rely on the natural juices rendered from the meat during processing to create liquid cover. For this method, boneless, juicier cuts are recommended to increase the chances of adequate liquid production. Be aware that the top layer of meat may darken and dry out over time, though it remains safe to eat.
3. Prepare Jars for Processing
Once packed, ensure your jars are ready for the pressure canner.
- Clean Jar Rims: Wipe the rims of each jar thoroughly with a clean, damp cloth to remove any food particles or grease that could prevent a proper seal.
- Apply Lids and Rings: Place new, previously heated lids on the jars. Then, screw on the canning rings until they are “fingertip-tight.” This means tightening until you feel resistance, then giving it just a slight extra turn – not overly tight.
4. Pressure Canning Process
Pressure canning is the only safe method for canning meat, as it reaches temperatures high enough to destroy Clostridium botulinum spores, which cause botulism. Always use a tested pressure canner and follow manufacturer instructions in addition to these guidelines.
- Load the Canner: Place the filled and lidded jars onto the rack inside your pressure canner. Ensure there is enough water in the canner as specified by your canner’s manual (usually 2-3 inches).
- Secure the Lid: Place the canner lid on and lock it securely according to your canner’s instructions.
- Vent Steam: Turn the heat to high. Allow a steady stream of steam to vent from the canner’s vent pipe for a full 10 minutes. This purges air from the canner, which is crucial for achieving accurate pressure and temperature.
- Bring to Pressure: After venting, place the weighted gauge or regulator on the vent pipe (or close the petcock if using a dial gauge canner). Continue heating until the desired pressure is reached.
- Maintain Pressure and Process: Once the correct pressure is achieved (see tables below for specific pressures and times), begin timing the canning process. Adjust heat as necessary to maintain a constant, steady pressure. Fluctuations can compromise safety.
Processing Times and Pressures:
The processing times vary based on whether the meat is bone-in or boneless, and the size of the jar. Bones in poultry help conduct heat more efficiently, reducing processing time slightly.
For Dial Gauge Canners:
- Bone-in Duck or Goose:
- Pints: 65 minutes at 11 lbs pressure
- Quarts: 75 minutes at 11 lbs pressure
- Boneless Duck or Goose:
- Pints: 75 minutes at 11 lbs pressure
- Quarts: 90 minutes at 11 lbs pressure
For Weighted Gauge Canners:
- Bone-in Duck or Goose:
- Pints: 65 minutes at 10 lbs pressure
- Quarts: 75 minutes at 10 lbs pressure
- Boneless Duck or Goose:
- Pints: 75 minutes at 10 lbs pressure
- Quarts: 90 minutes at 10 lbs pressure
These times and pressures apply to both hot pack and raw pack methods.
5. Post-Processing and Storage
Once the processing time is complete, it’s essential to follow the cool-down procedure carefully to ensure safety and prevent siphoning (loss of liquid from jars).
- Turn Off Heat: Turn off the heat source but do not move the canner.
- Natural Depressurization: Allow the canner to depressurize naturally until the pressure gauge reads zero (or no steam escapes from the weighted gauge). This can take 30-60 minutes depending on canner size.
- Wait Before Opening: Once depressurized, wait an additional 5 minutes before carefully removing the weighted gauge or opening the petcock. Then, wait another 10 minutes before removing the canner lid. Always open the lid away from your face to avoid steam burns.
- Remove Jars and Cool: Using a jar lifter, carefully remove the hot jars from the canner and place them on a towel-lined surface or a cooling rack, ensuring they are not touching each other.
- Cool for 24 Hours: Let the jars cool undisturbed at room temperature for 12 to 24 hours. During this time, you should hear the characteristic “ping” sound as the lids seal.
- Check Seals and Store: After 24 hours, check all jar seals. Press the center of each lid; if it doesn’t flex, the jar is sealed. Remove the rings (they can rust and make re-opening difficult). Wash and label your sealed jars with the contents and date. Store in a cool, dark, dry place for up to one year. Discard any jars that did not seal properly or show signs of spoilage.
- 0 to 2,000 feet in elevation – 11 lbs pressure
- 2,001 to 4,000 feet in elevation – 12 lbs pressure
- 4,001 to 6,000 feet in elevation – 13 lbs pressure
- 6,001 to 8,000 feet in elevation – 14 lbs pressure
- 0 to 1,000 feet in elevation – 10 lbs pressure
- Above 1,000 feet – 15 lbs pressure
- Hearty Mains: Serve it alongside classic comfort foods like creamy mashed potatoes and crisp green beans, or with fluffy rice and steamed seasonal vegetables for a complete and satisfying meal.
- Sandwiches and Wraps: Shred the meat and mix it with a little mayonnaise, herbs, and spices for a gourmet sandwich filling, or use it in savory wraps with fresh greens and a tangy dressing.
- Salads: Add chunks of chilled canned duck or goose to a vibrant green salad, perhaps with a berry vinaigrette or a citrus dressing, for a protein-packed and elegant dish.
- Tacos and Burritos: Season the meat with taco spices, heat it up, and use it as a filling for soft tacos, burritos, or quesadillas.
- Pasta Dishes: Stir the meat into your favorite pasta sauce, or toss it with pasta, olive oil, garlic, and fresh herbs for a simple yet flavorful meal.
- Pizza Topping: Sprinkle shredded duck or goose over homemade or store-bought pizza dough, perhaps with caramelized onions and goat cheese, for a unique and delicious pizza.
- Savory Pastries and Pot Pies: Use the meat as a rich filling for savory hand pies, turnovers, or a classic pot pie, adding vegetables and a creamy sauce.
- Soups and Stews: Canned duck or goose is a perfect addition to enhance the depth and richness of homemade soups and stews.
- Pressure Canner
- Duck or goose, cleaned and dressed
- Salt, optional
- Hot water or broth, optional
- Begin by choosing freshly killed, dressed animals. Alternatively, store-bought birds will also work if thawed.
- Chill the dressed bird for six to twelve hours before canning; this will allow the muscles to relax and lends itself to a more flavorful, tender finished product.
- Remove any excess fat, then cut the meat into pieces.
- To hot pack: boil, bake, or steam the meat until it’s cooked about two-thirds of the way through.
- Add a teaspoon of salt per quart (or half a teaspoon per pint) to each jar if desired. Fill the jars with pieces of meat and hot broth, leaving 1″ headspace.
- To follow the raw pack method: add a teaspoon of salt per quart (or half a teaspoon per pint) if desired. Fill the jars with raw meat pieces, leaving 1″ headspace. Cover with boiling water or broth.
- Place the lids on the jars. Tighten the rings until they are fingertip tight. Load the jars into the canner.
- Lock the pressure canner lid.
- Vent steam for 10 minutes, then put the weight on the canner and bring up to pressure.
- Dial Gauge Canner: With bones, process pints for 65 minutes (hot and raw pack alike) and quarts for 75 minutes at 11 lbs of pressure. Without bones, process for 75 minutes for pints and 90 minutes for quarts at 11 lbs pressure.
- Weighted Gauge Canner: If you’re using a weighted gauge canner, process pints with bones for 65 minutes at 10 lbs pressure and quarts for 75 minutes at 10 lbs pressure. Without bones, process pints for 75 minutes at 10 lbs pressure and quarts for 90 minutes at 10 lbs pressure. These times and pressures are for both hot and raw pack methods alike.
- Adjust canning pressure for altitude, see table below.
- After the canning time has finished, turn off the heat but do not move the canner. Let the canner depressurize on its own, then wait five minutes.
- Remove the lid, then wait another 10 minutes. Remove the jars from the canner.
- Allow them to cool at room temperature for 24 hours. Check the seals, label the jars, and store for one year.
- 0 to 2,000 feet in elevation – 11 lbs pressure
- 2,001 to 4,000 feet in elevation – 12 lbs pressure
- 4,001 to 6,000 feet in elevation – 13 lbs pressure
- 6,001 to 8,000 feet in elevation – 14 lbs pressure
- 0 to 1,000 feet in elevation – 10 lbs pressure
- Above 1,000 feet – 15 lbs pressure
- Canning Beef
- Canning Ground Beef
- Canning Leftover Turkey
- Canning Beef Pot Pie Filling
Remember to always adjust canning pressure for your altitude, as detailed in the next section.
Critical Altitude Adjustments for Pressure Canning
Altitude significantly impacts the boiling point of water and thus the temperature achieved inside a pressure canner. To ensure safe canning and destroy harmful bacteria, it is crucial to increase the pressure when canning at higher altitudes. The processing times, however, remain constant.
Here are the necessary altitude adjustments for pressure canning:
For Dial Gauge Pressure Canners:
For Weighted Gauge Pressure Canners:
Always verify your local elevation and adjust your pressure accordingly. This is a non-negotiable step for the safety of your canned goods.
Creative Ways to Enjoy Canned Duck and Goose
Canned duck and goose offer incredible versatility in the kitchen. Having this flavorful meat readily available means you can whip up delicious meals with minimal effort. The possibilities are truly endless, so don’t hesitate to get creative with your culinary applications!
You can enjoy canned duck or goose straight from the jar for a quick snack or light meal. However, heating it with some aromatic ingredients can significantly enhance its flavor profile. Consider simmering it with minced garlic, chopped onions, and a few bay leaves to deepen its savory notes. A splash of broth or even a dry red wine can further infuse richness into the meat.
Here are just a few ideas for serving your delicious canned duck and goose:
Experiment with different spices, herbs, and cooking liquids to discover your favorite ways to incorporate this pantry staple into your meal rotations. Its convenience and robust flavor make it a valuable asset for any home cook.
More Poultry Canning Recipes
Canning Chicken and Mushrooms in Garlic Sauce
Canning Chicken Curry (Ball Canning Recipe)
Canning Chicken Marsala
Chicken Vegetable Soup
Yield Varies
Canning Duck or Goose
Ashley Adamant
30 mins
1 hr 30 mins
2 hrs
Rate
Equipment
Ingredients
Instructions
Notes
Altitude Adjustments
With pressure canning, the processing times stay the same at higher altitudes, but the pressures change. Here are the altitude adjustments for pressure canning:
For dial gauge pressure canners:
For weighted gauge pressure canners:
Nutrition
Protein: 8g,
Fat: 28g,
Saturated Fat: 9g,
Polyunsaturated Fat: 4g,
Monounsaturated Fat: 13g,
Cholesterol: 53mg,
Sodium: 44mg,
Potassium: 146mg,
Vitamin A: 118IU,
Vitamin C: 2mg,
Calcium: 8mg,
Iron: 2mg
Nutrition information is automatically calculated, so should only be used as an approximation.
Like this? Leave a comment below!
More Meat Canning Recipes for Your Pantry
Beyond duck and goose, a wide variety of meats can be safely and deliciously preserved through canning. Expanding your canning repertoire allows you to keep a fully stocked pantry with convenient, ready-to-use ingredients for any meal. Explore these additional meat canning recipes to diversify your food storage:
