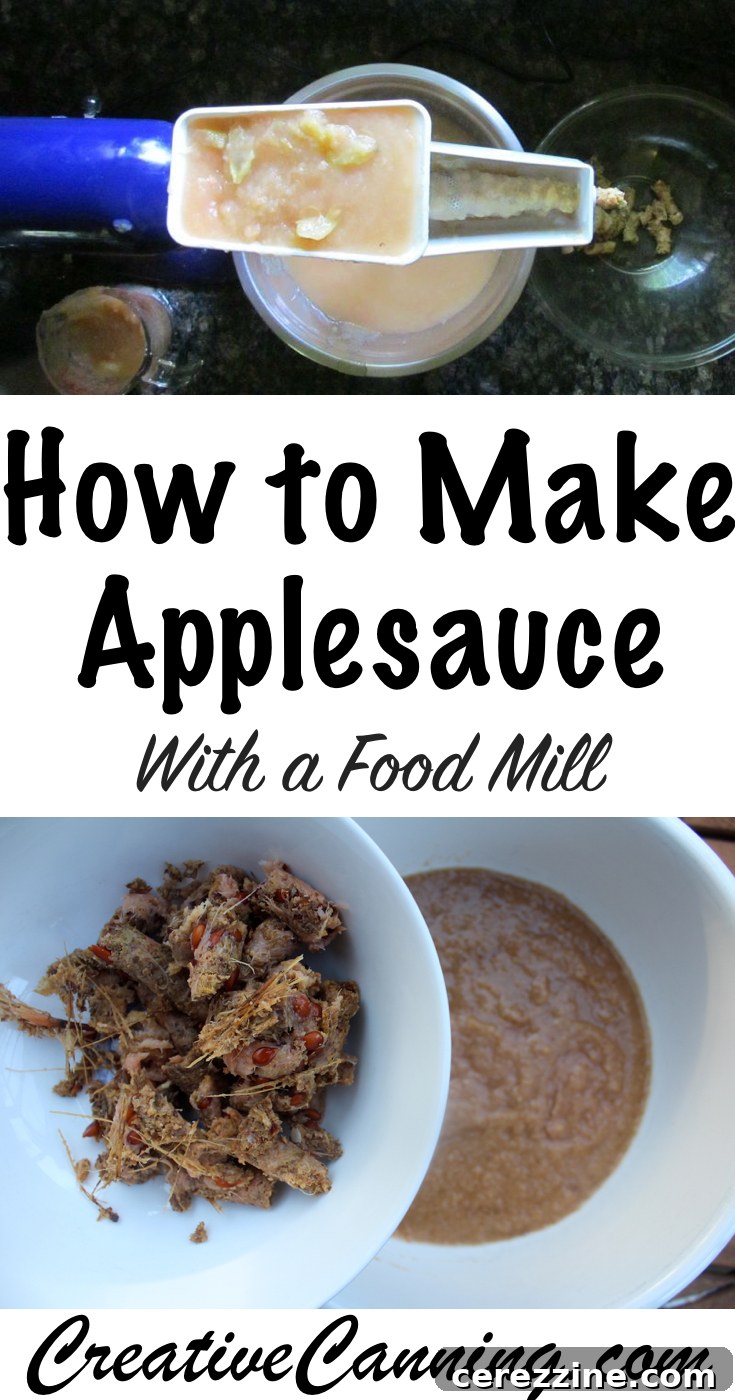
The arrival of summer brings with it a bounty of fresh produce, and for us, that often means a generous harvest from our Yellow Transparent apple tree. This early-bearing variety typically yields around two bushels of apples right in the bustling heart of mid-July and early August. While these summer apples aren’t renowned for their long storage life or their appeal as a fresh-eating snack, their unique characteristics make them absolutely perfect for crafting the most delicious, creamy applesauce.
Yellow Transparent apples possess a wonderfully soft, almost crumbly texture that rapidly breaks down when cooked, transforming into a silky-smooth puree. Their naturally tart and acidic profile also lends itself beautifully to being balanced with a touch of sweetness and warming spices, creating a complex and vibrant flavor that is far superior to store-bought alternatives. However, the sheer volume of apples arriving during our busiest season presents a common dilemma for many home canners: how do you efficiently process such a large quantity of fruit when a thousand other summer projects are also vying for your attention?
The secret to mastering this seasonal challenge lies in one invaluable kitchen tool: a food mill.
Unlocking the Secret to Effortless Homemade Applesauce: The Power of the Food Mill
Embracing a food mill for your applesauce production fundamentally changes the entire process. It allows you to completely bypass the most tedious and time-consuming steps: peeling and coring. Imagine preparing bushels of apples without the endless hours spent with a peeler and paring knife. This single advantage alone makes the food mill an indispensable tool for anyone serious about preserving their apple harvest with minimal fuss.
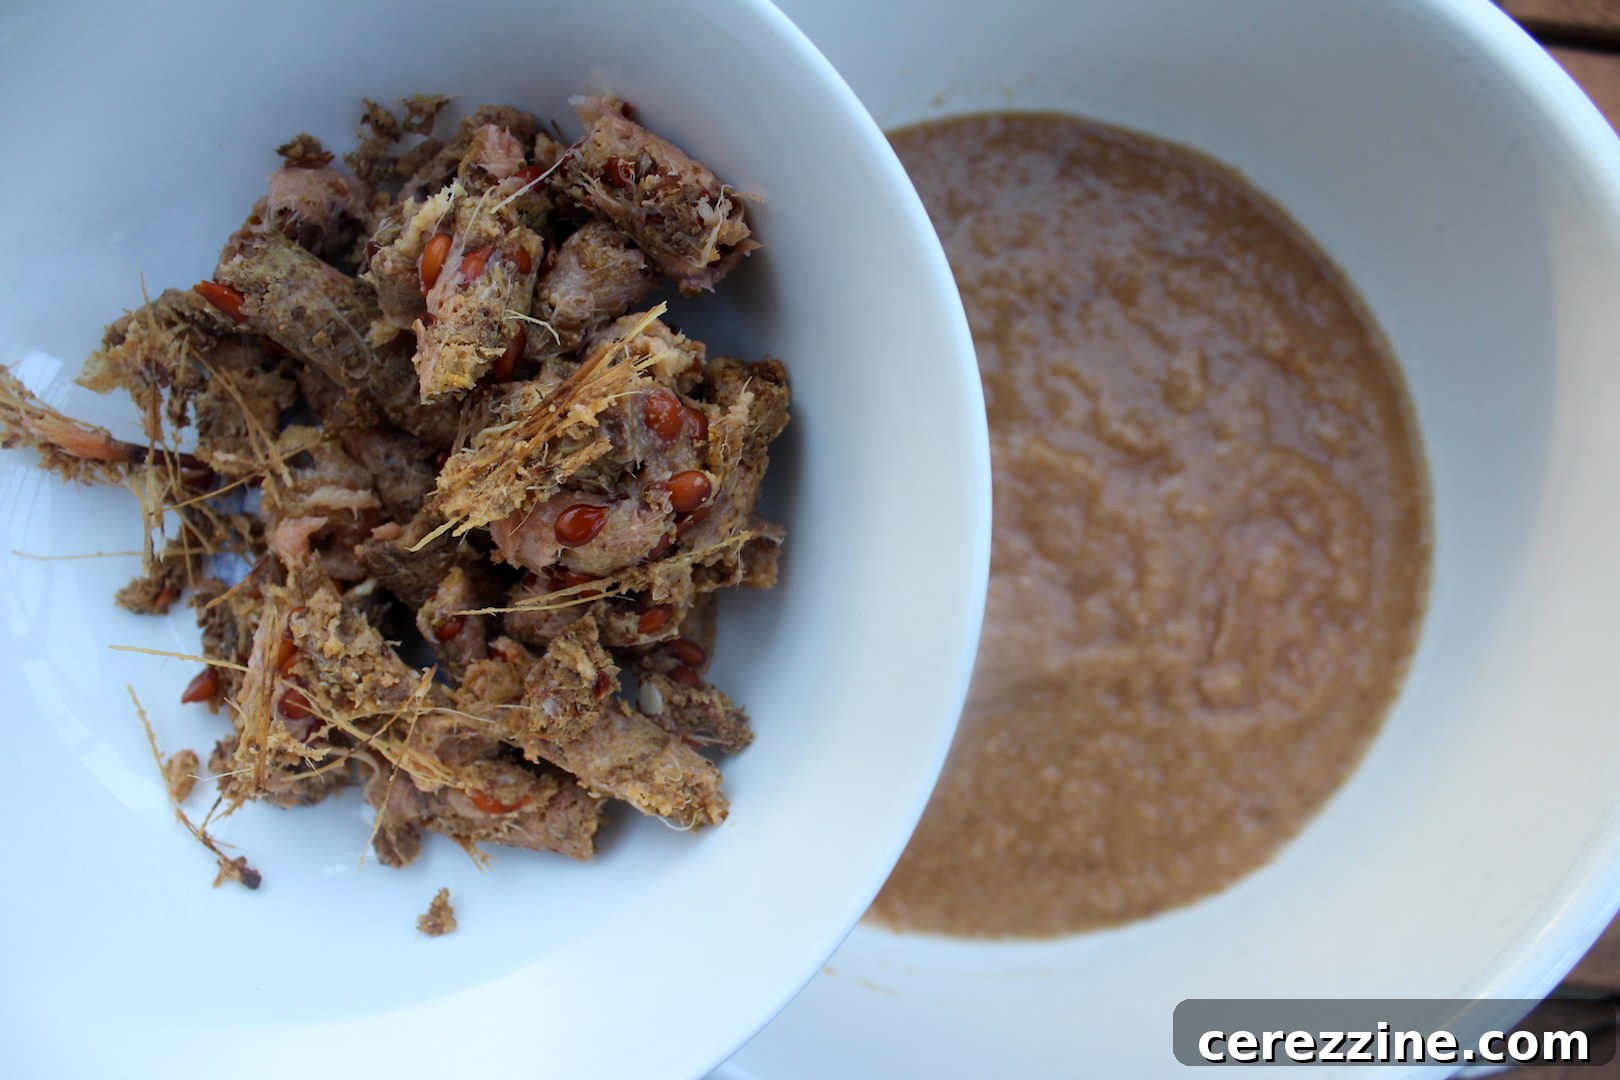
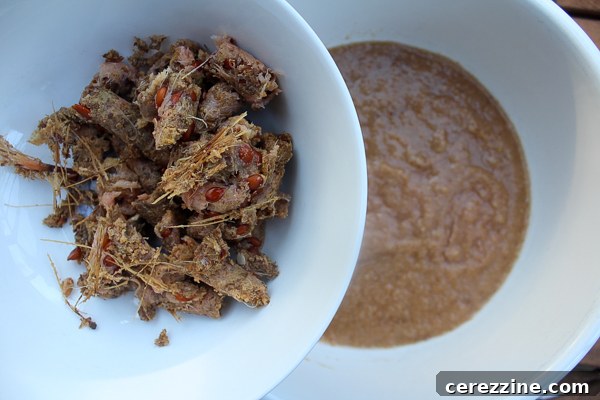
The ingenious design of a food mill enables you to simply give your apples a coarse chop – typically just halves or quarters – before cooking them down into a tender, chunky sauce. Once cooked, these softened apple pieces are then fed through the food mill. As the mill churns, it simultaneously purees the cooked fruit into a wonderfully smooth consistency while efficiently separating and discarding the unwanted peels, seeds, and cores. What emerges is a perfectly smooth, ready-to-can applesauce, with all the tough bits left behind. This streamlined approach not only saves an incredible amount of time but also significantly reduces food waste by ensuring maximum yield from your fruit.
Choosing the Right Food Mill for Your Applesauce Endeavors
The market offers a variety of food mills, each with its own advantages, catering to different preferences and batch sizes. For instance, many home preservers swear by the traditional countertop chinois sieve. This non-electric option works by pressing cooked fruit through a fine mesh cone with a pestle, offering a quick and efficient method for smaller to medium batches of applesauce. Its simplicity and robust construction make it a favorite for those who prefer manual tools.
For individuals dealing with truly massive quantities of apples, such as our friends at The Free Range Life, a hand-powered counter mount strainer is often the go-to choice. These heavy-duty models clamp securely to your countertop, providing stability and leverage for processing large volumes of fruit with less effort than a handheld sieve. They are built for endurance and high-volume output, making bulk applesauce batches a manageable task.
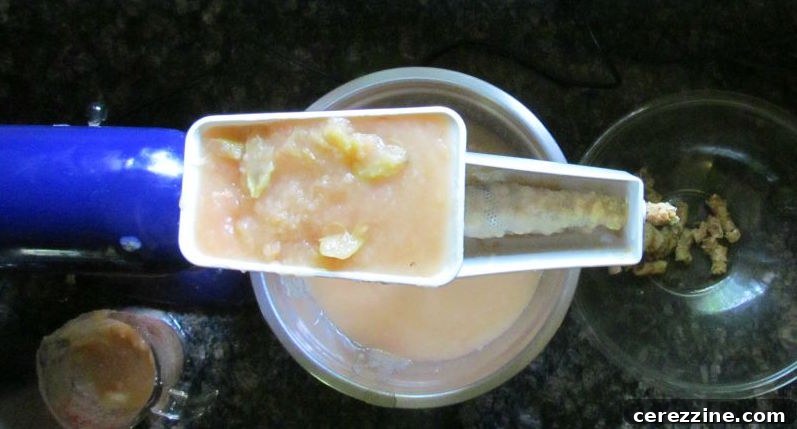
Personally, my preferred tool for crafting delicious homemade applesauce is my KitchenAid food strainer attachment. As a regular user of my KitchenAid stand mixer for various culinary tasks, the convenience of having an attachment that integrates seamlessly with an appliance already on my counter is unbeatable. This electric attachment transforms the stand mixer into a powerhouse for processing fruits and vegetables, making it an exceptionally fast and efficient solution for converting cooked apples into a silky puree. Its ease of assembly, operation, and cleanup makes it a joy to use, especially when faced with a large harvest.
Maximizing Your Harvest: Unprecedented Time-Savings with a Food Mill
The efficiency gained by incorporating a food mill into your applesauce-making process is truly remarkable. To illustrate just how much time you can save, I meticulously timed each stage while preparing a substantial batch of 40 pints of homemade applesauce. The results speak for themselves, revealing that preserving your apple bounty doesn’t have to consume your entire weekend.
- Chopping: With the food mill, there’s no need for meticulous peeling or coring. A rough chop into halves or quarters is all that’s required. This critical first step took a mere 15 minutes for 25-30 pounds of apples. Compare this to the hours it would take to individually peel and core each apple by hand!
- Cooking: The chopped apples need to be softened sufficiently for the food mill to process them effectively. This involves bringing them to a boil and then simmering until they begin to disintegrate. This hands-off cooking phase typically takes between 45-60 minutes, during which you can attend to other tasks.
- Straining: This is where the food mill truly shines. The KitchenAid food strainer attachment processed all 40 pints of applesauce in an astonishingly quick 15-20 minutes. The constant rotation and pressing action effortlessly separate the smooth puree from the fibrous skins and seeds, delivering a consistent texture without any manual effort.
- Canning: Once strained and seasoned, the applesauce needs to be brought back to temperature and processed in a water bath canner. This final preservation step, including filling jars and processing, typically takes 45-55 minutes.
Adding these times together, the entire process, from chopping the raw apples to safely sealing the canned applesauce, totaled approximately 2 to 2.5 hours. What’s even more impressive is that out of this entire duration, only about 45 minutes was truly “hands-on” time. This includes the initial coarse chopping, actively feeding apples through the food strainer, and then loading the jars into the canner. The majority of the time involves passive cooking or processing, allowing you to multitask and make the most of your busy summer days. This level of efficiency is precisely why the food mill is a game-changer for anyone looking to preserve their apple harvest without feeling overwhelmed.
Discover More Delicious Apple Preservation Recipes
Cranberry Apple Jam: A Tangy Sweet Treat
Traditional Apple Jam: Perfect for Toast
Preserving Freshness: Canning Apple Cider
Mastering Homemade Applesauce: The Food Mill Method & Recipe
Our Yellow Transparent apples are known for their distinct acidity and tart flavor. For the best-balanced taste, we recommend adding a bit of sugar and a generous helping of ginger, which beautifully complements their bright zestiness. If you’re working with milder or sweeter apple varieties, feel free to adjust or even omit the sugar and spices according to your preference. This recipe is designed to be versatile and adaptable to your unique taste and apple supply.
Yield: Approximately 40 Pints
Process Time: 15 minutes for Pints in a Water Bath Canner
Headspace: 1/2 inch
Method: Water Bath Canner
Ingredients for Your Perfect Batch of Applesauce:
- 25-30 lbs Apples: (Approximately 5 gallons when coarsely chopped). While Yellow Transparent apples are ideal, this recipe works wonderfully with other soft, cooking apple varieties like McIntosh, Golden Delicious, or a mix of sweet and tart apples for a more complex flavor.
- 2-4 Quarts Water or Apple Juice: Use water for a pure apple flavor or apple juice for added sweetness and depth. The amount depends on how juicy your apples are and how thick you prefer your sauce.
- 1-3 C Sugar (optional): Adjust this amount based on the natural sweetness of your apples and your personal taste. Tart apples will benefit from more sugar, while sweet apples may need none.
- 2-3 t Ground Ginger (optional): Ginger adds a delightful warmth and spiciness that pairs exceptionally well with tart apples.
- 2-3 t Ground Cinnamon (optional): A classic companion to apples, cinnamon brings a comforting aroma and flavor.
- 1-2 T Molasses (optional): A touch of molasses can add a deeper, richer, and slightly smoky sweetness, enhancing the overall complexity of your applesauce.
Step-by-Step Guide to Canning Applesauce with a Food Mill:
- Prepare Your Apples: Begin by washing your apples thoroughly. Then, simply coarsely chop them into halves or quarters, removing any bruised spots or stems, but leaving the peels and cores intact. This minimal preparation is one of the key time-saving benefits of using a food mill.
- Cook Down the Apples: Place the chopped apples into a very large stockpot or canning pot. Add 2 to 4 quarts of water or apple juice. The liquid helps prevent scorching and aids in softening the apples. Bring the mixture to a rolling boil over medium-high heat. Once boiling, reduce the heat to low, cover the pot, and simmer for 30-45 minutes, or until the apples are very tender and have begun to disintegrate. Stir occasionally to prevent sticking.
- Process with the Food Mill: Set up your chosen food mill (KitchenAid attachment, chinois, or counter-mount strainer) according to its instructions. Carefully ladle the hot, cooked apple mixture into the food mill. Process the apples, allowing the mill to separate the smooth applesauce from the peels, seeds, and cores. If using an electric attachment, you’ll be amazed at how quickly this step goes. For manual mills, you’ll crank or press the apples through. Discard the leftover pulp in the mill’s discard chute.
- Season Your Applesauce: Once all the apples have been processed through the food mill, transfer the smooth applesauce back into the clean stockpot. This is the ideal time to add your optional sugar, ground ginger, ground cinnamon, and molasses. Taste the applesauce and adjust the seasonings to your preference. Remember, the flavors will meld and deepen slightly during canning.
- Prepare for Canning: Prepare your canning jars and lids by sterilizing them according to standard water bath canning procedures. Keep the jars hot until ready to fill. Ensure your water bath canner is filled with water and heating up on the stove.
- Fill and Process Jars: Bring the seasoned applesauce back up to a gentle boil over medium heat, stirring constantly to prevent scorching. Ladle the hot applesauce into the hot, sterilized canning jars, leaving a 1/2-inch headspace at the top of each jar. Use a non-metallic utensil to remove any air bubbles from the jars. Wipe the rims clean with a damp cloth, center the lids, and apply the screw bands finger-tight. Carefully place the filled jars into your hot water bath canner, ensuring they are fully submerged by at least an inch of water. Bring the water to a rolling boil and process pint jars for 15 minutes.
Tips for the Best Homemade Applesauce:
- Choosing Apples: While Yellow Transparent apples are fantastic for applesauce, feel free to experiment with other varieties. A blend of sweet apples (like Fuji or Gala) and tart apples (like Granny Smith or Honeycrisp) can create a wonderfully balanced and complex flavor profile.
- Flavor Variations: Beyond the suggested spices, consider adding a pinch of ground nutmeg, allspice, or cloves for different flavor dimensions. For a hint of vanilla, a splash of pure vanilla extract can be added after cooking but before canning.
- Altitude Adjustments: If you live at an altitude above 1,000 feet, remember to adjust your water bath canning processing time according to recommended guidelines. Failure to do so can compromise the safety and shelf stability of your canned goods. Consult a reliable canning guide for specific altitude adjustments.
- Storage Options: Canned applesauce can be stored in a cool, dark place for up to 18 months. If you prefer not to can, the applesauce can also be frozen in freezer-safe containers for up to 6 months or stored in the refrigerator for up to 1-2 weeks.
With these simple steps and the efficiency of a food mill, you’ll transform your summer apple harvest into a pantry full of delicious, homemade applesauce, ready to be enjoyed throughout the year. It’s a rewarding way to savor the flavors of the season and embrace the self-reliance of home food preservation.