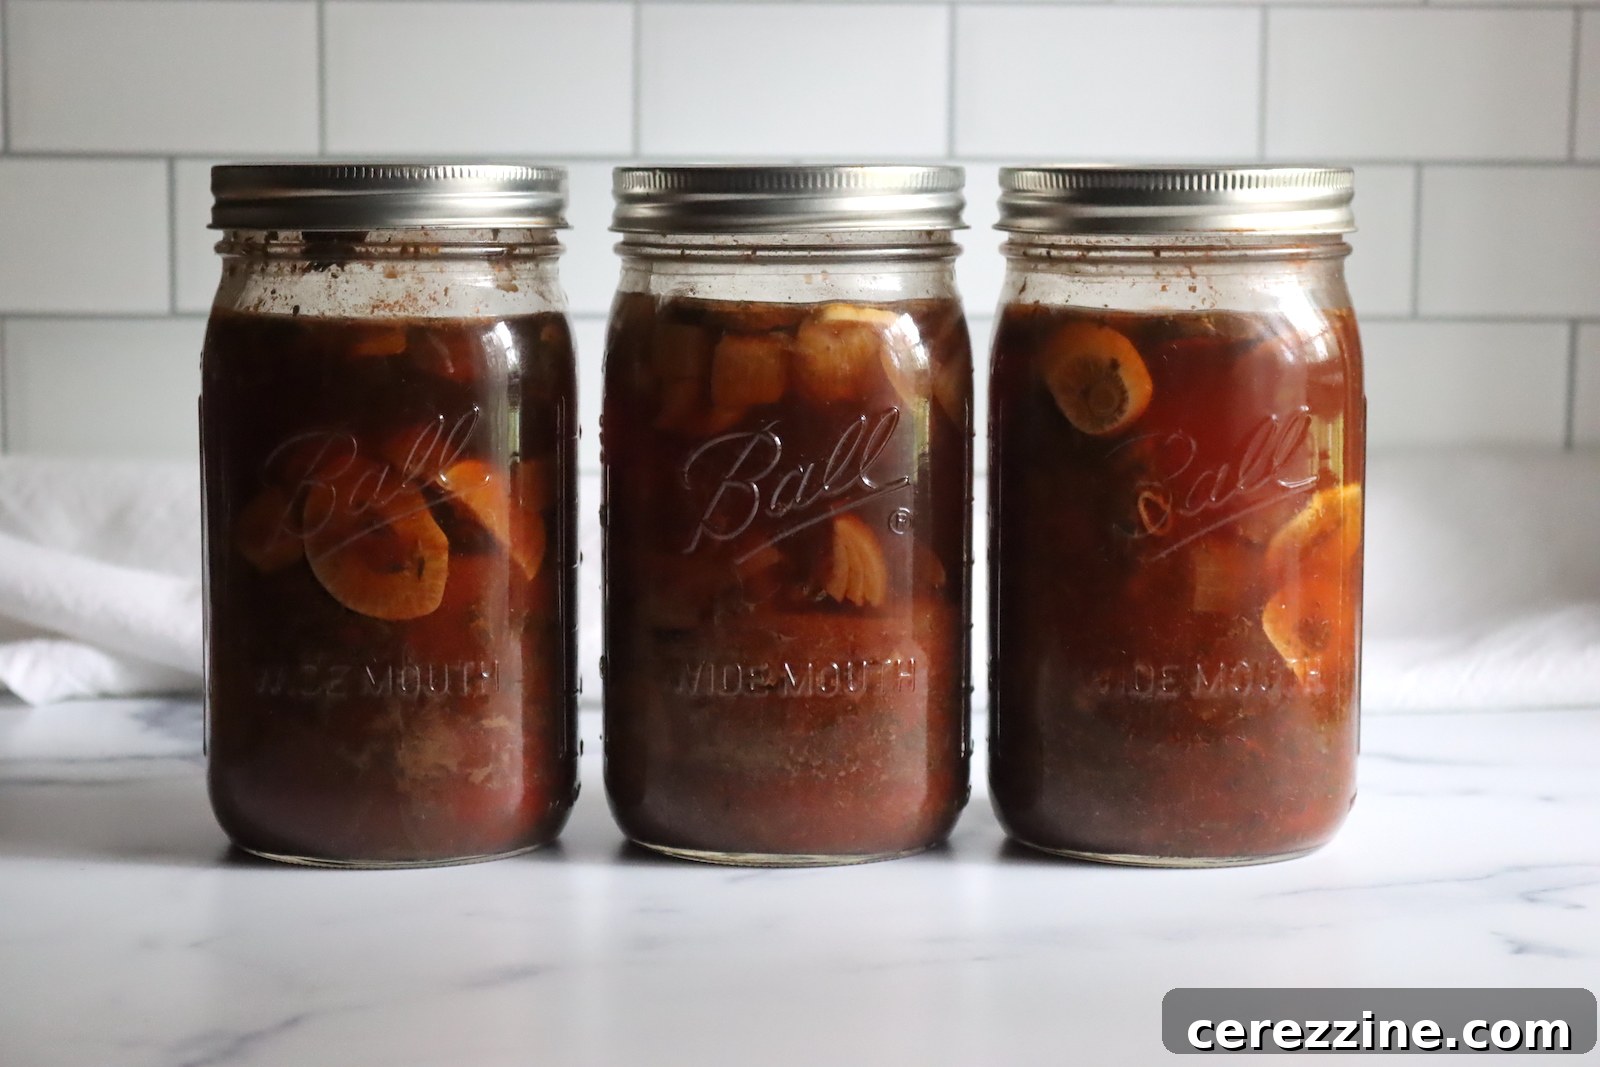
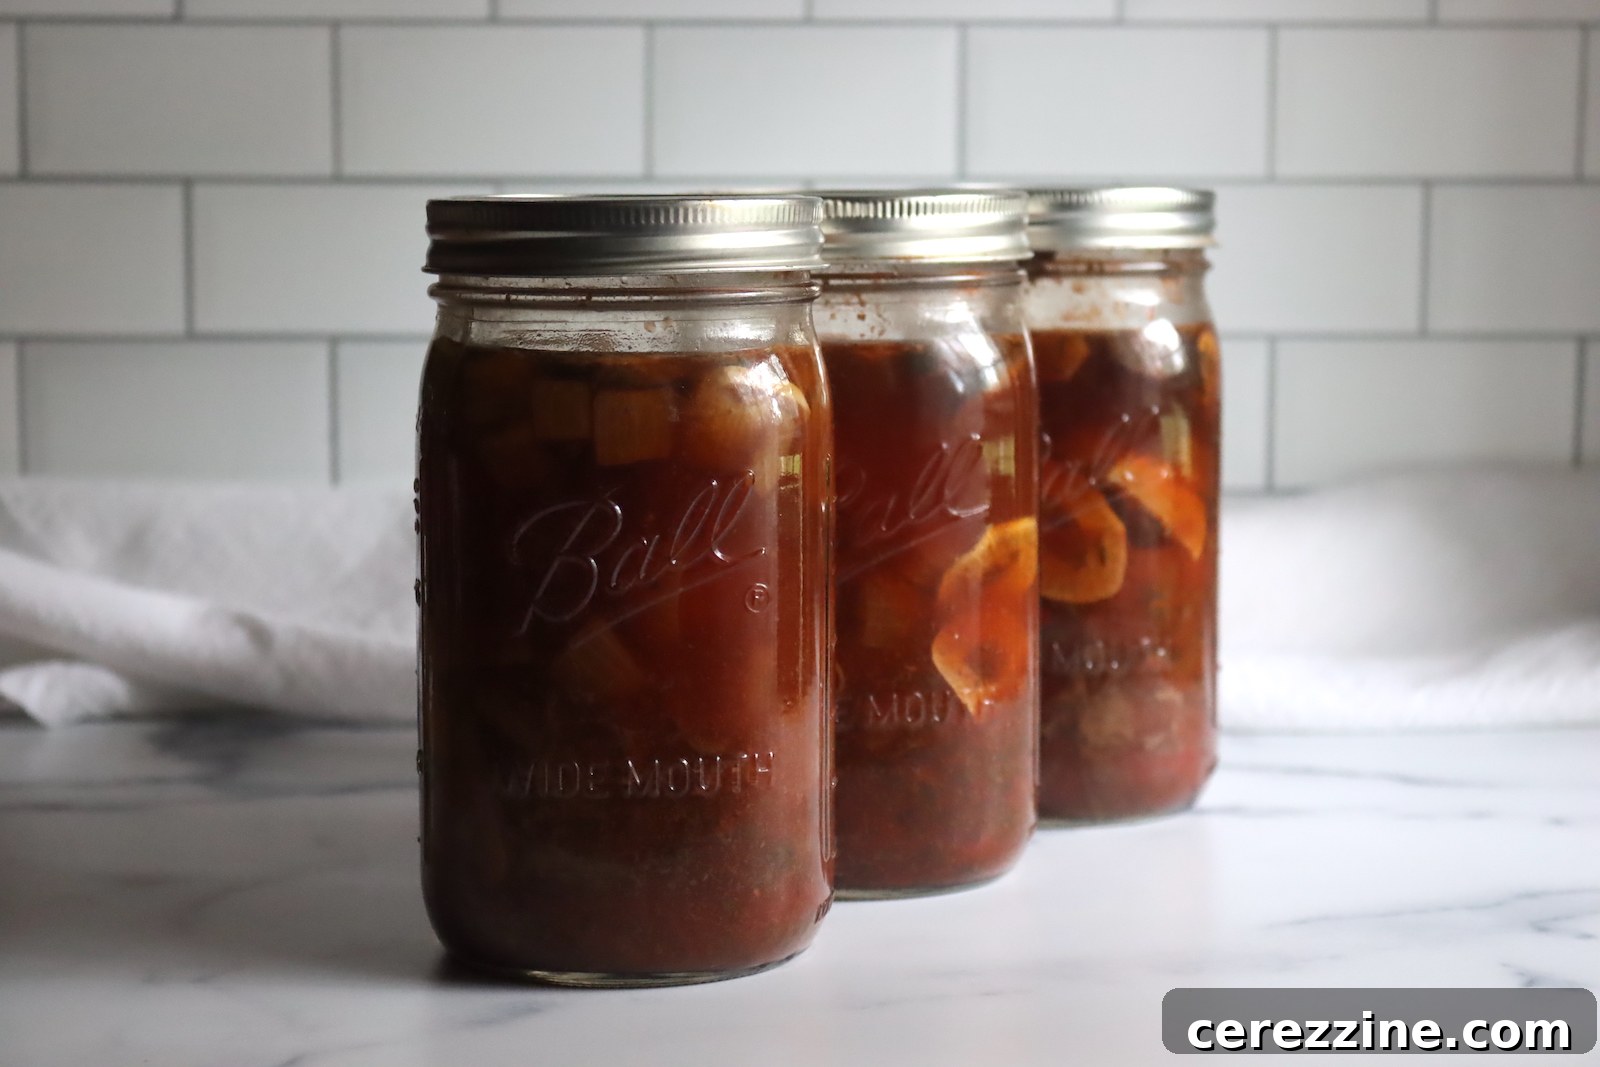
Canning beef stroganoff is a wonderful method to prepare a wholesome and delicious meal-in-a-jar well in advance. This innovative approach creates a rich, savory stroganoff base that’s ready to heat and serve with just a quick addition of flour and sour cream. Imagine the convenience of having a gourmet comfort food meal waiting in your pantry for those hectic weeknights!
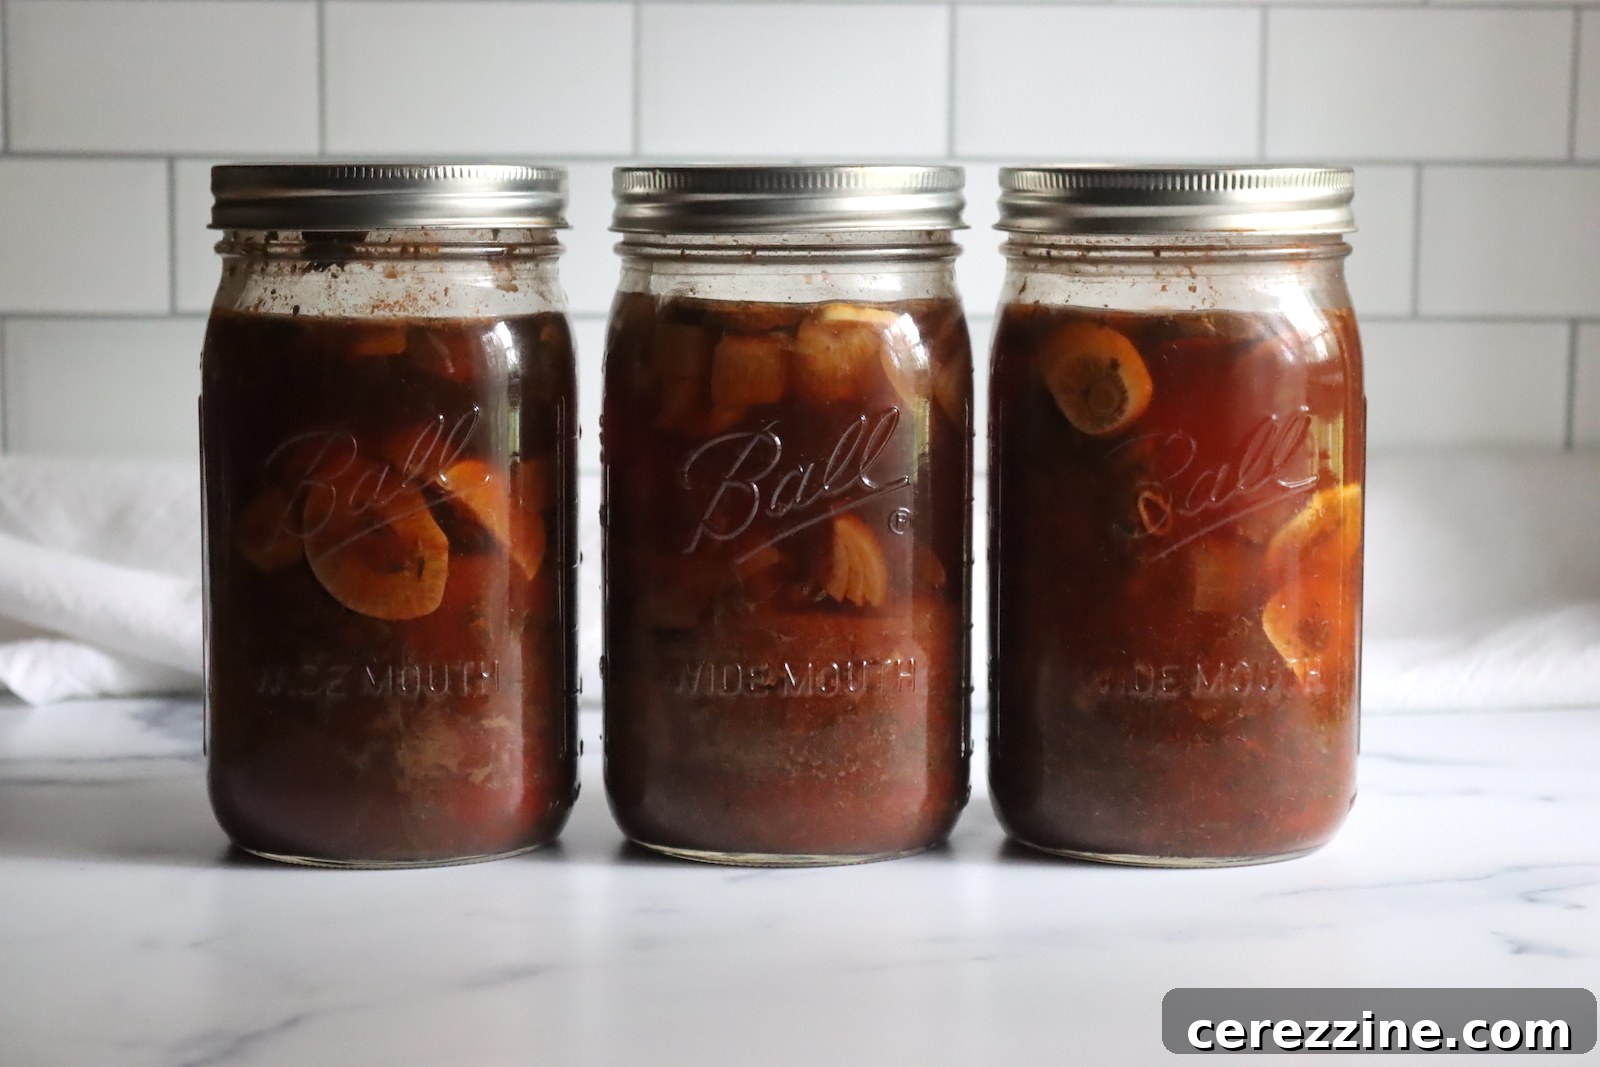
There’s an undeniable allure to beef stroganoff – its creamy texture, rich flavor, and tender meat make it a beloved classic comfort food across many cultures. However, the traditional preparation, often involving slow-cooked beef to achieve that melt-in-your-mouth tenderness, can be time-consuming and impractical for a busy schedule. This is where the magic of canning comes in.
By learning how to can beef stroganoff, you unlock a world of culinary convenience. You can enjoy this hearty dish anytime, without the extensive prep work on the day you want to serve it. The most time-intensive steps – cooking the beef to perfection and infusing it with flavorful seasonings – are completed during the canning process. What remains is a perfectly tender, seasoned beef mixture, ready to be transformed into a classic stroganoff with minimal effort.
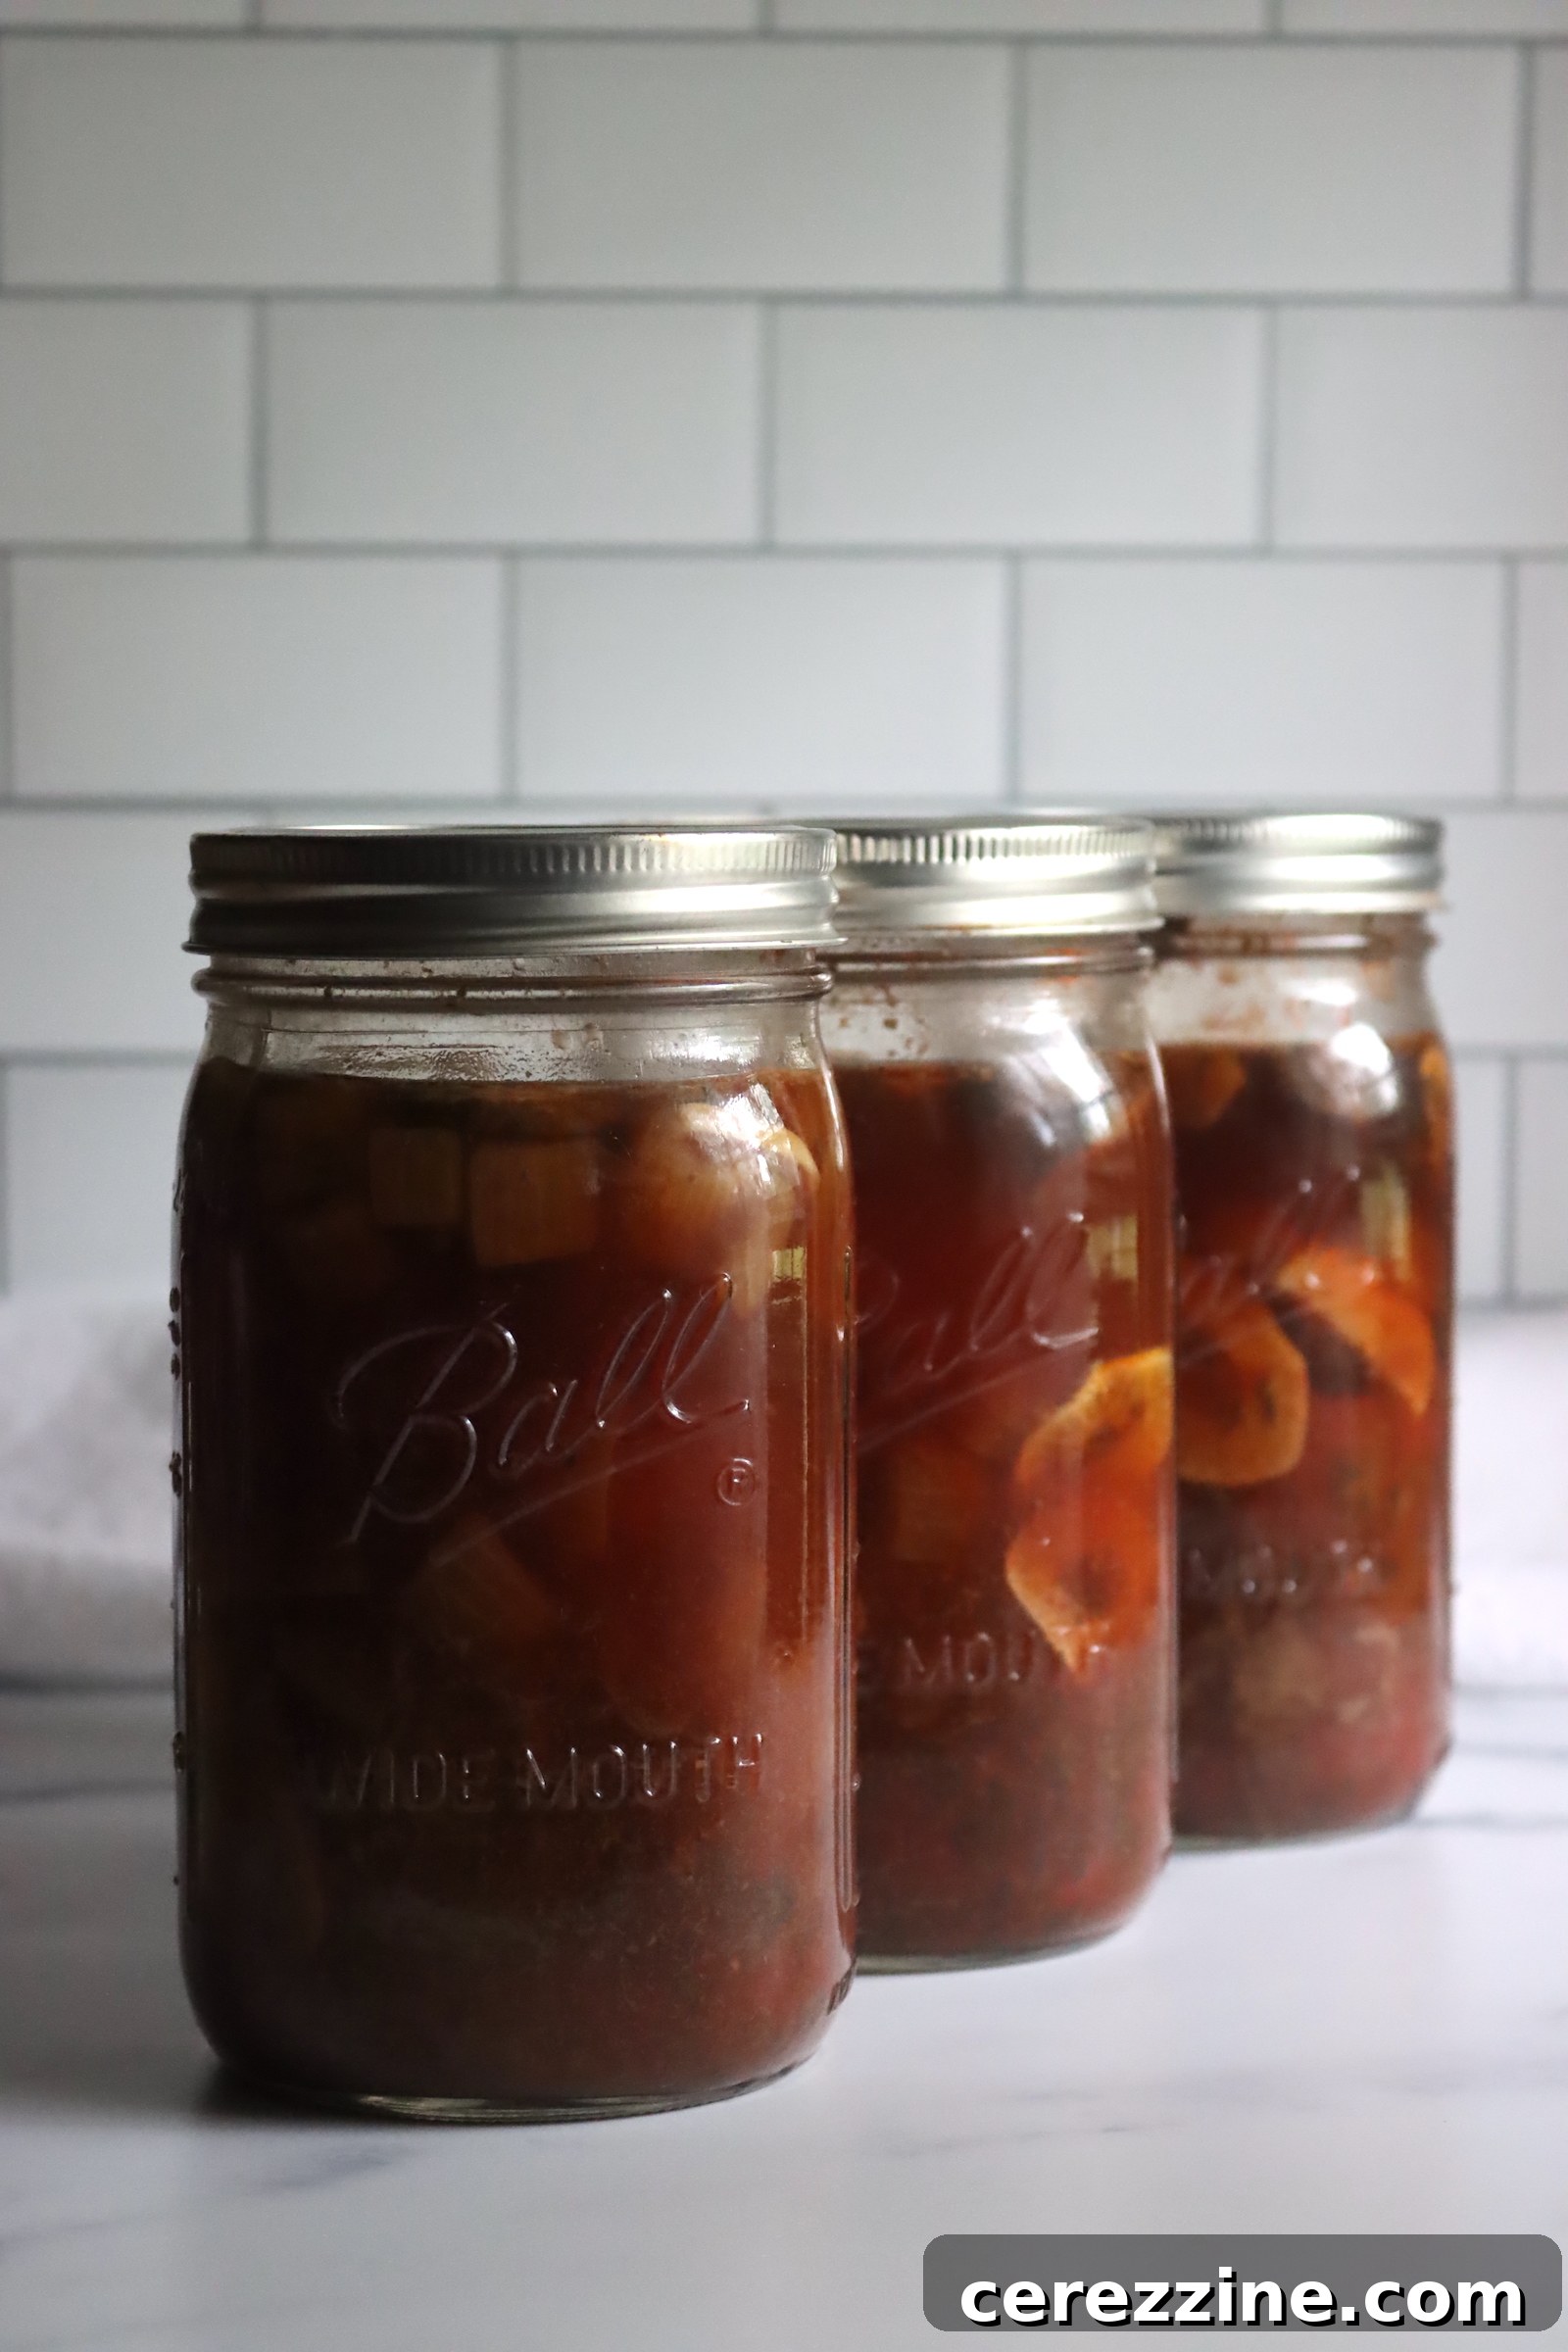
Canning beef stroganoff is not just about convenience; it’s a smart way to preserve food, extend its shelf life for months, and ensure you always have a delicious, home-cooked meal option. It allows you to stock your pantry with ready-to-eat ingredients, offering peace of mind and reducing reliance on processed foods.
It’s important to note that the flour (for thickening) and sour cream (for creaminess) are added at the time of serving, never before canning. This distinction is crucial for safe and successful home pressure canning. But don’t let that deter you; the process of canning the beef base itself is simpler than you might imagine, and the rewards are absolutely worth it. Let’s delve into everything you need to know to master canning beef stroganoff.
The Art of Pressure Canning: Why It’s Essential for Beef Stroganoff
Before diving into the recipe, it’s vital to understand the “why” behind pressure canning for this particular dish. Beef stroganoff, being a meat-based recipe with vegetables like mushrooms and onions, is classified as a low-acid food. Low-acid foods, unlike high-acid foods (like pickles or tomatoes with added acid), require significantly higher temperatures to destroy harmful bacteria, particularly Clostridium botulinum, which can cause botulism, a serious foodborne illness.
A standard water bath canner, which only reaches boiling point (212°F or 100°C), cannot achieve the necessary temperatures to safely preserve low-acid foods. Pressure canners, on the other hand, create a pressurized environment that allows water to boil at much higher temperatures (typically 240-250°F or 116-121°C). This elevated temperature is crucial for ensuring the safety and long-term stability of your canned beef stroganoff. Always rely on tested recipes from reputable sources, like the Ball Book, when pressure canning to ensure your food is safe to consume.
Gathering Your Ingredients for Canning Beef Stroganoff
This recipe is a trusted adaptation from The All New Ball Book of Canning and Preserving, renowned for its tested “meal in a jar” pressure canning recipes. The original Ball recipe is designed for small batches, yielding 2 quarts (or 4 pints), which is the minimum recommended load for safe processing in a pressure canner. This ensures adequate thermal mass within the canner for proper heat distribution.
You have the flexibility to scale this recipe to fit your needs. If you have a larger pressure canner, you can easily double or even multiply the recipe. For instance, if you own a sizeable 30-quart All-American Pressure Canner that holds 14 quart jars, you would simply multiply all ingredients by 7 to fill it efficiently. Remember, regardless of the batch size, always ensure you process a minimum of 2 quarts or 4 pints for optimal canning safety.
The ingredients for canning beef stroganoff are straightforward, focusing on flavor and texture that can withstand the canning process:
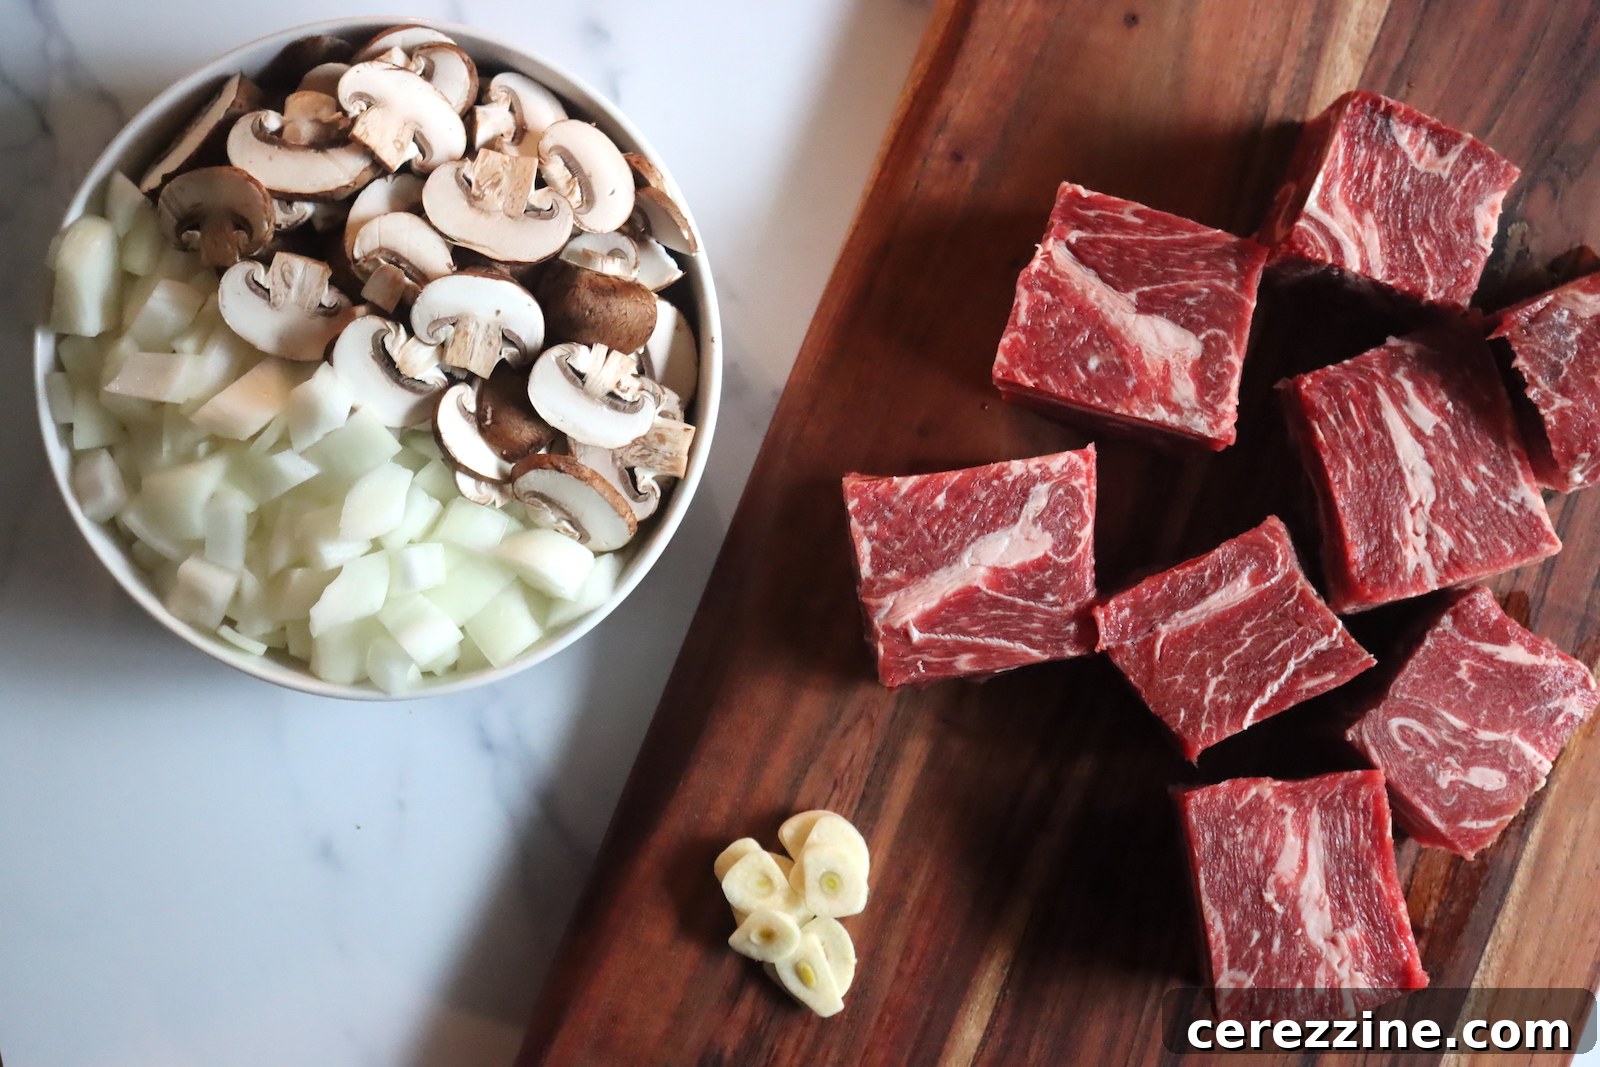
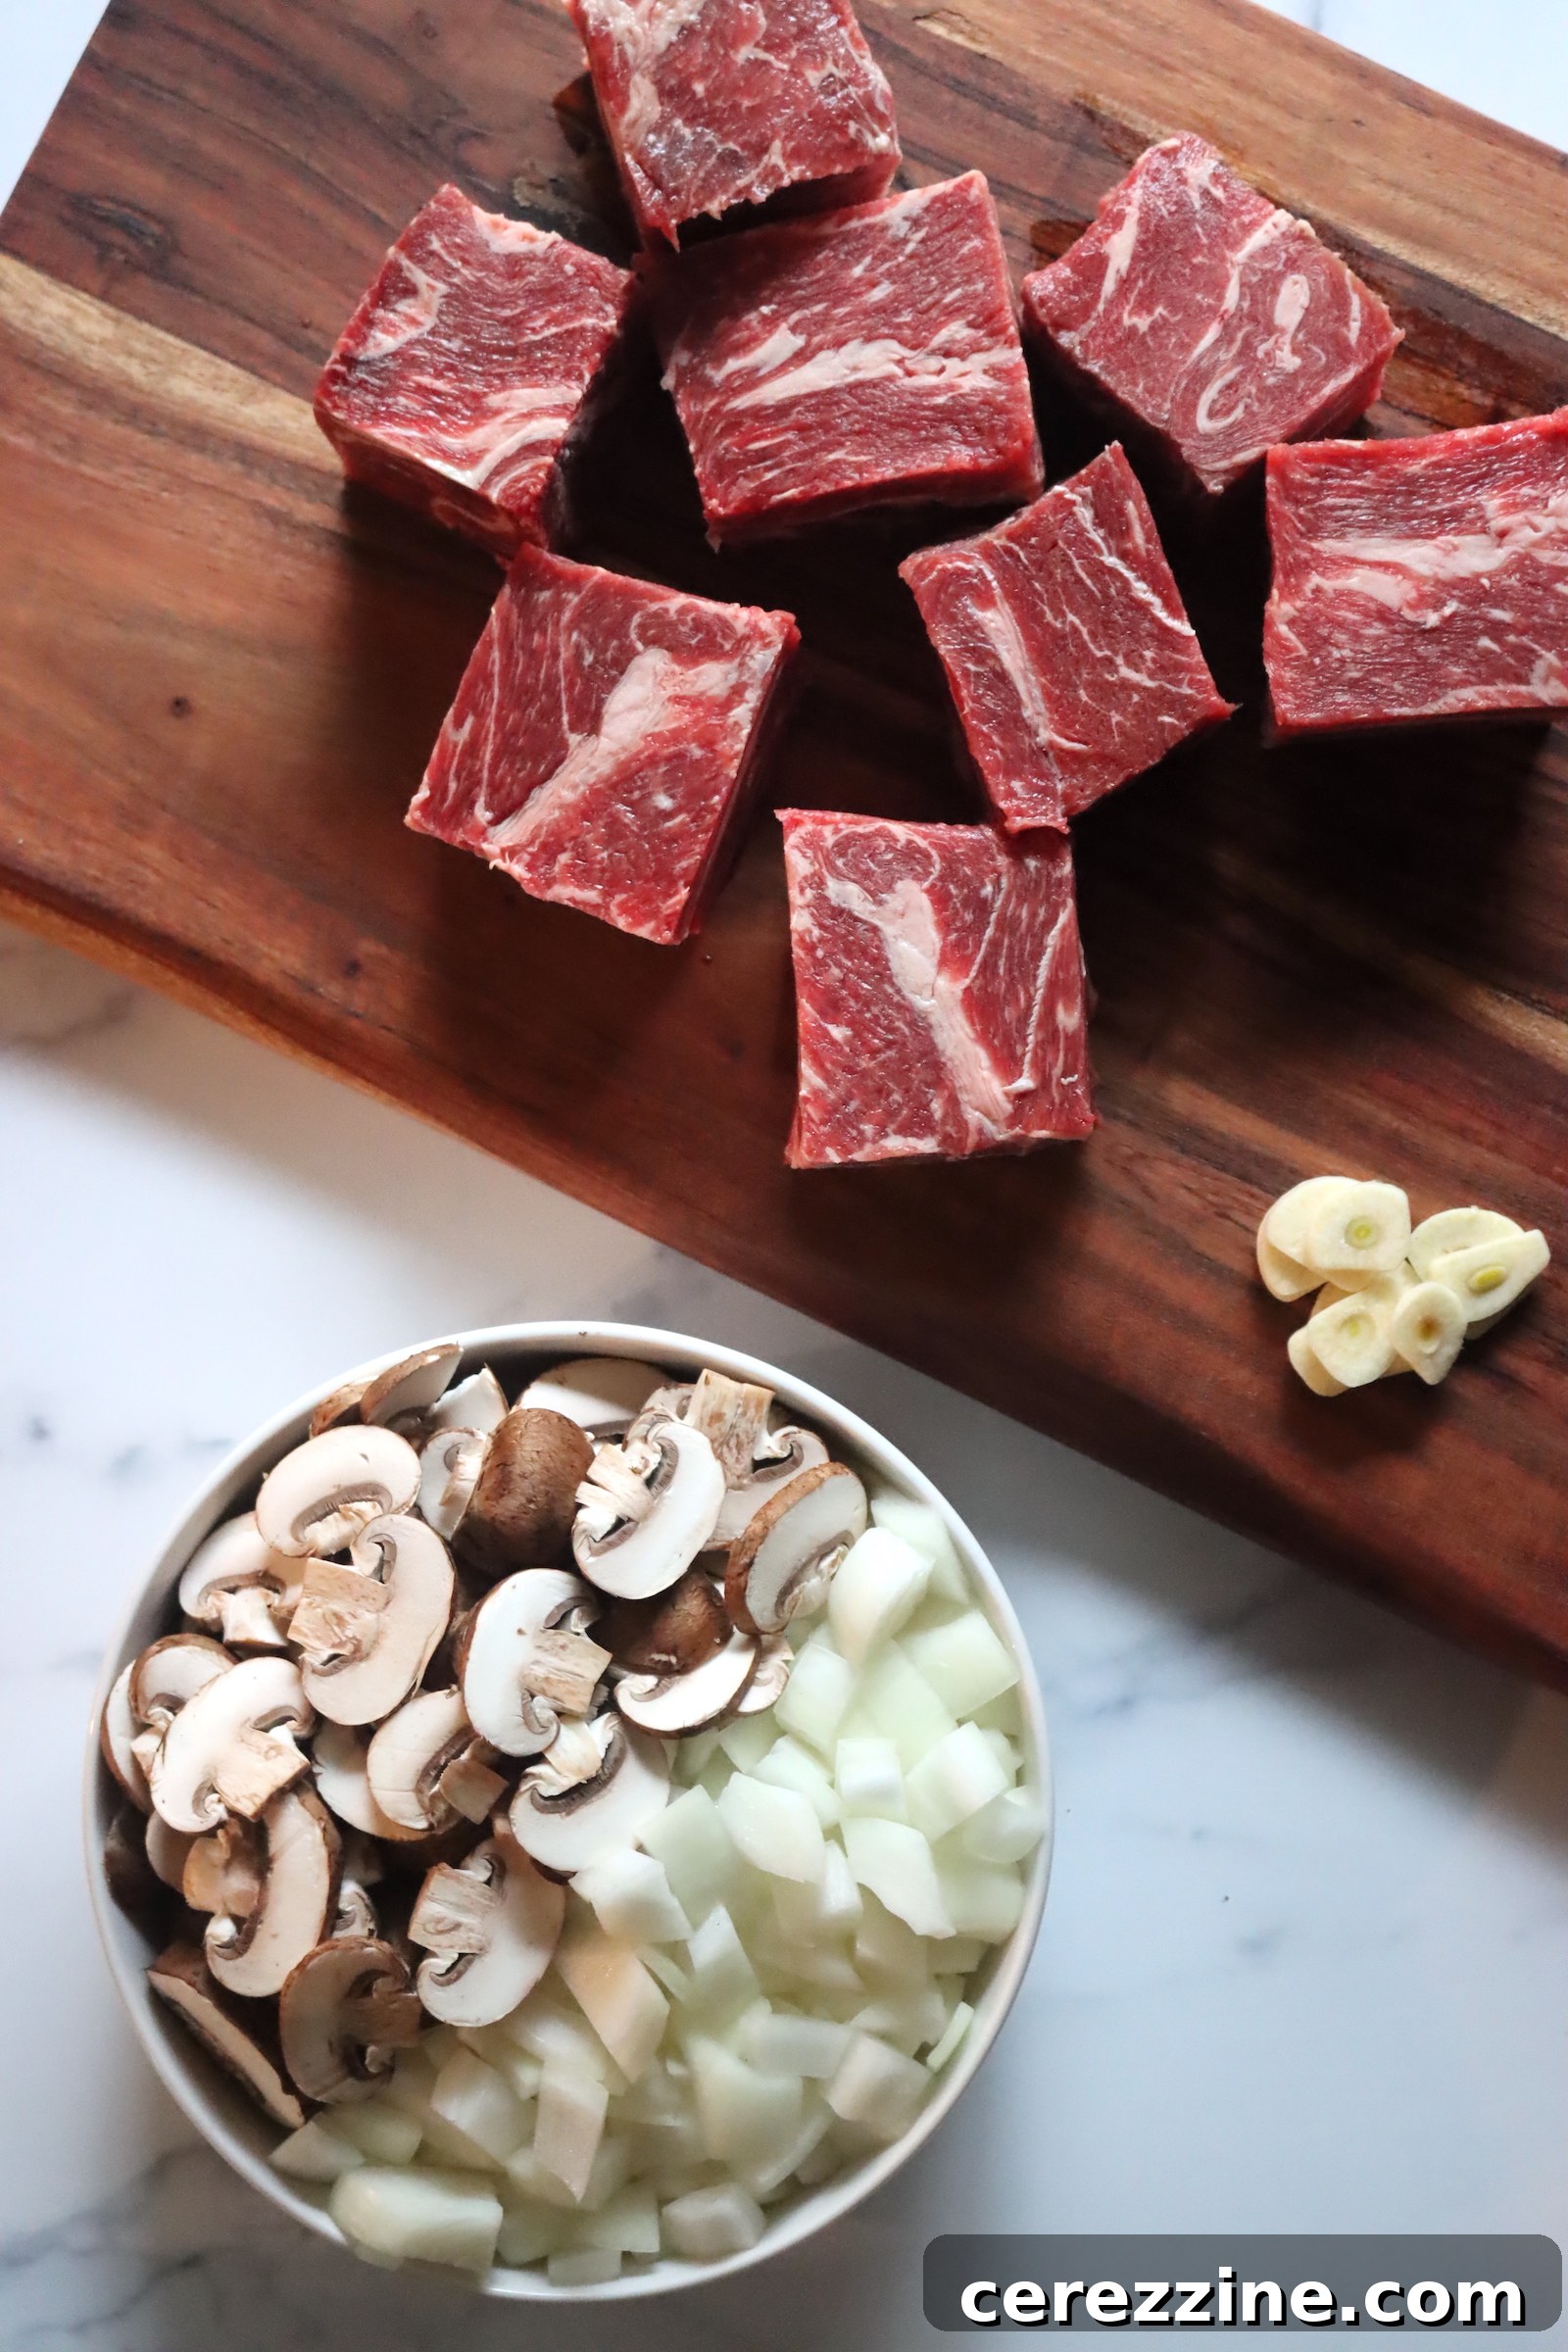
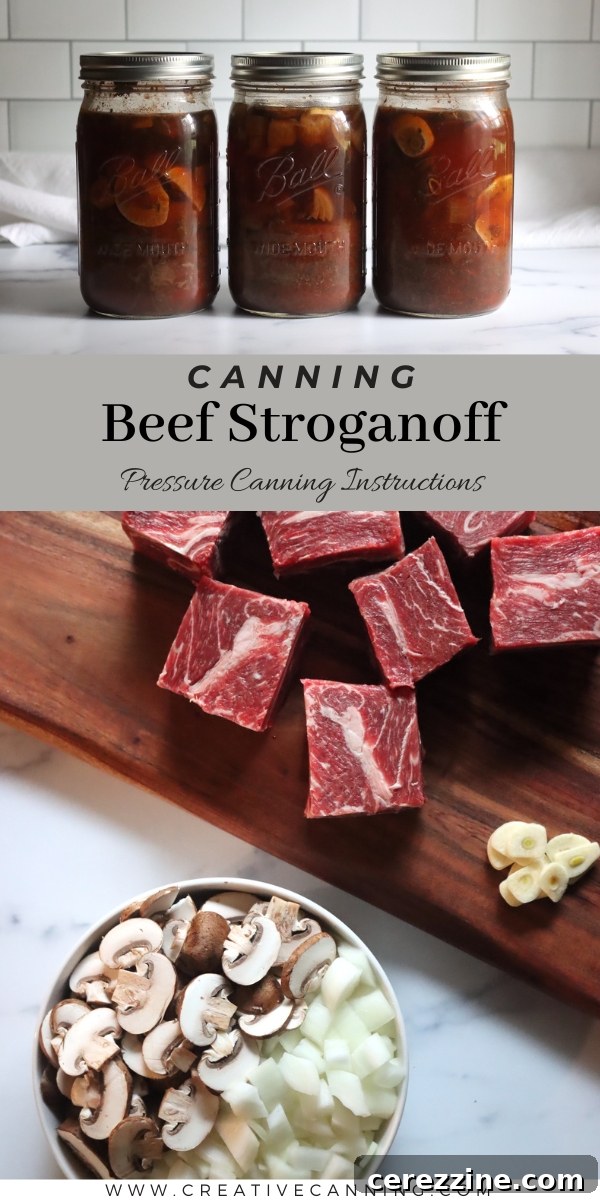
- Beef: 2 lb (1 kg) boneless beef chuck roast, trimmed of excess fat and sliced into approximately 2-inch (5 cm) pieces. Chuck roast is ideal for its rich flavor and ability to become wonderfully tender under pressure.
- Mushrooms: 1 cup (250 ml) sliced mushrooms. White button, cremini, or even a mix of gourmet mushrooms will work beautifully.
- Onion: 1 cup (250 ml) chopped onion. Yellow or white onions are common choices, adding a foundational aromatic flavor.
- Tomato Paste: 4 Tbsp (60 ml) tomato paste. This concentrated ingredient adds a depth of umami and a subtle tang.
- Salt: 2 tsp (10 ml) salt. Essential for seasoning and preservation.
- Ground Black Pepper: 1 tsp (5 ml) ground black pepper. For a classic spice note.
- Dried Parsley: 2 tsp (10 ml) dried parsley. Adds herbaceous freshness.
- Dried Thyme: 2 tsp (10 ml) dried thyme. Complements the beef and mushrooms with its earthy aroma.
- Garlic: 2 sliced garlic cloves. Fresh garlic provides a pungent, aromatic kick.
- Worcestershire Sauce: 4 Tbsp (60 ml) Worcestershire sauce. A key ingredient for its savory, tangy, and complex flavor profile that enhances the beef.
- Beef Broth (optional): As needed, for topping off jars. Using hot beef broth adds more flavor, but hot water can also be used if preferred.
- Flour (to serve): Do NOT add this before canning.
- Sour Cream (to serve): Do NOT add this before canning.
A critical reminder: Flour and sour cream are designated for serving only. Incorporating these ingredients into the jars prior to canning would create an unsafe canning environment due to their density and fat content, which can interfere with proper heat penetration during pressure processing. Always add them fresh when you are ready to enjoy your meal.
Essential Equipment for Safe Pressure Canning
Successful and safe pressure canning relies on having the right tools. Here’s a list of equipment you’ll need to prepare your beef stroganoff for long-term storage:
- Pressure Canner: This is non-negotiable for low-acid foods. Ensure it’s in good working order with a properly calibrated gauge (if it’s a dial gauge) and clean vent.
- Canning Jars: Pint or quart-sized canning jars (Mason jars) are suitable. Always use jars specifically designed for canning, free from chips or cracks.
- New Lids and Bands: Use new lids each time you can to ensure a proper seal. Bands can be reused if they are rust-free and not bent.
- Large Stockpot: For mixing ingredients and heating broth if needed.
- Jar Lifter: Essential for safely placing and removing hot jars from the canner.
- Canning Funnel: Helps prevent spills and keeps jar rims clean when filling.
- Bubble Remover/Headspace Tool: A non-metallic utensil to remove air bubbles and measure headspace.
- Clean Towels: For wiping jar rims and general cleanup.
- Measuring Cups and Spoons: For accurate ingredient measurements.
Step-by-Step Guide to Canning Beef Stroganoff
Canning beef stroganoff might seem daunting at first, but by following these clear steps, you’ll find it to be a straightforward and rewarding process. The method used here is known as “raw pack,” which means ingredients are packed raw into jars and then cooked during the pressure canning process.
Preparing Your Canner and Jars
Begin by setting up your pressure canner. Add the recommended amount of water to the canner according to your manufacturer’s instructions, typically 2-3 inches (5-8 cm). Place the canner on your stovetop and allow the water to preheat to about 180°F (82°C) while you prepare your ingredients. Wash your canning jars, lids, and bands in hot, soapy water. While sterilization is not strictly necessary for foods processed for 10 minutes or more in a pressure canner, ensuring jars are sparkling clean and hot helps prevent thermal shock.
Assembling Your Stroganoff Mixture (Raw Pack Method)
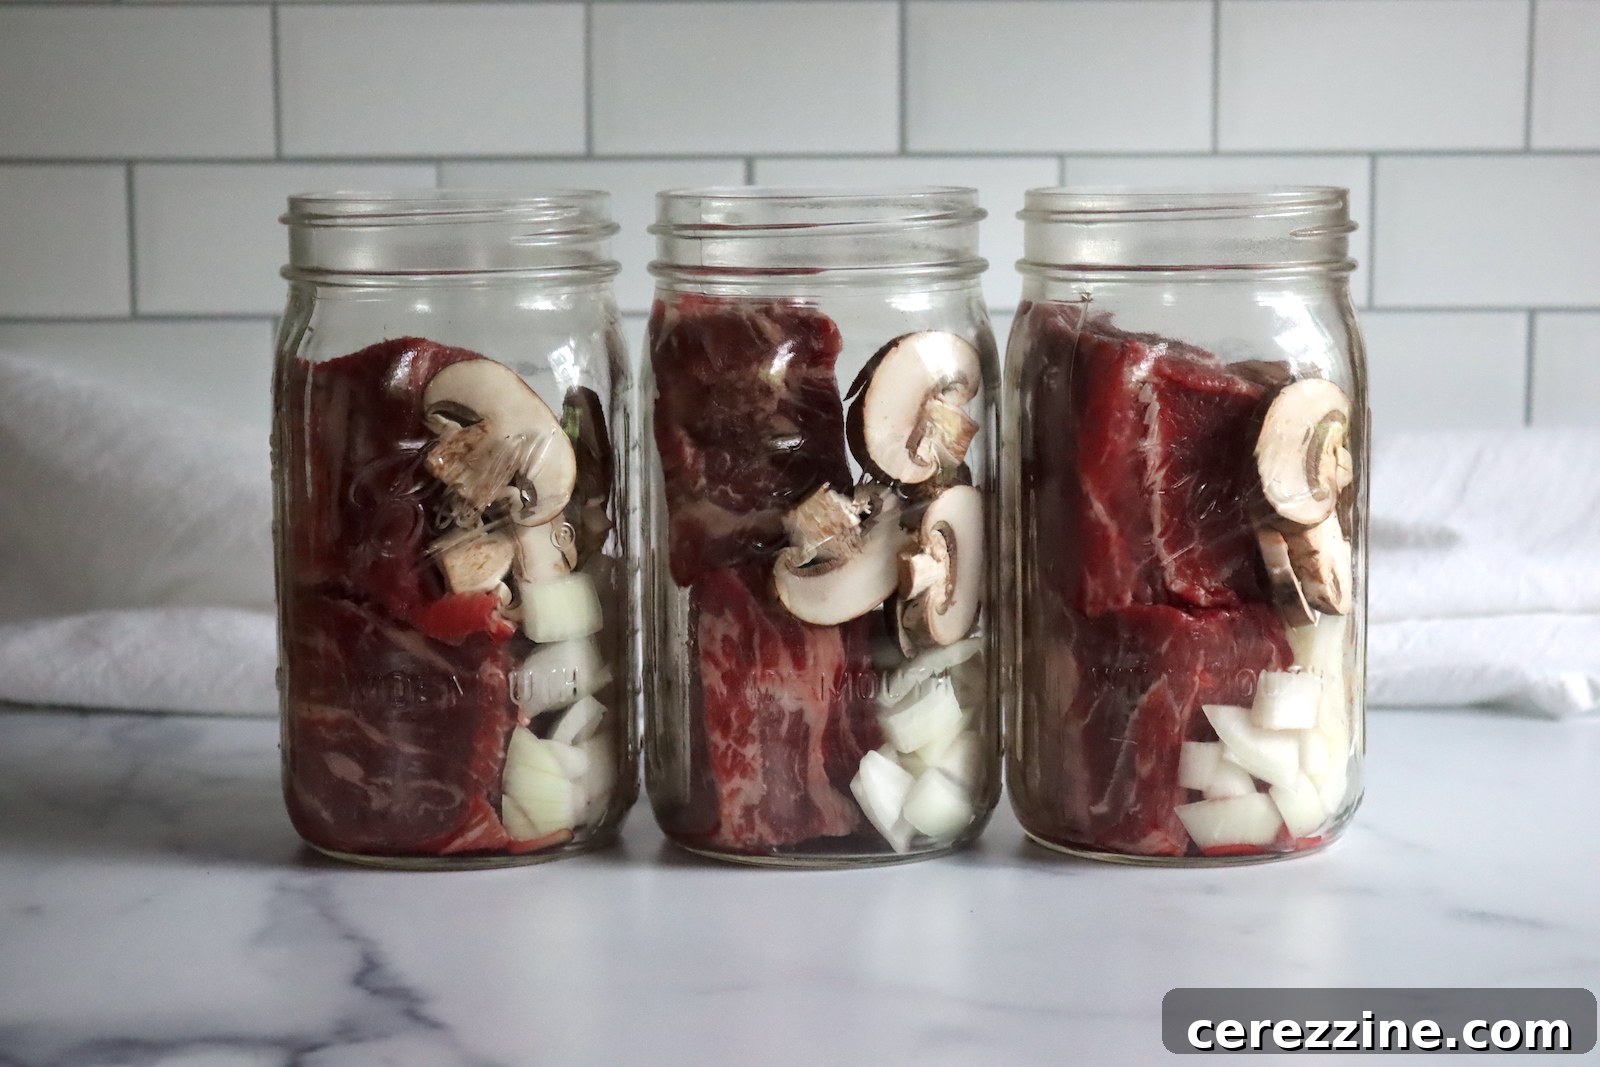
In a large mixing bowl, combine all of your stroganoff ingredients: the trimmed and sliced beef chuck roast, sliced mushrooms, chopped onion, tomato paste, salt, ground black pepper, dried parsley, dried thyme, sliced garlic cloves, and Worcestershire sauce. Mix these ingredients thoroughly to ensure everything is evenly coated and seasoned. Alternatively, you can pack these ingredients directly into the canning jars, layering them to ensure an even distribution.
Filling the Jars and Ensuring Headspace
Carefully fill one hot canning jar at a time with your prepared beef stroganoff mixture. Pack the ingredients firmly into the jars without crushing them, ensuring an even distribution of beef and vegetables. If you have any remaining space in the jars after adding all solid ingredients, you can top them off with hot beef broth or boiling water. Crucially, leave 1 inch (2.5 cm) of headspace from the top of the jar to the top of the food/liquid. This headspace is essential for proper sealing and to allow for food expansion during processing.
Sealing and Loading for Processing
Once filled, use a non-metallic tool (like a plastic spatula or de-bubbler) to remove any trapped air bubbles from the jars. Gently press the mixture to release air, then recheck the headspace and add more hot broth if necessary. Wipe the rims of each jar thoroughly with a clean, damp cloth to remove any food particles, which could prevent a proper seal. Place the new, clean lids on the jars, followed by the bands, tightening them “fingertip-tight.” This means tightening until you feel resistance, then giving it just a slight extra turn – do not overtighten.
The Pressure Canning Process
Using a jar lifter, carefully place the prepared jars into your preheated pressure canner. Ensure the jars are not touching each other or the sides of the canner. Secure the canner lid in its locked position according to your canner’s instructions. Turn the heat to medium-high and allow steam to vent steadily from the vent pipe for a full 10 minutes. This critical step ensures all air is removed from the canner, creating a pure steam environment.
After venting, place the counterweight or weighted gauge onto the vent pipe. Increase the heat to bring the canner up to the required pressure: 10 lbs for a weighted gauge canner or 11 lbs for a dial gauge canner (adjust for altitude, see below). Once the target pressure is reached, begin your processing time. Process pint jars for 75 minutes and quart jars for 90 minutes. Maintain a consistent pressure throughout the entire processing time, adjusting heat as needed.
Cooling and Storage
When the processing time is complete, turn off the heat and allow the pressure canner to cool down naturally. Do not try to rush this process. Wait until the pressure gauge reads zero (or the weighted gauge can be easily removed without force) before attempting to open the canner. This typically takes 30-60 minutes. After the pressure has fully dropped, wait an additional five minutes, then carefully remove the canner lid, tilting it away from your face to avoid steam. Let the jars sit in the canner for another 10 minutes before removing them with a jar lifter.
Place the hot jars on a clean towel or cooling rack, ensuring there’s space between them for air circulation. Allow them to cool undisturbed for 12-24 hours at room temperature. During this time, you should hear a “ping” sound as the lids seal. After cooling, check all seals: press the center of each lid; if it doesn’t flex, the jar is sealed. Remove the bands, wipe the jars clean, label them with the contents and date, and store them in a cool, dark, dry place for up to one year. Any unsealed jars should be refrigerated and consumed within a few days.
Crucial Altitude Adjustments for Pressure Canning
Altitude plays a significant role in pressure canning safety. At higher elevations, water boils at lower temperatures. To compensate for this and ensure proper sterilization, you must increase the pressure in your canner. The processing times remain the same, but the required pressure changes. Always consult the most up-to-date guidelines from reputable sources like the USDA.
For Dial Gauge Pressure Canners:
- 0 to 2,000 feet in elevation – 11 lbs pressure
- 2,001 to 4,000 feet in elevation – 12 lbs pressure
- 4,001 to 6,000 feet in elevation – 13 lbs pressure
- 6,001 to 8,000 feet in elevation – 14 lbs pressure
For Weighted Gauge Pressure Canners:
- 0 to 1,000 feet in elevation – 10 lbs pressure
- Above 1,000 feet – 15 lbs pressure
Important Safety Considerations: What NOT to Can
The golden rule of home canning, especially with pressure canning, is adherence to tested recipes. This ensures that the food is safely processed and shelf-stable. When it comes to beef stroganoff, there are specific ingredients that are strictly prohibited from being canned within the jars:
- Flour and other Thickeners: Flour, cornstarch, or other thickening agents interfere with heat penetration during canning. They can clump together and create dense pockets where heat may not reach effectively, leading to unsafe conditions.
- Dairy Products: Sour cream, milk, cream, or other dairy products are not safe for pressure canning. The high-fat content and specific proteins in dairy can break down during the intense heat of canning, leading to an unpleasant texture and, more importantly, can create conditions that prevent proper heat transfer, compromising safety.
This is why all traditional stroganoff recipes, which typically include these ingredients, cannot be directly canned. Your home-canned beef stroganoff base must consist only of the beef, vegetables, and seasonings as outlined in the recipe, with the thickener and dairy added fresh at the time of serving.
Canning Leftover Stroganoff: A Risky Endeavor
While the idea of canning leftover meals might sound appealing for reducing food waste, it is generally not recommended, especially for complex dishes like beef stroganoff. Most traditional stroganoff recipes are cooked with flour, cream, or sour cream, which, as mentioned, are not safe for canning. Additionally, stroganoff is often served over noodles, which are also not approved for canning due to their density and potential for spoilage.
If you’ve cooked a stroganoff base without any canning-prohibited ingredients, it *might* be possible to can it, but determining if it meets safe canning guidelines without a tested recipe is extremely difficult and risky. To ensure safety and quality, it is always a better and safer practice to prepare a specific batch of beef stroganoff for canning, adhering strictly to a tested pressure canning recipe, rather than attempting to adapt leftovers.
Serving Your Delicious Home-Canned Beef Stroganoff
The beauty of home canning truly shines when it’s time to serve your meal. With the hard work of canning already done, preparing a delightful beef stroganoff from your jar is incredibly quick and easy. You’ll be amazed at how a few simple additions can transform your preserved base into a rich, creamy, and flavorful dish.
To serve, simply transfer the contents of one jar (or more, depending on your serving needs) into a saucepan. For a quart jar, whisk in 2 tablespoons (30 ml) of all-purpose flour until it is completely dissolved and no lumps remain. If you’re using pint jars, whisk in 1 tablespoon (15 ml) of flour per jar. Gradually bring the mixture to a gentle simmer over medium heat, stirring frequently, for about 10 minutes. This allows the flour to cook out and the sauce to begin thickening to your desired consistency. Once the sauce has thickened, remove the saucepan from the heat and stir in a generous tablespoon of fresh sour cream per jar. The residual heat will warm the sour cream through, creating that classic creamy texture without curdling.
One of the best attributes of beef stroganoff is its incredible versatility in serving. While traditionally served with egg noodles, you have a wealth of options to pair with your freshly prepared dish:
- Classic Egg Noodles: The most popular choice, providing a soft, absorbent bed for the rich sauce.
- Fluffy White Rice: Its neutral flavor provides a perfect contrast to the savory, umami-packed stroganoff sauce, allowing the beef’s flavor to truly shine.
- Creamy Mashed Potatoes: A comforting alternative to noodles, mashed potatoes offer a smooth texture that beautifully complements the tender beef and thick sauce.
- Crusty Bread: A warm, crusty baguette or sourdough loaf is excellent for soaking up every last drop of the delectable sauce.
- Steamed Vegetables: To add a fresh, healthy balance, serve alongside steamed green beans, asparagus, or broccoli.
- Pasta Varieties: Explore other pasta shapes like penne, fettuccine, or rotini for a different textural experience.

Canning Beef Stroganoff
Equipment
-
Pressure Canner
Ingredients
- 2 lb beef chuck roast, About 1 kg of boneless, trimmed and sliced into 2-inch (5 cm) pieces
- 1 cup mushrooms, sliced
- 1 cup onion, chopped
- 4 Tbsp tomato paste
- 2 tsp salt
- 1 tsp ground black pepper
- 2 tsp dried parsley
- 2 tsp dried thyme
- 2 cloves garlic, sliced
- 4 Tbsp Worcestershire sauce
- Beef broth or water
- *Flour to serve
- *Sour cream to serve
Instructions
-
Prepare the pressure canner and jars. Add a few inches (8 cm) of water to the pressure canner, depending on the instructions from the manufacturer, and allow it to heat up to 180 degrees Fahrenheit (82 degrees Celsius) on the stovetop.
-
Combine all of the ingredients (except flour, sour cream, and beef broth) in a large bowl. Mix well.
-
Fill one jar at a time, adding all the ingredients until the jars are full. If you have any room remaining, you can top off the jars with hot beef broth.
-
Make sure you leave an inch (2.5 cm) of headspace.
-
Remove the air bubbles, double-checking for headspace.
-
Wipe the rims of the jars to get rid of any food particles. Then, apply the lids and bands until they are fingertip tight.
-
Place the jars in a pressure canner that has two inches of simmering water. Put the lid on the canner and adjust it to the locked position.
-
Turn the heat on the stove to medium-high, then vent steam for 10 minutes.
-
Put the counterweight or weighted gauge on the vent. Bring the pressure to 10 lbs for a weighted gauge canner or 11 lbs for a dial gauge canner. Process the jars for 90 minutes for quarts or 75 minutes for pints.
-
When the jars have finished processing, turn off the heat, then allow the canner to come back down to zero pressure.
-
After five minutes, remove the lid, then let the jars cool for 10 minutes before you remove them from the canner.
-
Let them cool for another 24 hours at room temperature, then check the seals, label the jars, and store them for up to one year.
Notes
Altitude Adjustments for Canning Beef Stroganoff
With pressure canning, the processing times stay the same at higher altitudes, but the pressures change. Here are the altitude adjustments for pressure canning:
For dial gauge pressure canners:
- 0 to 2,000 feet in elevation – 11 lbs pressure
- 2,001 to 4,000 feet in elevation – 12 lbs pressure
- 4,001 to 6,000 feet in elevation – 13 lbs pressure
- 6,001 to 8,000 feet in elevation – 14 lbs pressure
For weighted gauge pressure canners:
- 0 to 1,000 feet in elevation – 10 lbs pressure
- Above 1,000 feet – 15 lbs pressure
Nutrition
Nutrition information is automatically calculated, so should only be used as an approximation.
Like this? Leave a comment below!
Explore More Home Canning Recipes
Expanding your home canning repertoire can be incredibly rewarding. If you enjoyed the process of canning beef stroganoff, you’ll love these other safe and delicious recipes designed for long-term storage.
Favorite Beef Canning Recipes
There’s more than one way to enjoy the convenience of beef in a jar! These beef canning recipes will keep your pantry well-stocked with hearty options:
- Canning Beef Stew: A complete meal in itself, perfect for a quick, warming dinner.
- Canning Ground Beef: Versatile and ready for tacos, chili, or casseroles.
- Canning Sloppy Joe Filling: A fun, family-friendly meal ready in minutes.
- Canning Chili con Carne: Your go-to for a flavorful and substantial chili fix.
- Canning Beef Pot Pie Filling: Create comforting pot pies with ease.
Convenient Meal-in-a-Jar Canning Ideas
For ultimate convenience, these meal-in-a-jar canning recipes streamline your cooking even further:
- Boston Baked Beans: A classic side or main dish with deep, rich flavors.
- Thai Curry Duck (or Chicken): Exotic flavors canned for a quick global meal.
- White Bean Chicken Chili: A lighter, yet satisfying chili option.
- Cajun Red Beans and Sausage: Bring a taste of Louisiana to your table effortlessly.
Diverse Meat Canning Recipes
If you’re working with other types of meat, broaden your horizons with these tried-and-true meat canning recipes:
- 20+ Chicken Canning Recipes: A comprehensive collection for all your chicken preservation needs.
- Canning Leftover Turkey: Make your holiday leftovers last longer.
- Canning Chicken Chili Verde: A vibrant and tangy chili for a change of pace.
- Canning White Bean Chicken Chili: Another great option for chicken lovers.
- Canning Chicken Soup: Homemade goodness ready for sick days or chilly evenings.
Mastering the art of canning beef stroganoff is a fantastic step toward greater self-reliance and culinary convenience. With these detailed instructions and safety tips, you can confidently fill your pantry with delicious, ready-to-serve meals, ensuring that a comforting bowl of stroganoff is always within reach.