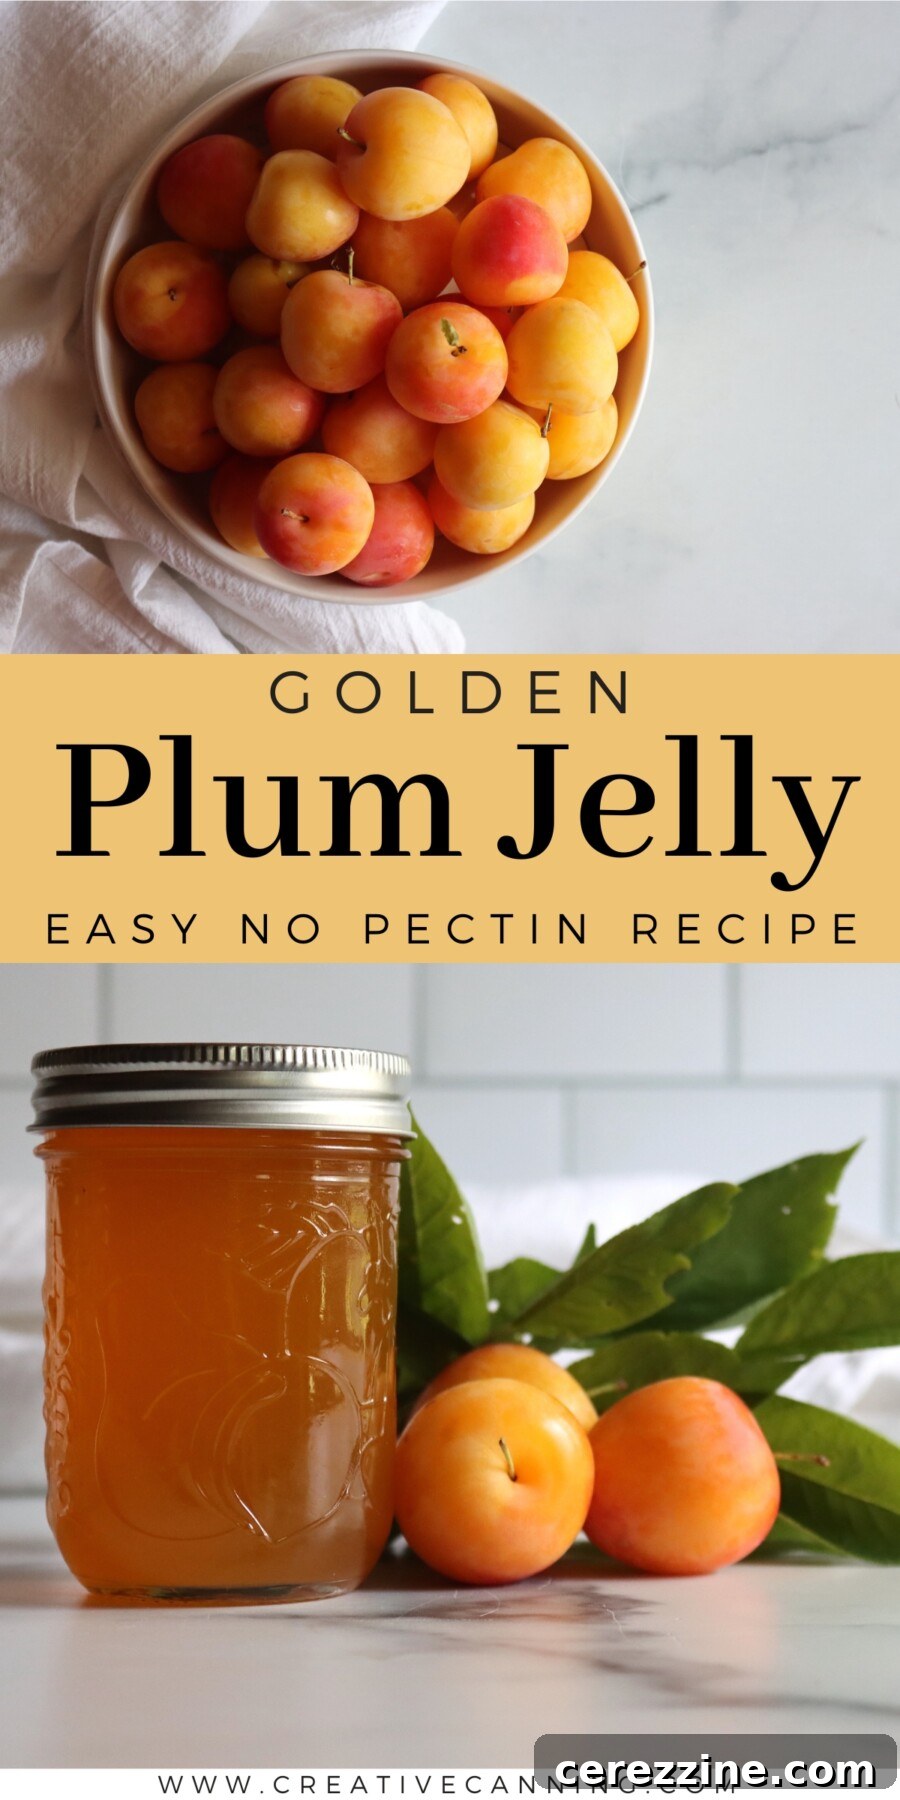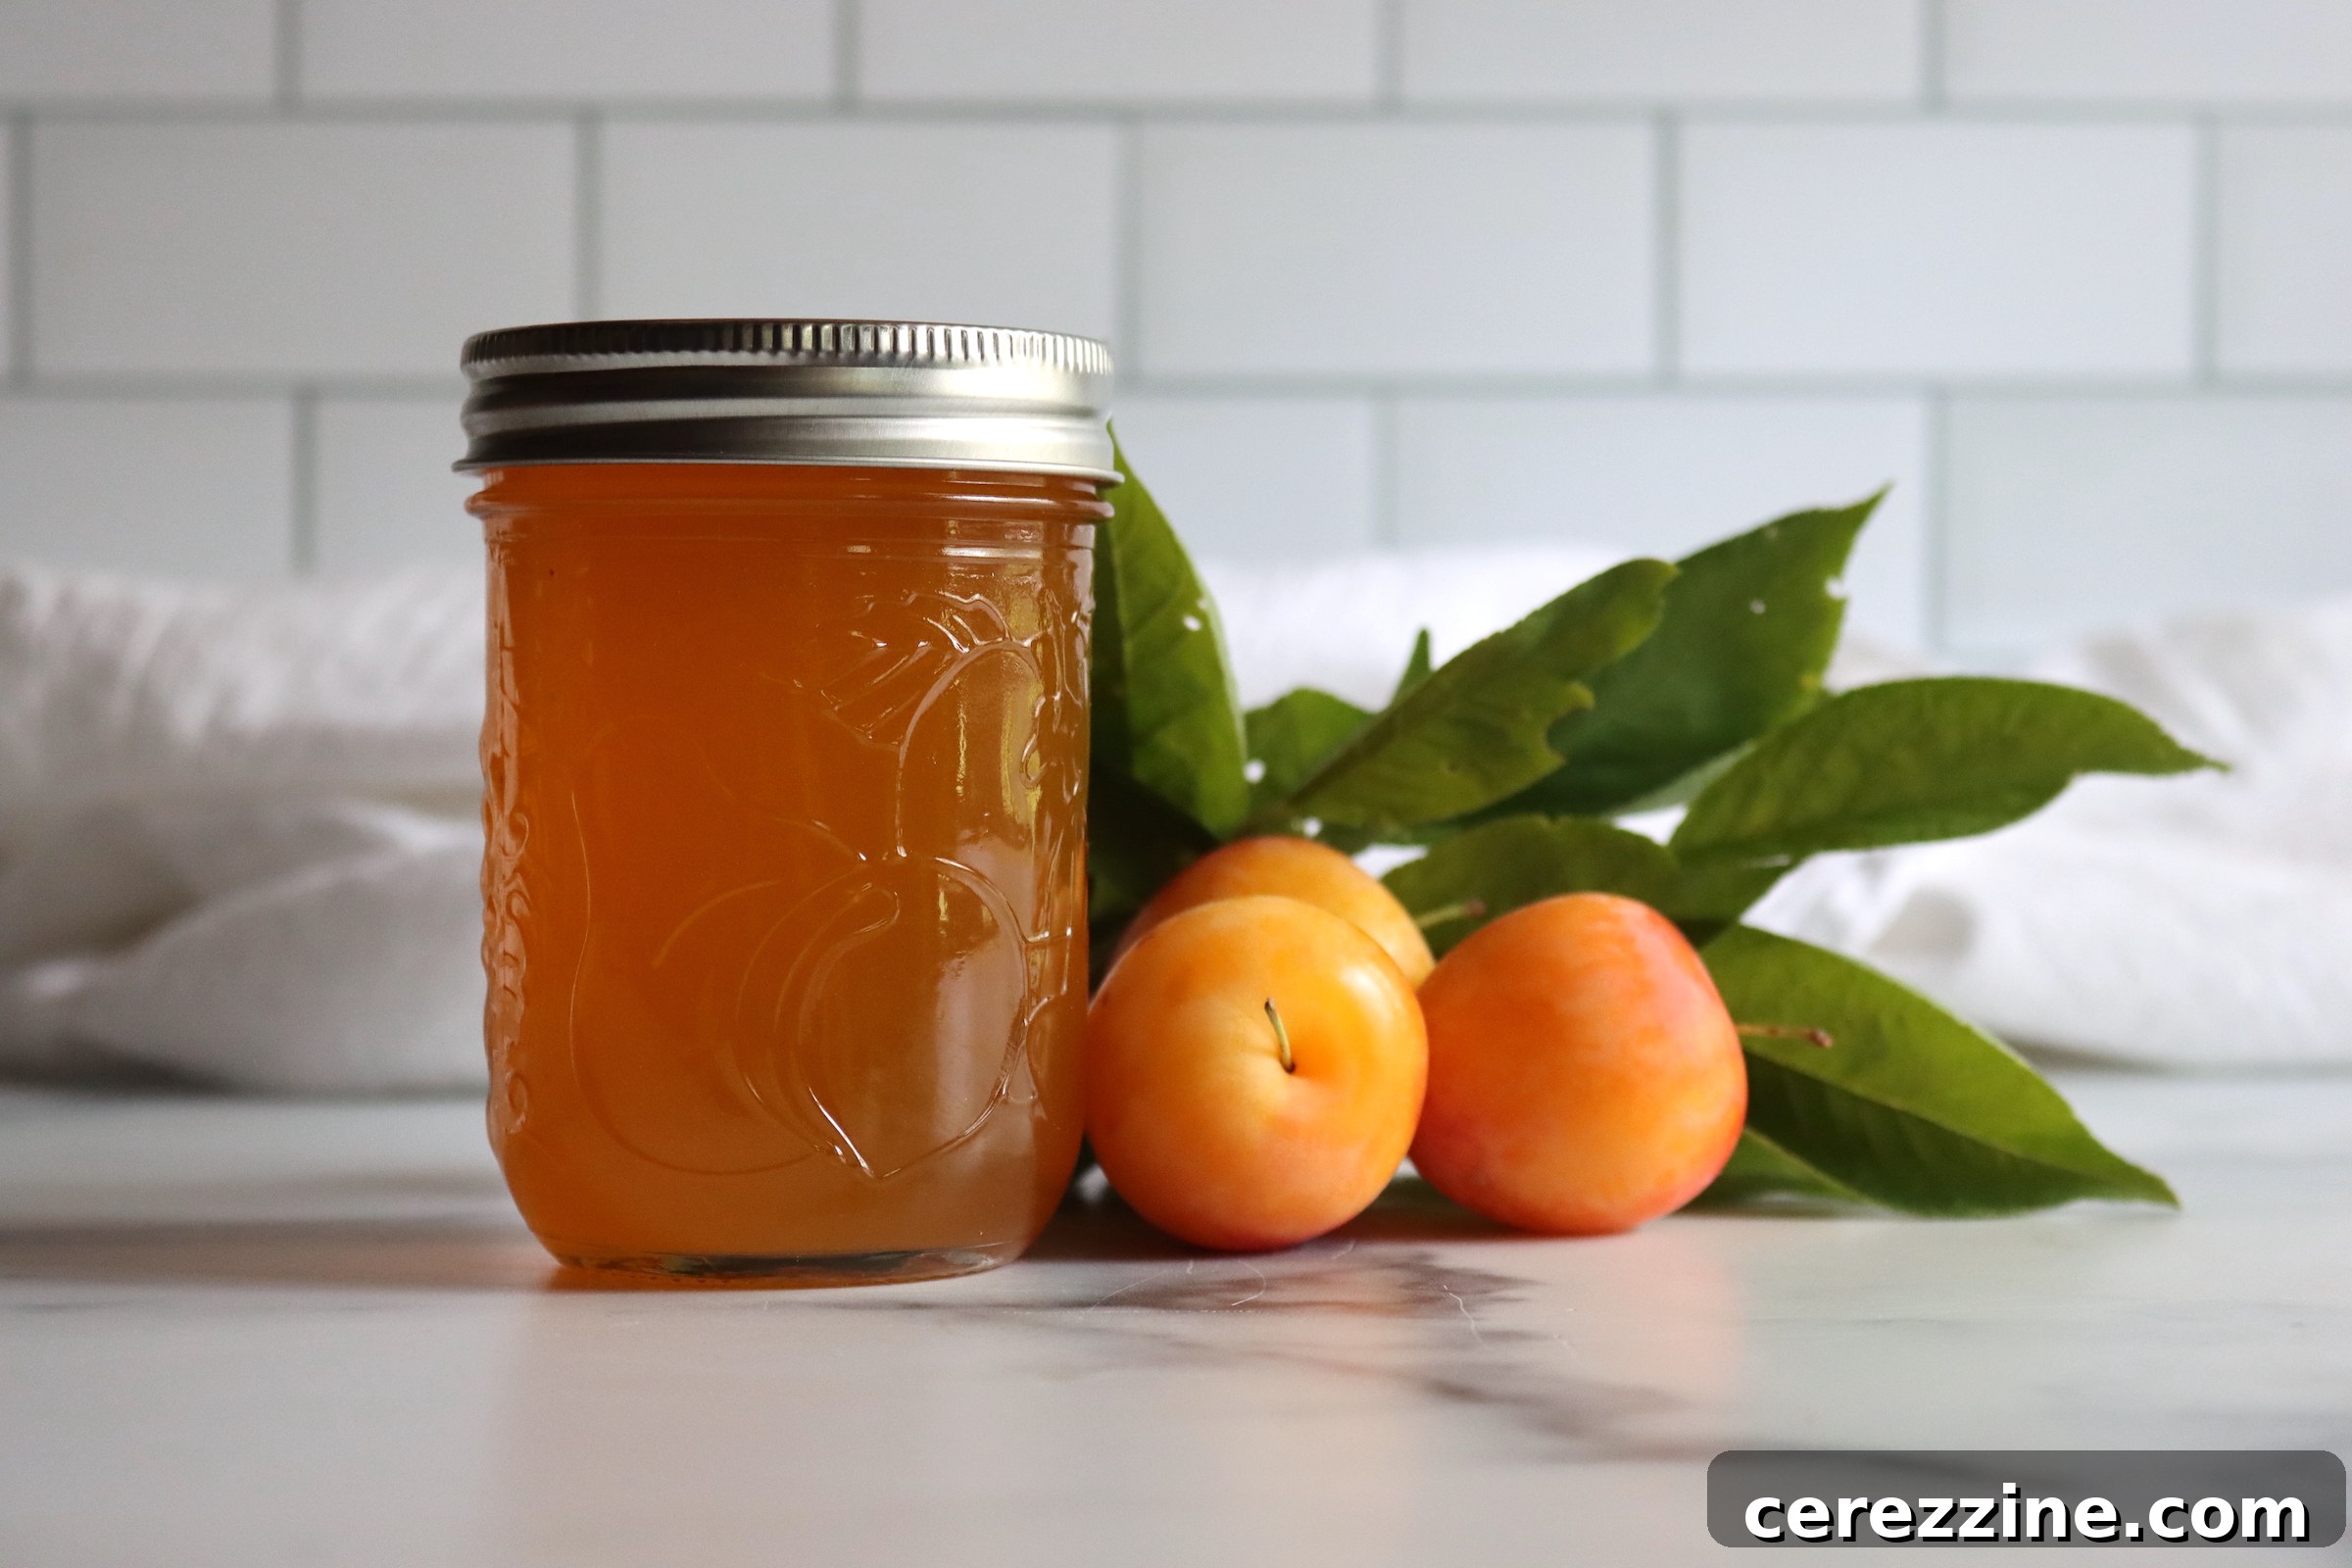
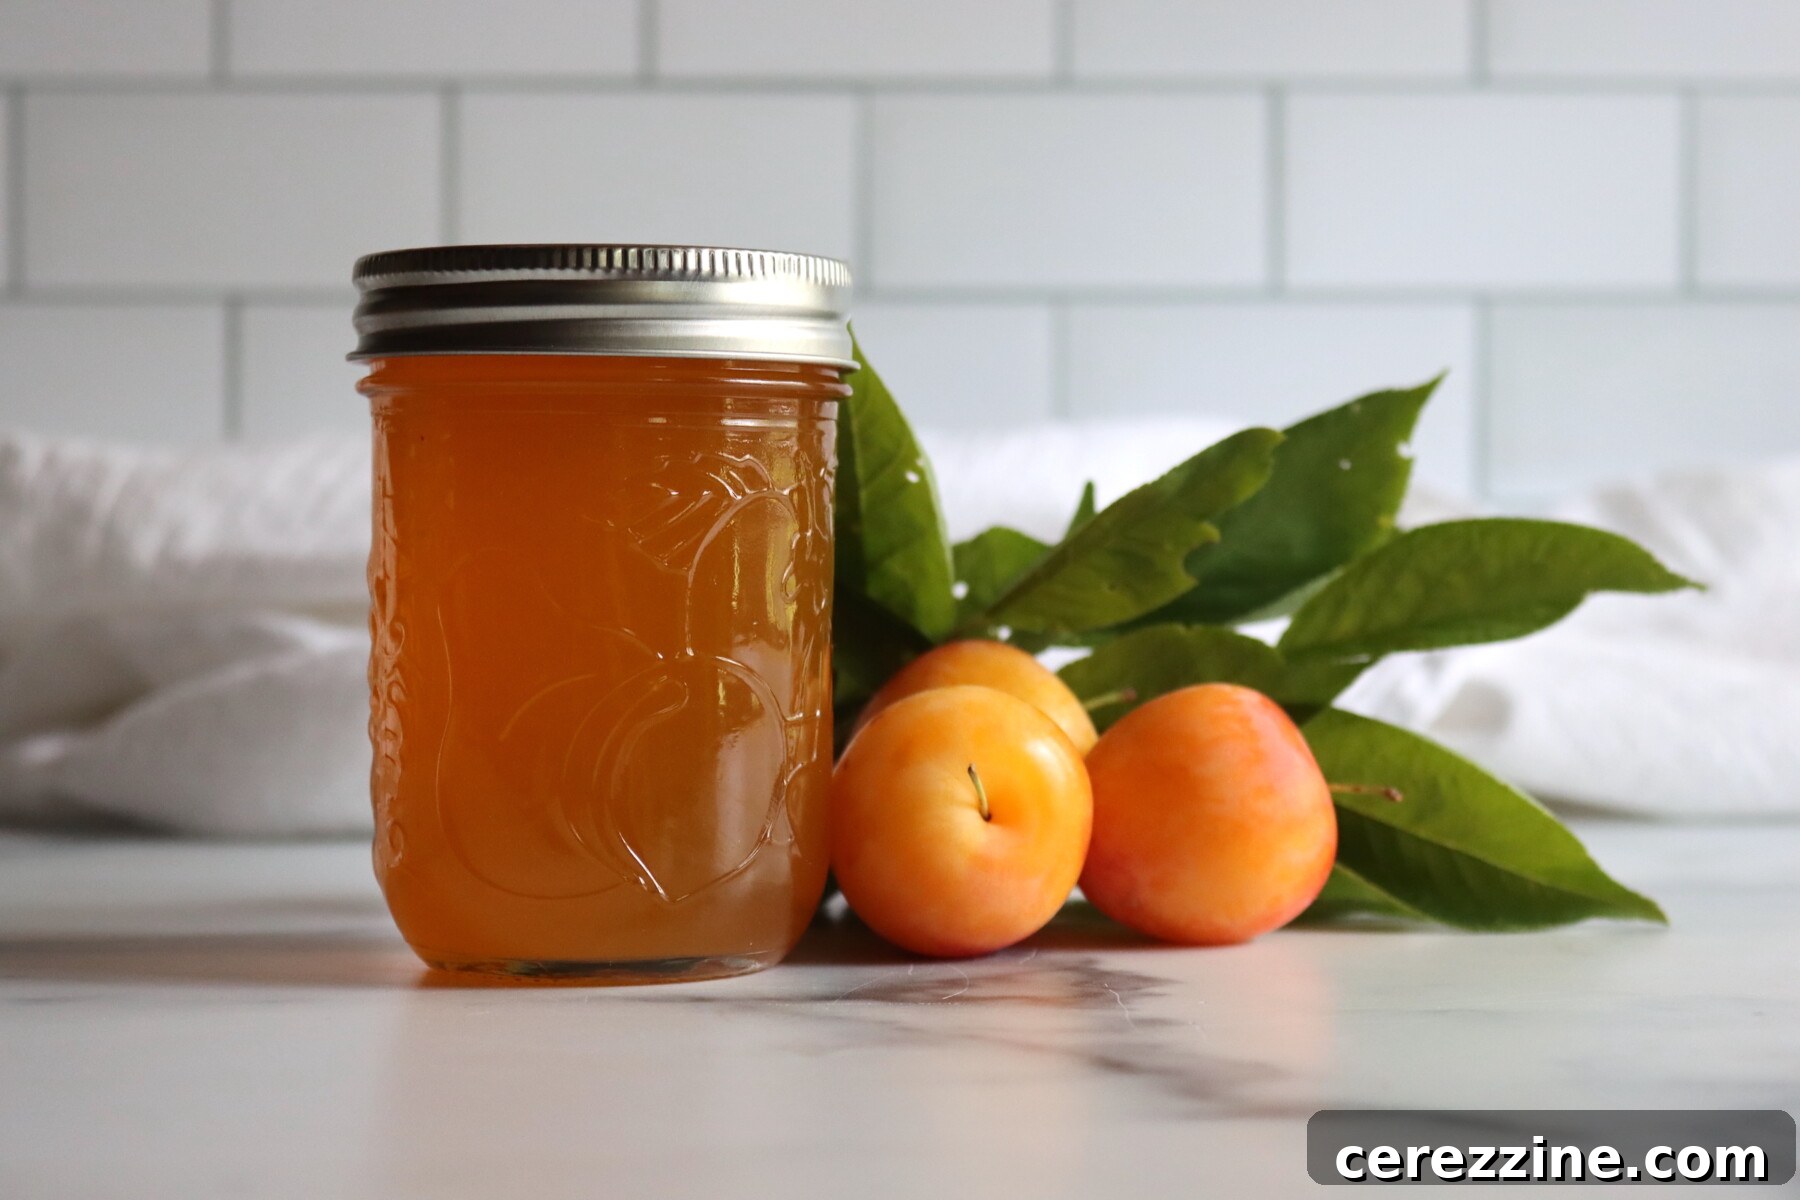
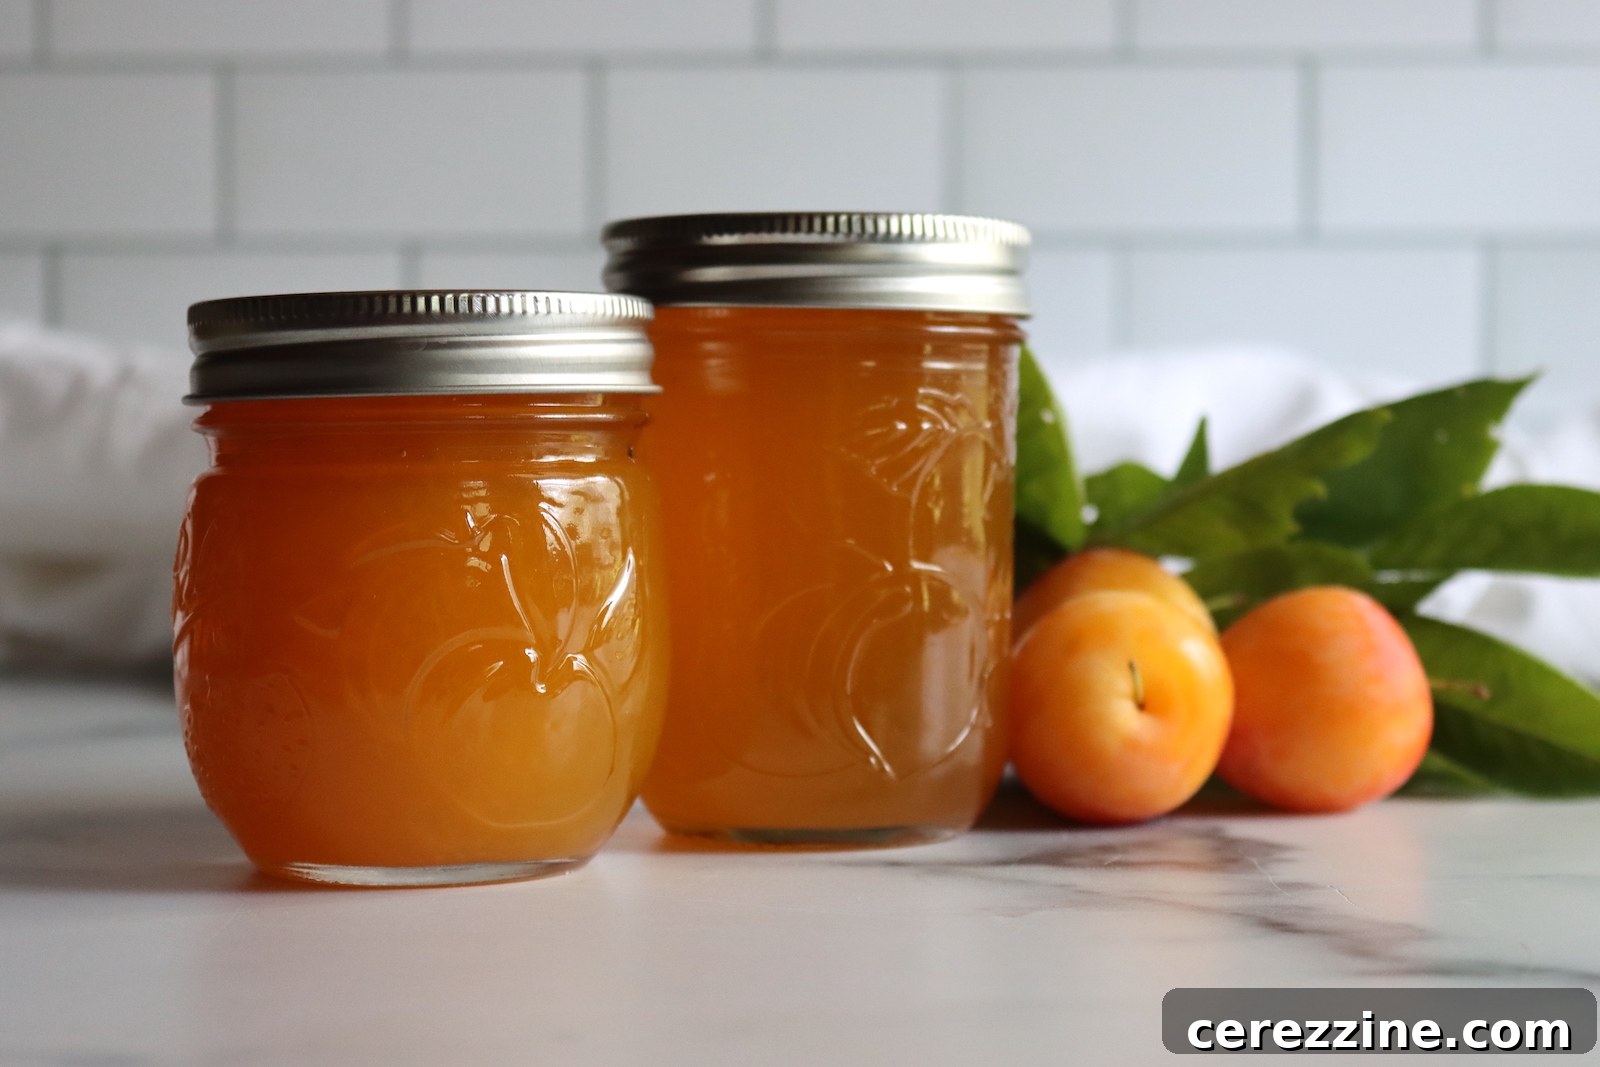
Yellow plum jelly captures the honeyed, golden flavor of ripe yellow plums in a clear, glossy spread that brightens toast, biscuits, and cheese boards long after plum season ends. If you have a tree or a market haul of extra yellow plums, making jelly is a lovely way to preserve that delicate flavor for months.
This recipe uses no added pectin: the jelly relies on the fruit’s natural pectin and careful reduction of the juice, producing a pale amber jelly with a soft, delicate set and pure plum flavor. It’s the kind of jar you rarely find in stores, and a few jars make thoughtful gifts when plums are in season.
This recipe has been reviewed for safety and accuracy by a Master Food Preserver certified through the University of Cornell Cooperative Extension.
Adapted from trusted home-preservation sources, the method works with any plum variety. Yellow or golden plums yield a lighter, gentler jelly compared with the tart intensity of purple or red plums. The technique concentrates the juice first to bring pectin and flavor together, then finishes with sugar boiled to the gel point.
Because yellow plums are slightly lower in acid and pectin than darker varieties, expect a softer set—that’s normal. Plums remain acidic enough for safe processing in a boiling water bath, so no added lemon juice is required.
Notes from My Kitchen

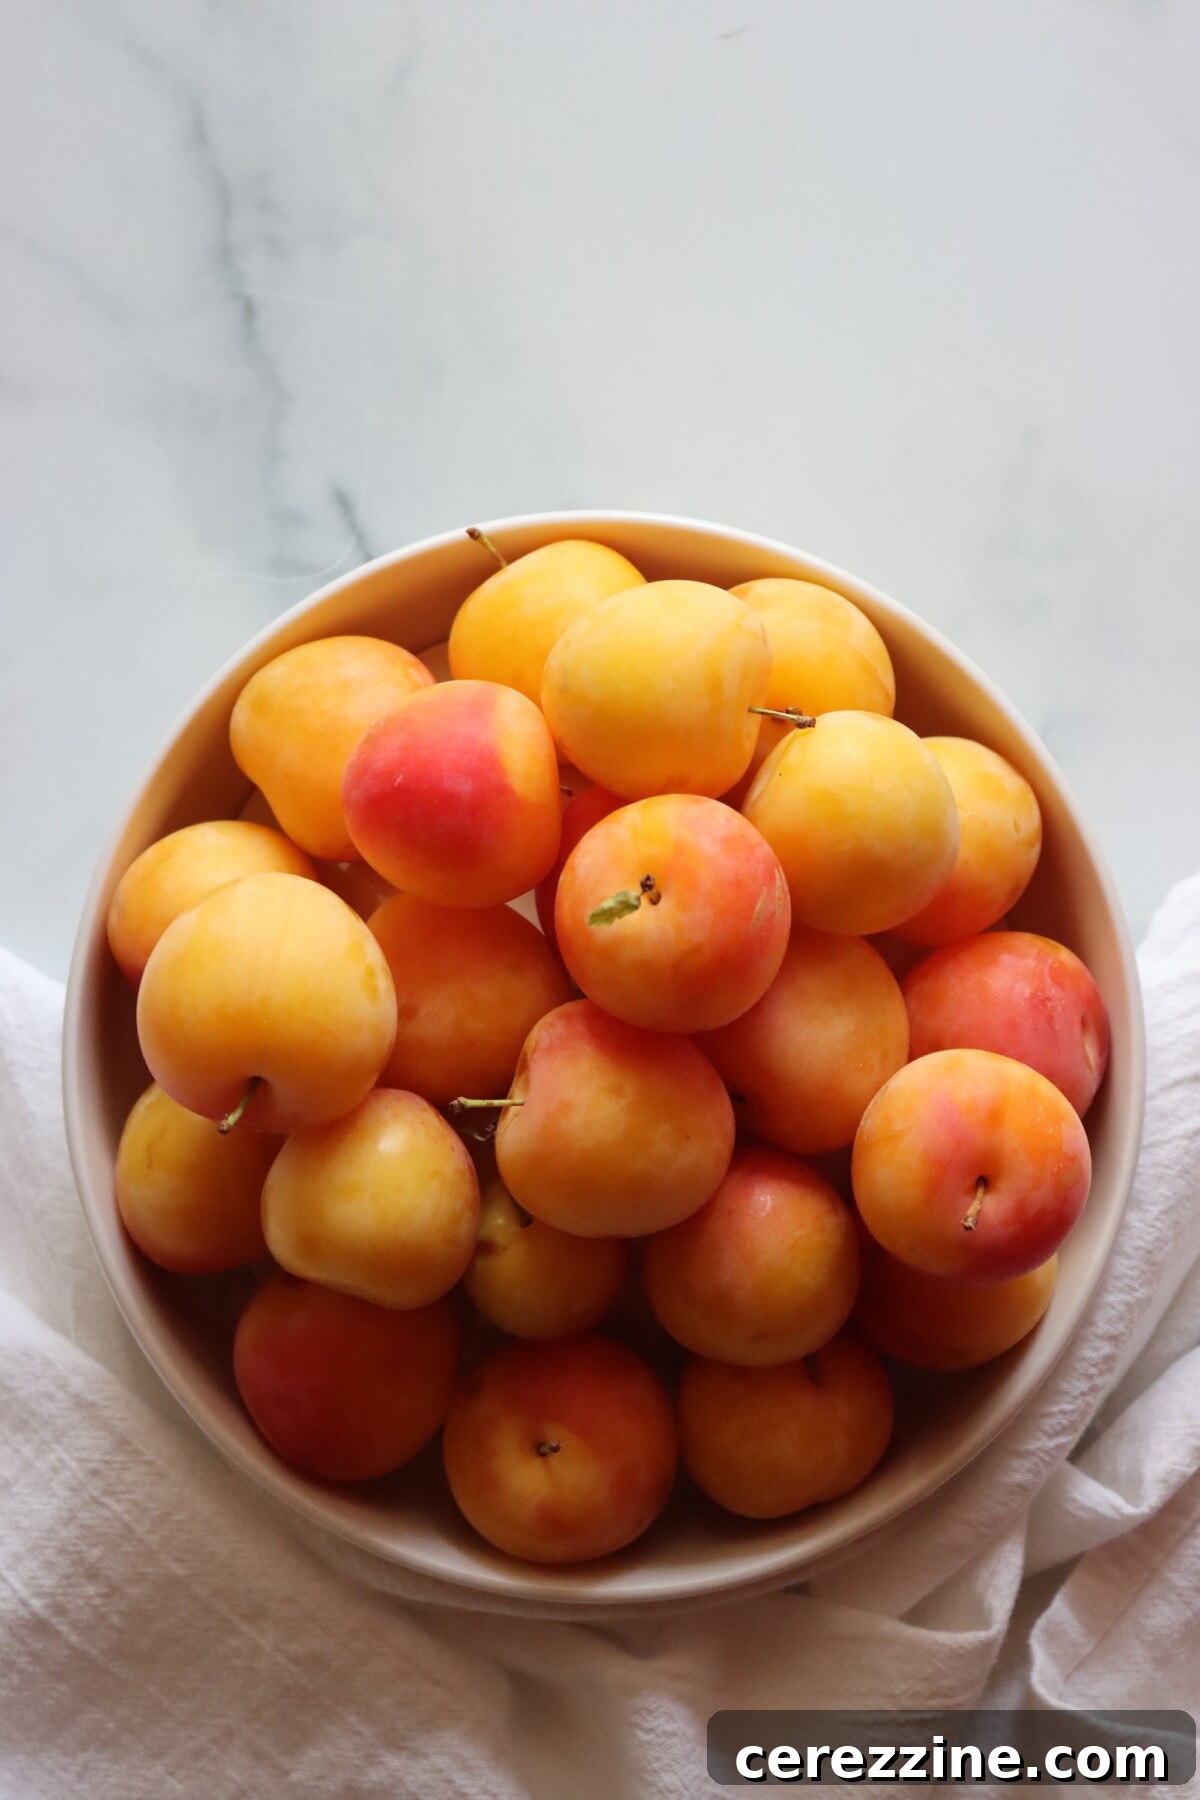
Each summer we get a short run of yellow plums, and they vanish quickly fresh from the counter. When I finally had enough to preserve, I made jam and, on a whim, a batch of jelly. The jelly’s soft, rounded flavor and pale amber color made it an instant favorite. Now I usually make both jam (with fruit pieces) and the smooth jelly so everyone is happy.
A Quick Look at the Recipe
- Recipe Name: Yellow Plum Jelly
- Recipe Type: Jelly
- Canning Method: Water bath canning
- Prep Time: About 30 minutes active, plus 2–3 hours (or overnight) straining time
- Cook Time: 30–45 minutes, depending on reduction
- Canning Time: 10 minutes for half-pints or pints (adjust for altitude)
- Yield: About 4–6 half-pint jars, depending on juice extraction
- Jar Sizes: Half pints or pints
- Headspace: 1/4 inch
- Ingredients Overview: Yellow plums, water, and sugar (no added pectin)
- Difficulty: Moderate—juice extraction and watching for gel point require patience
Ingredients for Yellow Plum Jelly
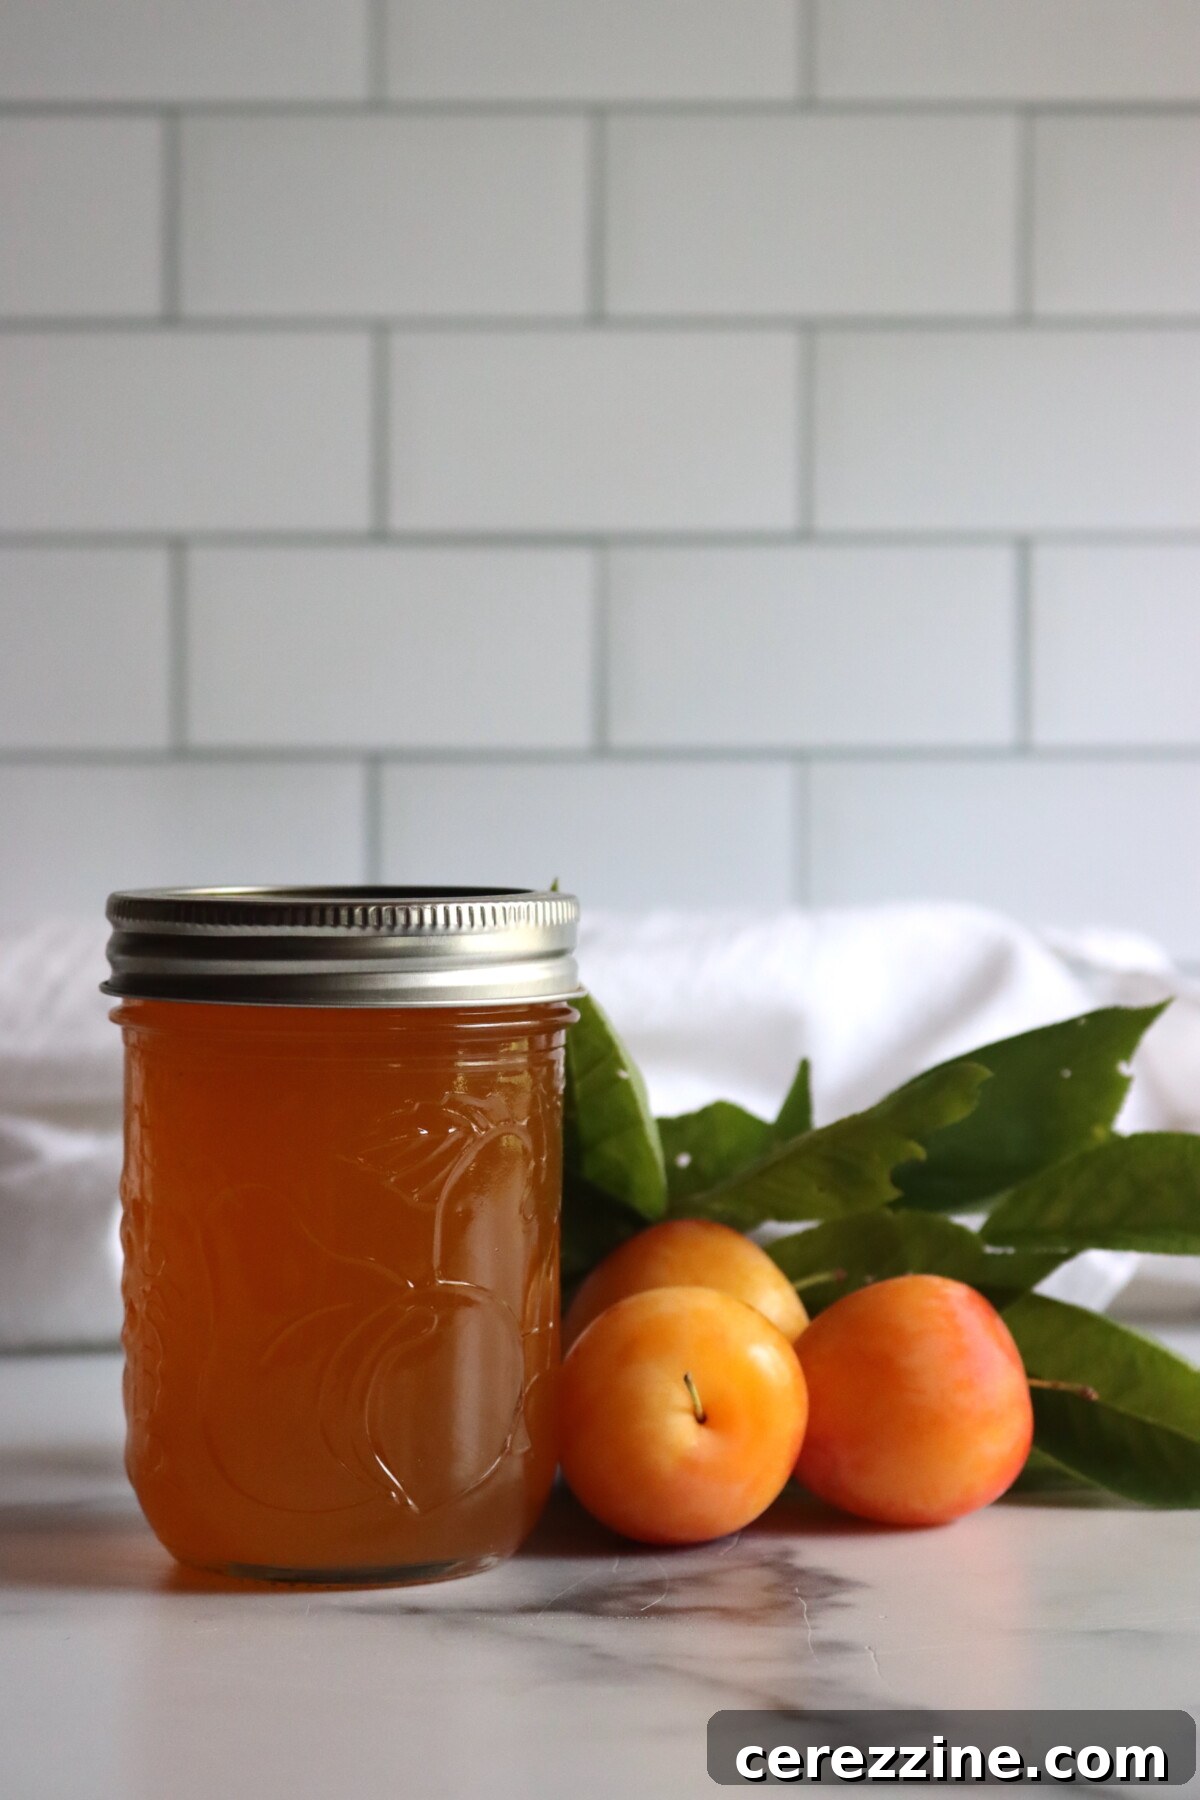
This recipe uses ratios so you can scale to the quantity you have. Use 1/2 cup water per pound of plums to start, and 3/4 cup sugar for each cup of juice you extract.
- Yellow plums: Any golden variety works—choose fruit that’s ripe but still slightly firm for the best flavor. Overripe plums give cloudier juice; slightly underripe plums add pectin if you want a firmer set.
- Water: About 1/2 cup per pound of plums to help draw juice and prevent scorching.
- Sugar: 3/4 cup sugar per cup of extracted juice. Sugar sweetens and helps the jelly set; don’t reduce it without switching to an added-pectin method.
Because there’s no commercial pectin, the set depends on the fruit and how well you concentrate the juice. Yellow plums usually yield a softer set; if you prefer a firmer, more predictable gel or want to cut sugar, use a tested added-pectin recipe instead.
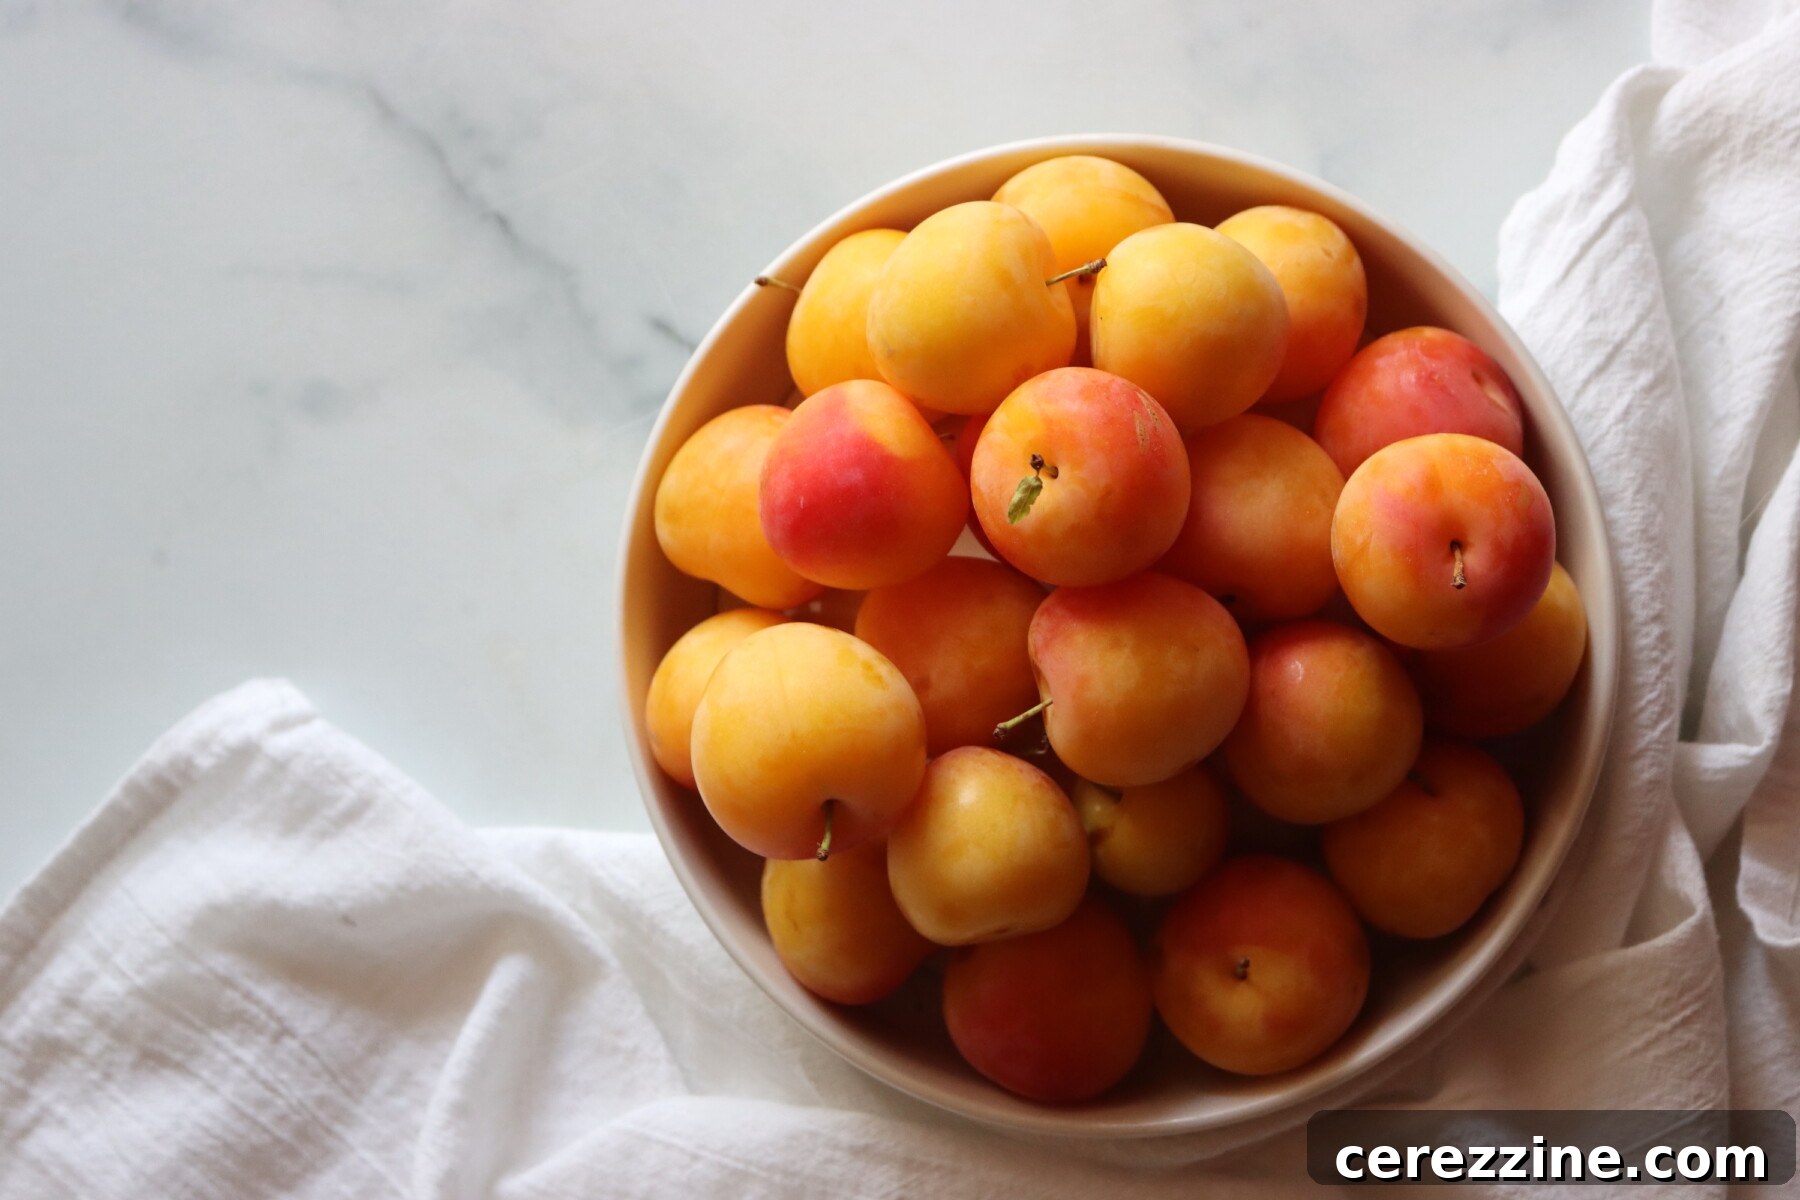
How to Make Yellow Plum Jelly
Making jelly without pectin is two steps: extract the juice, then cook that juice with sugar to the gel point. It takes a bit more time than using pectin, but each step is straightforward.
Prepare the Plums
Wash the plums and remove stems. You don’t need to pit them because you’ll strain the cooked fruit. Halve or roughly crush the plums to help them release juice during cooking. Place them in a large, heavy-bottomed pot to avoid scorching.
Extract the Juice
Add the measured water to the pot, cover, and bring to a boil over high heat. Reduce to a simmer and cook 15–20 minutes, stirring occasionally, until the fruit is very soft and breaking down. Press gently with the back of a spoon if needed to help release juices.
Strain the Juice
Pour the cooked fruit through a jelly bag or a colander lined with damp cheesecloth set over a large bowl. Let the juice drip for 2–3 hours, or refrigerate and let it drip overnight. For the clearest jelly, don’t squeeze the bag; squeezing increases yield but adds fine pulp and causes cloudiness.
Add Sugar and Cook to the Gel Point
Measure the juice and calculate sugar at 3/4 cup per cup of juice. Stir the sugar into the juice until dissolved, then bring to a vigorous rolling boil over high heat, stirring constantly. Boil until the mixture reaches 220°F at sea level or until it sheets off a metal spoon. The sheeting test: dip a cold metal spoon into the hot jelly and hold it sideways—when the drips join and slide off in a sheet instead of separate drops, it’s ready.
Boiling to gel usually takes about 15 minutes but can vary with fruit pectin and stove differences.
Fill the Jars
Remove the pot from heat and skim off any foam. While the jelly is hot, ladle it into prepared jars leaving 1/4 inch headspace. Wipe the rims, apply lids and bands, and tighten to fingertip snug.
Setting Notes
Jelly without added pectin sets at about 220°F at sea level, approximately 8°F above water’s boiling point. That target temperature falls by about 1°F per 500 feet elevation; use the sheeting test if you’re unsure of your local boiling point. Yellow plums naturally give a softer set; the cold plate test (place a spoonful on a chilled plate, wait, then push—if it wrinkles, it’s set) helps confirm doneness.
Canning Yellow Plum Jelly
If you want shelf-stable jars, process filled jars in a boiling water bath. Alternatively, unprocessed jelly will keep in the refrigerator for up to 3 weeks or in the freezer for about 6 months.
Preheat your water bath canner while making the jelly so it’s ready. Submerge jars with at least 1 inch of water above them and process half-pints or pints for 10 minutes. After processing, turn off the heat and let jars sit in the canner for 5 minutes before removing to reduce siphoning and cracked jars. Let jars cool undisturbed 12–24 hours; the jelly continues to set as it cools. Check seals before storing and refrigerate any jars that didn’t seal.
Altitude Adjustments
- 0 to 6,000 feet: 10 minutes
- Above 6,000 feet: 15 minutes
Yield Notes
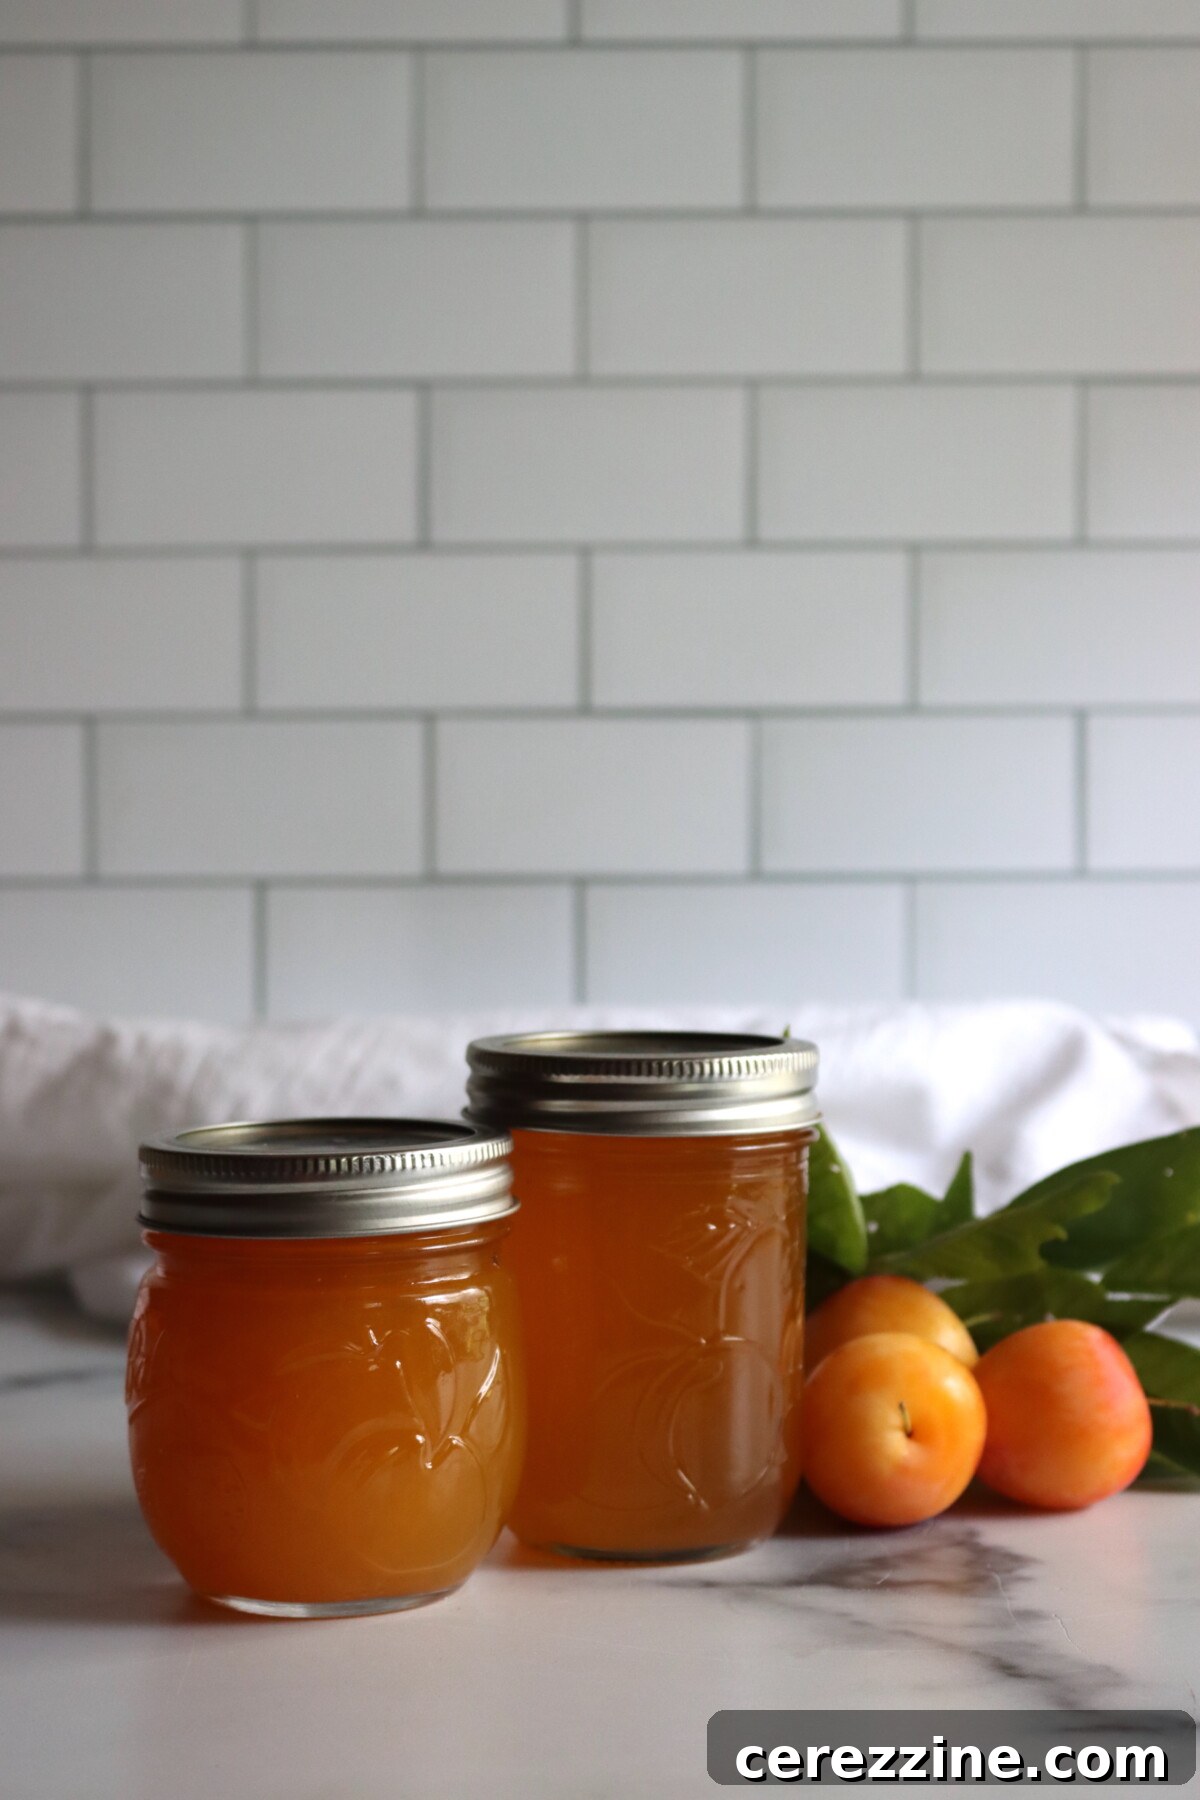
About 4 pounds of yellow plums typically yields 4–5 cups of juice, which will make roughly 4–6 half-pint jars of jelly after cooking and reduction. Yield varies with plum ripeness, how long you strain, and whether you press the bag for extra juice—so have a spare jar ready just in case.
Serving Ideas
Yellow plum jelly’s gentle flavor is versatile. Try it:
- At breakfast: Spread on warm toast, biscuits, or English muffins.
- With cheese: Pair with brie, chèvre, or cream cheese on crackers for a simple appetizer.
- As a glaze: Warm a few spoonfuls with a splash of vinegar or citrus and brush over pork or chicken near the end of cooking.
- In baking: Fill thumbprint cookies or layer in cakes for subtle fruit flavor.
- Swirled into yogurt: Stir a spoonful into plain yogurt and top with granola for an easy snack.
Yellow Plum Jelly FAQs
Yellow and golden plums are lower in acid and natural pectin than red or purple varieties, so jelly from them usually has a softer set. This is normal and doesn’t indicate a problem—flavor remains lovely but gentler.
Yes. Including roughly one-quarter slightly underripe plums with three-quarters ripe plums can increase natural pectin and firmer set. Avoid using fully green, hard fruit, which won’t have developed enough flavor.
No. Plums are naturally acidic enough for safe water bath canning, so this recipe does not require added lemon juice.
Allow up to two weeks for jelly made without pectin to fully set. If it’s still loose, you can remake it following troubleshooting steps—cook the juice down more before adding sugar or add commercial pectin. A soft jelly is still delicious spooned over ice cream, pancakes, or yogurt.
Plum Canning Recipes
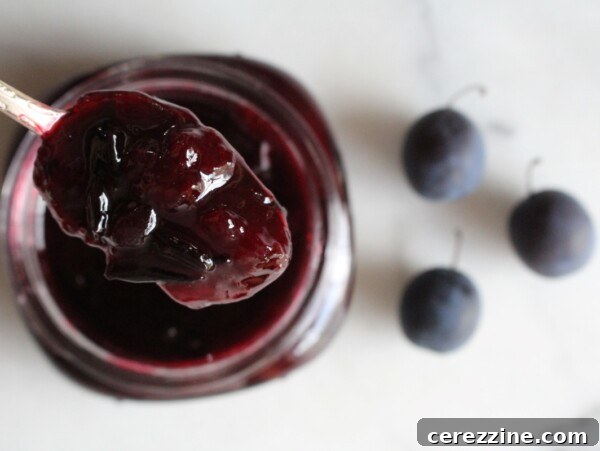
Damson Jam
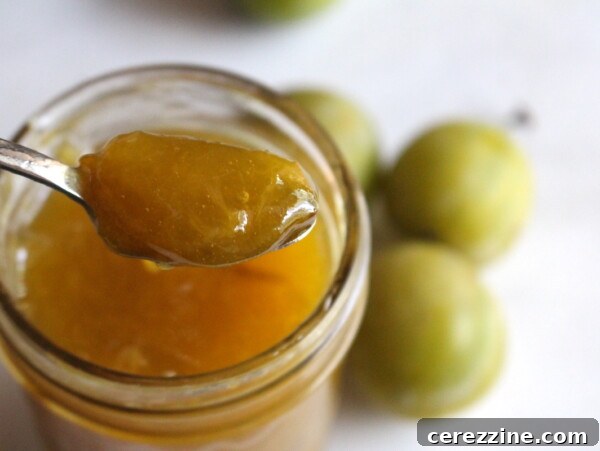
Greengage Jam
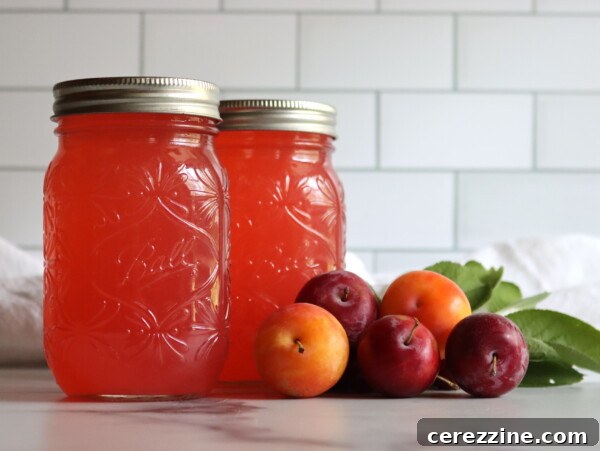
Canning Plum Lemonade Concentrate
If you tried this Yellow Plum Jelly recipe, leave a star rating and share your notes in the comments—feedback helps others and me!
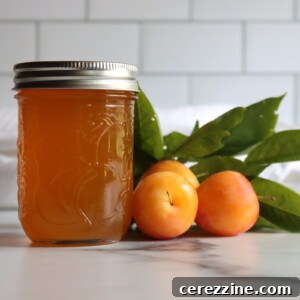
Yellow Plum Jelly
Equipment
- Water bath canner
- Canning jars, lids, and bands
- Large heavy-bottomed pot
- Jelly bag or cheesecloth
- Instant-read thermometer
- Canning funnel
Ingredients
For the Juice
- 4 lbs golden plums, ripe but firm
- 2 cups water (about 1/2 cup per pound of plums)
For the Jelly
- 4 cups plum juice (from above)
- 3 cups sugar (3/4 cup per cup of juice)
Instructions
- Wash plums, remove stems, and halve or crush slightly. No need to pit.
- Place plums and water in a large pot. Cover, bring to a boil, then simmer 15–20 minutes until very soft.
- Pour the cooked fruit through a jelly bag or cheesecloth-lined colander and let the juice drip 2–3 hours without squeezing for the clearest jelly.
- Measure the juice and add sugar at 3/4 cup per cup of juice. Stir until dissolved, then bring to a full rolling boil, stirring constantly.
- Boil until the jelly reaches 220°F at sea level or passes the sheeting test. This typically takes about 15 minutes but varies.
- Remove from heat, skim foam, and ladle hot jelly into jars leaving 1/4 inch headspace. Wipe rims, apply lids and bands.
- Process jars in a boiling water bath for 10 minutes (adjust for altitude). Turn off heat and let jars sit in the canner 5 minutes before removing. Let cool 12–24 hours, then check seals.
Notes
Golden plums yield a softer set than red or purple plums due to lower acidity and pectin; this is normal.
Scaling the Recipe
Use the ratio: 1/2 cup water per pound of plums and 3/4 cup sugar per cup of extracted juice.
For a Firmer Set
Use roughly 3/4 ripe plums and 1/4 slightly underripe plums to increase natural pectin, and reduce the juice more before adding sugar.
Yield Variation
Expect 4–5 half pints from 4 lbs of plums, though actual yield depends on extraction and reduction.
Altitude Adjustments
- 0 to 6,000 feet: 10 minutes
- Above 6,000 feet: 15 minutes
Nutrition
Nutrition information is an approximation.
Stone Fruit Canning Recipes
Sour Cherry Jam
Nectarine Jam
Peach Butter
Find the perfect recipe
Searching for something else? Enter keywords to find the perfect recipe.