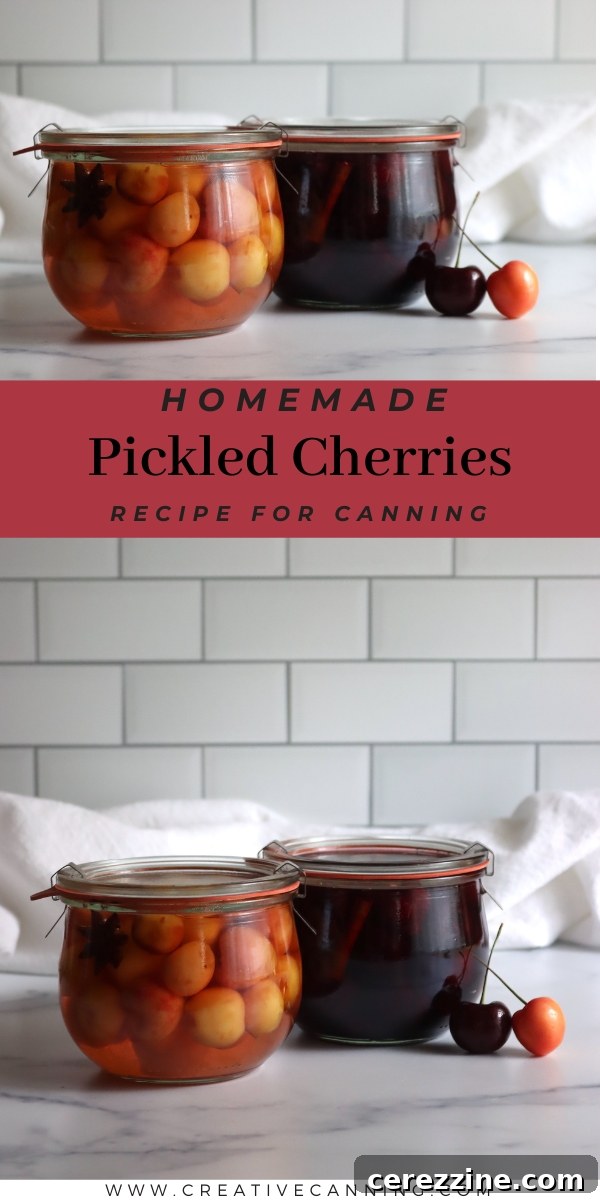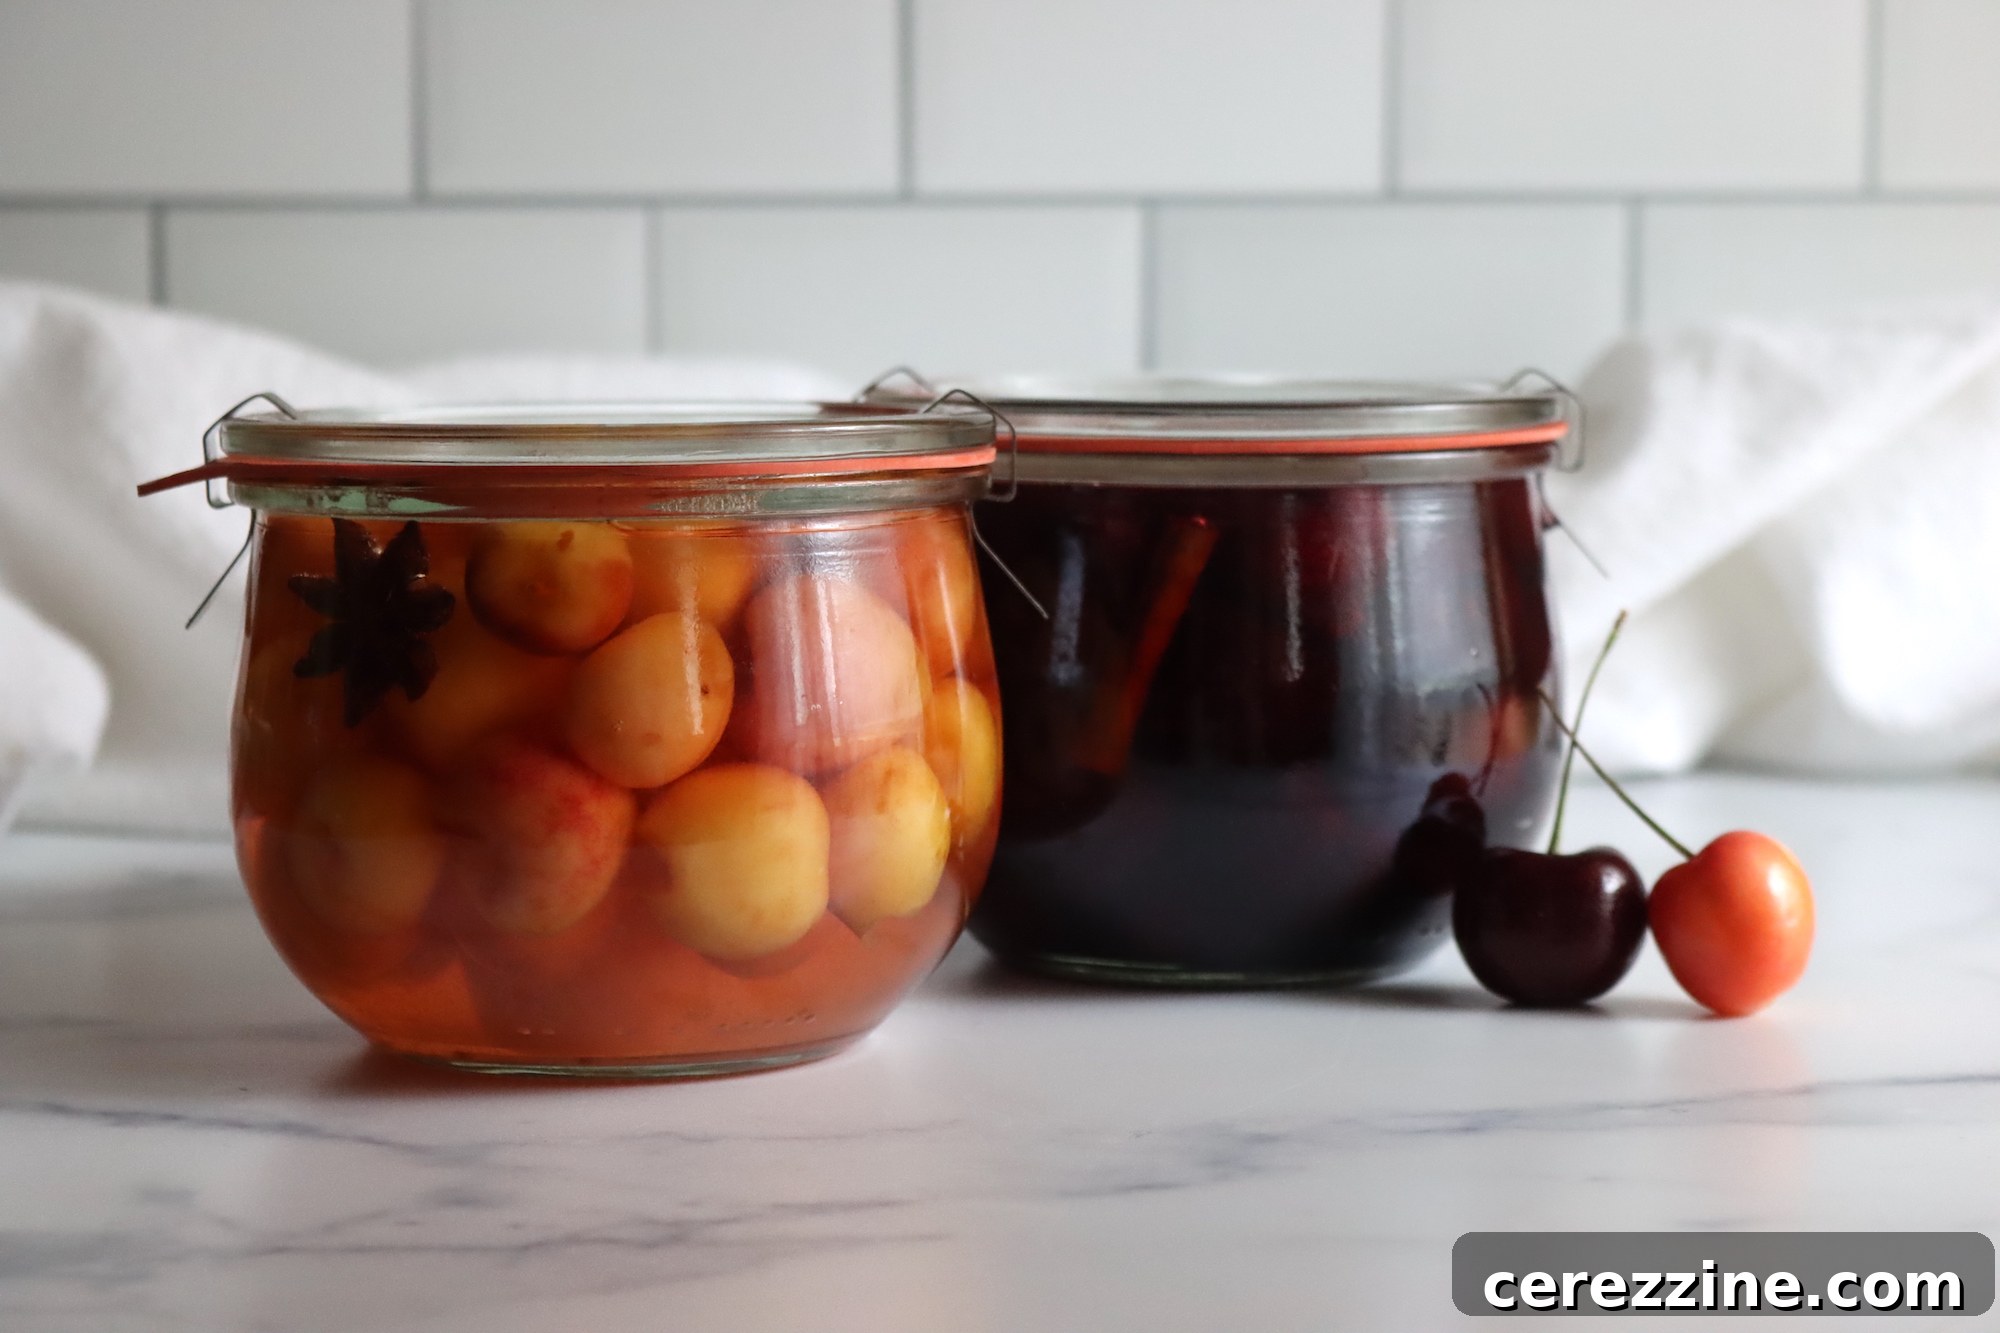
Experience a delightful burst of sweet and tangy flavors with homemade pickled cherries, a versatile delicacy perfect for elevating your culinary creations. Enjoy them straight from the jar, as a sophisticated addition to cocktails, paired with succulent roast meats, or as a unique topping for a dessert like ice cream!
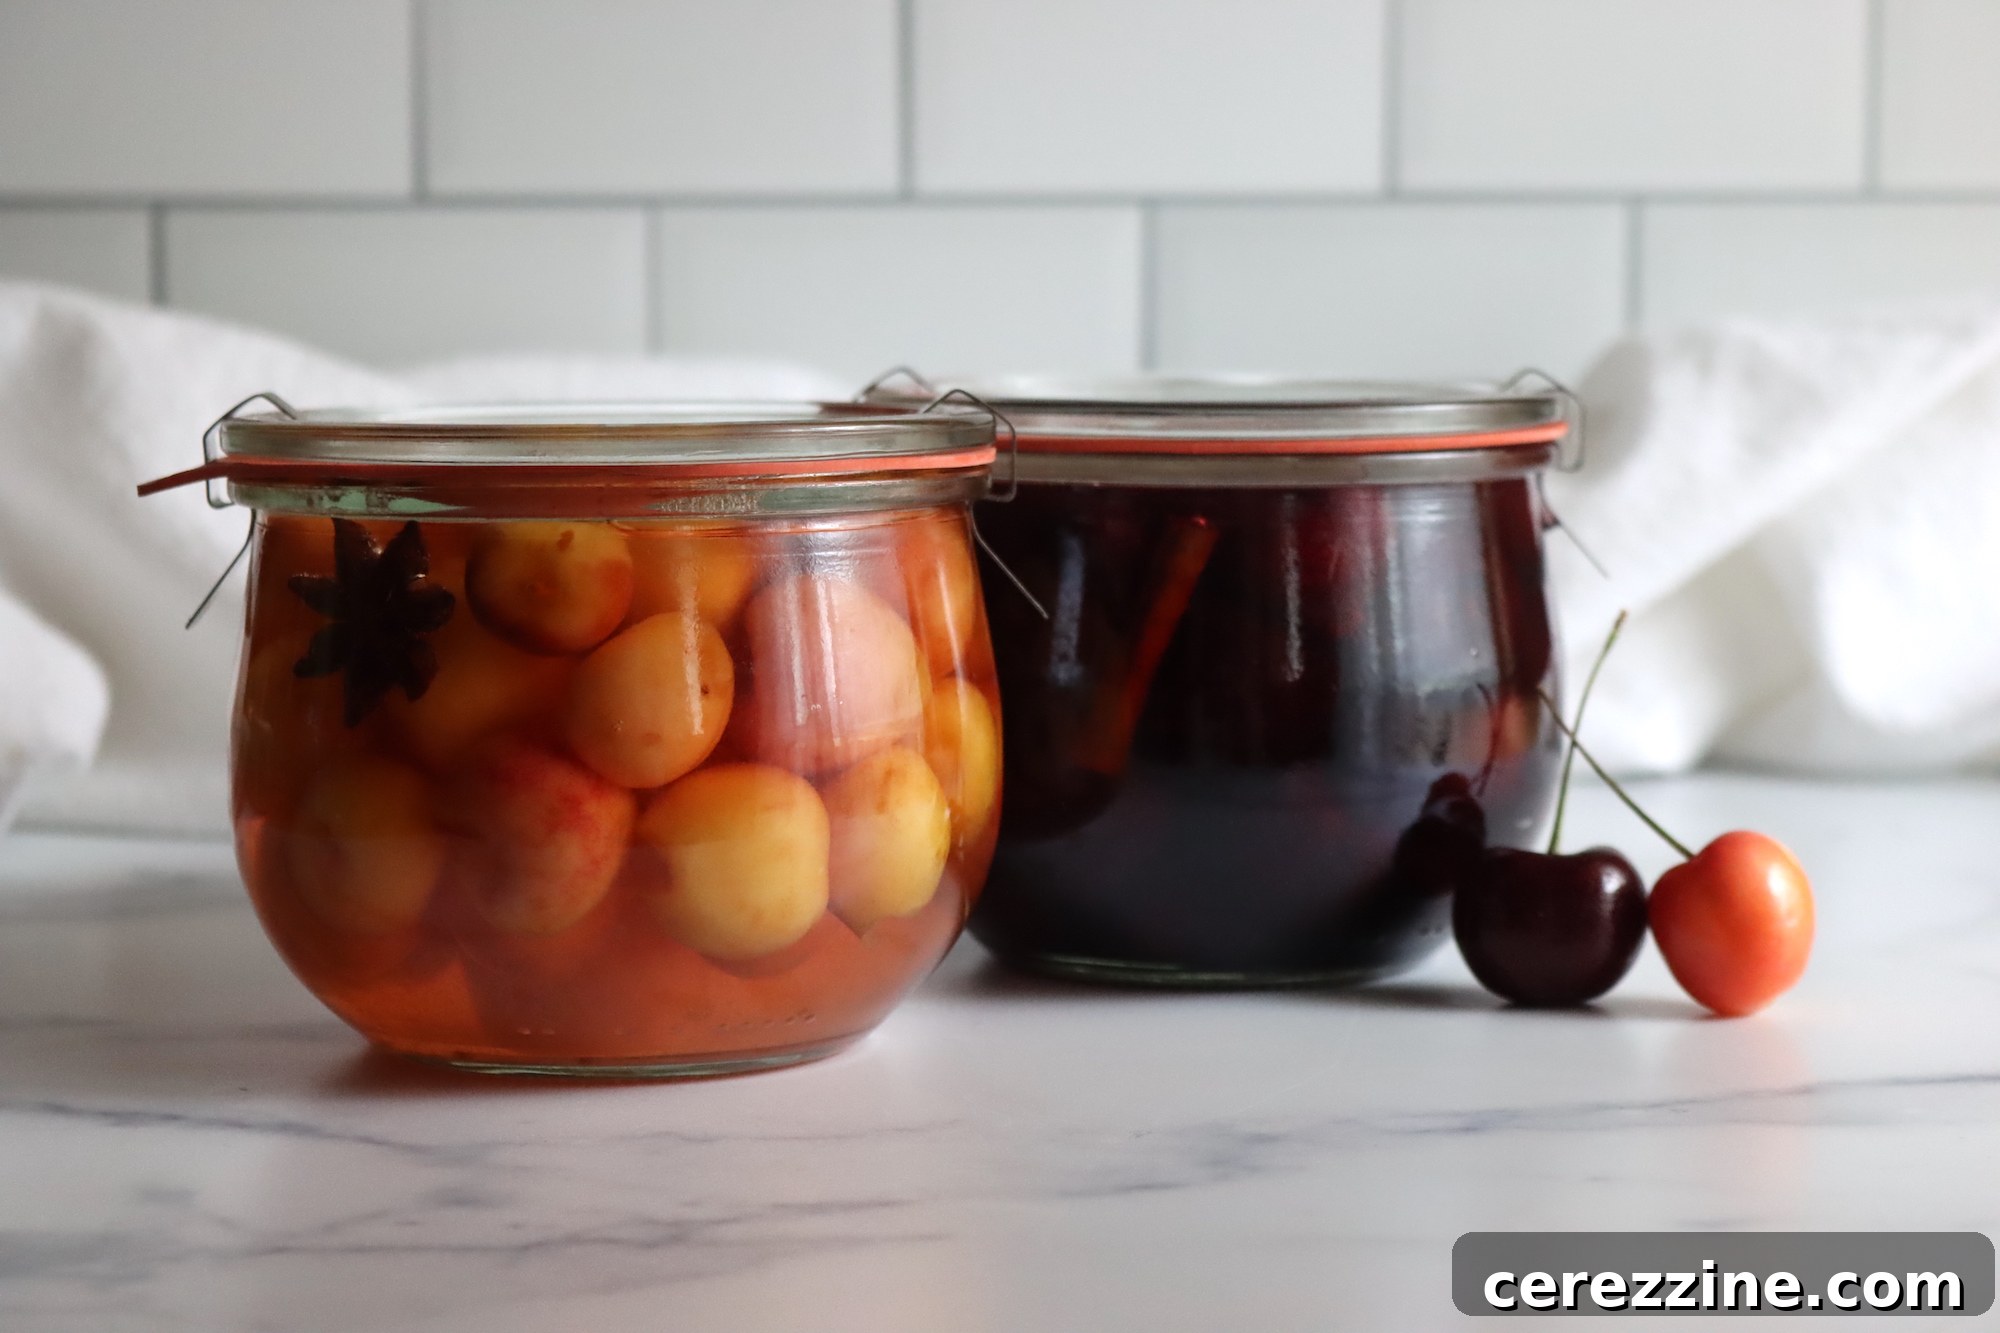
Have you ever indulged in the exquisite taste of pickled cherries? If not, prepare to discover a truly unique and irresistible treat that will transform your appreciation for this beloved summer fruit. Far more than just a sweet snack, pickled cherries offer a captivating blend of tartness and subtle spice, making them an incredible addition to both savory and sweet dishes.
Canning pickled cherries is an incredibly rewarding and straightforward method to preserve the abundance of fresh, juicy cherries when they are in season. This age-old technique not only extends their shelf life but also transforms their flavor profile, creating a gourmet ingredient that can be enjoyed year-round. Pickling is a time-honored tradition embraced by countless cultures globally, rooted in the simple yet profound process of immersing food in a brine of vinegar, sugar, and carefully selected spices. This method not only preserves but also infuses the fruit with complex, aromatic notes that are simply unparalleled.
One of the most appealing aspects of this pickled cherry recipe is its accessibility. You don’t need a pantry full of specialized canning equipment to get started. While a water bath canner provides a safe and reliable method for long-term shelf-stable storage, you can just as easily prepare these as delightful refrigerator pickles, requiring minimal fuss. This flexibility makes it an ideal project for both seasoned preservers and those new to the art of canning.
Why Pickle Cherries? A Culinary Delight
Beyond simple preservation, pickling cherries opens up a world of culinary possibilities. The vinegar-based brine tenderizes the fruit and imbues it with a distinctive sweet-sour profile that enhances their natural cherry flavor. The addition of warm spices like cinnamon, vanilla, cloves, and star anise elevates the cherries, making them an incredibly versatile ingredient. They offer a refreshing counterpoint to rich meats, a zesty kick to salads, and an unexpected depth to desserts and cocktails. Homemade pickled cherries also make for impressive edible gifts, showcasing your culinary prowess and thoughtfulness.
Essential Ingredients for Perfect Pickled Cherries
Crafting a batch of exquisite pickled cherries begins with a selection of fresh, high-quality ingredients. For a standard canner batch yielding approximately seven pint jars, you will need the following:
- 2 ½ cups (625 ml) White Vinegar: Ensure your vinegar has at least 5% acidity, which is crucial for safe water bath canning. White vinegar provides a clean, sharp tang that allows the cherry and spice flavors to shine without being overshadowed.
- 2 ¾ lbs (1.25 kg) Fresh Sweet Cherries: Opt for firm, ripe sweet cherries such as Bing, Rainier, or Chelan varieties. They should be thoroughly washed, carefully pitted, and stemmed. Choosing fresh, unblemished fruit is key to the texture and flavor of your finished product.
- 7 (3-inch/7.5-cm) Cinnamon Sticks: These provide a warm, sweet, and comforting spice note that beautifully complements the fruit.
- 1 Split Vanilla Bean: The rich, aromatic sweetness of vanilla adds a luxurious depth to the pickling liquid, creating an irresistible complexity.
- 2 cups (500 ml) Granulated Sugar: Sugar balances the tartness of the vinegar and cherries, contributing to the sweet-sour profile characteristic of pickled fruit.
- 2 Tbsp (30 ml) Pickling Salt: Specifically formulated without anti-caking agents or iodine, pickling salt ensures a clear brine and prevents discoloration of your cherries. Do not substitute with table salt.
- 7 Whole Cloves: Cloves offer a pungent, sweet, and somewhat woody aroma that pairs wonderfully with cherries and cinnamon.
- 7 Star Anise Pods: These distinctive, star-shaped pods impart a unique licorice-like flavor with a hint of pepper, adding an exotic touch to your pickled cherries.
While the spices listed here are highly recommended for their harmonious blend with cherries, feel free to customize your spice blend to suit your preference. You can experiment with other warm spices like allspice, cardamom pods, or even a touch of black peppercorns for a spicier kick. Alternatively, you can omit the spices entirely for a more straightforward tart cherry flavor. However, the carefully chosen combination of cinnamon, vanilla, clove, and star anise creates a truly unforgettable flavor profile that many find absolutely delightful.
Step-by-Step Guide to Making Pickled Cherries
The process of making pickled cherries is surprisingly simple, yet attention to detail ensures a high-quality, flavorful, and safe product. Follow these steps for perfect results:
1. Prepare Your Cherries
Begin by meticulously washing your fresh sweet cherries under cool running water. This removes any dirt or debris. Next, it’s crucial to pit and stem them. A specialized cherry pitter is the most efficient tool for this task, allowing you to remove the pit while keeping the cherry largely intact. If you don’t have a pitter, a large paper clip or a chopstick can be used for a similar effect, pushing the pit out from where the stem was. Take care to keep the cherries as whole as possible to maintain their appealing appearance and firm texture. Once all your cherries are prepped, set them aside in a clean bowl.
2. Craft the Flavorful Pickling Solution
In a durable stainless steel saucepan (stainless steel is non-reactive, preventing metallic flavors from leaching into your brine), combine the white vinegar, granulated sugar, and pickling salt. Next, carefully scrape the tiny, fragrant seeds from the split vanilla bean directly into the vinegar mixture, then add the empty vanilla bean pod itself. This ensures maximum flavor extraction. Bring this mixture to a rolling boil over medium-high heat, stirring continuously until both the sugar and salt are completely dissolved. Once dissolved, reduce the heat to a simmer to keep the brine hot until ready to use.
3. Pack the Jars with Care
Before packing, ensure your canning jars are sterilized and hot. Place one cinnamon stick, one star anise pod, and one whole clove into the bottom of each hot, clean pint jar. These aromatic spices will infuse the cherries with their distinct flavors as they pickle. Then, carefully pack the prepared cherries tightly into each jar, ensuring there’s about ½ inch (1 cm) of headspace from the rim of the jar. This space is essential for proper sealing during the canning process. Depending on their size, you’ll find approximately 12 cherries typically fill a pint jar.
4. Fill with Hot Pickling Liquid
Once the jars are packed with cherries and spices, remove the vanilla bean pod from the simmering pickling solution – you can discard it as its flavor has already been infused. Carefully ladle the hot pickling liquid over the cherries in each jar, maintaining the ½ inch (1 cm) headspace. Using a canning funnel can help prevent spills and ensure a cleaner rim, which is vital for a good seal.
Canning Pickled Cherries for Long-Term Storage
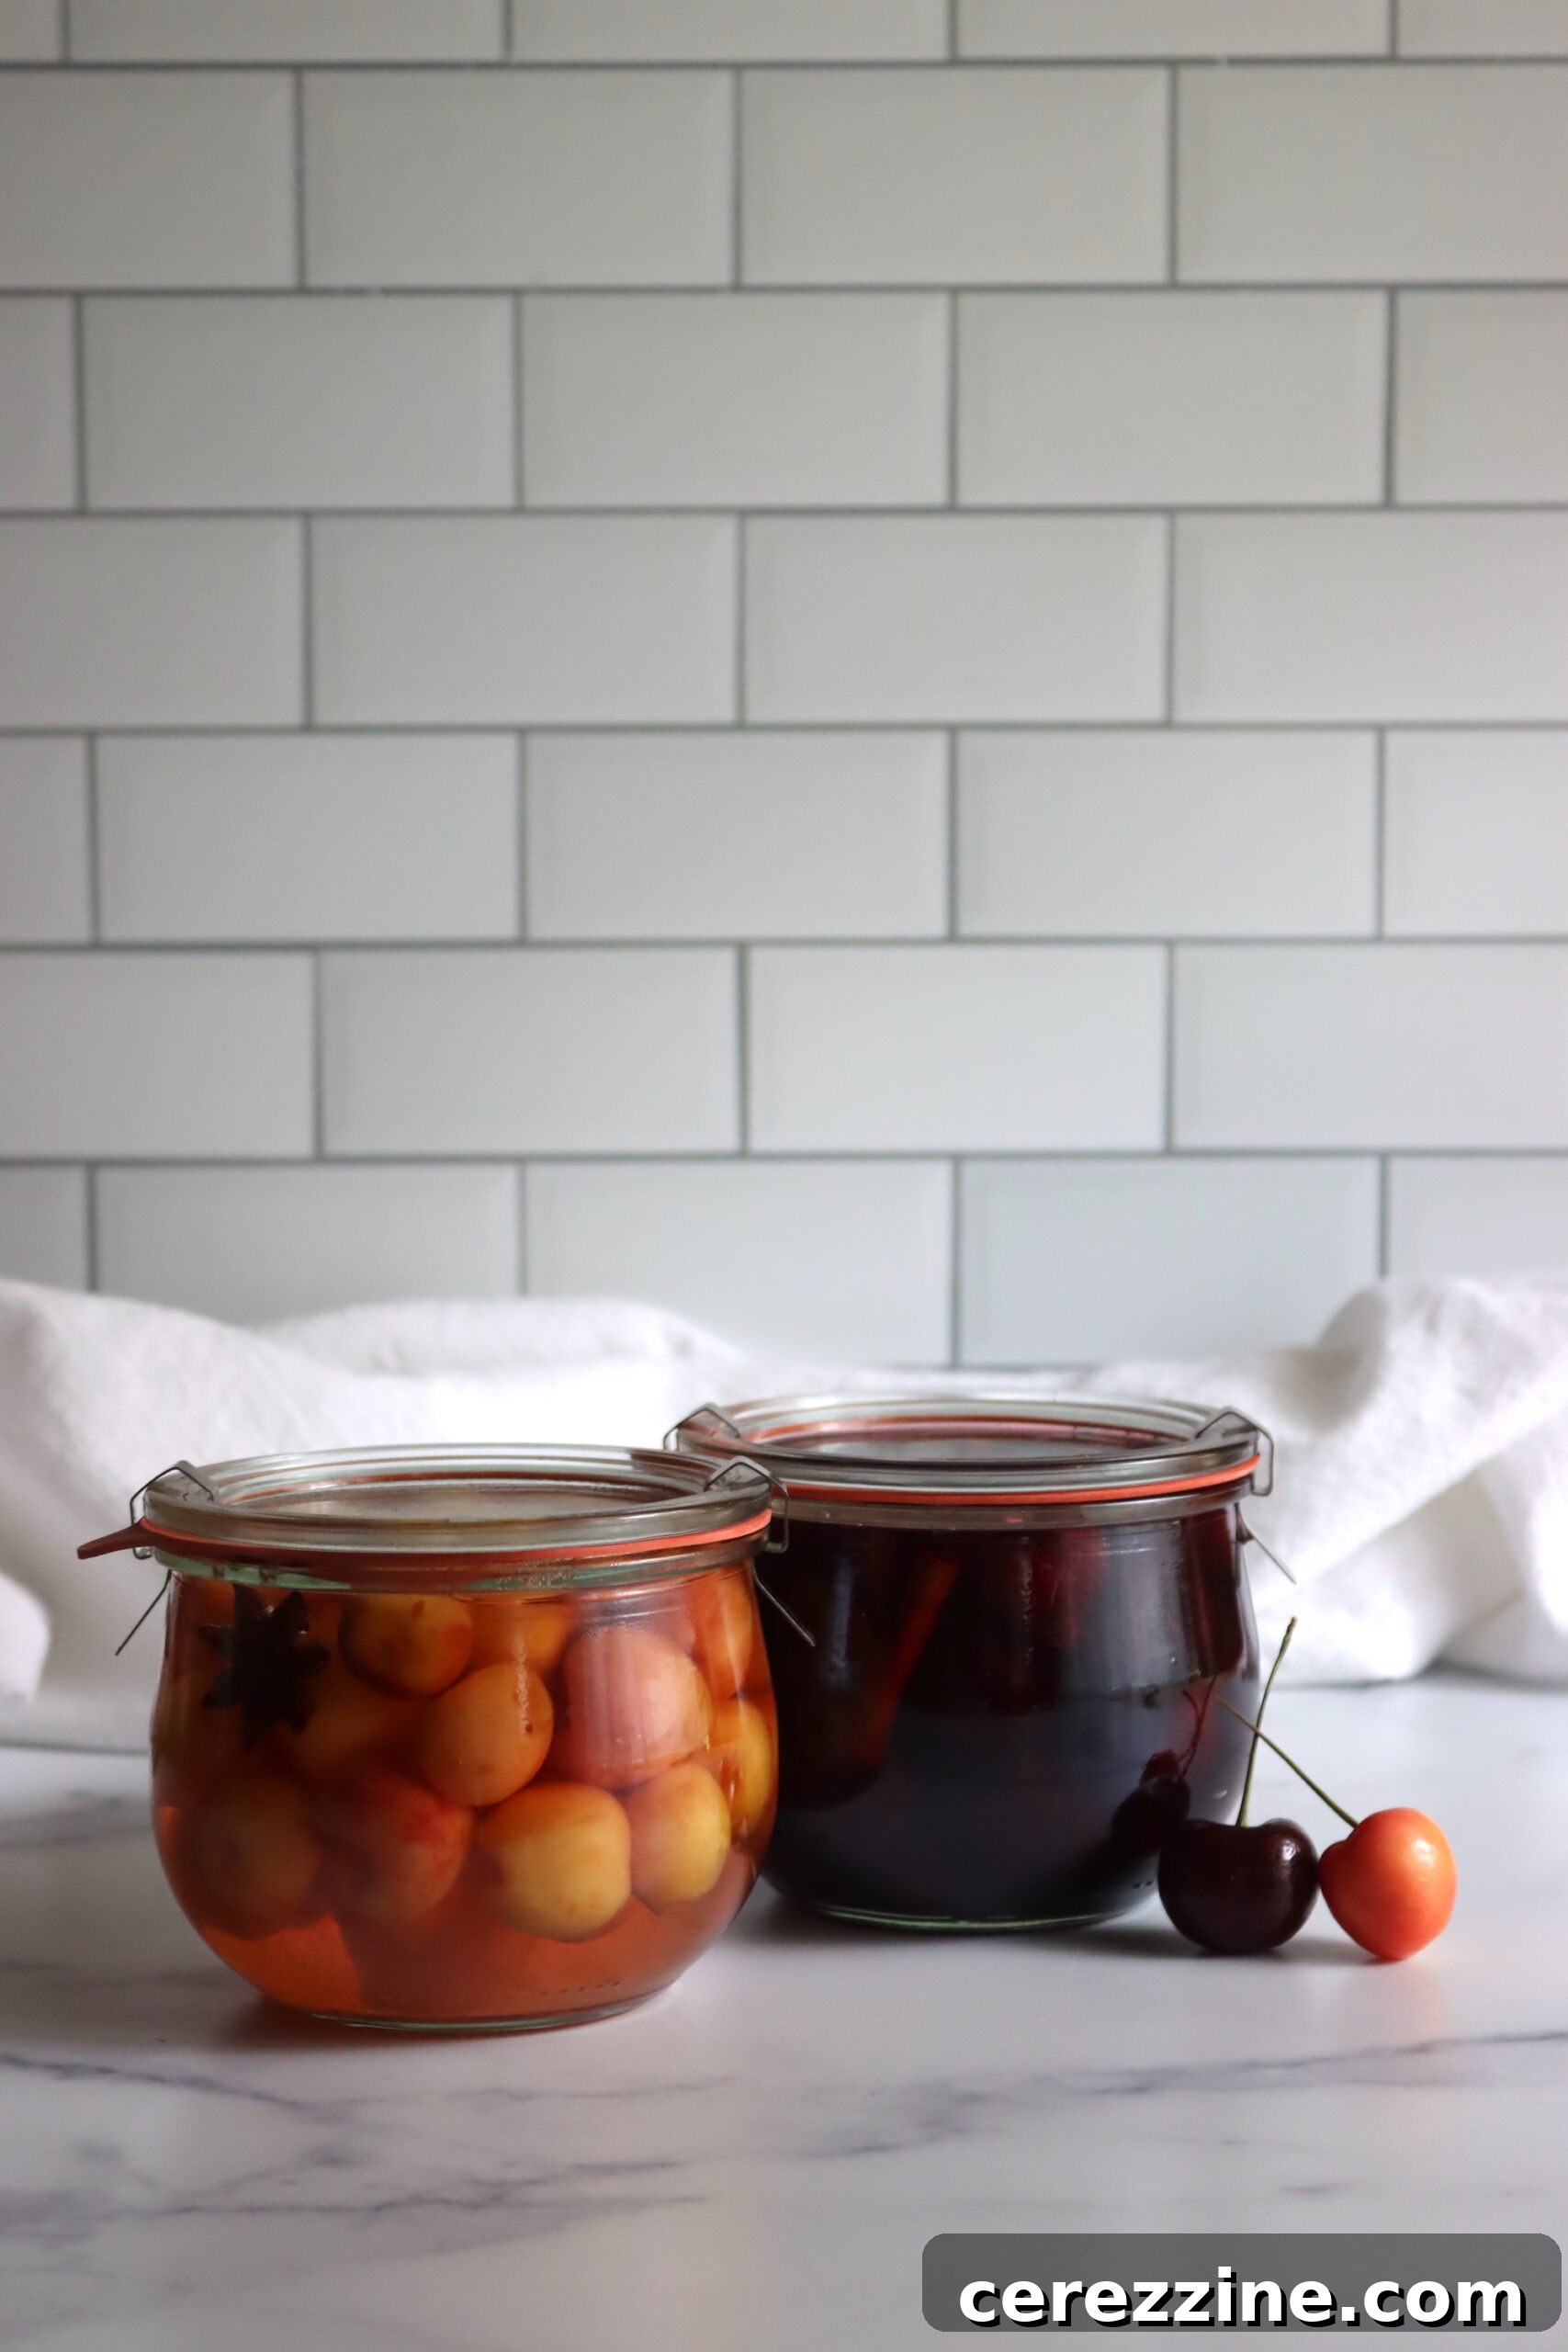
While these pickled cherries make excellent refrigerator pickles, lasting several weeks, water bath canning offers the benefit of long-term, shelf-stable storage. If you choose to can your cherries, precision is key for safety and quality.
After ladling the hot pickling liquid, it’s critical to remove any trapped air bubbles from the jars. Insert a non-metallic spatula, chopstick, or a plastic canning bubble remover tool down the side of each jar, gently moving it around to release air pockets. This step ensures consistent heat penetration during processing and prevents floating fruit. Next, wipe the jar rims thoroughly with a clean, damp cloth to remove any food particles or brine residue, which could compromise the seal. Center the lids on the jars and apply the bands, tightening them to “fingertip tight” – meaning just tight enough that you feel resistance, but not overtightened. Overtightening can prevent air from escaping during processing, leading to seal failure.
Carefully place the prepared jars onto the rack in your boiling water canner, ensuring they are fully submerged by at least 1-2 inches of water. Bring the water to a rolling boil. Once boiling vigorously, begin your processing time. Process pint jars for 10 minutes, remembering to adjust this time for your specific altitude (see table below). After the processing time is complete, turn off the heat, remove the canner lid, and allow the jars to stand in the hot water for an additional five minutes. This helps to equalize the temperature and prevents siphoning (liquid loss from jars). Finally, carefully remove the hot jars from the canner and place them on a wire rack or a folded towel, ensuring they are not touching, to cool undisturbed for 24 hours. You’ll hear the satisfying “ping” sound as the lids seal, indicating successful canning. After 24 hours, check all seals. Any unsealed jars should be refrigerated and consumed within a few weeks.
Altitude Adjustments for Canning Safety
It’s crucial to adjust canning times based on your altitude. Water boils at a lower temperature at higher elevations, meaning more processing time is needed to achieve the required internal temperature for safe preservation. Please consult the following guidelines:
- For 0 to 1,000 Feet in Elevation: Process pint jars for 10 minutes, and quart jars for 15 minutes.
- For 1,001 to 6,000 Feet in Elevation: Process pint jars for 15 minutes, and quart jars for 20 minutes.
- Above 6,001 Feet in Elevation: Process pint jars for 20 minutes, and quart jars for 25 minutes.
Serving and Enjoying Your Homemade Pickled Cherries
The moment you pop open a jar of homemade pickled cherries, you’ll be greeted by an enticing aroma that promises a truly exceptional taste experience. Their unique sweet, tart, and spiced profile makes them an incredibly versatile ingredient that can elevate a wide array of dishes.
Straight from the Jar & Appetizers
Perhaps the simplest, yet most satisfying way to enjoy pickled cherries is directly from the jar. They make an excellent standalone snack or a vibrant addition to a gourmet charcuterie or cheese board. Skewer them on toothpicks with a cube of aged cheddar or a sliver of prosciutto for an easy appetizer. They are also fantastic piled onto crostini spread with creamy whipped goat cheese and drizzled with a touch of honey, or served alongside a baked brie for a sophisticated starter.
Savory Pairings: Meats & Salads
The piquant tang of pickled cherries cuts through richness, making them an ideal accompaniment to various meats. They pair exceptionally well with roasted pork tenderloin, duck breast, or even grilled chicken, adding a bright, zesty counterpoint to savory flavors. Consider incorporating them into a vibrant spinach and goat cheese salad with toasted pecans, or toss them into a quinoa salad with cucumber and feta cheese for a refreshing and complex summer lunch. They can also be chopped and stirred into salsas or relishes for an unexpected fruity twist.
Desserts & Sweet Treats
Don’t limit these flavorful cherries to savory applications! Spoon them generously, along with some of their luscious syrup, over your favorite vanilla bean ice cream, panna cotta, or cheesecake for a dessert that balances sweetness with a delightful tang. They can also be used as a filling for tarts or as a garnish for cupcakes.
Cocktails & Beverages
Elevate your mixology game by incorporating pickled cherries and their flavorful juice into your cocktails. They make a stunning and delicious garnish for a classic Manhattan, an old fashioned, or a whiskey sour, lending both visual appeal and a unique flavor. Muddle them into a gin and tonic or a vodka soda for a refreshing and herbaceous twist. The pickling liquid itself can also be used in small amounts to add a complex, tangy dimension to various drinks.
Storage and Shelf Life
Properly water-bath canned pickled cherries, stored in a cool, dark place, can last for up to one year. Once opened, or if made as refrigerator pickles, they should be stored in the refrigerator and consumed within 2-3 weeks for optimal flavor and safety. Always ensure the jars are tightly sealed. It’s recommended to allow the flavors to meld for at least 2-4 weeks before enjoying your canned pickled cherries, as this allows the spices and brine to fully permeate the fruit, enhancing their overall taste.
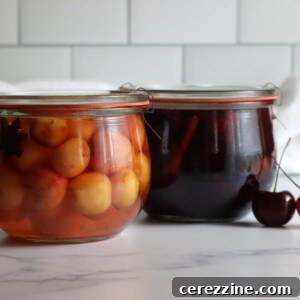
Pickled Cherries
These homemade pickled cherries are a delightful sweet-and-sour condiment. Perfect straight from the jar, they also enhance cocktails, roast meats, or desserts like ice cream with their unique flavor.
Equipment
- Water Bath Canner
- Sterilized Pint Jars with Lids and Bands
- Large Stainless Steel Saucepan
- Cherry Pitter (optional, but recommended)
- Canning Funnel
- Non-metallic Spatula or Bubble Remover
Ingredients
- 2 ½ cups white vinegar (at least 5% acidity)
- 2 ¾ lbs fresh sweet cherries, washed, pitted, and stemmed
- 7 (3-inch) cinnamon sticks
- 1 whole vanilla bean, split
- 2 cups granulated sugar
- 2 Tbsp pickling salt
- 7 whole cloves
- 7 whole star anise pods
Instructions
- Prepare the cherries: Wash, pit, and stem the cherries. A cherry pitter can help keep them whole. Set aside.
- Prepare the pickling solution: In a stainless steel saucepan, stir together vinegar, sugar, and pickling salt. Scrape seeds from the vanilla bean and add both seeds and the split bean to the mixture. Bring to a boil, stirring until sugar and salt dissolve.
- Pack the jars: Place one cinnamon stick, one star anise, and one clove in each hot, sterilized pint jar. Tightly pack cherries into the jars, leaving ½ inch (1 cm) headspace from the rim.
- Fill with brine: Remove the vanilla bean pod from the saucepan (discard it). Ladle the hot pickling liquid over the cherries in each jar, maintaining ½ inch of headspace.
- Remove air bubbles: Insert a plastic spatula or chopstick into the jar and gently press on the cherries to release any trapped air bubbles.
- Seal the jars: Wipe jar rims clean. Center the lids on the jars and apply the bands, tightening them to fingertip tight.
- Process the jars: Place filled and sealed jars into a boiling water canner. Ensure jars are covered by 1-2 inches of water.
- Begin processing: Bring water to a full rolling boil. Process pint jars for 10 minutes (adjust for altitude, see notes below).
- Cool down: Turn off the heat, remove the canner lid, and let the jars stand in the hot water for five minutes.
- Final cooling: Remove jars from the canner and let them cool undisturbed at room temperature for 24 hours. Check seals; refrigerate any unsealed jars.
Notes
Altitude Adjustments for Canning
Water boils at a lower temperature at higher altitudes, so jars need to be processed a bit longer as you go up in elevation. Here are the altitude adjustments for canning pickled cherries:
- For 0 to 1,000 Feet in Elevation – Process pint jars for 10 minutes, and quart jars for 15 minutes.
- For 1,001 to 6,000 Feet in Elevation – Process pint jars for 15 minutes, and quart jars for 20 minutes.
- Above 6,001 Feet in Elevation – Process pint jars for 20 minutes, and quart jars for 25 minutes.
Nutrition
Calories: 23kcal, Carbohydrates: 6g, Protein: 0.1g, Fat: 0.1g, Saturated Fat: 0.01g, Polyunsaturated Fat: 0.01g, Monounsaturated Fat: 0.01g, Sodium: 125mg, Potassium: 27mg, Fiber: 0.4g, Sugar: 5g, Vitamin A: 8IU, Vitamin C: 1mg, Calcium: 5mg, Iron: 0.1mg
Nutrition information is automatically calculated and should only be used as an approximation.
Explore More Fruit Pickling Recipes
Once you discover the incredible versatility and deliciousness of pickled cherries, you’ll likely be eager to explore the wider world of fruit pickling! Don’t stop here; other fruits also lend themselves beautifully to this sweet and tangy preservation method, offering unique flavors for your pantry. Here are a couple of inspiring ideas to continue your pickling journey:
- Pickled Figs: A sophisticated choice, great with cheese and charcuterie.
- Pickled Cranberries: Perfect for holiday meals or as a bright addition to poultry.