
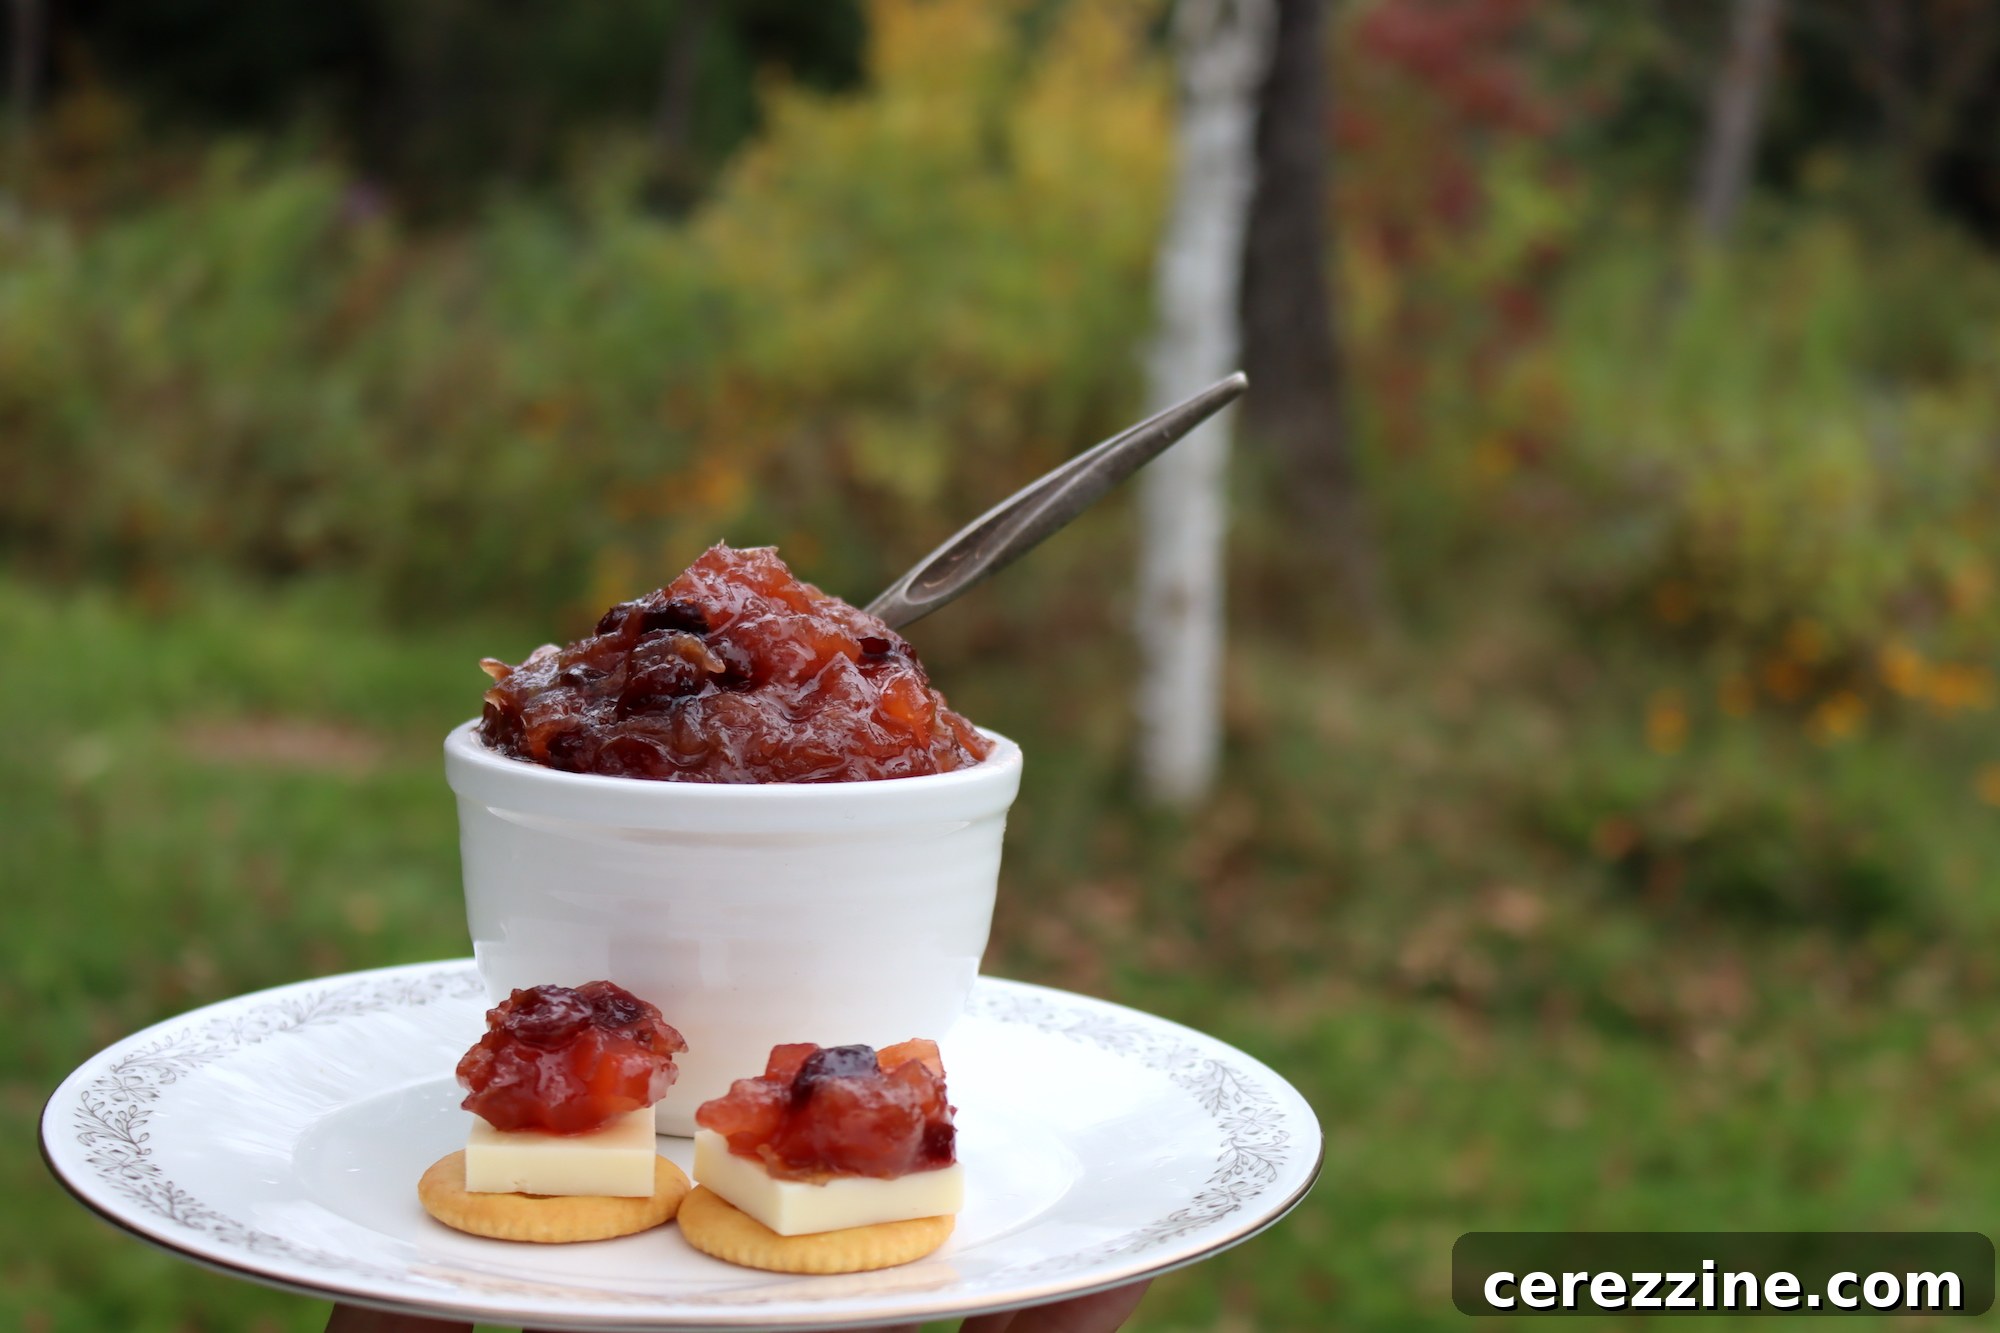
Rhubarb chutney is a delightful and ingenious way to transform your rhubarb harvest into a vibrant, sweet, and tangy condiment that will elevate your meals and charcuterie boards throughout the entire year. Its unique blend of flavors makes it an indispensable addition to any pantry, offering a taste of summer even in the coldest months.
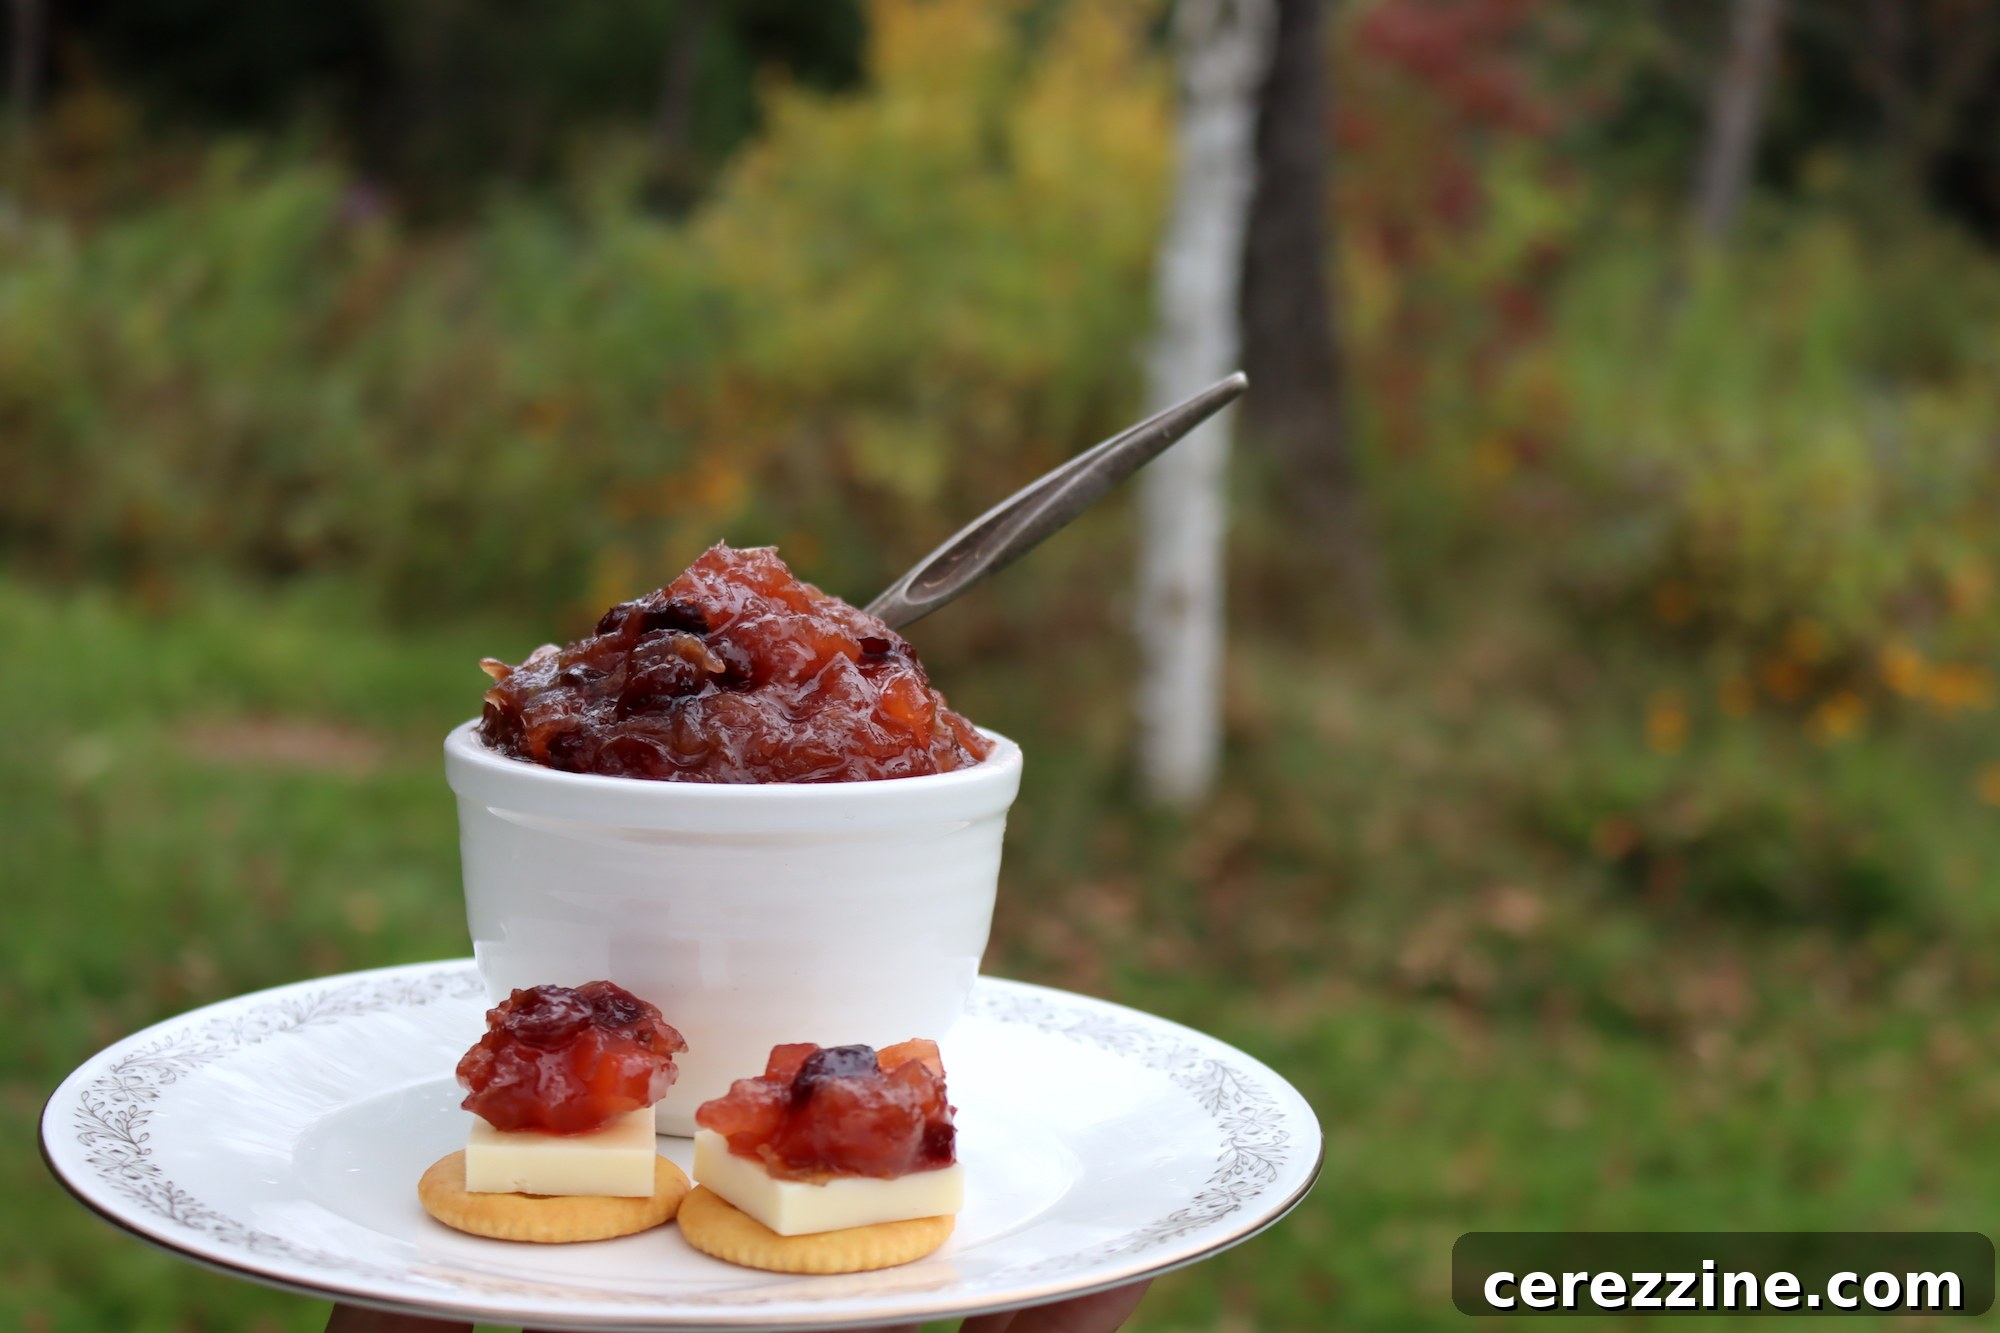
Rhubarb, with its distinct tartness and beautiful pink-green stalks, is a true sign of spring and early summer. While many enjoy it in pies and crumbles, crafting it into a savory-sweet chutney unlocks an entirely new dimension of flavor. Homemade rhubarb chutney offers a perfect balance of sweetness from sugar and cranberries, tang from lemon and rhubarb, and a warming hint of spice from cinnamon and nutmeg. This complex flavor profile makes it an incredibly versatile condiment, perfect for adding a ‘zing’ to a multitude of dishes.
Whether you’re looking to add a burst of vibrant flavor to grilled chicken, a rich pork roast, or simply a unique spread for your favorite sandwich, this sweet and tangy chutney delivers. It’s also a fantastic solution for utilizing an abundant rhubarb crop from your garden or a local farmer’s market, ensuring none of this seasonal gem goes to waste. Beyond its immediate culinary uses, the true magic of rhubarb chutney lies in its preservation potential. Once properly canned, this delicious spread can be stored for several months, allowing you to savor the taste of summer rhubarb long after the growing season has ended. Imagine brightening up a dreary winter evening with a spoonful of this sunshine-in-a-jar!
Ready to embark on this rewarding culinary adventure? Follow our comprehensive, easy-to-understand guide to creating and canning your own exquisite rhubarb chutney right in your home kitchen. You’ll soon discover the joy of homemade preserves and the delightful versatility of this exceptional condiment.
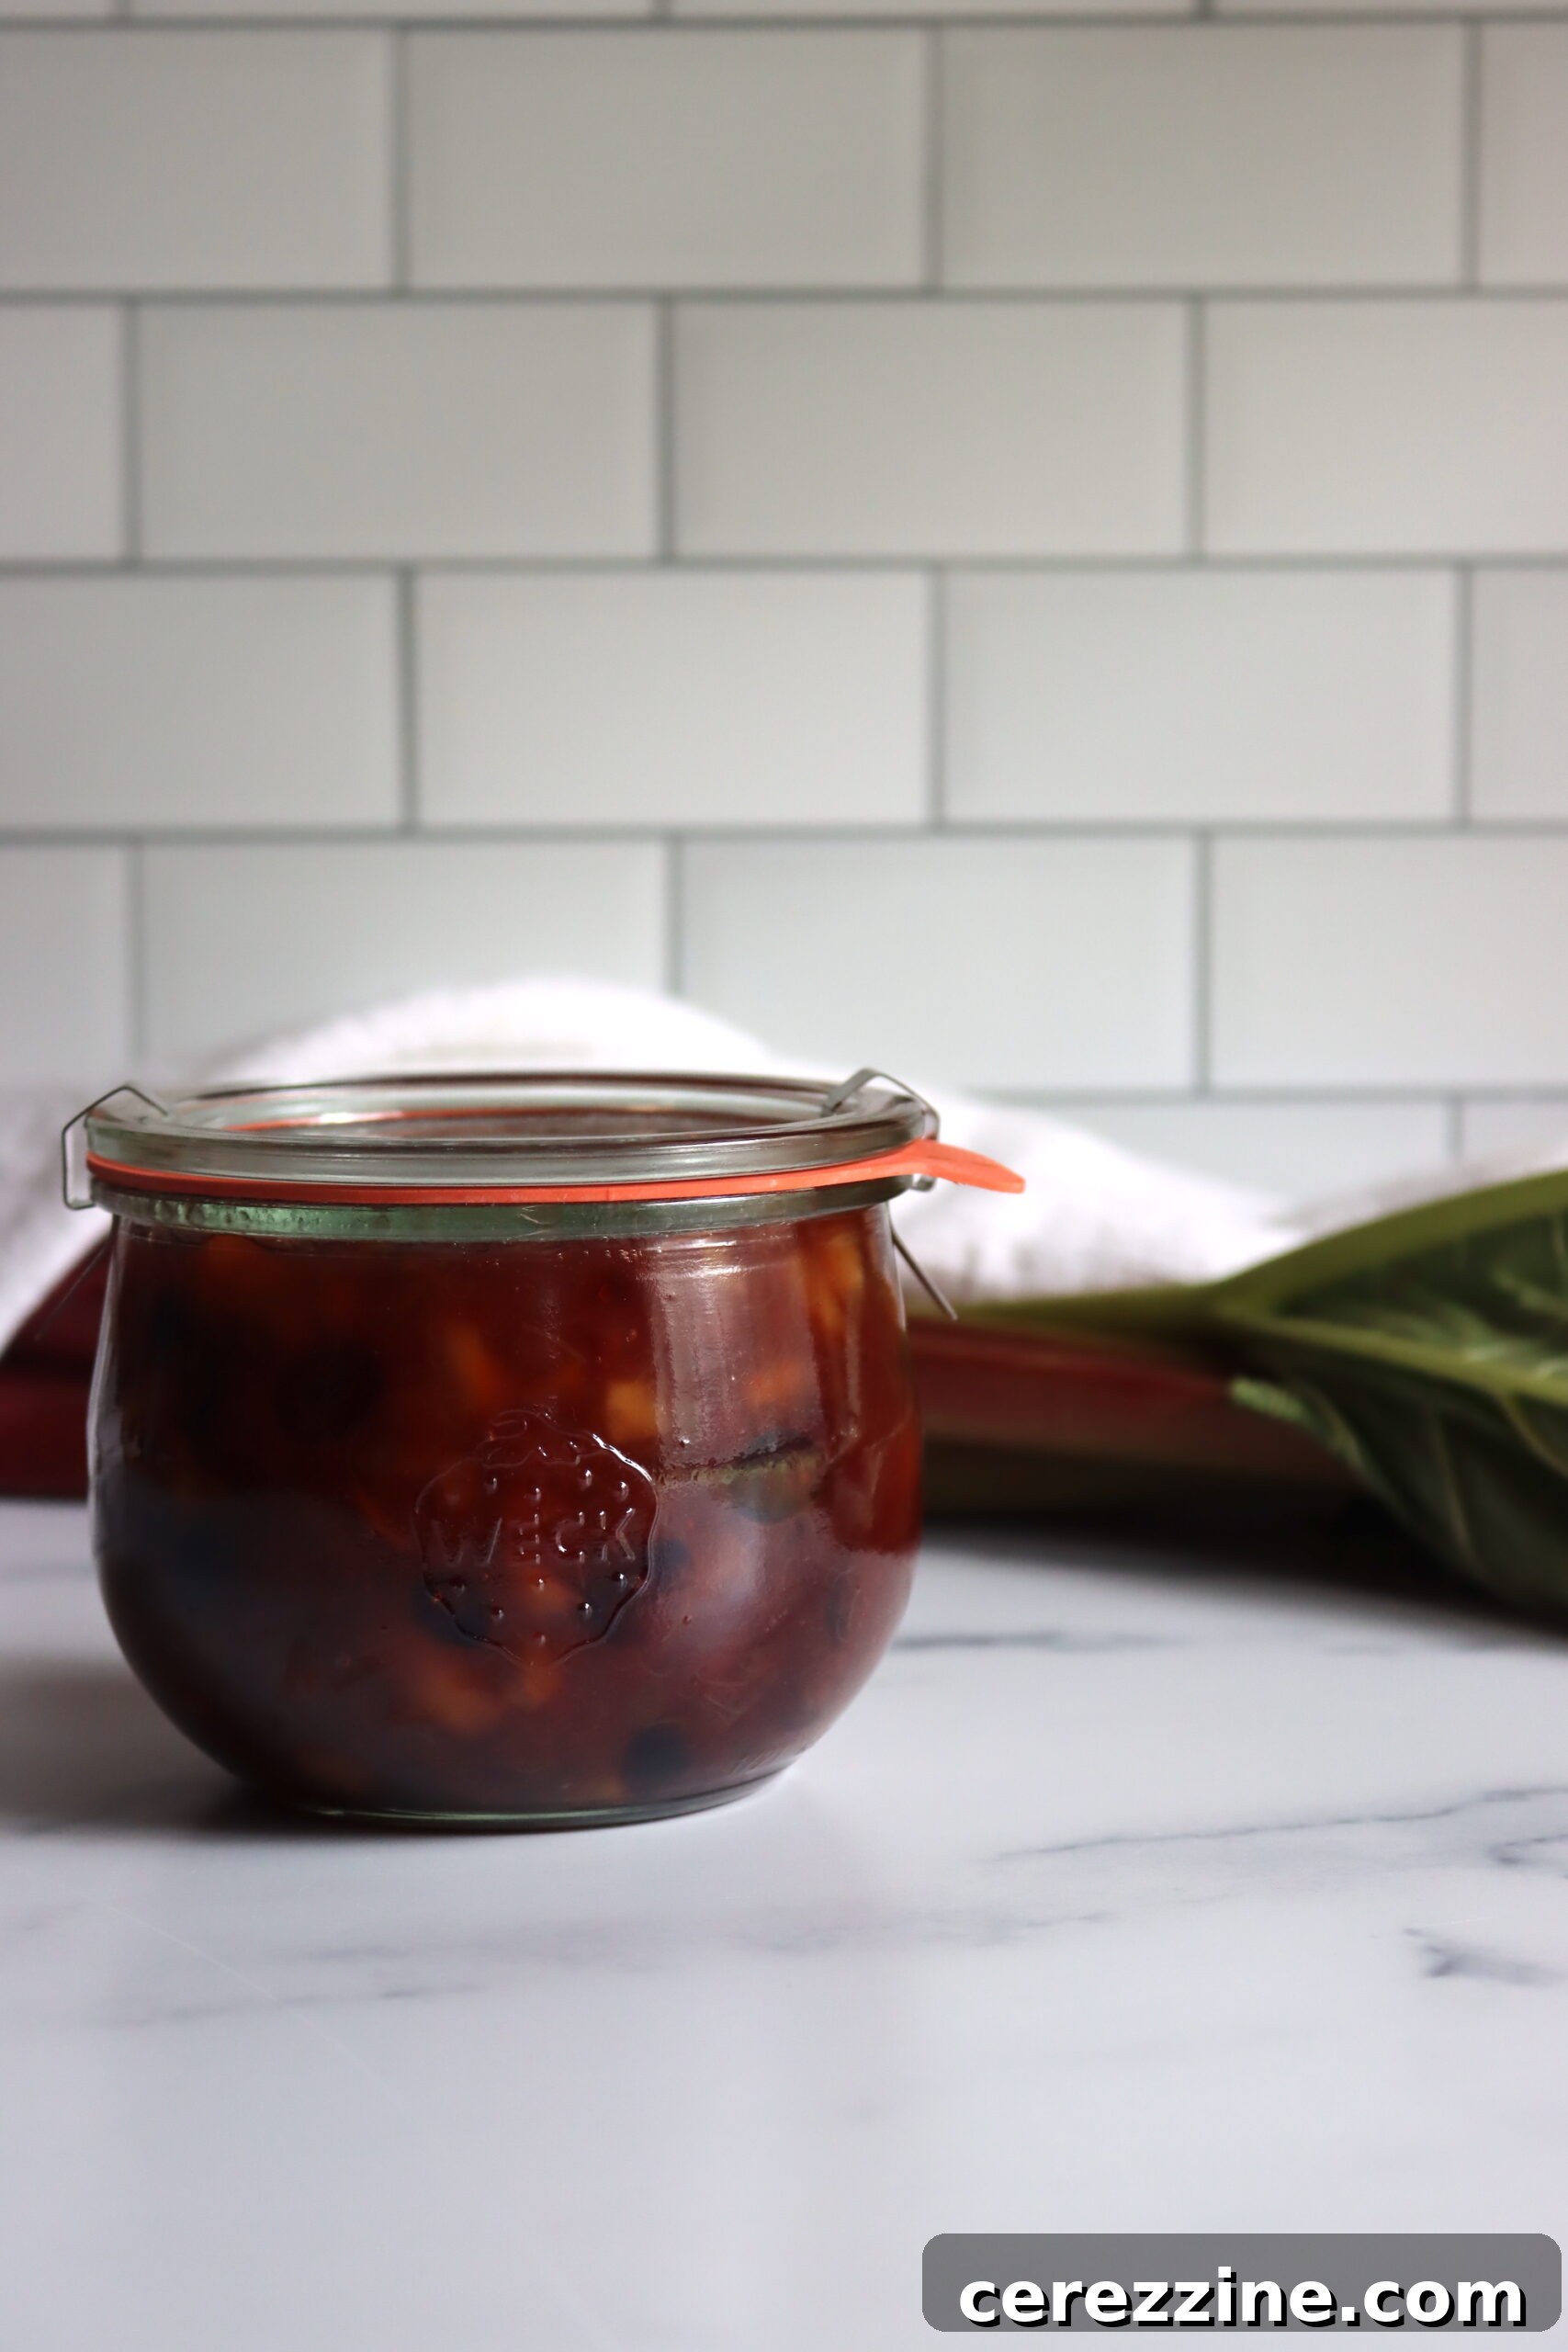
Essential Ingredients for Your Homemade Rhubarb Chutney
This rhubarb chutney recipe is thoughtfully adapted from traditional preserving methods, often blending fruits to achieve a superior texture and flavor. While many chutney recipes commonly feature apples for their natural pectin and mild sweetness, this particular recipe boldly showcases the bright, distinctive taste of rhubarb. However, the apples still play a crucial role in providing body and ensuring the chutney sets beautifully, contributing to a well-rounded and delightful condiment.
To prepare a canner batch that will yield approximately four 8-ounce (250 mL) jars of this delectable homemade chutney, you will need the following fresh and readily available pantry staples. These quantities are carefully measured to ensure a balanced and flavorful result:
- 4 cups of firm apples, peeled, cored, and finely diced (approximately 1 liter). To prevent browning while you prepare other ingredients, you can treat them with a lemon water solution.
- 4 cups granulated sugar (approximately 1 liter).
- 2 cups fresh or frozen rhubarb, diced into small, uniform pieces (approximately 500 mL).
- 1 teaspoon ground cinnamon (about 5 mL).
- ½ teaspoon ground nutmeg (about 2 mL).
- ½ cup dried cranberries (about 125 mL). These add a lovely chewiness and additional sweetness.
- ½ cup water (about 125 mL).
- The finely grated zest and fresh juice of one medium-sized lemon. This adds crucial brightness and helps with pectin activation.
Choosing Your Ingredients Wisely
For the apples, select varieties that are known to hold their shape well during cooking and offer a good balance of sweetness and tartness. Excellent choices for chutney include Honeycrisp, Granny Smith, or Fuji apples. You’ll typically need about three to four medium-sized apples to achieve the required volume. When selecting rhubarb, look for stalks that are firm, crisp, and free from blemishes. While both green and red varieties work, bright red stalks will impart a more vibrant and appealing color to your finished chutney.
The harmonious blend of ground cinnamon and nutmeg provides a warm, inviting spice note that beautifully complements the characteristic tartness of the rhubarb and the underlying sweetness of the apples. Dried cranberries introduce a pleasant chewy texture and another layer of fruity sweetness, enhancing the overall complexity. Finally, the fresh lemon zest and juice are indispensable; they brighten the entire mixture, prevent it from becoming overly sweet, and ensure a lively, zesty finish that truly makes the chutney sing.
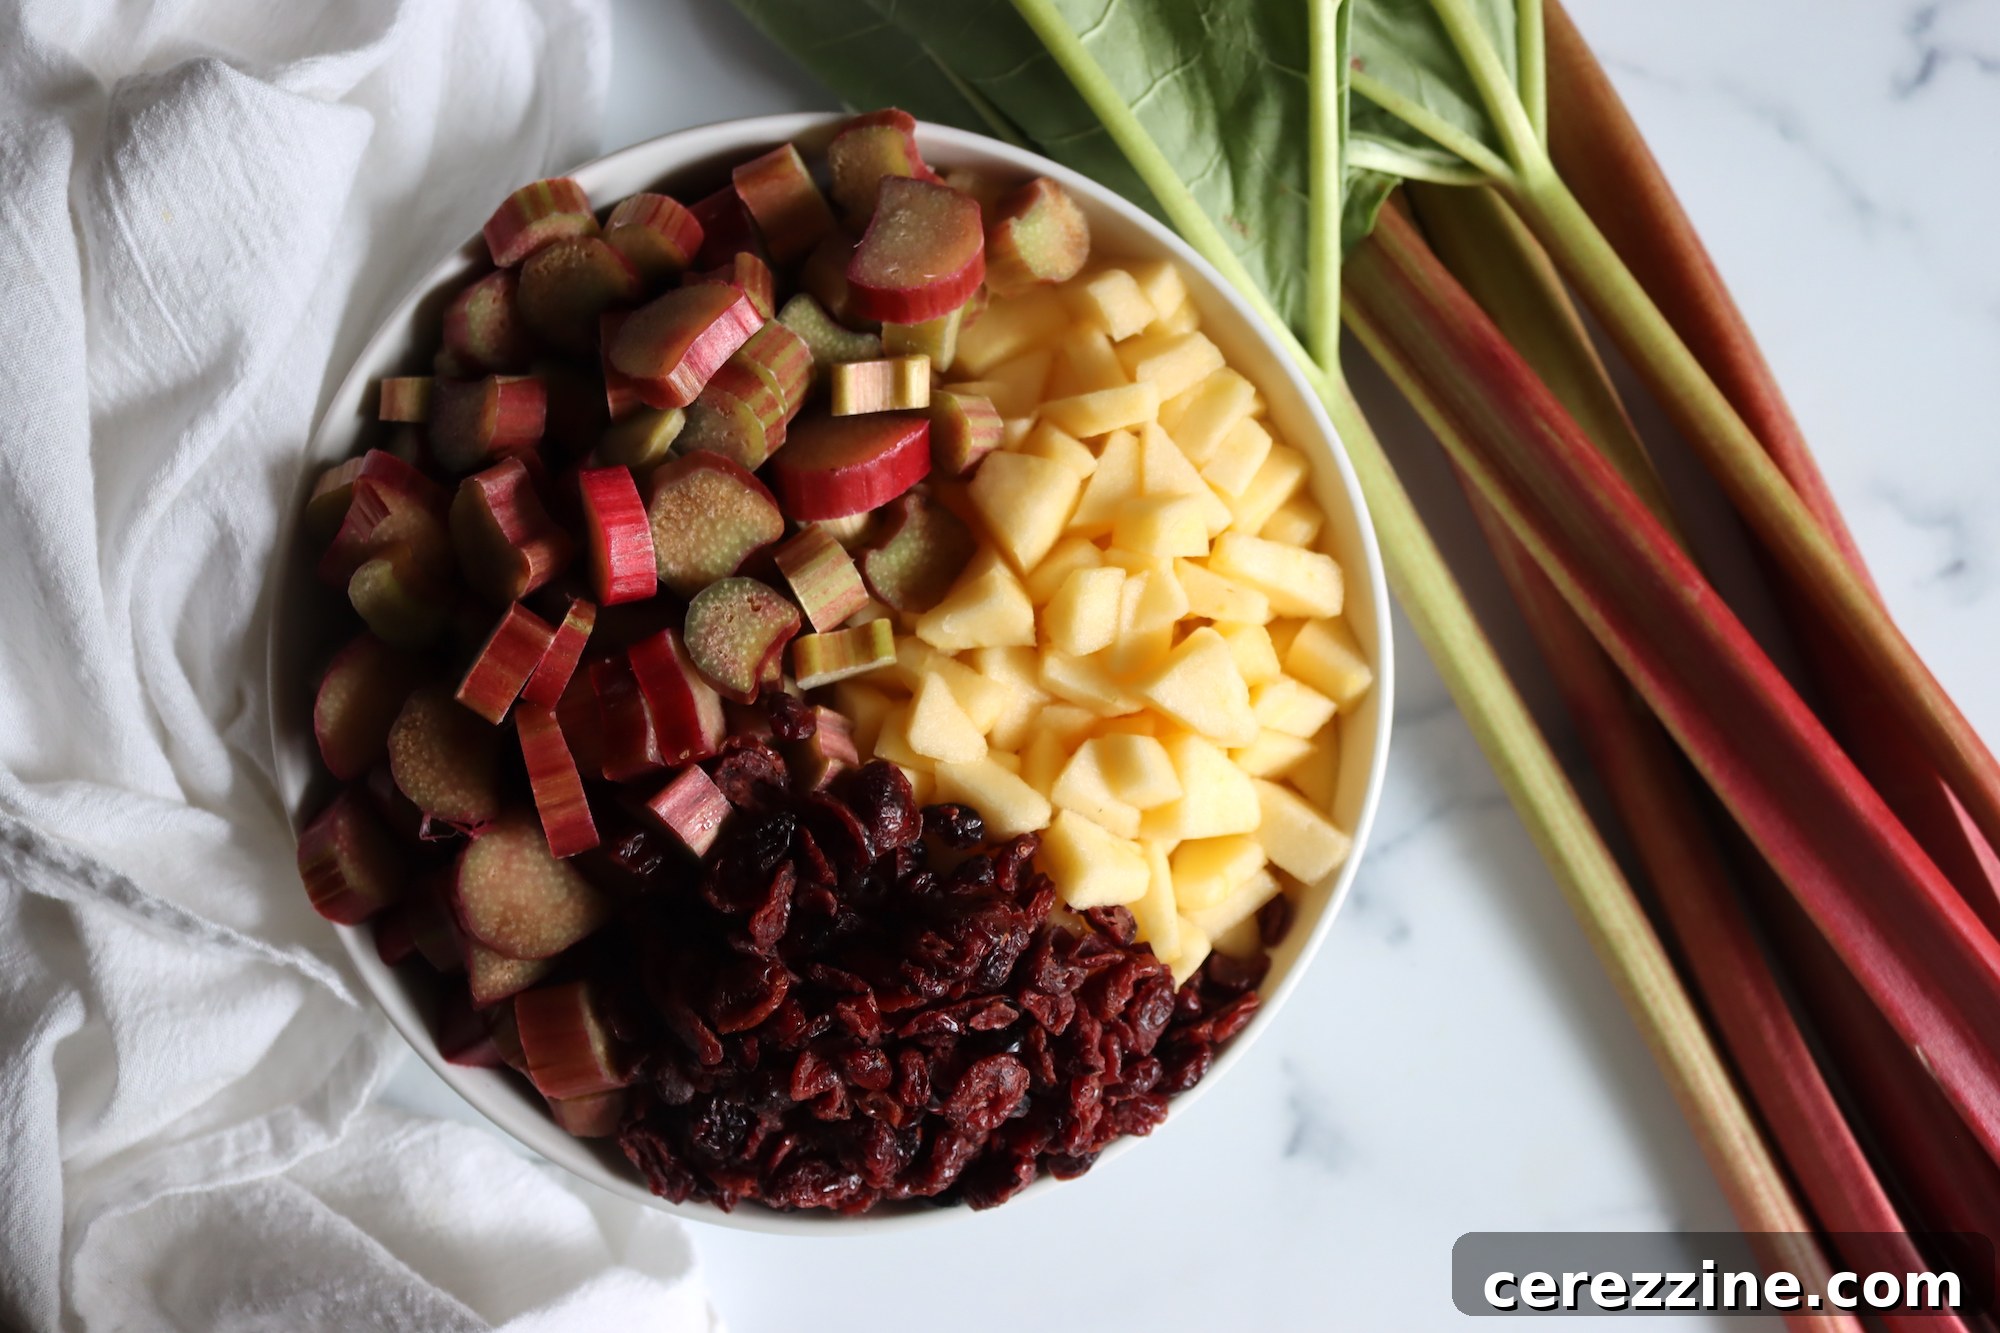
Mastering the Art of Canning Rhubarb Chutney: A Step-by-Step Guide
Canning homemade rhubarb chutney is a rewarding culinary endeavor that allows you to capture its vibrant flavors for enjoyment throughout the year. This process involves a series of carefully executed steps to ensure both the safety and optimal quality of your preserves. Let’s walk through each stage together, from preparing your equipment to sealing your jars, ensuring a successful and delicious outcome.
1. Prepare Your Canning Equipment for Success
Before you even begin cooking your chutney, it’s paramount to ensure all your canning supplies are meticulously clean and ready. You will need a water bath canner – a large pot specifically designed for canning, equipped with a lid and a rack at the bottom to prevent jars from touching the direct heat source. Crucially, make sure you have enough water to cover your jars by at least 1 to 2 inches during processing. Gather your clean canning jars (inspect them for any chips or cracks), new lids (essential for proper sealing, as they have a single-use sealing compound), and screw bands (rings). Essential canning tools such as a jar lifter, a canning funnel, and a bubble remover tool (or a clean, non-metallic spatula) will make the process much smoother and safer.
Sterilize your clean jars by submerging them in boiling water for a minimum of 10 minutes. Keep them in this hot water until you are ready to fill them; this prevents thermal shock when introducing hot chutney and ensures sterility. Heat your lids according to the manufacturer’s instructions, typically simmering them in hot (but not boiling) water to soften the sealing compound.
2. Cook the Rhubarb Chutney Mixture to Perfection
In a large, heavy-bottomed saucepan or a Dutch oven, combine your finely diced apples, granulated sugar, measured water, fresh lemon zest, fresh lemon juice, and the diced rhubarb. Stir these ingredients together gently but thoroughly to ensure they are well mixed and the sugar begins to dissolve. Bring this mixture to a full, rolling boil over medium-high heat, stirring frequently to prevent any sticking or scorching at the bottom of the pan and to encourage even cooking. Once the mixture reaches a vigorous boil, reduce the heat to a gentle simmer (a low boil) and continue to cook, stirring often, for approximately 15 minutes. This initial cooking phase is crucial for softening the fruits and allowing their distinct flavors to begin melding together harmoniously.
3. Infuse Spices and Achieve Ideal Chutney Thickness
After the initial cooking period, introduce the dried cranberries, ground nutmeg, and ground cinnamon to the saucepan. Continue to boil the mixture gently, stirring regularly and patiently, until the chutney thickens considerably. The ideal consistency is achieved when the chutney “mounds” or holds its shape on a spoon when lifted, indicating it’s no longer watery and has reduced sufficiently. This thickening stage typically requires another 15 minutes or potentially longer, depending on your stovetop’s heat and the natural water content of your fruit. Patience is a virtue here; resisting the urge to rush this step is key to achieving the perfect, spoonable chutney texture.
4. Carefully Fill Your Prepared Jars
Once your chutney has reached the desired thick consistency, carefully ladle the hot chutney into your pre-heated, sterilized canning jars. Utilize a canning funnel to minimize any mess and, more importantly, to ensure the jar rims remain perfectly clean. It is absolutely crucial to leave precisely 1/2 inch of headspace at the top of each jar. This measured space is vital for proper sealing and allows for the necessary air expansion during the water bath processing. After filling, use a bubble remover tool or a clean, non-metallic spatula to gently dislodge any trapped air bubbles by sliding it around the inside edge of the jar. If removing bubbles causes the chutney level to drop below the 1/2-inch mark, simply add a little more chutney to restore the correct headspace.
5. Clean Rims and Secure Lids for Sealing
Thoroughly wipe the rims of each filled jar with a clean, damp cloth. Any minuscule food residue on the rim can prevent the lid from forming a perfect, airtight seal. Place a hot, sterilized lid centered on top of each jar, ensuring it sits flat. Follow this by screwing on a screw band (ring) until it is “finger-tight.” This means tightening it until you feel resistance, then giving it just a gentle turn more. Avoid over-tightening, as this can prevent air from escaping during processing, which is necessary for creating a vacuum seal, and may lead to seal failure.
6. Process Jars Safely in a Water Bath Canner
Carefully place the filled and properly sealed jars onto the rack within your water bath canner, using a jar lifter. Ensure the jars are not touching each other or the sides of the canner, allowing for even heat distribution. Add more hot water to the canner if needed, making absolutely sure that all jars are fully immersed and covered by at least 1 inch of water. Bring the water in the canner to a full, rolling boil. Once the water reaches a vigorous boil, begin timing the processing. Process the jars for 10 minutes (important note: if you are at an altitude above 6,000 feet, you will need to adjust processing times to ensure safety. Always consult a reliable, current canning guide for specific altitude adjustments).
7. Cool Jars and Confirm Successful Seals
After the 10 minutes of processing time has elapsed, turn off the heat source and carefully remove the canner lid. Allow the jars to sit undisturbed in the hot water for an additional five minutes. This crucial step helps to equalize the temperature and significantly reduces the risk of siphoning (liquid loss from the jars). Using your jar lifter, carefully remove the jars one by one and place them upright on a clean towel or a sturdy cooling rack in a location free from drafts. It is important not to tighten the screw bands further at this stage. As the jars cool down, you will likely hear a distinctive “pop” sound as the vacuum seal forms. Allow the jars to cool completely, undisturbed, for 12 to 24 hours. Resisting the urge to touch or move them during this time is essential for a strong seal.
Once completely cooled, check the seals on all your jars. The center of each lid should be concave (curved inwards) and should not flex or pop when pressed. If any jar has not sealed properly, refrigerate its contents and use within a few weeks, or reprocess the chutney with a brand new lid if done within 24 hours of the initial canning.
8. Proper Storage for Long-Lasting Enjoyment
After confirming all jars are sealed, remove the screw bands. Storing jars without rings helps prevent false seals and allows you to easily identify any spoilage. Label your jars clearly with the contents (“Rhubarb Chutney”) and the date of canning. Store them in a cool, dark, dry place away from direct sunlight, such as a pantry, cellar, or cool cupboard. Properly canned chutney, stored under ideal conditions, can last for up to a year or even longer. Before opening any jar, always visually inspect the seal and discard any jars that show signs of spoilage, leakage, or an unsealed lid.
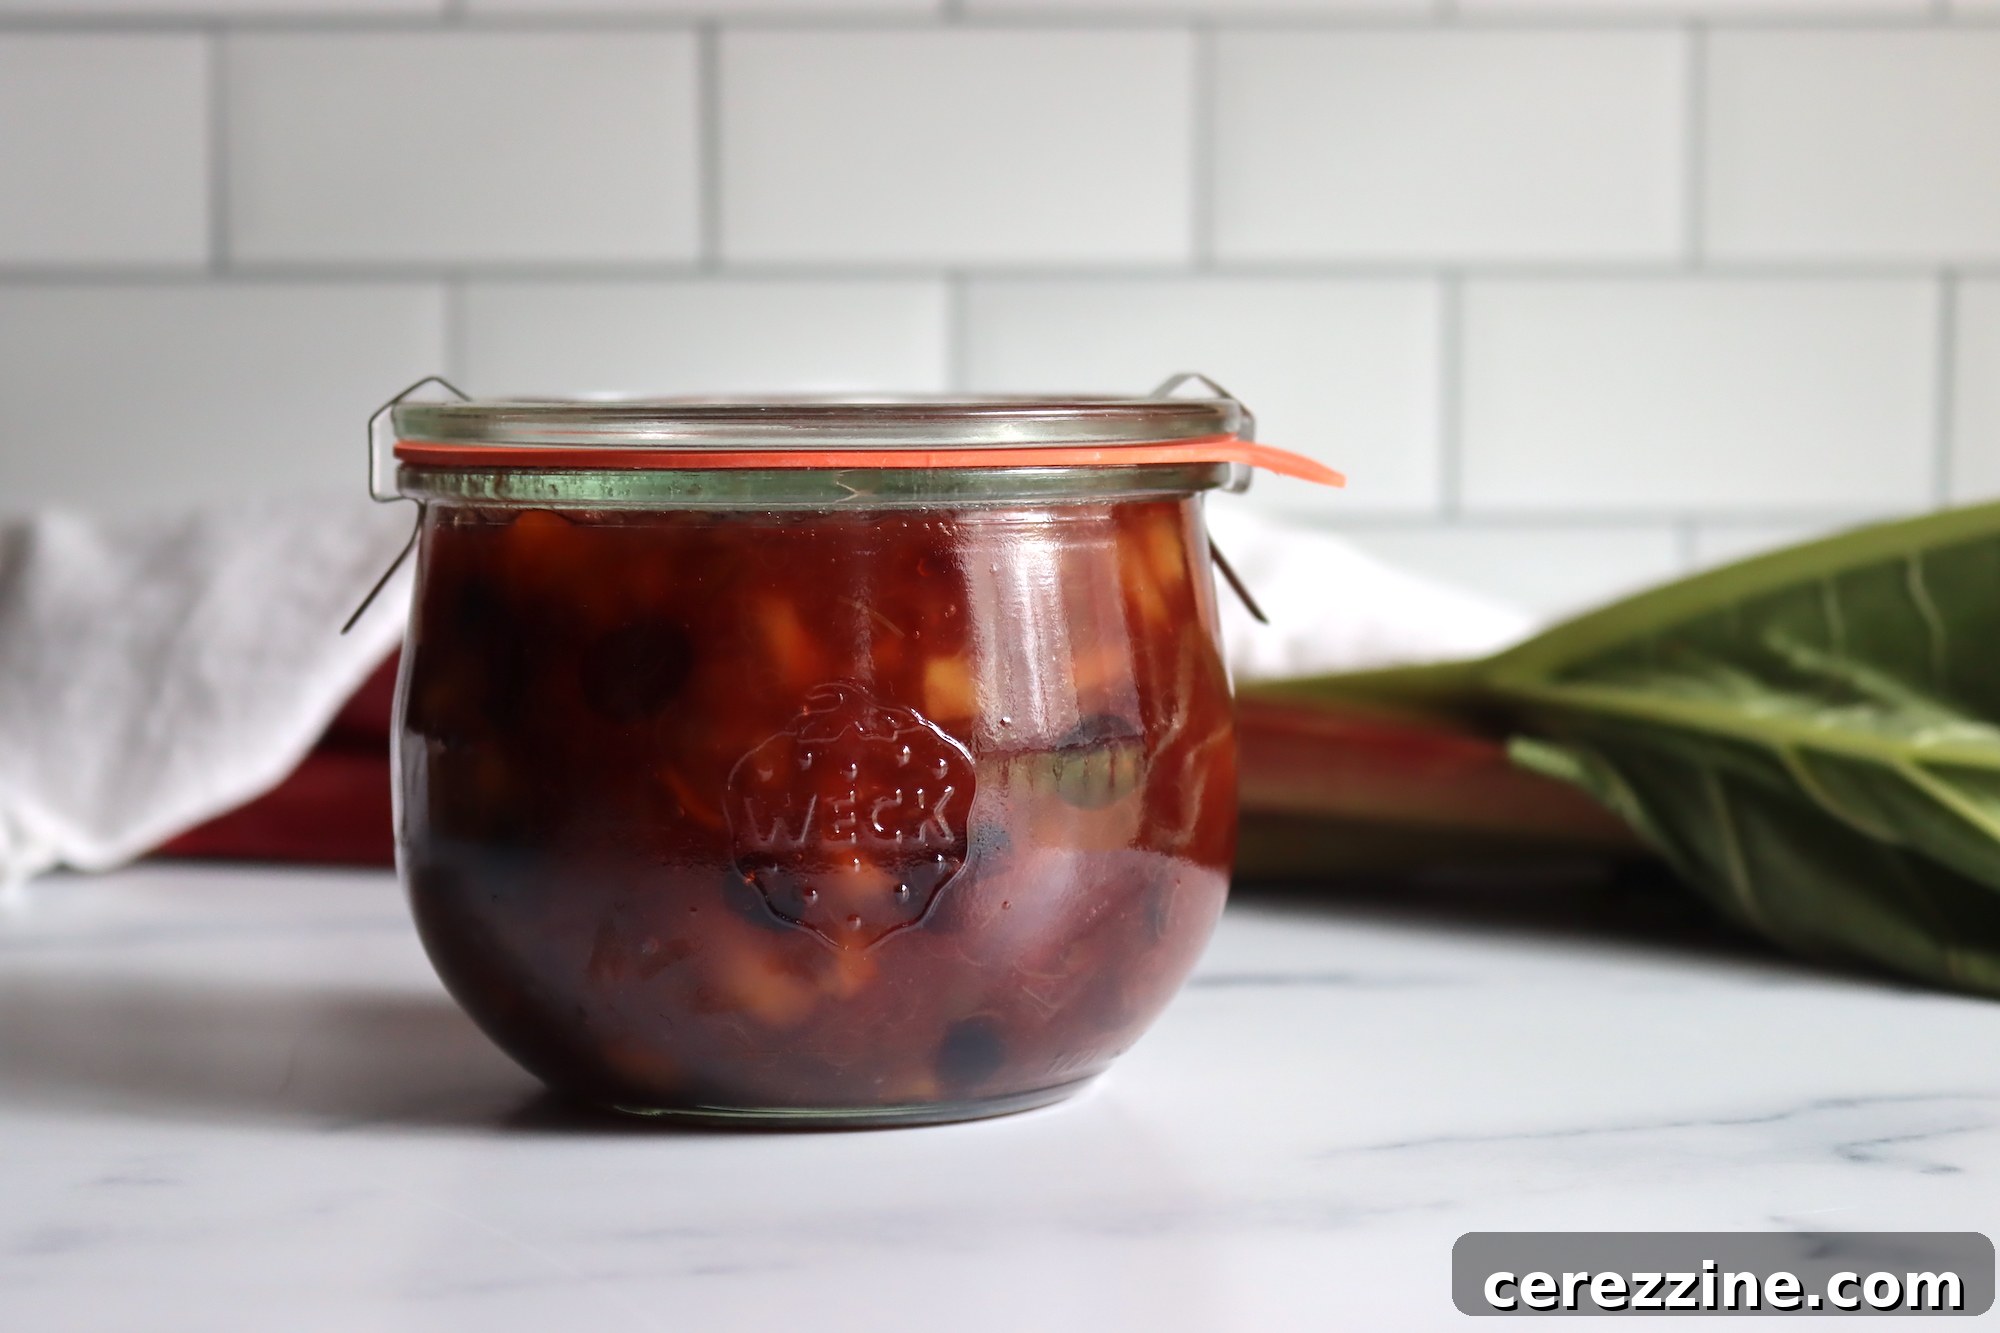
Delightful Ways to Serve Your Homemade Rhubarb Chutney
Rhubarb chutney is a remarkably versatile condiment that can transform ordinary meals into extraordinary culinary experiences. Its unique sweet-tart flavor profile makes it equally appealing served warm or cold, depending on your preference and the specific dish it accompanies. If you wish to warm it, a brief stint in the microwave or a gentle heating on the stovetop for a few minutes will suffice. For a delightful chilled experience, simply store it in the refrigerator until you’re ready to serve.
Savory Pairings: A Culinary Companion
- Grilled or Roasted Meats: The bright acidity and subtle spice of rhubarb chutney beautifully cut through the richness of grilled chicken, pork chops, lamb, or a succulent roast pork tenderloin. It can also be used as an exquisite glaze during the final stages of cooking for added flavor and shine.
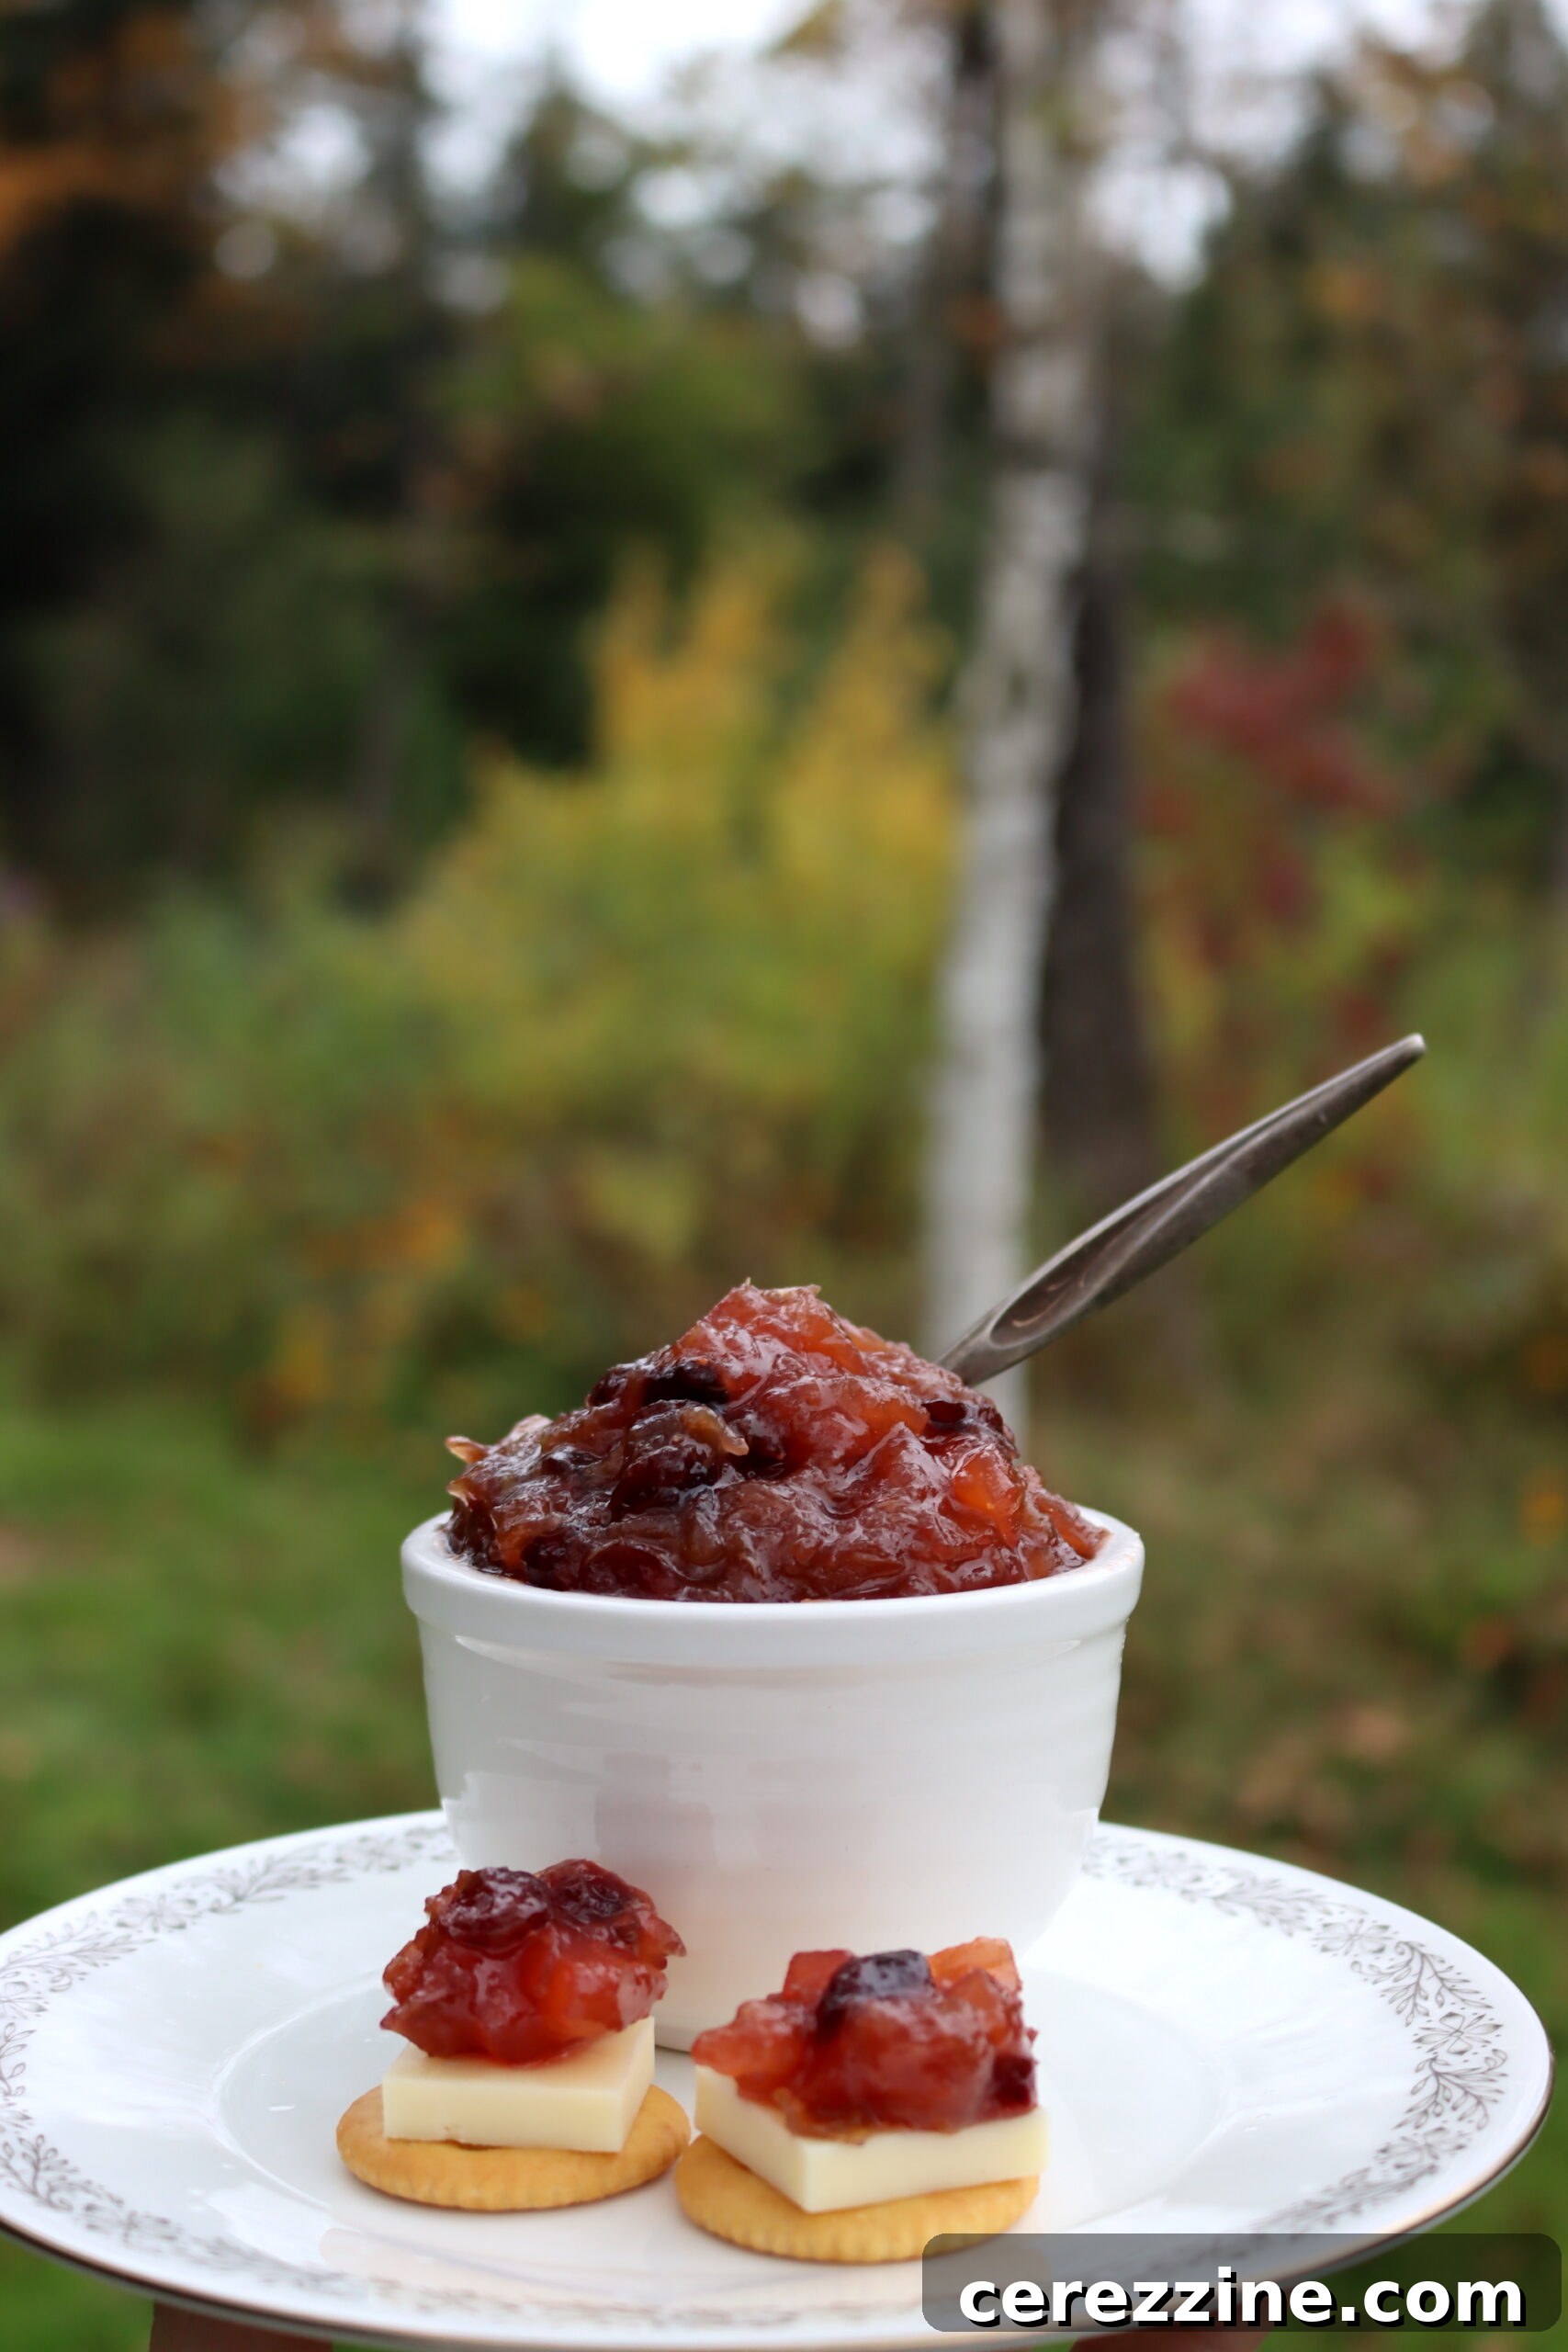
- Cheese Boards and Charcuterie: A spoonful of vibrant rhubarb chutney is an absolute must-have for any sophisticated cheese or charcuterie board. It pairs perfectly with a wide array of cheeses, from creamy brie and tangy goat cheese to sharp cheddar and aged gouda. Serve it alongside cured meats, crusty artisan bread, and crackers for an elevated appetizer or snack that will impress your guests.
- Sandwiches and Wraps: Spread a thin layer of this flavorful chutney on your favorite sandwiches (imagine it with turkey and provolone!) or wraps for an unexpected burst of flavor that adds moisture and zing.
- Stir-fries and Curries: A dollop of chutney can introduce a unique sweet-sour depth to Asian-inspired dishes or even mild curries, offering a surprising and delightful twist.
- Breakfast with a Twist: Experiment by serving rhubarb chutney alongside savory breakfast items like sausages or crispy bacon for a unique and memorable morning meal.
Sweet Pairings: An Unexpected Dessert Enhancer
- Desserts: Elevate simple desserts by pairing rhubarb chutney with classic vanilla ice cream, a creamy plain cheesecake, or a delicate panna cotta. Its combination of sweetness and tang creates a wonderful, refreshing contrast.
- Baked Goods: Utilize it as a flavorful filling for tarts, pastries, or even as a unique and delicious topping for freshly baked scones, muffins, or quick breads.
- Breakfast Staples: Spoon it generously over plain yogurt, a bowl of warm oatmeal, fluffy pancakes, or crispy waffles for a gourmet breakfast experience that feels indulgent.
- Toast and Scones: For a simple yet comforting treat, spread it on buttered toast, crumpets, or warm, freshly baked scones – a classic way to savor its delightful flavors.
Other Delightful Ways to Preserve Rhubarb
Rhubarb is an incredibly versatile ingredient, and while chutney is a fantastic way to enjoy its distinct flavor, it’s just one of many wonderful preservation methods. If you find yourself with an abundance of this beautiful spring and summer stalk, consider exploring other techniques to ensure you can savor its unique taste throughout the entire year. Each method offers different culinary applications, allowing you to make the most of your bumper crop and expand your pantry with homemade goodness.
- Rhubarb Wine: Transform your rhubarb into a delightful homemade wine. This unique and refreshing beverage can be a wonderful conversation starter and a special addition to your cellar for festive occasions.
- Freezing Rhubarb: One of the simplest and quickest ways to preserve rhubarb for future use. Freezing chopped rhubarb stalks allows you to easily incorporate them later into pies, crumbles, sauces, or jams without the need for thawing first. It’s perfect for quick dessert preparations.
- More Rhubarb Canning Recipes: Dive deeper into the world of rhubarb preservation by exploring a variety of other canning recipes beyond chutney. Think vibrant rhubarb jams, sparkling jellies, or flavorful sauces, all perfect for spreading on toast, stirring into yogurt, or pairing with desserts.
- Canning Rhubarb (Plain): For sheer simplicity, consider canning plain chopped rhubarb in a light syrup or even just water. This method preserves the raw rhubarb flavor, making it ready to be used as a convenient base for pies, tarts, or stewed rhubarb desserts whenever the craving strikes.
- Canning Rhubarb Juice: Extract the vibrant, tart flavor of rhubarb into a refreshing juice. This versatile liquid can be enjoyed on its own as a thirst-quenching beverage, mixed into cocktails, or used as a unique base for other drinks and culinary creations.
- Canning Rhubarb Pie Filling: Prepare and can a ready-to-use rhubarb pie filling. This ingenious method makes it incredibly easy to bake a delicious homemade rhubarb pie any time of the year, significantly cutting down on prep time when you’re craving that classic dessert.
Rhubarb Chutney Recipe Summary
For your convenience, here is a concise overview of the Rhubarb Chutney recipe. Please refer to the detailed sections above for comprehensive instructions, tips, and explanations to ensure the best results.
Equipment You’ll Need
- Water Bath Canner
- Large, heavy-bottomed saucepan or Dutch oven
- Four 8-ounce (250 mL) canning jars with new lids and screw bands
- Jar lifter
- Canning funnel
- Bubble remover tool or a clean, non-metallic spatula
- Clean towels or cooling rack
Ingredients List
- 4 cups apples, peeled, cored, and finely diced (about 1 L)
- 4 cups granulated sugar (about 1 L)
- 2 cups rhubarb, fresh or frozen, diced (about 500 mL)
- 1 tsp ground cinnamon (about 5 mL)
- ½ tsp ground nutmeg (about 2 mL)
- ½ cup dried cranberries (about 125 mL)
- ½ cup water (about 125 mL)
- Grated zest and the fresh juice of one lemon
Step-by-Step Instructions
- Sterilize your canning jars and lids by boiling them in water for 10 minutes. Keep them hot until ready to fill.
- In a large saucepan, combine the diced apples, granulated sugar, water, lemon zest, lemon juice, and diced rhubarb.
- Bring the mixture to a rolling boil over medium-high heat, stirring often. Reduce heat to a low boil and continue to cook, stirring frequently, for approximately 15 minutes.
- Add the dried cranberries, ground nutmeg, and ground cinnamon. Continue to boil gently, stirring often, until the chutney thickens considerably and mounds on a spoon (this typically takes another 15 minutes).
- Carefully ladle the hot chutney into your hot, sterilized jars, leaving precisely 1/2 inch of headspace at the top of each jar.
- Use a bubble remover tool or non-metallic spatula to remove any trapped air bubbles, adjusting headspace by adding more chutney if necessary.
- Wipe the rims of the jars thoroughly with a clean, damp cloth to ensure a proper seal.
- Place the hot lids onto the jars and secure them with screw bands, tightening them “finger-tight.”
- Process the filled and sealed jars in a water bath canner for 10 minutes (remember to adjust processing time for higher altitudes if applicable).
- After processing, turn off the heat and carefully remove the canner lid. Let the jars sit in the hot water for an additional five minutes.
- Using a jar lifter, remove the jars from the canner and place them upright on a clean towel or cooling rack in a draft-free area. Allow them to cool completely, undisturbed, for 12 to 24 hours.
- Once cooled, check all jar seals. Remove screw bands. Label the jars with the contents and date, then store them in a cool, dark, dry place away from direct sunlight.
Nutrition Information (Approximate)
The following nutrition information is automatically calculated and should be considered an approximation only. This recipe yields approximately 32 servings (equivalent to four 8-ounce jars).
- Calories: 112 kcal
- Carbohydrates: 29g
- Protein: 0.1g
- Fat: 0.2g
- Saturated Fat: 0.02g
- Polyunsaturated Fat: 0.02g
- Monounsaturated Fat: 0.01g
- Sodium: 1mg
- Potassium: 40mg
- Fiber: 1g
- Sugar: 28g
- Vitamin A: 16 IU
- Vitamin C: 1mg
- Calcium: 9mg
- Iron: 0.1mg