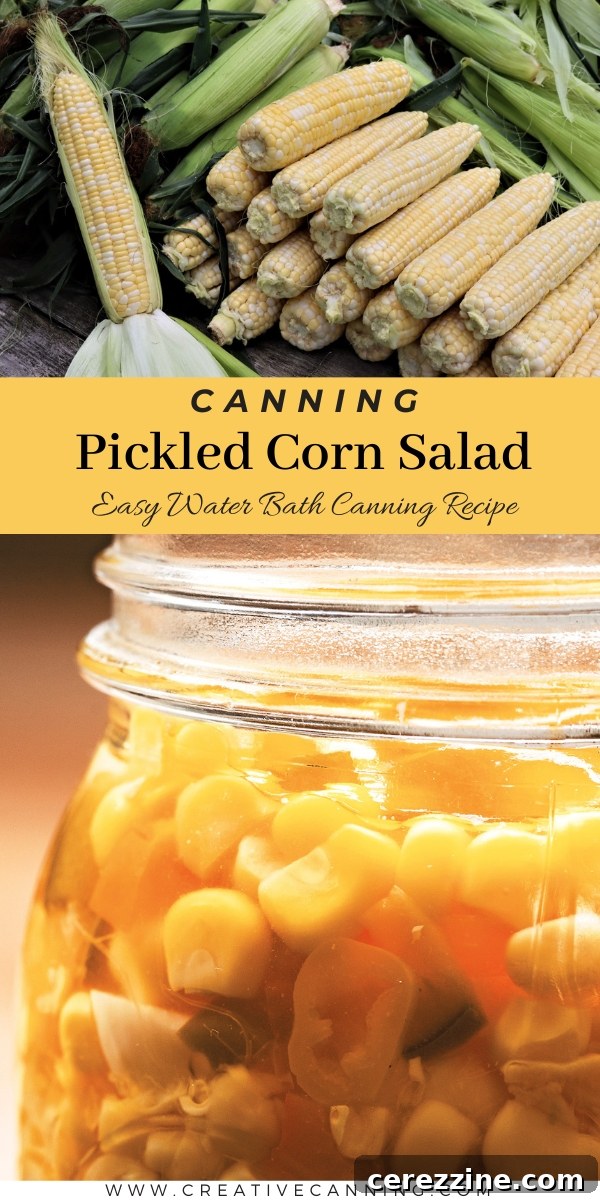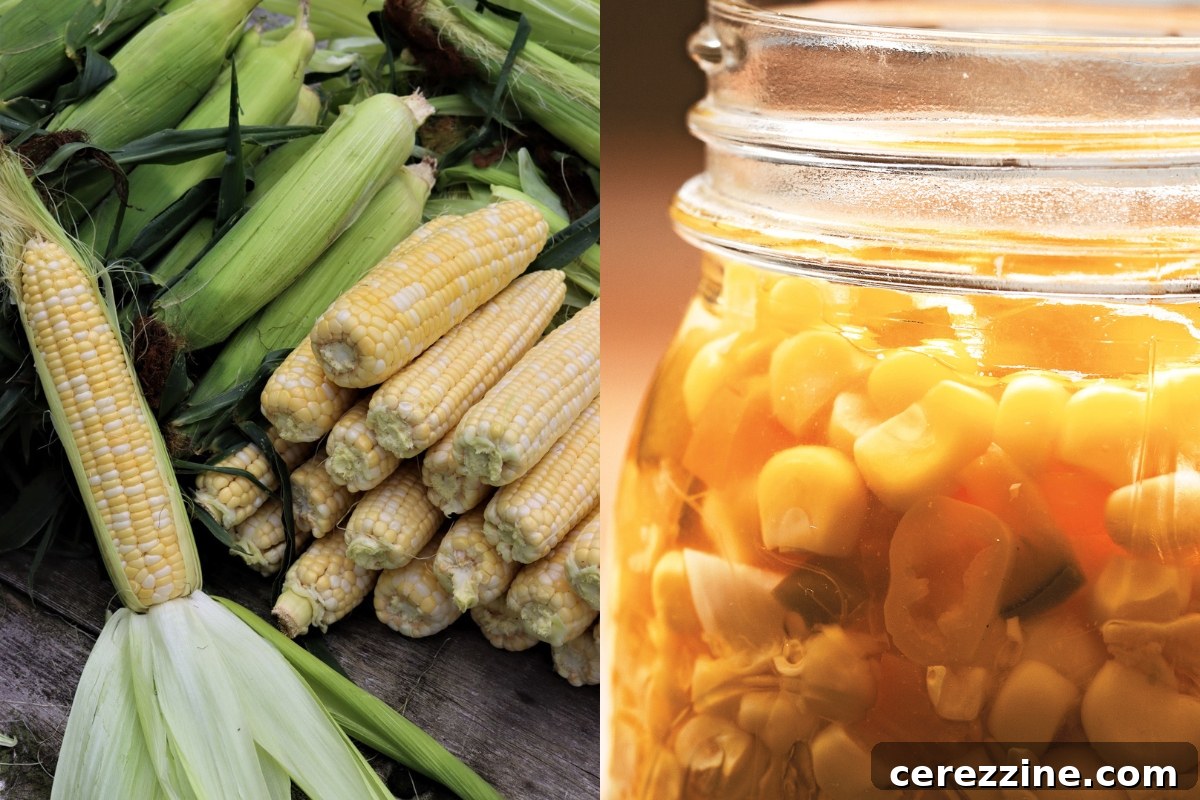
Pickled corn salad is a delightful side dish that brings the vibrant flavors of summer right to your pantry shelf. It’s also one of the most convenient and accessible ways to preserve fresh corn, especially because it can be safely canned using a water bath canner, eliminating the need for a pressure canner. This recipe transforms sweet corn into a tangy, zesty salad that’s perfect for year-round enjoyment, making it an essential addition to any home canner’s repertoire.
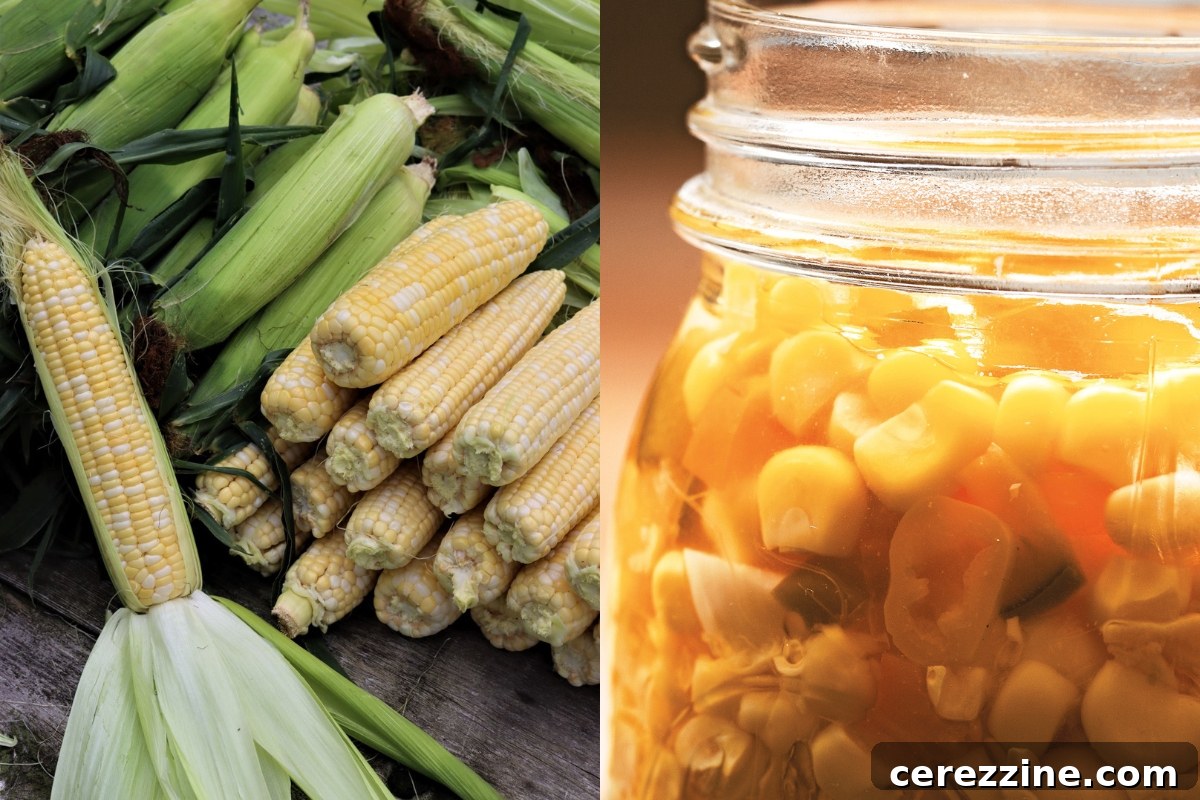
As summer unfolds and cornfields ripen, home canners often find themselves with an abundance of fresh, sweet corn. For those of us who prioritize self-reliance and efficient food preservation, especially when living off-grid with limited freezer space, canning offers an invaluable solution. While traditional corn canning recipes typically require a pressure canner, the thought of operating one indoors during the sweltering summer months can be quite daunting. The heat generated can quickly make a kitchen uncomfortably warm, turning an otherwise rewarding task into a dreaded chore.
This is precisely why finding versatile water bath canning recipes for corn is a game-changer. Imagine being able to preserve the season’s bounty in the refreshing outdoors, perhaps in an outdoor canning kitchen with a high-capacity Amish canner on a propane stove. This setup allows for significant batches of canning to be completed without heating up the main living space, a true blessing when temperatures soar. Plain corn, unfortunately, must be pressure canned due to its low acidity, which means bringing the heat indoors. However, acidified recipes, like this incredible pickled corn salad, open up a world of possibilities for water bath canning.
My quest for more diverse and water-bath-friendly corn preservation methods led me to Angi Schneider’s invaluable book, The Ultimate Guide to Preserving Vegetables. It was here that I discovered this fantastic recipe for pickled corn salad. This recipe offers a safe and simple way to enjoy the sweet taste of corn long after the harvest season has passed, without the complexities of pressure canning. This particular recipe has been a revelation, allowing for easy, outdoor preservation and adding a delightful new staple to our pantry. It’s a testament to the fact that with the right recipe, preserving summer’s sweetness can be both effortless and immensely satisfying.
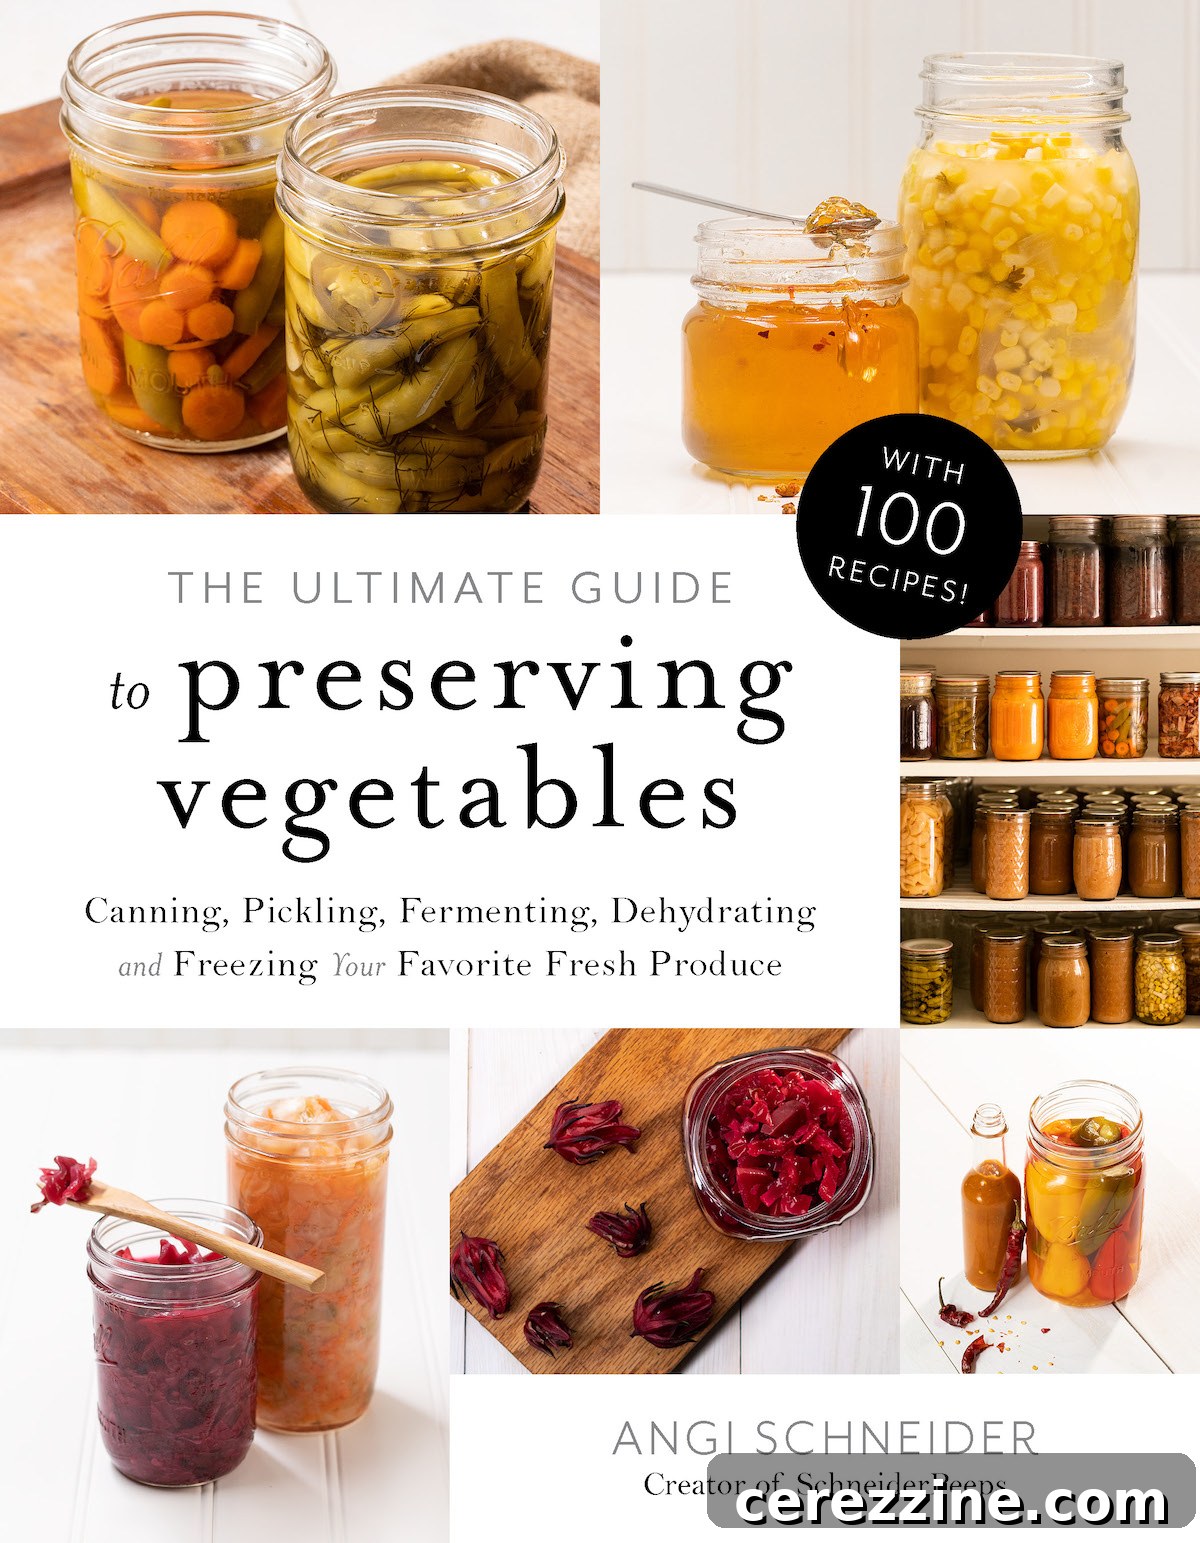
This recipe is reprinted with permission from The Ultimate Guide to Preserving Vegetables by Angi Schneider. Page Street Publishing Co. 2020. Photo credit: Dennis Burnett. The content has been slightly adapted for online format and length.
Canning Sweet and Zesty Pickled Corn Salad: A Pantry Staple
Pickled corn salad is more than just a side dish; it’s a versatile pantry staple that can elevate countless meals. With its bright, zesty flavor profile and satisfying crunch, this salad is fantastic enjoyed straight from the jar, offering a burst of freshness that complements a wide array of dishes. Imagine adding a spoonful to your burrito bowls for an extra layer of texture and tang, or sprinkling it over tacos for a refreshing contrast to spicy fillings. It’s also superb when garnished with a pinch of dried chili powder and served as a chilled side, perfect for summer barbecues or picnics.
The culinary possibilities extend even further. Use this vibrant corn salad to top scrambled eggs or omelets for a breakfast with a gourmet twist. For a quick and delightful salsa, simply mix a jar of pickled corn salad with a can of black beans and some diced tomatoes. Its balanced sweet-and-sour notes make it an excellent accompaniment to grilled meats, fish, or even a simple sandwich. Having jars of this homemade pickled corn salad on hand means you’re always just moments away from a flavorful addition to your meal planning, transforming everyday ingredients into something truly special.
Essential Ingredients for Your Pickled Corn Salad
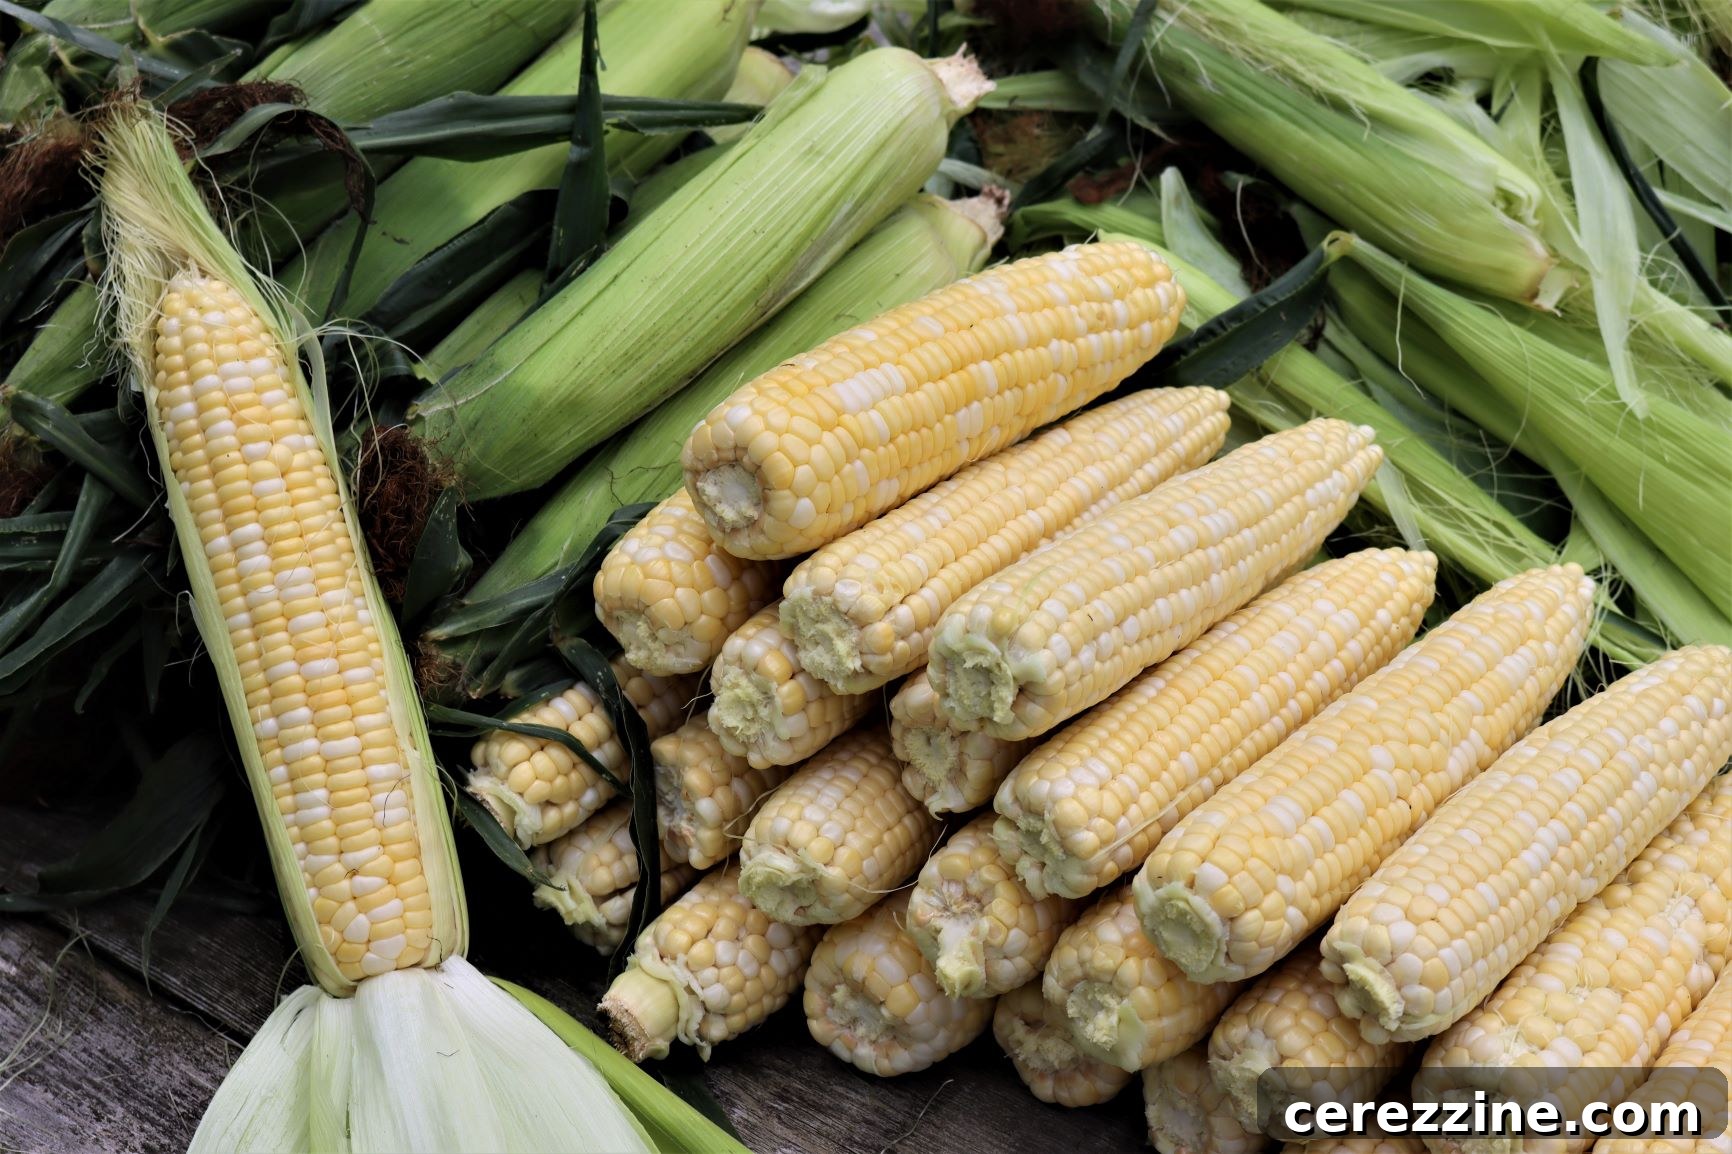
Creating this delicious pickled corn salad begins with selecting the freshest ingredients. For the best flavor and texture, choose ripe, sweet corn. If fresh corn isn’t available, high-quality frozen corn kernels can be a good substitute. Similarly, opt for crisp, colorful peppers that will add both visual appeal and a delightful crunch to your salad. The recipe is carefully balanced to ensure both amazing taste and safe preservation. To make approximately 3 pint jars (500-ml) or 6 half-pint (250-ml) jars, you will need the following:
- 2 tablespoons (36 g) salt
- 4 teaspoons (8 g) ground mustard
- 4 cups (948 ml) apple cider vinegar
- 1 cup (237 ml) water
- ⅔ cup (134 g) sugar
- 5 cups (830 g) corn kernels (this is roughly 17–19 ears of corn)
- 1 cup (150 g) diced peppers (use a mix of sweet and hot peppers for a nuanced flavor; remember to remove seeds from hot peppers if you prefer a milder salad)
- 6–8 cloves garlic, minced
A crucial safety note: It is absolutely essential not to reduce the amount of vinegar specified in this recipe. The vinegar provides the necessary acidity for safe water bath canning, preventing the growth of harmful bacteria. Altering the vinegar ratio could compromise the safety of your canned goods.
Crafting and Canning Your Pickled Corn Salad
Once you’ve gathered all your fresh ingredients, the process of making and canning pickled corn salad is straightforward and relatively quick. Proper preparation of your canning equipment is key to successful and safe preservation. Before you begin cooking, ensure your water bath canner and jars are ready.
Step-by-Step Canning Instructions:
- Prepare Your Canner and Jars: Fill your water bath canner halfway with water and place it on the stove over medium-high heat to bring it to a gentle simmer. Inspect your pint (500-ml) or half-pint (250-ml) jars for any nicks or cracks. Wash the jars thoroughly in hot soapy water, rinse them well, and keep them hot until they are needed to prevent thermal shock. Wash the canning lids in hot soapy water, rinse them, and set them aside.
- Create the Brine: In a large stockpot, combine the salt, ground mustard, apple cider vinegar, water, and sugar. Stir the mixture well and bring it to a rolling boil over high heat, stirring occasionally to ensure the sugar and salt dissolve completely.
- Cook the Vegetables: Once the brine is boiling, add your prepared corn kernels, diced peppers (both sweet and hot), and minced garlic to the pot. Allow the mixture to return to a full boil. Then, reduce the heat to low and let the mixture simmer gently for 20 minutes, allowing the flavors to meld and the vegetables to soften slightly.
- Fill the Jars: Carefully remove the stockpot from the heat. Using a ladle, fill the hot, prepared jars with the hot corn salad mixture, leaving precisely ½ inch (12 mm) of headspace at the top of each jar. This headspace is crucial for proper sealing and to prevent food from bubbling out during processing.
- Remove Air Bubbles and Seal: Use a bubble remover tool or a clean chopstick to gently remove any trapped air bubbles from the jars. Run the tool along the inside of the jar, pressing gently to release bubbles. Recheck the headspace after removing air; if needed, add a little more brine to maintain the ½-inch headspace. Wipe the rims of the jars thoroughly with a clean, damp cloth to remove any food particles that could interfere with the seal. Place the clean, warm lids on the jars and screw on the bands until they are fingertip-tight (just enough resistance, not overly tight).
- Process in Water Bath Canner: Carefully place the filled and sealed jars into the simmering water bath canner, ensuring that the jars are completely covered by at least 1 inch (2.5 cm) of water. Place the lid on the canner and bring the water to a full, vigorous rolling boil. Once boiling, begin timing the processing. Process the jars for 15 minutes. Remember to adjust this processing time according to your altitude, as outlined in the altitude adjustment guide below.
- Cool and Store: After the processing time is complete, turn off the heat and carefully remove the canner lid. Allow the jars to rest in the hot water for 5 minutes before carefully removing them. Arrange a folded towel on your counter or table and, using a jar lifter, carefully transfer the hot jars to the towel. Leave ample space between jars for air circulation. Let the jars cool undisturbed for at least 12-24 hours.
Altitude Adjustments for Canning Pickled Corn Salad:
Altitude affects the boiling point of water, so it’s vital to adjust processing times for safe canning:
- For elevations from 0 to 1,000 Feet: Process for 15 minutes
- For elevations from 1,001 to 6,000 Feet: Process for 20 minutes
- For elevations above 6,000 Feet: Process for 25 minutes
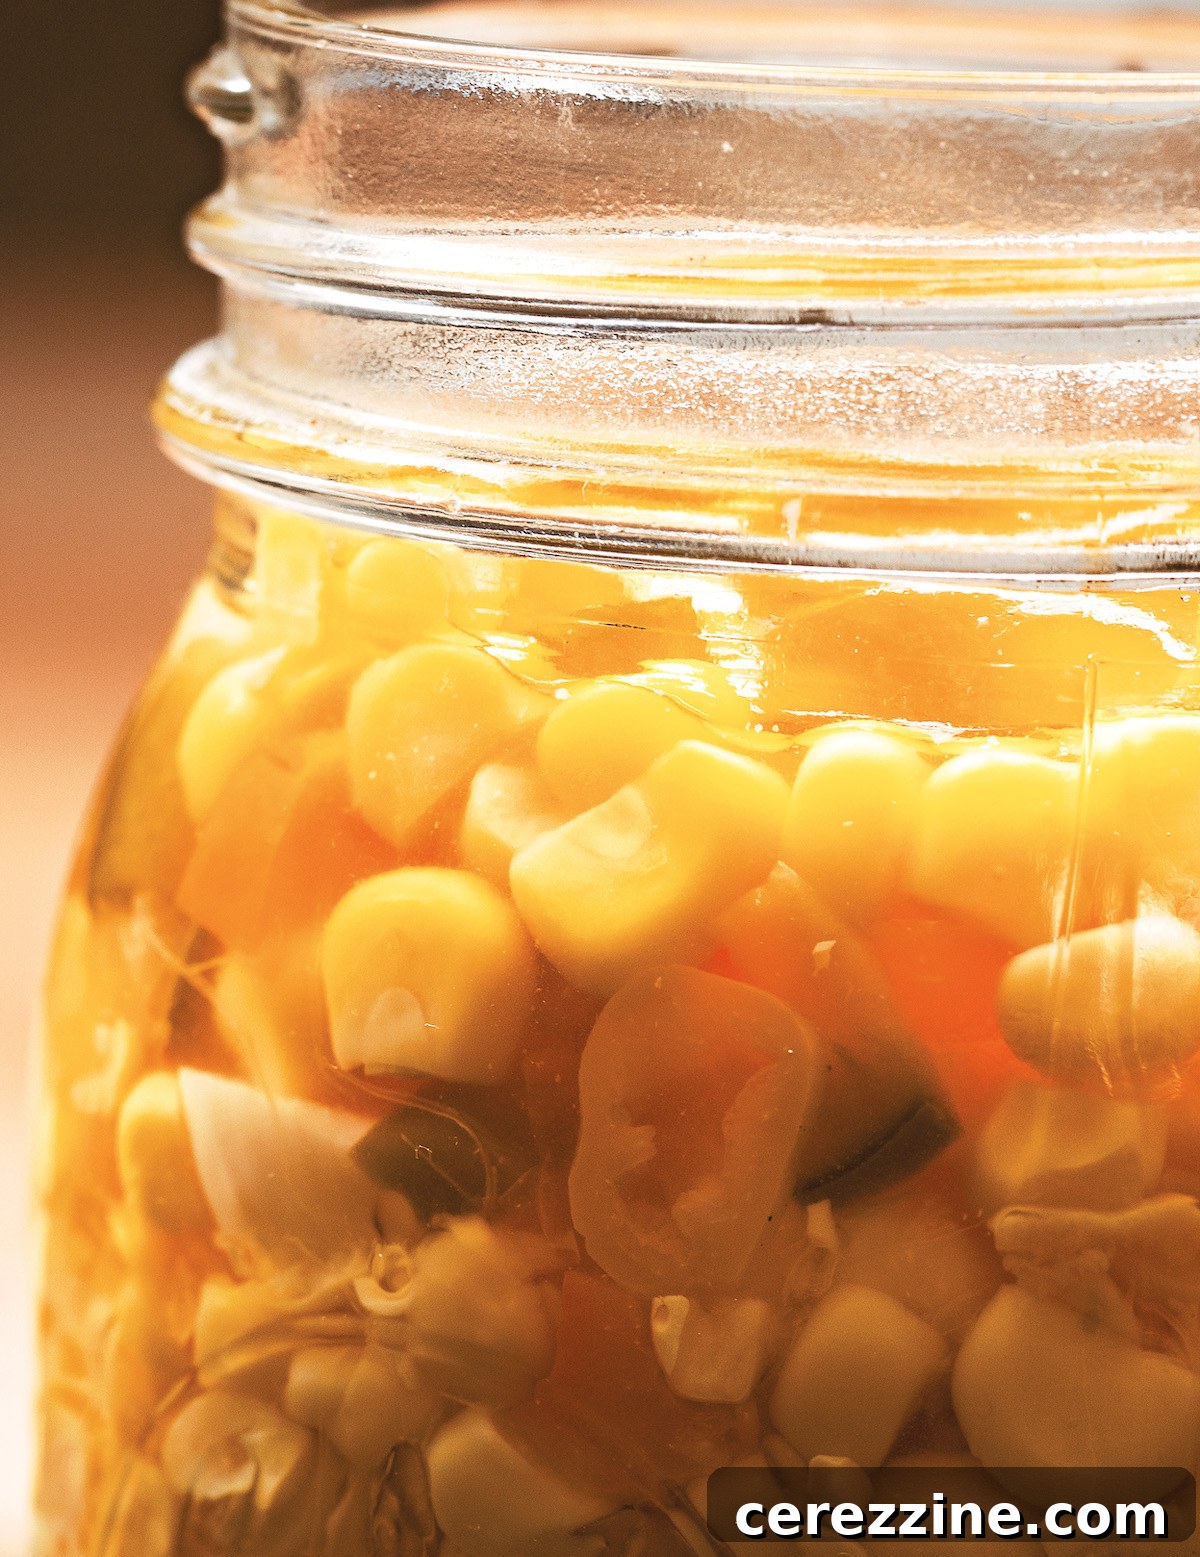
Once the jars have fully cooled, carefully remove the bands and check the seals. A properly sealed jar will have a lid that is concave (curved inwards) and does not flex when pressed. If any jars failed to seal, simply place them in the refrigerator and plan to use their contents first, as they are not shelf-stable. Wipe the sealed jars with a clean, damp cloth to remove any residue, label them with the contents and date, and store them in a cool, dark place for up to one year. Enjoy the taste of summer throughout the seasons!
24
Servings, Makes 3 pints
Canning Pickled Corn Salad
5 minutes
20 minutes
15 minutes
40 minutes
Equipment
-
Water Bath Canner
Ingredients
-
2
tbsp
salt -
4
cups
apple cider vinegar -
4
tsp
dry ground mustard seed -
1
cup
water -
2/3
cup
sugar -
5
cups
corn kernels,
approximately 17–19 ears -
1
cup
peppers,
diced, a mix of sweet and hot, seeds removed from hot peppers if you prefer milder flavor -
6 to 8
cloves
garlic,
minced
Instructions
-
Prepare the water bath canner by filling it halfway with water and putting it on the stove to simmer.
-
Check three pint (500-ml) or six half-pint (250-ml) jars for any nicks or cracks, wash them in hot soapy water and rinse them in hot water. Keep the jars hot until it’s time to use them. Wash the lids in hot soapy water, rinse them, and set them aside.
-
Combine the salt, mustard, vinegar, water and sugar in a large stockpot and bring the mixture to a boil, stirring occasionally. Add the corn, peppers and garlic, and bring the mixture back to a boil. Reduce the heat to low and simmer the mixture for 20 minutes.
-
Remove the stockpot from the heat, and fill the jars with the corn salad, leaving 1⁄2 inch (12 mm) of headspace. Remove the air bubbles with a bubble remover tool or chopstick and recheck the headspace; add more brine if necessary. Wipe the rims with a clean cloth, put the lids on the jars and screw on the bands. Place the jars in the prepared hot water bath canner, making sure that the jars are covered by at least an inch (2.5 cm) of water.
-
Bring the water to a full rolling boil and put the lid on the canner. Process the jars for 15 minutes, adjusting for altitude, if necessary (see notes). Arrange a folded towel on the counter or table. Remove the jars, using a jar lifter, and place them on the towel. Let the jars cool for at least 12 hours.
-
Once the jars are cooled, remove the bands and check the seals. If any jars failed to seal, put them in the refrigerator to use first. Wipe the jars with a clean cloth and store them for up to a year.
Notes
- For 0 to 1,000 Feet in elevation, process for 15 minutes
- For 1,001 to 6,000 Feet in elevation, process for 20 minutes
- Above 6,000 feet, process for 25 minutes
Nutrition
Carbohydrates: 11g,
Protein: 1g,
Fat: 0.4g,
Saturated Fat: 0.1g,
Polyunsaturated Fat: 0.2g,
Monounsaturated Fat: 0.1g,
Sodium: 654mg,
Potassium: 88mg,
Fiber: 1g,
Sugar: 7g,
Vitamin A: 38IU,
Vitamin C: 6mg,
Calcium: 7mg,
Iron: 0.2mg
Nutrition information is automatically calculated, so should only be used as an approximation.
Like this? Leave a comment below!
More Delightful Corn Canning Recipes
If you’re eager to continue your corn preservation journey, explore these other fantastic corn canning recipes. Each offers a unique way to enjoy the sweetness of corn:
- Corn Cob Jelly: A surprisingly delicious and unique jelly that captures the essence of corn.
- Corn Salsa: A sweet and spicy condiment perfect for chips, tacos, or grilled meats.
- Corn Relish: A tangy, savory relish that makes an excellent topping for hotdogs, burgers, or any savory dish.
Explore More Vibrant Pickling Recipes
Beyond corn, the world of pickling offers endless possibilities for transforming fresh produce into tangy, shelf-stable delights. If you love the zesty flavor of pickle recipes, you’ll certainly enjoy these other pickled salads and relishes:
- Pickled 3 Bean Salad: A colorful and protein-rich salad that’s a classic pantry staple.
- Bread and Butter Zucchini Pickles: A clever way to use up abundant garden zucchini, resulting in sweet and tangy pickles.
- Sweet Dill Pickle Relish: A versatile relish that enhances sandwiches, hotdogs, and potato salads.