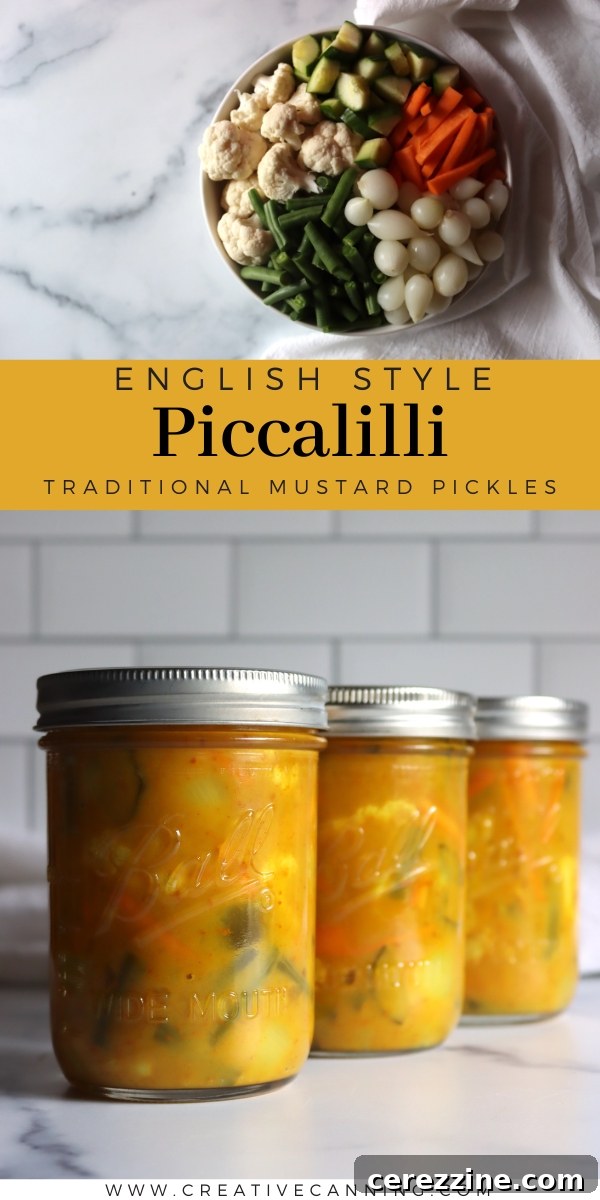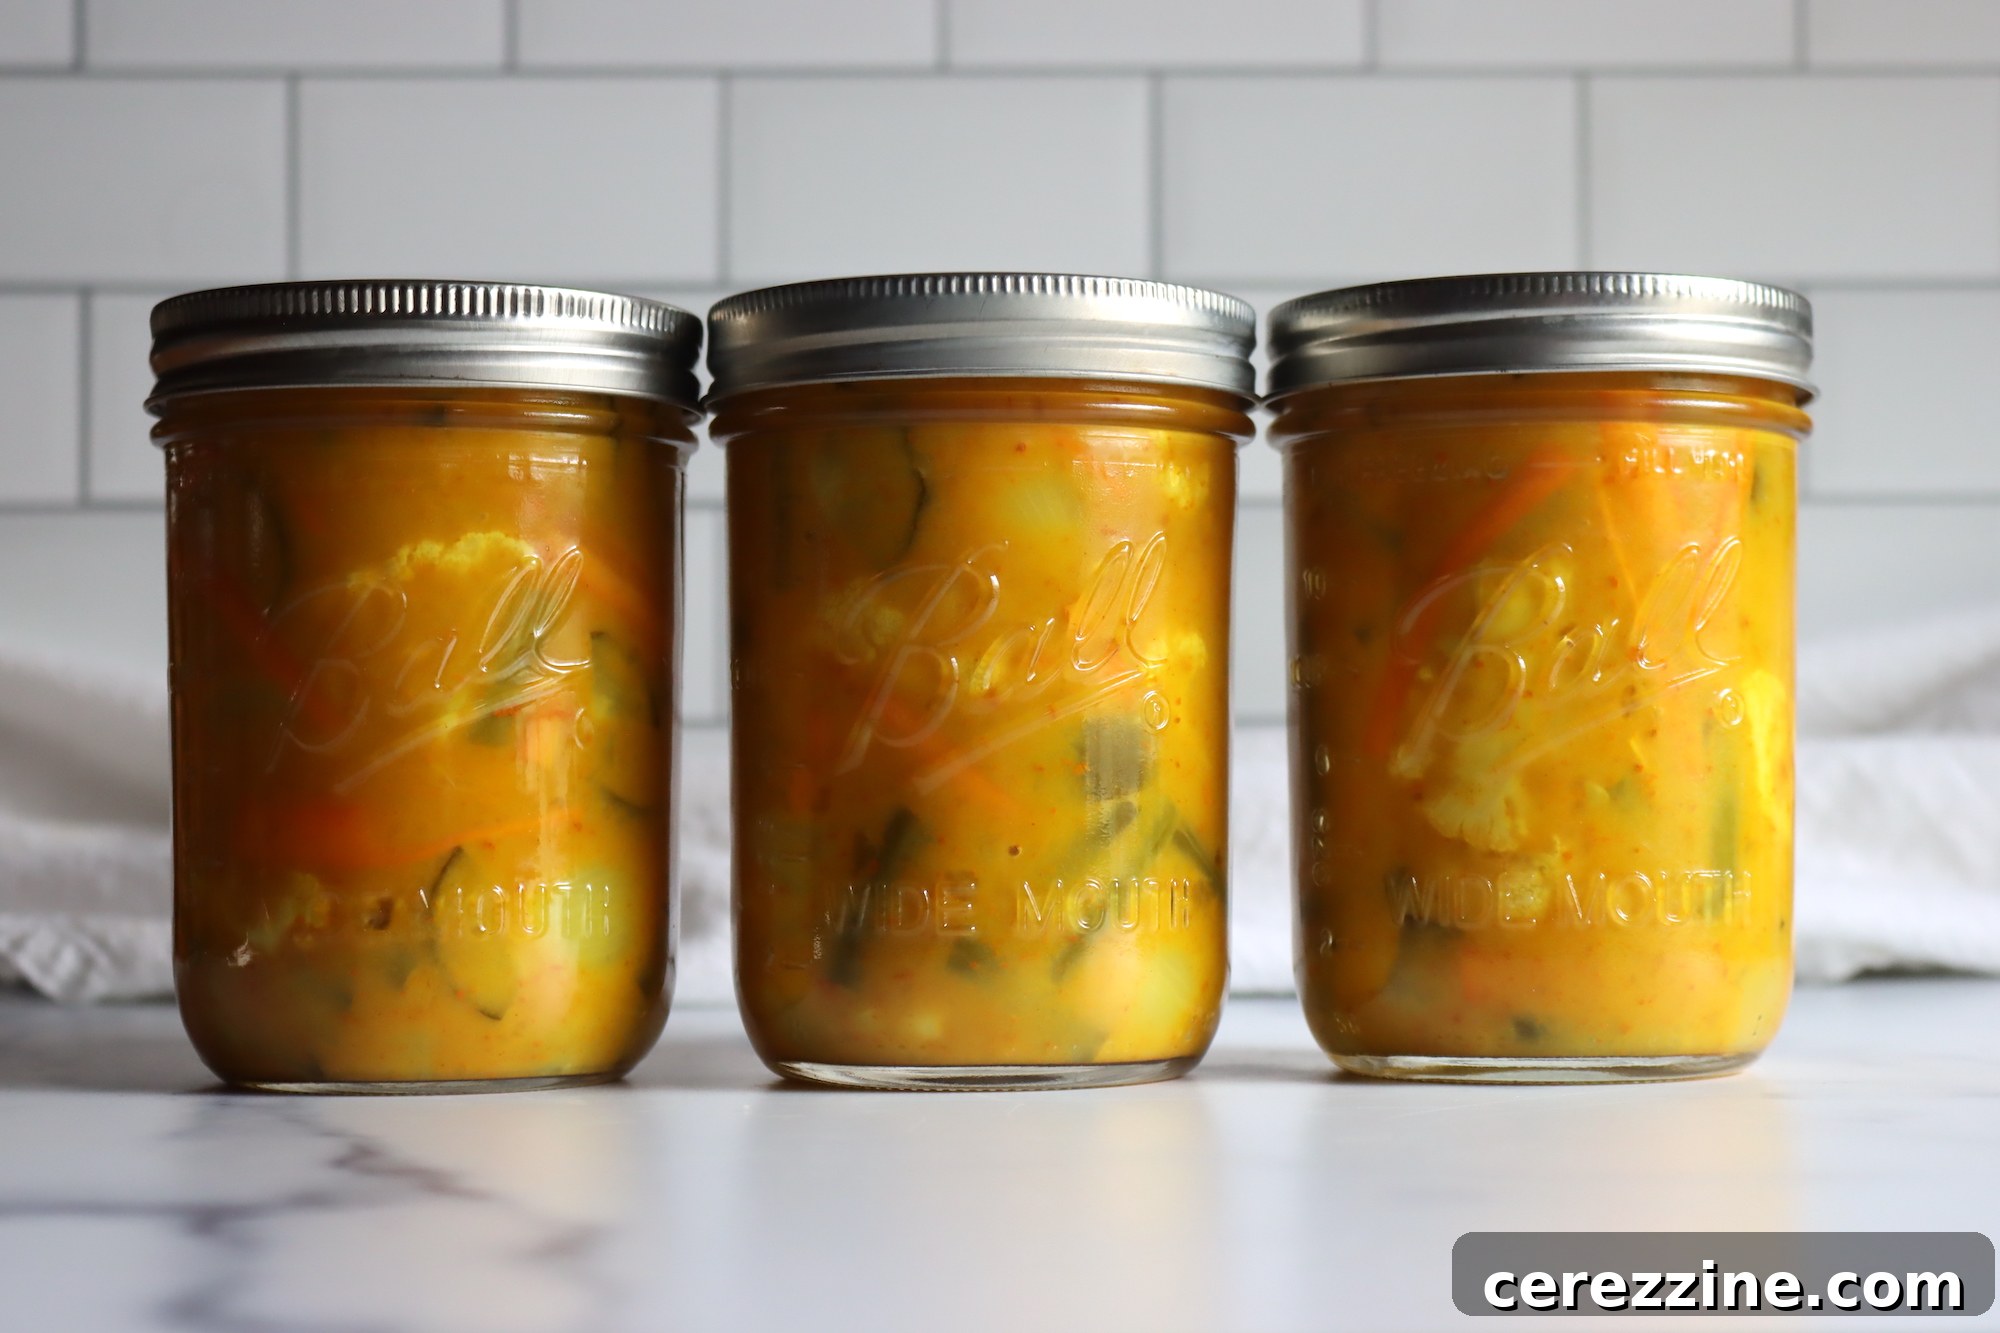
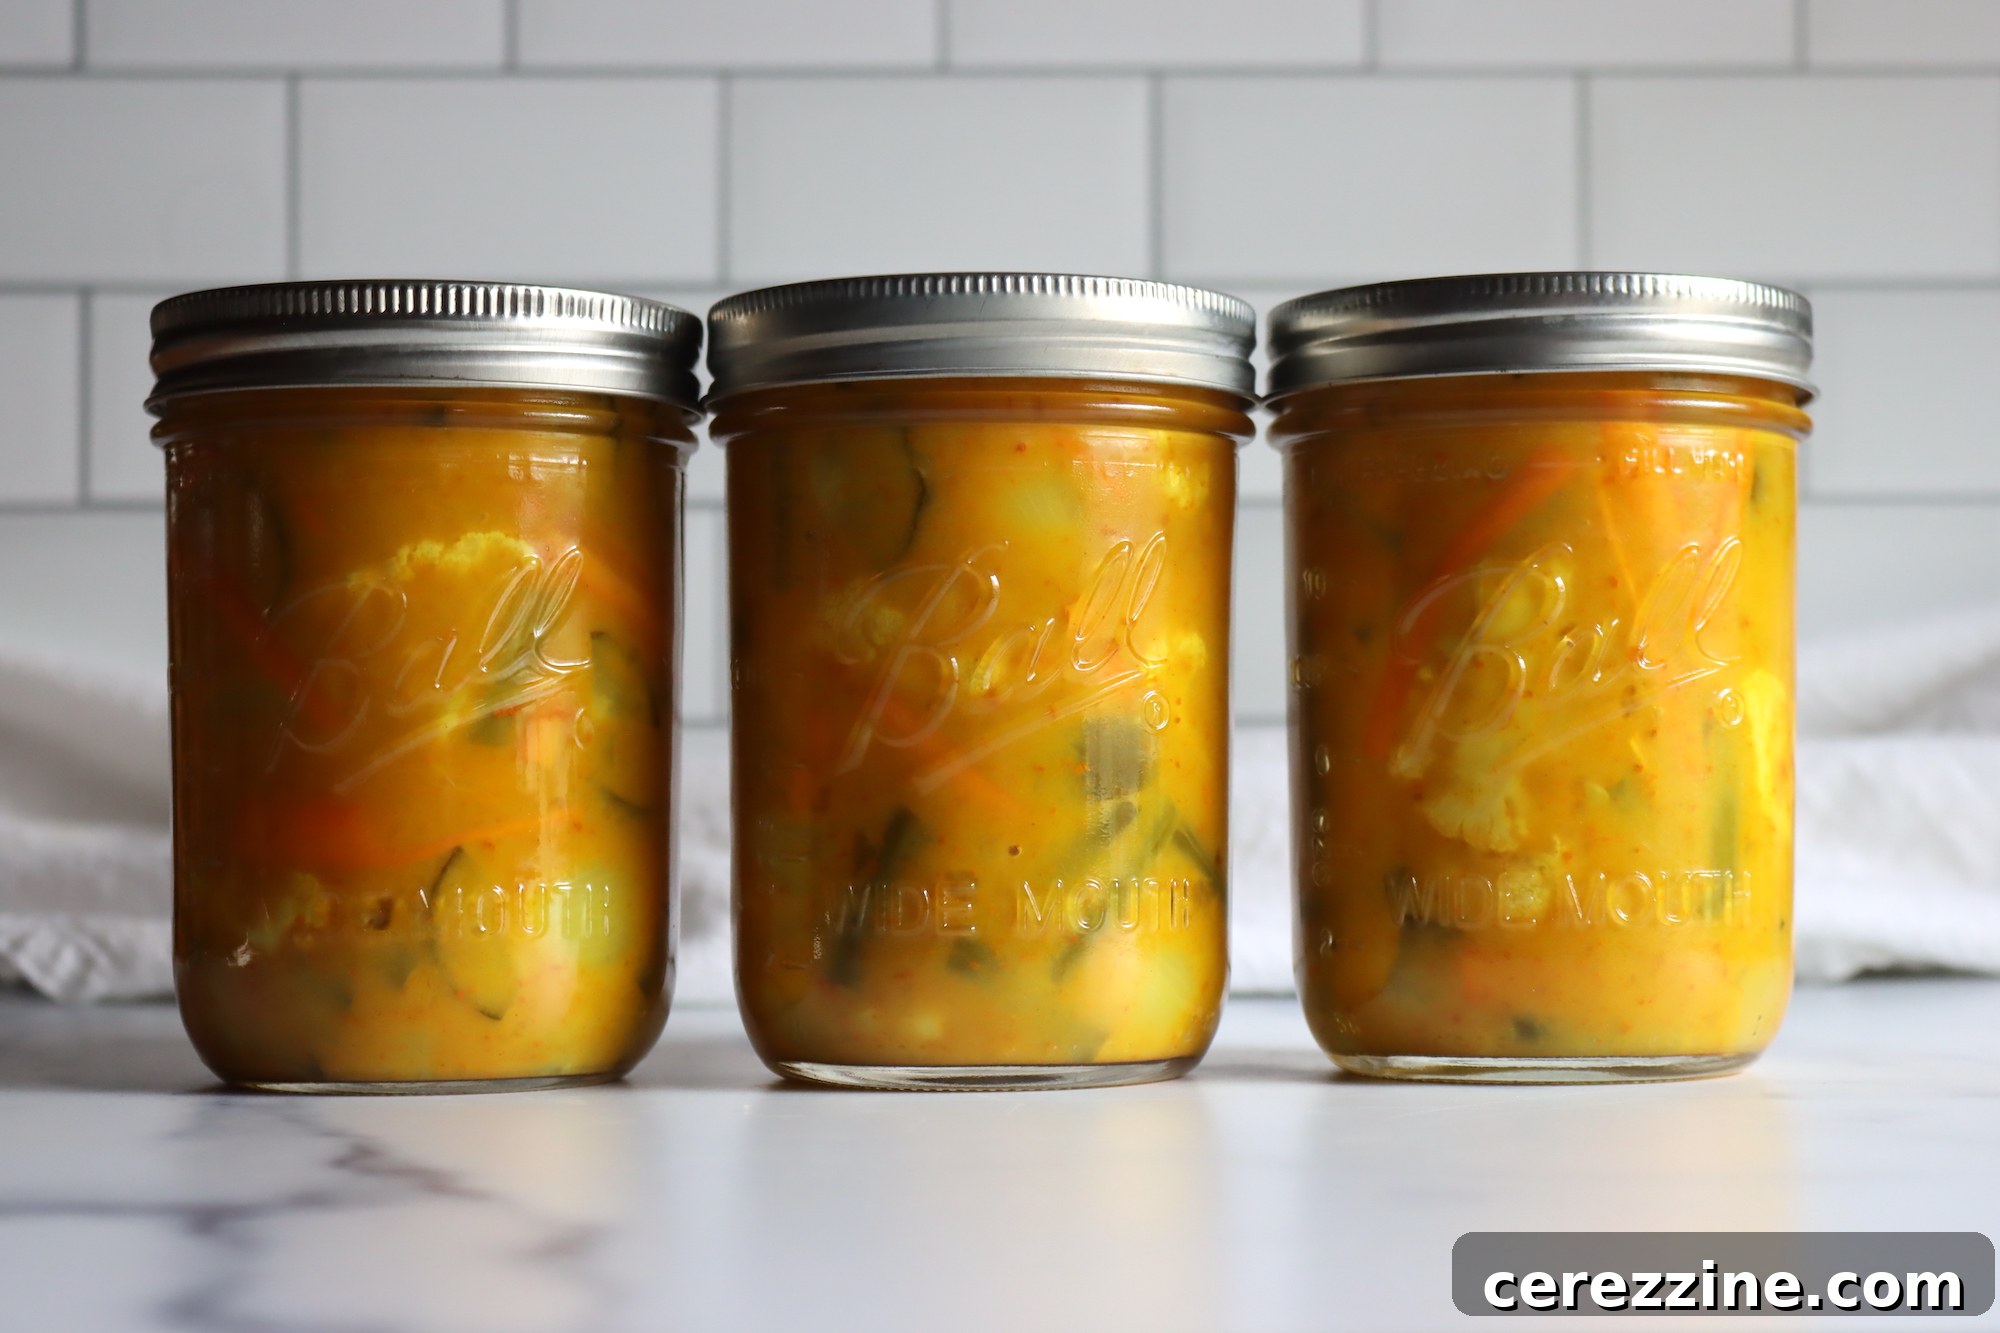
British Piccalilli is a quintessential English pickle, celebrated for its vibrant medley of crisp vegetables suspended in a rich, savory mustard sauce. This adaptable recipe provides comprehensive instructions for water bath canning, ensuring long-term preservation, but can also be easily prepared as a delightful refrigerator pickle for more immediate enjoyment.
The Ultimate Guide to Traditional British Piccalilli: A Tangy & Savory Homemade Pickle Recipe
For home cooks and garden enthusiasts seeking a delicious and distinctive way to utilize bountiful harvests, look no further than Traditional British Piccalilli. Moving beyond the familiar dill pickle spears, Piccalilli offers a refreshing change with its complex flavor profile and versatile applications. This marvelous condiment, with roots tracing back to India, has been a beloved British staple for centuries, though it remains a somewhat hidden gem in other parts of the world. Its irresistible sweet and tangy character is the masterful result of a harmonious blend of fresh, crunchy vegetables, potent vinegar, a touch of sugar, and an aromatic symphony of carefully selected spices.
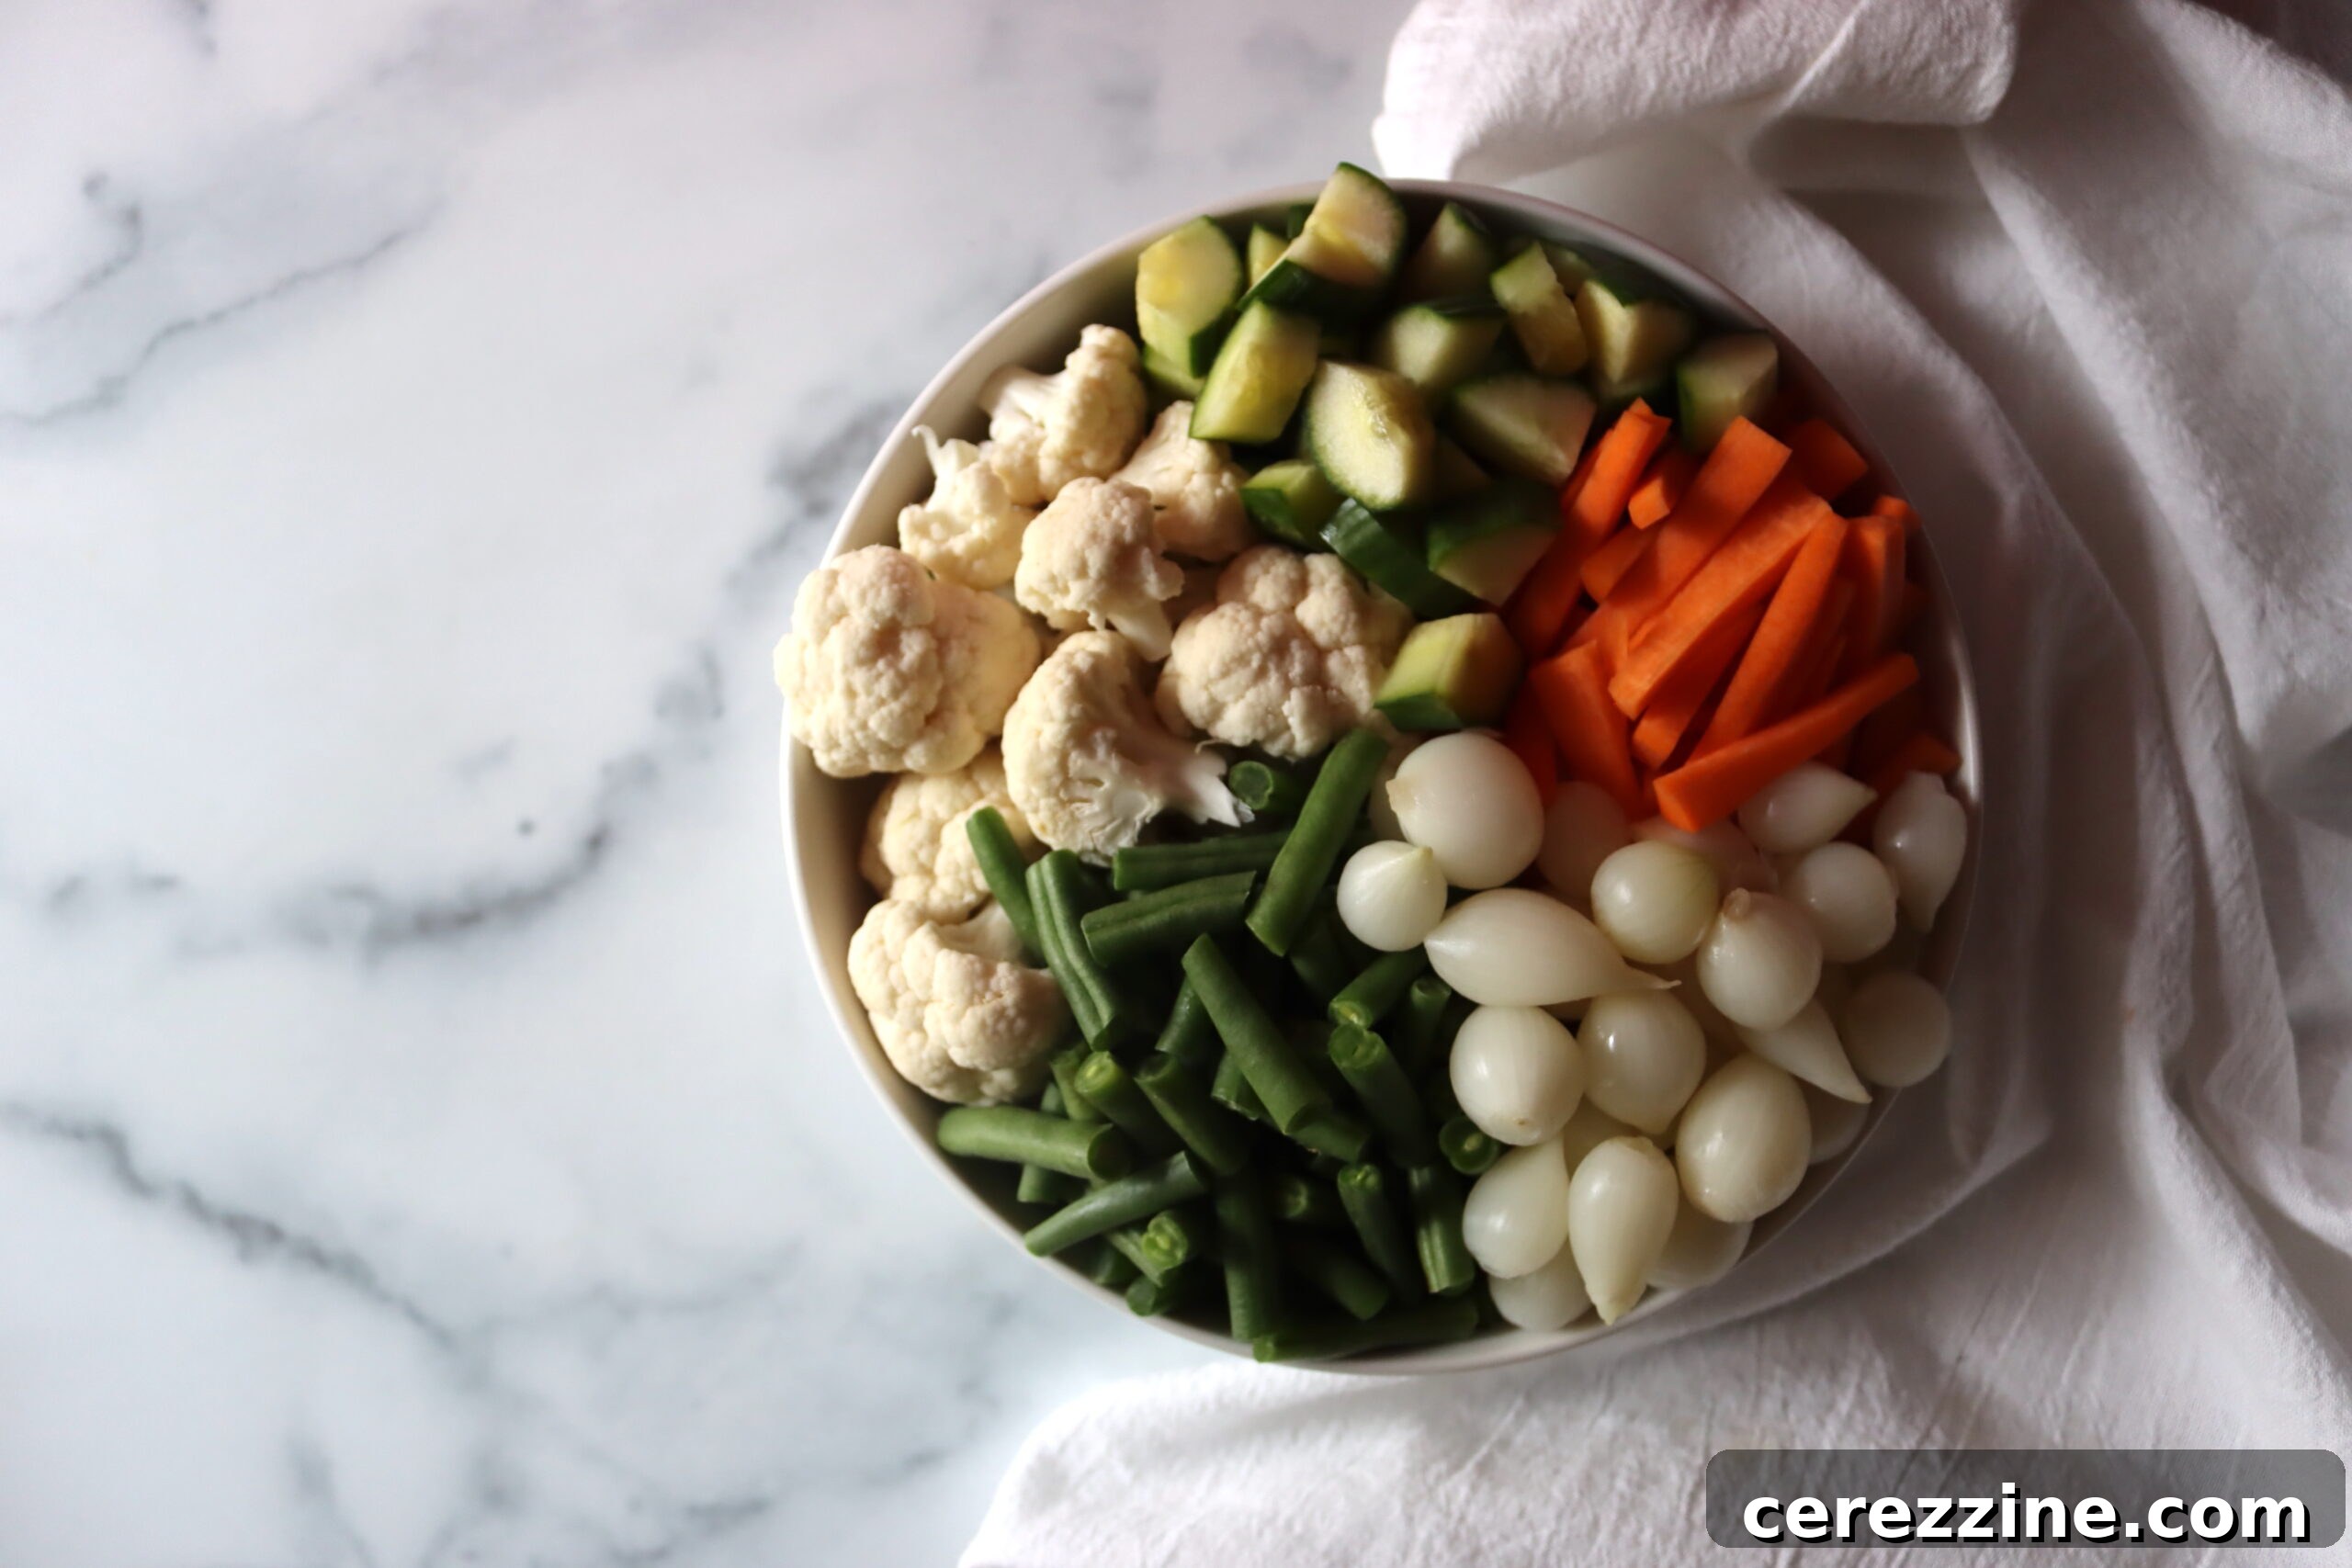
One of the most appealing aspects of making Piccalilli is its incredible adaptability. You have the freedom to incorporate almost any fresh vegetable you have on hand – from crisp cucumbers and florets of cauliflower to tender green beans and even exotic Romanesco. The key to a successful Piccalilli lies in ensuring your chosen vegetables are of the highest quality, impeccably fresh, and uniformly chopped into small, bite-sized pieces. This attention to detail guarantees even cooking and a delightful texture in every spoonful. Feel free to experiment with different vegetable combinations to craft a unique flavor profile that perfectly suits your palate each time you prepare a batch.
What is British Piccalilli? A Culinary Journey into English Mustard Pickles
British Piccalilli is far more than just another pickle; it’s a testament to the art of preserving and a vibrant cornerstone of British culinary tradition. At its heart, Piccalilli is a chunky, mixed pickle distinguished by its bright yellow hue and the assertive, yet balanced, flavor of mustard. The vibrant color comes primarily from turmeric, which also lends an earthy warmth to the overall spice blend. Unlike many other pickles, Piccalilli’s thick, rich sauce clings to the vegetables, creating a substantial condiment that adds both texture and intense flavor to any dish.
The Rich History and Distinctive Flavor of Piccalilli
The origins of Piccalilli are deeply intertwined with Britain’s historical connections to India. As early as the 18th century, British colonials brought back recipes and culinary influences from the Indian subcontinent, including various forms of “achar” or Indian pickles. These spicy, preserved vegetable dishes inspired the creation of Piccalilli, adapting the original concept with ingredients more readily available in Britain and tailoring the flavor profile to suit European tastes. The strong mustard and vinegar base, combined with a touch of sweetness, became its defining characteristic, setting it apart from its Indian predecessors while retaining a nod to its exotic heritage.
The distinctive taste of Piccalilli is a complex dance on the palate. Initially, you’re met with a sharp, tangy kick from the vinegar, quickly followed by the pungent warmth of English mustard. This is beautifully mellowed by the sweetness of sugar and honey, creating a balanced profile that is both invigorating and comforting. Underlying notes of cumin, coriander, and turmeric add depth and an aromatic earthiness, making each bite an exploration of flavor. Its chunky texture, with crisp bits of cauliflower, cucumber, and other vegetables, provides a satisfying counterpoint to the smooth, rich sauce.
Why Make Homemade Piccalilli?
While commercial Piccalilli is widely available, crafting your own at home offers numerous advantages that elevate the experience to a whole new level. Firstly, homemade Piccalilli allows you to control the quality and freshness of your ingredients. You can select organic, local produce, ensuring your pickles are free from undesirable additives and bursting with natural flavor. Secondly, the ability to customize your vegetable mix is a significant draw. Have an abundance of specific garden vegetables? Incorporate them! Prefer certain textures? Adjust your chop size. This personalization is simply not possible with store-bought versions.
Beyond customization, there’s an immense satisfaction that comes from preserving your own food. It’s a connection to traditional culinary arts and a way to extend the bounty of the growing season throughout the year. The process itself, from chopping to canning, can be a therapeutic and rewarding endeavor. Finally, the flavor of homemade Piccalilli often surpasses its commercial counterparts. The spices are fresher, the vegetables retain more of their natural crispness, and the overall taste is brighter, more nuanced, and truly reflective of the care put into its creation. It’s a wonderful gift for friends and family, and an impressive addition to your own pantry.
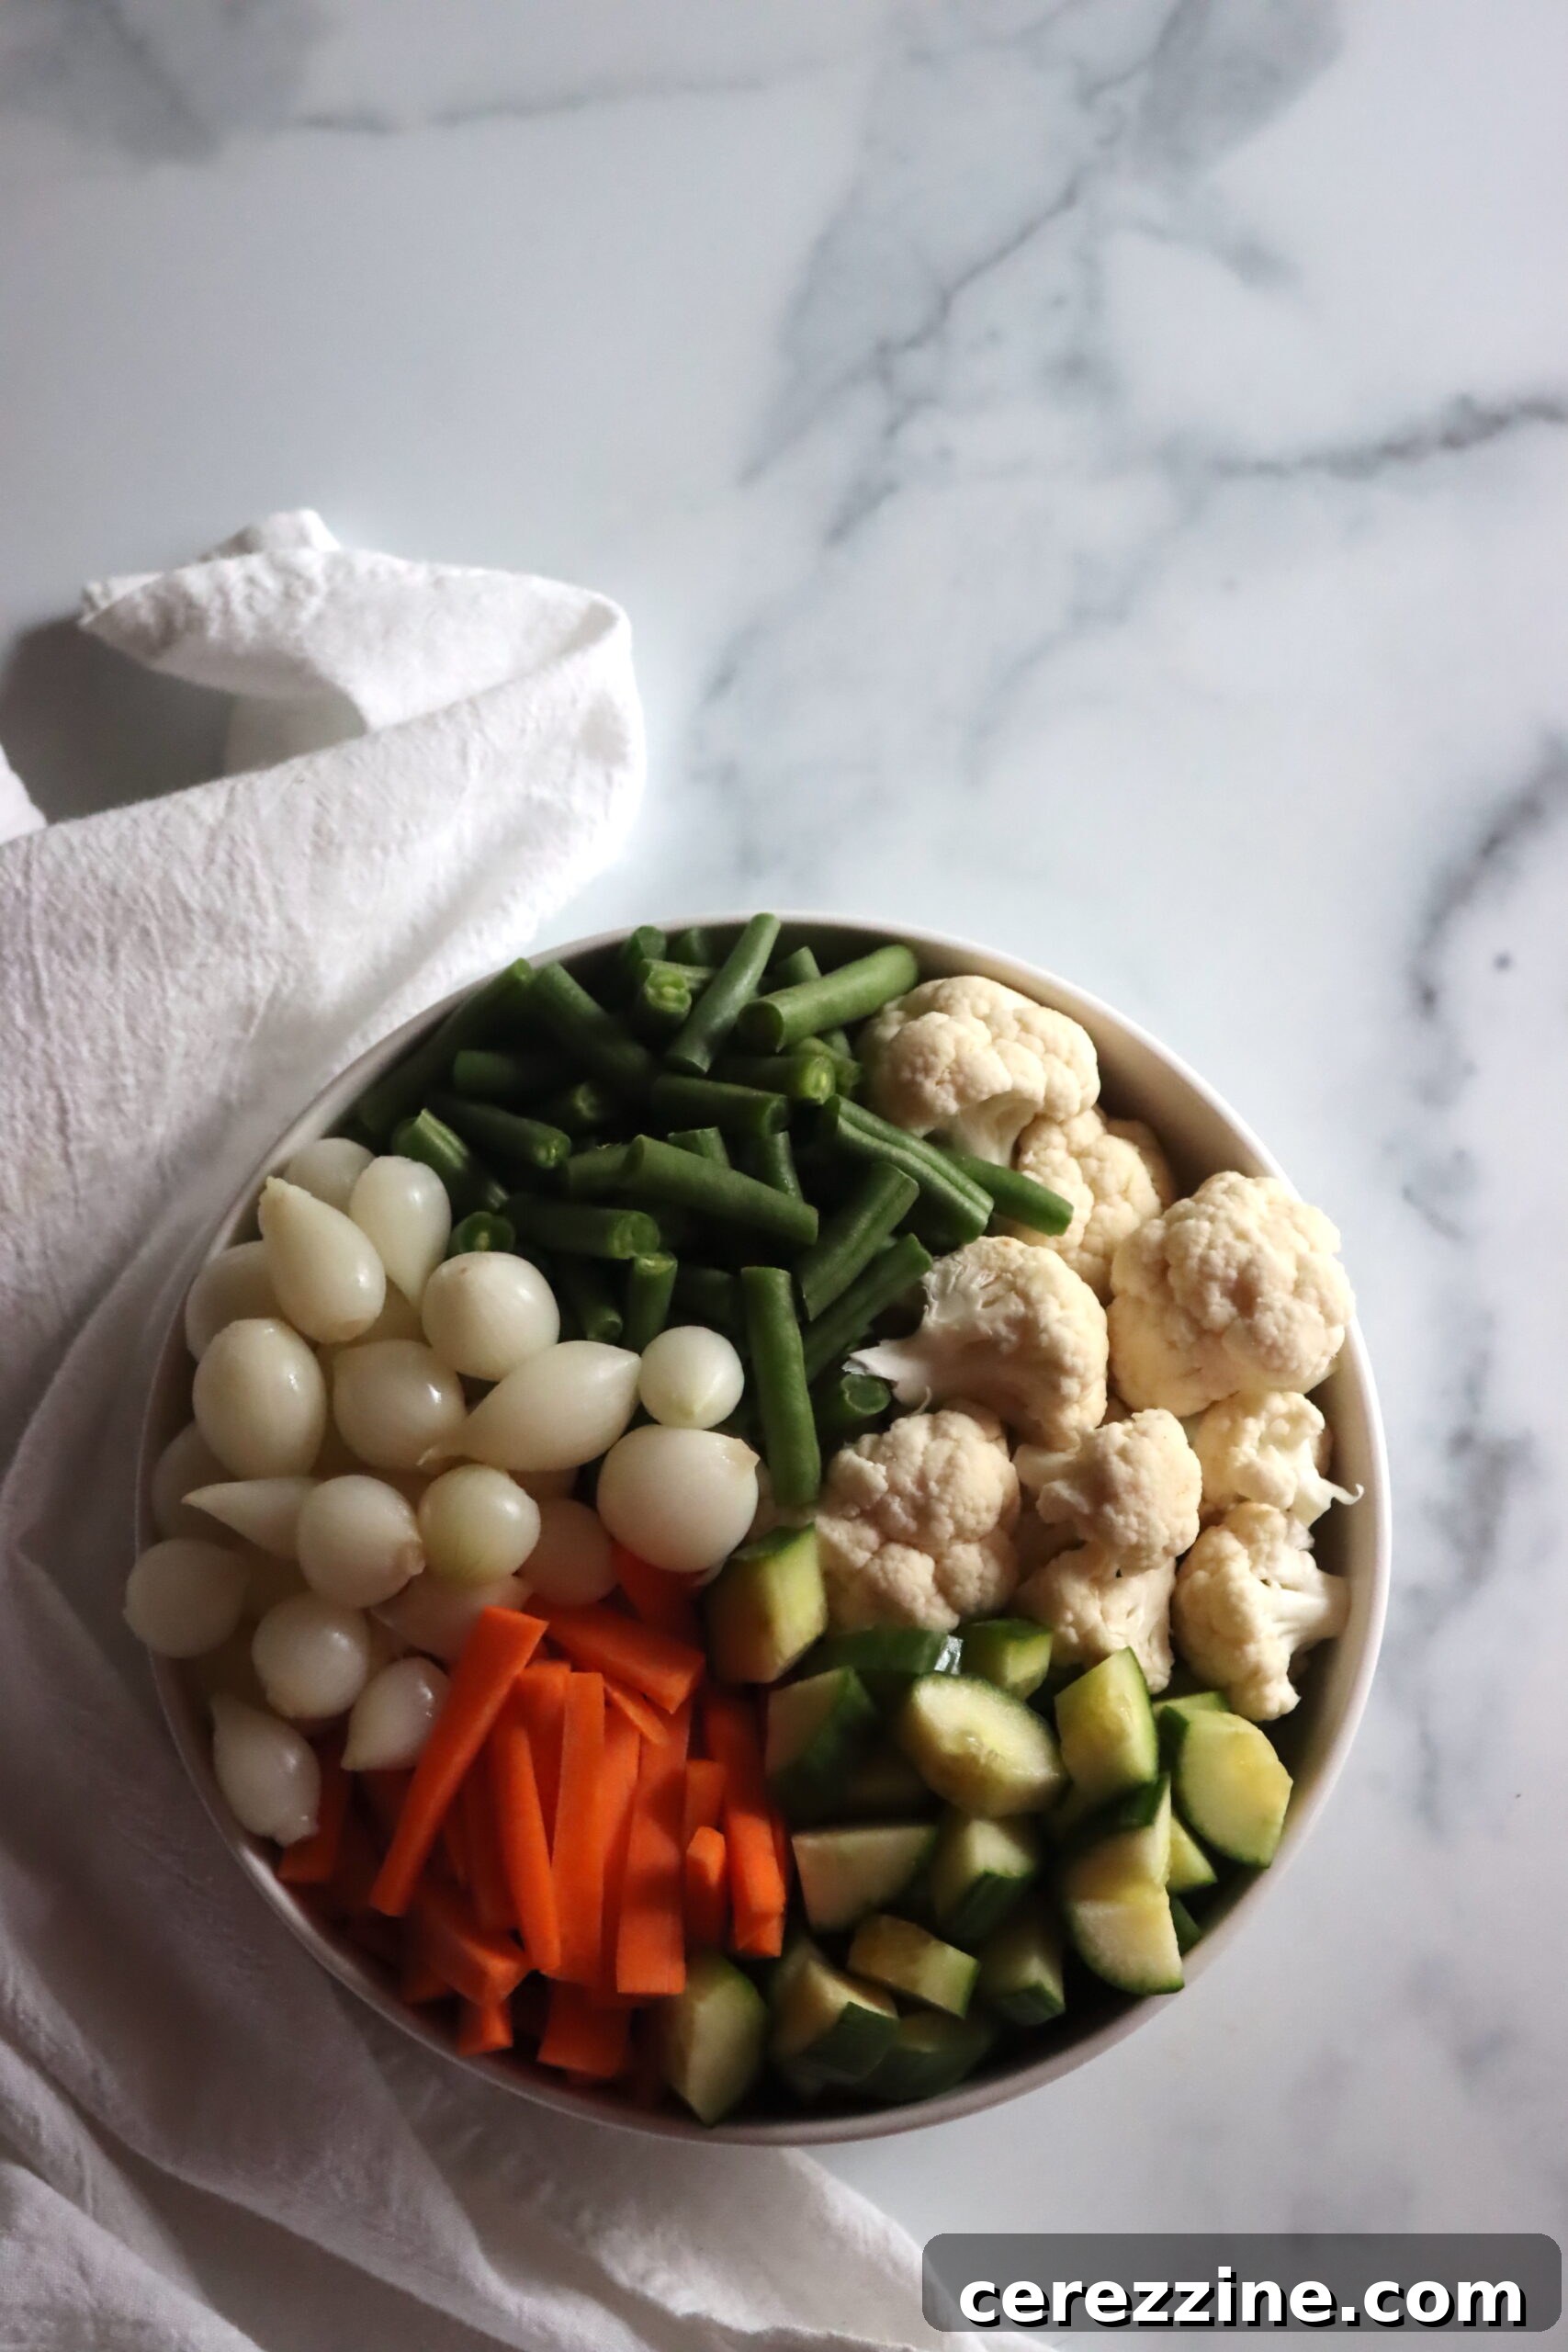
Ingredients for Authentic British Piccalilli (Yields 3 Pints)
This traditional canning recipe is carefully adapted from esteemed sources like “The Complete Book of Pickling” by Jennifer MacKenzie and “The River Cottage Preserves Handbook” by Pam Corbin, ensuring reliable and delicious results. A key component in this recipe for achieving the characteristic thick sauce is Clear Jel, a modified food starch specifically approved for use in home canning. Unlike cornstarch, Clear Jel maintains its thickening power and consistency even after the high heat of canning, making it ideal for pie fillings, gravies, and, of course, savory relishes like Piccalilli. To prepare a canner batch yielding three delicious pints, gather the following high-quality ingredients:
- 2 ¼ lbs washed and peeled mixed vegetables (see detailed options below)
- 3 tbsp fine salt (pickling or canning salt is recommended)
- 2 tbsp honey
- 2 ½ cups apple cider vinegar (at least 5% acidity)
- ¾ cup granulated sugar
- 1 tsp crushed cumin seeds
- 1 tsp crushed coriander seeds
- 1 ½ tbsp yellow mustard seed
- 5 tsp English mustard powder
- 5 tsp ground turmeric
- 3 tbsp Clear Jel
Essential Vegetable Options and Preparation Tips
The beauty of this Piccalilli recipe lies in its flexibility regarding vegetable selection. While the total quantity of 2 ¼ lbs of washed and peeled vegetables remains constant, your choice of produce allows for endless variations in flavor and texture. Embrace the seasonal bounty or use up those garden extras! Here are some excellent options to consider, along with brief preparation notes:
- Cauliflower or Romanesco Cauliflower: Break into small, uniform florets. They retain a wonderful crunch.
- Zucchini: Dice into ½-inch cubes. No need to peel if skin is tender.
- Cucumbers: Use pickling varieties if possible. Dice into ½-inch pieces, no need to peel.
- Green Beans: Trim ends and cut into 1-inch lengths.
- Tomatillos: Remove husks, wash thoroughly, and dice into small pieces. Adds a unique tartness.
- Yellow or Green Tomatoes: Dice firm, unripe tomatoes for best texture. Avoid overly ripe or red tomatoes as they can become mushy.
- Small Silver-Skinned Onions or Shallots: Peel and halve or quarter, depending on size.
- Carrots: Peel and slice into thin rounds or small dice.
- Nasturtium Seed Pods: A more unusual but delightful addition, offering a peppery kick. Use whole young pods.
Remember, uniform chopping is crucial for even cooking and a visually appealing final product. Experiment with your favorite combination, ensuring the total weight matches the recipe.
Step-by-Step Guide: How to Make British Piccalilli from Scratch
Crafting homemade British Piccalilli is a rewarding process that begins with careful preparation of your chosen vegetables and culminates in a rich, flavorful preserve. Follow these steps for a perfect batch.
Preparing the Vegetables for Maximum Crispness
- Chop and Salt the Vegetables: Begin by washing and peeling your selected vegetables as needed. Cut them into small, uniform, bite-sized pieces. The consistency in size is important to ensure they cook evenly and retain a pleasant texture. Once chopped, place the vegetables in a large, non-reactive bowl. Sprinkle the 3 tablespoons of fine salt evenly over the vegetables. Toss thoroughly to ensure every piece is coated. This salting process is crucial; it helps to draw out excess moisture from the vegetables through osmosis, which is key to achieving that desirable crispness in your finished Piccalilli. Cover the bowl and let it sit in a cool place (not necessarily the refrigerator, but a cool pantry or countertop is fine) for 24 hours.
- Rinse and Drain: After the 24-hour salting period, you’ll notice that the vegetables have released a significant amount of liquid. Rinse them thoroughly under ice-cold running water to remove the excess salt. This step is vital not only for flavor but also to prevent your Piccalilli from becoming overly salty or soggy after the canning process. Drain the rinsed vegetables meticulously, shaking off as much water as possible. You can even press them gently with a clean towel to remove residual moisture.
Crafting the Signature Savory Mustard Sauce
- Prepare the Spice Paste: While your vegetables are draining, prepare the aromatic mustard sauce. In a small bowl, combine the Clear Jel, English mustard powder, ground turmeric, yellow mustard seeds, crushed cumin seeds, and crushed coriander seeds. Add a small portion (about ½ cup) of the 2 ½ cups of apple cider vinegar to these dry ingredients and whisk vigorously to form a smooth, lump-free paste. Set this aside.
- Boil the Vinegar Mixture: In a large, non-reactive saucepan (stainless steel is ideal), combine the remaining apple cider vinegar, honey, and granulated sugar. Bring this mixture to a rolling boil over medium-high heat, stirring occasionally to dissolve the sugar completely.
- Add Vegetables and Re-boil: Once the vinegar-sugar mixture is boiling, add the drained vegetables to the saucepan. Stir well to combine, ensuring the vegetables are submerged in the liquid. Bring the entire mixture back to a full rolling boil.
- Temper and Incorporate the Spice Paste: Once the vegetable and vinegar mixture is boiling, carefully ladle out about ½ cup of the hot liquid and slowly pour it over the previously prepared spice paste. Stir the paste vigorously as you add the hot liquid to temper it and prevent lumps from forming when it enters the main pot. Immediately pour this tempered spice paste back into the saucepan with the boiling vegetables. Stir continuously and thoroughly to ensure the spice paste and Clear Jel are evenly incorporated throughout the mixture. This step is critical for proper thickening.
- Simmer and Thicken: Continue to simmer the Piccalilli mixture, stirring constantly, for 2-3 minutes. During this time, the Clear Jel will activate and begin to thicken the sauce, creating that characteristic rich consistency. The vegetables will also finish heating through. Ensure all vegetables are beautifully coated in the thick, savory sauce. Remove from heat.
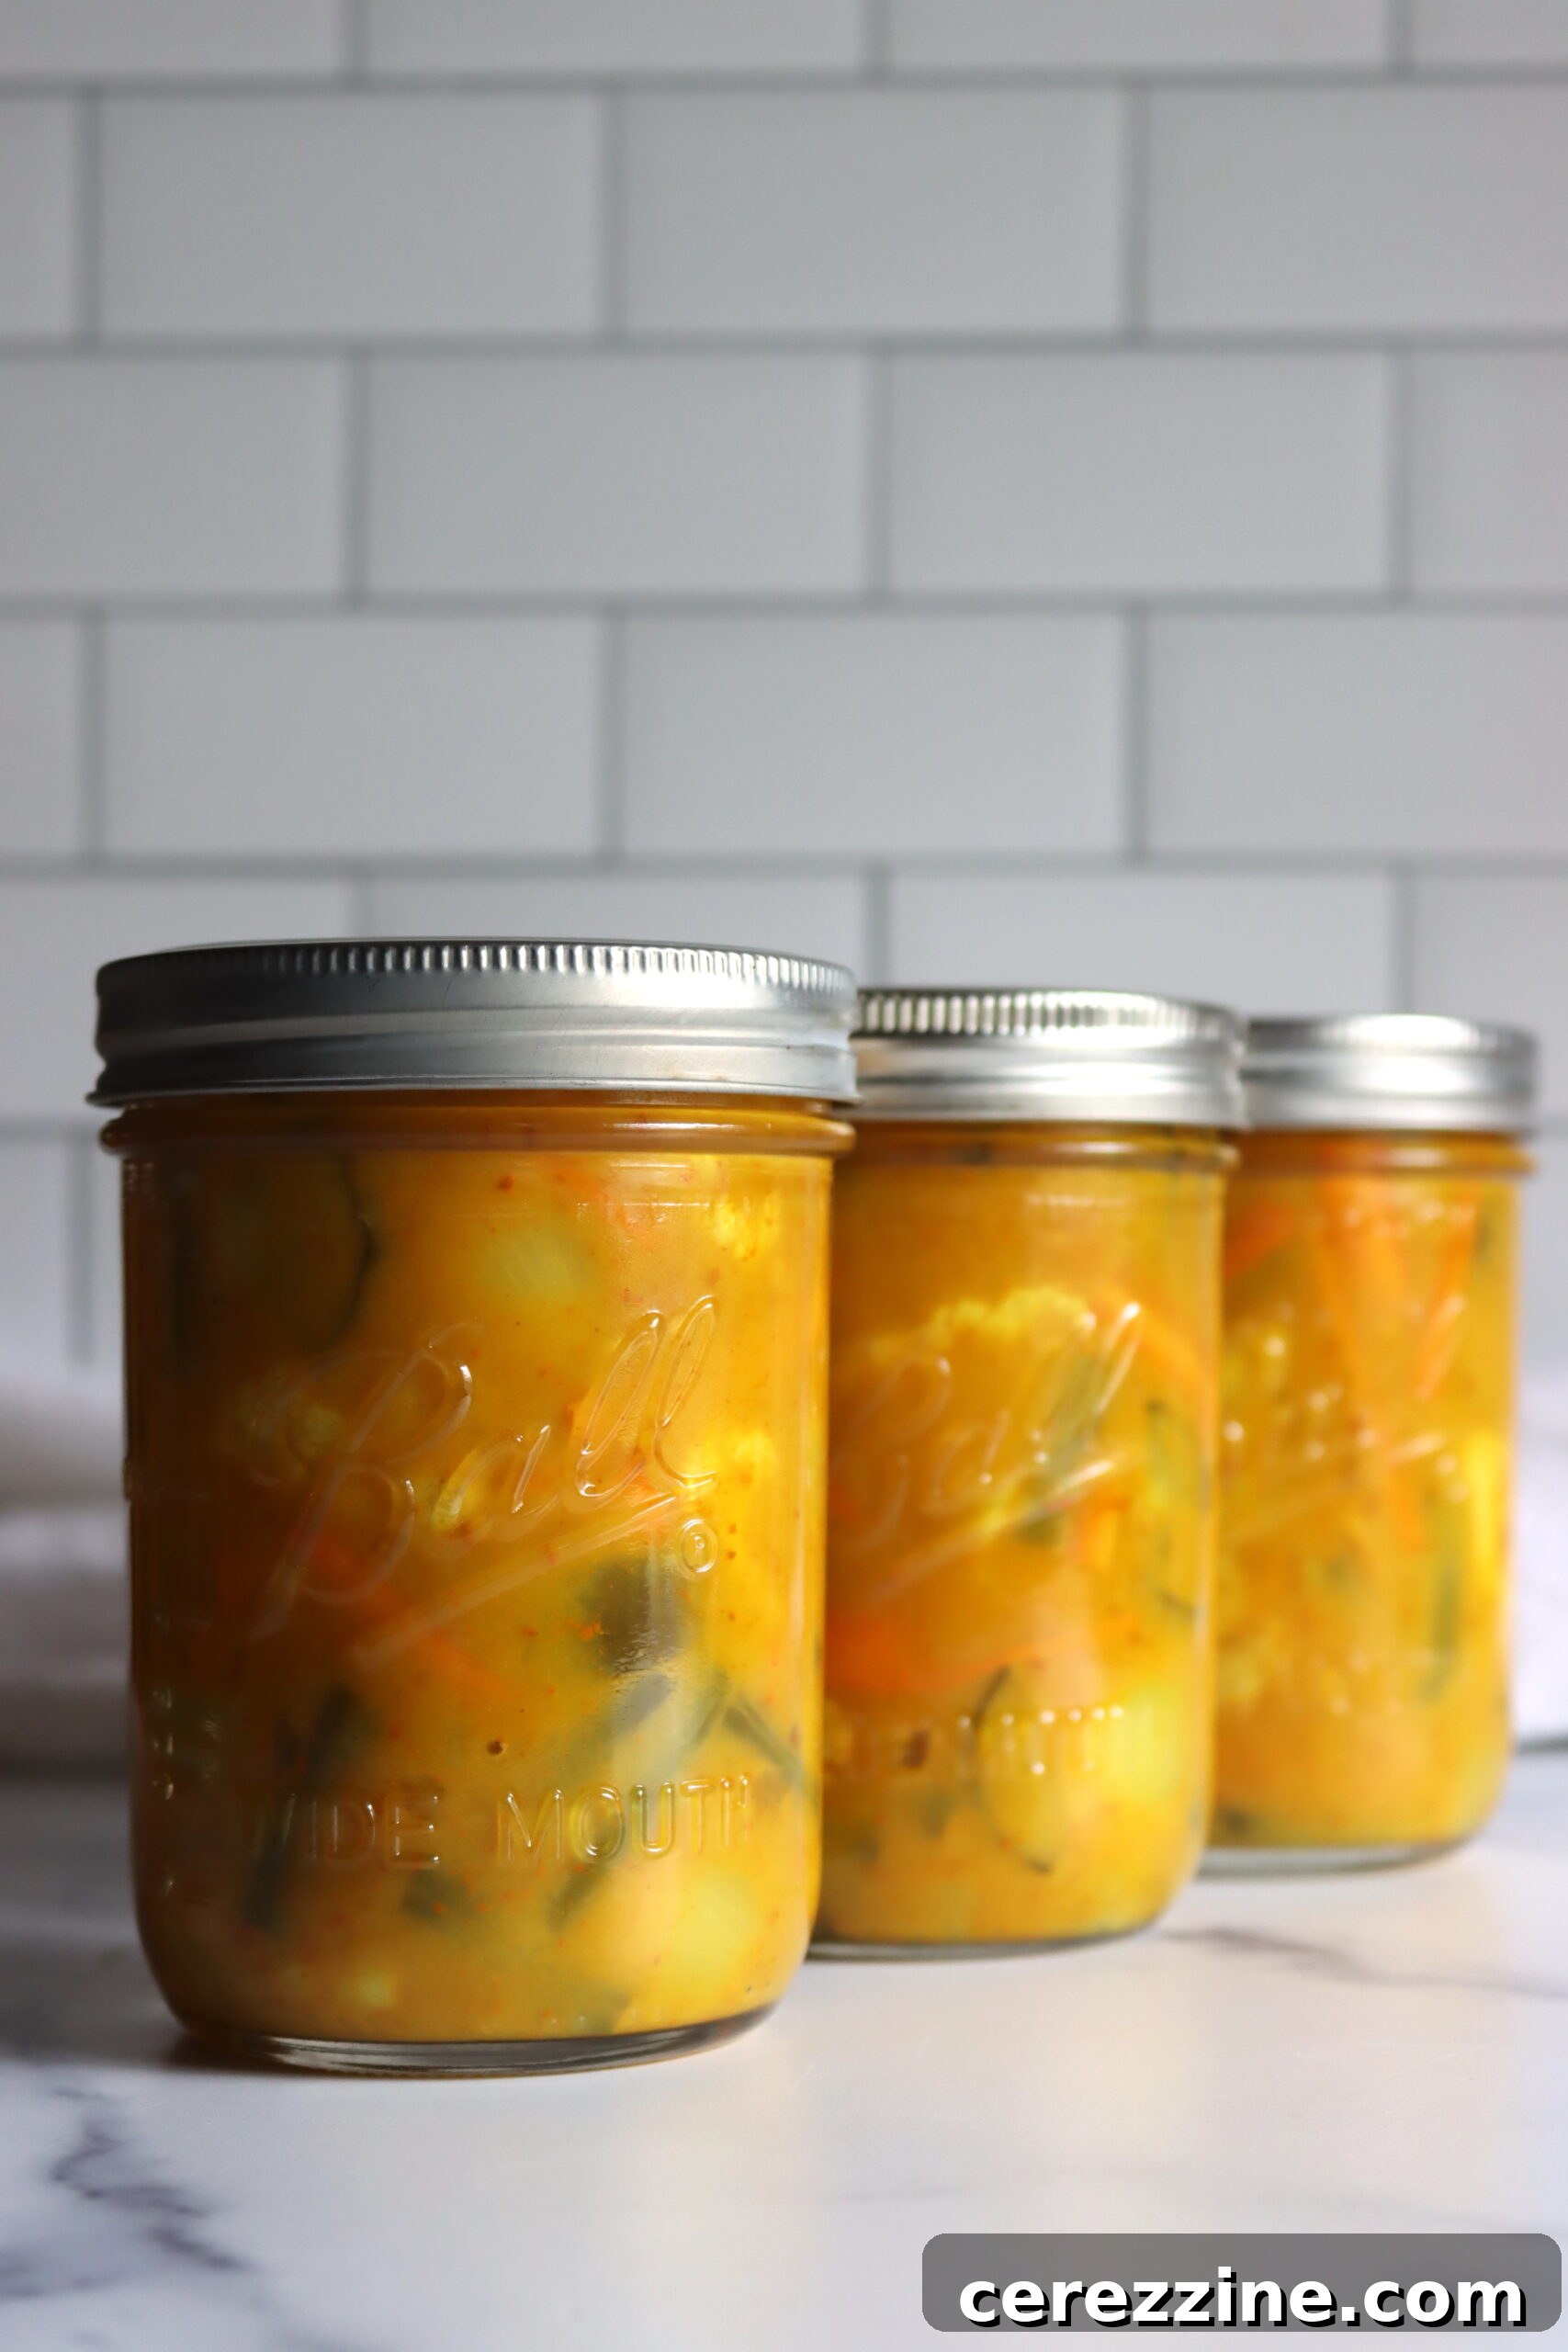
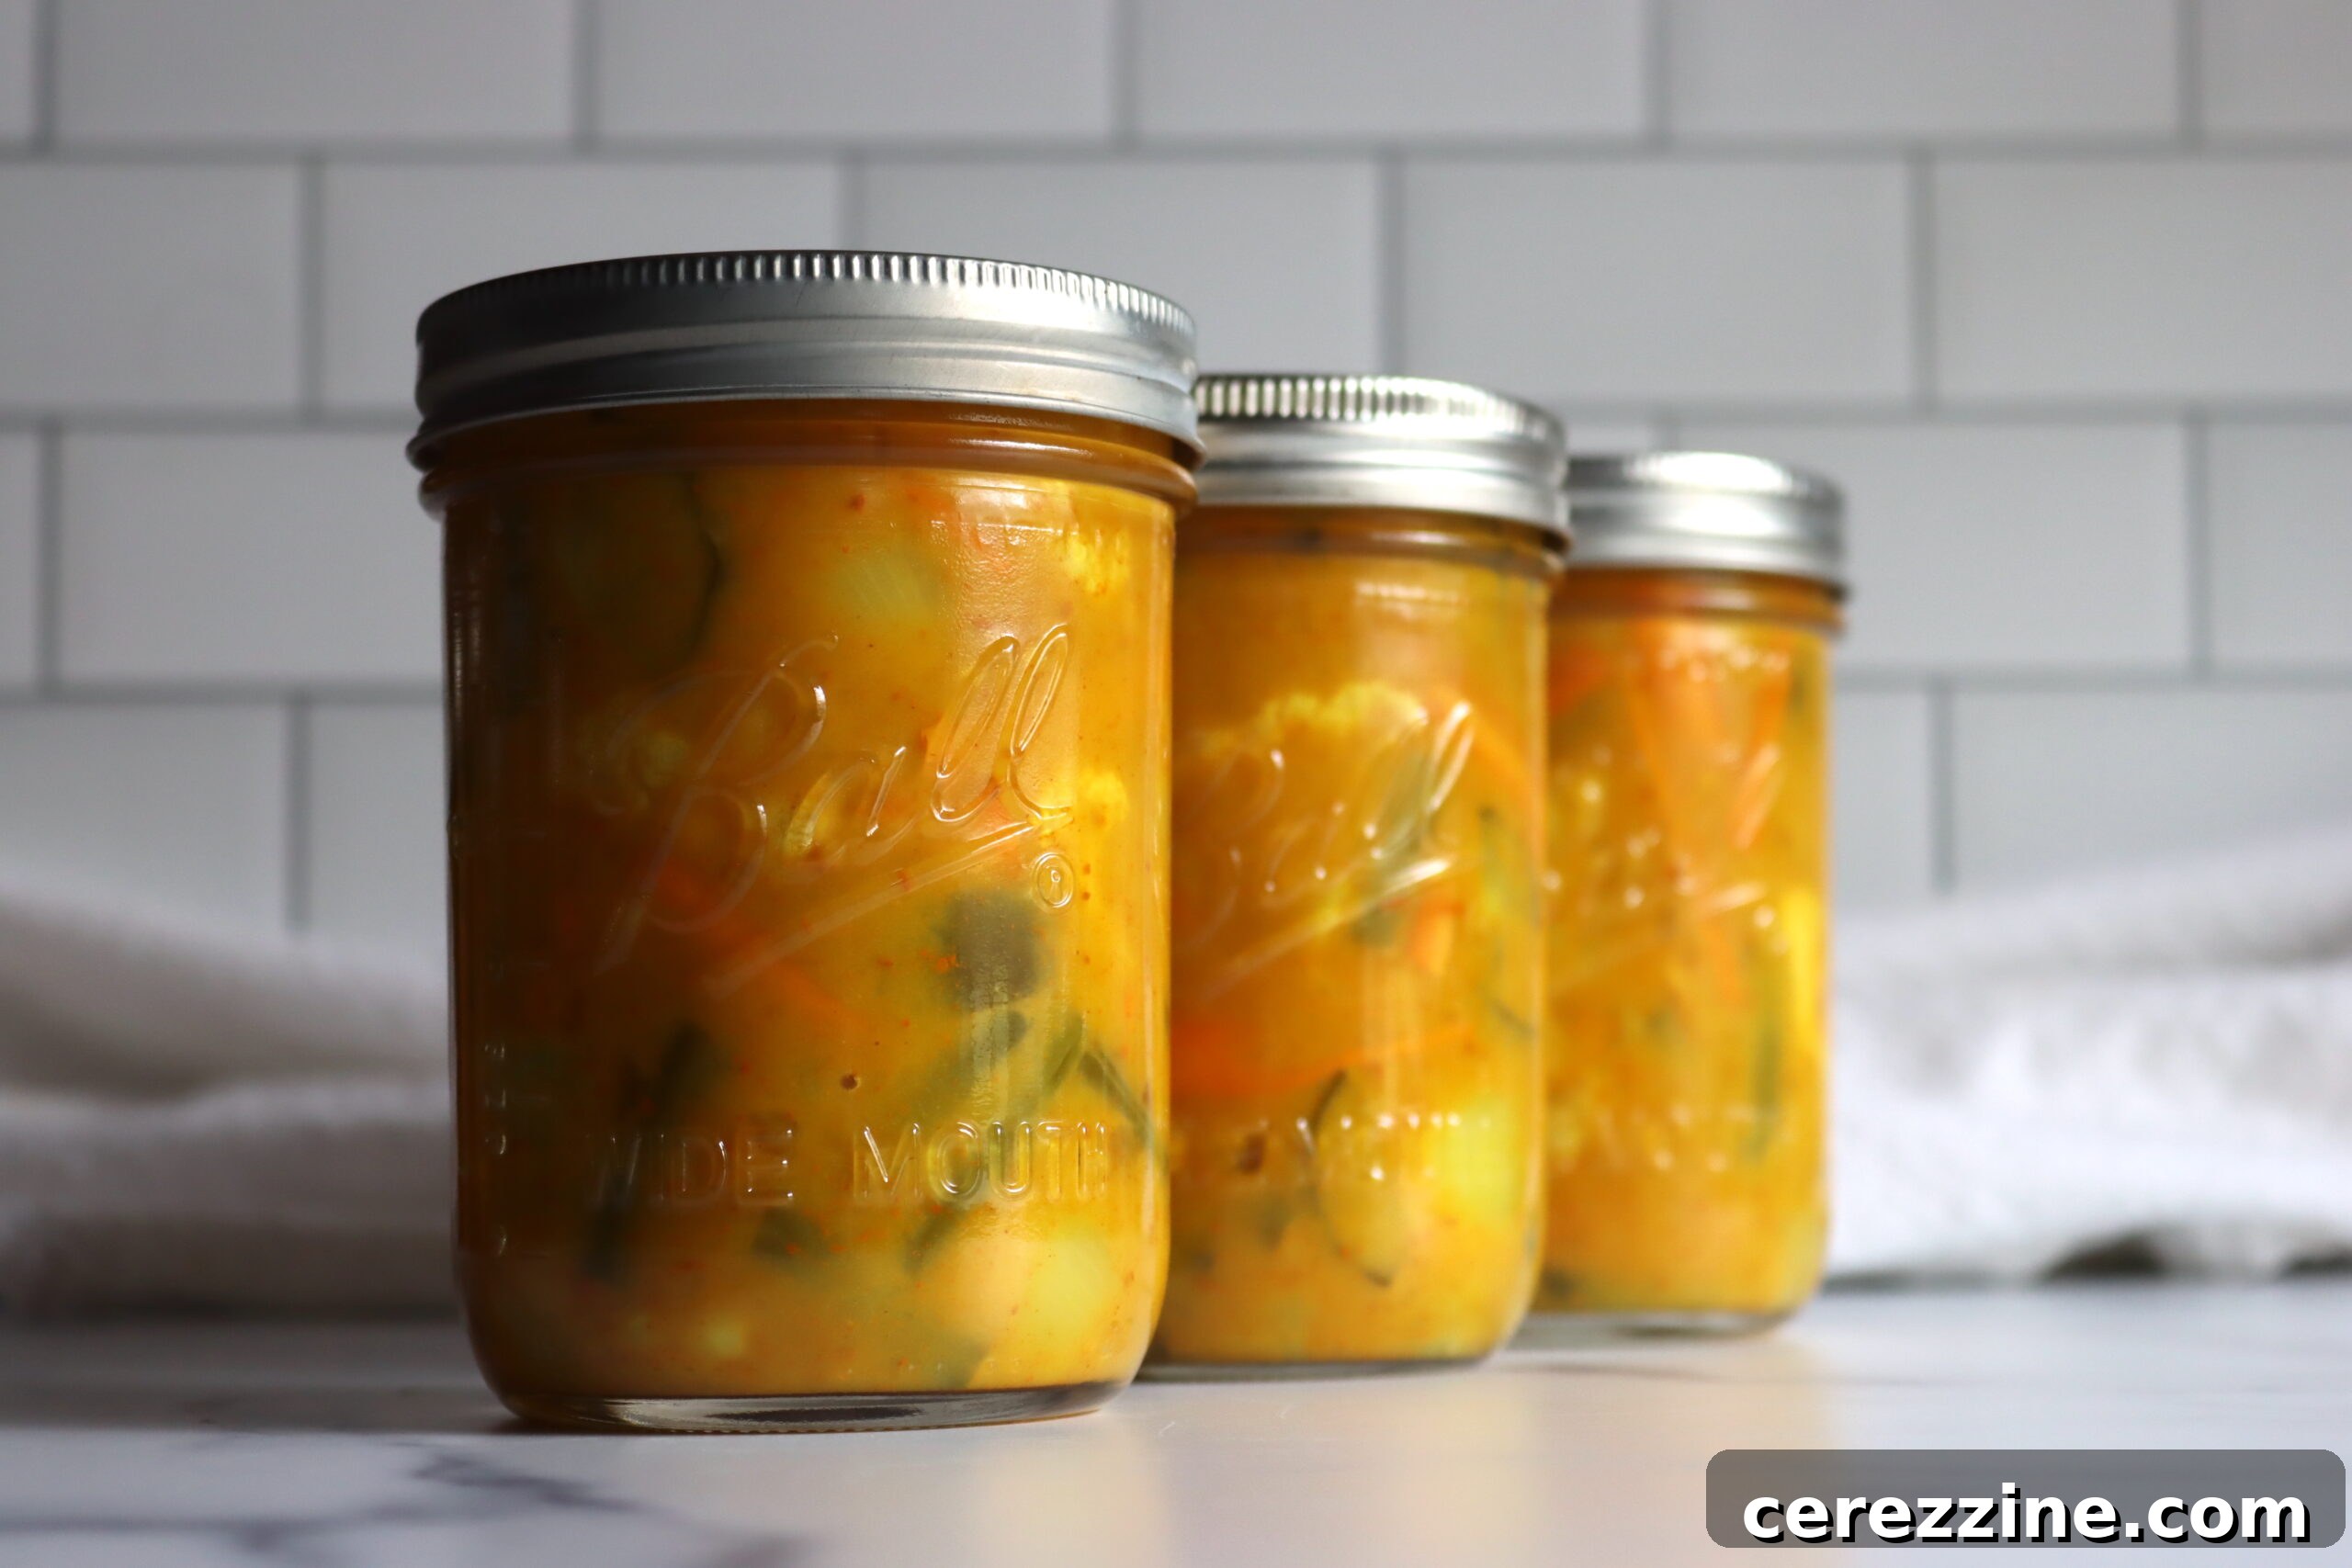
Preserving Your Piccalilli: Water Bath Canning Method
Water bath canning is a reliable and safe method for preserving your homemade Piccalilli, allowing you to enjoy its delightful flavors throughout the year. Proper technique ensures both food safety and excellent quality.
Detailed Canning Instructions for Long-Term Storage
- Prepare Jars and Canner: Before you begin, ensure your canning jars, lids, and bands are clean and sterilized. You can sterilize jars by immersing them in boiling water for 10 minutes or running them through a dishwasher’s sanitizing cycle. Keep them hot until ready to fill. Set up your water bath canner with enough water to cover the jars by at least an inch once filled, and bring it to a simmer.
- Pack the Piccalilli: Carefully ladle the hot Piccalilli into your hot, sterilized pint jars, leaving exactly ½ inch of headspace at the top of each jar. Headspace is crucial for proper sealing and to prevent food from boiling out during processing.
- Clean Rims and Apply Lids: Using a clean, damp cloth, wipe the rims of each jar thoroughly to remove any food residue, which could prevent a proper seal. Center a new, clean lid on top of each jar, then apply the screw bands finger-tight. Do not overtighten, as air needs to escape during processing for a vacuum seal to form.
- Process in Water Bath: Carefully place the filled jars onto the rack in your water bath canner, ensuring they are not touching each other. Add more hot water if necessary to cover the jars by at least 1-2 inches. Bring the water to a vigorous rolling boil. Once boiling, start your processing time. Process pint jars for 10 minutes (refer to altitude adjustments below for specific times based on your elevation).
- Cool and Check Seals: After the processing time is complete, turn off the heat and carefully remove the canner lid. Allow the jars to sit in the hot water for 5 minutes before carefully lifting them out with a jar lifter. Place the hot jars on a clean towel or cooling rack, ensuring they are undisturbed and not touching, for 12-24 hours. As they cool, you will hear the satisfying “ping!” sound of the lids sealing. After 24 hours, check the seals by pressing down on the center of each lid. If the lid does not flex, it is sealed. Remove the screw bands, wipe the jars clean, label them with the contents and date, and store in a cool, dark place. Any unsealed jars should be refrigerated and consumed within a few weeks.
The Art of Maturing Your Piccalilli: Patience for Peak Flavor
While the temptation to immediately crack open a freshly canned jar of Piccalilli is strong, exercising patience will be richly rewarded. Piccalilli, like many preserves, benefits significantly from a “maturing” period. Allowing the jars to rest for at least four to six weeks before opening enables the flavors to meld, deepen, and fully develop. During this time, the pungent notes of the mustard and vinegar soften, harmonizing with the spices and the natural sweetness of the vegetables. The result is a more complex, well-rounded, and utterly delicious condiment. Once sealed and stored correctly, your homemade Piccalilli will retain its peak quality for up to a year, though its irresistible flavor will likely have you enjoying it long before then!
Altitude Adjustments for Safe Canning
Water boils at a lower temperature at higher altitudes, meaning food processes at a lower effective temperature. To ensure the safety and longevity of your canned goods, it’s essential to adjust processing times according to your elevation:
- For 0 to 1,000 Feet in Elevation: Process pint jars for 10 minutes, and quart jars for 15 minutes.
- For 1,001 to 6,000 Feet in Elevation: Process pint jars for 15 minutes, and quart jars for 20 minutes.
- Above 6,001 Feet in Elevation: Process pint jars for 20 minutes, and quart jars for 25 minutes.
Serving Suggestions: Elevating Your Meals with British Piccalilli
British Piccalilli is a culinary chameleon, a tangy condiment that effortlessly transforms ordinary meals into something extraordinary. Its vibrant flavor and chunky texture make it a highly versatile addition to almost any dish, from casual snacks to more elaborate spreads.
Classic Pairings and Creative Culinary Uses
While there’s no judgment if you find yourself simply spooning this delicious pickle straight from the jar, Piccalilli truly shines when paired thoughtfully. Here are some classic and creative ways to incorporate it into your culinary repertoire:
- The Ultimate Sandwich & Burger Companion: Perhaps its most iconic use, a generous dollop of Piccalilli instantly elevates any sandwich, particularly those featuring cold cuts like ham, roast beef, or cheese. It’s also a fantastic relish for burgers and hot dogs, cutting through the richness with its tangy kick.
- Cheese Board Essential: Piccalilli is a non-negotiable component of a proper British ploughman’s lunch or any well-curated cheese board. It pairs exquisitely with strong, crumbly cheeses like mature cheddar, Wensleydale, or Stilton, providing a refreshing contrast to their richness. Serve it alongside crusty bread or crackers.
- Accompaniment to Roasted Meats and Fish: Spoon a spoonful alongside roasted pork, chicken, or even a simple grilled white fish. Its bright, acidic notes complement the savory flavors of meat and fish beautifully.
- Jazz Up Your Salads: Stir a tablespoon or two into potato salad, pasta salad, or even coleslaw for an unexpected burst of flavor and a pleasing textural crunch.
- Flavor Boost for Stews and Curries: While typically a cold condiment, a small amount stirred into rich gravies, stews, or even mild curries towards the end of cooking can add a layer of complexity and a tangy lift.
- Breakfast & Brunch Brilliance: Don’t underestimate Piccalilli’s potential at breakfast. It’s surprisingly good served with scrambled eggs, alongside a savory breakfast sausage, or even dolloped onto a breakfast burrito.
- Elevate Everyday Snacks: Beyond cheese and crackers, try it with pork pies, sausage rolls, or as a vibrant dip for crudités.
Piccalilli is ready to serve straight from the jar, requiring no additional cooking. Its robust flavors are best enjoyed chilled or at room temperature. If a recipe specifically calls for it to be cooked into a dish, follow those instructions, but for general enjoyment, it’s a ready-to-eat delight.
Storage Best Practices for Homemade Piccalilli
Once your Piccalilli jars are properly sealed and labeled, store them in a cool, dark, and dry place, such as a pantry or cellar. Unopened, correctly canned Piccalilli will maintain its quality for up to one year. However, for optimal flavor, especially after the initial maturing period, consuming it within 6-9 months is often recommended. Once a jar has been opened, it must be stored in the refrigerator. Consume opened Piccalilli within 2-4 weeks for the best taste and freshness. Always ensure the lid is tightly sealed between uses to prevent spoilage and maintain its distinctive aroma.
British Piccalilli
By: Ashley Adamant
British Piccalilli is a classic English pickle that preserves a mix of vegetables in a savory mustard sauce. This recipe is adapted for water bath canning, but it can also be made as a refrigerator pickle.
- Servings: 48 servings (Makes 3 Pints / 500ml each)
- Prep Time: 1 Day (includes salting vegetables)
- Cook Time: 10 Minutes
- Additional Time: 10 Minutes (for canning process)
- Total Time: 1 Day 20 Minutes
Equipment
- Water Bath Canner
- Large non-reactive saucepan
- Large mixing bowl
- Canning jars, lids, and bands
Ingredients
- 2 ¼ lbs washed and peeled mixed vegetables (see notes below for suitable options)
- 3 tbsp fine salt (pickling or canning salt)
- 2 tbsp honey
- 2 ½ cups apple cider vinegar (5% acidity)
- ¾ cup granulated sugar
- 1 tsp crushed cumin seeds
- 1 tsp crushed coriander seeds
- 1 ½ tbsp yellow mustard seed
- 5 tsp English mustard powder
- 5 tsp ground turmeric
- 3 tbsp Clear Jel
Instructions
- Wash and peel your chosen vegetables, then cut them into small, uniform, bite-sized pieces. Place them in a large non-reactive bowl.
- Sprinkle the 3 tablespoons of fine salt over the chopped vegetables. Toss thoroughly to combine and let them sit in a cool place for 24 hours to draw out moisture.
- After 24 hours, rinse the vegetables under ice-cold water and drain them very thoroughly to remove excess salt and moisture.
- In a separate small bowl, combine the Clear Jel, turmeric, mustard powder, mustard seeds, cumin seeds, and coriander seeds. Add approximately ½ cup of the apple cider vinegar to form a smooth, lump-free paste.
- In a large saucepan, bring the remaining apple cider vinegar, honey, and granulated sugar to a boil, stirring until the sugar dissolves.
- Add the drained vegetables to the boiling vinegar mixture and bring it back to a full rolling boil.
- Carefully ladle a small amount of the hot vinegar mixture over the spice paste and stir well to temper it. Then, add this tempered spice paste back into the saucepan with the vegetables and return the entire mixture to a boil. Stir continuously to ensure the spice paste and Clear Jel are evenly incorporated and prevent clumping.
- Simmer the mixture for 2-3 minutes, stirring constantly, until the sauce thickens to your desired consistency and the vegetables are heated through. Ensure all vegetables are well coated.
- For Canning: Ladle the hot piccalilli into clean, sterilized pint jars, leaving ½ inch of headspace.
- Wipe the rims of the jars with a clean, damp cloth to remove any food residue. Center new, clean lids on the jars and apply screw bands finger-tight.
- Process pint jars in a boiling water bath canner for 10 minutes, adjusting the time for your altitude (see notes below).
- Once processing is complete, carefully remove jars from the canner and place them on a clean towel or cooling rack, allowing them to cool undisturbed for 12-24 hours.
- After cooling, check the seals by pressing the center of each lid. If the lid does not flex, it is sealed. Remove screw bands, label, and store sealed jars in a cool, dark place.
Notes
This recipe is versatile and requires 2 ¼ lbs of washed and peeled vegetables in total. Ideal vegetable choices include:
- Cauliflower or Romanesco cauliflower florets
- Diced zucchini
- Diced pickling cucumbers
- 1-inch pieces of green beans
- Diced tomatillos
- Diced firm yellow or green tomatoes
- Small silver-skinned onions or shallots, halved or quartered
- Thinly sliced or diced carrots
- Nasturtium seed pods (whole, young)
Altitude Adjustments for Water Bath Canning:
- 0 to 1,000 Feet in Elevation: Process pint jars for 10 minutes, quart jars for 15 minutes.
- 1,001 to 6,000 Feet in Elevation: Process pint jars for 15 minutes, quart jars for 20 minutes.
- Above 6,001 Feet in Elevation: Process pint jars for 20 minutes, quart jars for 25 minutes.
Nutrition (Approximate per Serving)
- Calories: 29 kcal
- Carbohydrates: 6g
- Protein: 0.3g
- Fat: 0.2g
- Saturated Fat: 0.02g
- Polyunsaturated Fat: 0.1g
- Monounsaturated Fat: 0.1g
- Sodium: 452mg
- Potassium: 86mg
- Fiber: 1g
- Sugar: 5g
- Vitamin A: 3552 IU
- Vitamin C: 1mg
- Calcium: 10mg
- Iron: 0.2mg
Nutrition information is automatically calculated and should only be used as an approximation. Individual results may vary based on specific ingredients and preparation methods.
More Delicious Pickling Recipes to Try
If you’ve enjoyed making this British Piccalilli, perhaps you’re looking for more simple and satisfying pickling recipes to expand your pantry. Explore these other fantastic options to preserve your garden’s bounty or simply enjoy the unique flavors of homemade pickles:
- Pickled Corn Salad
- Pickled Three Bean Salad
- Pickled Green Tomatoes
- Pickled Green Beans (Dilly Beans)
- Pickled Jalapenos
- Pickled Fiddleheads