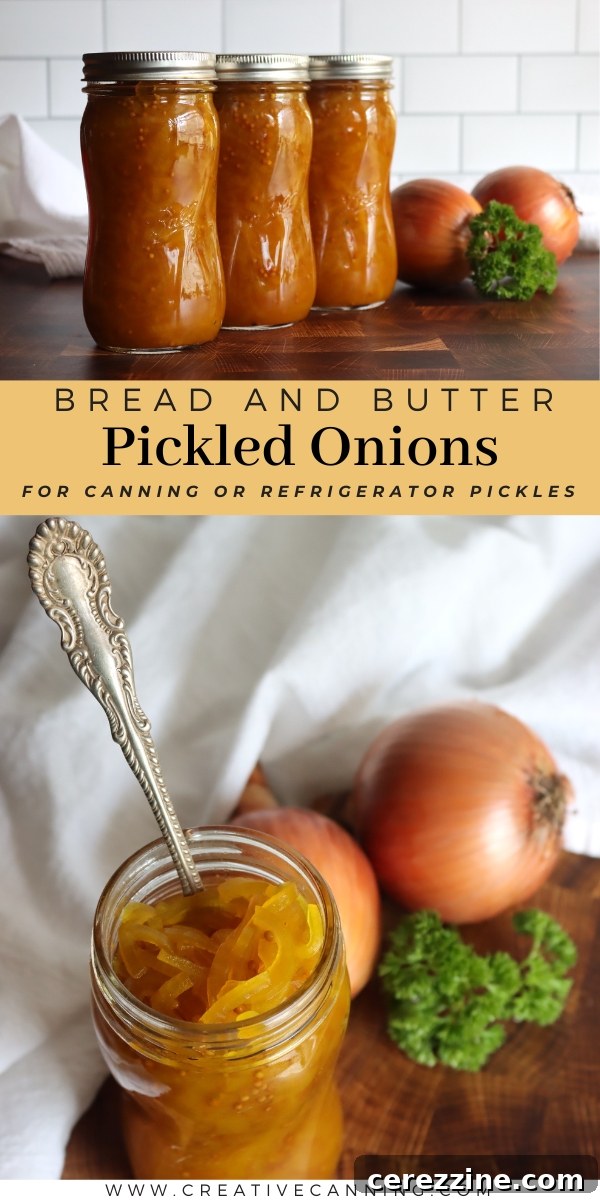
Homemade Bread and Butter Pickled Onions: A Sweet & Tangy Canning Recipe
Are you captivated by the irresistible crunch and vibrant flavor of classic bread and butter pickles? If so, prepare to elevate your culinary experience! This unique recipe zeroes in on the absolute best part of those beloved pickles: the onions. Imagine capturing that perfectly balanced sweet, tangy, and subtly spiced essence, all concentrated into tender, crisp onion slices, ready to brighten any meal straight from the jar.
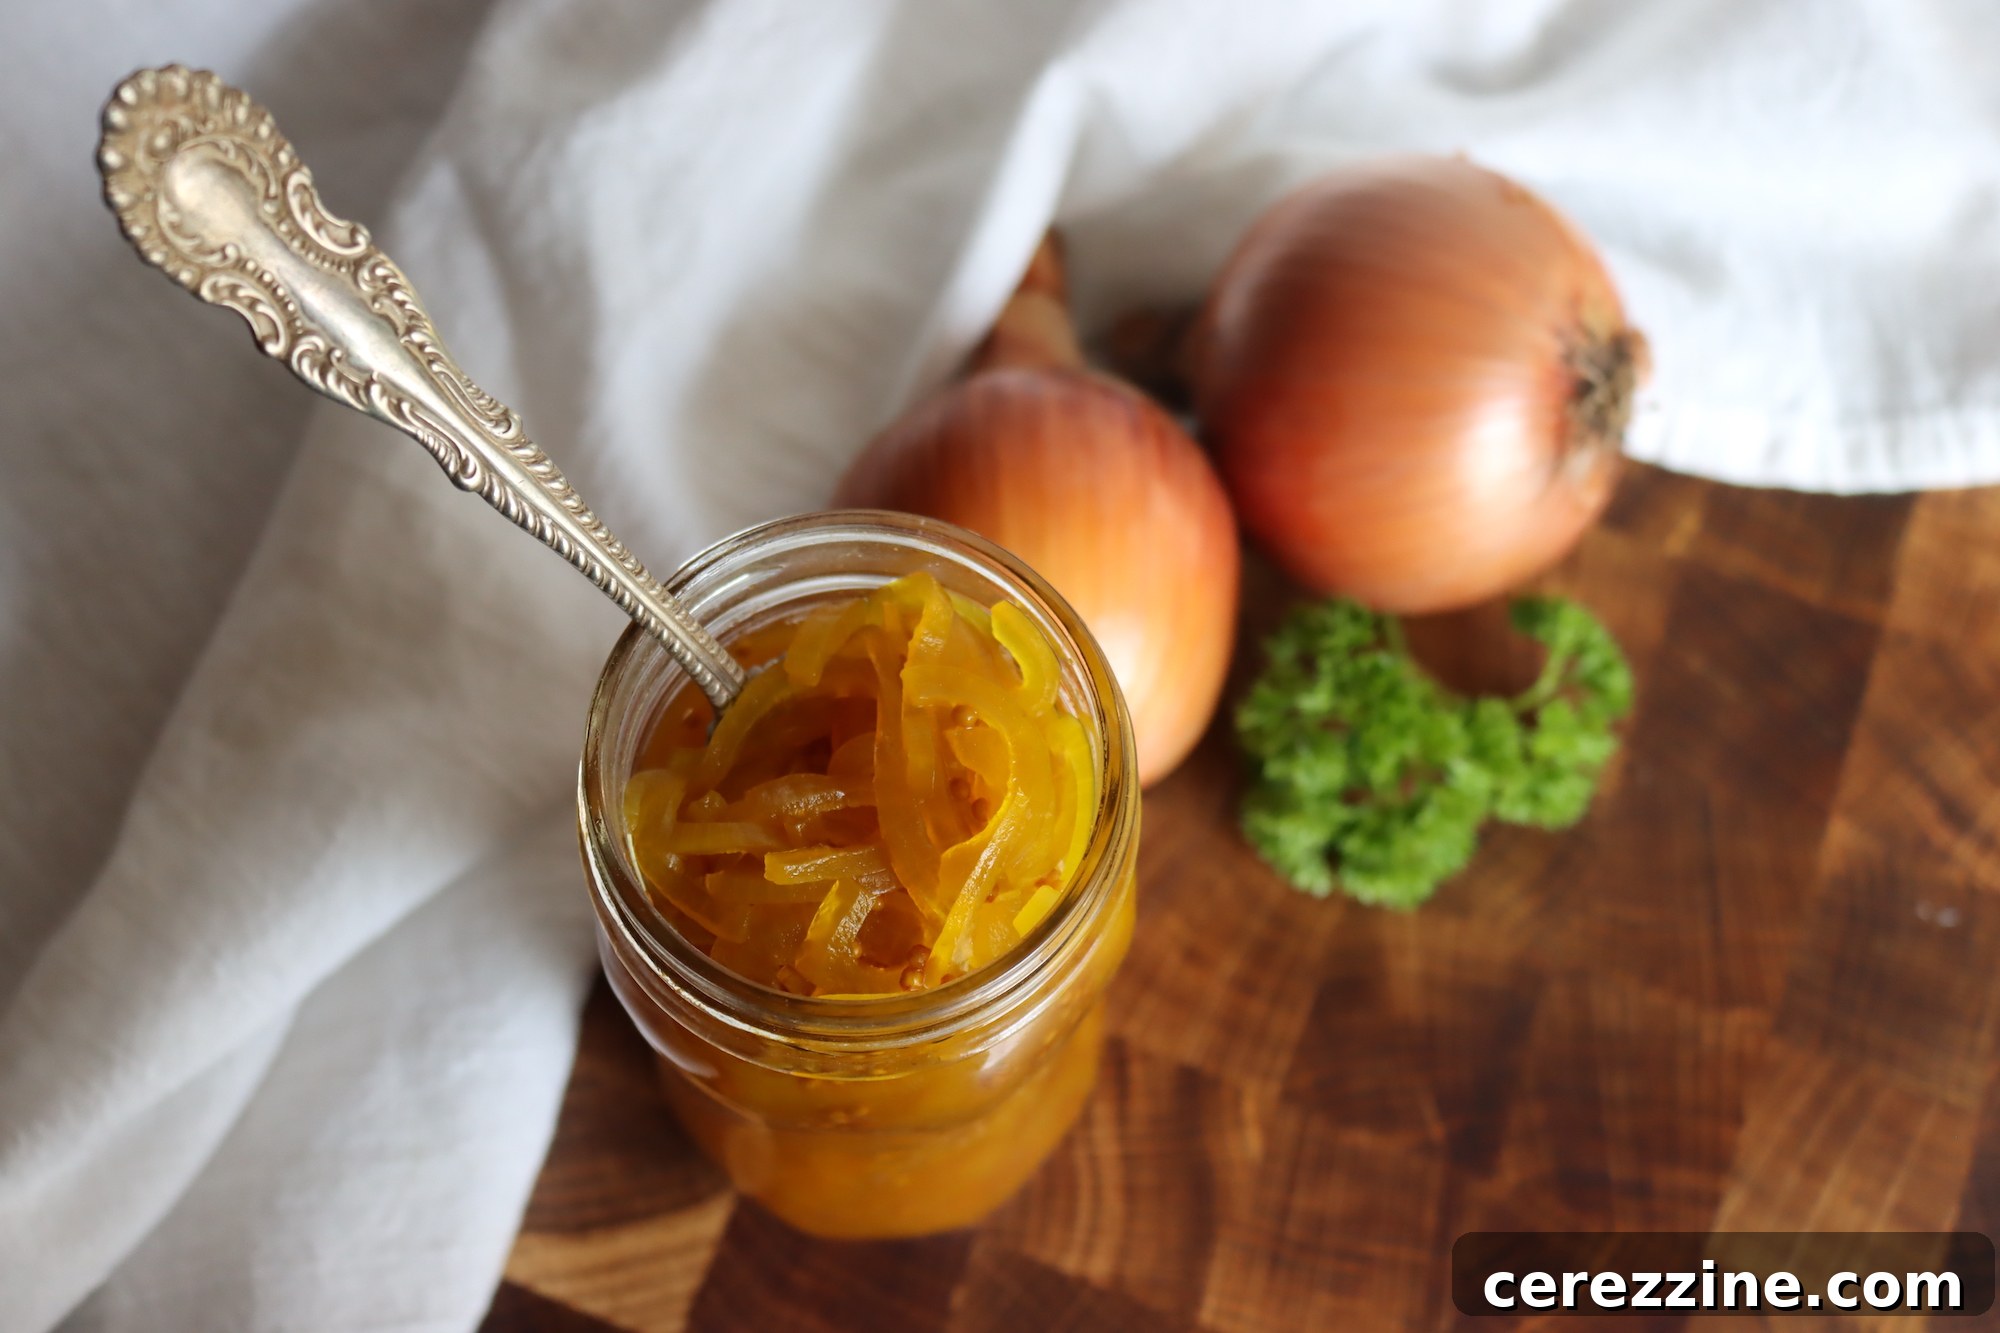
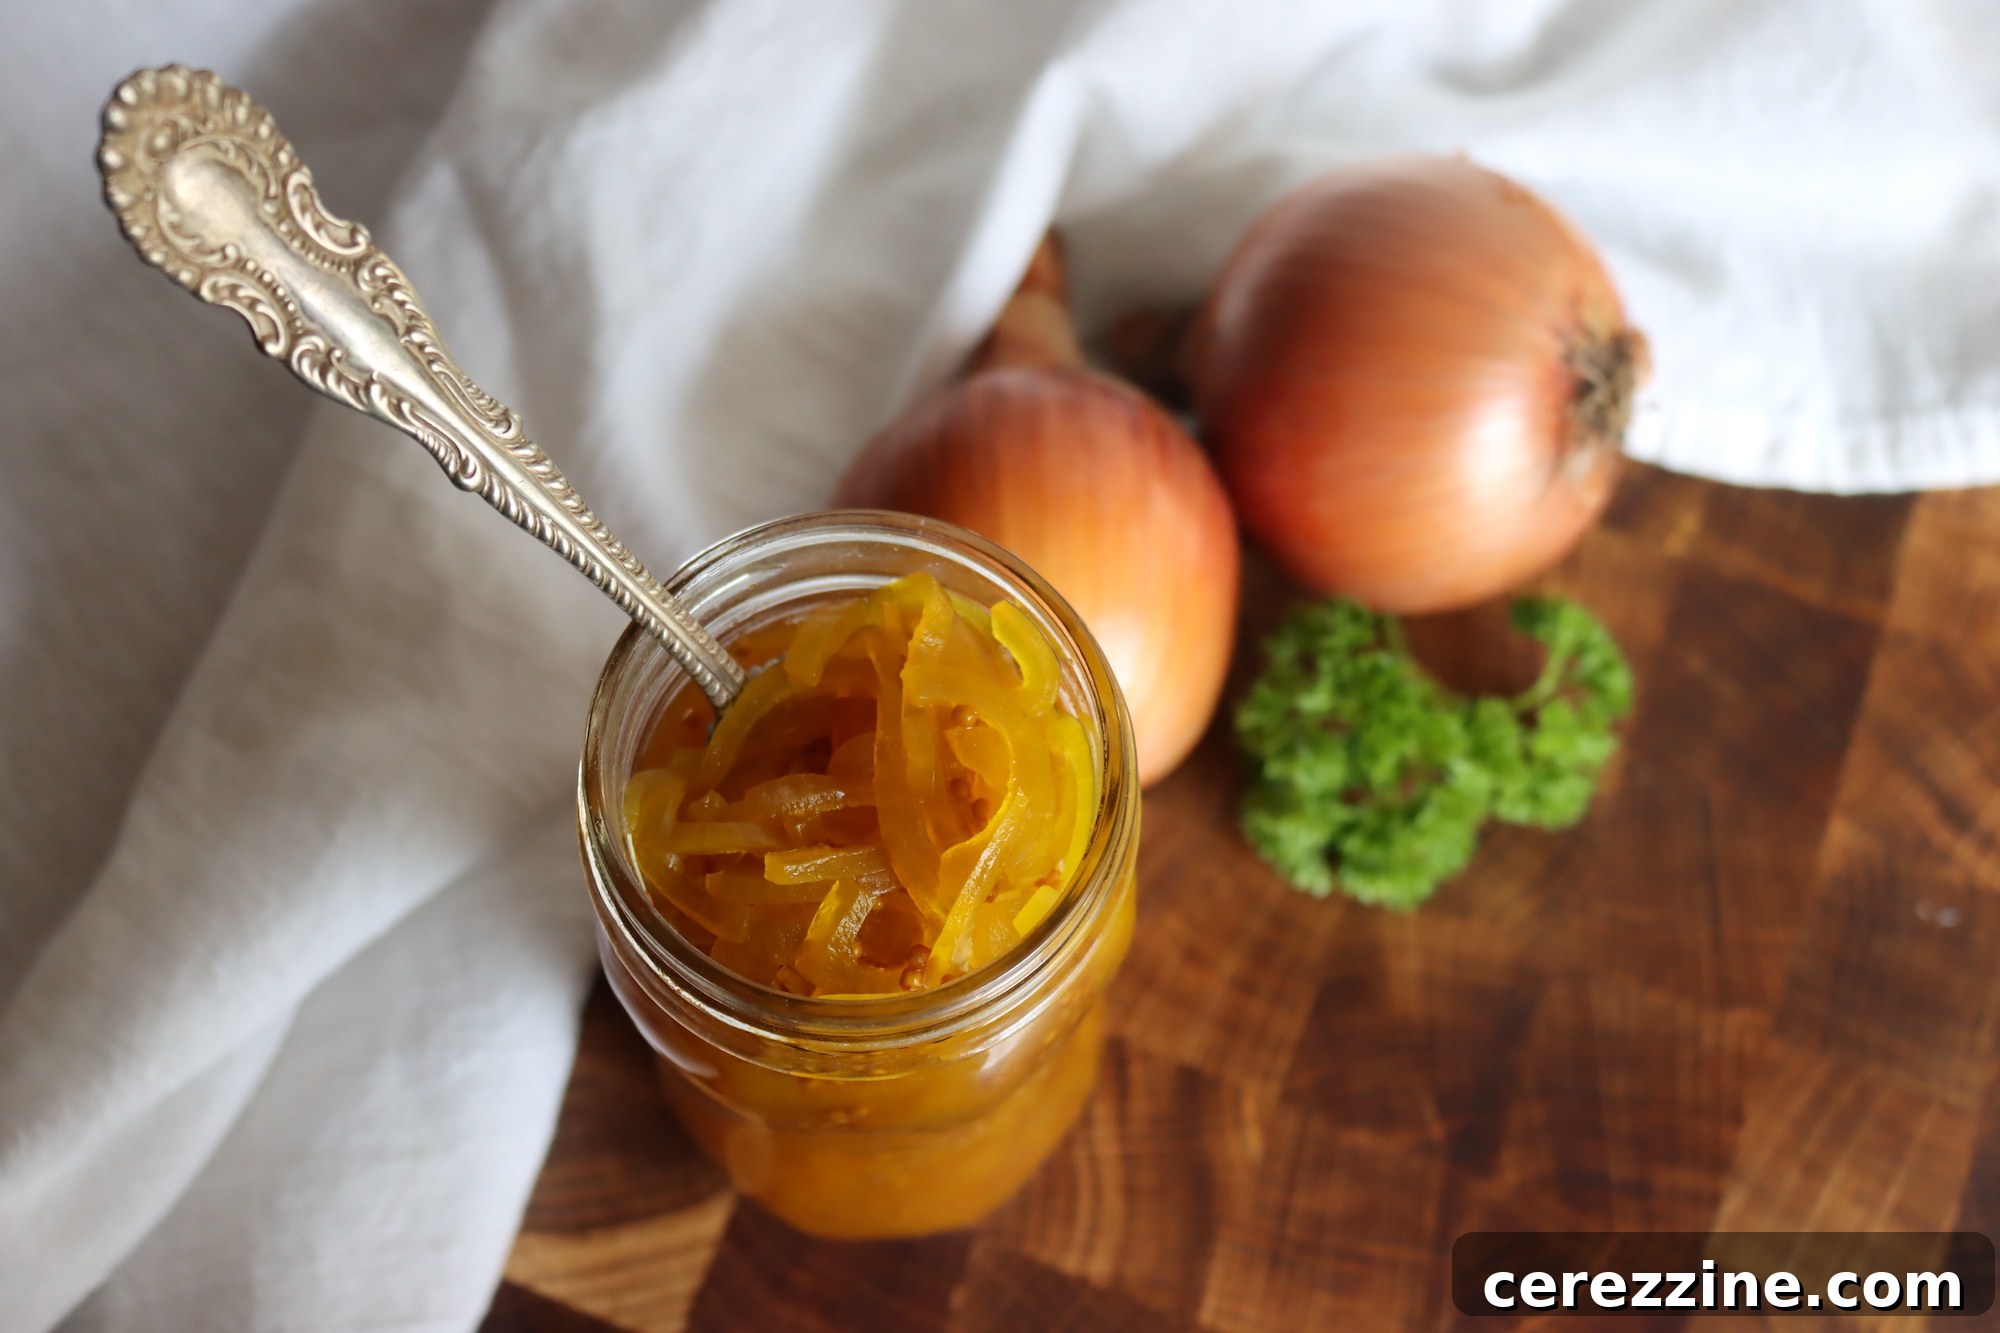
Bread and butter pickled onions are more than just a delicious condiment; they are an incredibly versatile pantry staple. Once you experience the convenience and burst of flavor they add to your dishes, you’ll wonder how you ever managed without them. From enhancing simple sandwiches to becoming the star of a sophisticated cheese board, these homemade pickled onions are a game-changer.
Unlike traditional bread and butter pickles where cucumbers take center stage, this recipe celebrates the humble onion, transforming it into a sweet and tangy delicacy. The result is a jar full of savory-sweet goodness, perfectly balanced with a gentle acidity and a medley of warm spices. They are fantastic as a zesty addition to burgers, hot dogs, tacos, and salads, or even enjoyed simply as a delightful snack straight from the jar. Canning your own pickled onions not only allows you to preserve the fresh taste of onions for months but also ensures you have a wholesome, flavorful ingredient always at your fingertips.
Beyond their incredible taste and versatility, bread and butter pickled onions also offer several health benefits. Onions themselves are packed with antioxidants, which help combat free radicals in the body. They are also a good source of vitamin C and B vitamins. Furthermore, the vinegar used in the pickling process has been recognized for its potential digestive benefits and its ability to support a healthy immune system. So, while you’re enjoying a burst of flavor, you’re also adding a little boost of wellness to your diet.
Ready to embark on this rewarding journey of making your own bread and butter pickled onions? The process is straightforward and immensely satisfying. Here’s a comprehensive guide to crafting these delightful preserves.
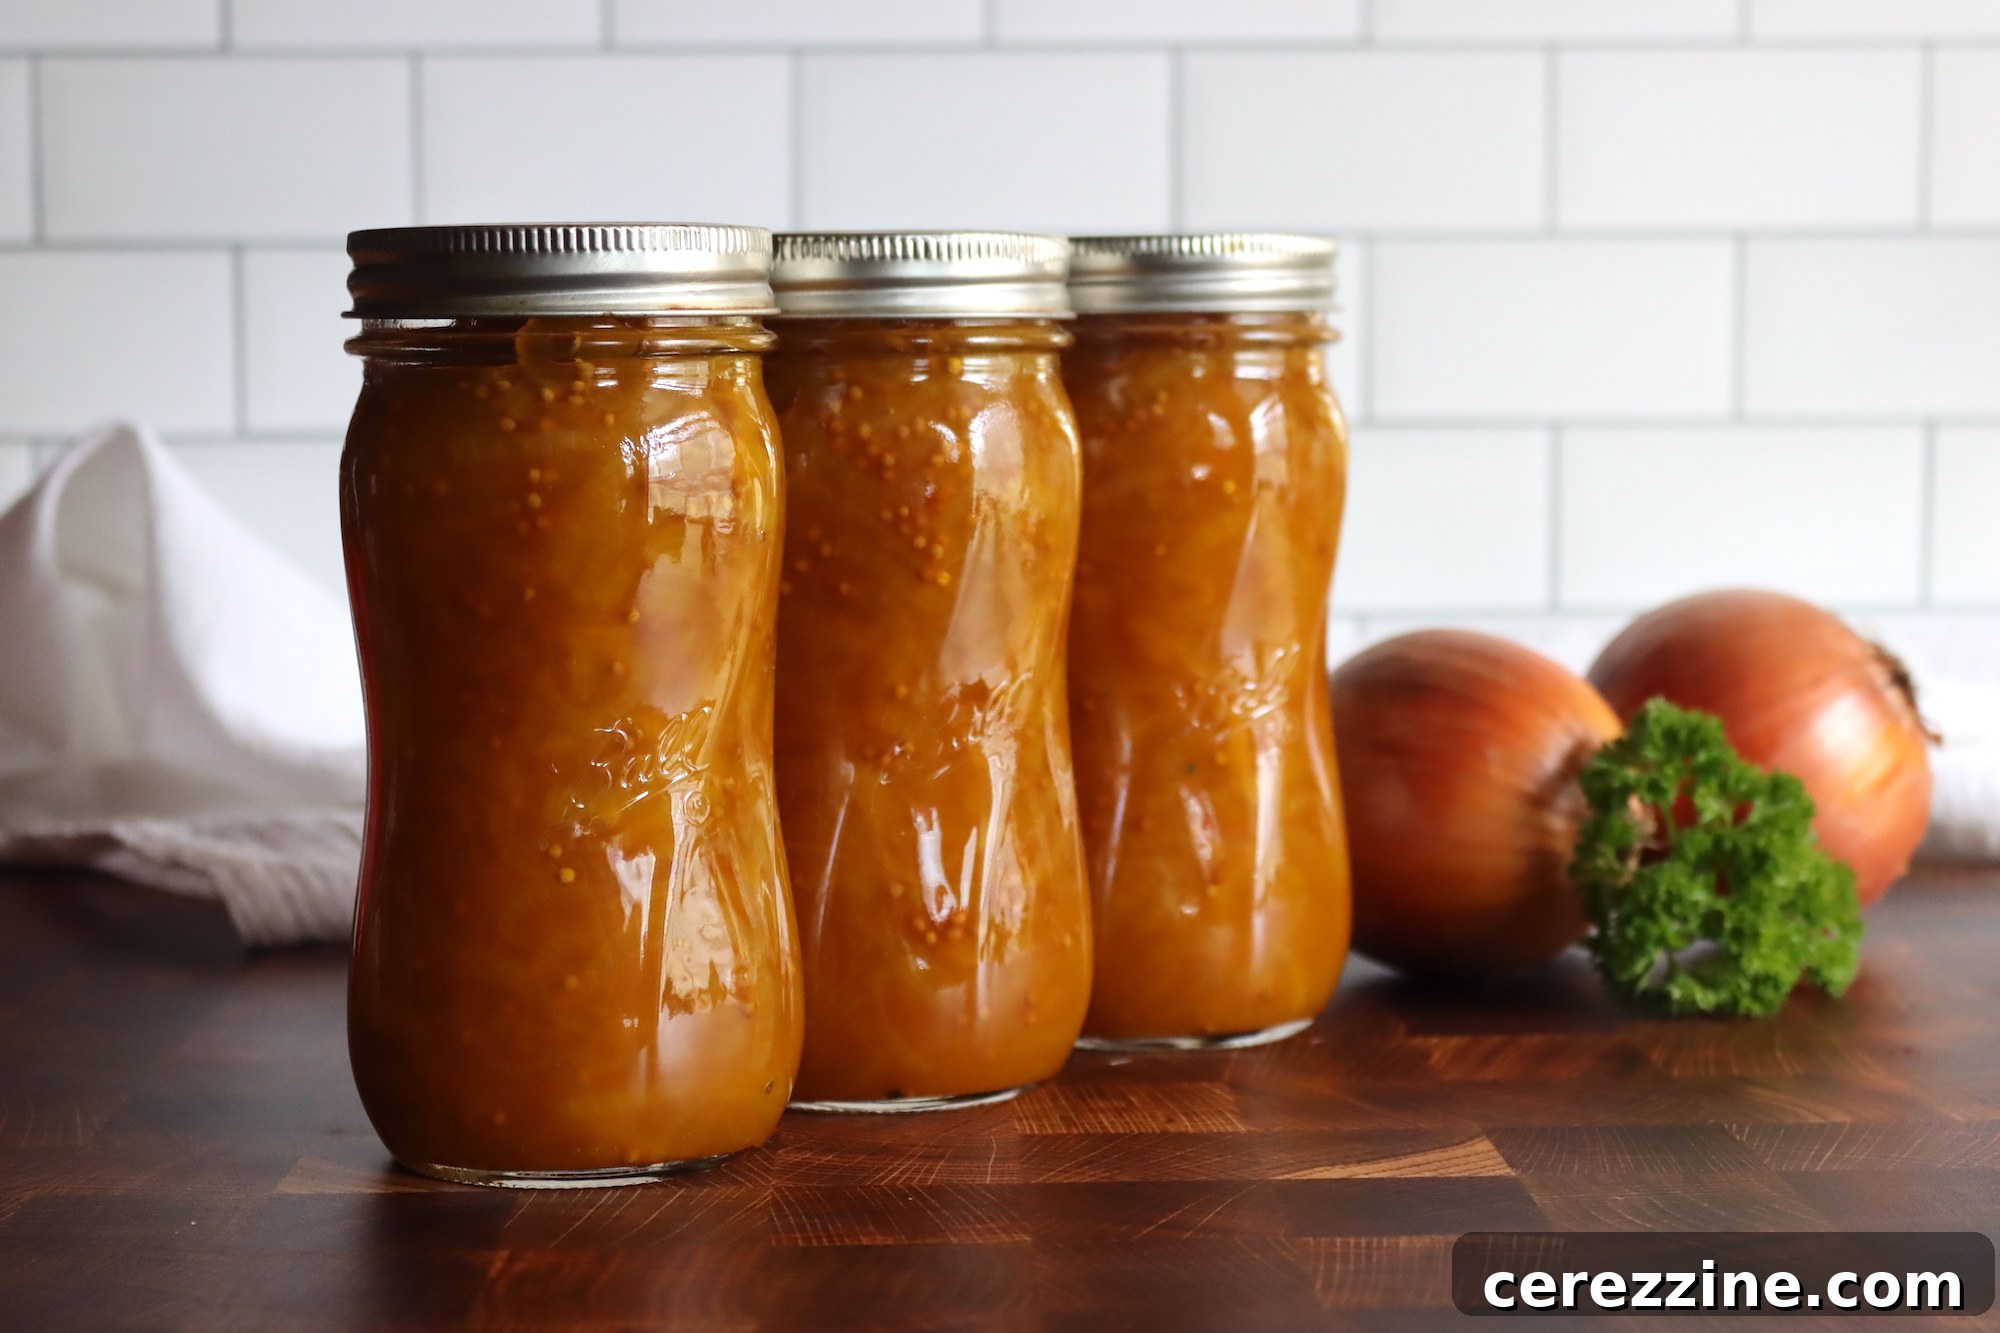
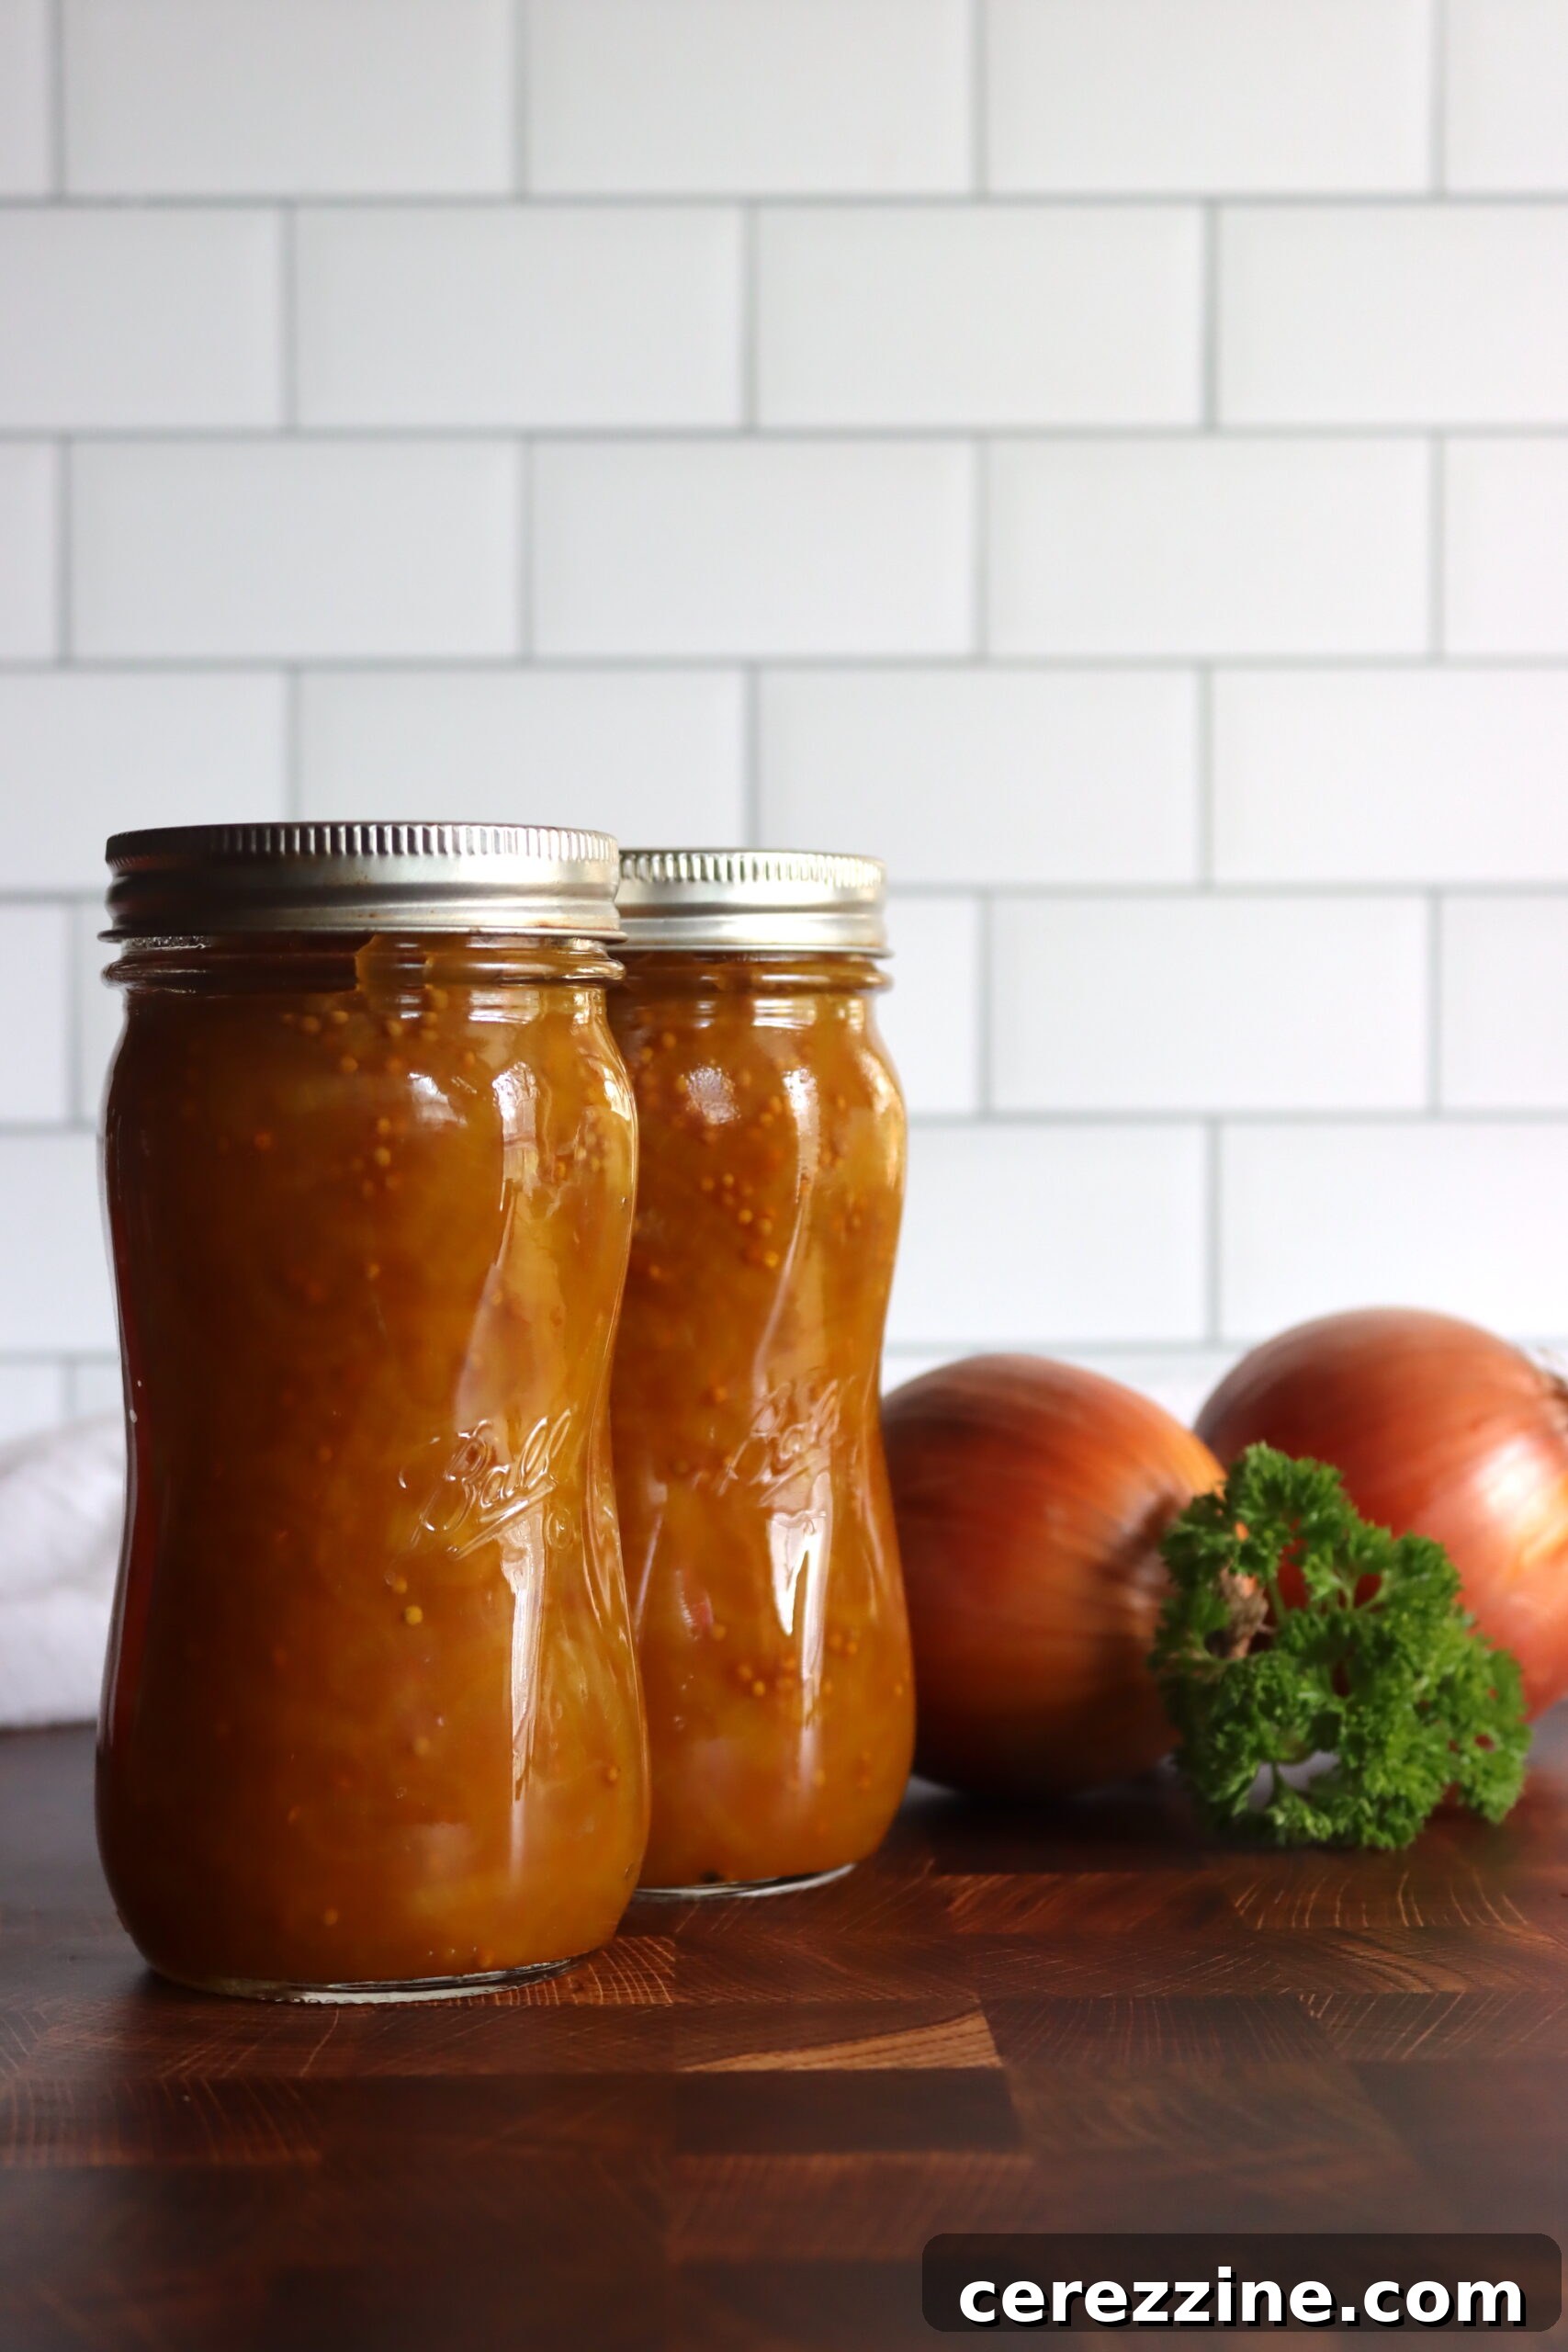
For this recipe, while any canning jar with a two-part lid will work, consider using decorative jars like the Ball Elite Collection Spiral Mason Jars (28 oz) to add a touch of elegance to your pantry. These instructions are calibrated for pint and half-pint jars with a 10-minute processing time. For larger 32-ounce quart jars or intermediate 28-ounce jars, extend the processing time to 15 minutes. Remember to add an additional 5 minutes to the processing time if you are canning at an elevation above 6,000 feet to ensure proper sealing and food safety.
Key Ingredients for Exceptional Bread and Butter Pickled Onions
This recipe for bread and butter pickled onions is thoughtfully adapted from “Put ‘Em Up!” by Sherri Brooks Vinton, a trusted resource in the world of home canning. A key distinction in this recipe, compared to typical bread and butter cucumber pickles, is the absence of a pre-salting step for the vegetables. Cucumbers often require salting and draining to prevent sogginess, a common issue in pickling. However, onions behave differently; their inherent structure and crispness mean they do not require this extra step. This makes bread and butter pickled onions significantly easier and quicker to prepare, as they achieve a perfect texture with just a simple, flavorful brine.
To prepare a full canner batch, yielding approximately six pint jars of these delectable pickled onions, you will need the following straightforward ingredients:
- 4 lbs large onions, ideally sweet white or yellow varieties, uniformly sliced
- 6 cloves garlic, thinly sliced
- 4 cups distilled white vinegar or apple cider vinegar (ensuring 5% acidity for safety)
- 2 cups water
- 1 cup white sugar
- 2 tbsp canning salt (non-iodized)
- 1 tbsp celery seed
- 1 tbsp mustard seed (yellow or brown)
- 1 tbsp turmeric powder, for its vibrant color and earthy notes
While you can technically experiment with any type of onion for this recipe, sweet white or yellow onions are generally recommended. Their milder flavor and higher sugar content complement the sweet and tangy brine beautifully, resulting in a more balanced and palatable pickle. You’ll typically need around sixteen medium-sized onions to meet the 4-pound requirement, but this can vary slightly based on the size of the onions you select. Aim for consistent slicing to ensure even pickling and a uniform texture in your finished product.
Crafting Your Homemade Bread and Butter Pickled Onions
Before you begin, an important note: always use a nonreactive pot for this recipe. Since vinegar is a primary ingredient, reactive metals like aluminum or cast iron can interact with the acid, potentially imparting an undesirable metallic flavor to your pickles and even causing discoloration. Stainless steel or enamel-coated pots are ideal choices.
Begin by preparing your vegetables. Carefully peel and slice your onions into uniform rings or half-moons. The consistency of your slices is important for even cooking and pickling. Next, thinly slice the garlic cloves. Aim for finely sliced pieces so their flavor can distribute well without overpowering the onions.
In your large nonreactive pot, combine the sugar, canning salt, celery seed, water, vinegar, mustard seed, and turmeric. Bring this pickling brine to a rolling boil over medium-high heat, stirring occasionally to dissolve the sugar and salt completely. Once the brine is vigorously boiling, add the sliced onions and garlic. Stir the mixture gently, ensuring all the onion slices are submerged in the hot brine and thoroughly heated through. This step helps to tenderize the onions slightly and allows them to absorb the flavors more effectively. As soon as the mixture is heated through (it doesn’t need to return to a boil once onions are added), remove the pot from the heat.
Filling the Jars: A Crucial Step for Successful Pickling
Whether you plan to preserve your pickled onions through canning or simply refrigerate them, proper jar preparation is essential. Clean and sterilize your canning jars according to standard canning practices. While the onions are still warm, carefully ladle the hot pickle mixture into the prepared jars. Use a non-metallic utensil to pack the onions snugly into the jars, ensuring they are covered by at least 1/4 inch of the liquid brine. It’s important to distribute the spices evenly among the jars.
Once filled, ensure you leave 1/4 inch of headspace between the top of the liquid and the rim of the jar. This space is critical for creating a proper vacuum seal during the canning process. Use a bubble remover tool (a plastic or wooden chopstick works well) to gently release any trapped air bubbles from around the onions. This step prevents discoloration and ensures the onions are fully immersed in the brine. After removing air bubbles, wipe the rims of the jars meticulously clean with a damp cloth to remove any food particles or brine residue. This ensures a clean surface for the lid to seal properly. Center the sterile lids on the jars and then screw on the bands finger-tight. Avoid overtightening, as this can prevent air from escaping during processing and lead to seal failures.
If you’re making refrigerator pickles, simply allow the jars to cool completely to room temperature before transferring them to the refrigerator. These will keep for up to three weeks and are perfect for immediate enjoyment. If you intend to preserve your bread and butter pickled onions for longer-term storage, proceed with the canning instructions below.
Water Bath Canning Bread and Butter Pickled Onions for Long-Term Storage
For safe, shelf-stable storage, water bath canning is the recommended method for these acidic pickles. Before filling your jars, ensure your water bath canner is prepared: fill it with enough water to cover the jars by at least one inch, and bring the water to a simmer (around 180°F or 82°C) while you prepare your pickles. Have your canning rack, jars, lids, and bands ready.
Once your jars are filled, de-bubbled, and sealed with finger-tight bands, carefully place them onto the rack in the water bath canner. Make sure the jars are not touching each other or the sides of the canner. Bring the water to a full rolling boil.
Process pint and half-pint jars for 10 minutes once the water reaches a full boil. If you are canning at an elevation above 6,000 feet, increase this processing time to 15 minutes. For larger quart-sized jars (or the 28-ounce intermediate jars mentioned earlier), process for 15 minutes. For quart jars at elevations above 6,000 feet, process for 20 minutes. Always start your timer only after the water has returned to a vigorous boil.
Once the designated processing time is complete, turn off the heat under the canner. Carefully remove the canner’s lid. Allow the jars to rest in the hot water for an additional five minutes. This resting period helps to equalize the temperature and pressure, reducing the chance of liquid loss from the jars and aiding in a stronger seal.
After five minutes, use a jar lifter to carefully remove the hot jars from the canner, placing them upright on a clean towel or cooling rack on your counter. Ensure they are not disturbed for at least 12 to 24 hours while they cool and seal. You will hear satisfying “pop” sounds as the lids seal. After 24 hours, check all seals by pressing the center of each lid. If the lid does not flex, it is properly sealed. Any unsealed jars should be refrigerated and consumed within three weeks. Properly sealed jars can be stored in a cool, dark place, such as a pantry or basement, for up to one year, or even longer for optimal flavor development.
Even if canning isn’t on your agenda, you can still enjoy this fantastic recipe! Simply follow the preparation and filling steps, then, instead of water bath processing, allow the filled jars (or bowls) to cool to room temperature before refrigerating. These delightful refrigerator pickles will be ready to eat in a few days and will keep fresh for up to three weeks.
Creative Ways to Serve Bread and Butter Pickled Onions
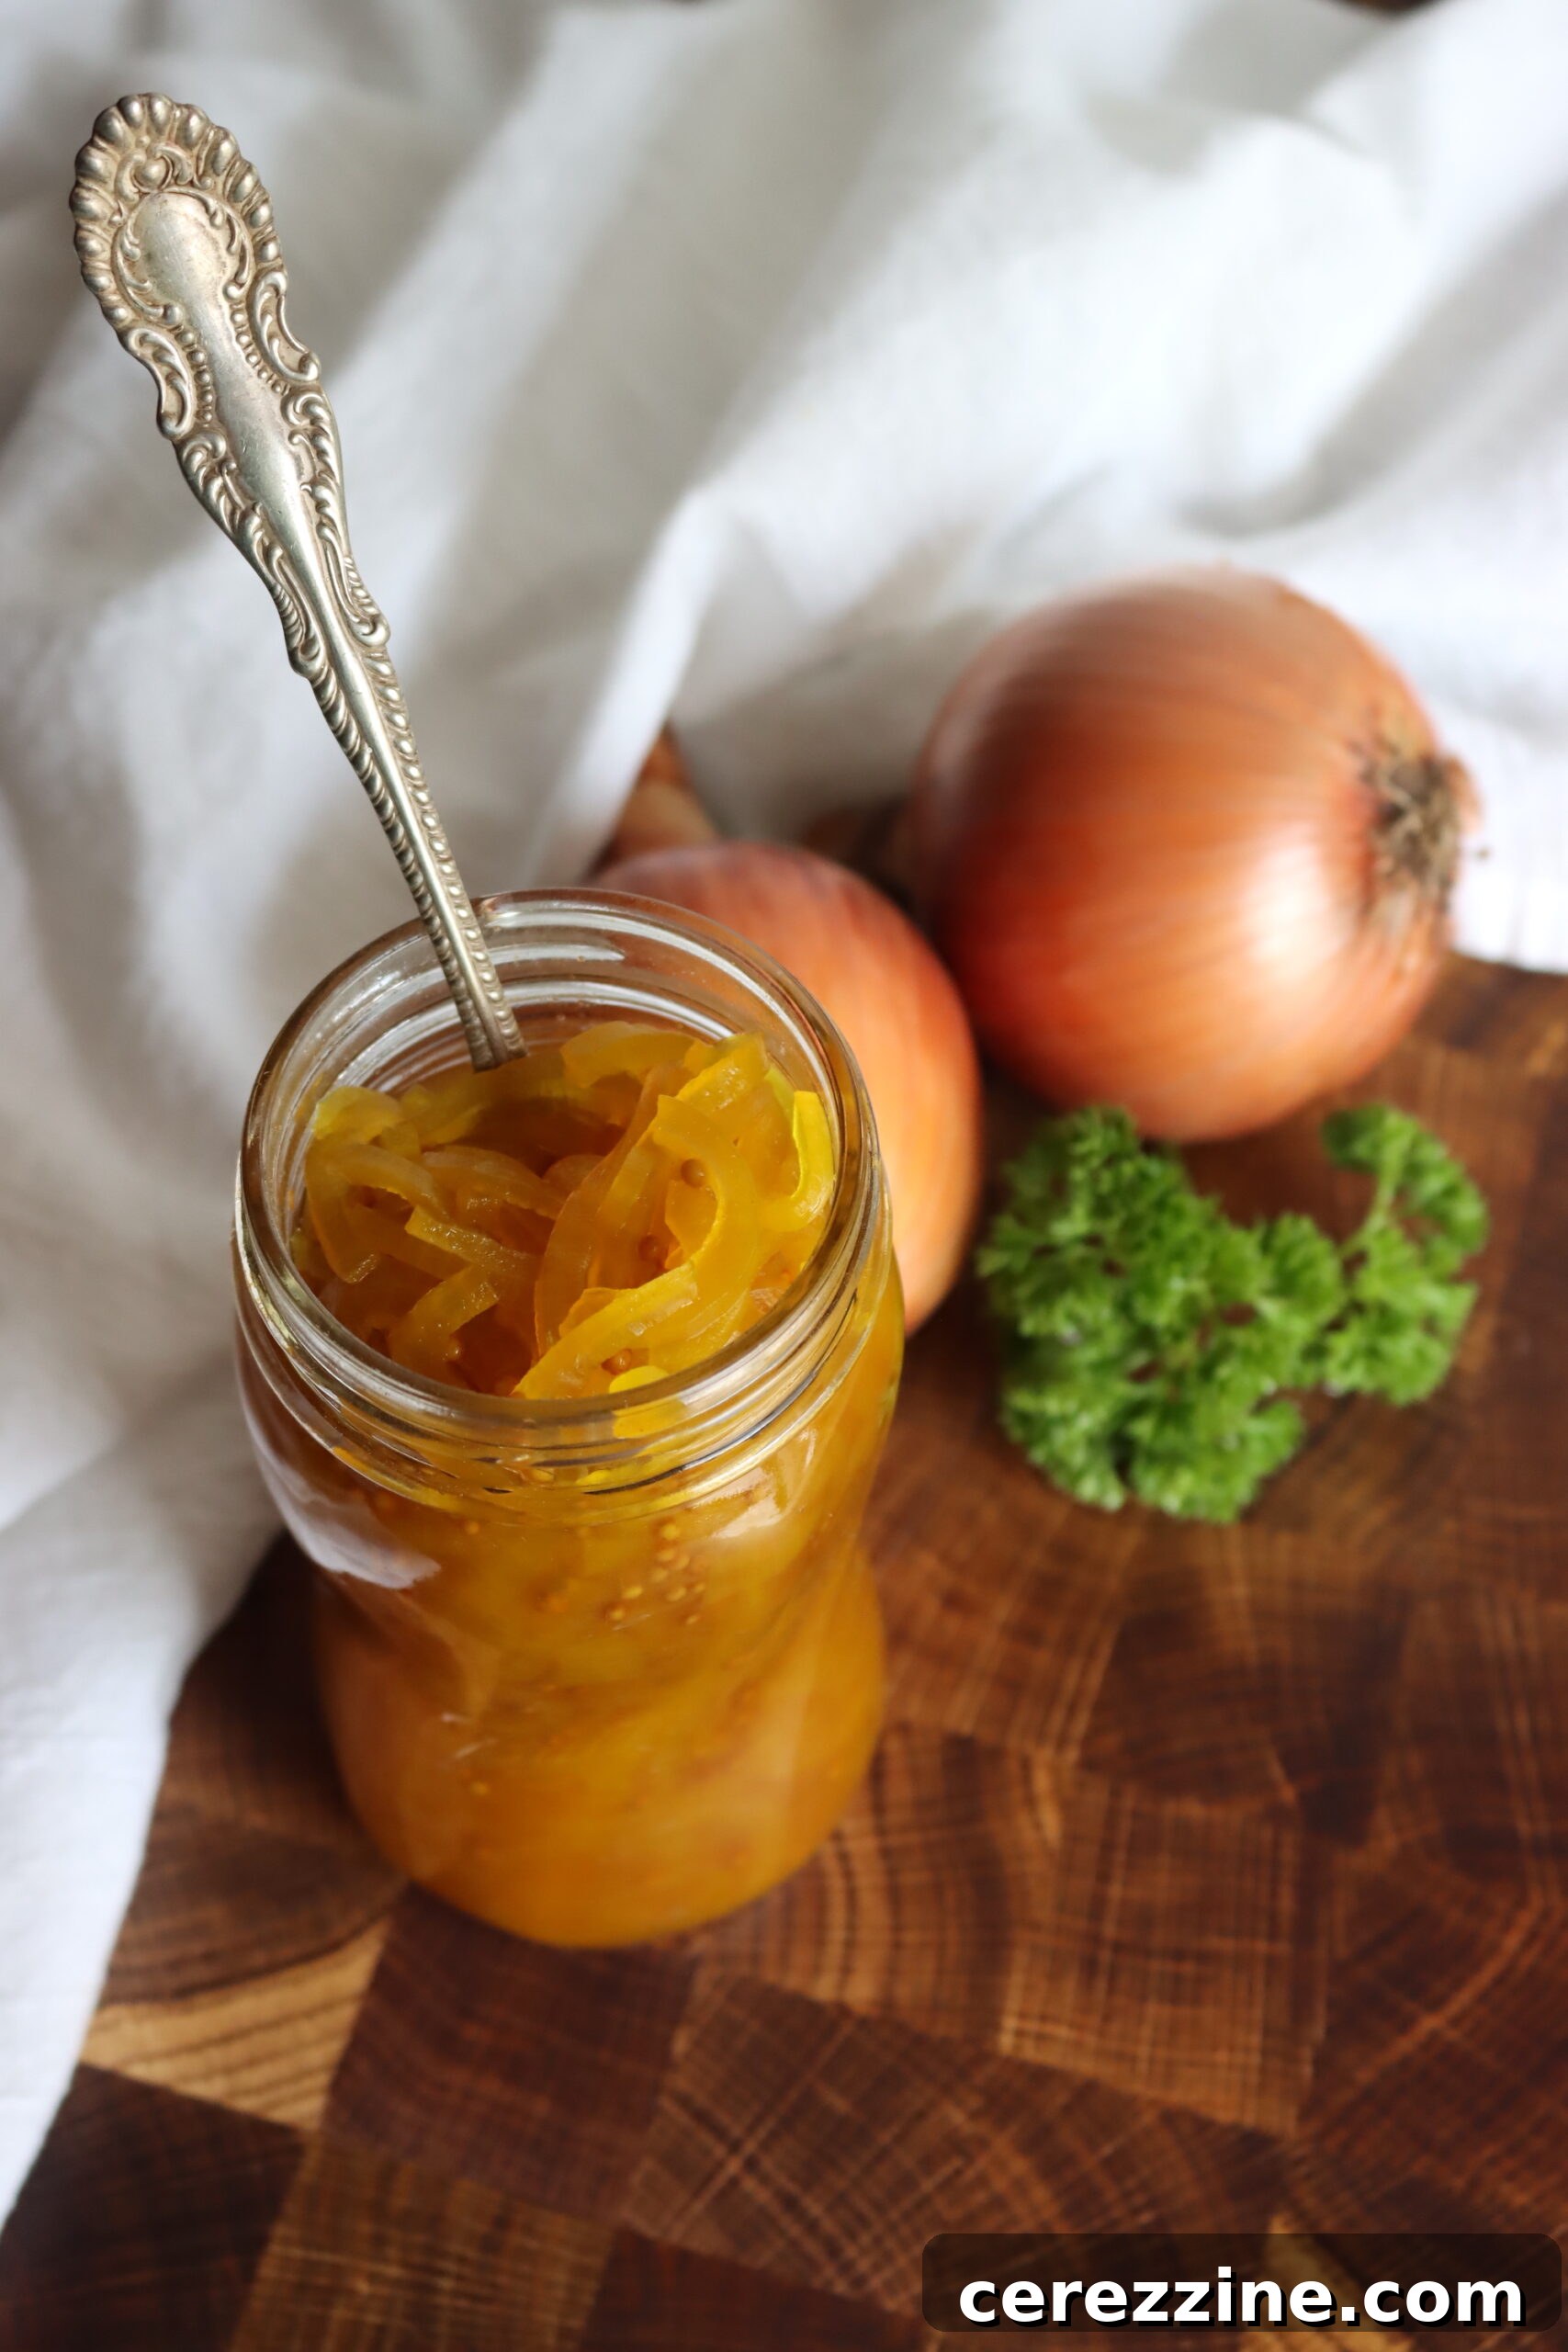
Once your homemade bread and butter pickled onions are ready, the culinary possibilities are truly endless. These sweet and tangy gems are typically served as a condiment or a vibrant side dish, instantly elevating the flavor profile of almost any meal. Their bright acidity and subtle sweetness make them an excellent counterpoint to rich, savory flavors.
Here are some popular and creative ways to incorporate them into your cooking:
- Classic Sandwich and Burger Topping: The most common use! They add an irresistible crunch and a burst of flavor to any sandwich, submarine, or gourmet burger. They’re particularly fantastic with grilled cheese or pulled pork sandwiches.
- Hot Dogs and Sausages: Forget plain relish! A spoonful of these pickled onions transforms a simple hot dog or bratwurst into a gourmet experience.
- Grilled Meats and BBQ: Their tangy sweetness perfectly cuts through the richness of grilled steak, chicken, or pork chops, making them an ideal accompaniment at your next barbecue.
- Salad Enhancer: Chop them finely and toss them into green salads, potato salad, pasta salad, or coleslaw for an extra layer of texture and zing.
- Taco and Fajita Topping: Add a vibrant, tangy element to your Mexican-inspired dishes. They pair beautifully with both meat and vegetarian fillings.
- Charcuterie and Cheese Boards: A must-have for any respectable cheese board! Their sweetness complements sharp cheddar, creamy brie, and salty blue cheeses, while their tang offers a palate cleanser.
- Appetizer Upgrade: Serve them alongside crackers and cream cheese, or chop them and mix into deviled eggs for a surprising flavor twist.
- Eggs and Omelets: Fold them into an omelet or scramble, or serve them on the side with fried eggs for a delightful breakfast or brunch.
- Garnish for Soups and Stews: A small dollop on top of a hearty stew or soup can provide a welcome acidic brightness.
- Grain Bowls and Buddha Bowls: Introduce a pickled element to your healthy grain bowls for added depth and excitement.
One of the best aspects of bread and butter pickled onions is that they are a ready-to-serve item. You can simply pop open a jar and enjoy them straight away, without any additional preparation needed. This makes them incredibly convenient for busy weeknights or impromptu gatherings. Of course, don’t hesitate to get creative and experiment by adding them to your favorite recipes or using them as a unique topping. Whether you prefer to keep things simple or explore new flavor combinations, these homemade pickled onions are sure to become a cherished item in your pantry.
Bread and Butter Pickled Onions
Rate
Equipment
-
Water Bath Canner
Ingredients
- 4 lbs onions, sliced
- 6 cloves garlic, sliced
- 4 cups vinegar, white or cider vinegar, 5% acidity
- 2 cups water
- 1 cup sugar
- 2 tbsp salt
- 1 tbsp celery seed
- 1 tbsp mustard seed
- 1 tbsp turmeric
Instructions
-
Start by slicing your onions and slicing the garlic into fine pieces. Try to get these as uniform as possible.
-
Bring the sugar, salt, celery seed, water, vinegar, mustard seed, and turmeric to a boil in a large pot.
-
Once boiled, add in the onions and garlic and stir until all ingredients are thoroughly heated through.
-
Remove the pot from the heat.
-
Clean and heat your canning jars, then ladle the pickle mixture into the jars, making sure the onions are covered by ¼ inch of liquid.
-
Leave ¼ inch of headspace between the top of the liquid and the lid.
-
Use a bubble remover tool to release any trapped air, then wipe the rims clean. Center the lids on the jars and screw on the bands tightly.
-
Process pint and half pint jars for 10 minutes (or 15 minutes if above 6,000 feet in elevation). Quarts are processed for 15 minutes (and 20 minutes above 6,000 feet elevation). Once the time has completed, turn off the heat and remove the canner’s lid.
-
Allow the jars to rest in the water for five minutes before removing them and placing them aside to cool for 24 hours.
-
Check the seals, and if your jars are properly sealed, store them in a cool, dark place for up to one year.
Nutrition
Nutrition information is automatically calculated, so should only be used as an approximation.
More Essential Pickling Recipes
If you’ve enjoyed the rewarding process of making these bread and butter pickled onions, you’ll likely appreciate other simple yet incredibly flavorful pickling recipes. Pickling is a fantastic way to preserve the bounty of the season and add exciting dimensions to your everyday meals.
Looking for more simple pickling recipes to stock your pantry?
- Pickled Corn Salad: A vibrant and zesty salad perfect for summer gatherings.
- Pickled Three Bean Salad: A classic side dish with a tangy kick, ideal for potlucks.
- Pickled Green Tomatoes: A delicious way to utilize unripe tomatoes from your garden, offering a tart and savory crunch.
- Pickled Green Beans (Dilly Beans): Crisp, garlicky, and dill-infused green beans that are addictive as a snack or side.
- Pickled Jalapenos: Spice up your life with these easy-to-make, versatile pickled peppers.
- Pickled Fiddleheads: A unique and delicious way to preserve these springtime delicacies.
Explore Other Savory Preserve Recipes
Beyond pickling, the world of savory preserves offers countless ways to capture and enjoy the rich flavors of each season. These recipes are perfect for adding depth and complexity to your meals, from appetizers to main courses.
Looking for more savory ways to enjoy the season’s harvest?
- How to Make a Herbal Jelly (Savory or Sweet): Discover the art of making jellies infused with herbs, suitable for both sweet and savory applications.
- Carmelized Onion Jam: A rich, sweet, and savory spread that’s perfect with cheese, meats, or on sandwiches.
- Tomato Jam: A tangy, sweet, and deeply flavorful jam that’s far more versatile than you might imagine.
- Corn Relish: A bright and tangy relish that captures the sweetness of summer corn, perfect for hot dogs and burgers.
- Pickled Brussels Sprouts: A surprising and delicious pickle that transforms these often-misunderstood vegetables into a gourmet treat.