
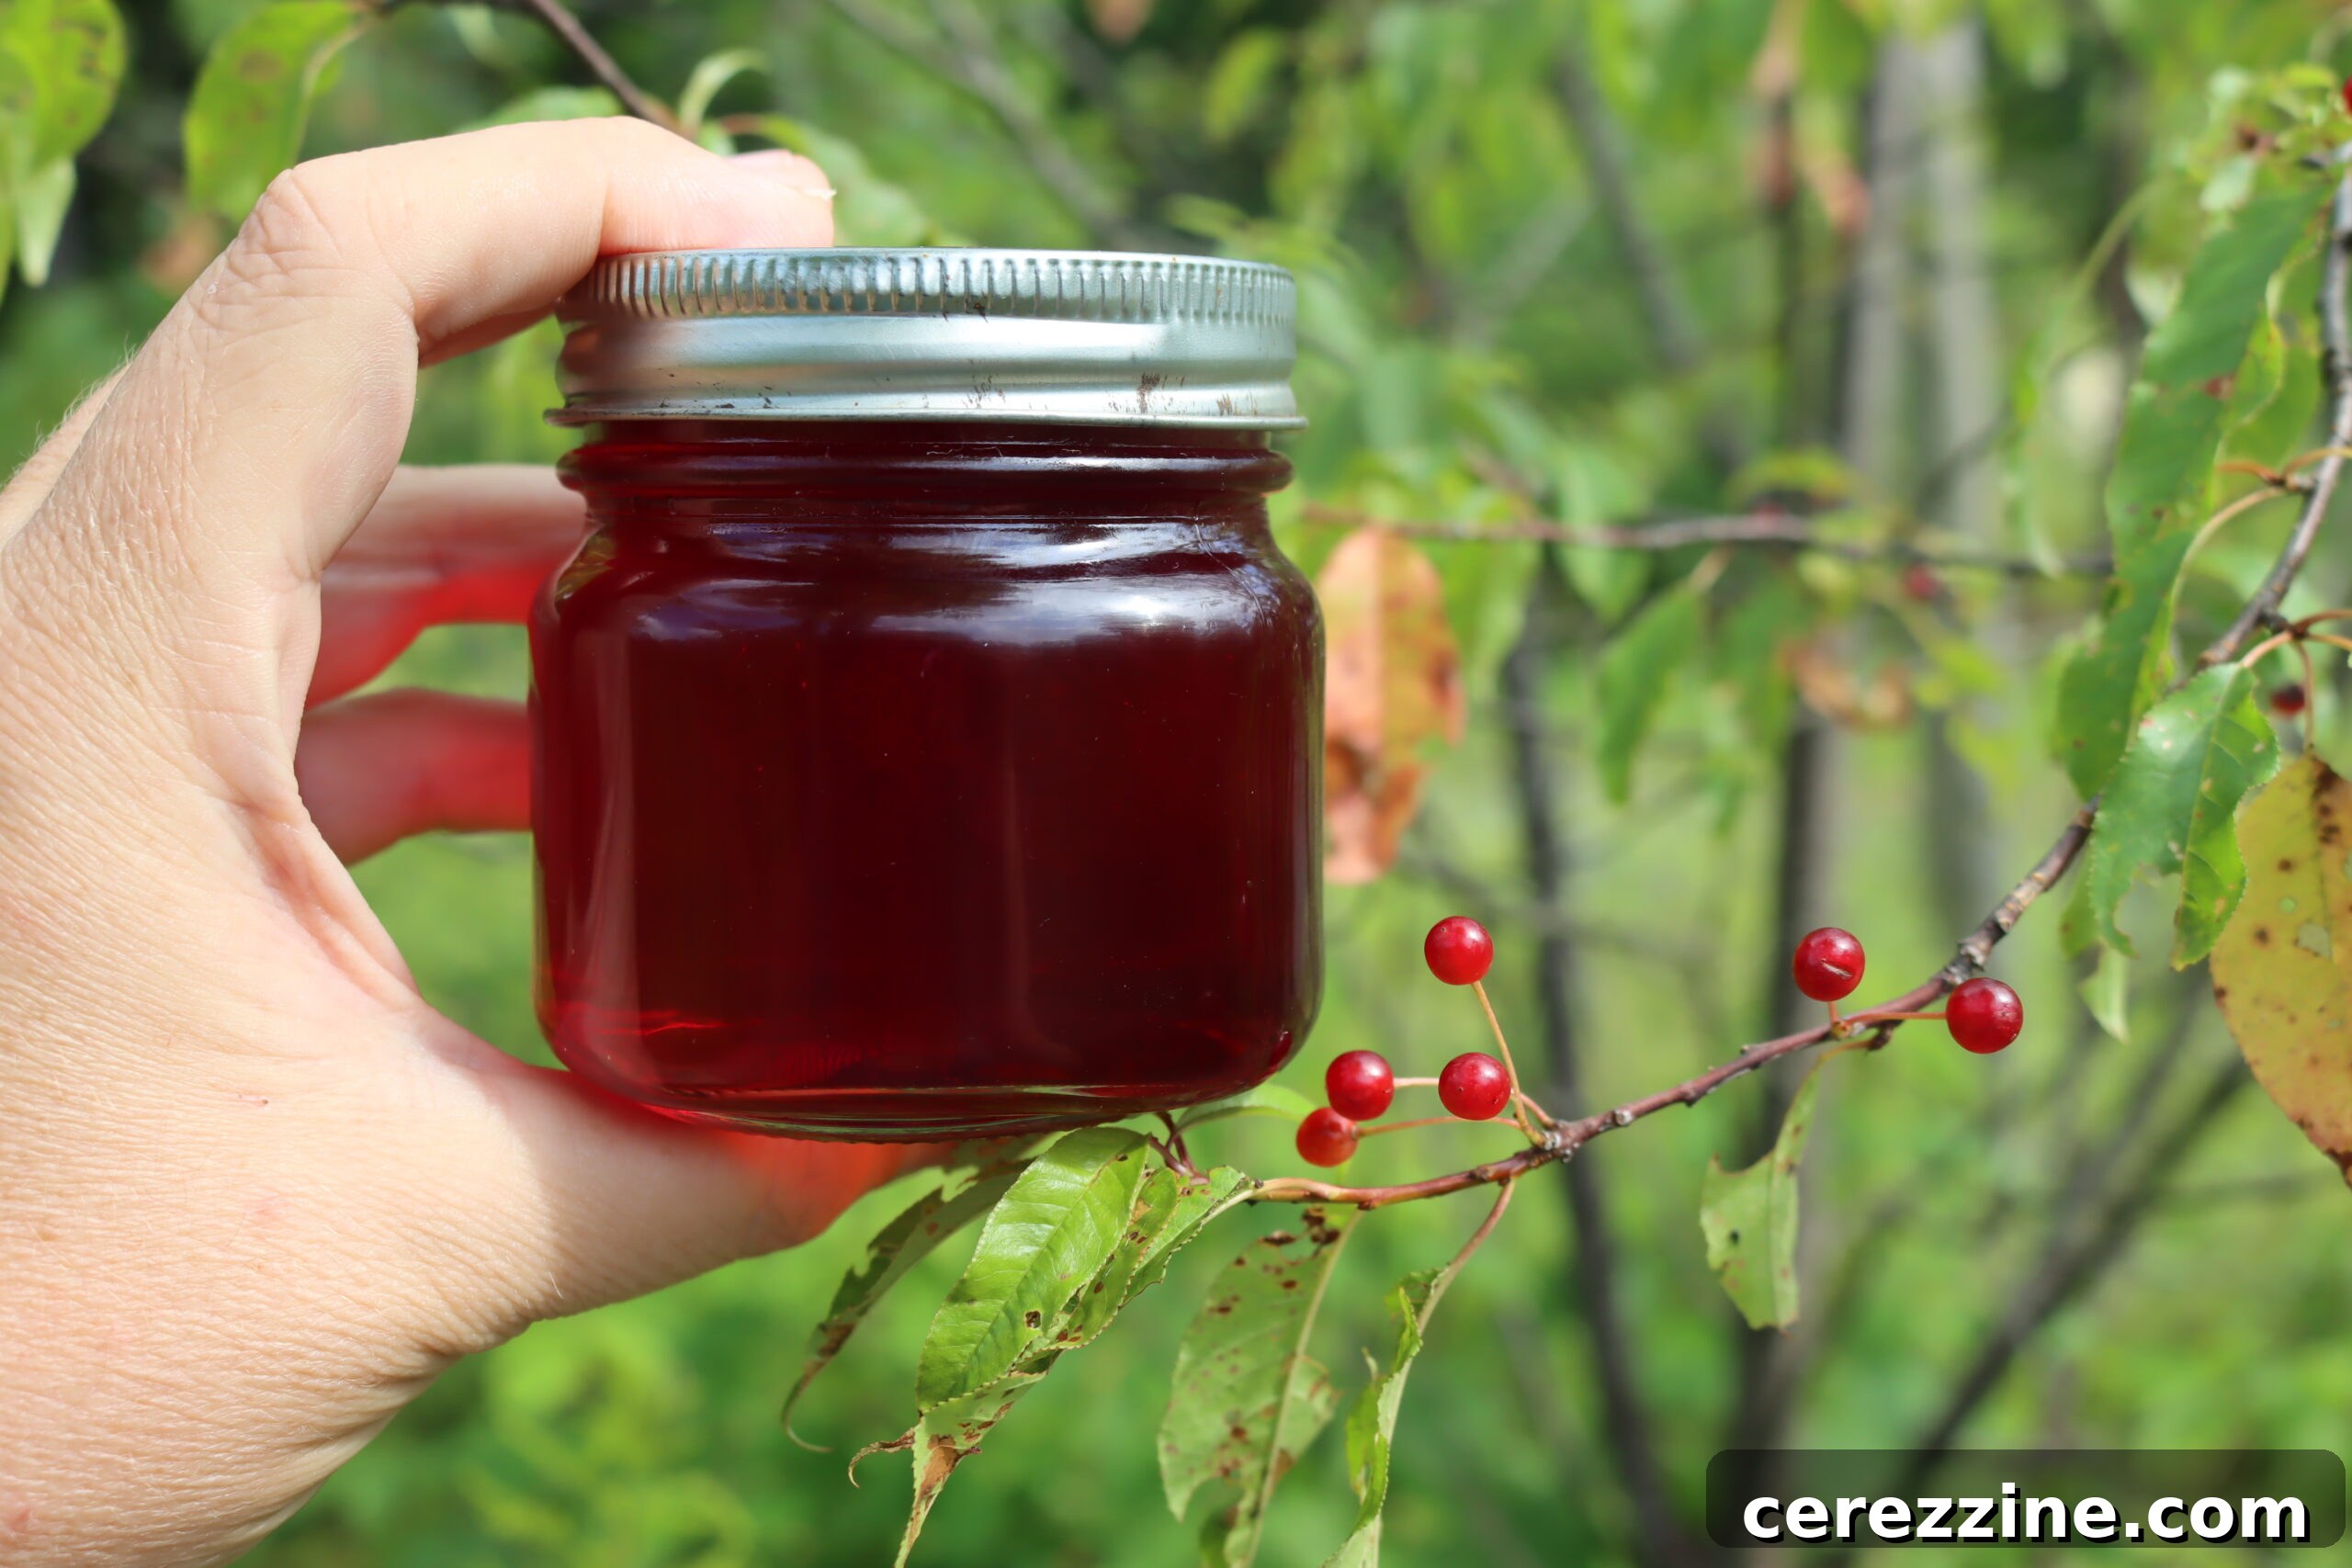
Embark on a culinary journey into the heart of the wild with homemade pin cherry jelly. This vibrant, sweet-tart spread is not just a condiment; it’s a celebration of nature’s bounty, transforming the ephemeral beauty of wild-foraged pin cherries into a delightful jar of preserved sunshine. As the season’s fleeting harvest of these small, bright red jewels arrives, there’s no better way to capture their unique flavor and brilliant ruby hue than by crafting your own batch of this exquisite jelly.
The Allure of Wild Pin Cherry Jelly: A Taste Beyond the Store
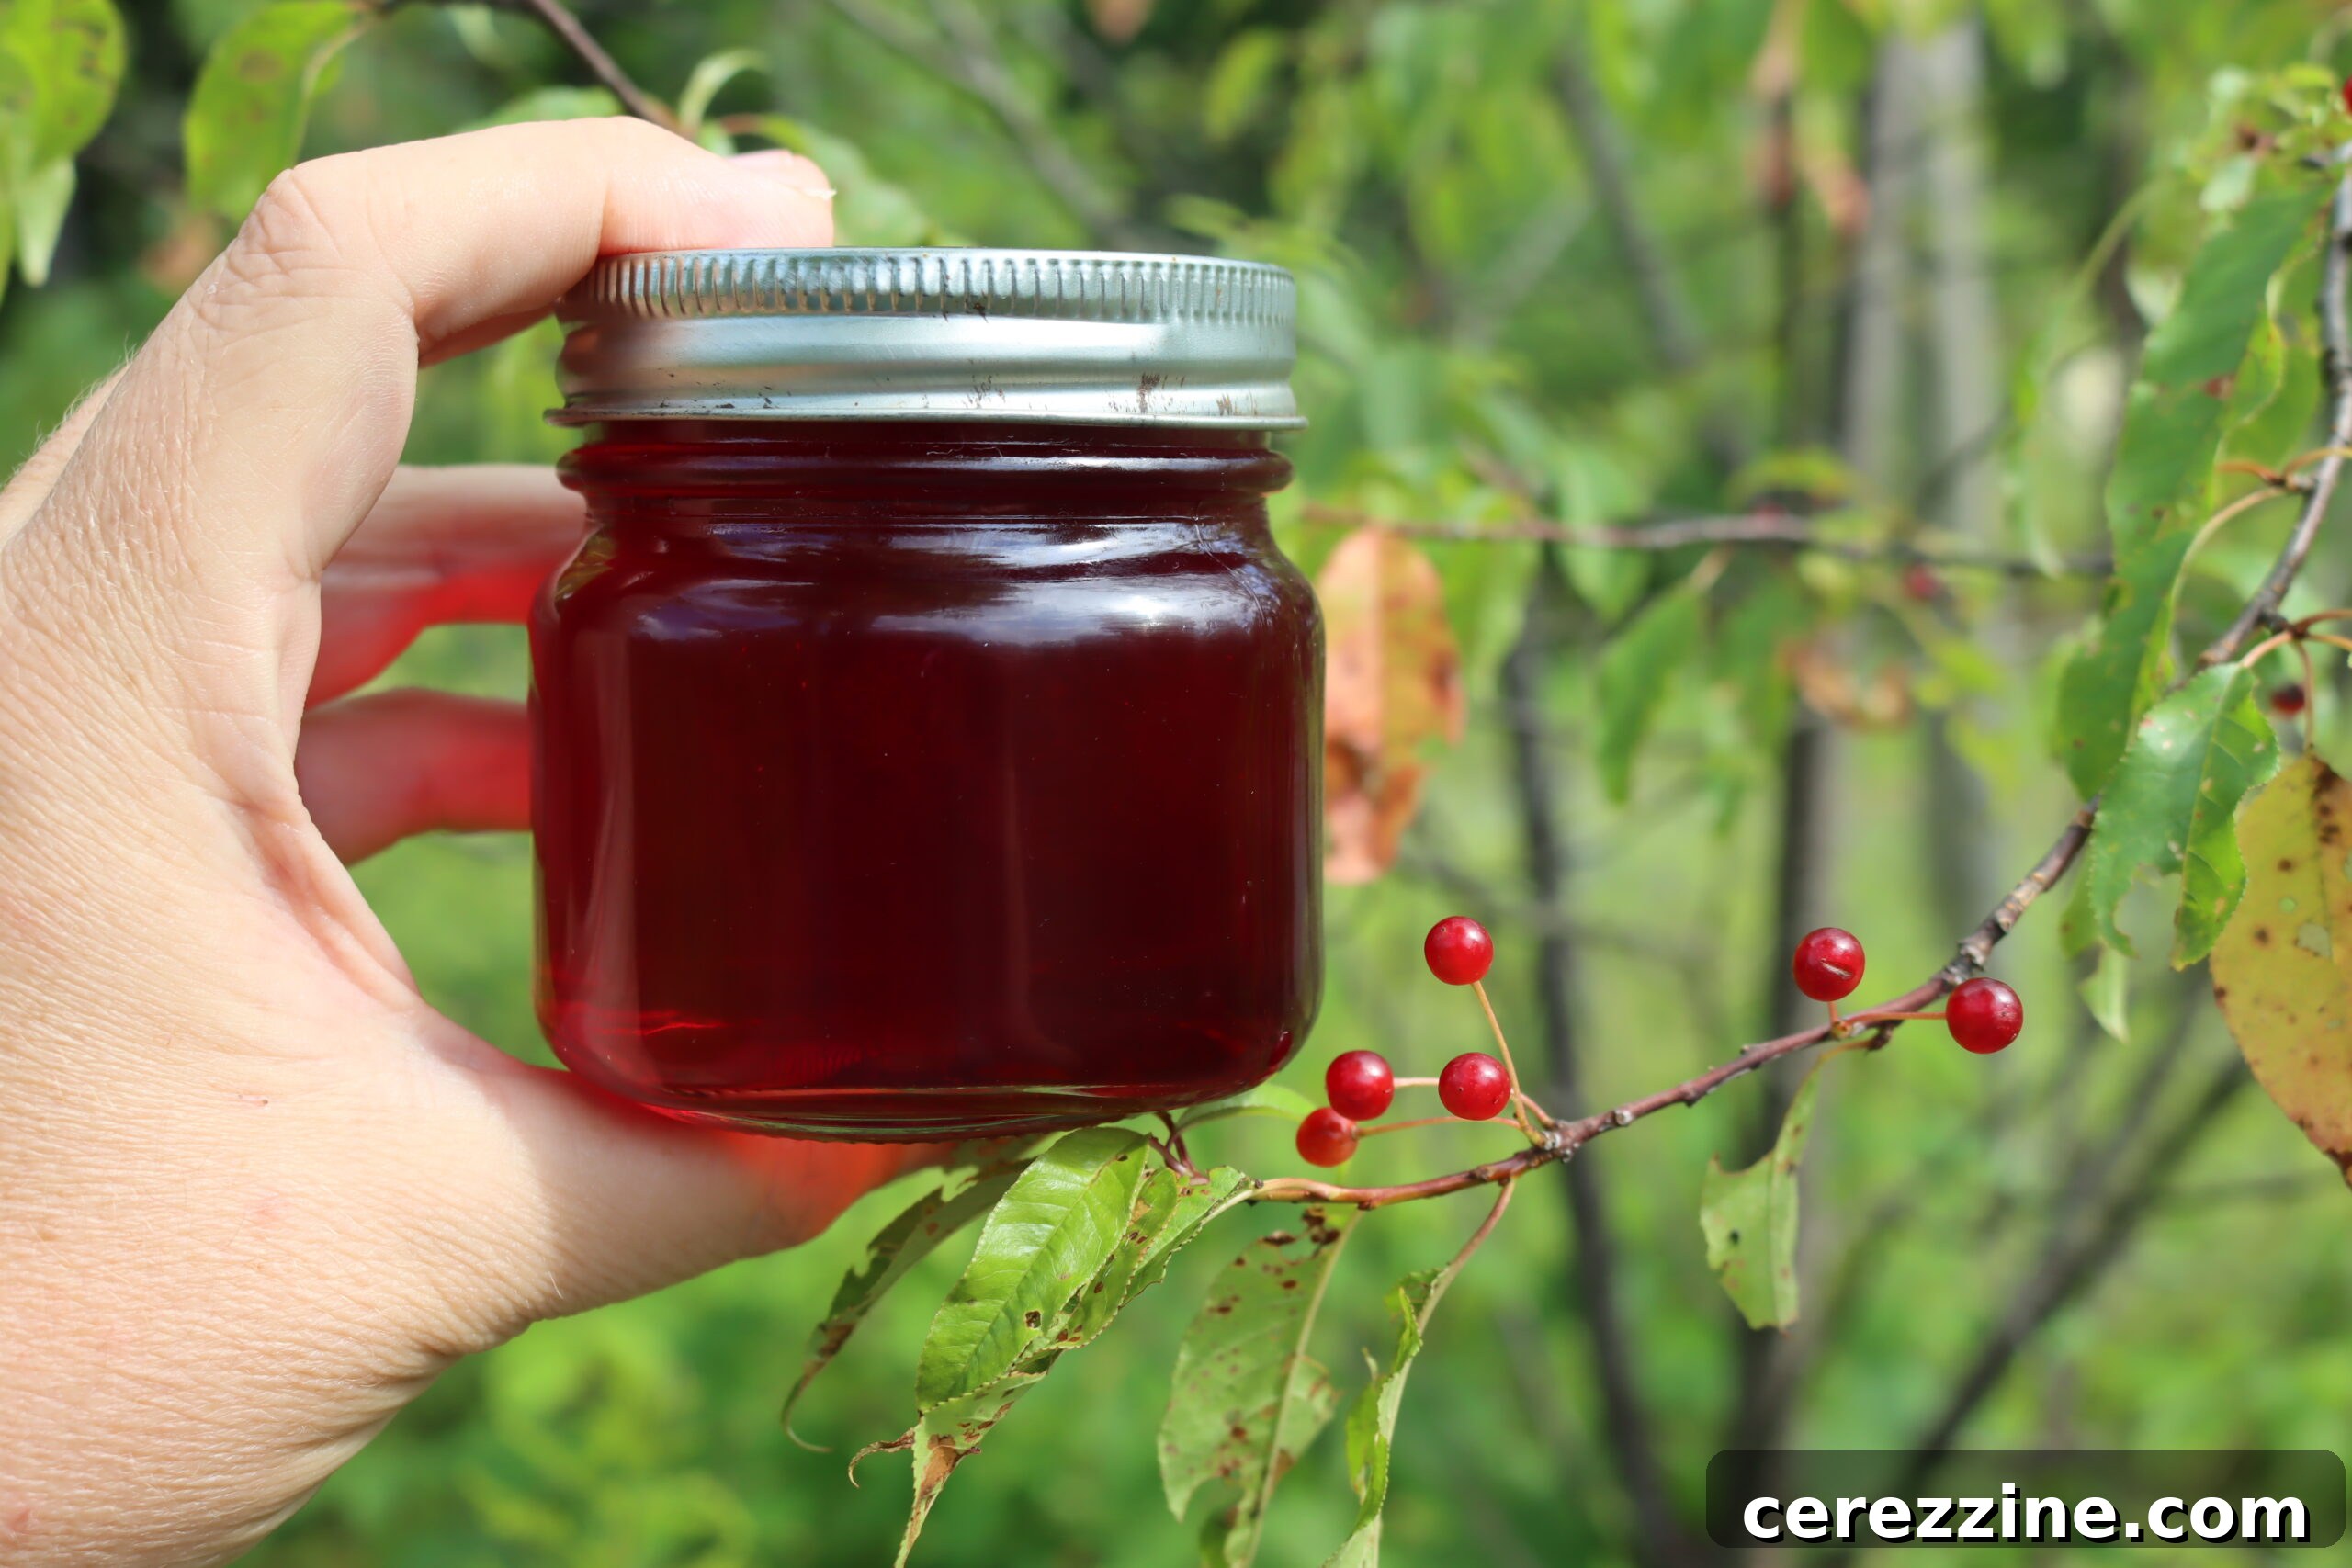
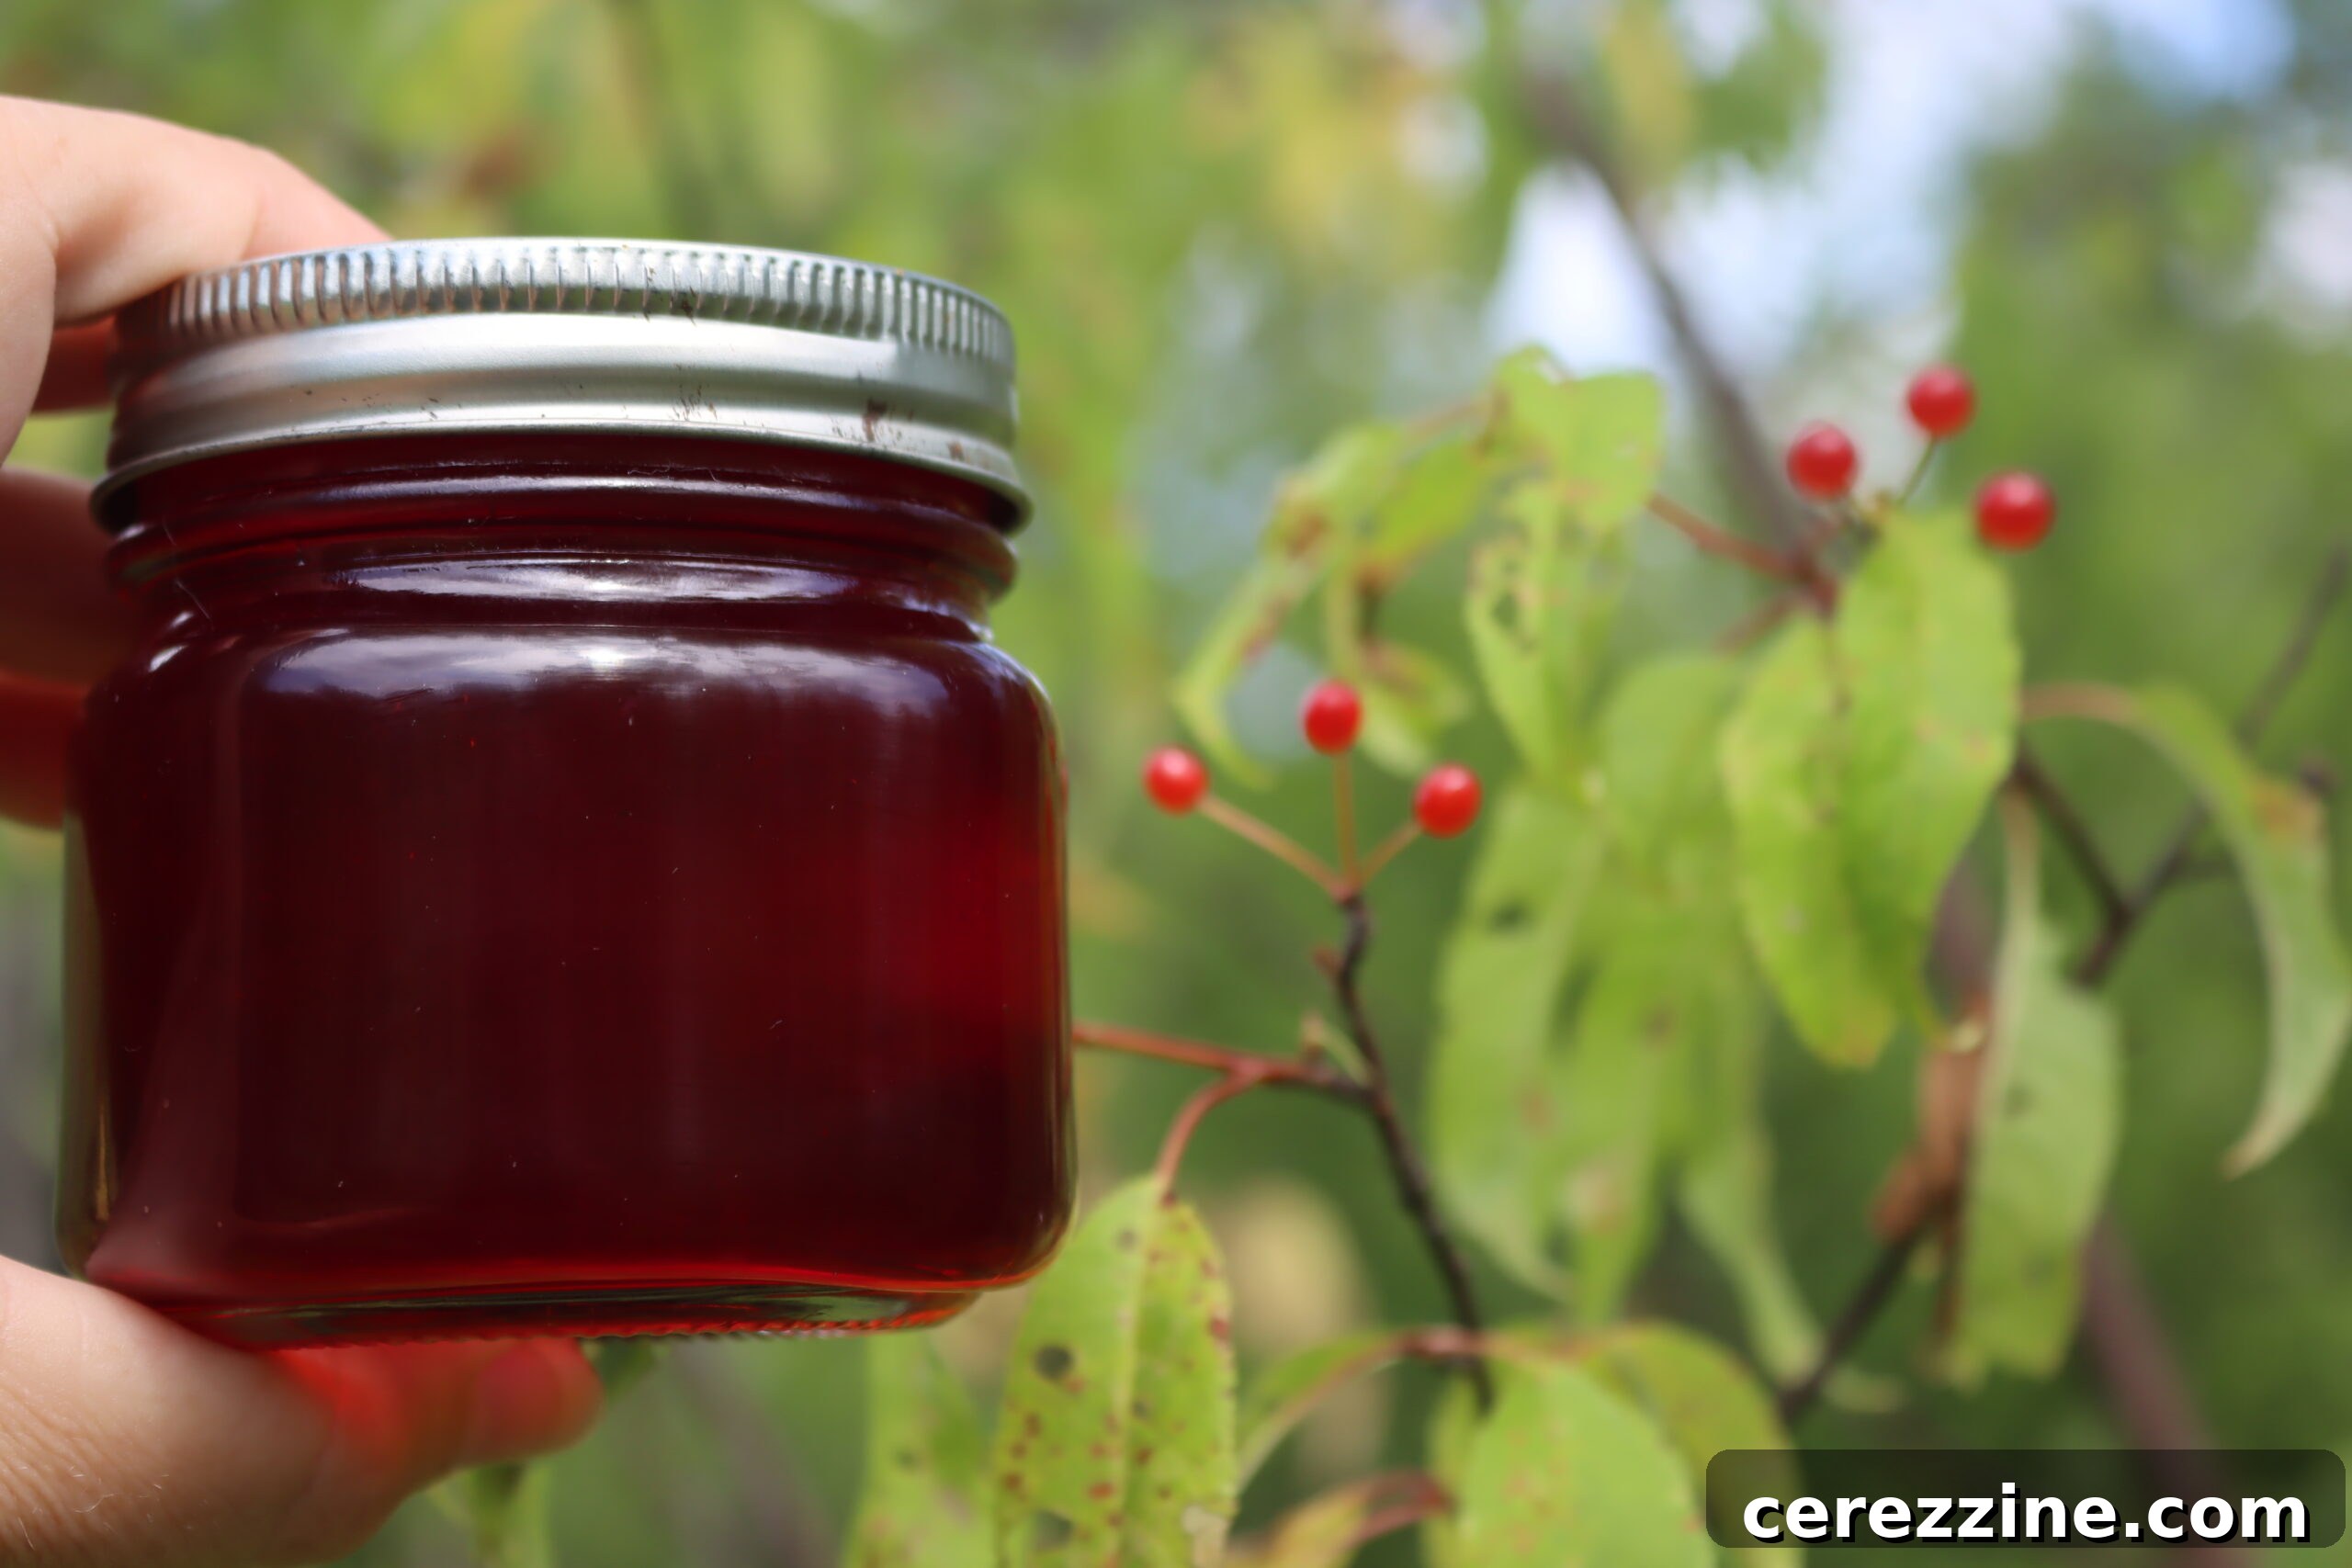
Pin cherry jelly is a truly special treat, deriving its distinctive character from the juice of pin cherries (Prunus pensylvanica), small, glistening red fruits that thrive in the wild landscapes across much of North America. Unlike their cultivated cousins, pin cherries boast an unparalleled balance of sweet and tart notes, a flavor profile that remains elusive in commercially available jellies. This unique combination makes homemade pin cherry jelly an incredibly versatile addition to your pantry, elevating everything from a simple breakfast spread to gourmet culinary creations.
There’s an undeniable satisfaction that comes with preserving wild fruits. This isn’t merely about making jelly; it’s about connecting with nature, understanding seasonality, and capturing a taste that literally cannot be bought. The process of foraging for pin cherries, carefully extracting their juice, and transforming it into a shimmering jelly is a rewarding DIY project that yields a product bursting with fresh, vibrant flavor. It allows you to enjoy the essence of these wild berries long after their short season has passed, bringing a taste of summer to your table year-round.
Foraging for Pin Cherries: Identification and Alternatives
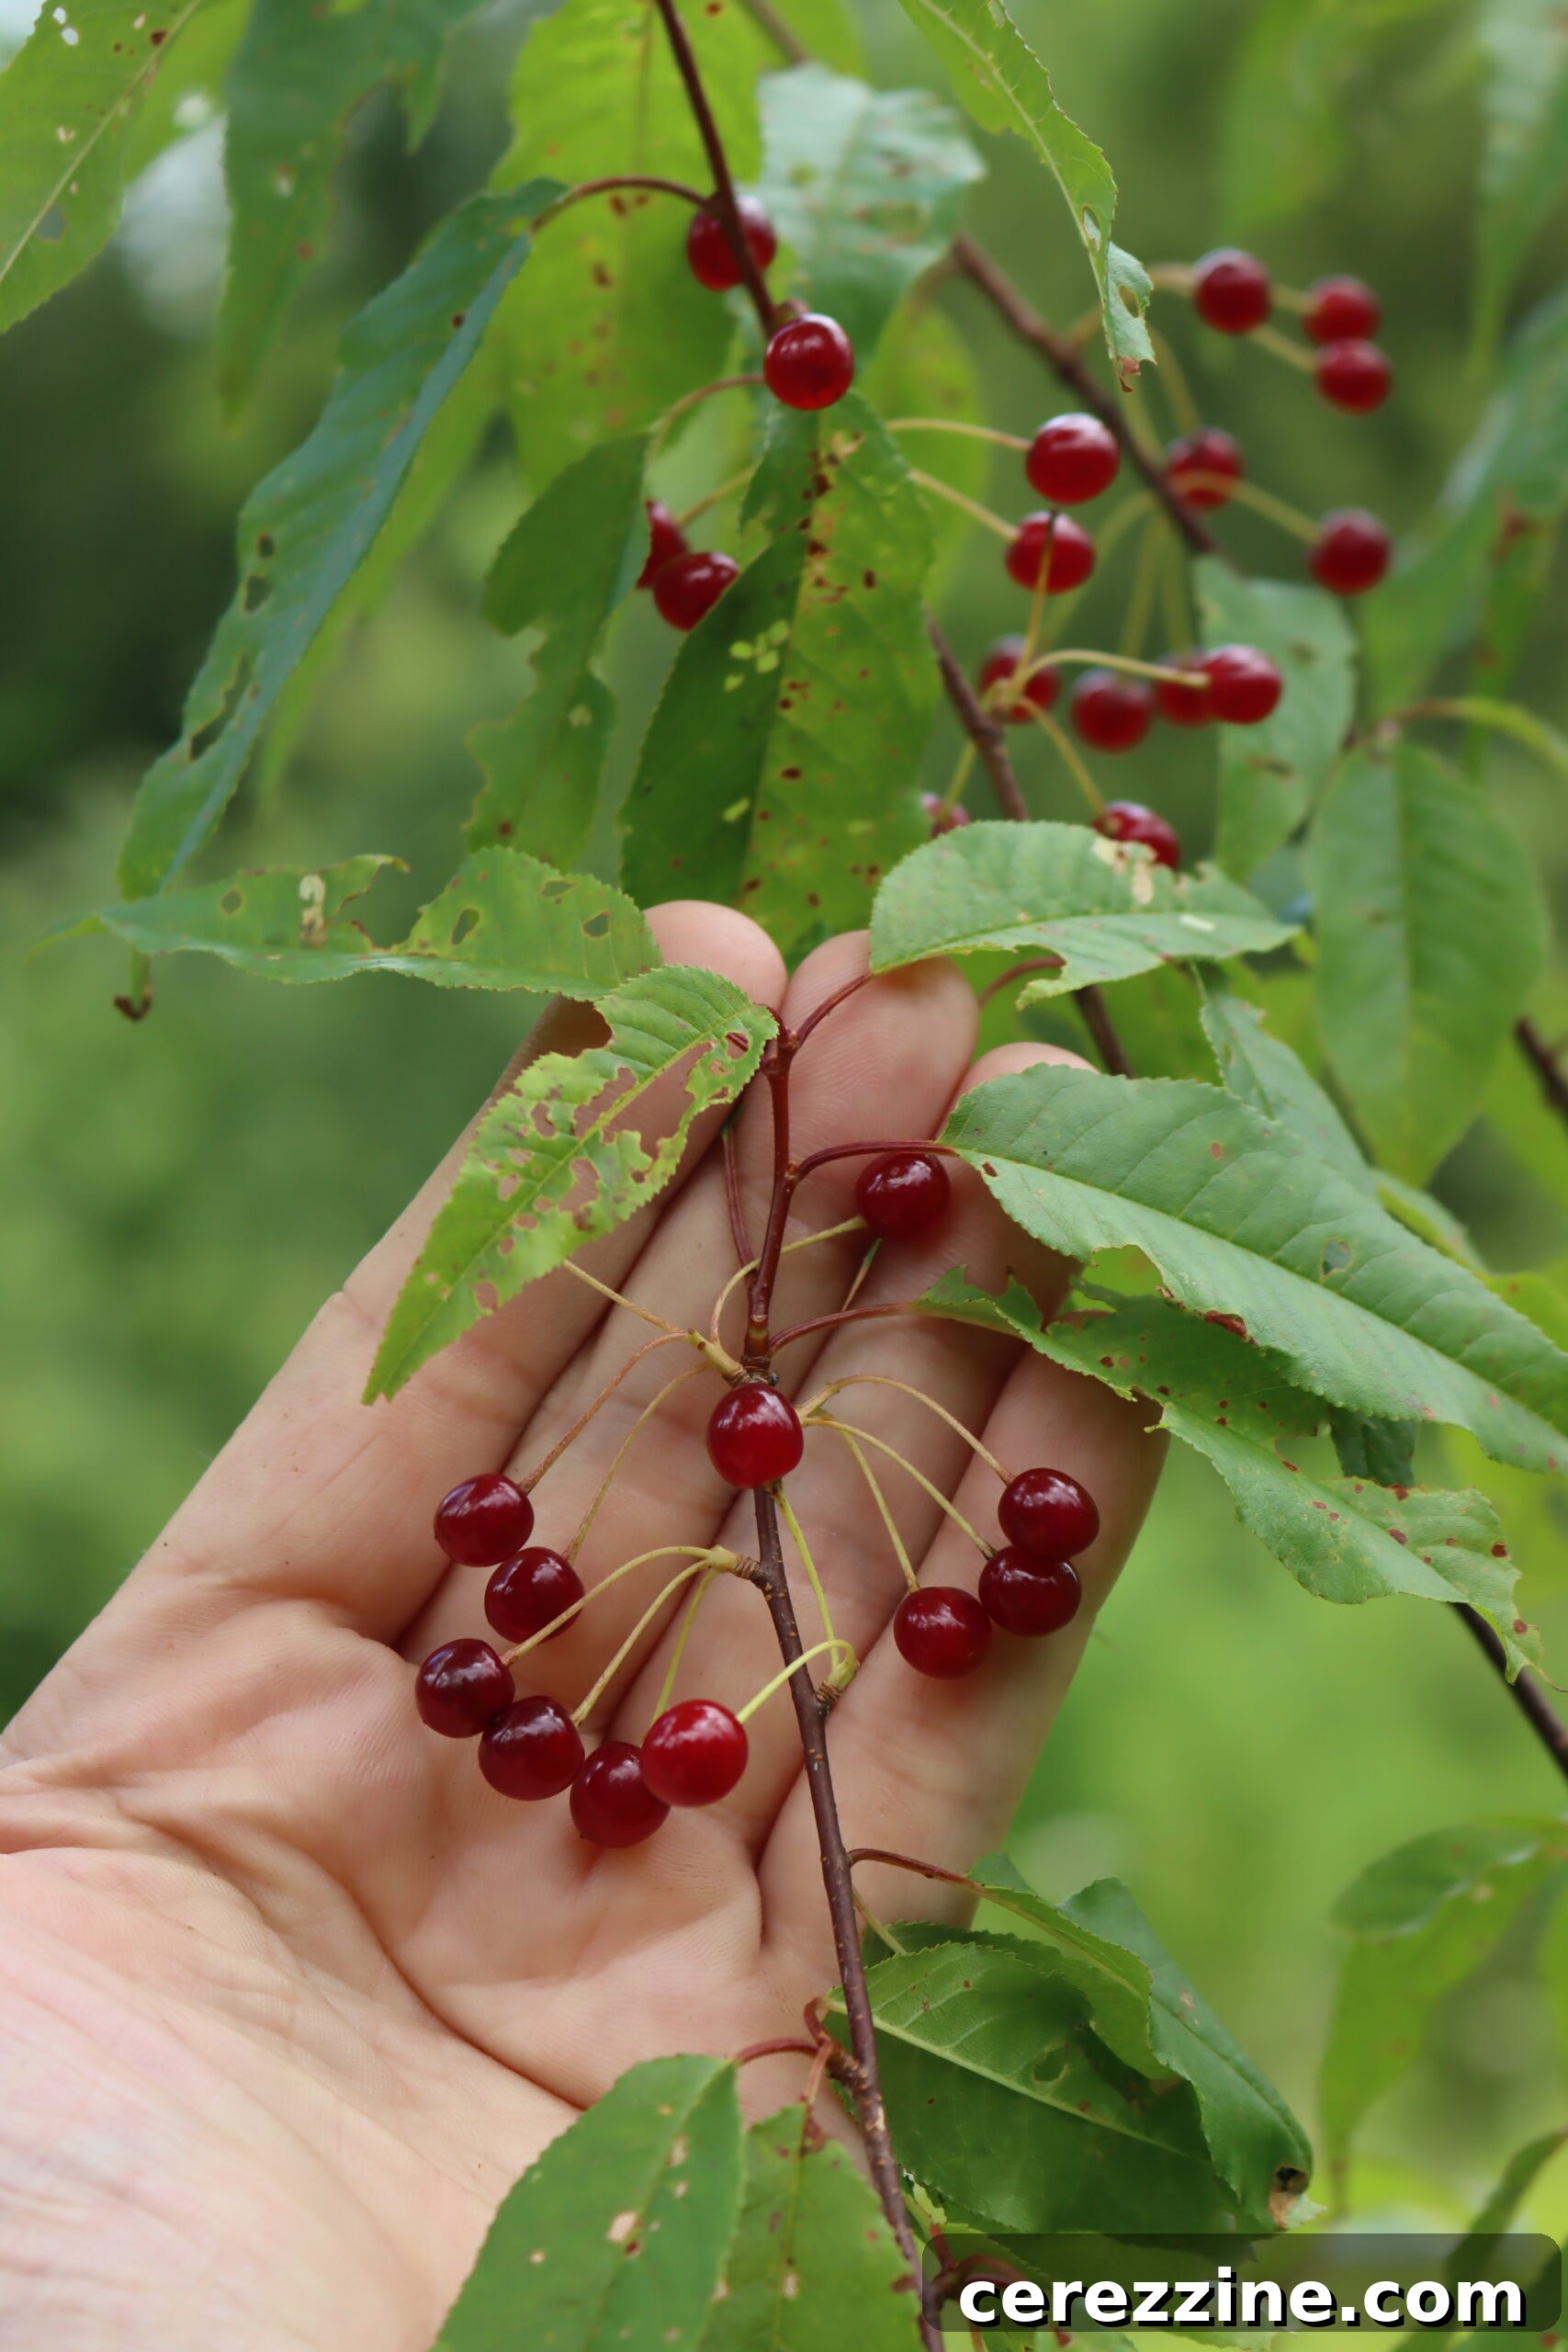
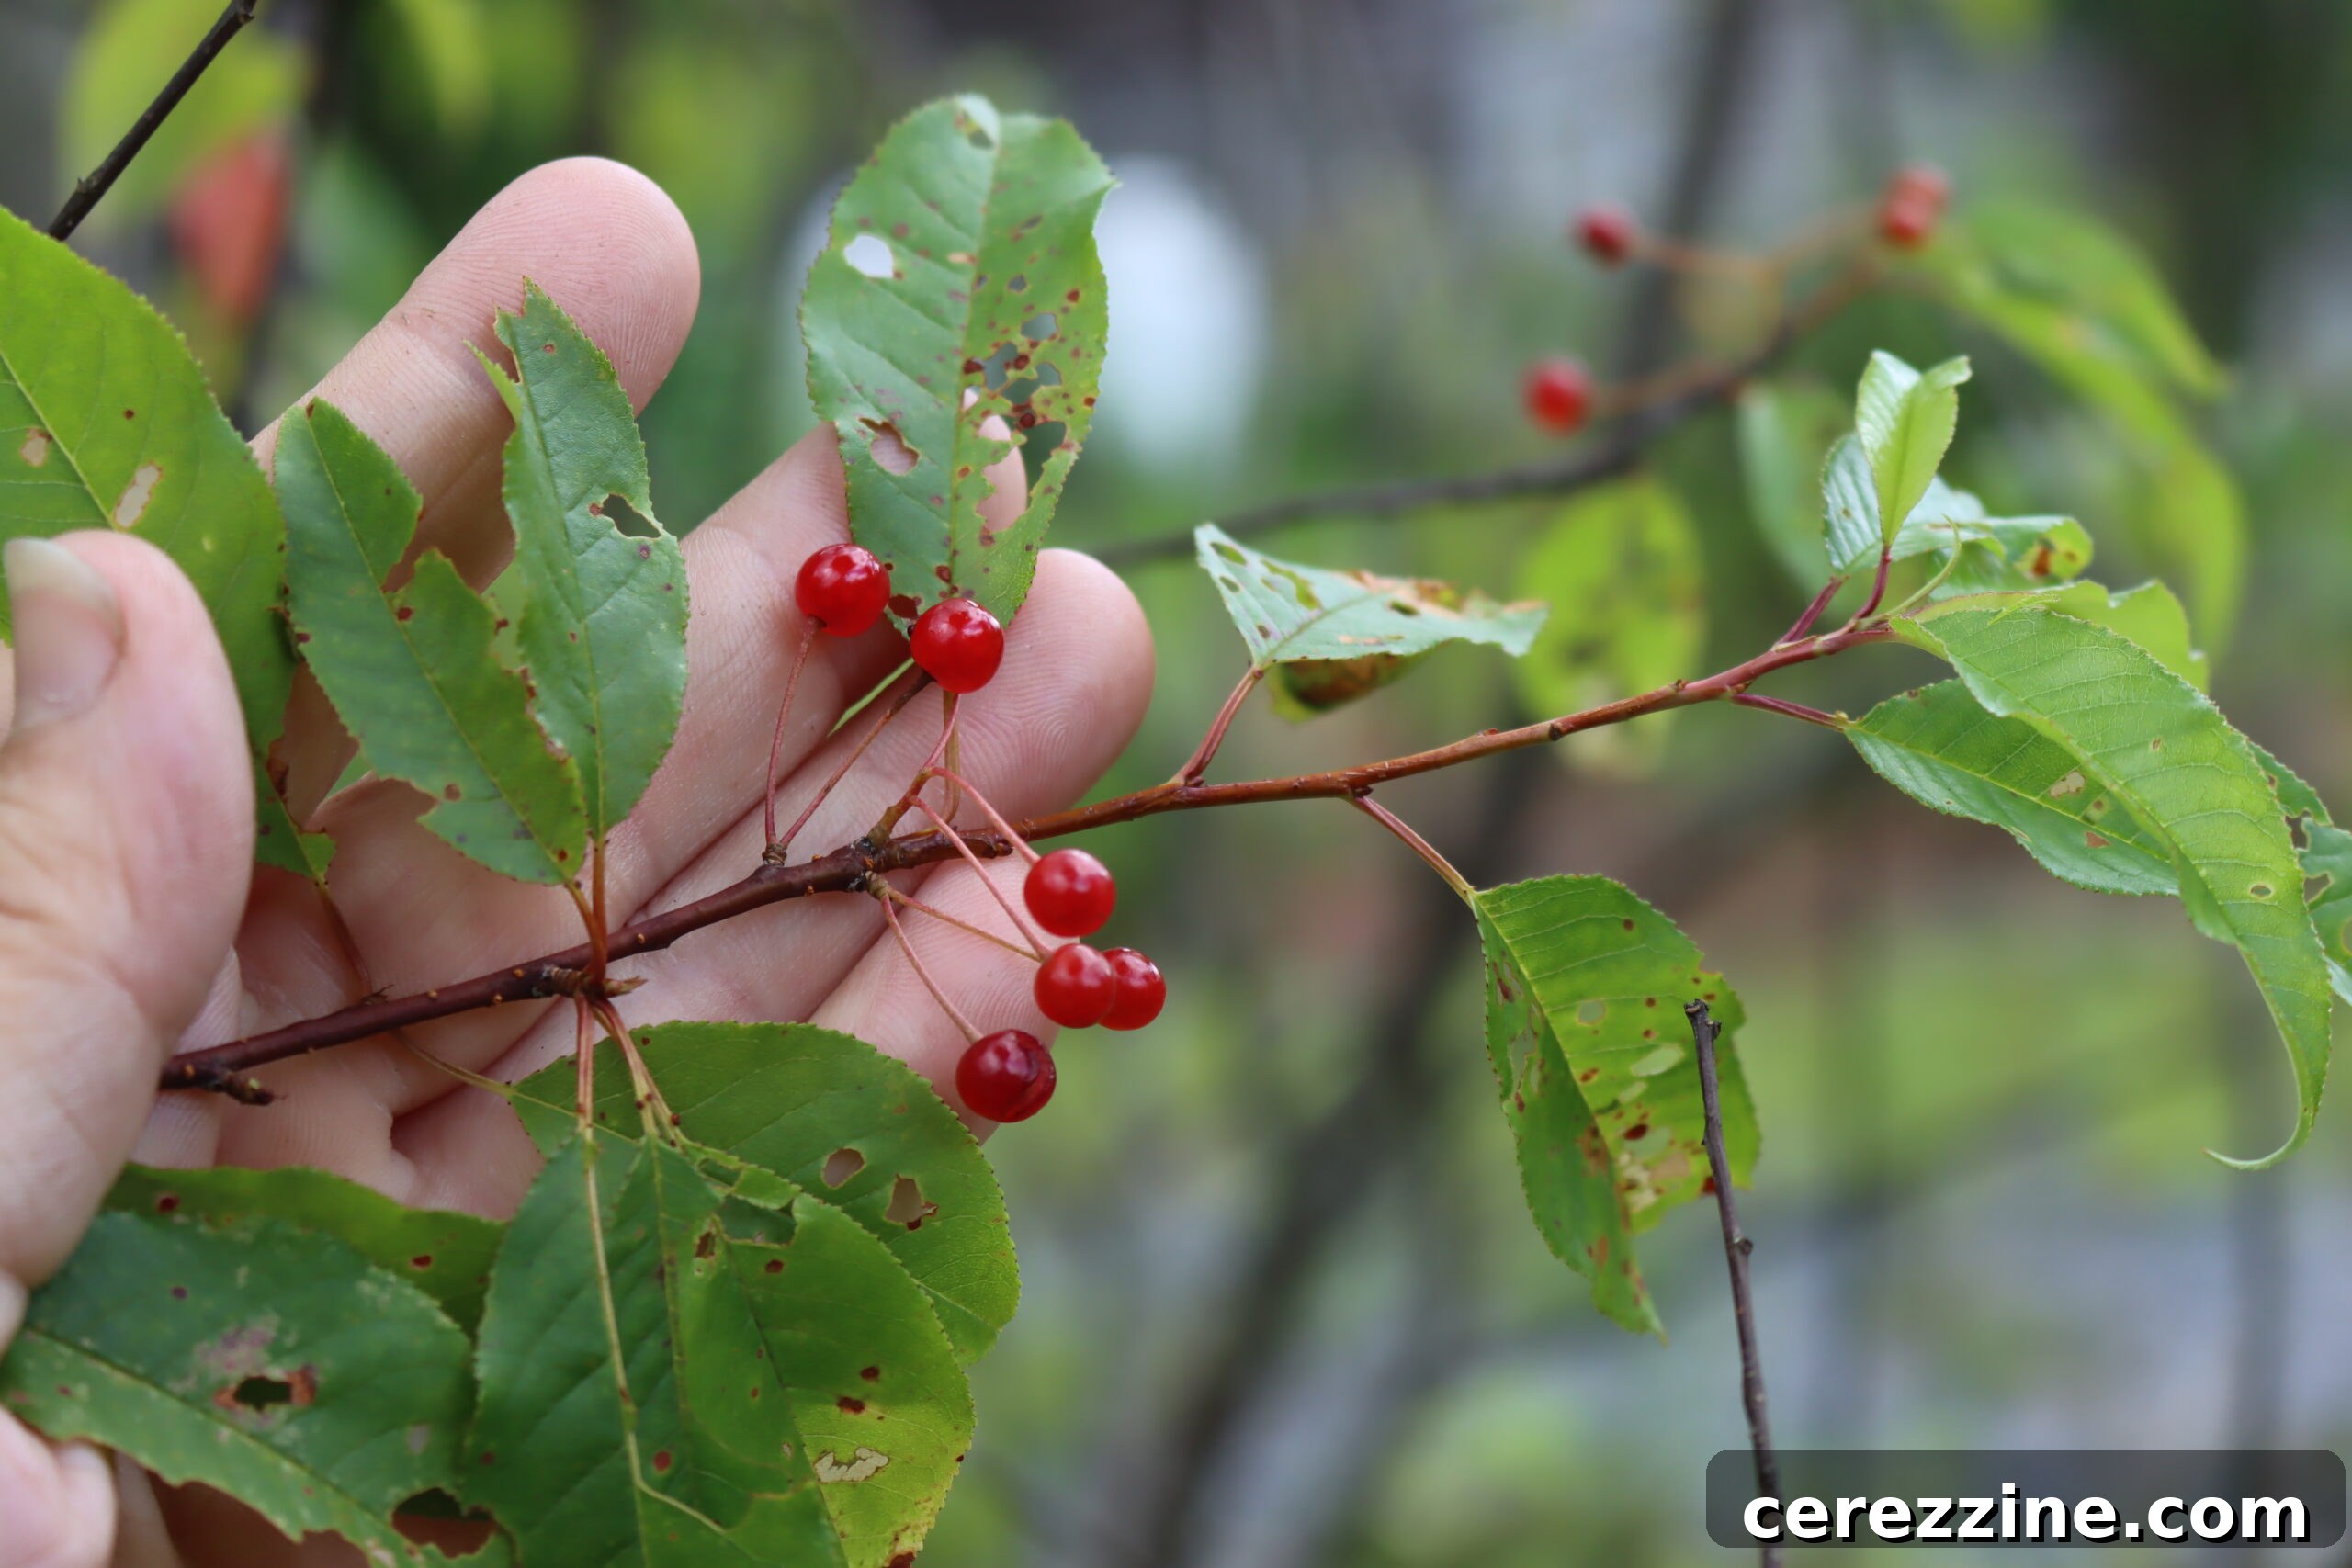
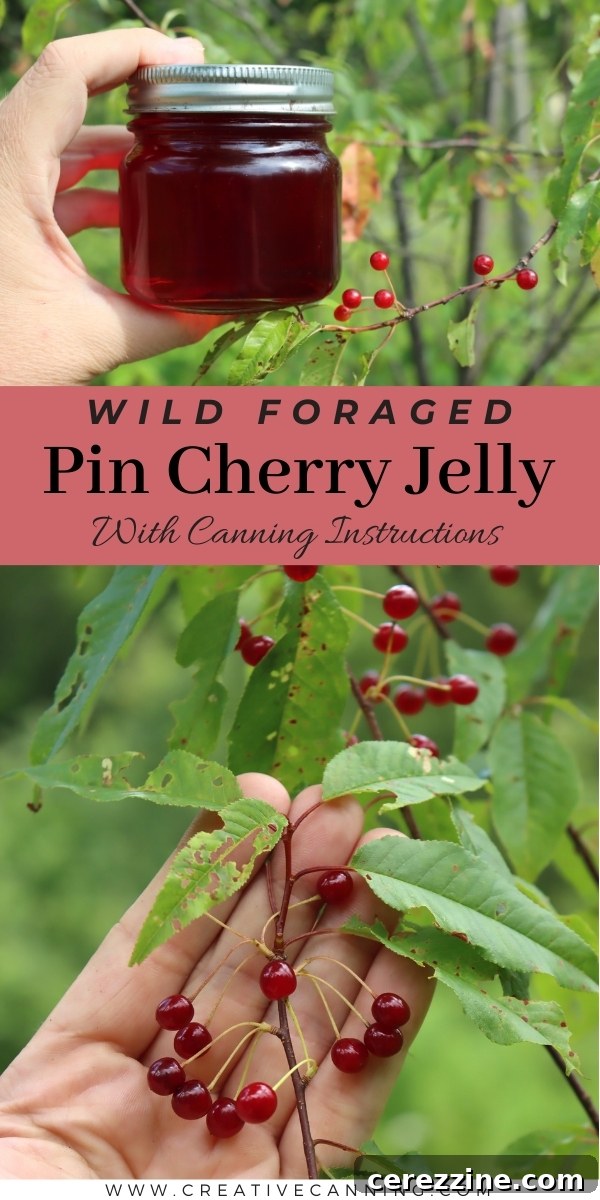
Pin cherries are remarkably abundant in many regions of the United States and Canada, often found flourishing in disturbed areas, along forest edges, and in clearings. Their vibrant red color and clustered growth pattern make them relatively easy to spot. However, as with any wild foraging, accurate identification is paramount for safety and enjoyment. If you’re new to foraging or unsure about your identification, dedicated guides, such as this comprehensive resource on identifying pin cherries, can be invaluable. Always consult multiple reliable sources and, if in doubt, err on the side of caution.
The beauty of this jelly recipe is its adaptability. While pin cherries offer a singular flavor, the method can also be successfully applied to other wild stone fruits and berries, expanding your foraging horizons. You can experiment with wild black cherries, which provide a deeper, more robust flavor, or chokecherries, known for their astringent yet rich taste that mellows beautifully when cooked and sweetened. Even aronia berries, with their high antioxidant content and tartness, can be transformed into a delicious jelly using a similar approach. Each fruit will impart its own distinct character, but the core process remains consistent, allowing you to explore a spectrum of wild flavors.
Essential Ingredients for Your Pin Cherry Jelly
This recipe for pin cherry jelly is a safe and thoroughly tested canning method, meticulously developed by experts like the University of Minnesota Extension, ensuring reliable results and food safety. Before you begin, a final reminder: always confirm you have correctly identified your pin cherries. For a standard canner batch, which typically yields about eight half-pint jars of exquisite jelly, you will need just a few simple ingredients:
- Pin Cherry Juice (6 ½ cups): The heart of your jelly. To achieve this quantity of juice, you’ll generally need approximately 6-7 pounds of fresh pin cherries. The fresher your fruit, the higher its natural pectin content and the more vibrant its flavor will be, contributing to a superior final product.
- Granulated Sugar (7 cups): Sugar plays a multifaceted role in jelly making. Beyond providing sweetness, it acts as a preservative, helps the jelly set, and enhances the fruit’s natural flavors. Standard granulated white sugar is recommended for its consistent results. While alternative sweeteners can be explored, be aware that they may alter the jelly’s texture and require specific pectin types formulated for low-sugar recipes.
- Powdered Pectin (1 box, 1.75 ounces, or 6 tablespoons): Pectin is a natural gelling agent found in fruits. Pin cherries typically have a good amount of natural pectin, but adding powdered pectin ensures a reliable set, especially for a large batch like this. Ensure you use the correct type of pectin as specified for this recipe (regular powdered pectin, not low-sugar or liquid pectin, unless adjusting the recipe accordingly).
Crafting Your Pin Cherry Jelly: A Step-by-Step Guide
Making pin cherry jelly is a rewarding process that begins with careful fruit preparation and culminates in jars of shimmering, jewel-toned goodness. Follow these steps for a perfect batch:
1. Prepare the Fruit and Extract the Juice
Start by thoroughly rinsing your pin cherries under cool, running water. This removes any dirt, debris, or small insects from your foraged bounty. Once cleaned, place the cherries in a large, heavy-bottomed pot. For every pound of pin cherries, add half a cup of water. Cover the pot and bring the mixture to a gentle boil over medium heat. Reduce the heat and simmer for five to ten minutes, or until the cherries are soft and have released their juices. This brief simmer helps extract the maximum flavor and pectin from the fruit.
Allow the cooked cherry mixture to cool slightly. This step is crucial before straining. Carefully ladle the cooled mixture into a dampened jelly bag or a colander lined with several layers of cheesecloth. Suspend the bag or cloth over a large bowl, allowing the juice to drip naturally. Resist the urge to squeeze or press the fruit, as crushing the seeds can release bitter compounds that will compromise the flavor of your jelly. Patience here yields the clearest, most delicious juice. Let it drip for several hours, or even overnight, to collect all the precious liquid without any bitterness.
2. Prepare the Jelly
Once you have your pure pin cherry juice, you are ready to transform it into jelly. In a very large, heavy-bottomed pot (preferably a 6- to 8-quart stockpot to prevent boil-overs), combine the measured pin cherry juice with the powdered pectin. Stir well to dissolve the pectin. Bring this mixture to a full rolling boil over high heat, stirring constantly to prevent scorching. A “full rolling boil” is one that cannot be stirred down. Continue boiling hard for exactly 1 minute.
After the 1-minute hard boil, add the measured sugar all at once, stirring vigorously until it is completely dissolved. Return the mixture to a full rolling boil and boil hard for another 1 minute, again stirring continuously. Promptly remove the pot from the heat to prevent overcooking and preserve the vibrant color and delicate flavor.
Immediately skim off any foam that has formed on the surface using a metal spoon. This step ensures a clear, beautiful jelly. If you’re new to jelly making and want to ensure a good set, perform a gel test: place a small spoonful of hot jelly on a chilled plate. After a minute, push it with your finger; if it wrinkles, it’s ready.
3. Prepare Jars and Process
Before you begin the jelly-making process, ensure your canning jars are clean and sterilized. You can achieve this by washing them in hot, soapy water and then keeping them hot in a simmering water bath or a specialized jar sterilizer. While the jelly is still hot, carefully ladle it into the prepared, hot jars, leaving exactly 1/4 inch of headspace at the top. This headspace is vital for proper sealing during canning.
Wipe the rims of the jars meticulously with a clean, damp cloth to remove any sticky residues or food particles that could interfere with the seal. Center new, clean canning lids on the jars and apply the screw bands, tightening them until they are fingertip-tight – not overly tight, as this allows air to escape during processing.
Place the filled jars into a boiling water bath canner, ensuring they are fully submerged by at least 1-2 inches of water. Bring the water to a rolling boil. Process half-pint jars for 5 minutes and pint jars for 10 minutes (adjusting for altitude as necessary; for elevations above 6,000 feet, process half-pints for 10 minutes and pints for 15 minutes). Once the processing time is complete, turn off the heat and carefully remove the jars from the canner. Place them upright on a clean kitchen towel or a wire rack, ensuring they are not touching each other, and allow them to cool undisturbed for 24 hours. During this cooling period, you should hear the satisfying “ping” sound as the lids seal.
4. Check Seals, Label, and Store
After 24 hours, check the seals of your jars. Press the center of each lid; if it doesn’t flex, the jar is sealed. If any jar hasn’t sealed, you can either reprocess it with a new lid (within 24 hours of initial canning) or store it in the refrigerator for immediate use. Once sealed, wipe the jars clean, label them with the date and contents, and store them in a cool, dark, dry place away from direct sunlight. Properly canned pin cherry jelly can last for up to a year, or even longer, maintaining its quality and flavor. Once a jar is opened, refrigerate it and consume within one month for the best taste and freshness.
Beyond the Breakfast Table: Creative Ways to Serve Pin Cherry Jelly
Pin cherry jelly’s distinctive sweet-tart flavor and gorgeous color make it far more versatile than just a spread for toast. Unleash your culinary creativity with these delightful serving ideas:
- The Quintessential Breakfast Spread: Begin your day with a comforting classic. Slather a generous amount of pin cherry jelly on warm, buttered toast, fluffy pancakes, or golden waffles for a truly satisfying start.
- Elevated PB&J: Transform your everyday peanut butter sandwich into a gourmet experience. The vibrant tang of pin cherry jelly offers a sophisticated counterpoint to the rich, creamy peanut butter.
- Artisan Cheese Board Companion: Impress your guests by pairing sharp cheddar, creamy brie, or a tangy goat cheese with a dollop of sparkling pin cherry jelly. Its sweetness and acidity beautifully cut through the richness of the cheese.
- Flavorful Glaze or Marinade: Infuse your savory dishes with a touch of fruity elegance. Use pin cherry jelly as a base for a glaze on roasted chicken, pork chops, or even glazed carrots. Whisk it into a marinade with soy sauce, garlic, and ginger for an unforgettable Asian-inspired dish.
- Yogurt and Oatmeal Enhancement: Stir a spoonful or two of this vibrant jelly into your morning yogurt, cottage cheese, or hot oatmeal. It adds a natural sweetness, a burst of fruity flavor, and a beautiful swirl of color.
- Decadent Dessert Topping: Drizzle slightly warmed pin cherry jelly over a scoop of vanilla bean ice cream, a slice of cheesecake, or a simple panna cotta for an instant upgrade to your dessert.
- Vinaigrette with a Twist: Whisk pin cherry jelly with balsamic vinegar, olive oil, a touch of Dijon mustard, and a pinch of salt and pepper. This unique dressing will add a delightful sweet-tart zing to your fresh green salads.
- Craft Cocktail Enhancer: For the adventurous mixologist, a small amount of pin cherry jelly can add depth, color, and a sophisticated fruit note to cocktails. Try it in a whiskey sour or a gin fizz for a unique twist.
- Baking Bliss: Use it as a luscious filling for thumbprint cookies, tartlets, or as a layer in a delicate sponge cake. Its firm set and bright flavor hold up wonderfully to baking.
- Sweet and Savory Dipping Sauce: Combine pin cherry jelly with a splash of rice vinegar, a hint of sesame oil, and a touch of chili flakes for an exquisite dipping sauce perfect for spring rolls, chicken nuggets, or even savory crackers.
64
servings, Makes 8 half pint jars
Pin Cherry Jelly
Ashley Adamant
10
mins
10
mins
10
mins
30
mins
Equipment
-
Water Bath Canner
-
Jelly Strainer with Bag
Ingredients
-
6 1/2
cups
pin cherry juice -
7
cups
sugar -
1
box
powdered pectin,
1.75 ounces or 6 tablespoons
Instructions
-
In a large pot, mix 6 1/2 cups of pin cherry juice with 1 box (1.75 ounces) or 6 tablespoons of powdered pectin.
-
Bring the mixture to a full rolling boil, stirring constantly to prevent burning. Boil hard for 1 minute.
-
Add the sugar, and then boil the mixture hard for one minute, then promptly remove from heat to avoid overboiling.
-
Carefully skim off any foam that forms on the surface.
-
Pour the hot jelly into sterilized jars, leaving a 1/4 inch of headspace.
-
Secure the jars with your lids and bands.
-
Process the jars in a boiling water bath for 10 minutes (or 15 minutes above 6,000 feet in elevation).
-
Remove the jars from the canner and allow them to cool for 24 hours at room temperature.
-
Check the seals, label, and store for up to one year.
Notes
Nutrition
Calories:
100
kcal
Carbohydrates:
26
g
Protein:
0.1
g
Fat:
0.1
g
Polyunsaturated Fat:
0.001
g
Sodium:
4
mg
Potassium:
41
mg
Fiber:
0.1
g
Sugar:
24
g
Vitamin A:
0.02
IU
Calcium:
2
mg
Iron:
0.2
mg
Nutrition information is automatically calculated, so should only be used as an approximation.
More Homemade Jelly Recipes
If you’ve discovered the joy of making your own preserves, you’re in for a treat! Explore these other delightful homemade jelly recipes to expand your canning repertoire:
- Gooseberry Jelly
- Black Raspberry Jelly (Seedless)
- Quince Jelly
- Raspberry Jelly
- Rose Petal Jelly
Capturing the Wild: More Foraged Canning Recipes
The wilderness offers a treasure trove of ingredients for canning and preserving. Don’t let your foraging adventures stop at jelly! Discover more ways to savor nature’s gifts with these wild-foraged canning recipes:
- Autumn Olive Jam
- Saskatoon Jam
- Pickled Ramps
- Wild Grape Jelly
- Thimbleberry Jelly
- Saskatoon Jelly
Making pin cherry jelly is more than just a recipe; it’s an experience that connects you with the wild, provides a sense of accomplishment, and fills your pantry with a delicious, vibrant preserve. Whether you’re an experienced forager or just starting your journey into homemade canning, this recipe offers a rewarding way to enjoy the unique taste of pin cherries all year long. So, gather your fruits, prepare your jars, and get ready to create something truly special!