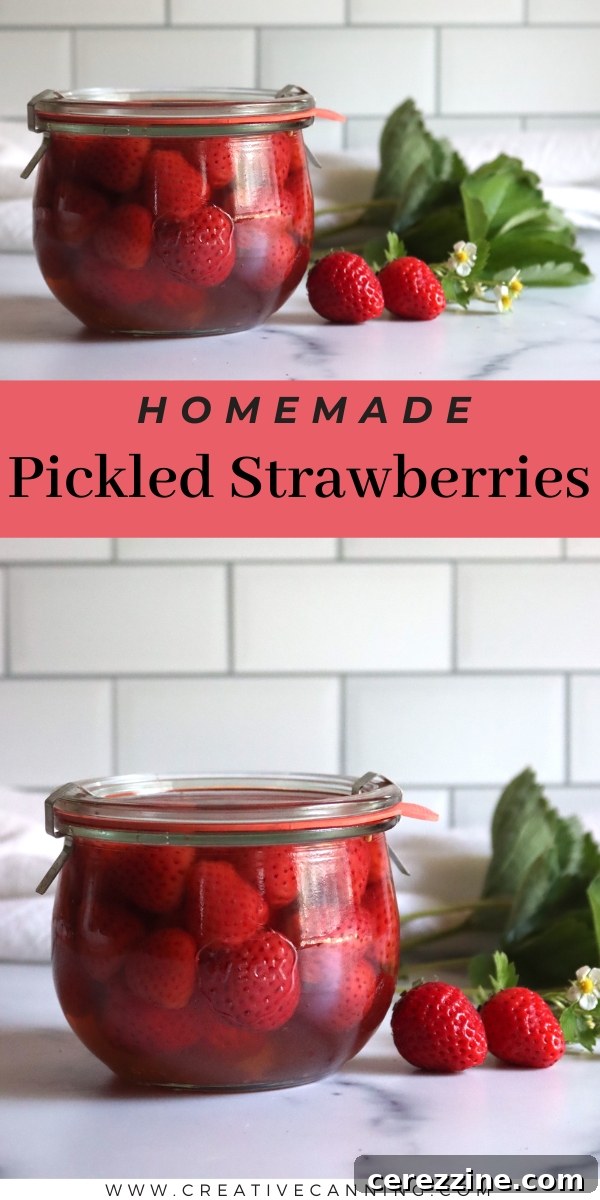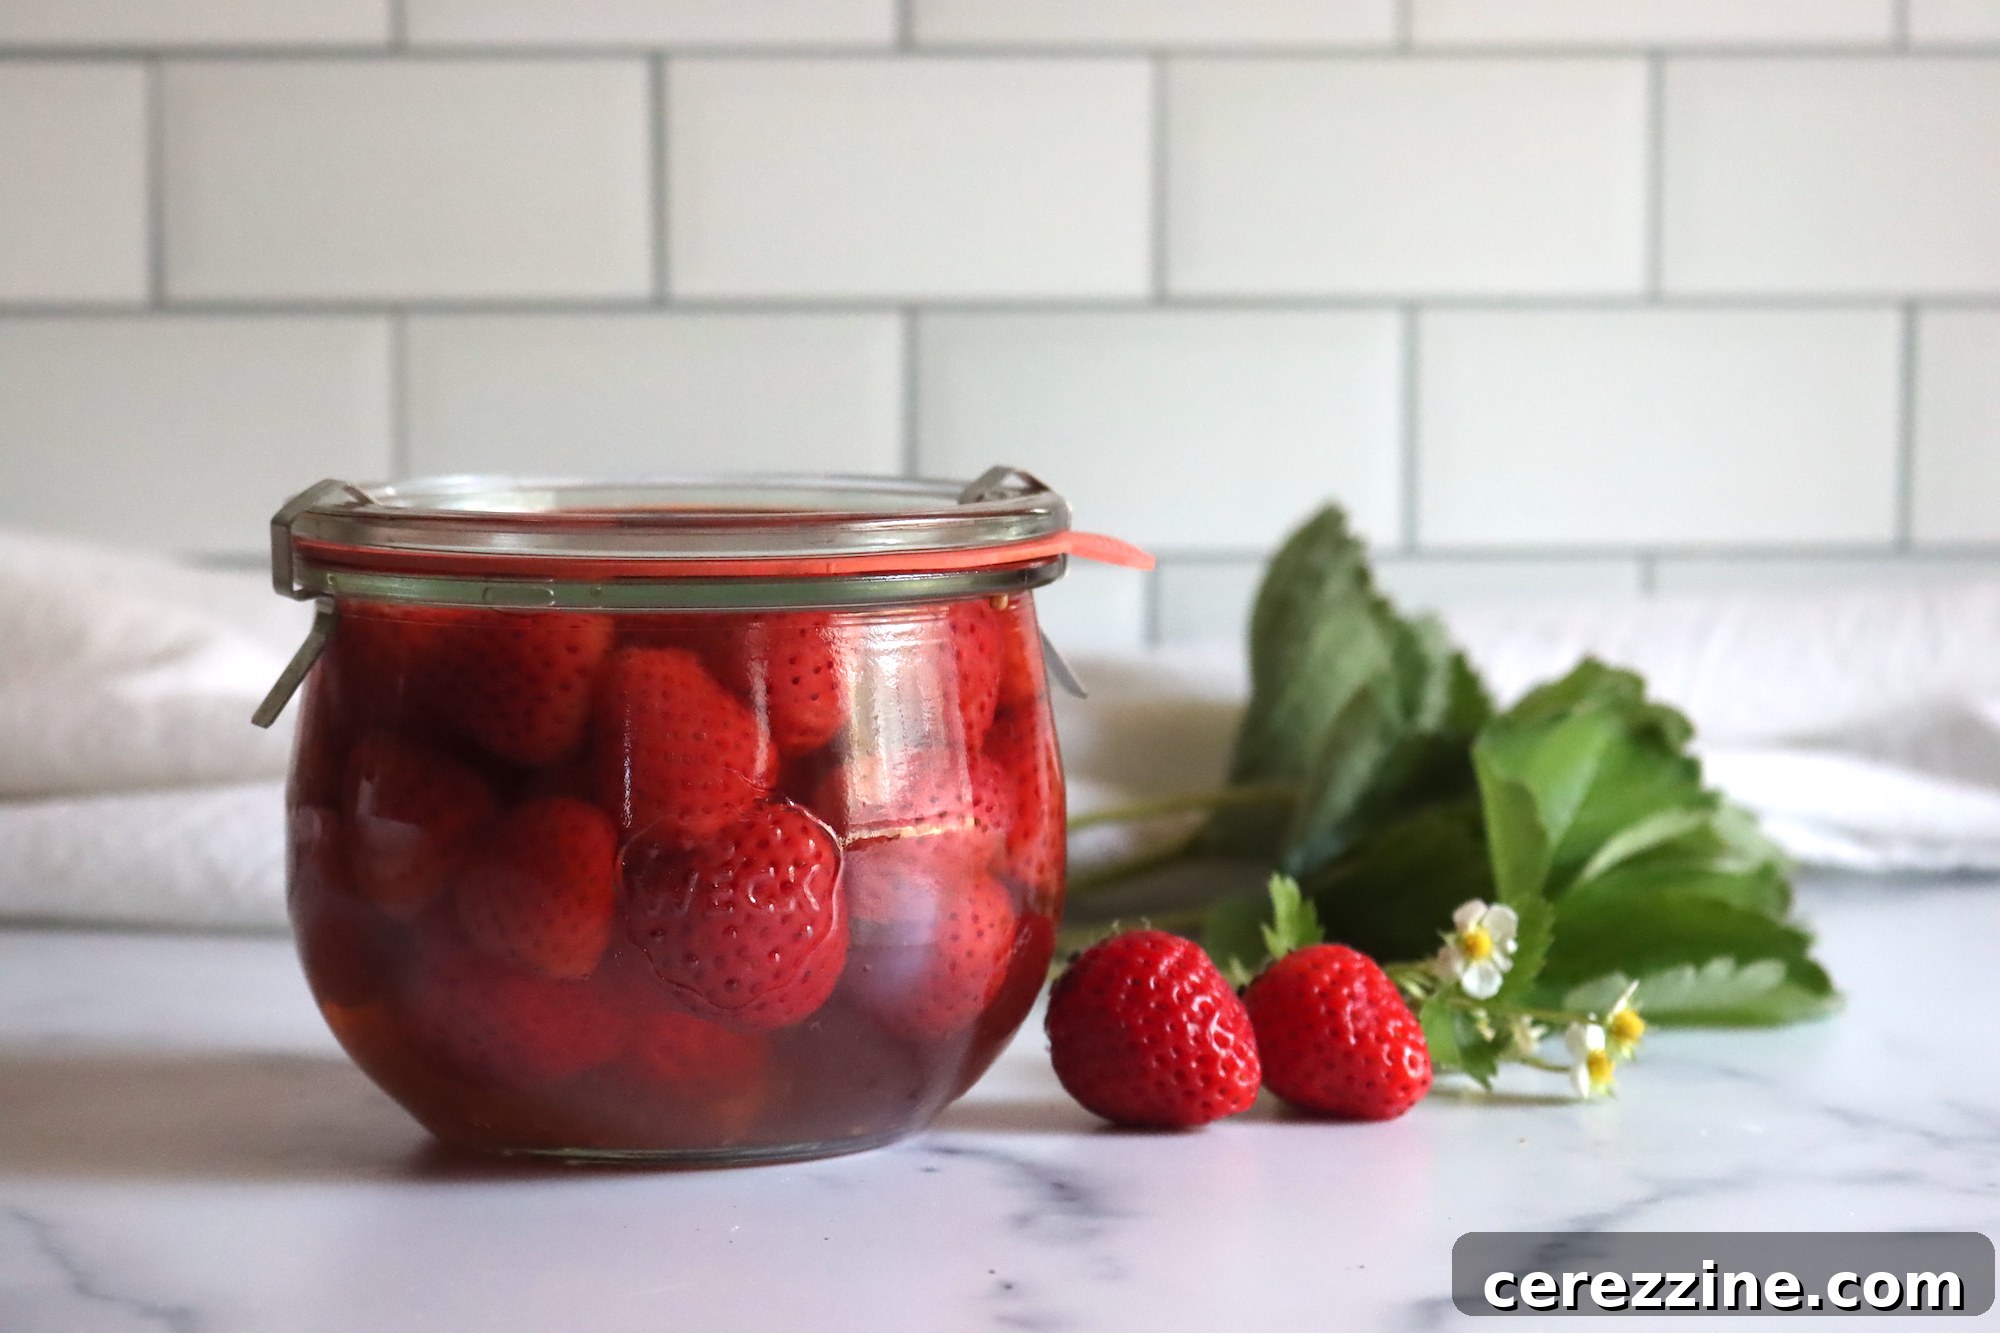
There’s a delightful secret hiding in plain sight for preserving the vibrant taste of summer strawberries: pickling. Far from being an exclusive method for cucumbers, pickling transforms ripe, juicy strawberries into an exquisite sweet-tart delicacy that’s surprisingly versatile. Imagine these glistening berries, bursting with tangy sweetness, elevating everything from a scoop of vanilla ice cream to a gourmet charcuterie board. This unique preservation technique not only extends the fleeting joy of strawberry season but also unlocks a complex flavor profile that will astonish your palate and impress your guests.
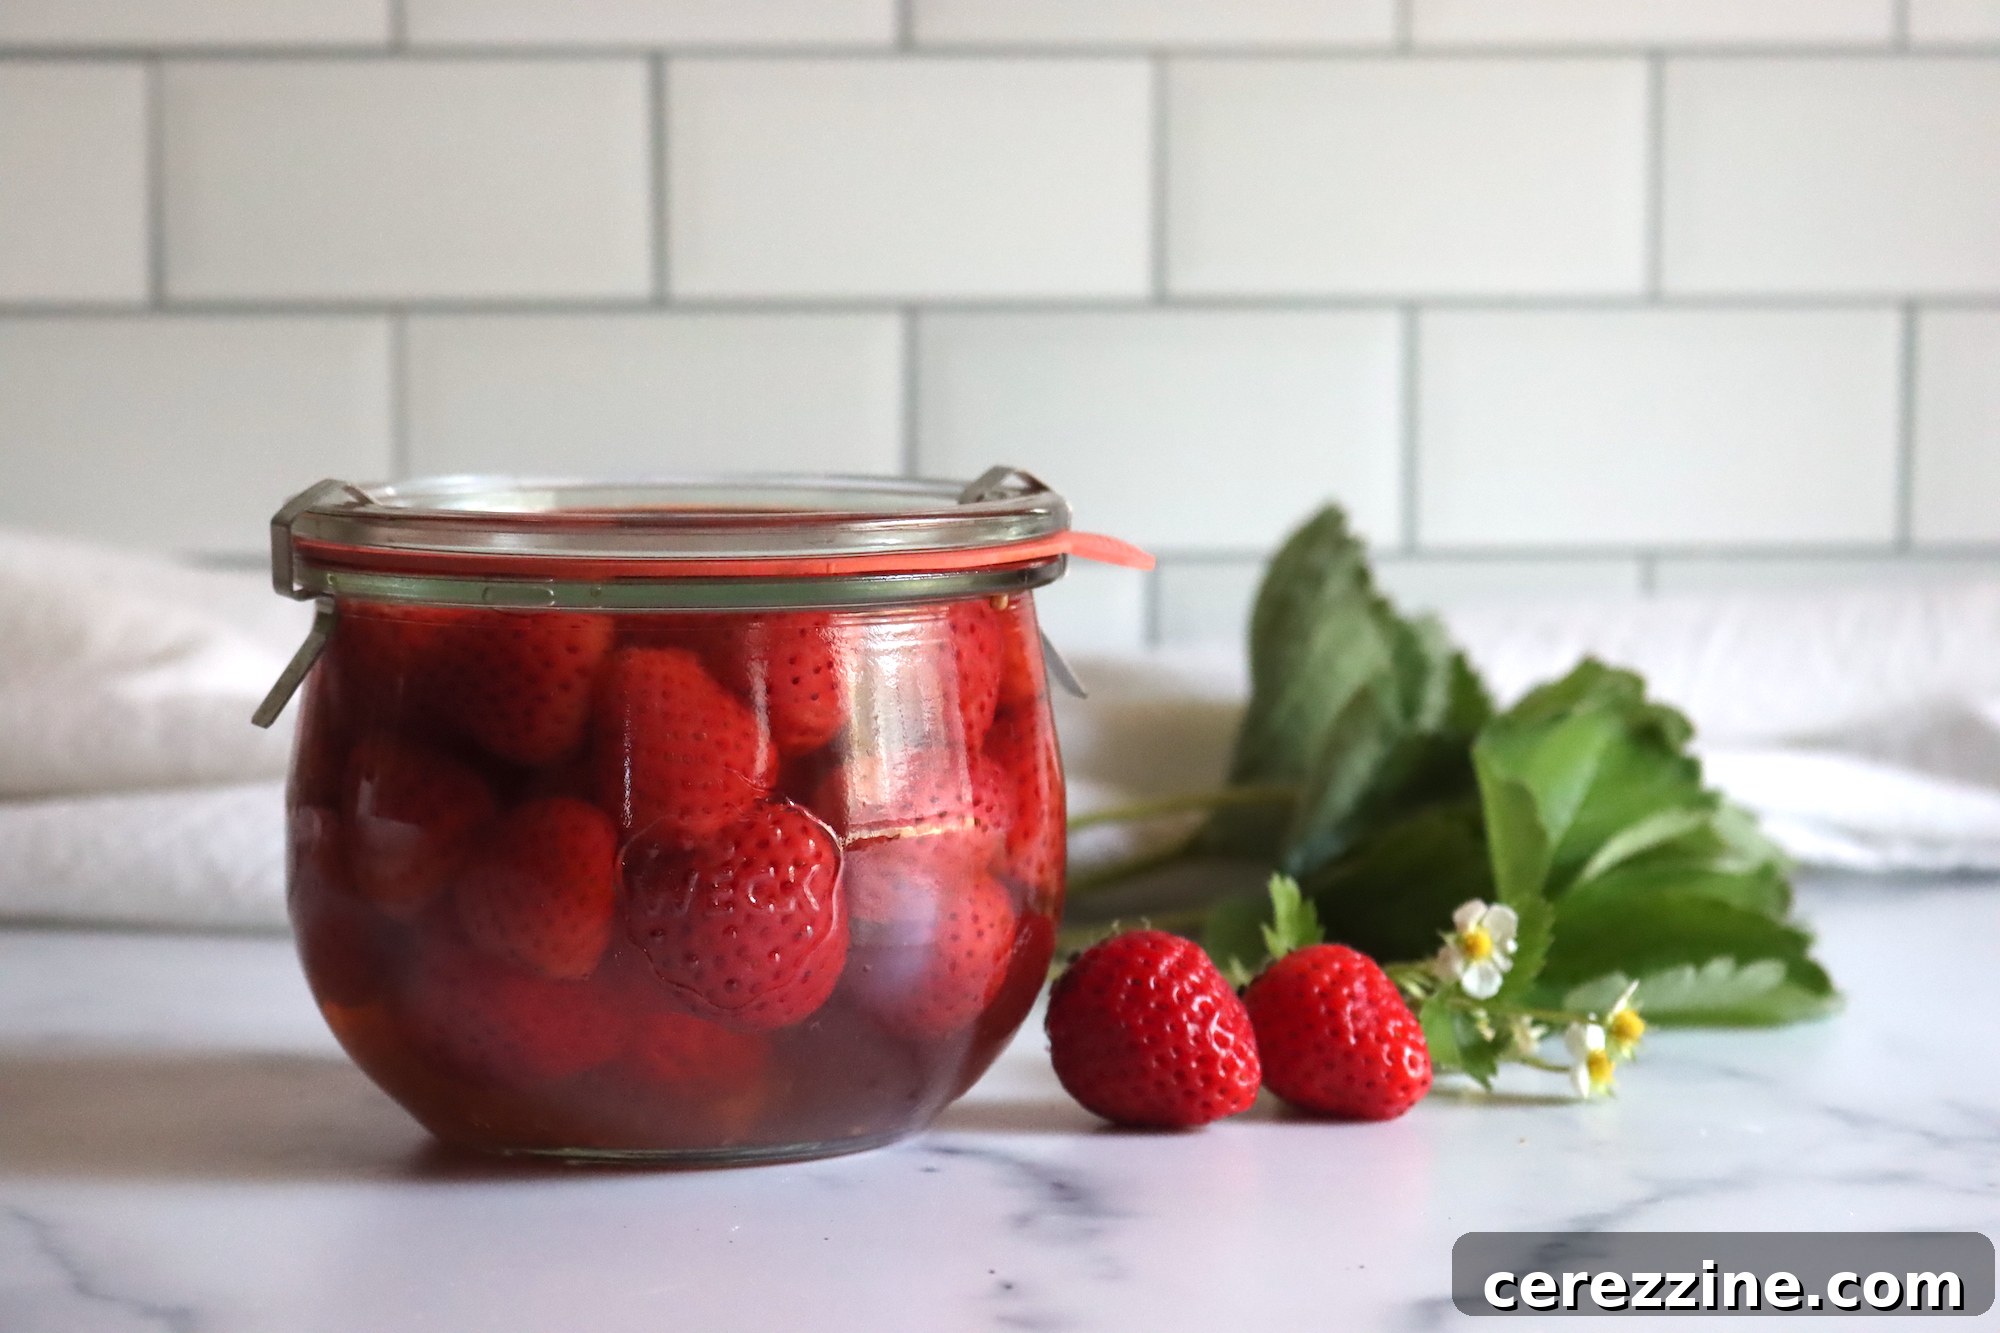
Discovering the Allure of Pickled Strawberries
My journey into pickling strawberries began with a curious anecdote. A few years ago, a farmer friend shared how green strawberries were making waves in San Francisco’s farmer’s markets, snapped up by ambitious chefs who transformed them into high-end, pickled gourmet ingredients. I was intrigued and briefly considered venturing down that path. However, as strawberry season truly bloomed, and my kitchen counters became overflowing with crimson, ripe berries, I realized something profound: why sacrifice the inherent sweetness and succulence of a perfectly ripe strawberry? The answer was clear. Ripe, flavorful strawberries would yield an even more extraordinary pickled treat.
And so, my focus shifted. Instead of aiming for a “fancy but flavorless” green strawberry pickle, I embraced the bounty of fully ripened fruit. The result was a revelation. These pickled ripe strawberries, with their intensified sweetness balanced by a vibrant tang, proved to be far superior and much more enjoyable. They are a testament to the fact that sometimes, the simplest and most natural approach yields the best results.
The art of pickling fruit is a charming, old-fashioned tradition that deserves a modern revival. The combination of vinegar and sugar creates a magical symphony of flavors – a tangy, sweet, and tart experience that complements both sweet and savory dishes with remarkable ease. Forget the notion that pickling is solely for savory vegetables; when applied to fruits like strawberries, it opens up a world of culinary possibilities. These particular pickled strawberries have quickly become a staple in my home, cherished on morning yogurt, decadent vanilla ice cream, and even as an unexpected star in savory preparations.
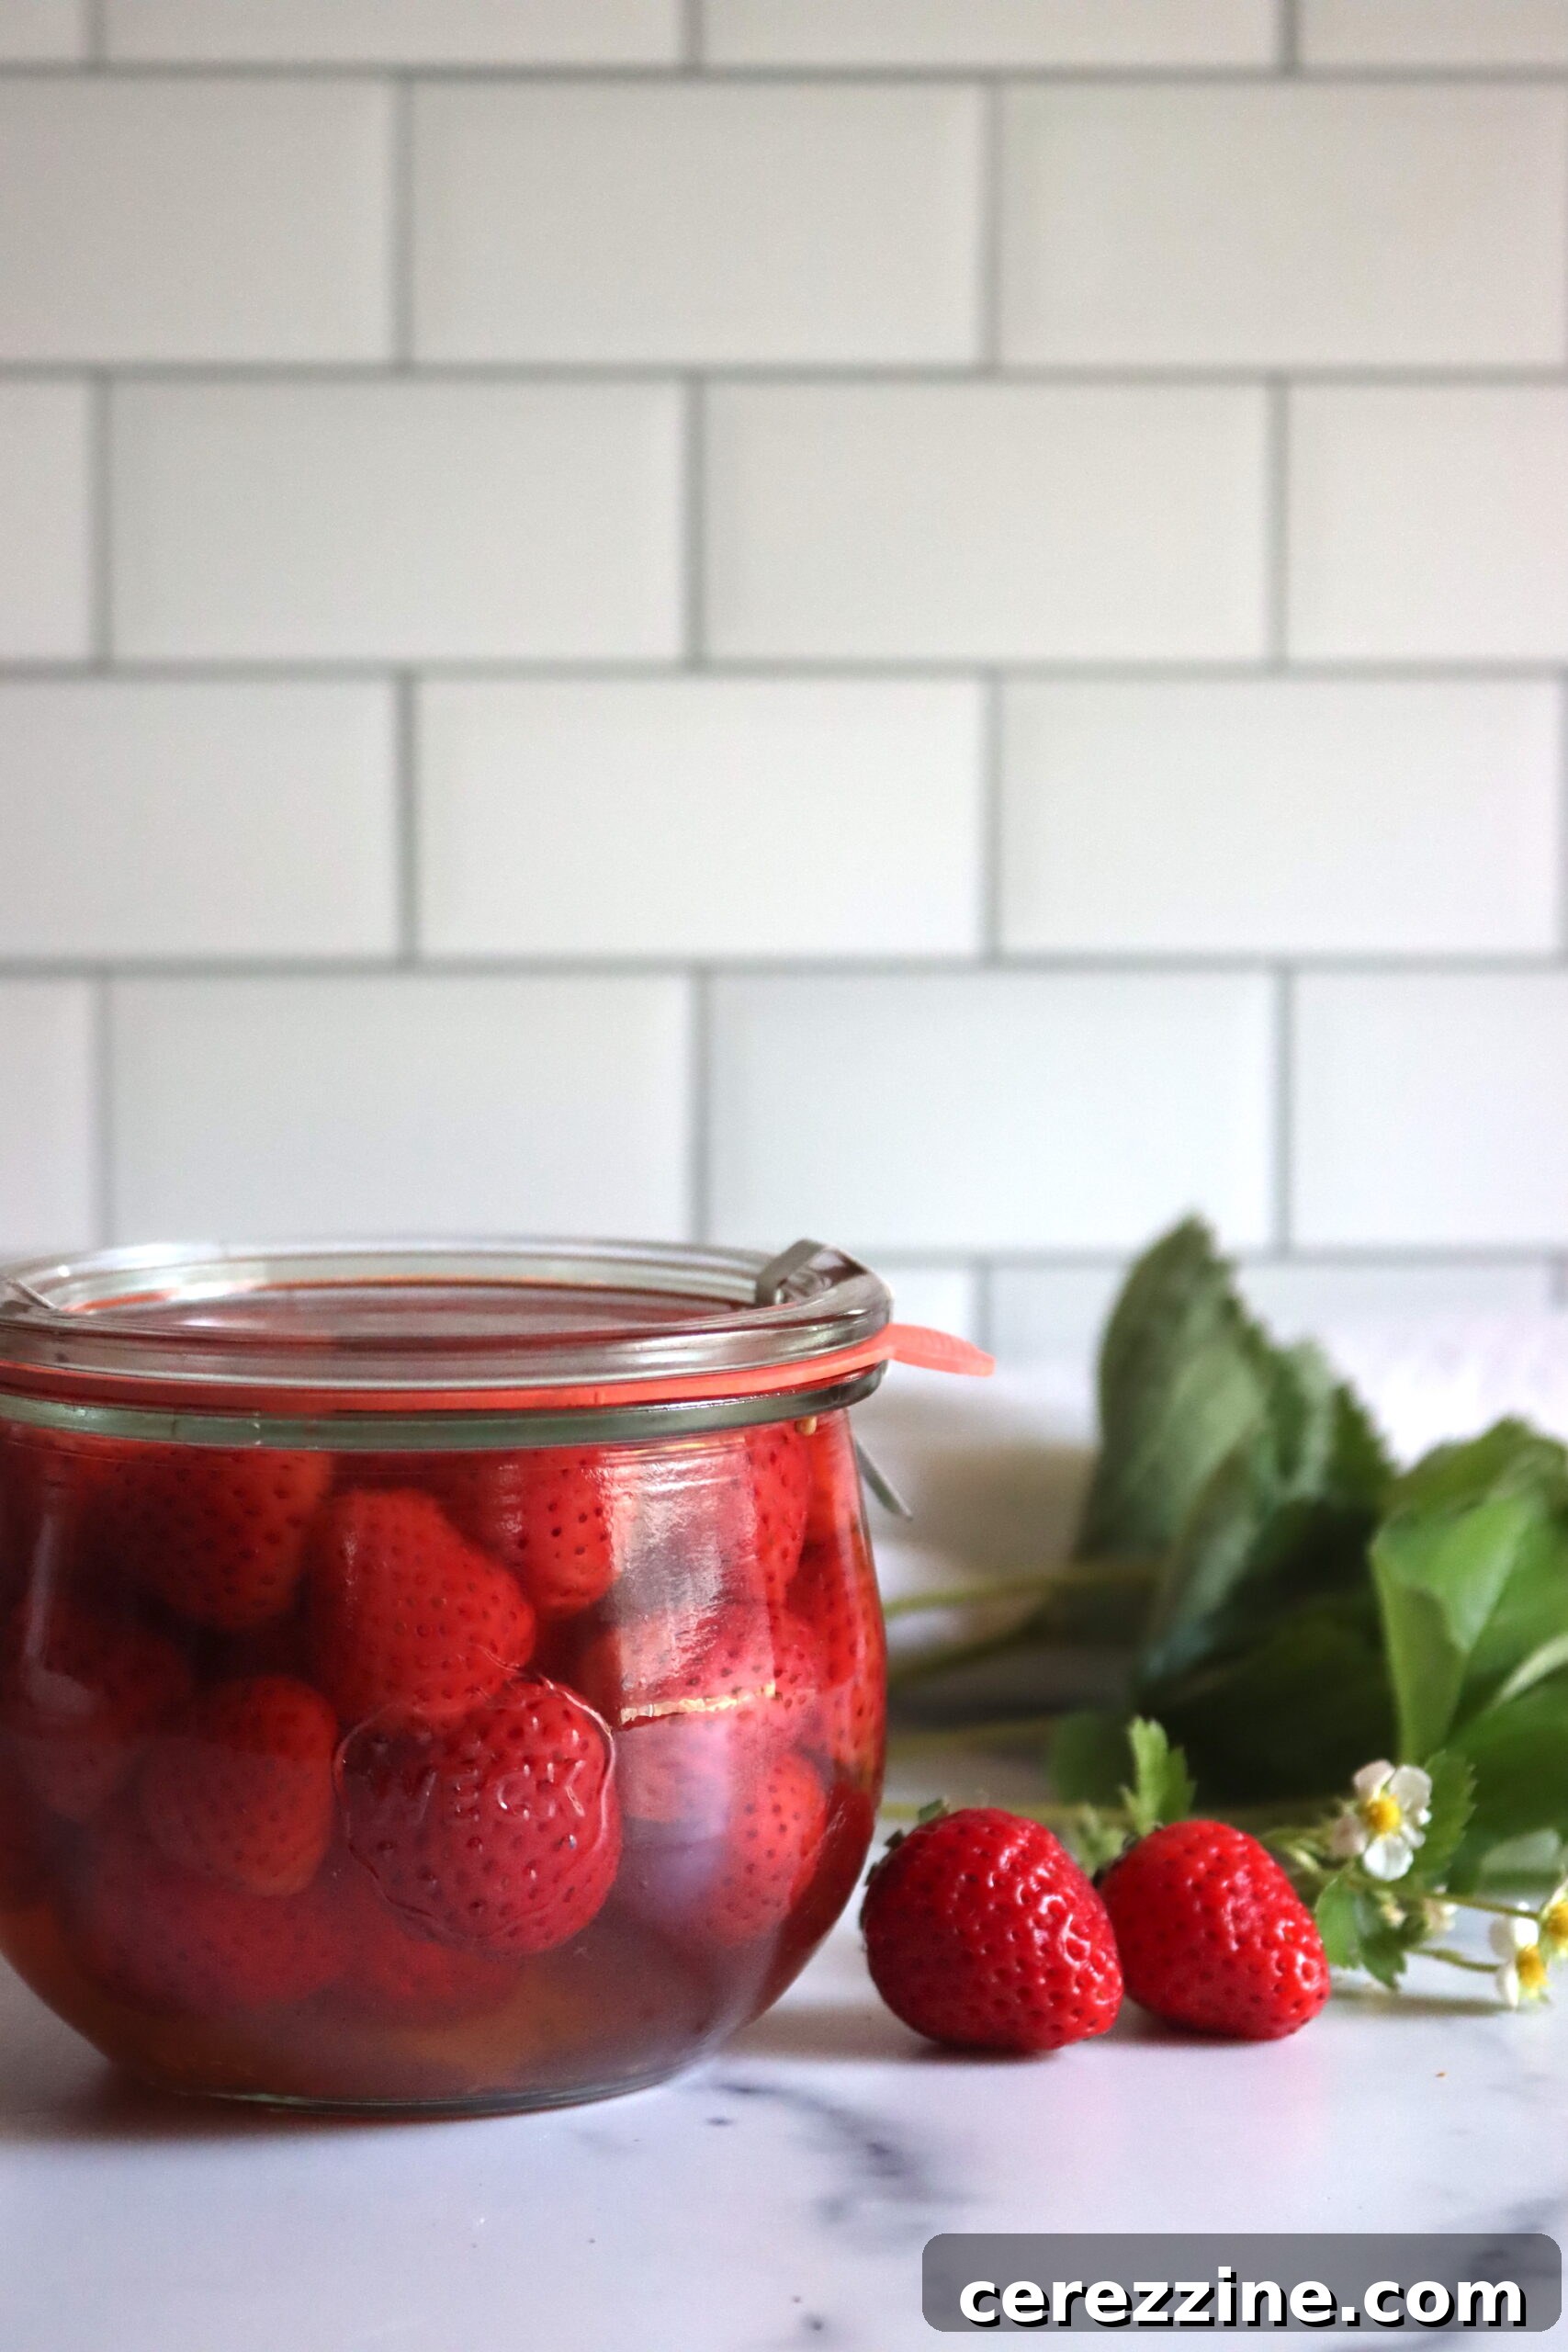
Why Pickle Strawberries? The Benefits and Beyond
Canning pickled strawberries is more than just a delicious endeavor; it’s an excellent method to preserve the abundance of this beloved fruit, locking in its peak flavor and nutritional benefits for months to come. Pickling is a time-honored preservation process where fruits or vegetables are submerged in a brine typically composed of vinegar, sugar, and various spices. This creates a distinctive tangy and sweet flavor profile that can be enjoyed straight from the jar or used as a versatile condiment.
Beyond extending shelf life, pickling strawberries offers a host of advantages. Strawberries are naturally rich in essential nutrients, including vitamin C, powerful antioxidants, and dietary fiber. By preserving them through canning, you ensure these health-boosting components remain readily available even when fresh strawberries are out of season. Furthermore, the pickling process itself can enhance certain flavors, making the berries even more complex and intriguing than their fresh counterparts.
One of the most exciting aspects of making pickled strawberries is the endless scope for customization. You have the freedom to experiment with an array of spices and herbs to craft a flavor profile that perfectly suits your taste. While classic additions like cinnamon, cloves, and allspice impart a warm, comforting note, don’t hesitate to venture further. Consider adding a touch of fresh ginger for a zesty kick, a hint of black peppercorns for subtle heat, star anise for an aromatic depth, or even a sprig of fresh thyme or rosemary for an unexpected herbaceous twist. The sweetness level can also be adjusted to your preference, allowing you to create a pickle that’s as sweet or as tart as you desire. This adaptability ensures that each batch of pickled strawberries can be a unique culinary adventure.
Essential Ingredients for Perfect Pickled Strawberries
Crafting a batch of safe and delicious pickled strawberries begins with carefully selected ingredients and a reliable recipe. This recipe is a safe, tested canning adaptation from “The Complete Book of Pickling” by Jennifer MacKenzie, a trusted resource in the world of home preservation. Jennifer MacKenzie’s extensive work even features alternative versions, demonstrating the versatility of this fruit. For instance, you might consider swapping apple cider vinegar for white balsamic vinegar for a milder, more delicate tang, or introducing pink peppercorns for a gentle, floral spice. Feel free to adapt this recipe to explore these variations, or stick with the classic, robust flavor of cider vinegar.
The spices listed are entirely optional, serving as a canvas for you to paint your desired flavor. If you prefer the pure, unadulterated taste of pickled strawberries, you can omit them entirely. However, a carefully chosen blend of dry spices can add incredible depth and warmth. The salt, though also optional, plays a crucial role in enhancing the overall flavor and balancing the sweetness and acidity, transforming these fruit pickles from merely good to truly exceptional.
To prepare a full canner batch, which typically yields eight 8-ounce (250 mL) jars of these delightful preserves, you will need the following:
- 12 cups hulled strawberries (approximately 3 liters)
- 3 cups granulated sugar (approximately 750 mL)
- 2 cups apple cider vinegar (approximately 500 mL)
- 1 tsp pickling or canning salt (approximately 5 mL)
For those who wish to add a layer of warm, aromatic complexity, consider these optional seasonings:
- ½ tsp ground cinnamon (approximately 2 mL)
- ¼ tsp ground cloves (approximately 1 mL)
- A pinch of ground allspice
When selecting your strawberries, aim for fruit that is clean, firm, and as uniform in size as possible. Consistency in size is key to achieving an even texture throughout the batch; berries of disparate sizes may result in some becoming mushy while others remain too firm after processing.
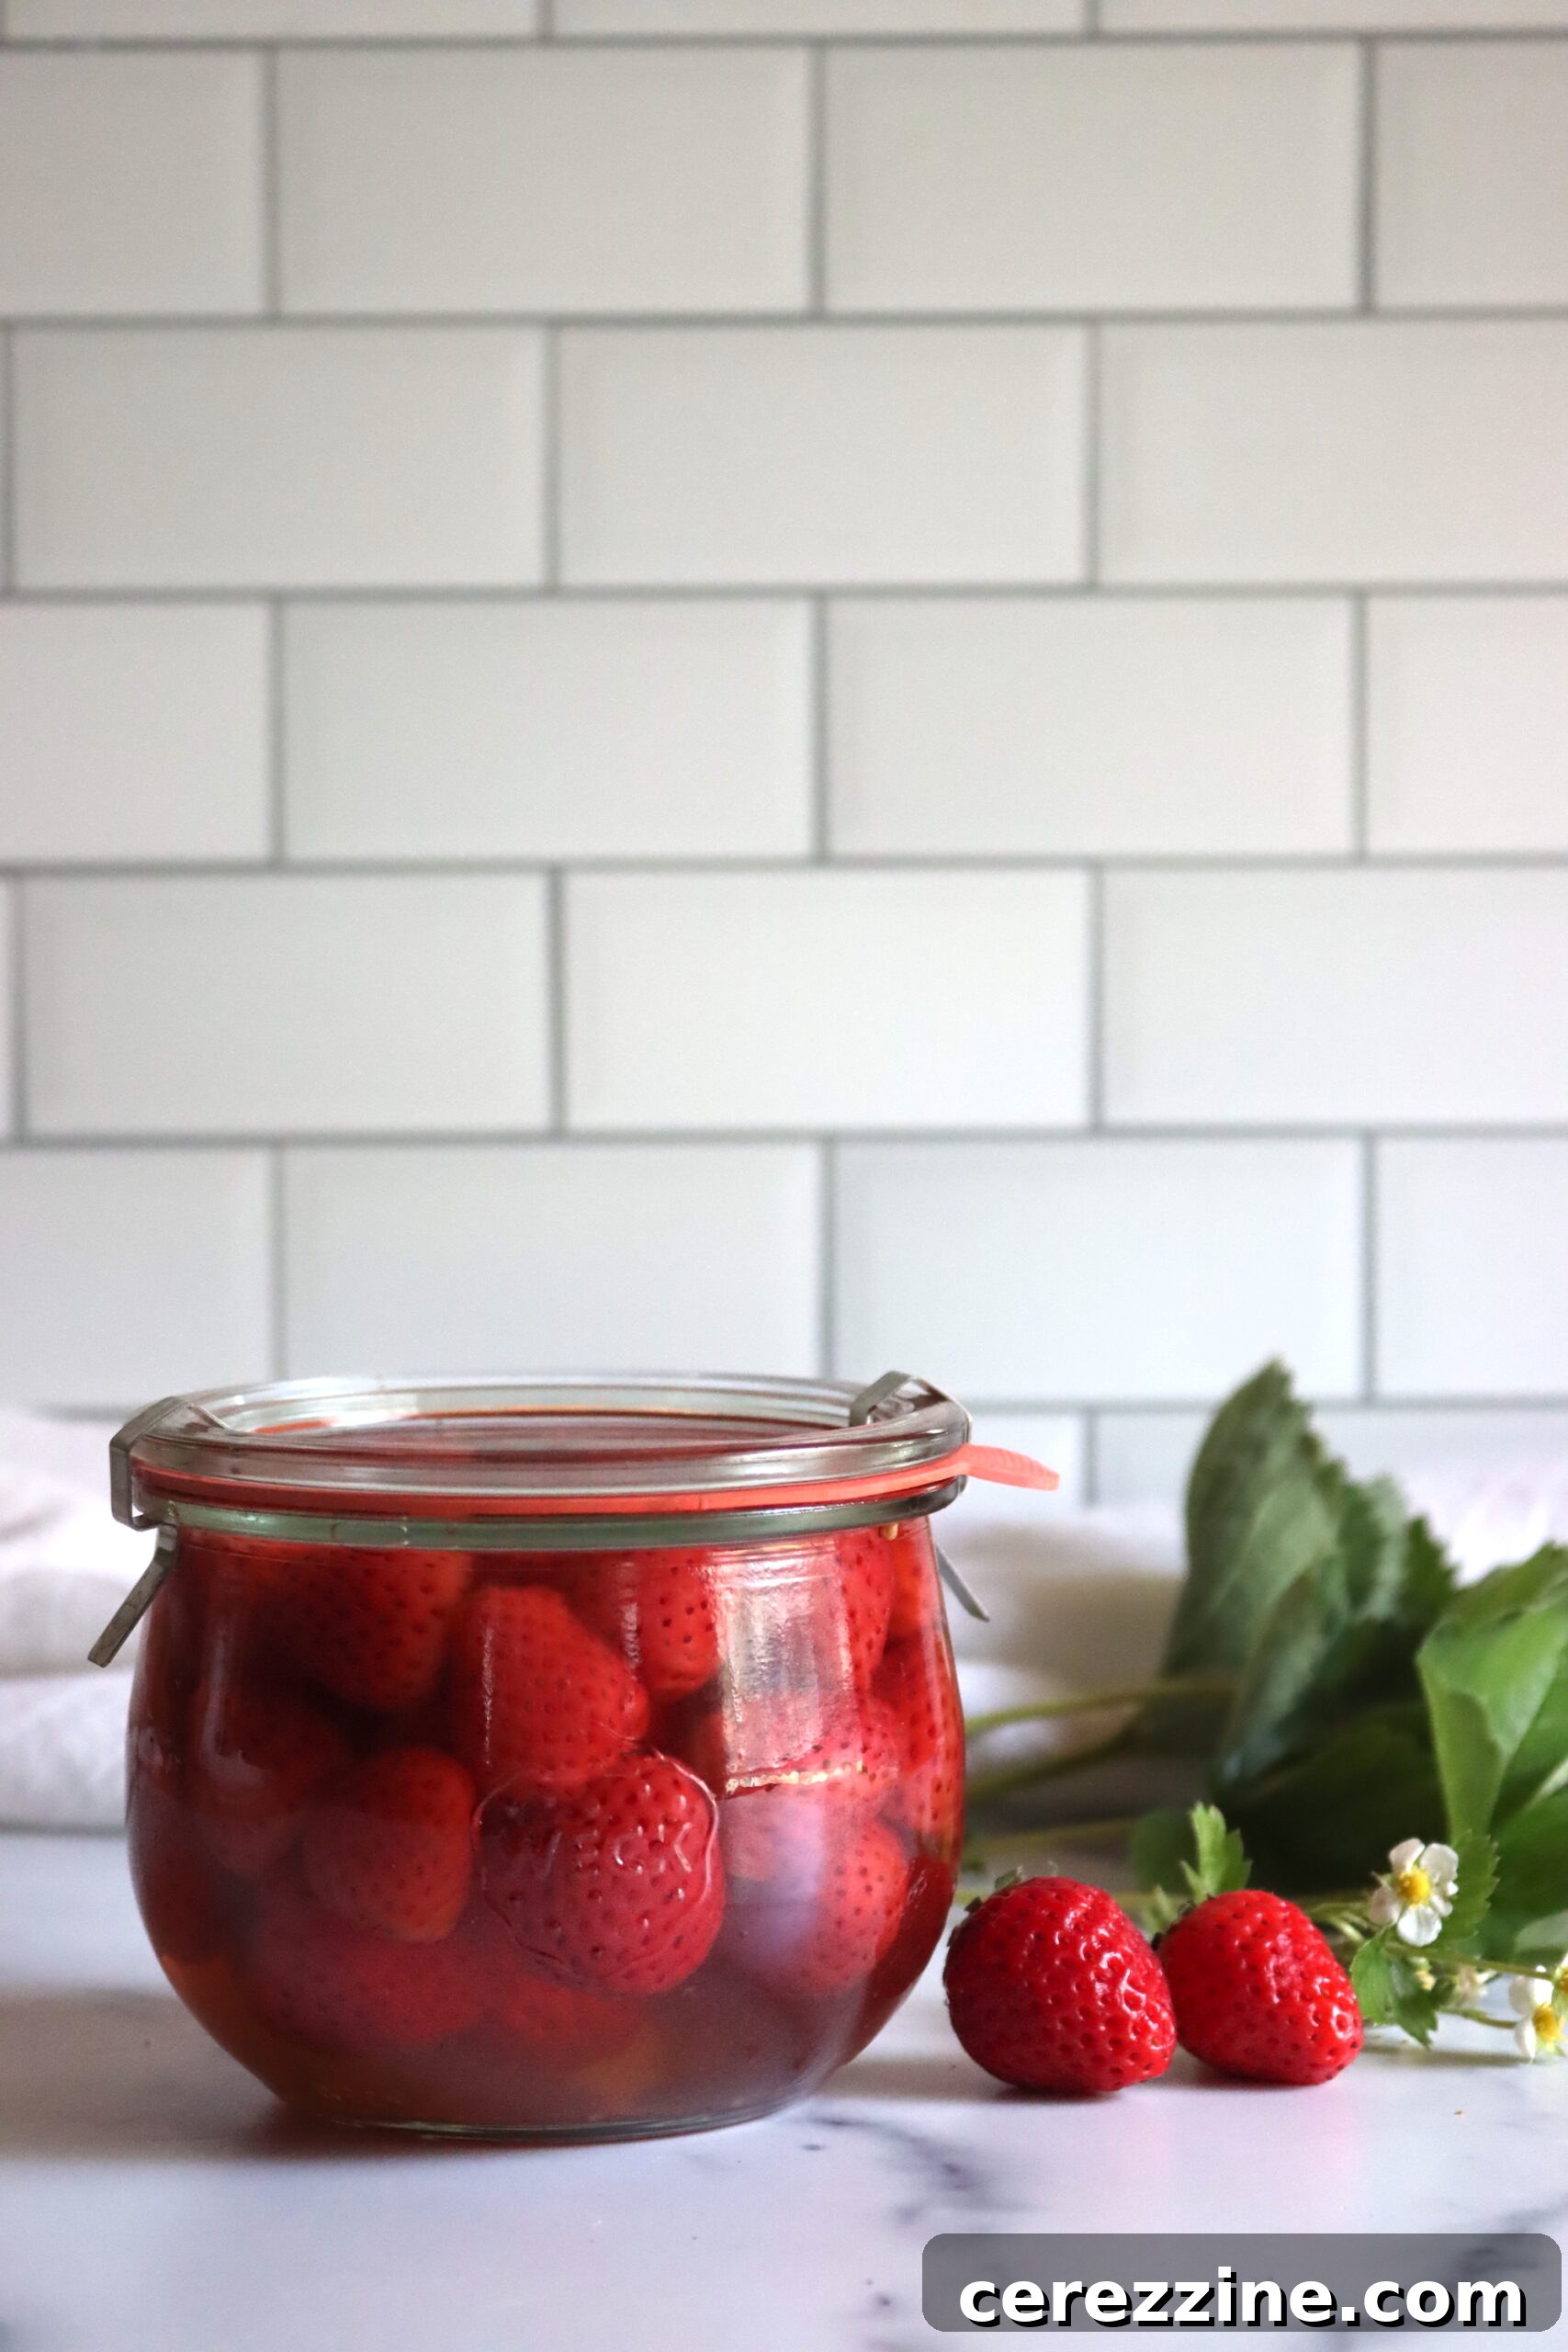
Step-by-Step Guide to Canning Pickled Strawberries
Successfully canning pickled strawberries involves careful preparation and adherence to established safety guidelines. Before you begin, gather all your ingredients and necessary equipment. You will need fresh, ripe strawberries, granulated sugar, pickling salt, your chosen spices (if using), a large wide-bottomed pot for the pickling liquid, a water bath canner, canning jars, and new lids.
- **Prepare the Strawberries:** Begin by gently pricking each strawberry with a toothpick. This crucial step allows the pickling liquid to penetrate the fruit more effectively, preventing them from floating and ensuring they absorb the brine evenly. If you have any larger strawberries, cut them in half to maintain uniform size, which, as mentioned, is vital for consistent texture. Set the prepared berries aside.
- **Create the Pickling Liquid:** In your wide pot, combine the granulated sugar, pickling salt, and your selected spices (cinnamon, cloves, allspice, if using) with the apple cider vinegar. Bring this mixture to a boil over medium heat, stirring frequently. Continue stirring until both the sugar and salt have completely dissolved, creating a clear and aromatic brine.
- **Cool and Marinate:** Remove the pickling liquid from the heat and allow it to cool slightly. Once cooled to a manageable temperature, carefully add the prepared strawberries to the pot. Gently toss the berries to ensure they are thoroughly coated in the pickling liquid. Cover the pot and let the strawberries stand at a cool room temperature for an extended period, typically between six and eighteen hours. During this marination phase, swirl the pot occasionally to redistribute the berries and liquid, ensuring even coating. This prolonged standing time is essential: it allows the pickling liquid to fully infuse the strawberries, helping them to firm up and retain their shape during the canning process. Skipping this step can result in mushy, undesirable pickles.
- **Gentle Warming:** After the marinating period, gently warm the strawberries and their pickling liquid over medium-low heat. Be careful not to overcook the berries, as they should remain firm and retain some of their natural bite. The goal is to bring the mixture to a simmer, not a vigorous boil.
- **Prepare Jars and Canner:** While the strawberries are warming, prepare your canning equipment. Wash your canning jars thoroughly with hot, soapy water and then sterilize them. You can do this by boiling them in the water bath canner for 10 minutes or by running them through a hot cycle in your dishwasher. Heat your water bath canner, filling it with water and bringing it to a simmer. Prepare your new canning lids by softening the sealing compound in hot (but not boiling) water, as per manufacturer instructions.
- **Fill the Jars:** Carefully ladle the warmed strawberries and their pickling liquid into the sterilized jars, leaving a consistent half-inch (1.25 cm) headspace at the top of each jar. This headspace is critical for proper sealing and to allow for expansion during processing. Use a non-metallic utensil, such as a plastic knife or a small spatula, to remove any trapped air bubbles from the jars. Recheck the headspace and adjust by adding more liquid if necessary.
- **Seal and Secure:** Wipe the rims of each jar thoroughly with a clean, damp cloth to remove any food particles that could interfere with the seal. Center a prepared lid on top of each jar, and then screw on the bands until they are fingertip-tight. Avoid overtightening, as this can prevent air from escaping and hinder proper sealing.
- **Process in Water Bath Canner:** Carefully lower the filled and sealed jars into the preheated water bath canner, ensuring they are fully submerged by at least an inch of water. Bring the water to a rolling boil and process the pint and half-pint jars for 10 minutes. Remember to adjust processing times for your specific altitude (refer to the altitude adjustment chart below for precise timings).
- **Cool and Check Seals:** Once the processing time is complete, turn off the heat and remove the canner lid. Allow the jars to rest in the hot water for an additional five minutes. This helps to equalize the temperature and prevents siphoning. Carefully remove the jars from the canner using a jar lifter and transfer them to a clean towel on your countertop, ensuring they are not touching each other. Let them cool undisturbed for at least 24 hours. After cooling, check the seals by pressing down on the center of each lid; if it doesn’t flex, the jar is sealed. Any jars that haven’t sealed properly should be refrigerated and consumed within a few weeks.
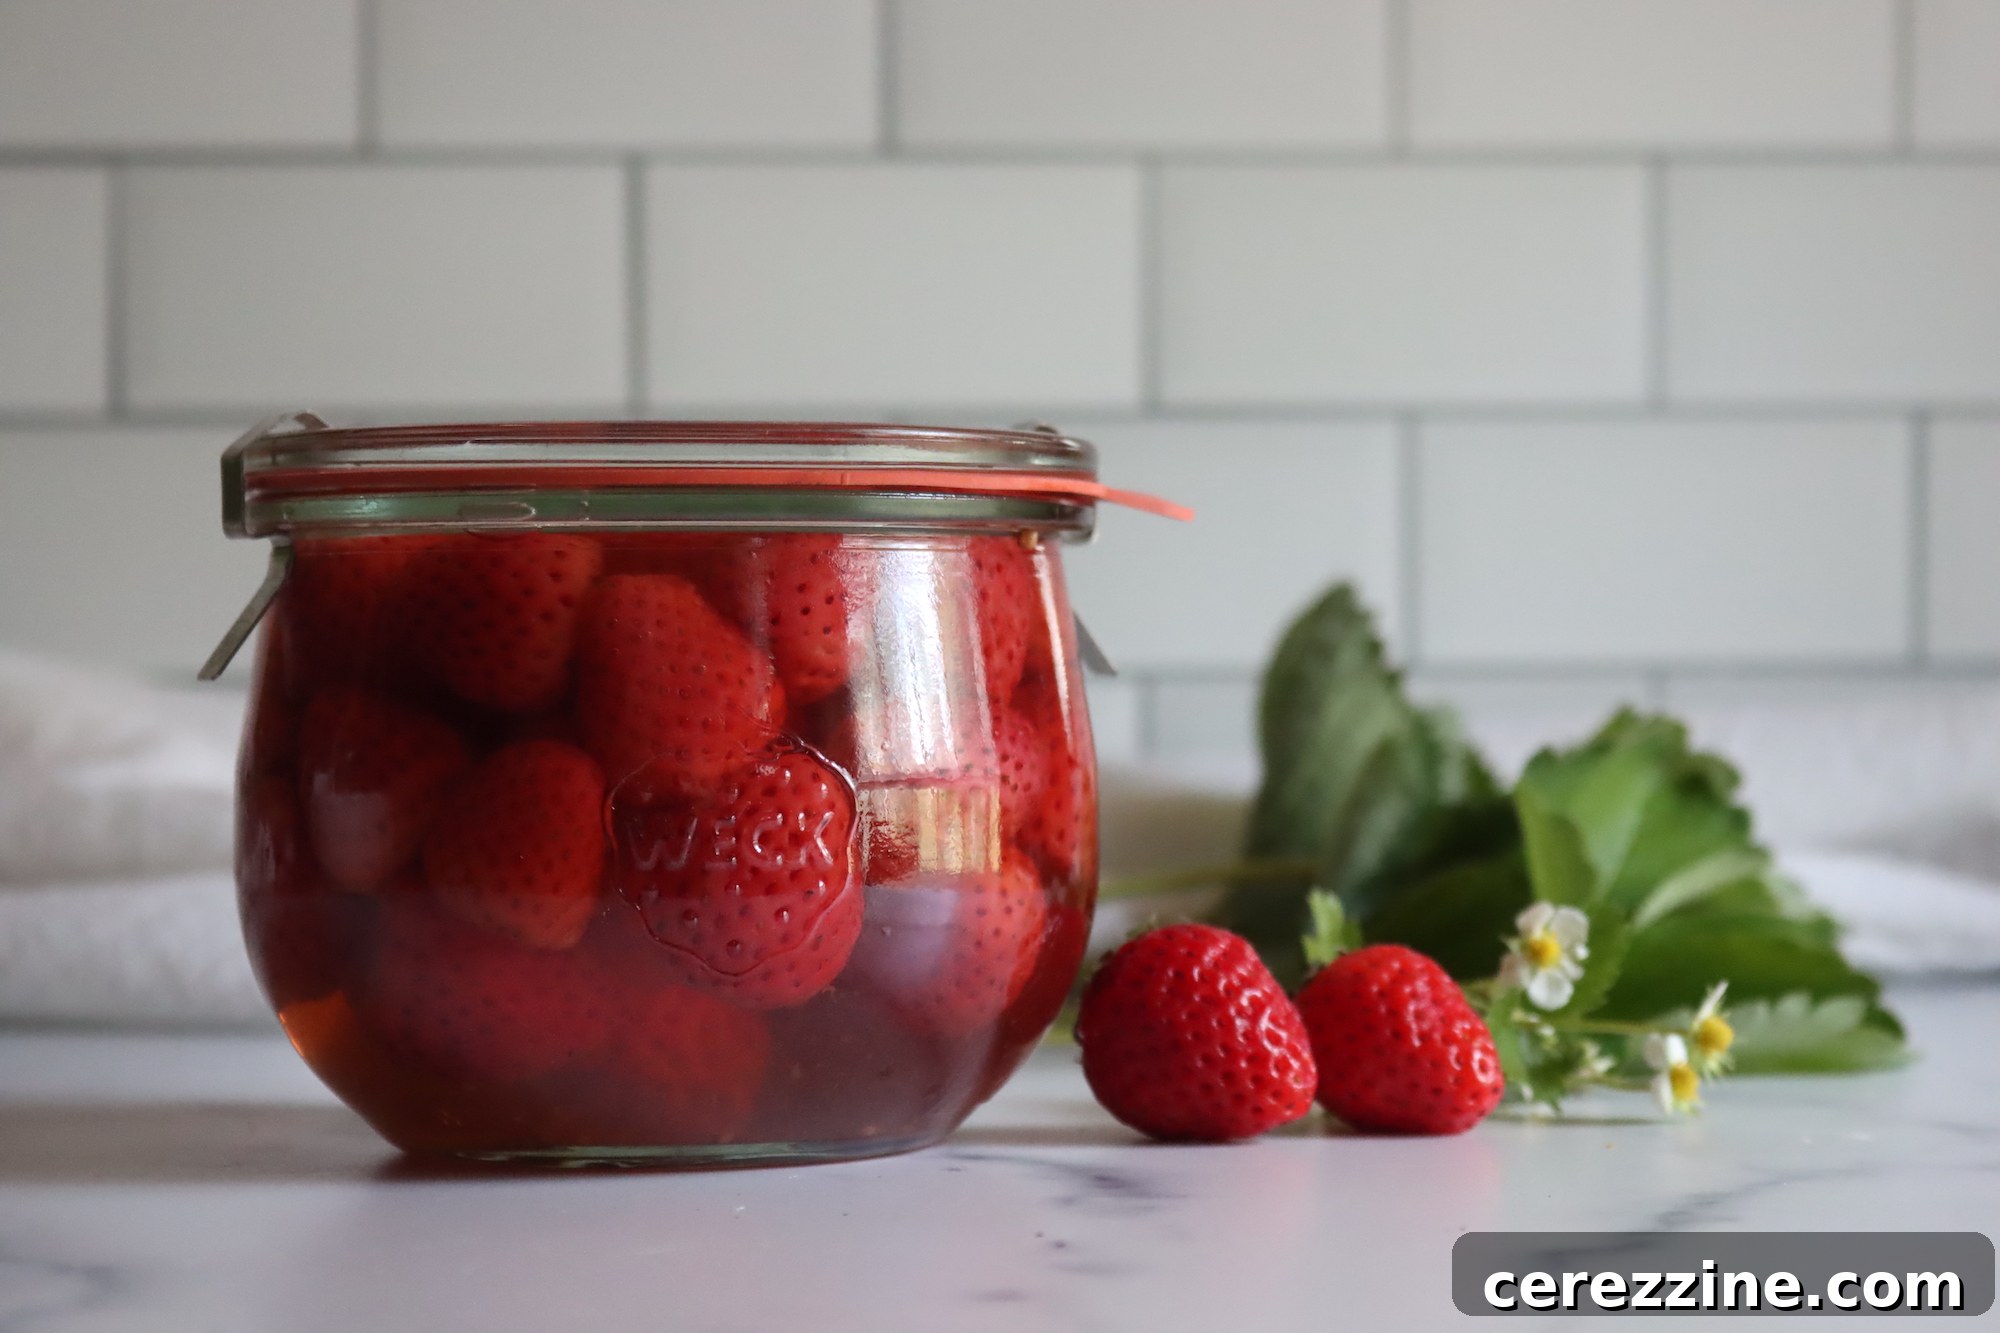
Creative Ways to Enjoy Your Pickled Strawberries
Once your jars of pickled strawberries are sealed and cooled, a world of culinary possibilities awaits! The beauty of these sweet and tangy berries is their readiness to be enjoyed. They are a “heat and eat” dish, requiring no additional ingredients at serving time. Simply pop open a jar, and you’re ready to embark on a flavor adventure.
So, how can you best savor these delightful preserves? Here are some imaginative serving suggestions:
- **Classic Dessert Topping:** Elevate simple desserts. A spoonful of pickled strawberries transforms a warm, buttery biscuit topped with fresh whipped cream into an irresistible treat. They are equally phenomenal over a slice of moist shortcake or tender pound cake, providing a vibrant contrast to the rich sweetness.
- **Yogurt and Oatmeal Enhancement:** Start your day with a burst of flavor. Stir pickled strawberries into your morning yogurt, granola, or oatmeal for a refreshing and unexpectedly sophisticated breakfast. The tangy kick brightens the entire dish.
- **Fruit Salad Zing:** Give your traditional fruit salad an exciting twist. Toss in a handful of pickled strawberries to introduce a bright, tangy counterpoint to the fresh fruit. The pickling liquid itself can even be lightly drizzled over the salad as a unique dressing.
- **Savory Pairings:** Don’t underestimate their savory potential. Pickled strawberries are a magnificent condiment alongside rich meats like roasted duck, grilled pork, or even venison. Their acidity cuts through the richness, providing a refreshing and complex element to the dish. They are also exceptional with paté, sharp cheeses, or as an unexpected addition to a gourmet sandwich or slider.
- **Cocktail Enhancer:** For a sophisticated touch, muddle a few pickled strawberries in your favorite cocktail, such as a gin and tonic or a vodka spritzer. The pickling liquid can also be used to create unique simple syrups for mixed drinks.
- **Salad Dressing Ingredient:** Whisk a bit of the pickling liquid into a vinaigrette for a fruity, tangy salad dressing that pairs beautifully with greens, goat cheese, and nuts.
In essence, pickled strawberries are a wonderfully versatile and delicious addition to any meal, snack, or gathering. Don’t be afraid to experiment and get creative with your serving options – you might just discover your next favorite culinary combination!
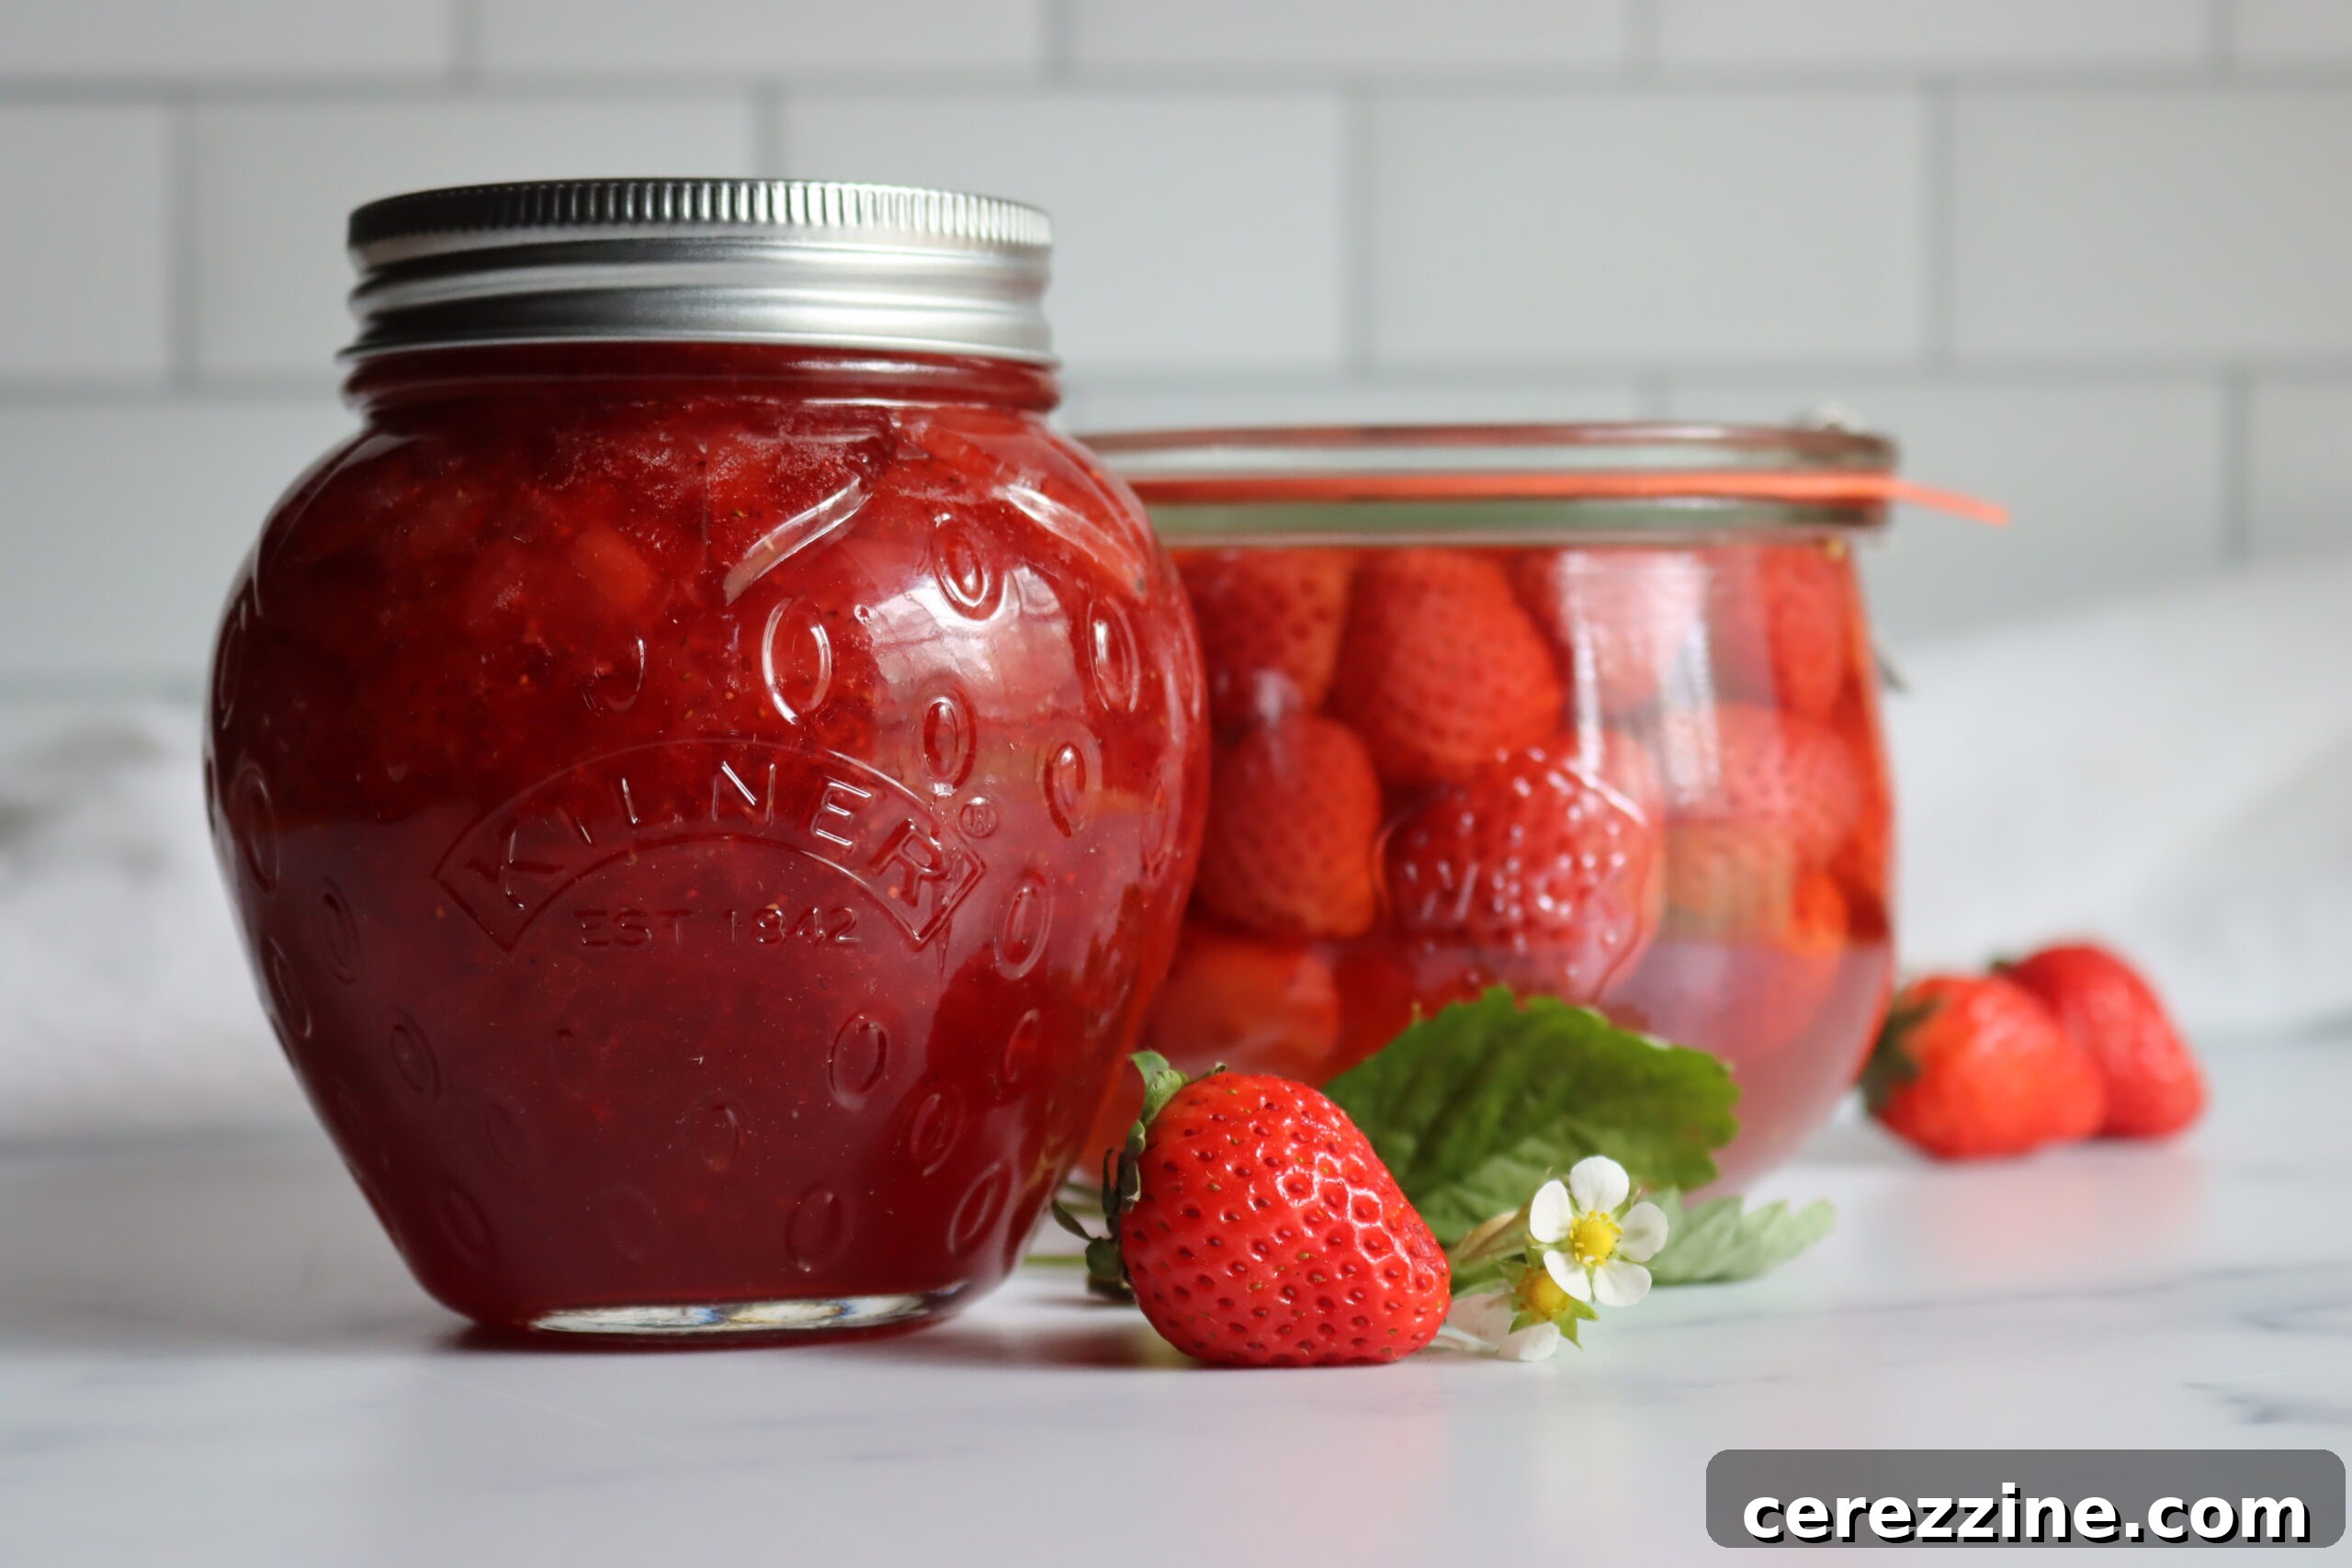
Critical Altitude Adjustments for Safe Canning
When canning, it is crucial to understand that water boils at a lower temperature at higher altitudes. This means that to ensure proper food safety and adequate processing, jars must be processed for a longer duration as your elevation increases. Always refer to and apply the appropriate altitude adjustments for canning pickled strawberries:
- **For 0 to 1,000 Feet in Elevation:** Process pint jars (and half-pint jars) for 10 minutes. For quart jars, process for 15 minutes.
- **For 1,001 to 6,000 Feet in Elevation:** Process pint jars (and half-pint jars) for 15 minutes. For quart jars, process for 20 minutes.
- **Above 6,001 Feet in Elevation:** Process pint jars (and half-pint jars) for 20 minutes. For quart jars, process for 25 minutes.
More Delightful Strawberry Canning Recipes
If you’ve enjoyed the sweet-tart adventure of pickling strawberries, you’ll be thrilled to discover the array of other creative ways to preserve this fantastic fruit. Explore these additional strawberry canning recipes to make the most of your seasonal bounty:
- Strawberry Rhubarb Jam
- Strawberry Pie Filling
- Strawberry Syrup
- Canning Strawberry Juice
Pickled Strawberries
By Ashley Adamant
Pickled strawberries are a unique way to preserve strawberries in season, and their sweet-tart flavor is incredible on top of a bowl of vanilla ice cream!
Prep Time: 10 minutes
Marinating Time: 6-18 hours (approximately 1 day)
Processing Time: 10 minutes (adjust for altitude)
Total Time: Approximately 1 day, 20 minutes (including prep, marinating, and processing)
Yields: 8 half-pint jars (approximately 64 servings)
Equipment
- Water Bath Canner
- Large wide-bottomed pot
- Canning jars (half-pint or pint) with lids and bands
- Jar lifter
- Non-metallic spatula or plastic knife
Ingredients
- 12 cups strawberries, hulled (3 L)
- 3 cups granulated sugar (750 mL)
- 2 cups apple cider vinegar (500 mL)
- 1 tsp pickling or canning salt (5 mL)
Optional Spices
- ½ tsp ground cinnamon (2 mL)
- ¼ tsp ground cloves (1 mL)
- Pinch ground allspice
Instructions
- Gather all your ingredients and canning equipment.
- Gently prick each strawberry with a toothpick. Cut larger strawberries in half to ensure uniform size and set them aside.
- In your large pot, combine the sugar, salt, apple cider vinegar, and any optional spices you are using. Bring the mixture to a boil over medium heat, stirring frequently until the sugar and salt are fully dissolved.
- Remove the pickling liquid from the heat and allow it to cool slightly. Add the prepared strawberries and gently toss to coat them evenly.
- Cover the pot and let the berries stand at a cool room temperature for 6 to 18 hours, swirling the pot occasionally to keep them evenly coated. This step helps the strawberries firm up and absorb the brine.
- After the marinating period, gently warm the strawberries and pickling liquid over medium-low heat. Be careful not to overcook them.
- While the strawberries are warming, prepare your canning jars by washing and sterilizing them. Heat your water bath canner and prepare your canning lids according to manufacturer instructions.
- Ladle the warm strawberries and pickling liquid into the sterilized jars, leaving a ½-inch (1.25 cm) headspace. Use a non-metallic utensil to remove any air bubbles and adjust headspace if needed by adding more liquid.
- Wipe the jar rims clean, center a lid on each jar, and screw on the bands until fingertip-tight.
- Carefully place the jars into the preheated water bath canner, ensuring they are fully submerged. Bring the water to a rolling boil and process pint or half-pint jars for 10 minutes. Remember to adjust processing time for your specific altitude (refer to notes below).
- Once processing is complete, turn off the heat and remove the canner lid. Let the jars sit in the hot water for an additional five minutes before carefully transferring them to a towel-lined surface to cool for at least 24 hours.
- After 24 hours, check the seals by pressing the center of each lid. If the lid does not flex, the jar is sealed. Refrigerate any jars that did not seal properly and consume them within a few weeks.
Notes
This is a safe, tested canning recipe adapted from “The Complete Book of Pickling” by Jennifer MacKenzie. The book offers several pickled strawberry variations, including substituting white balsamic vinegar for cider vinegar and adding pink peppercorns for a unique spice blend. Feel free to experiment with these adaptations or keep it simple with the classic cider vinegar base.
The spices are entirely optional. You can use any dry spices you prefer to flavor your pickled strawberries, or omit them for a pure strawberry-vinegar experience. While optional, the pickling salt significantly enhances the depth of flavor in these fruit pickles.
Altitude Adjustments for Water Bath Canning
- For 0 to 1,000 Feet in Elevation: Process pint jars for 10 minutes, and quart jars for 15 minutes.
- For 1,001 to 6,000 Feet in Elevation: Process pint jars for 15 minutes, and quart jars for 20 minutes.
- Above 6,001 Feet in Elevation: Process pint jars for 20 minutes, and quart jars for 25 minutes.
Nutrition
Calories: 46 kcal
Carbohydrates: 11 g
Protein: 0.2 g
Fat: 0.1 g
Saturated Fat: 0.004 g
Polyunsaturated Fat: 0.04 g
Monounsaturated Fat: 0.01 g
Sodium: 37 mg
Potassium: 47 mg
Fiber: 1 g
Sugar: 11 g
Vitamin A: 3 IU
Vitamin C: 16 mg
Calcium: 5 mg
Iron: 0.1 mg
Nutrition information is automatically calculated and should only be used as an approximation.
Explore More Exciting Fruit Pickling Recipes
Once you’ve experienced the delicious sweet-tart magic of pickled strawberries, you’ll undoubtedly want to explore the wider world of fruit pickles! The versatility of this preservation method extends to many other fruits, creating incredibly flavorful and unique condiments that can enhance a variety of dishes. Don’t stop with just strawberries; expand your culinary horizons with these other fantastic fruit pickling recipes:
- Pickled Figs
- Pickled Cranberries