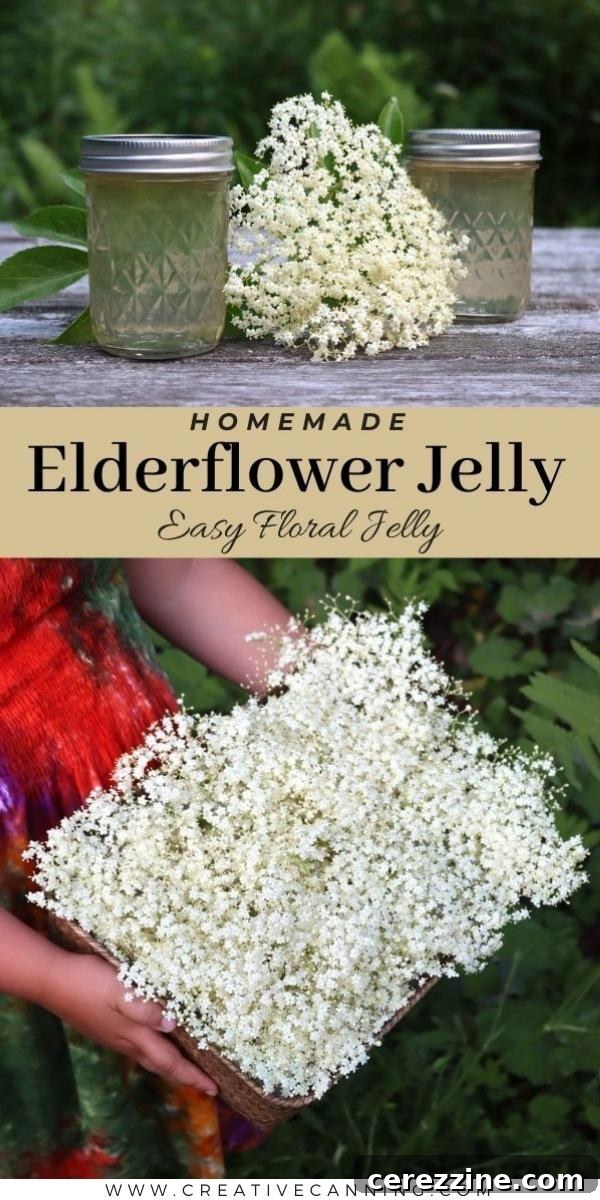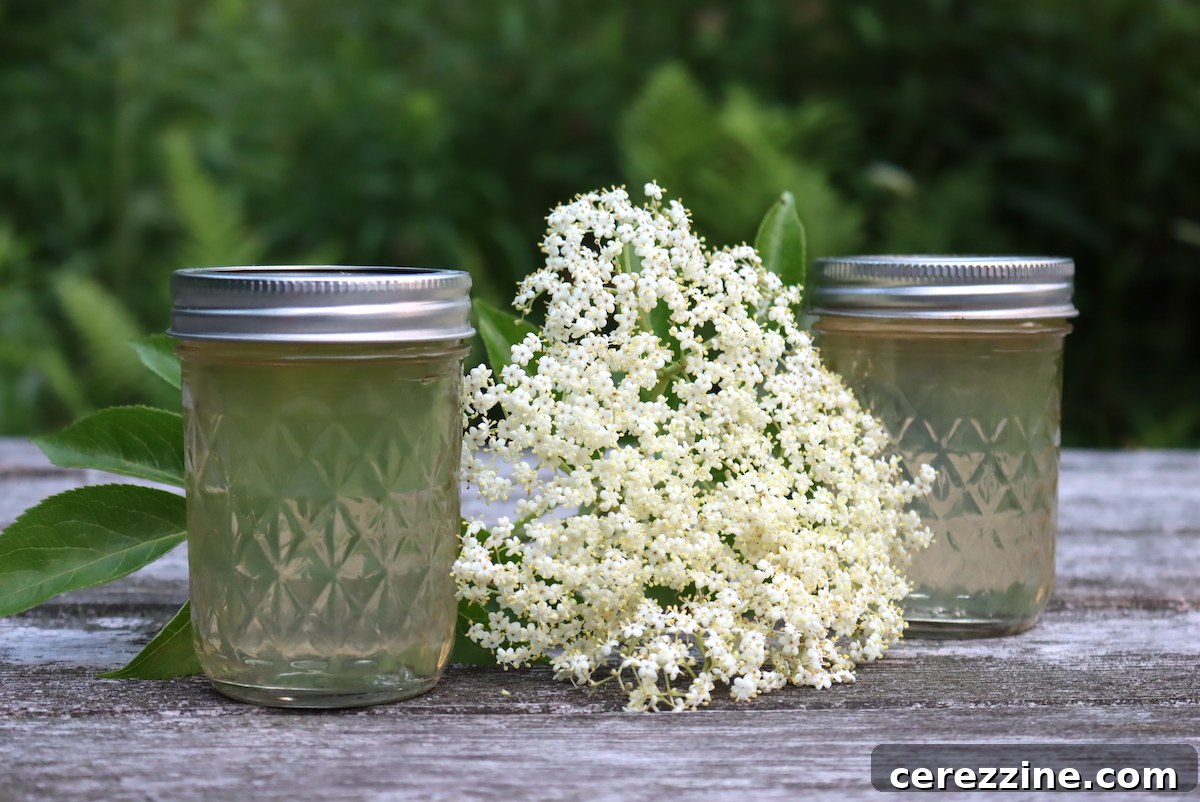
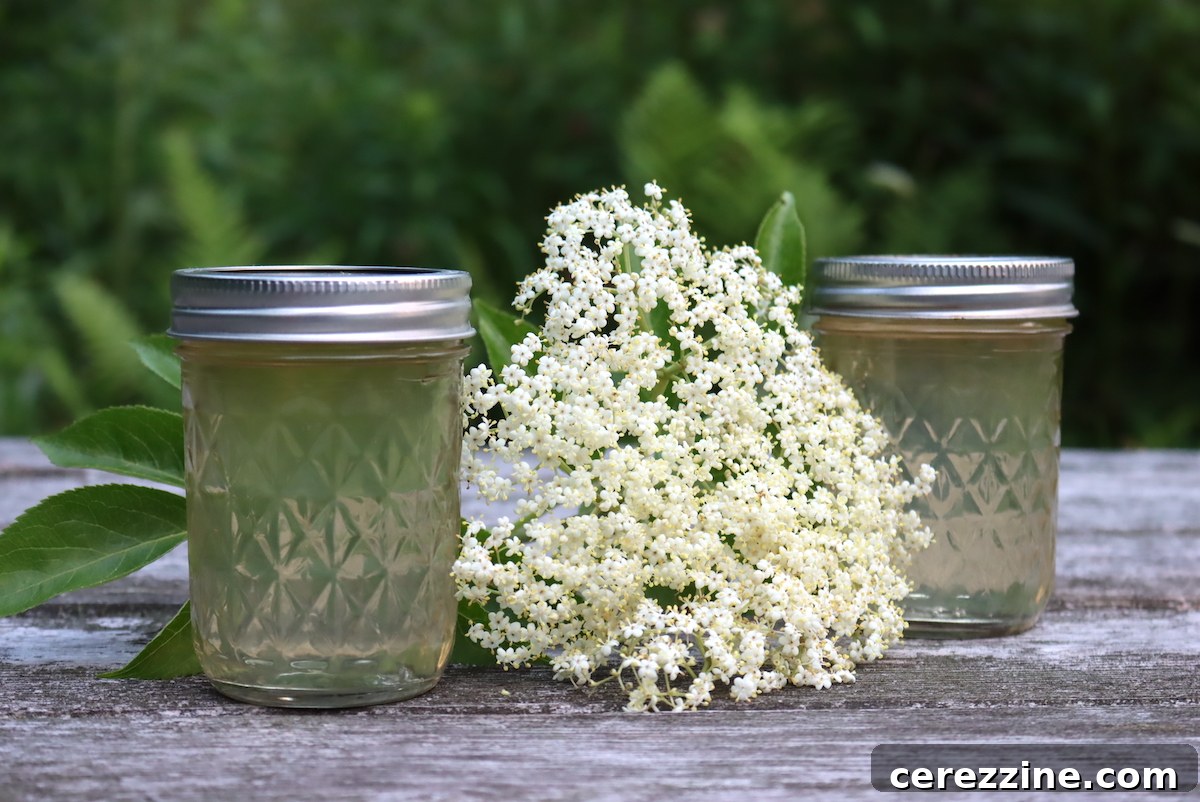
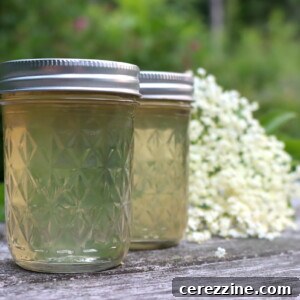
Delicate, aromatic, and subtly sweet, elderflower jelly is a true taste of spring. This simple yet enchanting floral jelly recipe transforms foraged elderflowers into a beautiful preserve, complete with optional instructions for water bath canning to extend its shelf life.
Embrace the Essence of Spring with Homemade Elderflower Jelly
There’s a special kind of magic in capturing the fleeting beauty and fragrance of edible flowers in a jar. Among the many floral jellies I love to create, elderflower jelly stands out as a personal favorite. Each year, as late May arrives, our yard becomes a vibrant tapestry of elderflower blooms, offering an abundant harvest. Transforming these delicate blossoms into jelly is, in my opinion, one of the most exquisite ways to preserve their uniquely sweet and floral essence.
Our family enjoys elderflower jelly in countless ways. A generous dollop on a slice of hot, buttery toast or a freshly baked muffin is pure bliss. It also makes for an incredibly thoughtful and unique gift for friends and family, a literal jar of sunshine to brighten even the greyest of days. Imagine pairing it with freshly baked elderflower muffins for a truly immersive floral experience!
Storage Options: Refrigerator, Freezer, or Pantry?
This straightforward elderflower jelly recipe offers flexible storage solutions to suit your needs. You can prepare it as a simple refrigerator jelly, which will maintain its delightful flavor and texture for several weeks. Alternatively, it can be stored in the freezer for up to six months, allowing you to enjoy the taste of spring well into the colder seasons.
For those who wish to extend its shelf life even further and prefer storage at room temperature, I’ve included comprehensive instructions for water bath canning. When properly processed and sealed, your homemade elderflower jelly can be safely stored on your pantry shelf for an impressive 12 to 18 months, ready to be enjoyed whenever a craving strikes.
Elderflower Jelly: Recipe Snapshot
- Recipe Name: Elderflower Jelly
- Recipe Type: Flower Jelly Recipe
- Canning Method: Waterbath Canning
- Prep Time: Approximately 10 Minutes
- Cook Time: Approximately 10 Minutes
- Canning Time: 10 Minutes
- Yield: 4 to 5 half-pint jars
- Recommended Jar Sizes: Quarter Pint, Half Pint, or Pint
- Headspace: 1/4 inch
- Key Ingredients: Fresh Elderflower Blossoms, Water, Lemon Juice (essential for safety and flavor), and Granulated Sugar
- Difficulty: Easy! The process is akin to making a quick, fragrant tea and then setting it into a jelly with pectin.
- Similar Recipes: The technique for elderflower jelly is very similar to making other exquisite wild foraged floral jellies, such as Clover Jelly, Fireweed Jelly, Dandelion Jelly, Redbud Jelly, Grape Hyacinth Jelly, or Violet Jelly.
Harvesting Elderflowers: Your Guide to Foraging
Elder plants are remarkably widespread and can be found across much of North America, thriving in diverse environments from sunny meadows to partly shady woodland edges, suburban backyards, and along the banks of rivers and creeks. Their adaptability makes them a common sight for observant foragers.
Elderflowers typically burst into bloom in late spring and early summer, which often means late May to early June in many regions. When foraging, it’s crucial to seek out blue or black elder varieties, both of which produce edible flowers and berries. Absolutely avoid red elder varieties, as their berries are toxic and the flowers have an unmistakably bitter taste. Always be 100% confident in your identification.
A vital word of caution for new foragers: Wild valerian blooms concurrently with elderflowers, and their blossoms can bear a striking resemblance. While valerian isn’t toxic, its flavor profile is significantly different from elderflower, and it possesses sedative properties. Misidentifying valerian could lead to unexpected flavors and effects in your jelly, so always verify your harvest carefully.
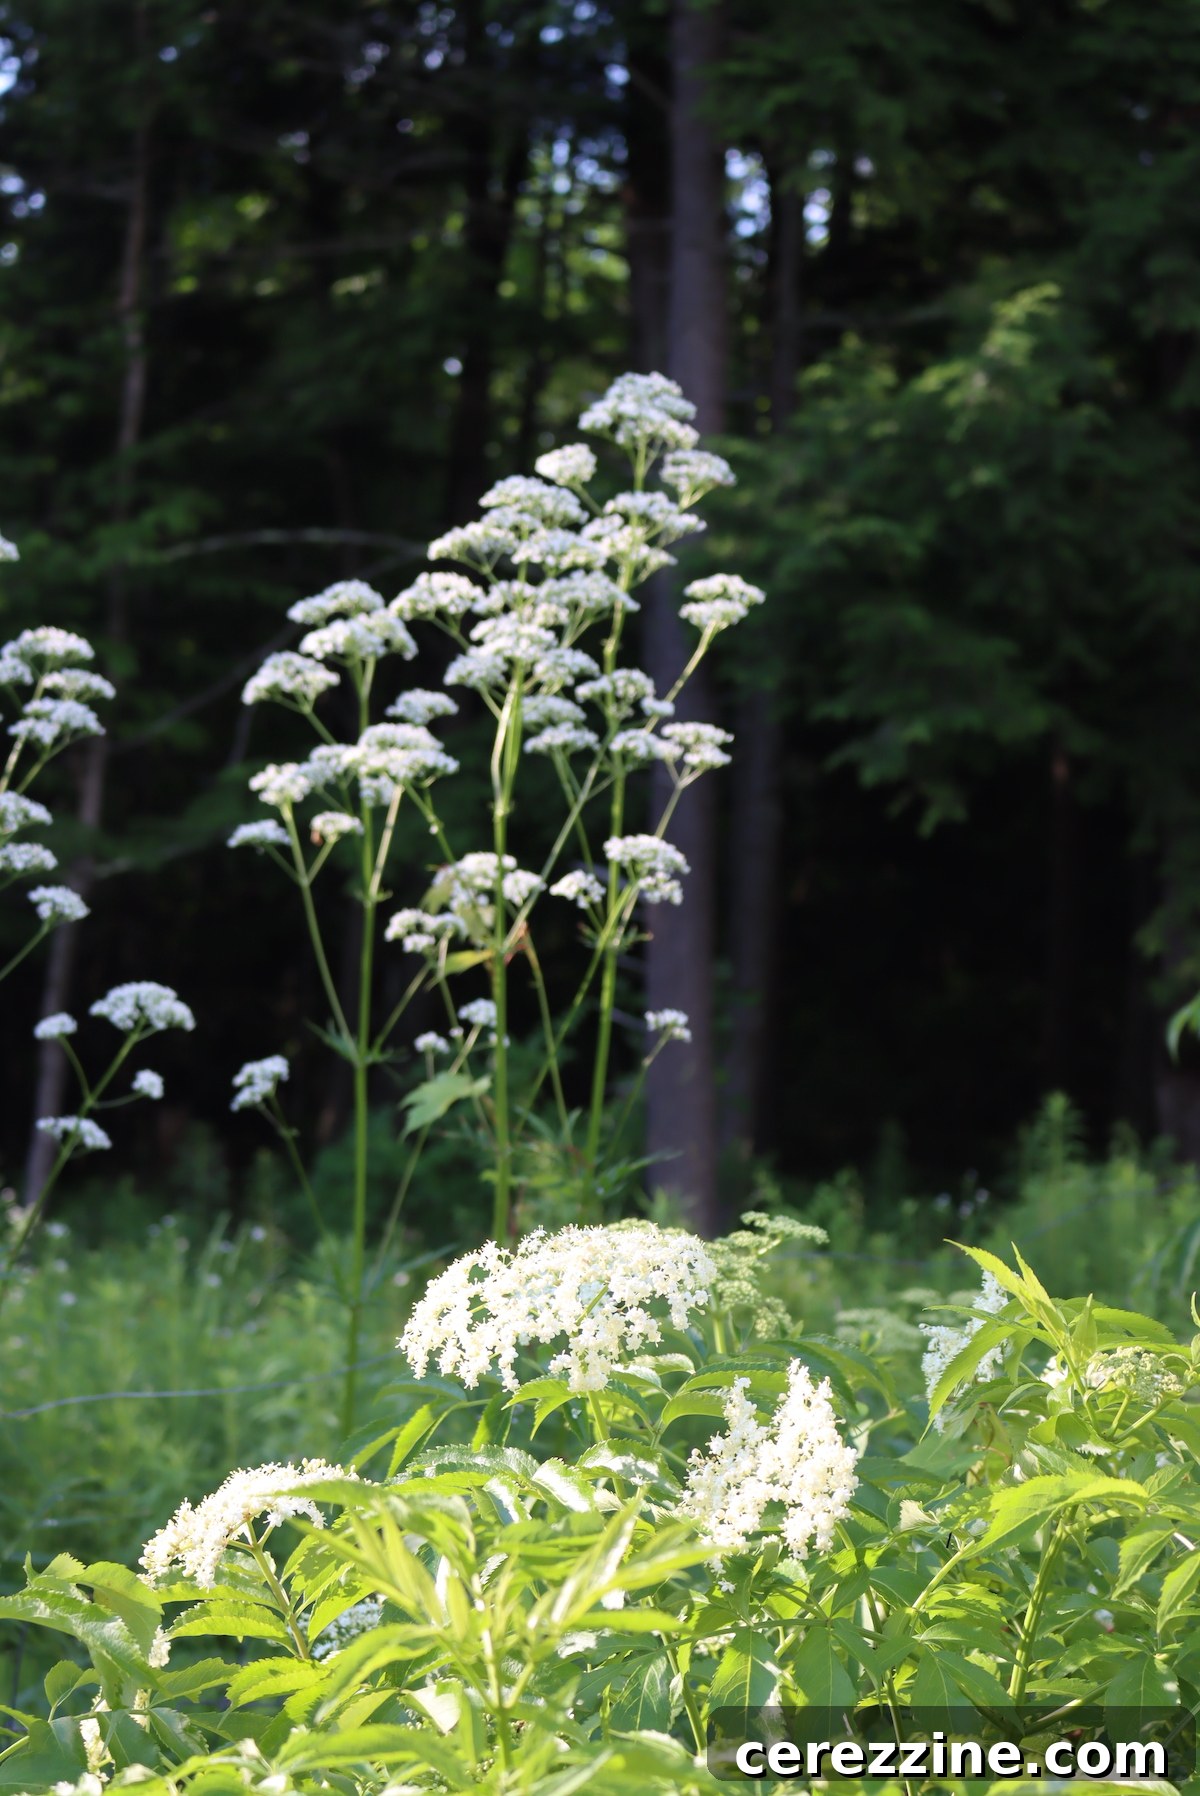
For those eager to confidently gather their own elderflowers, I’ve created comprehensive guides on both foraging elderflowers and foraging elderberries from the wild. These resources will equip you with the knowledge needed for safe and sustainable harvesting.
In our garden, we actively grow elderberry plants, which consistently provide us with more elderflowers (and later, elderberries) than we know what to do with! Elderberry plants are surprisingly easy to propagate from cuttings, ensuring a continuous supply. Our only challenge is finding enough space for all the plants!
As with any foraging adventure, it is absolutely essential to harvest plant material that has not been sprayed with pesticides or herbicides. Always choose locations far from roadsides and agricultural fields to ensure the purity of your edible treasures.
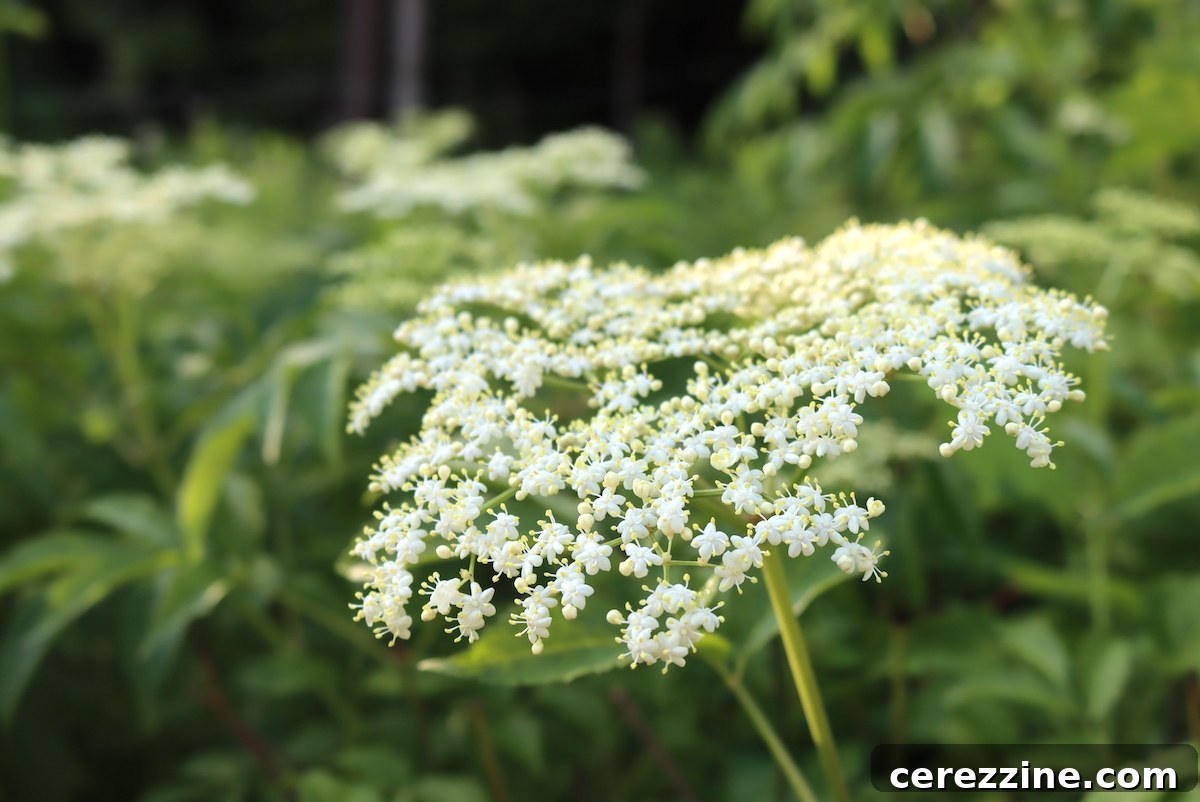
Crafting Your Own Elderflower Jelly: A Step-by-Step Guide
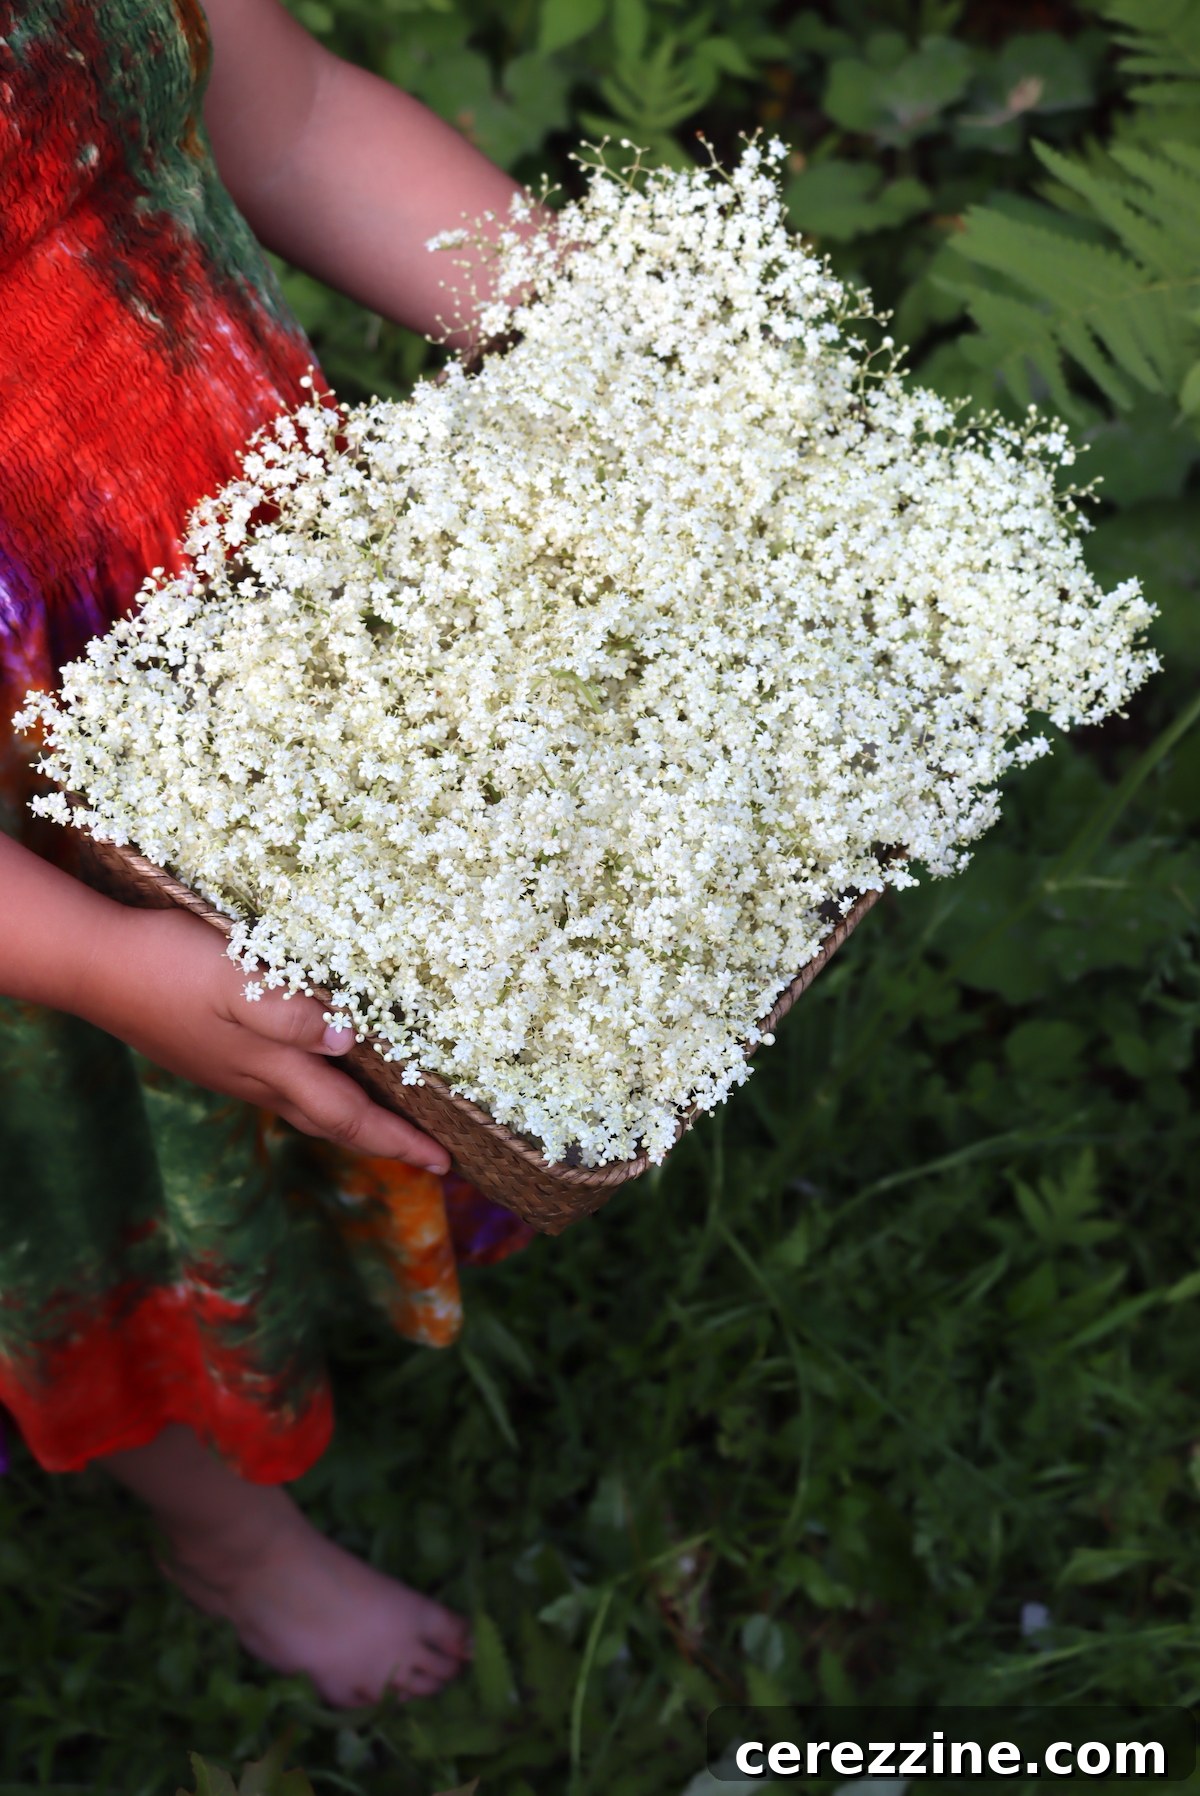
To begin your elderflower jelly journey, you’ll need approximately 4 cups of elderflower heads. The first crucial step is to meticulously remove any green parts, including both the stems and leaves, as these can impart bitterness. Once destemmed, give the blossoms a gentle shake to dislodge any small insects or debris. Avoid washing them under running water, as this can wash away some of their delicate pollen and flavor.
Since the recipe calls for 4 cups of flower material, I find it incredibly convenient to lightly pack the blossoms into a quart-sized jar. This same jar can then be used for the next step: steeping the flowers in boiling water. Alternatively, any heat-safe container, such as a large Pyrex measuring cup, will work perfectly well for this purpose.
After covering the elderflowers with hot water, allow them to steep for 10 to 15 minutes. This infusion period is essential for extracting their unique sweet and floral notes, creating a concentrated “elderflower tea” that will form the flavor base of your jelly. Once infused, strain the tea into a clean saucepan using a fine mesh sieve. For an extra layer of clarity, you can line the sieve with a piece of cheesecloth.
At this stage, incorporating 2 tablespoons of fresh lemon juice into the infusion is vital. The lemon juice doesn’t just brighten the flavor of the finished jelly, highlighting the subtle floral nuances of the elderflower; it also plays a critical role in the gelling process and canning safety (more on that later). Do not omit the lemon juice.
Next, bring this elderflower and lemon juice mixture to a rolling boil, then stir in a box of pectin. When it comes to pectin, you have a couple of excellent choices, depending on your sweetness preference. I consistently achieve fantastic results with either Sure Jell regular pectin or Sure Jell low-sugar pectin. Both are reliable for homemade jellies.
If you’re using regular pectin, which is what the recipe card below is primarily based on, it requires a 1:1 ratio of liquid to sugar for proper gelling. This means that for 4 cups of elderflower infusion, you will need 4 cups of granulated sugar. Attempting to use less sugar with regular pectin will prevent your jelly from setting correctly, resulting in a syrup instead of a firm jelly.
Low-sugar pectin offers greater flexibility, allowing you to use any amount of sugar, from a reduced quantity to the full amount. I often keep low-sugar pectin in my pantry precisely because of its versatility, and it performs just as effectively as regular pectin. Just remember that if you reduce the sugar, the overall yield of jelly will be smaller than if you use the full 4 cups.
This step is absolutely critical for successful gelling: Bring the elderflower infusion, lemon juice, and pectin to a full, rolling boil and maintain it for one minute *before* adding the sugar. If you add the sugar and pectin simultaneously or in the wrong order, the jelly will almost certainly fail to set. Incorrect order of ingredients is the most common reason for jelly not gelling, but failure to set can also stem from:
- Overcooking: Boiling the mixture for longer than 5 minutes can break down the pectin.
- Batch Size: Making too large a batch (e.g., trying to double the recipe) can prevent proper gelling due to uneven heat distribution and pectin concentration.
After the pectin has been added and boiled for a full minute, you can then stir in the granulated sugar. Continue to stir until the sugar is completely dissolved, and then bring the mixture back to a vigorous boil for exactly one more minute. This ensures the pectin is fully activated and the jelly will set.
Once the jelly mixture has boiled for the final minute, carefully ladle the hot liquid elderflower jelly into prepared half-pint jars, leaving precisely 1/4-inch of headspace at the top of each jar. If you adhered to the full 4 cups of sugar, you should comfortably fill approximately 5 jars.
If you do not plan on canning the jelly, simply cover each jar with a lid and allow the elderflower jelly to cool completely to room temperature on your counter. Once cool, store this refrigerator jelly in the fridge for up to 1 month or in the freezer for up to 6 months.
Are you interested in preserving your elderflower jelly for longer, and making it shelf-stable? Continue reading below for easy water bath canning instructions.
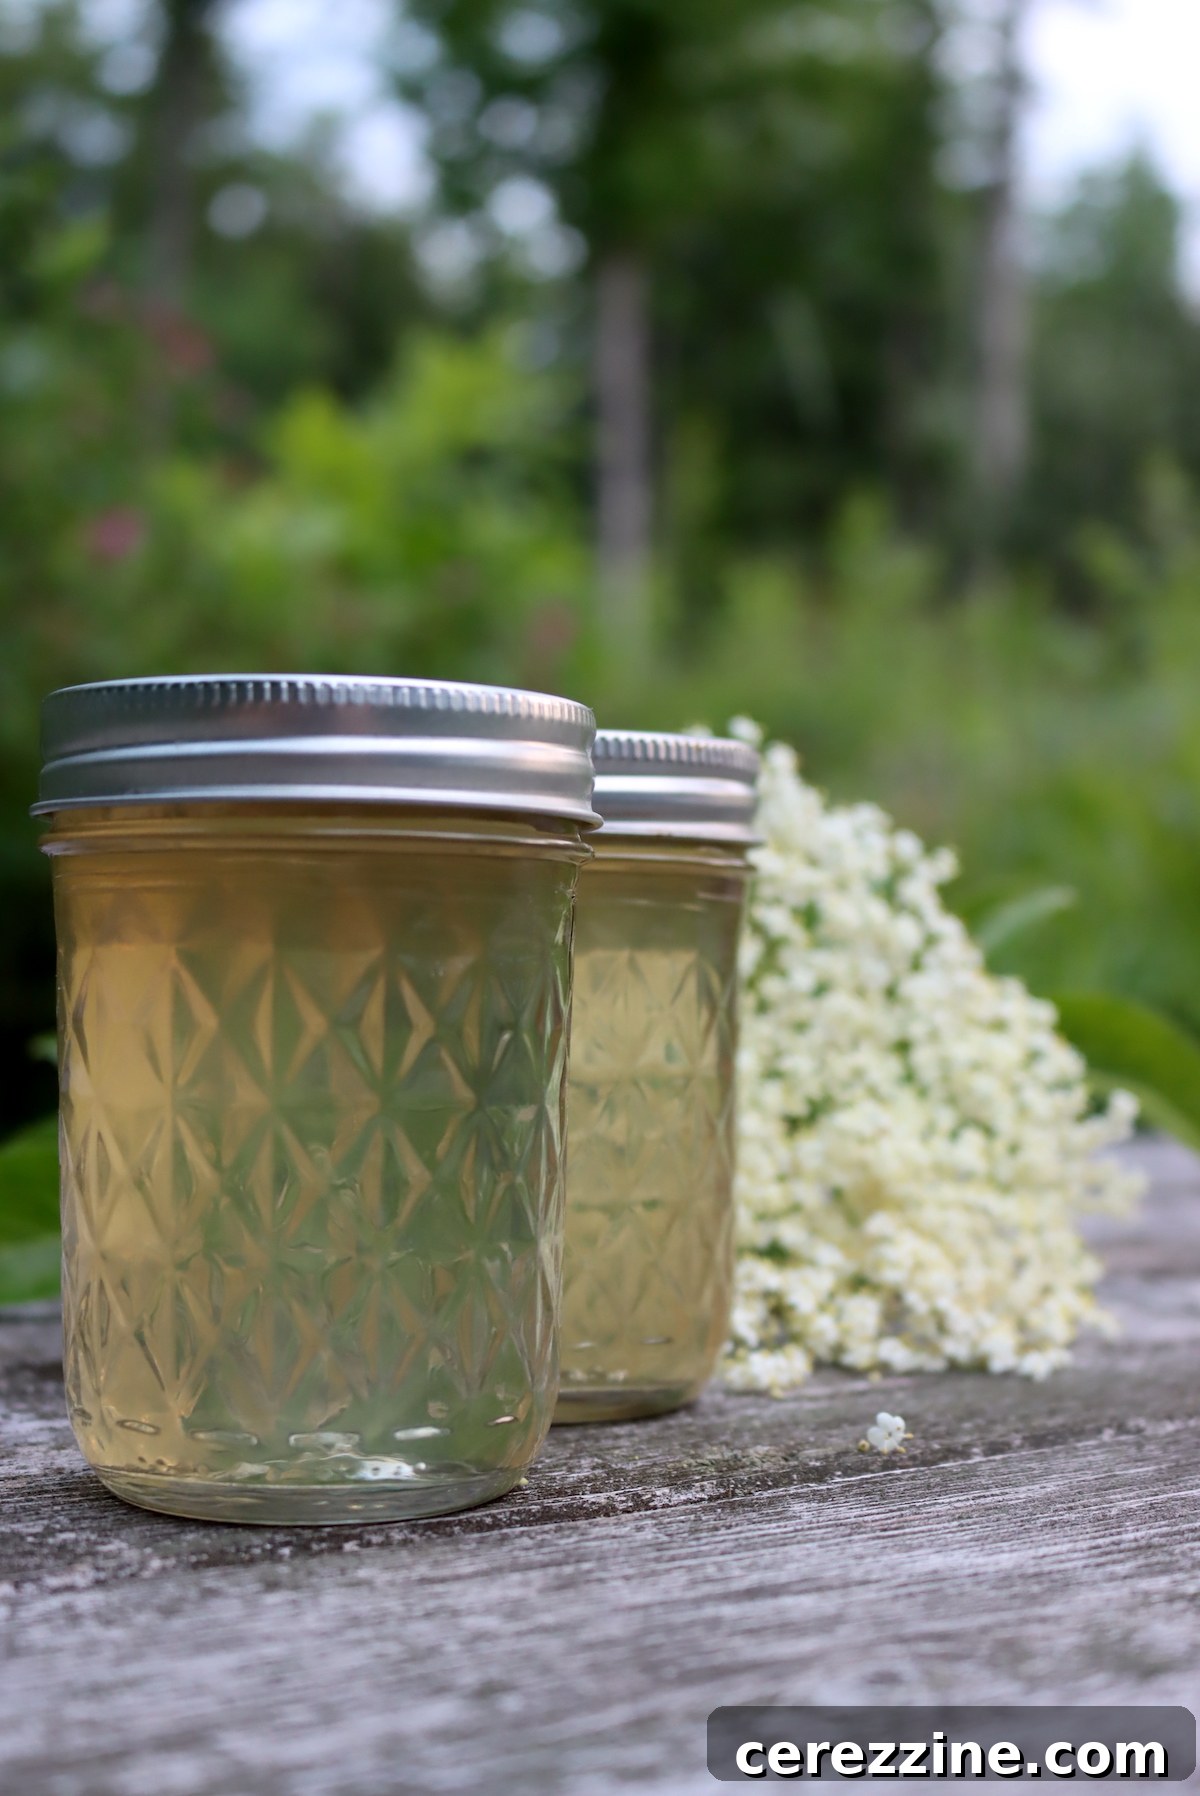
Mastering Water Bath Canning for Elderflower Jelly
For those who wish to transform their homemade elderflower jelly into a thoughtful gift or simply prefer the convenience of storing it at room temperature, a brief stint in a water bath canner is the perfect solution. Water bath canning is a safe and effective method for preserving high-acid foods like jellies, ensuring they remain fresh and delicious for an extended period without refrigeration.
If you choose to can your jelly, it is absolutely imperative not to skip the lemon juice. The added acidity from the lemon juice is what makes this flower jelly safe for canning in a water bath. Without sufficient acidity, there is a risk of botulism, so ensure you include the lemon juice as specified in the recipe.
Once your ingredients are thoroughly combined, dissolved, and have completed their final boil, carefully ladle the still-liquid and piping hot jelly into clean, sterilized half-pint canning jars. This recipe, when made with the full 4 cups of sugar, typically yields enough jelly to fill approximately 5 jars.
Leave precisely 1/4-inch of headspace at the top of each jar. This space is crucial for creating a proper vacuum seal during the canning process. Wipe the rims of the jars thoroughly to ensure no jelly residue interferes with the seal, then apply two-part canning lids until they are fingertip tight. Avoid overtightening, as this can prevent air from escaping and compromise the seal.
Carefully load the filled jars into your prepared hot water bath canner (or a steam canner). Ensure that the water level in the canner covers the tops of the jars by at least one inch. Bring the water to a rolling boil and process the jars for a duration of 10 minutes. Adjust processing time for your altitude if necessary.
After the processing time is complete, carefully remove the hot jars from the canner and place them on a clean tea towel on your counter. Allow the jars to cool undisturbed for at least 12 hours (I prefer to let them cool overnight), ensuring they are not touching each other. As they cool, you should hear satisfying “ping” sounds, indicating that the lids are sealing. After 12-24 hours, check to ensure all lids have sealed properly by pressing down on the center of each lid; it should not flex. Any unsealed jars should be stored in the refrigerator and consumed within a few weeks.
Properly canned and sealed jars of elderflower jelly can be stored in a cool, dark pantry, where they will maintain their quality for 12 to 18 months. Once a jar is opened, always refrigerate any remaining jelly and consume it within a few weeks.
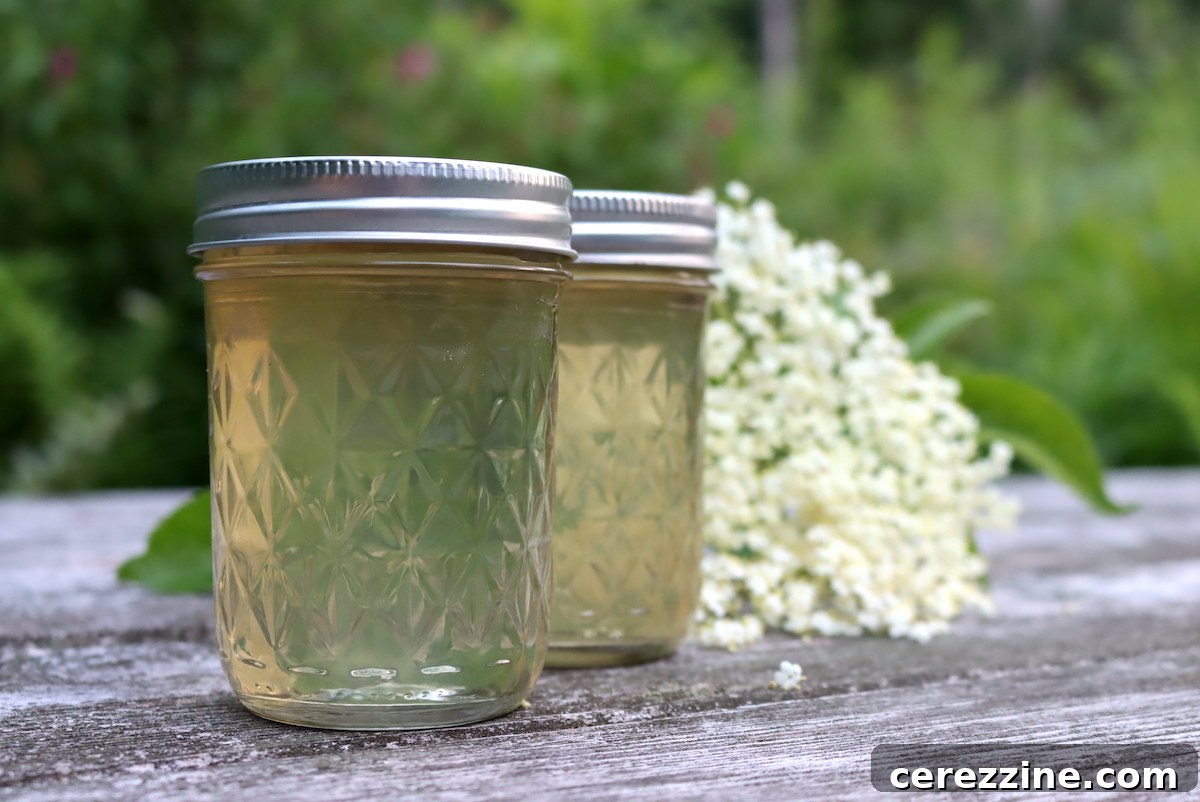
Beyond Jelly: More Enchanting Elderflower Recipes
Elderflowers are incredibly versatile and can be used in a myriad of delicious ways beyond just jelly. If you find yourself with an abundance of these fragrant blossoms, explore these other delightful elderflower recipes:
- Elderflower Cordial: A classic, concentrated syrup perfect for drinks or desserts.
- Elderflower Syrup: A lighter version of cordial, excellent for sweetening beverages.
- Elderflower Cake (Royal Wedding Cake): A truly elegant dessert, famously featured at a royal wedding.
- Strawberry Elderflower Popsicles: A refreshing and naturally sweet treat for warm weather.
If you tried this Elderflower Jelly Recipe, or any other recipe on Creative Canning, we’d love to hear from you!
Leave a ⭐ star rating and share your thoughts in the 📝 comments below!
And make sure you stay in touch with us by following on social media!
Explore More Flower Jelly Recipes
Tulip Jelly: A Unique and Colorful Preserve
Are Flower Jellies Safe for Canning? Essential Safety Tips
Lilac Jelly: Capturing the Scent of Spring
40
servings, about 5 half-pint jars
Elderflower Jelly
Ashley Adamant
10 minutes
10 minutes
10 minutes
30 minutes
Pin Recipe
Rate This
Print Recipe
Equipment
-
Water Bath Canner
-
Half Pint Jars
Ingredients
- 2 to 4 cups elderflower blossoms, destemmed
- 4 cups water
- 2 Tbsp. lemon juice
- 1 to 4 cup sugar, see notes
- 1 box powdered pectin, 1.75 oz box or 6 Tbsp. regular or low sugar, see notes
Instructions
-
Working carefully, separate the elderflower blossoms from their stems, making sure to remove all green parts. Shake gently to remove any debris or small insects.
-
Pour 4 cups of boiling water over the flower blossoms in a heatproof container (such as a large Pyrex measuring cup with a pouring spout). Let the elderflower tea infuse for about 10 to 15 minutes.
-
Carefully strain the elderflower tea infusion into a clean saucepan using a fine mesh strainer. For extra clarity, you can line the strainer with cheesecloth.
-
Stir the 2 tablespoons of lemon juice into the elderflower infusion. Bring this mixture to a rolling boil.
-
Add the entire box of powdered pectin to the boiling mixture and stir vigorously until it is fully dissolved.
-
Allow the pectin-infused mixture to boil for a full minute. After this minute, stir in the granulated sugar. It’s crucial that the pectin boils alone for a minute before the sugar is added, otherwise, the jelly may not set.
-
Bring the entire mixture (elderflower infusion, lemon juice, pectin, and sugar) back to a vigorous, rolling boil and cook for exactly 1 minute.
-
Immediately ladle the hot liquid elderflower jelly into clean 1/2-pint jars, ensuring you leave precisely 1/4-inch headspace at the top of each jar.
-
If canning the elderflower jelly: Wipe jar rims, apply 2-part lids until fingertip tight, and then load the jars into a hot water bath canner. Process for 10 minutes (adjust for altitude as needed). Remove and let cool for 12-24 hours.
-
If you don’t want to can the elderflower jelly: Simply apply 2-part lids and let the jelly sit at room temperature until completely cool and set. Store in the fridge for up to a month or in the freezer for up to 6 months.
Notes
Sugar and Pectin Considerations
Be aware that reducing the amount of sugar will also result in a lower yield. The estimated yield of 5 half-pints is based on using a full-sugar recipe (4 cups of sugar).
When using standard pectin, a 1:1 ratio of liquid to sugar is generally required for the jelly to set correctly. This means for 4 cups of elderflower tea, you’d need a minimum of 4 cups of sugar. This creates a very sweet, traditional-style jelly. To reduce the sugar content, simply opt for a low-sugar pectin instead. Follow the recipe instructions but use less sugar according to your preference and the pectin’s guidelines. I highly recommend Sure Jell no-sugar pectin for its consistent reliability.
If you choose to use Pomona’s Universal Pectin, please note that the instructions are different as it is a two-part low-sugar pectin system. Always follow the specific instructions provided within the Pomona’s box, often referencing their guidance for mint jelly as a similar application.
For those preferring liquid pectin, the order of operations for adding ingredients is reversed (sugar first, then pectin last). Liquid pectin also typically demands a significantly higher sugar content to set – often around 7 cups of sugar for 4 cups of liquid. Due to these high sugar requirements, I generally do not recommend liquid pectin for those aiming for a less sweet jelly, though it will work if it’s your preferred type.
Nutrition
Carbohydrates: 6g,
Protein: 0.01g,
Fat: 0.02g,
Saturated Fat: 0.001g,
Polyunsaturated Fat: 0.002g,
Sodium: 4mg,
Potassium: 1mg,
Fiber: 0.1g,
Sugar: 5g,
Vitamin A: 0.1IU,
Vitamin C: 0.3mg,
Calcium: 1mg,
Iron: 0.04mg
Nutrition information is automatically calculated and should be used as an approximation only.
Enjoyed this recipe? Leave a comment below!
More Enchanting Floral Jelly Recipes
Elderflowers are just one of many edible flowers that can be transformed into delicious and unique jellies. Expand your repertoire of floral preserves with these delightful recipes:
- Dandelion Jelly: A sunny, honey-like jelly made from common backyard blooms.
- Violet Jelly: A beautifully colored and subtly flavored jelly from wild violets.
- Peony Jelly: Capture the luxurious fragrance of peonies in this elegant spread.
- Lilac Jelly: Infused with the heady scent of spring lilacs, a true seasonal treat.
- Rose Petal Jelly: A romantic and fragrant jelly, perfect for special occasions.
Find the perfect recipe
Searching for something else? Enter keywords to find your next culinary adventure!
Savor the Season: Delightful Summer Jelly Recipes
Keep your pantry stocked with homemade goodness all year long! Beyond the delicate floral flavors of spring, summer offers a bounty of fruits perfect for transforming into vibrant and tasty jellies. Don’t miss out on these seasonal favorites:
- Strawberry Jelly: A classic summer treat, bursting with the sweet flavor of fresh strawberries.
- Plum Jelly: Rich, tart, and deeply colored, plum jelly is a fantastic preserve.
- Peach Jelly: Capture the succulent taste of ripe peaches in this sunny, sweet spread.
- Blackberry Jelly: A timeless favorite, offering a balance of sweet and slightly tart notes.
- Raspberry Jelly: Sweet and tangy, raspberry jelly is a versatile addition to any pantry.