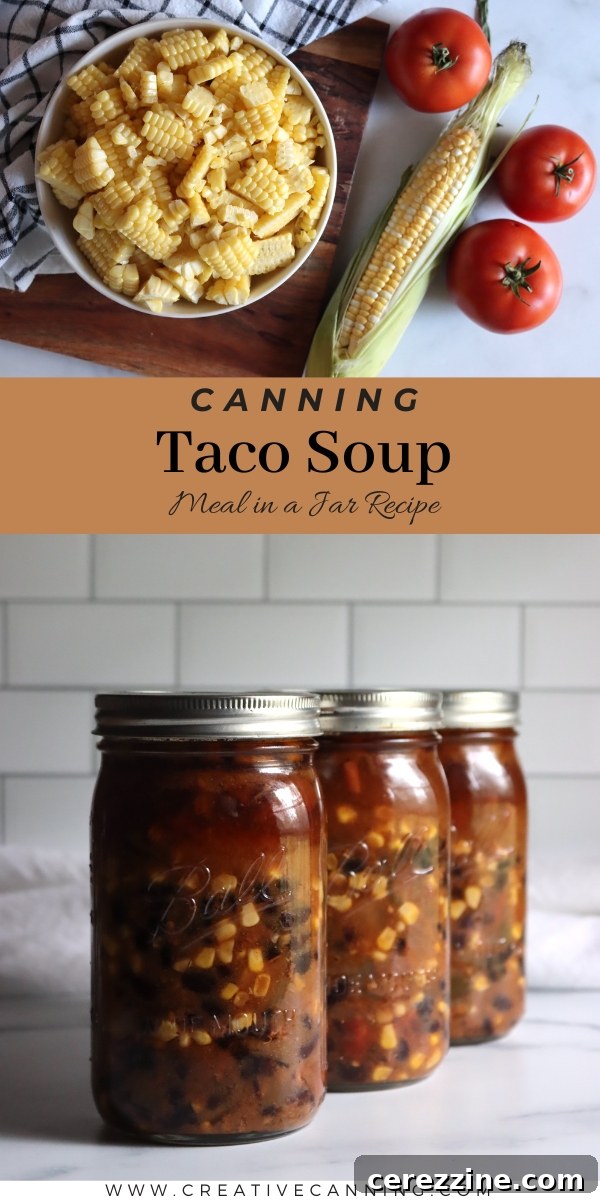
Taco soup is a delicious, satisfying, and incredibly versatile meal that’s perfect for home canning. Imagine the convenience of a hearty, flavor-packed soup ready in minutes on a busy weeknight, all from your pantry shelf. This guide will walk you through creating a savory, customizable Taco Soup recipe that’s ideal for pressure canning, ensuring you have a stash of homemade goodness whenever hunger strikes. It’s a fantastic entry point for beginners in pressure canning and a beloved staple for seasoned canners, combining budget-friendly ingredients with an explosion of South-of-the-border flavors.
Why Preserve Taco Soup? The Joy of Home Canning
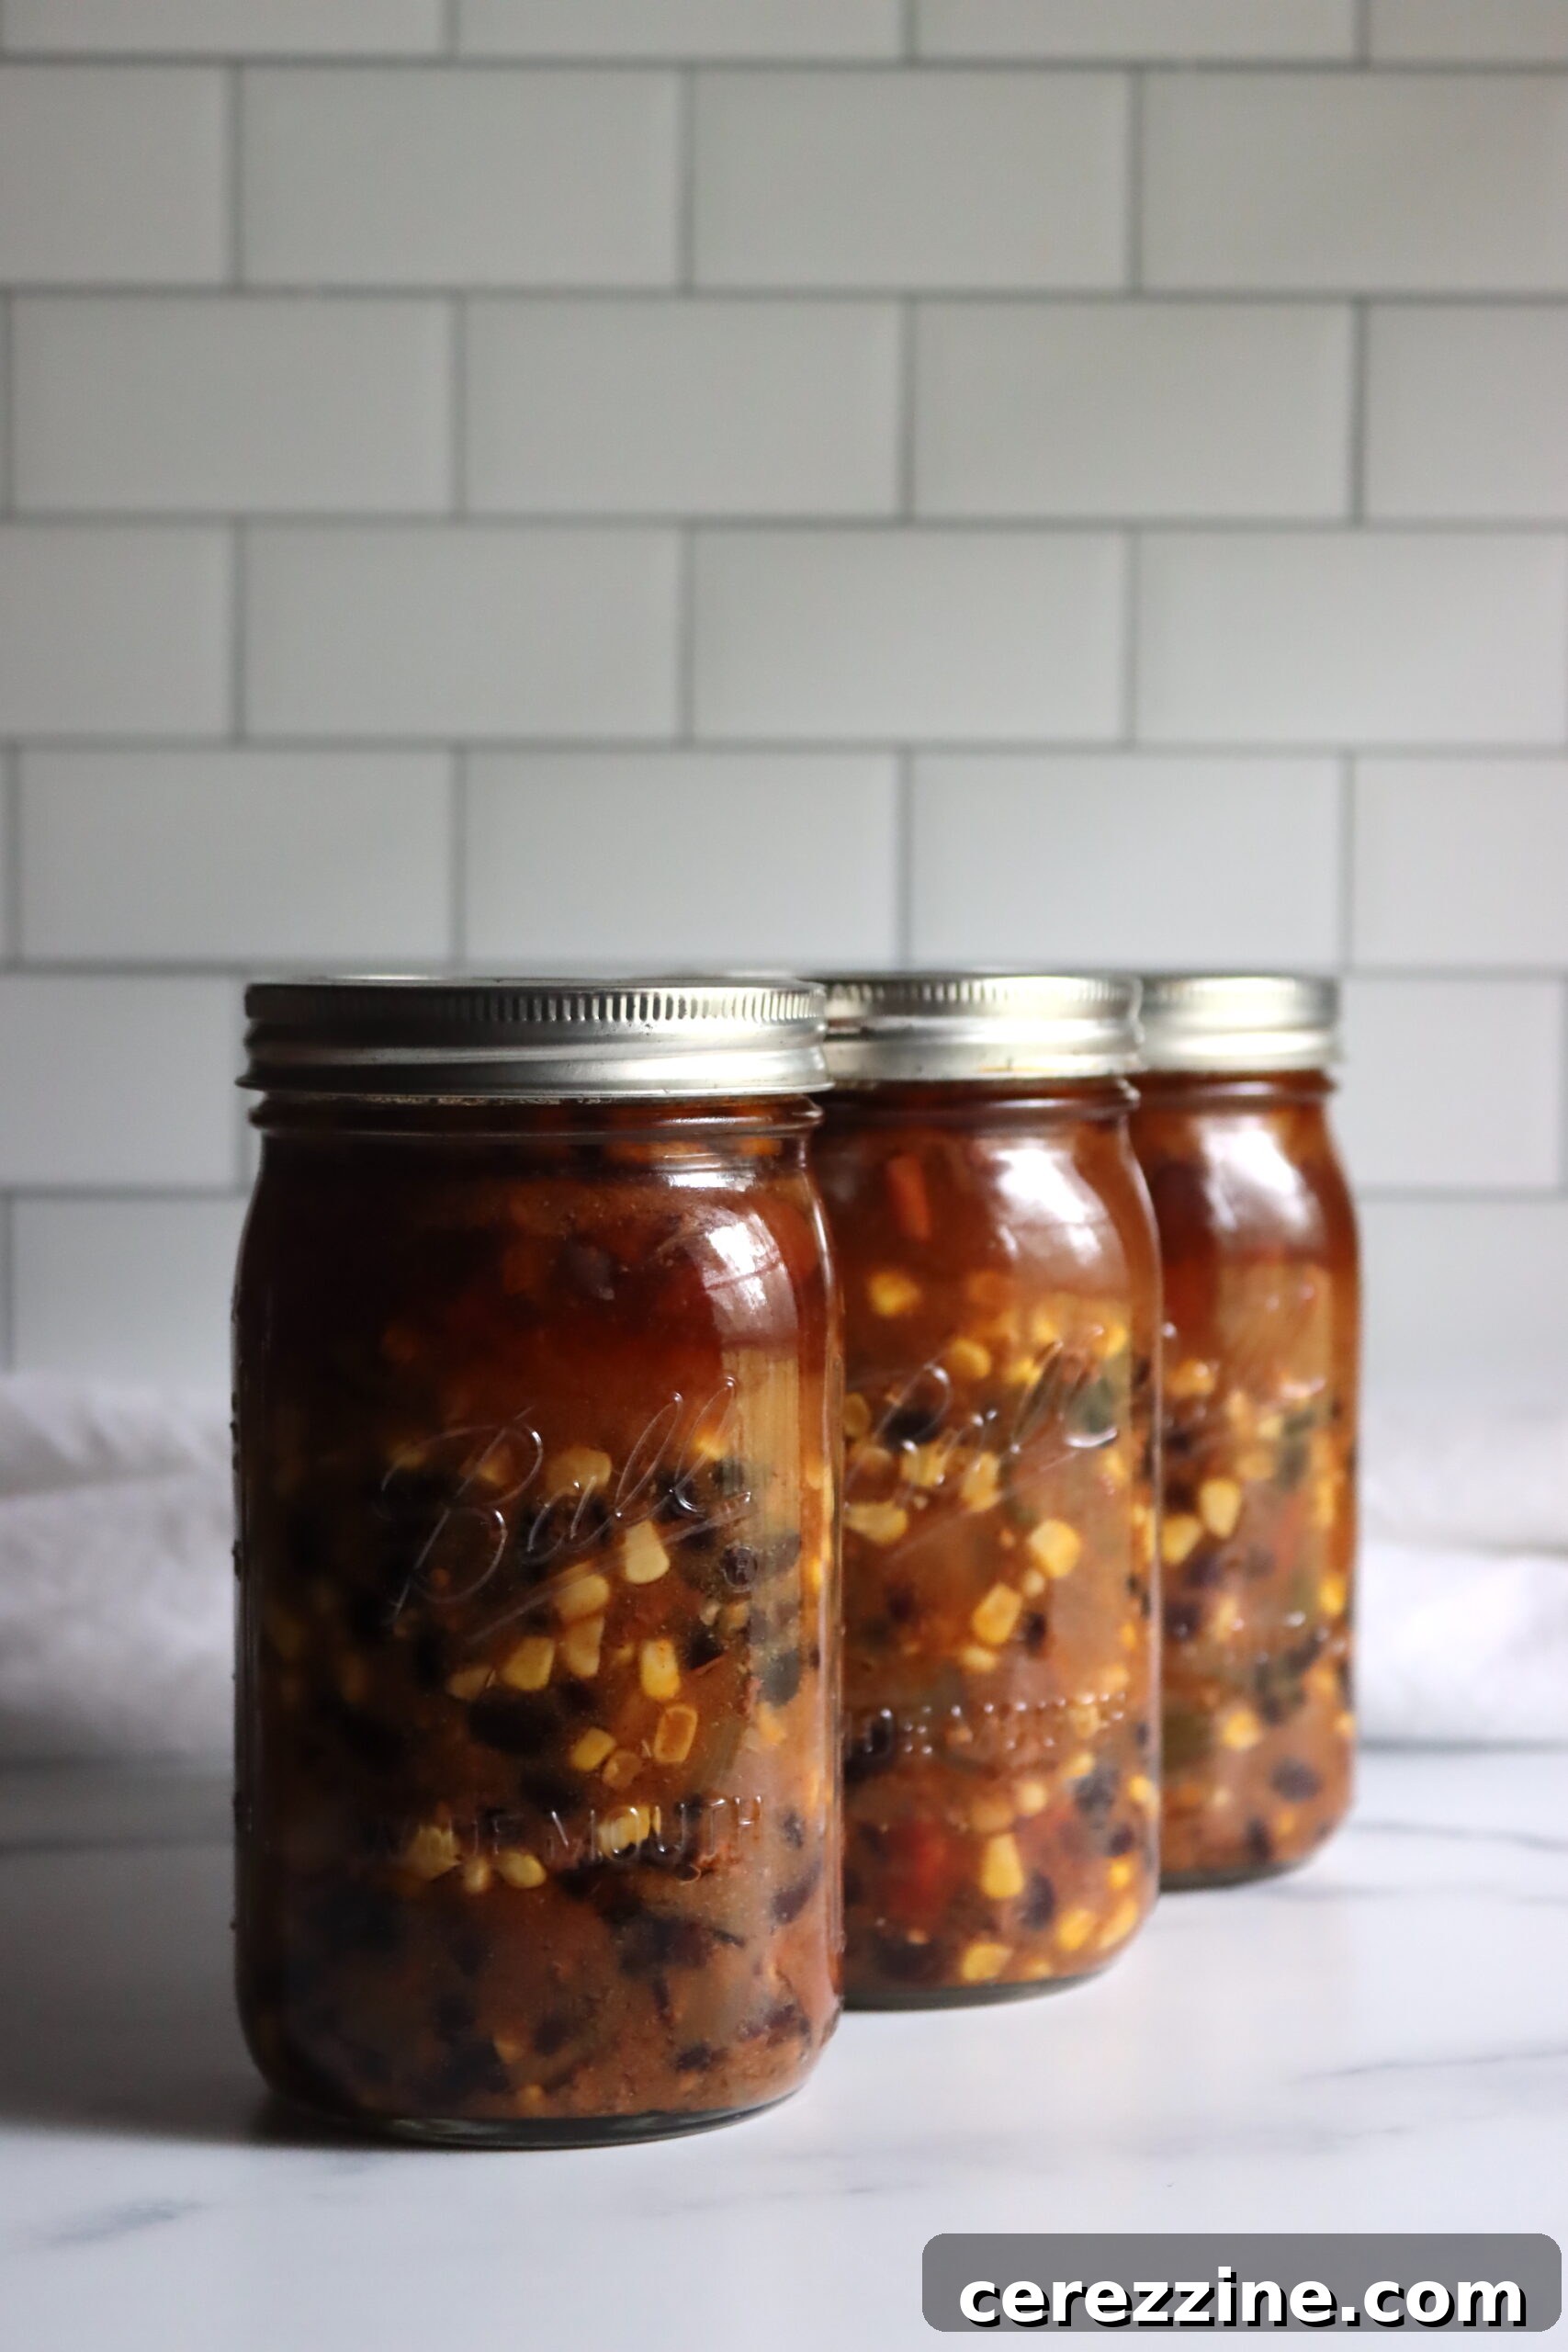
There’s a unique satisfaction that comes with opening a jar of homemade food, especially on those evenings when time is short and energy is low. Canned Taco Soup embodies this perfectly. It’s more than just a meal; it’s a convenient solution that brings the cozy, slow-simmered flavor of chili with that unmistakable “taco night” vibe right to your table. Unlike many store-bought options, your home-canned version guarantees control over ingredients, allowing you to avoid unwanted additives and adjust seasonings to your family’s taste. This recipe is a standout among ground beef canning recipes, transforming simple components into a full, nutritious meal with beans, corn, tomatoes, and a blend of spices that meld beautifully during the canning process.
The Irresistible Appeal of Homemade Canned Taco Soup

When you prepare and can your own taco soup, you’re not just making food; you’re creating a pantry staple that offers immense comfort and convenience. The rich, developed flavors are reminiscent of a meal that has simmered for hours, yet it’s ready to serve in minutes. This soup is a complete meal in itself, thanks to the hearty combination of ground beef and beans, complemented by the vibrant sweetness of corn and the tangy depth of tomatoes. It’s truly a versatile dish that easily adapts to your culinary whims. A sprinkle of shredded cheese, a dollop of cool sour cream, or a handful of crunchy tortilla chips can transform it into an even more indulgent experience, making it feel like a gourmet meal with minimal effort.
Beyond its delicious taste and ease of preparation, canning taco soup is an empowering act of food preservation. It connects you to your food in a deeper way, providing food security and reducing reliance on processed foods. For those new to pressure canning, this recipe offers a forgiving and rewarding experience, building confidence in a crucial skill. It’s the kind of soup that makes you feel resourceful and prepared, knowing you have wholesome, homemade meals stored away for any occasion.
Taco Soup Canning: Recipe Details at a Glance
Your Quick Overview to Canned Taco Soup
- Recipe Name: Canning Taco Soup
- Recipe Type: Soup Canning Recipe, Ground Beef Canning Recipe
- Canning Method: Pressure Canning (Required for safe canning of low-acid ingredients)
- Preparation & Cook Time: Approximately 30 minutes, plus essential bean soaking time.
- Pressure Canning Time: 60 Minutes for Pint Jars, 75 Minutes for Quart Jars.
- Yield: This recipe typically produces 7 quart jars or 14 pint jars.
- Recommended Jar Sizes: Pint or Quart jars are suitable.
- Headspace: A crucial 1 inch headspace is required for proper sealing and safe processing.
- Main Ingredients: Ground beef, dried beans (red, black, or pinto), tomatoes, onions, corn, garlic, broth/water, and a blend of classic taco spices.
- Safe Canning Recipe Source: Adheres to the NCHFP Brothy Soup Canning Guidelines, ensuring safety and quality.
- Difficulty Level: Moderate. The primary challenge lies in ensuring proper bean rehydration and maintaining the correct solids-to-broth ratio in jars.
- Similar Recipes: The process for this taco soup is similar to other hearty, brothy bean soups, including White Bean and Kale Soup, Butternut Squash and White Bean Soup, Chipotle Black Bean Soup, and Cuban Black Bean Soup.
Essential Ingredients for Your Home Canned Taco Soup
This exceptional recipe for canning taco soup draws inspiration from Pressure Canning for Beginners and Beyond by Angi Schneider, a highly recommended resource for its precise and flavorful canning guidance. The spice blend in particular is a standout, transforming simple ingredients into a complex and comforting soup.
To prepare a full canner batch, yielding approximately 14 pints or 7 quarts of this savory soup, gather the following high-quality ingredients:
- 2 lbs ground beef, thoroughly browned and drained of excess fat
- 1 lb (approximately 2 1/2 cups) dried beans (choose red, black, or pinto), carefully presoaked (instructions below)
- 12 cups water or rich beef/vegetable broth, depending on desired depth of flavor
- 4 lbs fresh tomatoes, peeled and roughly chopped (equivalent to about 10-12 medium tomatoes)
- 4 cups onion, finely diced (from about 1 ½ lbs of whole onions)
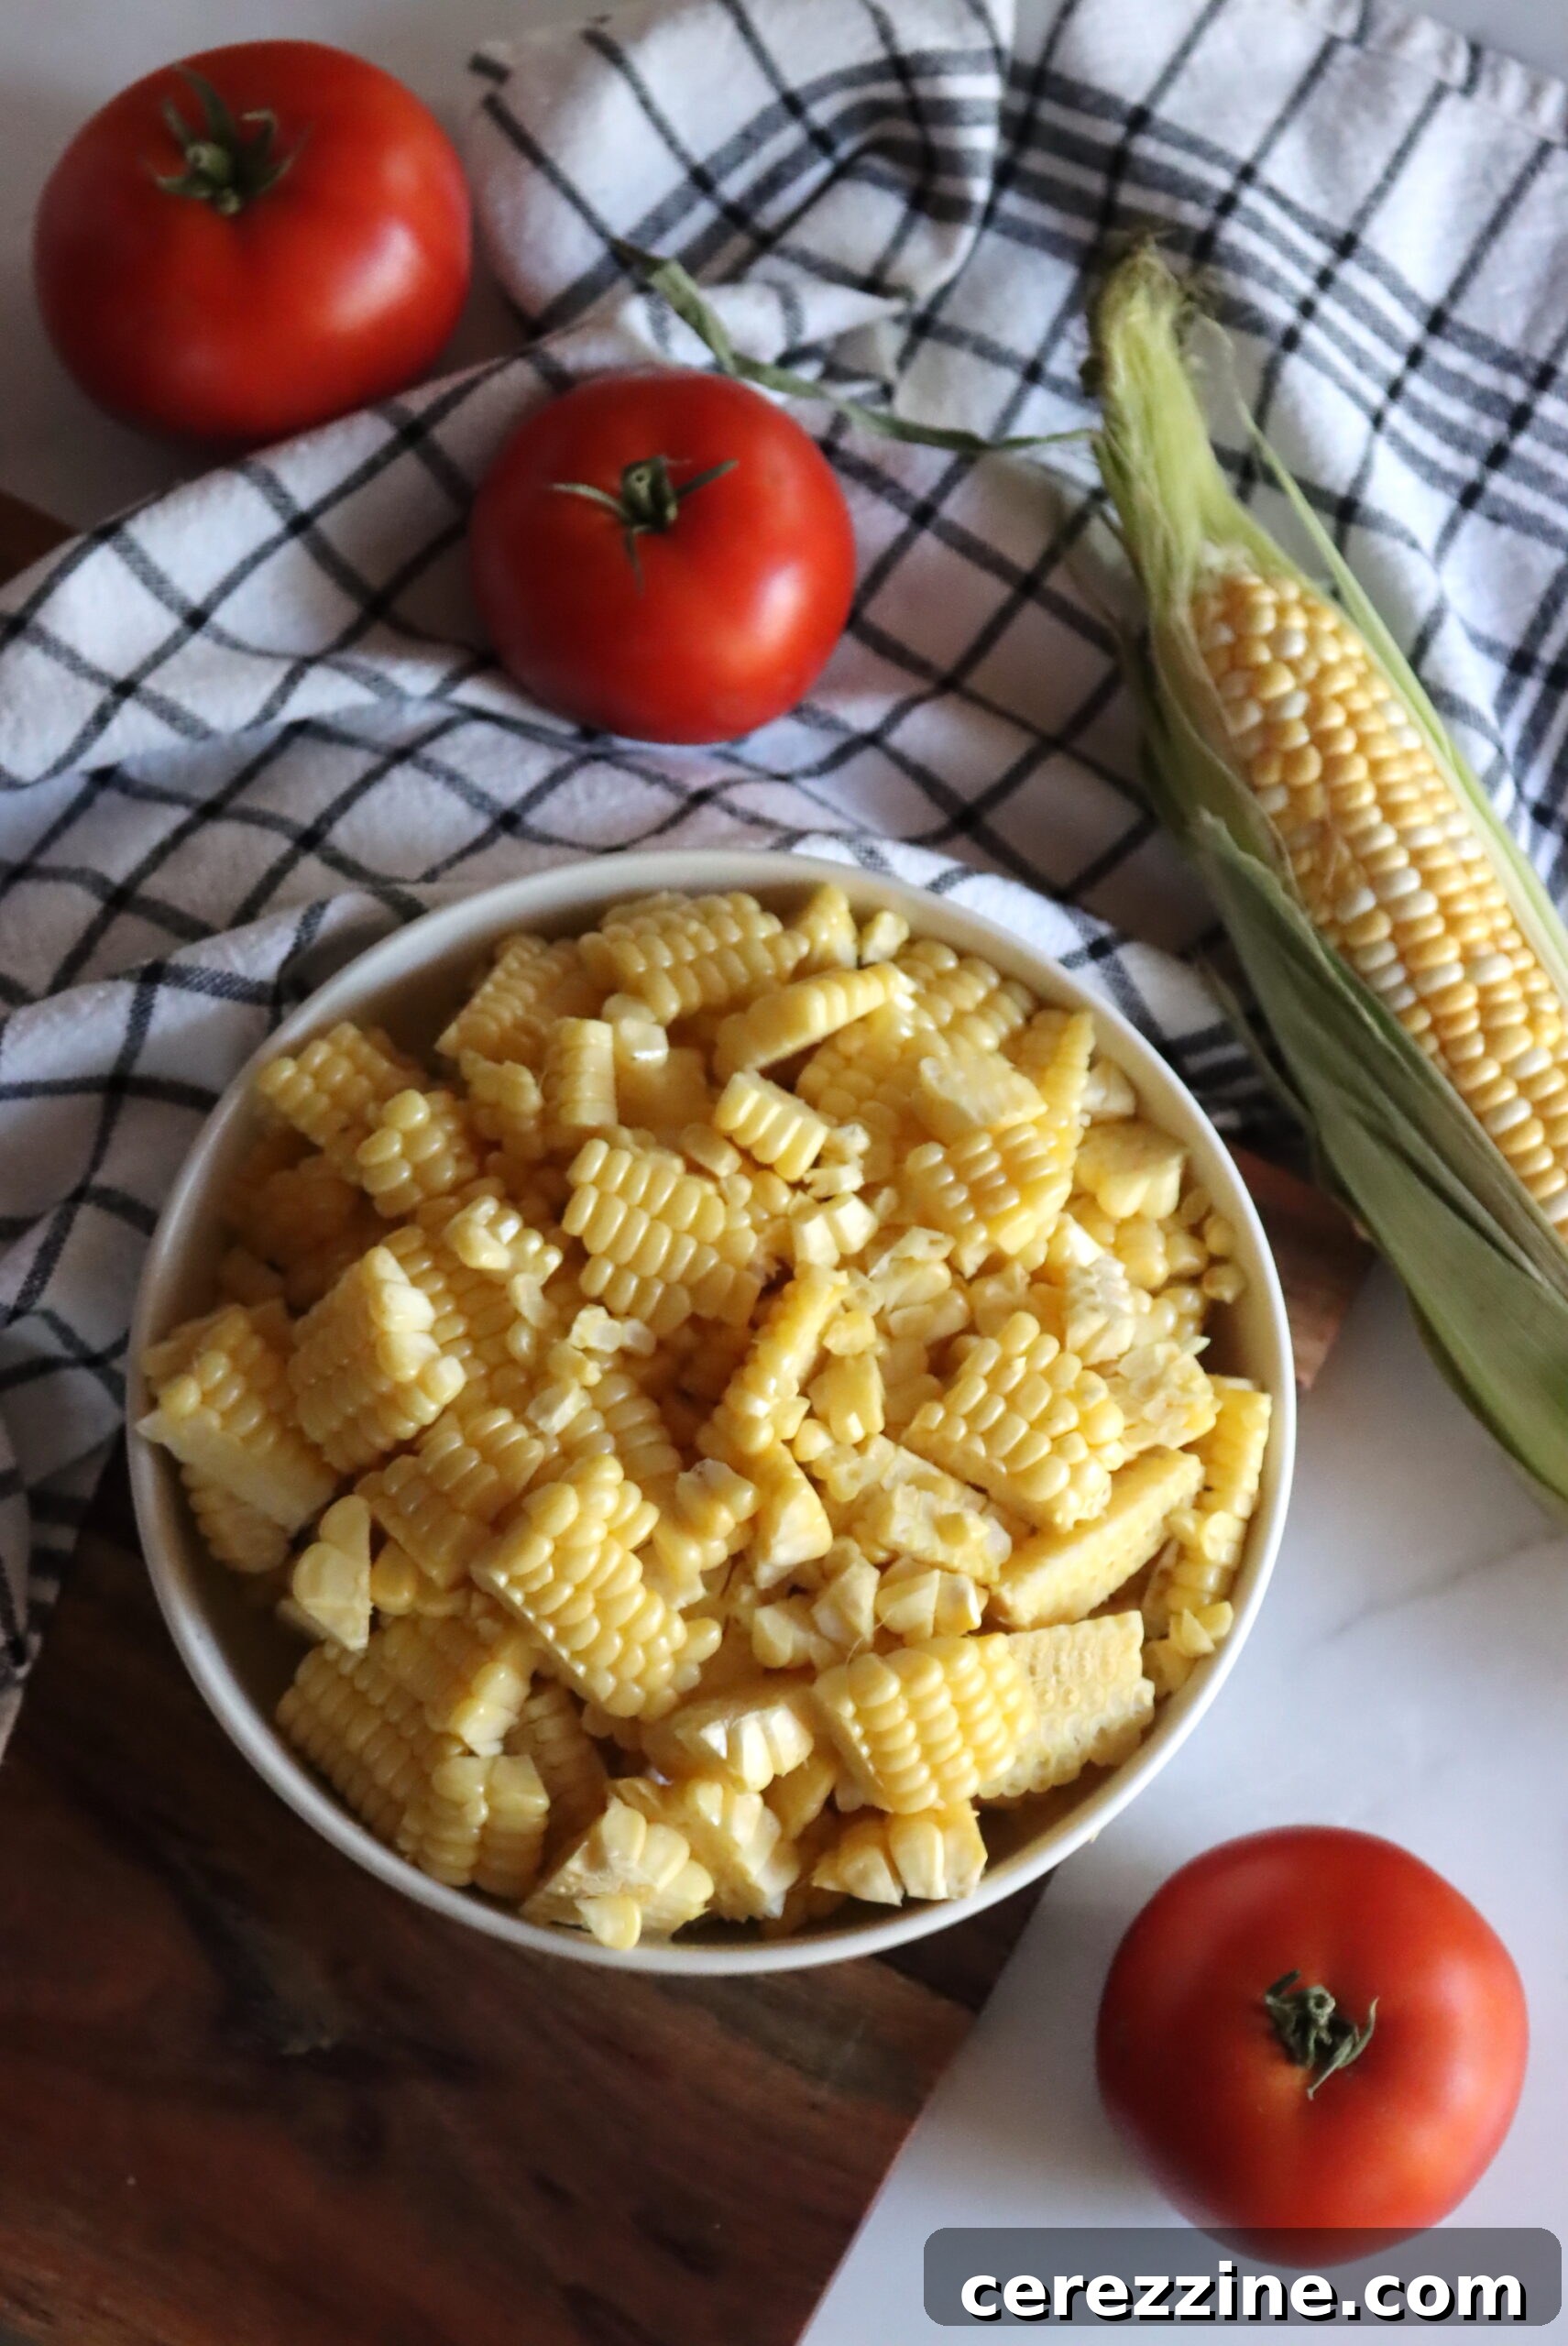
- 4 cups sweet corn, fresh off the cob or good quality frozen kernels
- 10 cloves fresh garlic, minced for maximum aromatic impact
- 2 tbsp canning salt (essential for preservation, avoid iodized table salt)
- 2 tbsp chili powder, for that authentic taco flavor
- 1 tbsp black pepper, freshly ground for best results
For Serving (optional, but highly recommended for an elevated experience):
- Shredded cheddar, Monterey Jack, or a Mexican blend cheese
- Cool and creamy sour cream or Greek yogurt
- Freshly diced chives or cilantro
- Crunchy tortilla chips or strips
- Your favorite homemade salsa; southwest corn salsa or salsa ranchera pair exceptionally well.
- Tangy lime pickled onions for a bright, zesty kick.
Important Note on Beans: The dried beans are a cornerstone of this recipe and absolutely require proper rehydration before you begin the canning process. Whether you choose the overnight or quick-soak method, this step is non-negotiable for safety and optimal texture. Detailed instructions for soaking are provided below.
Mastering Bean Preparation for Safe Canning
The rehydration of dried beans is a critical step in preparing them for pressure canning. This ensures they cook evenly in the jars and, most importantly, safely. Without adequate rehydration, beans can swell excessively during processing, leading to an unsafe fill level and compromised preservation. You have two reliable methods for pre-soaking your beans:
Overnight Soak Method
This is the most traditional method and requires minimal active time. Place your dried beans in a large pot or bowl and cover them generously with several inches of fresh water. Allow them to soak at room temperature for 8 to 12 hours, or simply overnight. After soaking, drain the water and rinse the beans thoroughly under cold running water before proceeding to the next step of the recipe.
Quick Soak Method
If you’re short on time, the quick soak method offers a faster alternative. Combine the dried beans with plenty of water in a large pot. Bring the water to a rolling boil and let the beans boil vigorously for exactly 2 minutes. After 2 minutes, remove the pot from the heat, cover it tightly, and let the beans soak undisturbed for 1 hour. Once soaking is complete, drain the water and rinse the beans well before moving on.
Crucial Recipe Tip: Brothy Soup Guidelines
This Taco Soup recipe adheres strictly to the National Center for Home Food Preservation (NCHFP) guidelines for “brothy soups.” This specific guidance is vital for ensuring safe heat penetration during the pressure canning process. When you are packing your prepared soup into jars, it is imperative that each jar is only half-filled with solid ingredients. The remaining space must be filled with broth or liquid.
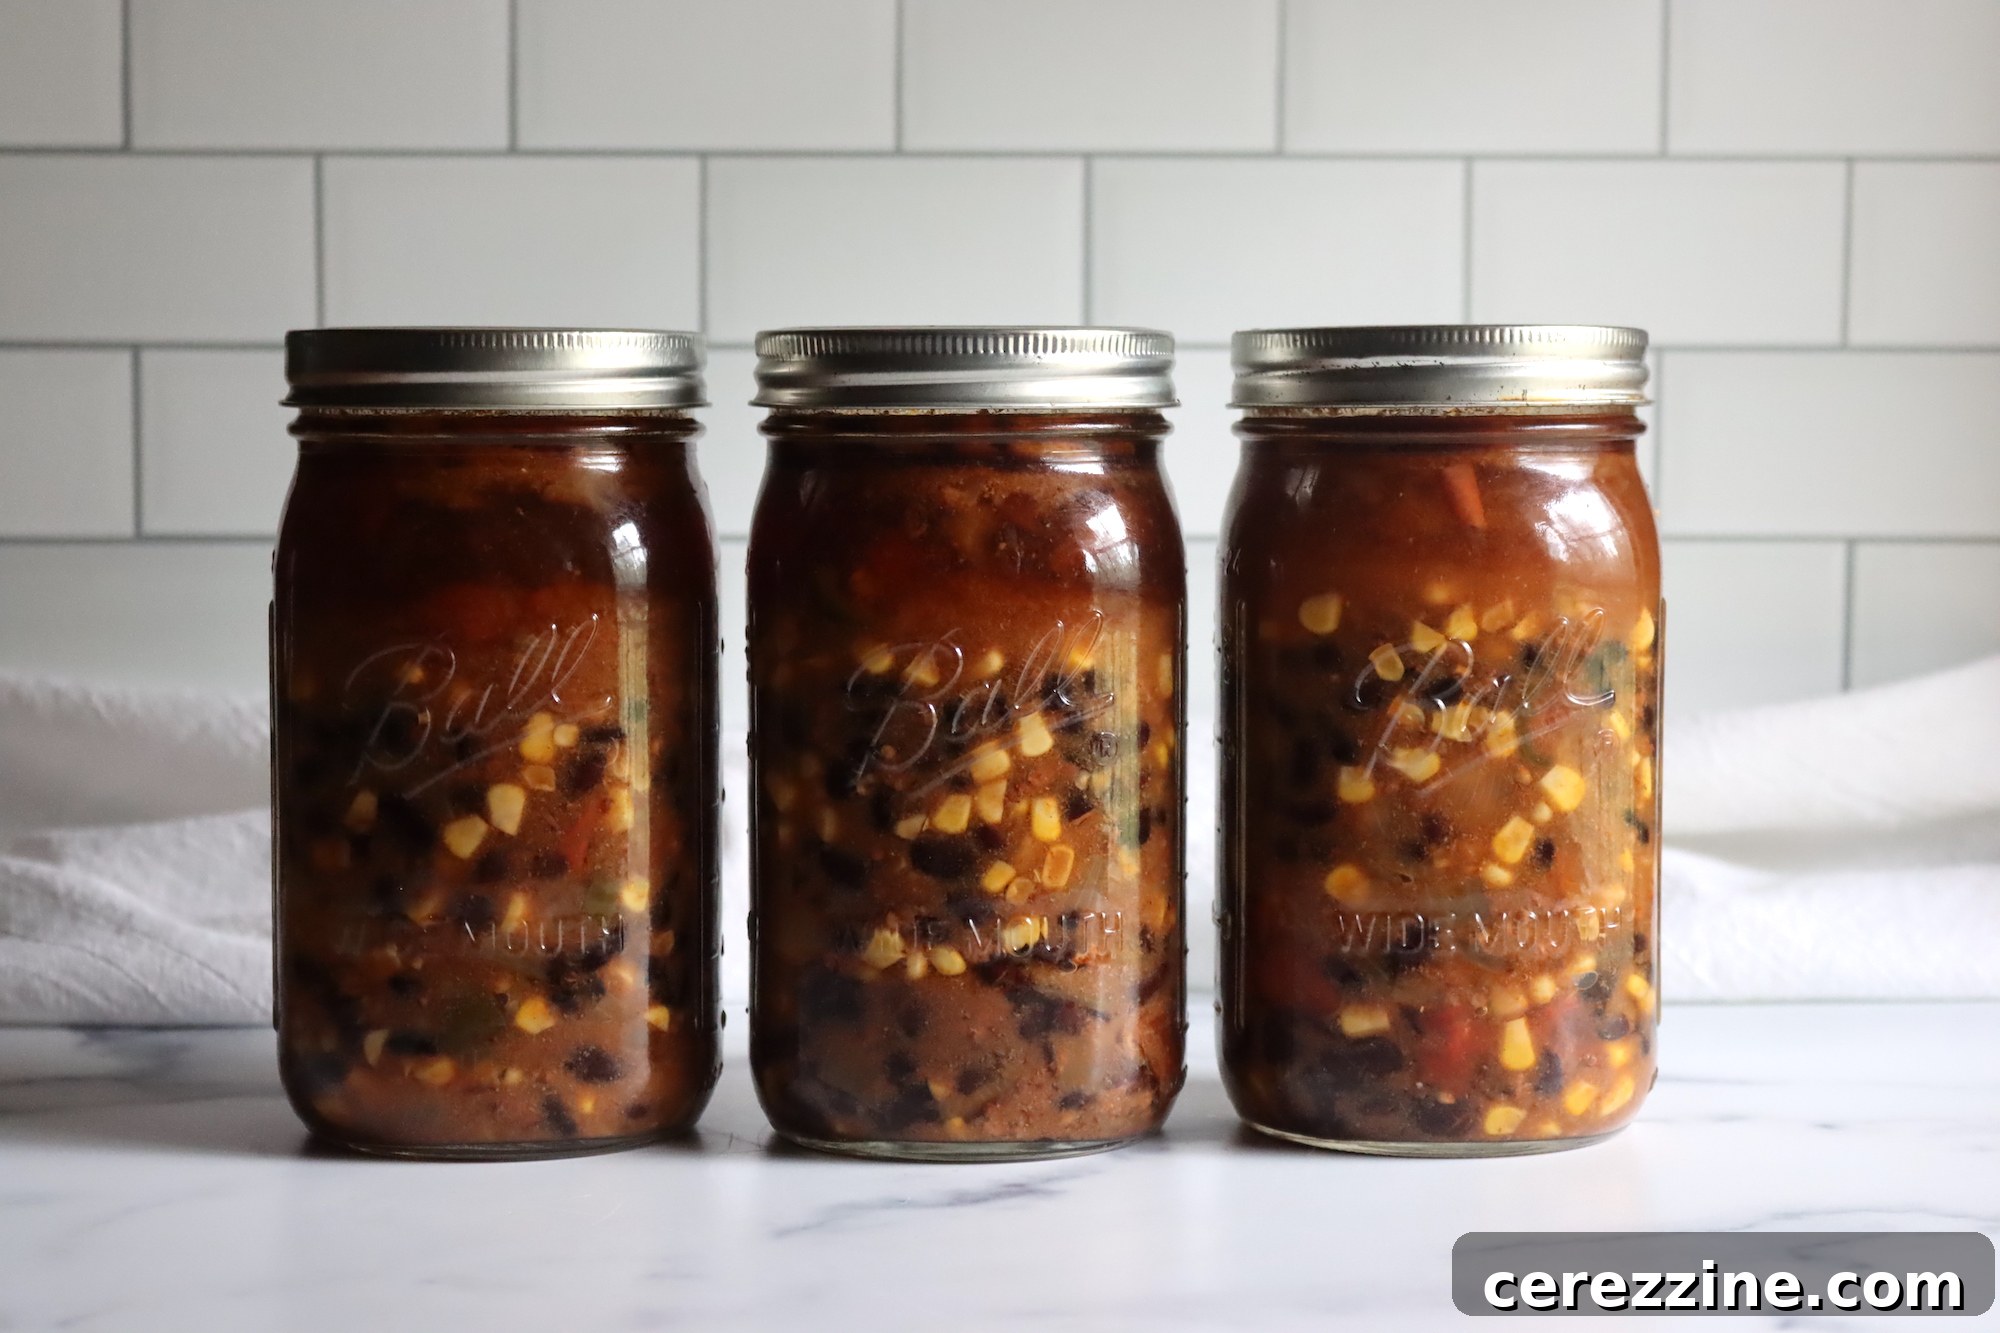
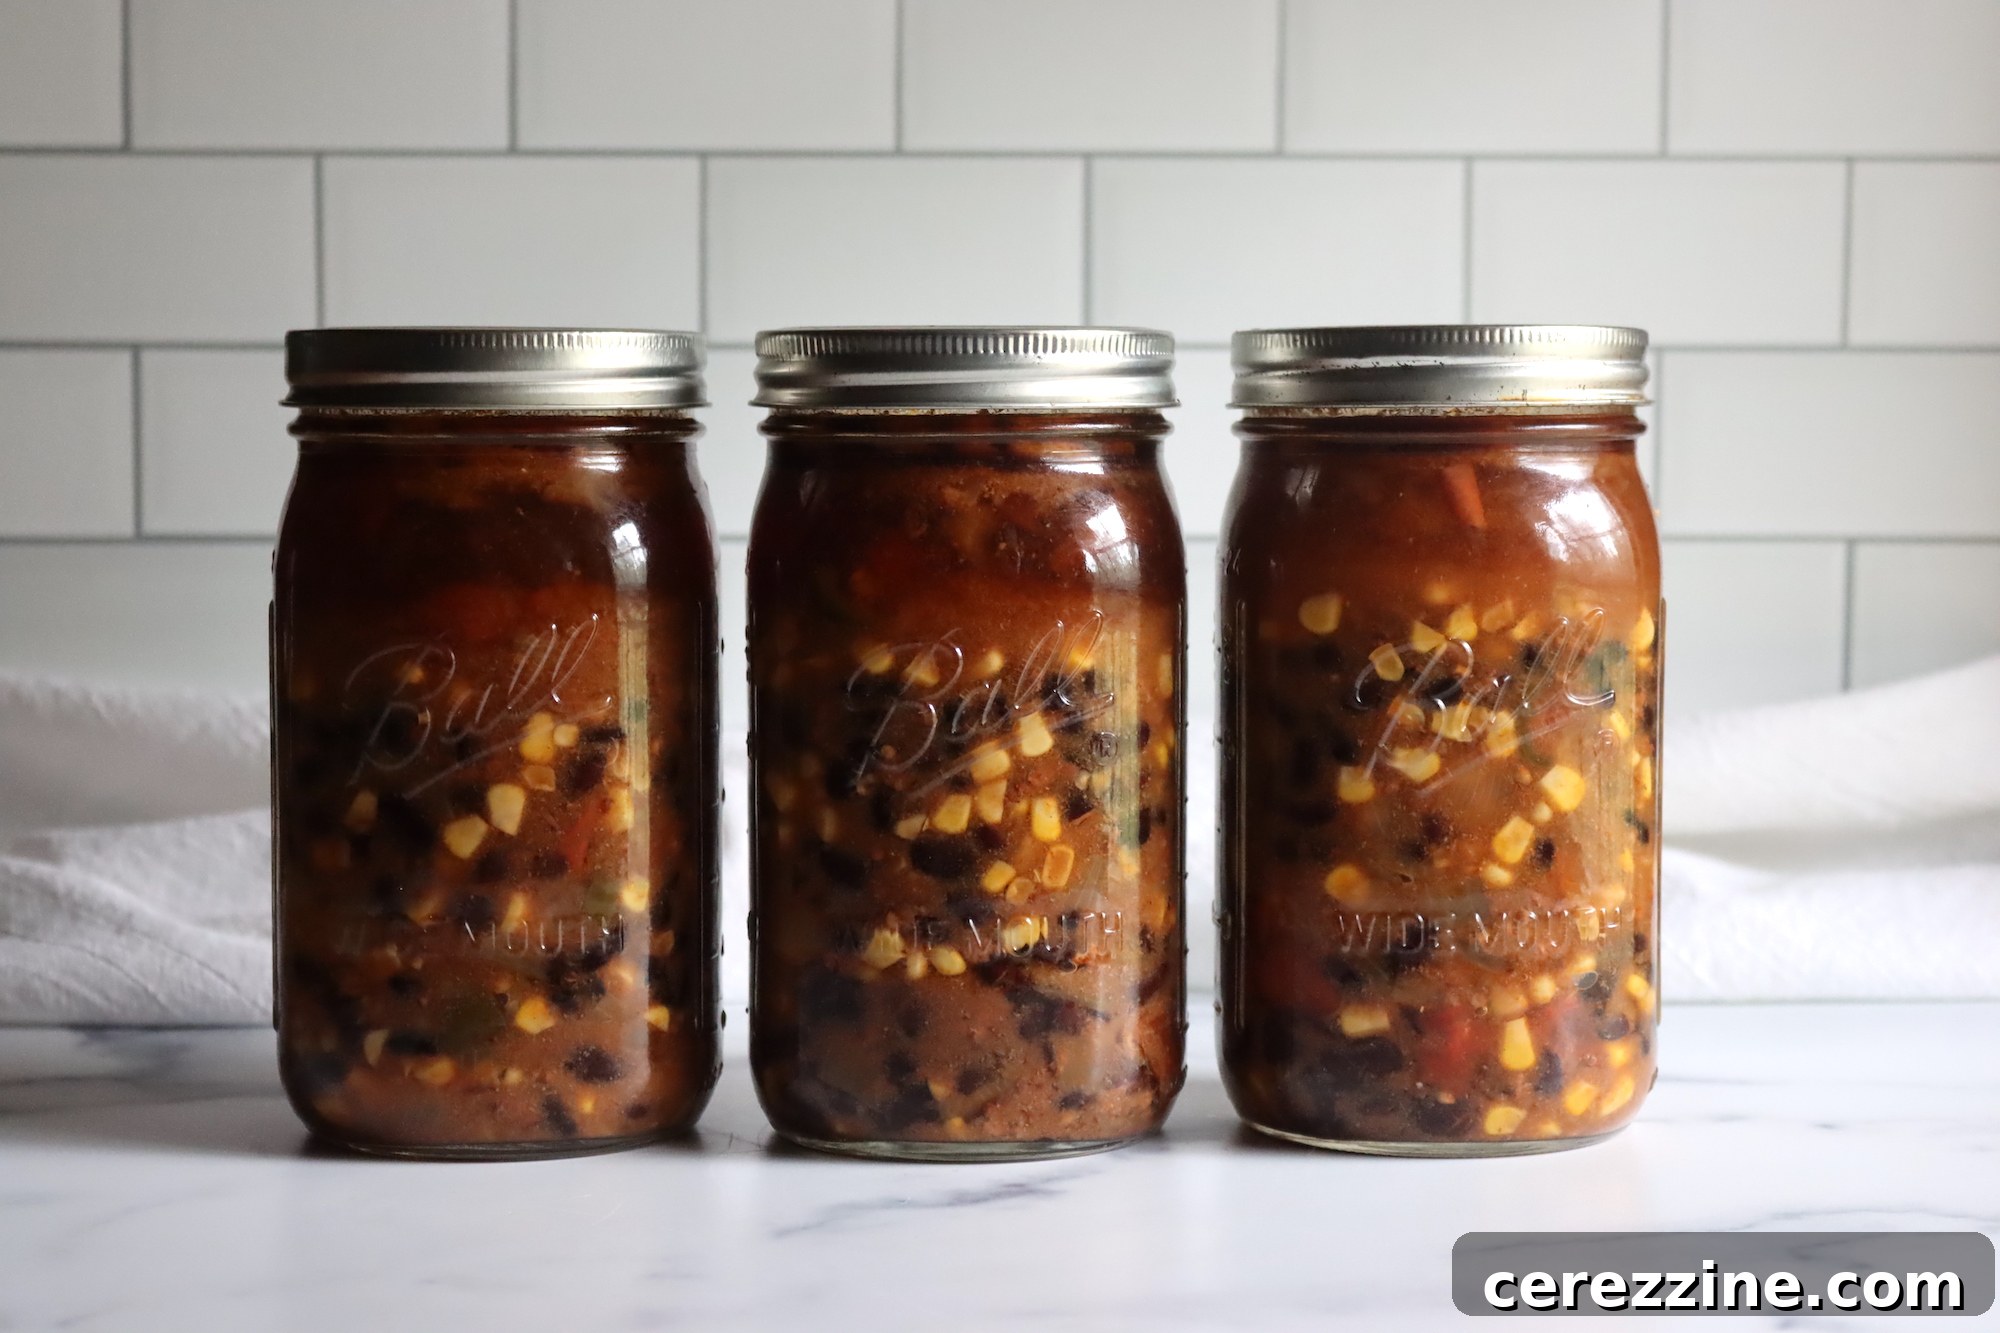
This half-solid rule might seem counterintuitive, but it’s designed to prevent dense packing, which can hinder proper heat distribution throughout the jar, potentially leading to unsafe food. Both the beans and corn will naturally expand further during the pressure canning cycle. Consequently, when your jars have cooled and are ready for storage, they will appear to be about two-thirds full of hearty soup. Rest assured, upon reheating, some of the liquid will evaporate, leaving you with a wonderfully thick and hearty soup, even with the initial half-filled solids!
The Art of Pressure Canning Taco Soup: Step-by-Step Guide
Canning taco soup safely requires attention to detail, especially when it comes to temperature, headspace, and pressure. Follow these steps meticulously to ensure a successful and delicious batch of home-canned soup:
1. Prepare Your Canning Equipment
Begin by preparing your pressure canner according to the manufacturer’s instructions. Add the recommended amount of water, typically a few inches (approximately 8 cm), to the canner. Place clean pint or quart jars inside the canner to keep them warm. Maintain the water temperature at about 180 degrees Fahrenheit (82 Celsius) – this is crucial for hot-pack canning, preventing thermal shock when filling the jars. Ensure your lids and bands are ready, following their specific preparation instructions.
2. Cook the Beef and Pre-Boil Beans
In a large skillet, brown your ground beef thoroughly. Once cooked, drain off any excess fat and set the beef aside. Next, drain the water from your presoaked beans. Transfer the beans to a large stockpot, cover them with fresh water, and bring to a boil. Cook the beans for 5 minutes, then remove from heat and drain again. This essential 5-minute boil, regardless of your initial soaking method, helps to fully rehydrate the beans and prepares them for even cooking in the canner.
3. Assemble and Simmer the Soup Base
Return the twice-drained beans to the large stockpot. Add 12 cups of fresh water or broth. Incorporate the chopped tomatoes, minced garlic, all the specified spices (canning salt, chili powder, black pepper), corn, diced onions, and the browned ground beef. Bring this entire mixture to a vigorous boil over high heat, then reduce the heat to a gentle boil. Allow the soup to simmer for another five minutes. At this stage, the ingredients will not be fully cooked; this is perfectly normal. The goal is to heat everything through evenly before it enters the jars for the hot-pack method.
4. Pack the Jars Correctly
Carefully remove the stockpot from the heat. Using a slotted spoon, begin scooping the solid ingredients of the soup into your warm, prepared canning jars. It is absolutely critical to evenly distribute the solids, making sure that no jar is filled more than halfway with solids. This adherence to the NCHFP “brothy soup” guideline ensures safe heat penetration during processing. Once the solids are distributed, ladle the hot liquid (broth) from the pot over the solids, filling each jar to leave precisely 1 inch of headspace (the space between the top of the food/liquid and the rim of the jar).
5. Prepare Jars for Processing
Using a bubble removal tool (or a thin, non-metallic utensil), gently remove any trapped air bubbles from the jars. Recheck the headspace and adjust if necessary; you can add a little more boiling water or broth if liquid is short, or remove a small amount of liquid if there’s too much. Wipe the rims of each jar meticulously with a clean, damp cloth to remove any food residue that could prevent a proper seal. Place the prepared lids and screw bands onto the jars, tightening the bands to fingertip tight.
6. Pressure Process the Soup
Load the filled, lidded jars into your pressure canner, ensuring they are not touching each other. Secure the canner lid. Bring the canner to a boil and allow it to vent a steady stream of steam for a full 10 minutes. This venting process is essential to remove all air from the canner, ensuring that the internal temperature can reach the required level. After venting, place the weighted gauge or close the petcock. Bring the canner up to the appropriate pressure for your altitude (refer to the altitude adjustments below). Process pint jars for 60 minutes and quart jars for 75 minutes.
7. Cooling and Storage
Once the processing time is complete, turn off the heat and allow the pressure canner to depressurize naturally. Do not attempt to force release the pressure, as this can lead to siphoning and seal failures. Once the pressure gauge reads zero, carefully open the canner lid away from your face. Remove the hot jars using a jar lifter and place them on a clean towel or cooling rack, ensuring they are not touching. Allow the jars to cool undisturbed for 12 to 24 hours. After cooling, check all seals. Any unsealed jars must be reprocessed or refrigerated and consumed within a few days. Label your sealed jars with the contents and date, and store them in a cool, dark place for up to one year.
Critical Altitude Adjustments for Safe Pressure Canning
Adjusting canning pressure for your specific altitude is non-negotiable for safe food preservation, especially for meat and vegetable mixtures like taco soup. Water boils at lower temperatures at higher altitudes, meaning a higher pressure is needed to reach the required sterilizing temperature. Always consult your local extension office for precise guidance if unsure, but the general adjustments are as follows:
For Dial Gauge Pressure Canners:
- 0 to 2,000 feet in elevation: Process at 11 lbs pressure
- 2,001 to 4,000 feet in elevation: Process at 12 lbs pressure
- 4,001 to 6,000 feet in elevation: Process at 13 lbs pressure
- 6,001 to 8,000 feet in elevation: Process at 14 lbs pressure
For Weighted Gauge Pressure Canners:
- 0 to 1,000 feet in elevation: Process at 10 lbs pressure
- Above 1,000 feet in elevation: Process at 15 lbs pressure
Creative Ways to Serve Your Delicious Home-Canned Taco Soup
The beauty of home-canned taco soup lies in its incredible versatility. When you’re ready for a meal, simply empty a jar of soup into a stockpot and heat gently for about 10 minutes, or until it reaches a bubbling, comforting warmth. But don’t stop there – this soup is a canvas for culinary creativity!
- Classic Toppings: Garnish with a generous dollop of sour cream or plain Greek yogurt, a sprinkle of freshly diced chives or cilantro, and a handful of your favorite shredded cheese (cheddar, Monterey Jack, or a Mexican blend are excellent choices).
- Crunch Factor: Serve alongside or crumbled with crispy cornbread, crunchy tortilla chips, or homemade tortilla strips for added texture.
- Hearty Meals: For a more substantial dinner, spoon the hot soup over a bed of fluffy rice or quinoa.
- Taco Night Reimagined: Get creative and use your canned taco soup as a flavorful filling for soft tacos, burritos, or even quesadillas. The robust flavors and tender ingredients make it an ideal base.
- Soup Combinations: Elevate your meal by mixing two jars of home-canned soup together. Taco soup combines exceptionally well with a jar of home-canned southwest tomato soup, roasted poblano corn chowder, or southwest vegetable soup for exciting new flavor profiles.
Elevate Your Canning Skills: More Taco Night Inspired Recipes
Canning Chipotle Beef Taco Meat (Beef Barbacoa)
Canning Chicken Taco Meat
Canning Taco Meat
If you tried this Taco Soup Canning Recipe, or any other recipe on Creative Canning, we’d love to hear from you! Leave a ⭐ star rating and share your thoughts in the 📝 comments below!
Stay connected with our latest canning adventures by following us on social media!
- Substack
Canning Taco Soup Recipe
Rate This Recipe
Print Recipe
Equipment
-
Pressure Canner
-
Large Stockpot
-
Canning Jars (Pint or Quart), Lids, and Bands
-
Jar Lifter
-
Bubble Removal Tool
-
Slotted Spoon and Ladle
Ingredients
- 2 lbs ground beef, lightly browned and drained
- 1 lb dry beans, weighed as purchased, then pre-soaked (2 1/2 cups dried red, black, or pinto beans)
- 12 cups broth, beef or vegetable stock or water
- 4 lbs Tomatoes, peeled and chopped (about 10-12 medium)
- 4 cups onion, diced (from about 1 ½ lbs whole onions)
- 4 cups corn, fresh or frozen
- 10 cloves garlic, minced
- 2 tbsp salt, canning or kosher salt (do not use iodized table salt)
- 2 tbsp chili powder
- 1 tbsp ground black pepper
Instructions
-
Pre-Soak Beans: Rehydrate your dried beans using either the overnight soak method (8 hours or overnight) or the quick soak method (boil for 2 minutes, then soak for 1 hour off heat). After soaking, drain and rinse the beans thoroughly before proceeding.
-
Prepare Canner & Jars: Set up your pressure canner with the recommended amount of water (about 8 cm). Place clean pint or quart jars inside to keep them warm at approximately 180°F (82°C). Prepare lids and bands.
-
Brown Beef: Brown the ground beef in a large skillet. Drain any excess fat and set aside.
-
Pre-Boil Beans (Again): Place the drained, rehydrated beans in a pot with fresh water and bring to a boil. Cook for 5 minutes, then drain again. This step is crucial for both soaking methods.
-
Combine & Simmer Soup: Return the beans to the pot. Add 12 cups of water or broth, along with the chopped tomatoes, minced garlic, canning salt, chili powder, black pepper, corn, diced onions, and browned ground beef. Bring to a high boil, then reduce heat and gently boil for another 5 minutes to heat all ingredients through.
-
Pack Jars with Solids: Remove the soup pot from heat. Using a slotted spoon, distribute the solid ingredients evenly among the warm jars, ensuring each jar is filled no more than halfway with solids. This is vital for safe processing.
-
Add Liquid & Headspace: Ladle the remaining hot broth into the jars, leaving a precise 1-inch headspace.
-
Remove Air Bubbles: Use a bubble removal tool to remove trapped air. Recheck and adjust headspace if needed (top off with boiling water or broth).
-
Clean Rims & Seal Jars: Wipe jar rims clean with a damp cloth. Place lids and screw bands fingertip tight onto the jars.
-
Vent Pressure Canner: Load jars into the canner. Secure the lid and bring to a boil, allowing steam to vent steadily for 10 minutes.
-
Process Jars: Close the vent and bring the canner to the required pressure. Process pint jars for 60 minutes or quart jars for 75 minutes, adjusting pressure for your altitude (see Notes below).
-
Cool & Store: Once processing is complete, turn off heat and allow canner to depressurize naturally. Remove jars and cool on a towel for 12-24 hours. Check seals, then label and store in a cool, dark place for up to one year.
Notes
During pressure canning, both beans and corn will expand. So, while jars start with half solids, they will appear about 2/3rds full when stored. Upon reheating, some broth will evaporate, leaving you with a hearty, delicious soup.
Detailed Bean Soaking Instructions
Before canning, beans must be properly rehydrated for even cooking and safety. Choose one of these methods:
Overnight Soak: Place dried beans in a large pot, cover with several inches of water, and soak for 8 hours or overnight. Drain and rinse before use.
Quick Soak: Bring beans and water to a boil, boil for 2 minutes. Turn off heat, cover, and let soak for 1 hour. Drain and rinse before canning.
Altitude Adjustments for Canning Taco Soup
Altitude adjustments are essential for all pressure canning recipes, including this taco soup, to ensure safety.
For Dial Gauge Pressure Canners:
- 0 to 2,000 feet in elevation – 11 lbs pressure
- 2,001 to 4,000 feet in elevation – 12 lbs pressure
- 4,001 to 6,000 feet in elevation – 13 lbs pressure
- 6,001 to 8,000 feet in elevation – 14 lbs pressure
For Weighted Gauge Pressure Canners:
- 0 to 1,000 feet in elevation – 10 lbs pressure
- Above 1,000 feet – 15 lbs pressure
Nutrition Information (Approximate Per Serving)
Nutrition information is automatically calculated, so should only be used as an approximation.
More Hearty Beef Canning Recipes to Explore
Canning Hamburger (Ground Beef)
Canning Beef Pot Pie Filling
Canning Beef Burgundy (Julia Child’s Recipe)
Find Your Next Canning Inspiration
Searching for a different recipe or canning guide? Use our search bar to find the perfect addition to your pantry!