
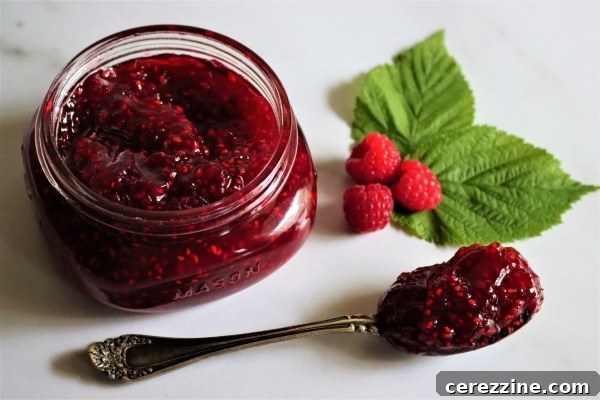
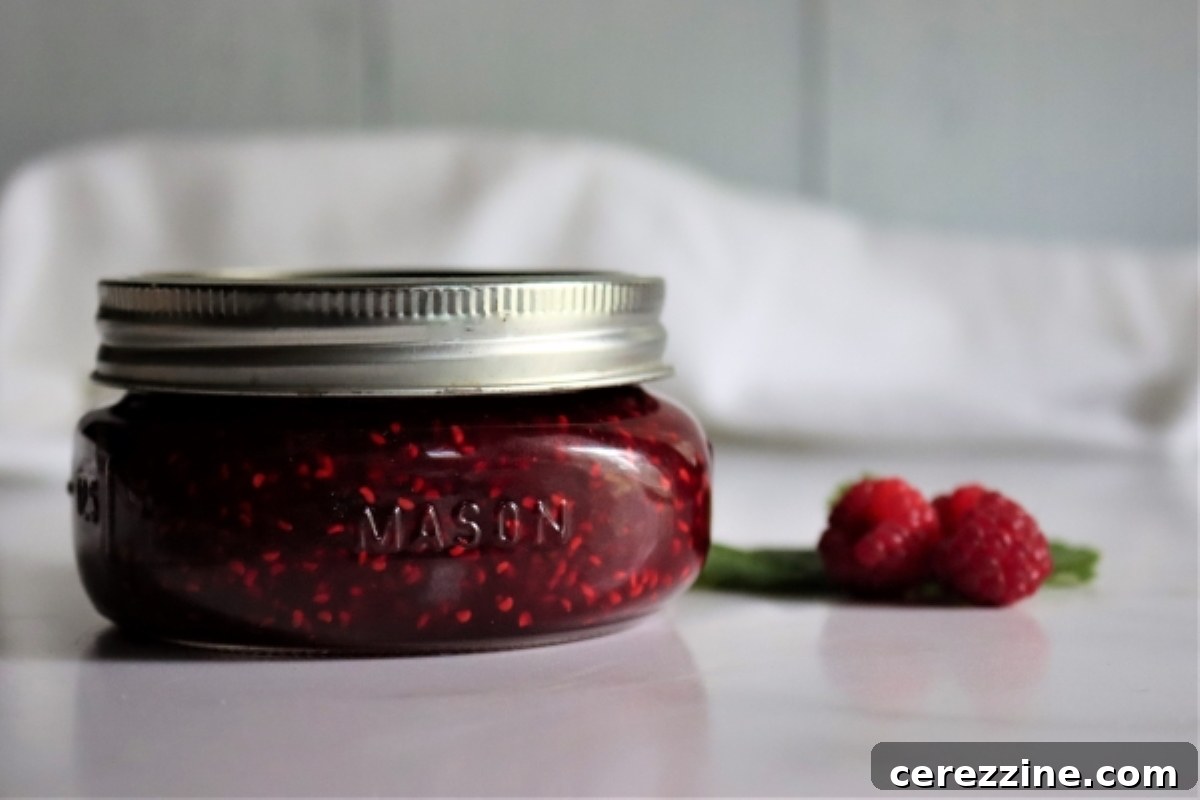
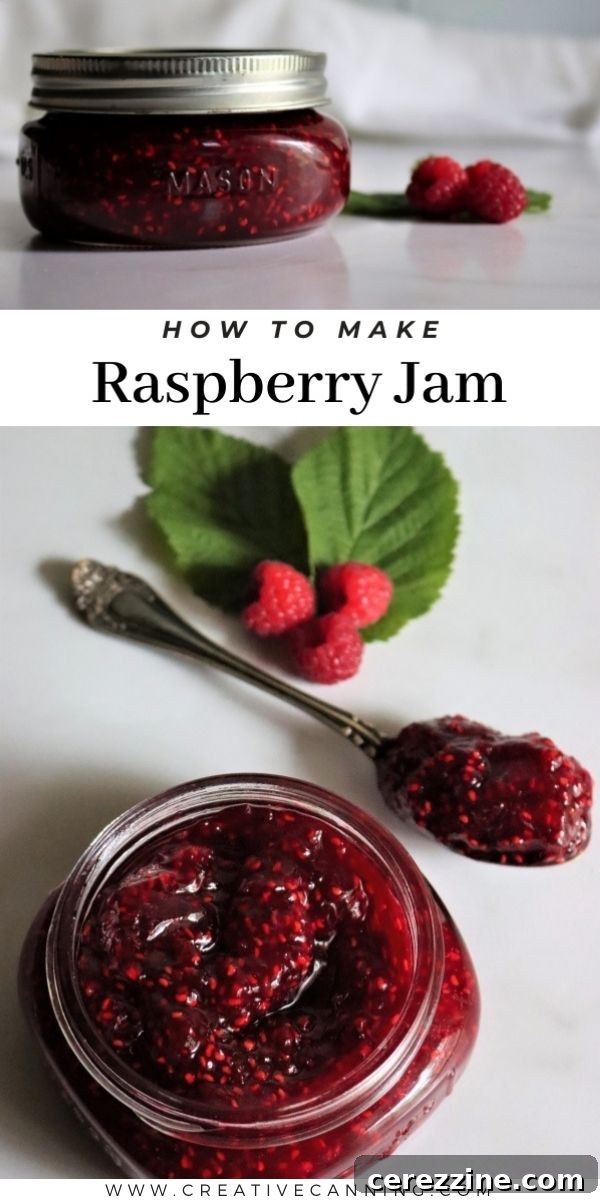
Experience the pure delight of homemade raspberry jam, crafted with just two simple ingredients: ripe raspberries and sugar. This timeless recipe requires no added pectin, allowing the vibrant, natural flavor of the fruit to truly shine. Preparing raspberry jam at home is an easy and rewarding way to capture the essence of summer, ensuring you can savor its delicious taste all year long.
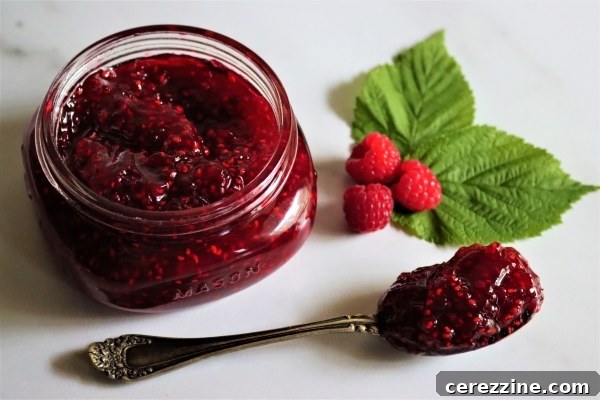
Homemade Raspberry Jam Without Pectin: Your Ultimate Guide to a Simple, Flavorful Spread
Every summer offers an abundance of fresh, ripe raspberries, and there’s no better way to capture their delicate sweetness than by transforming them into homemade jam. As an avid canner with countless canning recipes perfected over the years, I can confidently say that simple homemade raspberry jam holds a special place in my heart – it’s an absolute favorite.
If I were forced to choose only one type of jam to enjoy for the rest of my life, this natural, pectin-free raspberry jam would be my unequivocal choice. Its intense fruit flavor and perfectly balanced sweetness make it truly unparalleled. While I personally adore the slight texture provided by the seeds, this recipe can easily be adapted for those who prefer seedless raspberry jam (raspberry jelly) – without needing any added pectin whatsoever. Just two core ingredients, raspberries and sugar, are all it takes to create an unforgettable spread that will elevate any breakfast table or dessert.
The Magic of Pectin-Free Raspberry Jam: Why Raspberries Set Naturally
You might be surprised to learn that while scientific classifications sometimes label raspberries as a “low pectin” fruit, they behave quite differently when it comes to jam making. In the world of preserving, raspberries are often treated as a “high pectin” fruit. This means they contain sufficient natural pectin to achieve a beautiful, firm set without the need for any commercial pectin additions. This is fantastic news for anyone looking to make truly pure and intensely flavored jam.
By relying solely on the fruit’s natural pectin, you avoid diluting the vibrant taste of fresh raspberries with external setting agents. The result is a jam with an incredibly bright, concentrated raspberry flavor and a gorgeous, glistening texture that stands proudly on a spoon. The natural acidity and sugar content in raspberries work synergistically to activate their inherent gelling properties, requiring only a few minutes of cooking to reach that coveted gel stage. This simplicity not only streamlines the process but also ensures that every spoonful delivers an unadulterated burst of summery raspberry goodness.
Understanding Raspberry Jam Yield and Ratios
Navigating raspberry jam recipes can sometimes be a little confusing due to varying measurements. Some recipes instruct you to mash the fruit before measuring, while others start with whole fruit measurements like “dry pints” from the farmer’s market. To clarify, let’s break down the conversions and ideal ratios for perfect jam consistency every time:
Key Raspberry Conversions:
- One dry pint of whole raspberries: Approximately 2 cups of whole fruit.
- One dry pint of whole raspberries (mashed): Yields about 1 cup of mashed fruit.
- One dry pint of whole raspberries (by weight): Roughly 3/4 pound (about 340 grams).
The Importance of Fruit-to-Sugar Ratio:
Most traditional raspberry jam recipes suggest a 1:1 fruit-to-sugar ratio. However, it’s crucial to understand whether this ratio refers to whole fruit or mashed fruit, as it significantly impacts the final sugar content and consistency.
- If a recipe uses a 1:1 ratio with whole fruit, you’d effectively be using twice as much sugar compared to a 1:1 ratio with mashed fruit.
For this recipe, I recommend using a 1:1 ratio with mashed fruit. This translates to 1 cup of mashed raspberries to 1 cup of sugar. Alternatively, if starting with whole berries, it’s about 2 cups of whole raspberries to 1 cup of sugar. By weight, 1 cup of granulated sugar is approximately 200 grams (just under half a pound).
Ideal Batch Sizes for Perfect Setting:
While you can scale this recipe, making smaller batches (yielding 4 to 5 standard 8-oz jam jars, also known as half-pints) is often best. Smaller batches cook more evenly and reach the gel stage more consistently, leading to a superior set. For a standard batch, starting with:
- 4 cups of mashed raspberries (which comes from roughly 4 dry pints of whole fruit, or about 3 pounds / 1400 grams of fresh raspberries).
- Combine this with 4 cups of sugar.
This quantity typically yields exactly 5 half-pint (8 oz) jars of delicious raspberry jam. While you can adjust quantities, I suggest not exceeding 8 cups of mashed fruit per batch to ensure optimal cooking and gelling. Always remember to measure your mashed fruit precisely for the best results.
How to Make Raspberry Jam: A Simple Step-by-Step Guide
Making homemade raspberry jam is an incredibly satisfying process. Follow these detailed steps for a perfect, pectin-free spread:
Ingredients:
- 4 cups mashed raspberries (from approximately 4 pints whole fruit, or about 3 lbs)
- 4 cups granulated sugar
Equipment:
- Large jam pot or heavy-bottomed saucepan
- Potato masher or fork
- Clean canning jars (half-pint/8 oz recommended)
- Lids and bands
- Water bath canner (optional, for shelf-stable jam)
- Jar lifter (optional)
- Ladle
- Clean towels
- Instant-read thermometer (optional, but highly recommended)
Instructions:
- Prepare Your Raspberries: Start by carefully picking over your fresh raspberries. Discard any berries that show signs of mold, bruising, or are underripe. Give the berries a quick, gentle rinse under cool water and drain them thoroughly.
- Mash the Fruit: Place the clean raspberries into your large jam pot. Using a potato masher or a sturdy fork, thoroughly mash the berries. You want a consistent, pulpy texture. It typically takes about 1 pint (2 cups) of whole raspberries to yield 1 cup of mashed fruit. Measure your mashed raspberries precisely after this step.
- Combine Fruit and Sugar: For every cup of mashed raspberries you have, add 1 cup of granulated sugar to the jam pot. Stir well to combine the fruit and sugar. Allow the mixture to sit for about 15-30 minutes; this helps the sugar draw out juices from the fruit, preventing scorching and contributing to a better flavor and set.
- Begin Cooking: Place the jam pot over medium-high heat. Bring the mixture to a rolling boil, stirring frequently and consistently to prevent the sugar and fruit from sticking to the bottom of the pot and scorching. Scorched jam will have a burnt taste.
- Achieve Gel Stage: Continue to cook the mixture at a rolling boil until it reaches the gel stage. This usually takes approximately 8 to 12 minutes, but cooking times can vary depending on your stove and the moisture content of the fruit.
- Test for Set:
- Freezer Plate Test: Before you start cooking, place a small ceramic plate in your freezer. When you think the jam is ready, spoon a small amount onto the cold plate, wait 30-60 seconds, then push it with your finger. If it wrinkles and holds its shape, it’s ready. If it’s still runny, continue cooking and test again.
- Thermometer Test: For a precise set, use an instant-read thermometer. Raspberry jam typically reaches its set point at 220 degrees F (104 degrees C) at sea level. If you are at a higher altitude, adjust the temperature accordingly (subtract 2 degrees F for every 1000 feet above sea level).
Be vigilant and avoid overcooking! Overcooked jam can burn, resulting in a dark, sticky, and candy-like consistency rather than a spreadable jam.
- Ladle into Jars: Once the jam reaches the desired set, remove the pot from the heat. Carefully ladle the hot jam into your prepared canning jars, leaving 1/4 inch of headspace at the top. Wipe the rims of the jars clean to ensure a proper seal.
- Seal and Process (Optional Canning): Apply the two-part canning lids (flat lid and screw band) to the filled jars. If you plan to make the jam shelf-stable, proceed with water bath canning as described in the “Canning Raspberry Jam” section below. If not canning, allow the jars to cool completely before storing them in the refrigerator or freezer.
Crafting Low Sugar Raspberry Jam
For those who prefer a less sweet spread but still desire a pectin-free raspberry jam, you’re in luck! While the 1:1 fruit-to-sugar ratio is traditional and yields a robustly sweet jam, it’s not strictly necessary for the jam to set properly. Raspberries are naturally quite tart and boast a bright flavor, often eliminating the need for added lemon juice commonly found in other jam recipes.
You can significantly reduce the sugar content and still achieve a beautiful set. For instance, a well-regarded preserving guide like The Ball Blue Book suggests a lower sugar ratio for pectin-free raspberry jelly, using 9 cups of mashed fruit (derived from 6 to 7 pounds of whole raspberries) to 6 cups of sugar. This creates a 3:2 fruit-to-sugar ratio, which is considerably less sugar than the 1:1 ratio. This recipe variation typically yields 6 to 7 half-pint (8 oz) jars and requires a similar cooking time (around 12-15 minutes).
When reducing sugar, keep in mind that sugar acts as a preservative. While your jam will still set, a lower sugar content means it might have a slightly softer set and a shorter shelf life if not properly canned. Always taste and adjust sweetness to your preference, knowing that the natural pectin of raspberries will still work its magic.
Preserving Your Raspberry Jam: Canning and Storage
To enjoy your homemade raspberry jam year-round and ensure it remains fresh, canning is an excellent option that makes it shelf-stable. However, if you prefer not to can, this delicious jam can also be stored in the refrigerator or freezer for immediate enjoyment.
Storage Without Canning:
- Refrigerator: Freshly made jam, once cooled, can be stored in the refrigerator for several weeks (typically 3-4 weeks).
- Freezer: For longer storage without canning, spoon the cooled jam into freezer-safe containers, leaving ample headspace for expansion. It will last beautifully in the freezer for up to 6 months. Thaw in the refrigerator before use.
Canning Raspberry Jam for Shelf Stability:
If you opt for traditional water bath canning, proper preparation and execution are key to ensuring safety and quality:
- Prepare Your Canner and Jars: Before you even start making the jam, prepare your water bath canner. Fill it with water and bring it to a simmer (180°F / 82°C). Ensure your canning jars, lids, and bands are thoroughly cleaned and sterilized according to manufacturer instructions. Keep jars hot until ready to fill.
- Fill Jars with Hot Jam: Once your raspberry jam has reached the gel stage, immediately ladle the hot jam into the hot, clean canning jars. Remember to leave precisely 1/4 inch of headspace from the rim of the jar. This space is crucial for creating a proper vacuum seal.
- Remove Air Bubbles and Clean Rims: Use a non-metallic utensil (like a plastic spatula) to gently remove any trapped air bubbles from the jam. Wipe the rims of the jars meticulously clean with a damp paper towel. Any jam residue on the rim can prevent a proper seal.
- Apply Lids and Bands: Center the flat canning lids on the jars, then screw on the bands until they are fingertip-tight (just enough to secure the lid, but not overly tight).
- Process in Water Bath Canner: Carefully lower the filled jars into the simmering water bath canner, ensuring they are fully submerged by at least 1 inch of water. Cover the canner with its lid. Bring the water to a full, rolling boil.
- Processing Time: Once a full boil is reached, begin your timer. Process the jars for 10 minutes. If you are located at an altitude of 6,000 feet or higher, increase the processing time to 15 minutes to account for the lower boiling point of water.
- Cool and Check Seals: After the processing time is complete, turn off the heat. Using a jar lifter, carefully remove the hot jars from the canner and place them on a clean towel on your countertop. Allow them to cool undisturbed for 12 to 24 hours. As the jars cool, you should hear a “ping!” sound as the lids seal.
- Store Properly: After 12-24 hours, check all jar seals. The center of the lid should be concave and not flex when pressed. If any jars have not sealed, store them in the refrigerator for immediate use. Properly sealed jars can be stored in a cool, dark pantry for 12 to 18 months, maintaining their peak quality. Always refrigerate jars after opening.
Troubleshooting Common Jam Making Issues
Even with the best instructions, sometimes things don’t go exactly as planned. Here are a few common issues you might encounter when making raspberry jam and how to address them:
- Jam Didn’t Set: This is the most common issue.
- Under-cooking: The jam didn’t reach the correct temperature or wasn’t cooked long enough. Return the jam to the pot, bring it back to a rolling boil, and continue cooking, testing for set frequently with the freezer plate test or thermometer.
- Too Much Fruit/Too Little Sugar: If you significantly altered the ratios, it might affect the set. For a soft set, this might be fine, but if you want firmer jam, you might need to add a little more sugar and re-cook.
- Jam is Too Stiff/Candy-like: This means you’ve overcooked the jam, evaporating too much water and caramelizing the sugars. Unfortunately, it’s hard to reverse this without compromising flavor. You can try reheating it gently with a small amount of water or raspberry juice to loosen it, but it might still be very sweet and firm.
- Scorched Taste: Not stirring enough during the boiling phase can lead to fruit sticking and burning on the bottom of the pot. Always use a heavy-bottomed pot and stir continuously once the mixture starts boiling intensely.
- Mold on Jam (After Opening): This usually indicates contamination after opening or improper storage. Always use clean utensils, refrigerate after opening, and consume within the recommended timeframe.
- Lids Didn’t Seal: If your canned jars didn’t seal, it could be due to food on the rim, improper headspace, or defective lids. Store unsealed jars in the refrigerator and use them within a few weeks.
Serving Suggestions for Your Delicious Raspberry Jam
Once you’ve made your incredible homemade raspberry jam, the possibilities for enjoying it are endless. Here are some delightful ways to savor its vibrant flavor:
- Classic Toast and Scones: Spread generously on freshly baked bread, toast, or warm, buttery scones.
- Yogurt and Oatmeal Topping: Stir a spoonful into your morning yogurt, granola, or hot oatmeal for a burst of fruit flavor.
- Dessert Enhancer: Use it as a filling for thumbprint cookies, tarts, layer cakes, or crepes. It’s also fantastic drizzled over vanilla ice cream or panna cotta.
- Cheese Board Companion: Pair with soft cheeses like brie or goat cheese on a cracker for a sophisticated appetizer.
- Peanut Butter & Jelly Sandwich: Elevate a classic PB&J to gourmet status with your homemade jam.
- Cocktail Mixer: A small amount can add a lovely fruity note to cocktails or mocktails.
- Marinade or Glaze: Whisk with a little vinegar or soy sauce to create a sweet and tangy glaze for pork or chicken.
More Ways to Preserve Raspberries
Raspberries are incredibly versatile, and jam is just one fantastic way to preserve their bounty. If you’re looking for other creative methods to enjoy these delectable berries, consider these options:
- Raspberry Wine: For a truly unique and potent way to enjoy raspberries, fermenting them into homemade wine is a rewarding project.
- Freezing Raspberries: The simplest method for long-term storage, freezing whole raspberries allows you to use them in smoothies, baked goods, or sauces later.
- Raspberry Fruit Leather: A healthy and delicious snack, fruit leather concentrates the raspberry flavor into a chewy, portable treat.
- Dehydrating Raspberries: Drying raspberries intensifies their flavor and makes them perfect for adding to trail mix, granola, or grinding into a vibrant raspberry powder.
More Homemade Jam Recipes to Explore
Once you’ve mastered this delightful raspberry jam, you might find yourself eager to explore the world of homemade preserves even further. Canning your own jams is a skill that brings immense satisfaction and incredible flavors to your pantry. Here are a few more easy canning recipes to inspire your next jam-making adventure:
- Blackcurrant Jam
- Mango Jam
- Peach Jam
- Low Sugar Strawberry Jam
- Husk Cherry Jam
- Quince Jam
Making homemade raspberry jam without pectin is not just a recipe; it’s an art that celebrates the natural goodness of fresh fruit. With just two ingredients and a few simple steps, you can create a luminous, intensely flavorful spread that outshines any store-bought alternative. Whether you’re a seasoned canner or a beginner, this guide provides all the information you need to successfully preserve the taste of summer and enjoy its sweet rewards throughout the year. Happy jamming!