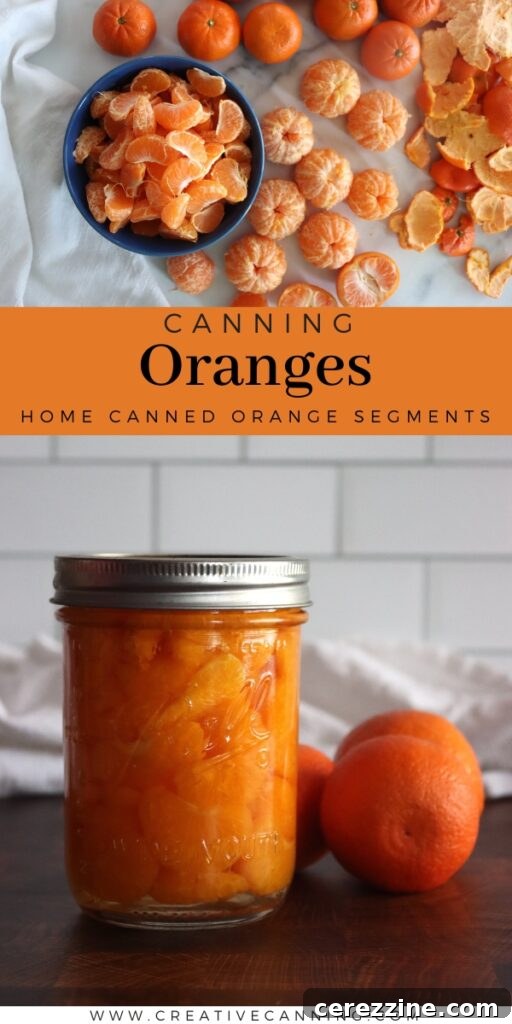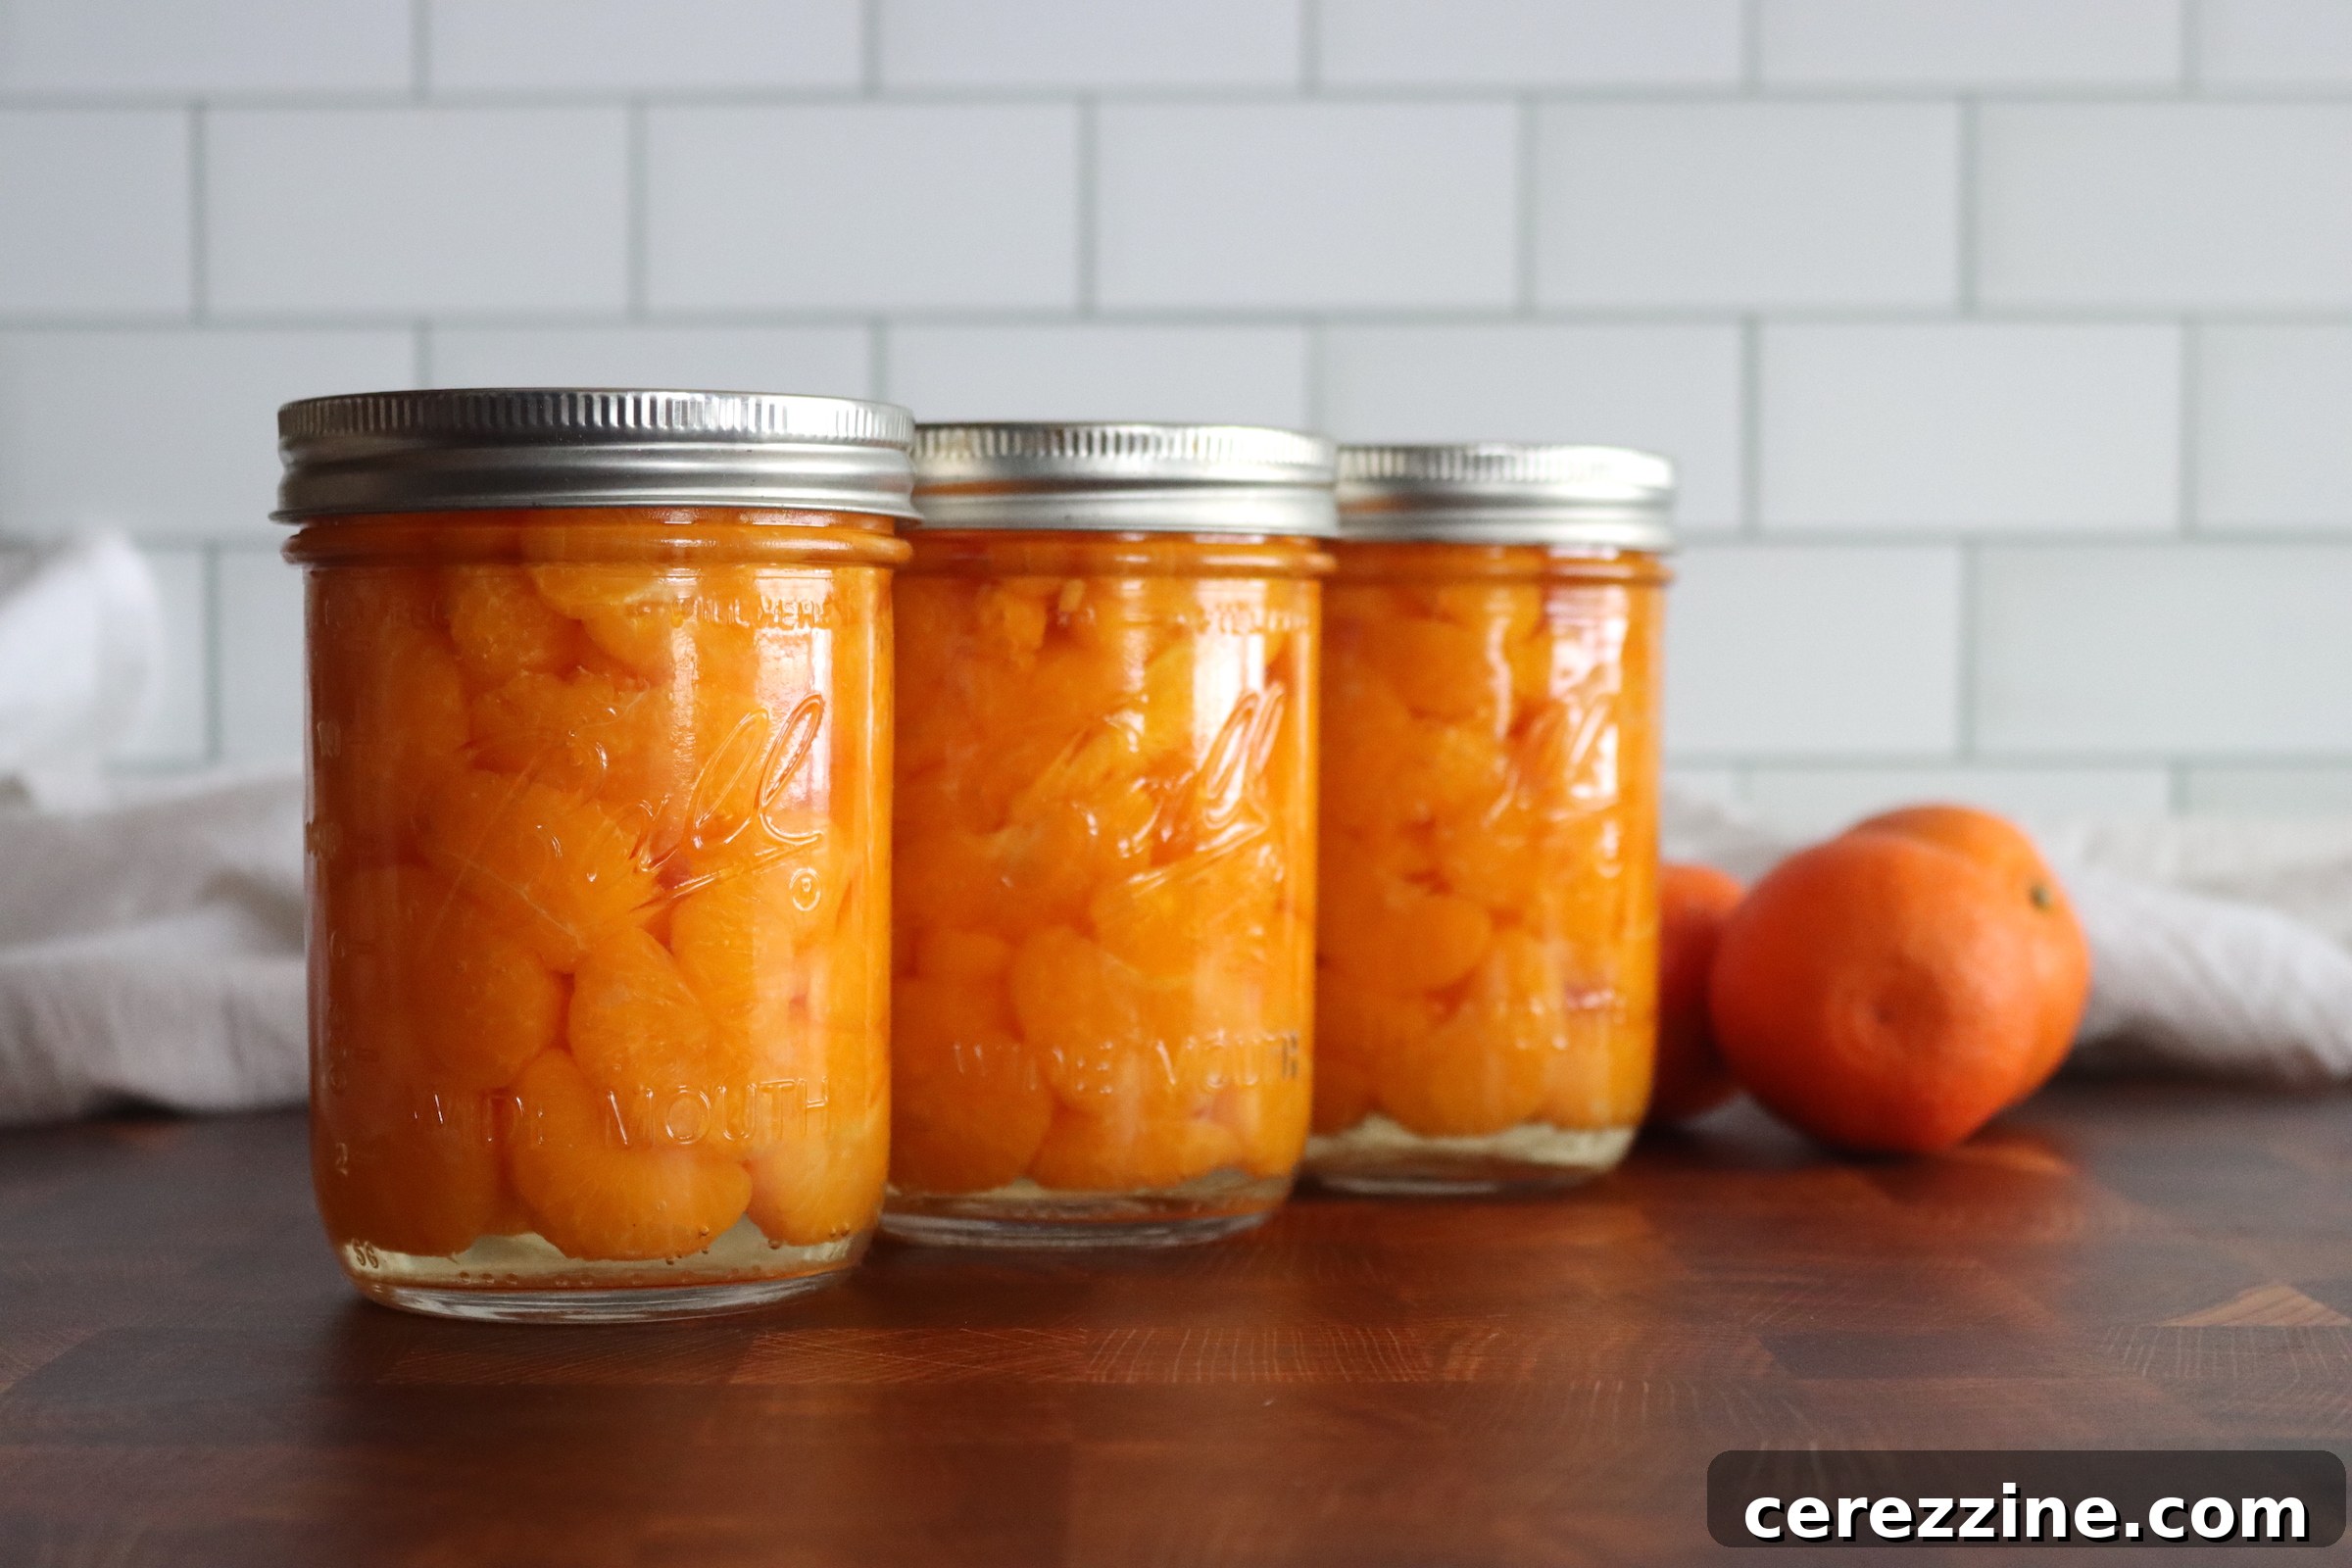
Canning fresh oranges is one of the most rewarding ways to capture the vibrant taste of citrus season, extending its enjoyment far beyond its natural harvest. This particular guide focuses on how to preserve these sun-kissed fruits, yielding beautifully segmented, sweet, and flavorful oranges, with a special emphasis on super-sweet mandarins and clementines.
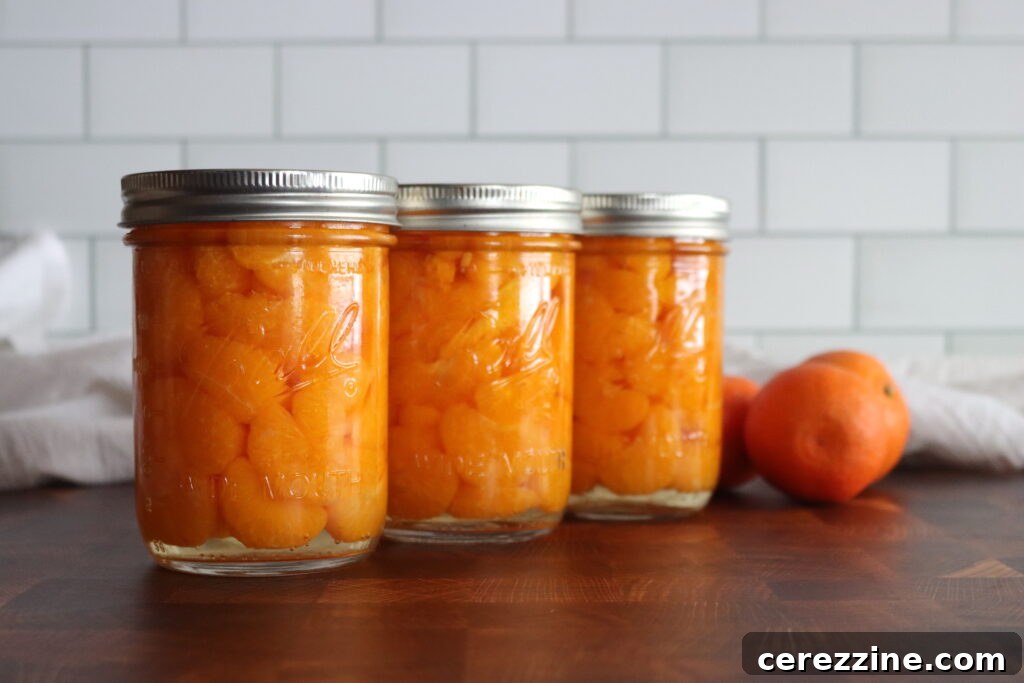
Revisiting a Childhood Classic: The Appeal of Canned Oranges
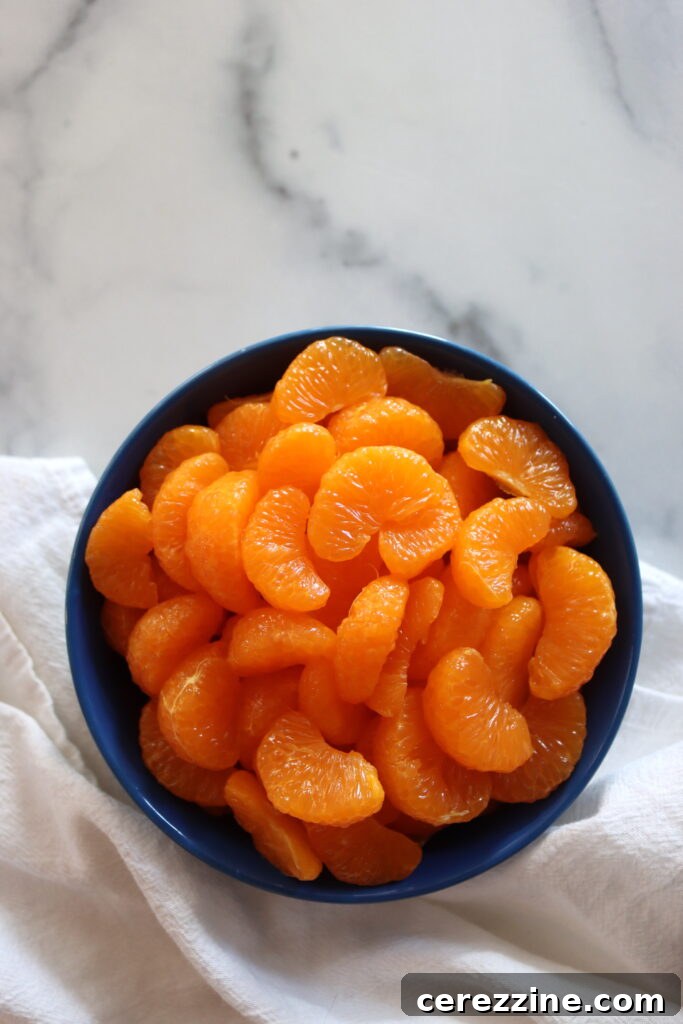
For many, the sight of glistening, perfectly segmented mandarin oranges brings back warm memories, especially during holidays. Growing up, those small, meticulously cut canned mandarin slices were a cherished treat. My grandmother, despite living amidst sprawling citrus groves in California, would still stock up on canned versions to adorn our Christmas table. There was an undeniable charm to those sweet, uniform slices that a fresh orange, however delicious, simply couldn’t replicate in terms of festive presentation.
A significant part of their appeal lies in the absence of pith and membrane, allowing the segments to truly shine and absorb the sweet syrup, offering a consistently delightful flavor. However, finding commercially canned oranges of similar quality these days can be a challenge. Often, what’s available is a pale imitation, lacking the sweetness and pristine texture we remember. This decline in quality was a primary motivation for me to embrace home canning. Preserving orange segments at home quickly became an obvious and incredibly satisfying choice for any avid home canner.
Choosing the Best Oranges for Canning
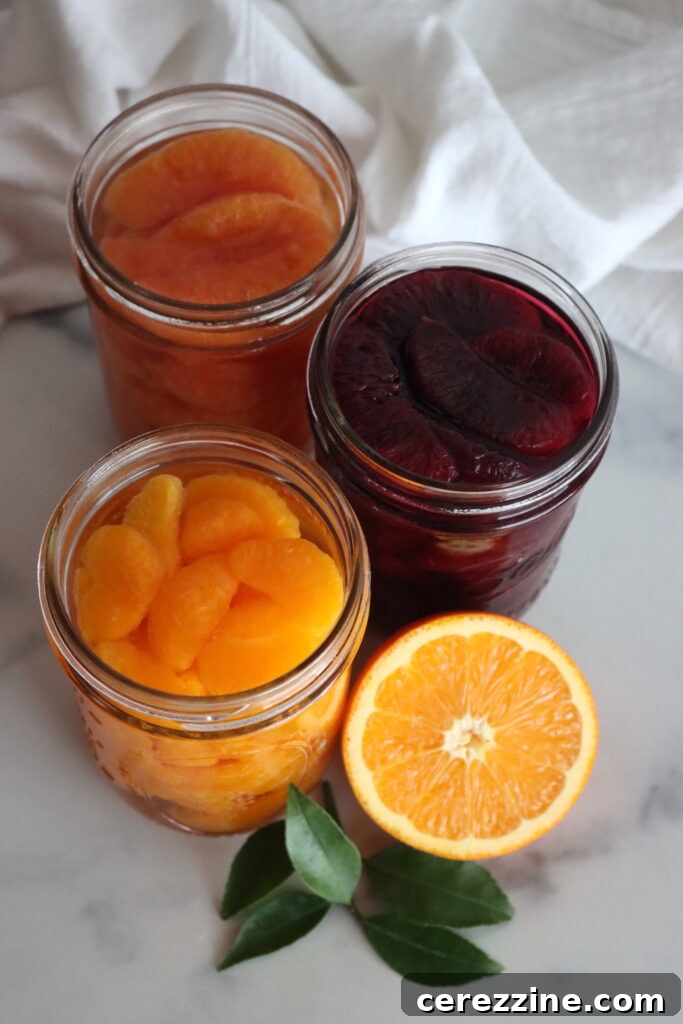
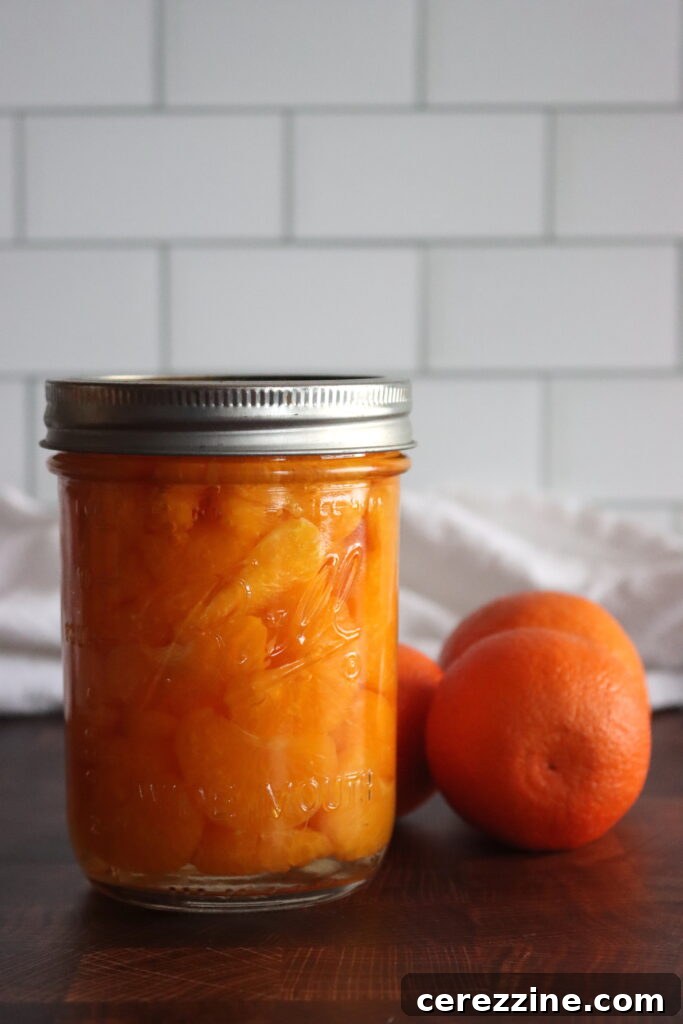
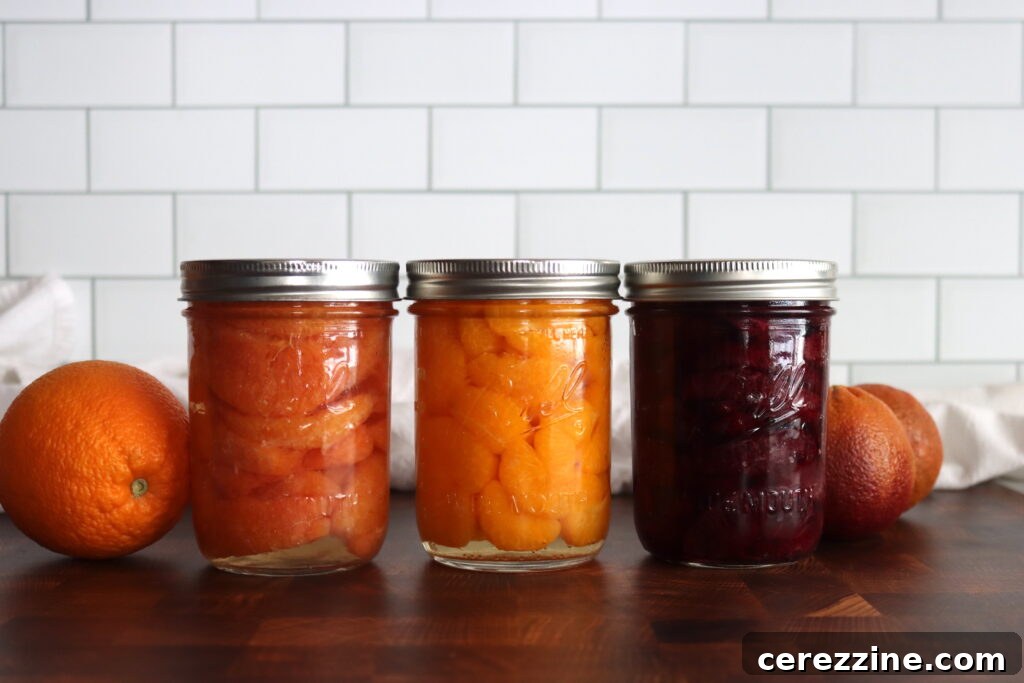
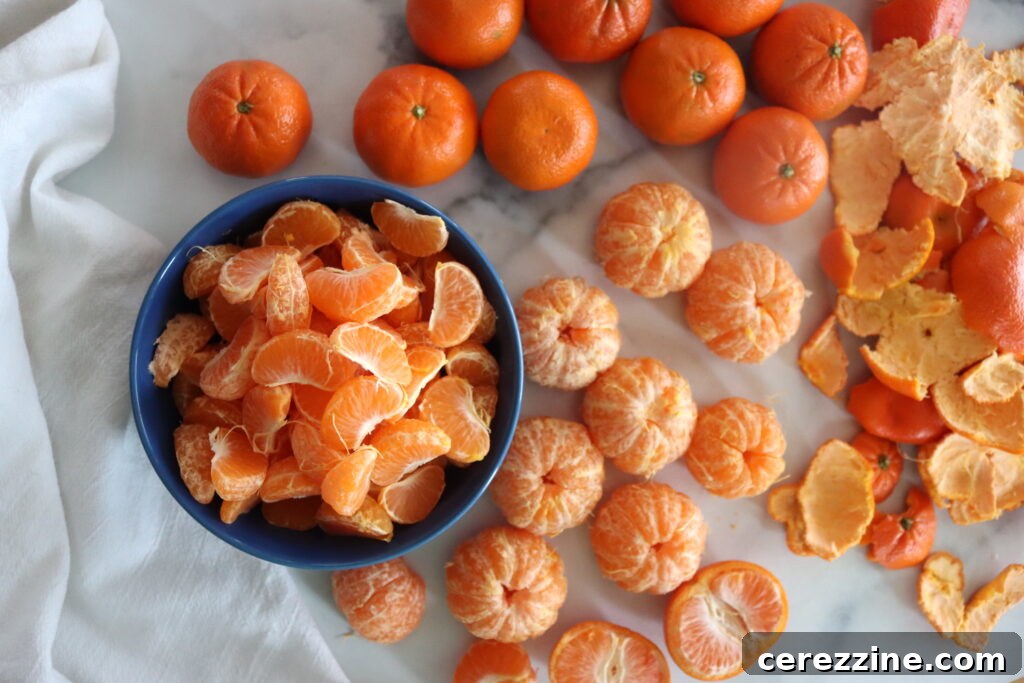
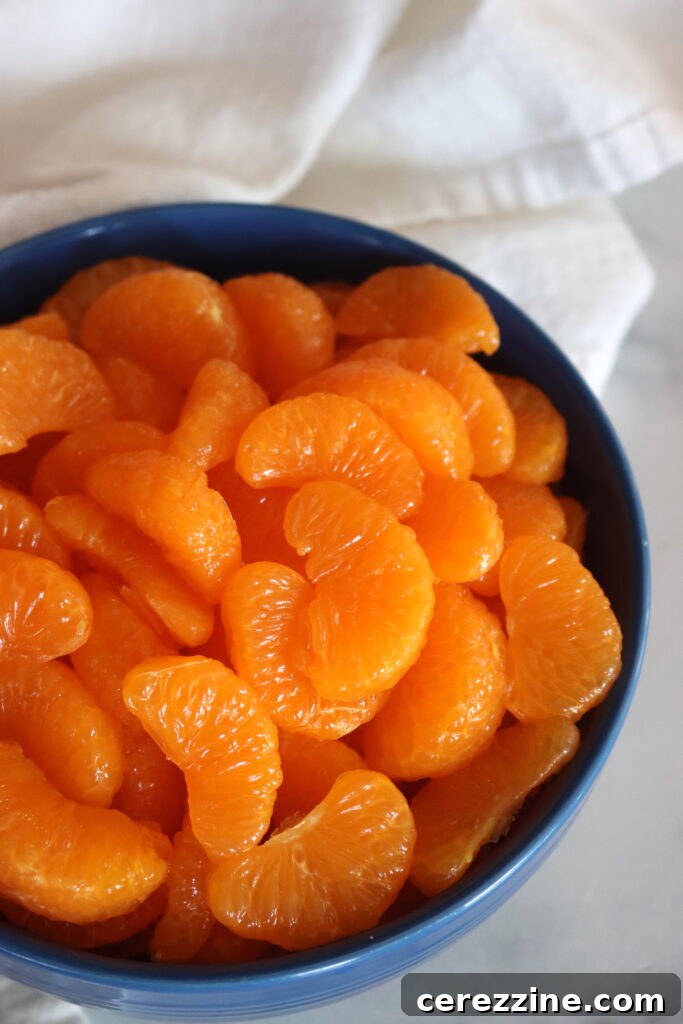
While almost any variety of orange or citrus fruit can be preserved, certain types stand out for their superior canning qualities. Mandarin oranges and clementines are highly recommended. Their small size, natural sweetness, and firm texture allow them to hold up exceptionally well during the canning process, retaining their flavor and structure beautifully.
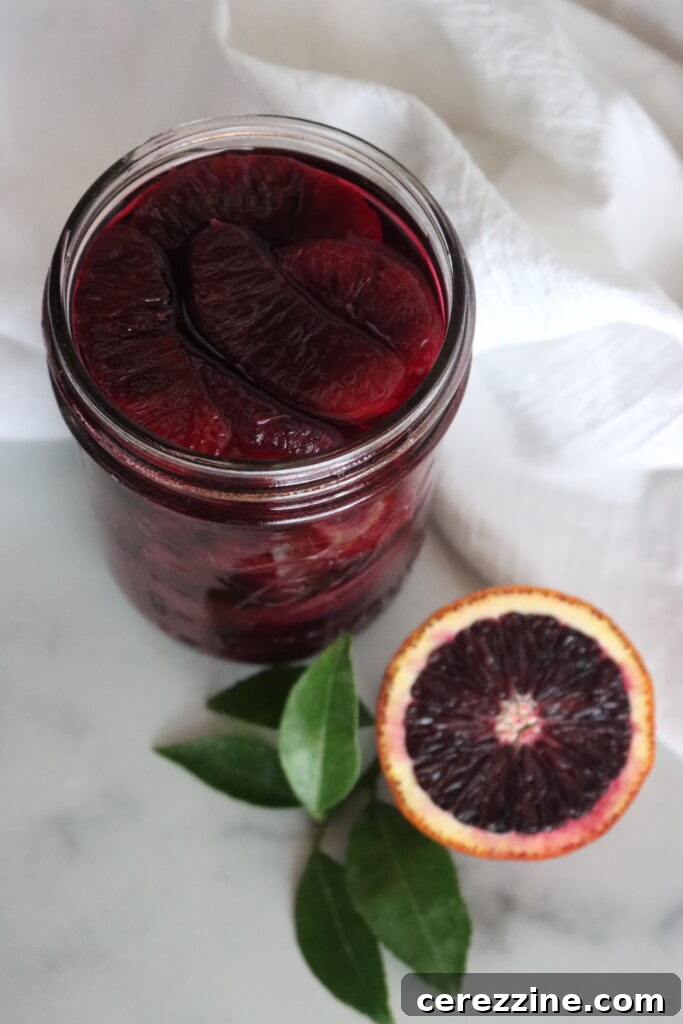
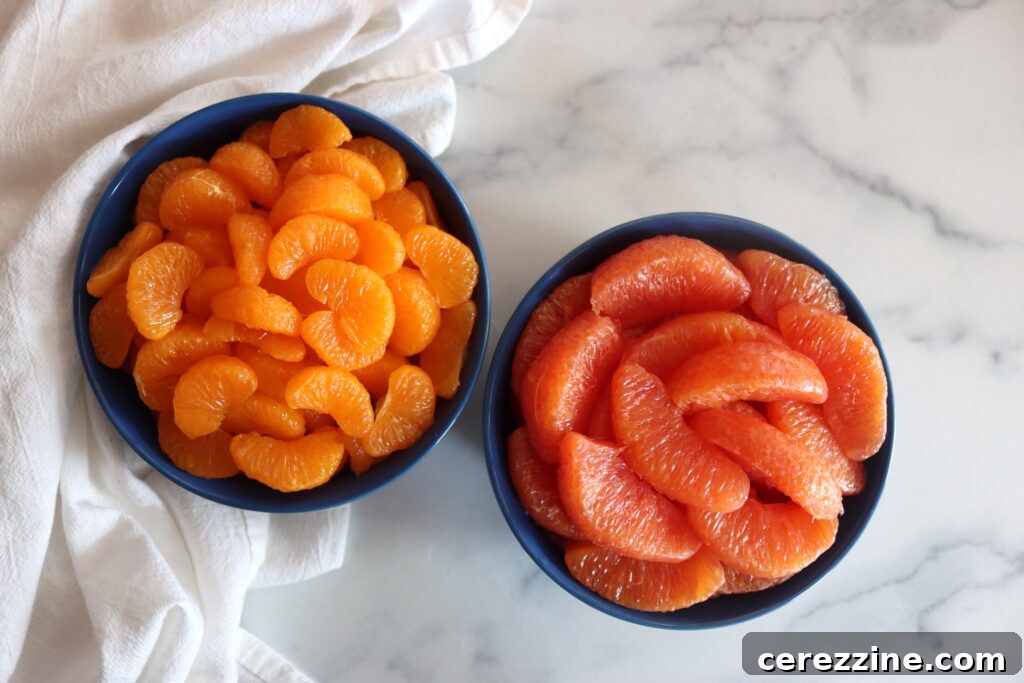
Other popular varieties such as Navel Oranges, Cara Cara Oranges, and Blood Oranges are also excellent candidates for canning. They offer wonderful flavor, though their texture might not be as consistently firm as mandarins. Still, the visual appeal of canned blood oranges, with their striking ruby-red hue, is truly magnificent and adds a touch of elegance to any jar.
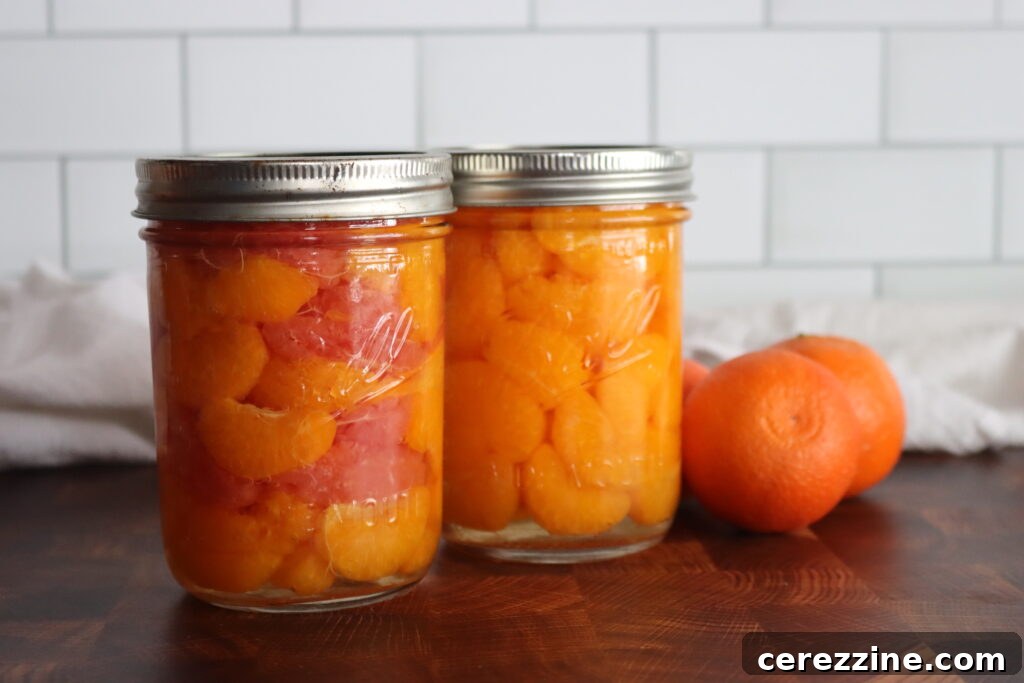
The National Center for Home Food Preservation (NCHFP) suggests canning oranges and grapefruits together for optimal flavor. I’ve personally experimented with this combination, but found that the flavors tend to meld, resulting in a taste that is neither distinctly orange nor grapefruit. I prefer to can them separately, enjoying the unique characteristics of each fruit. However, personal preference plays a significant role; my daughter, who isn’t typically a fan of grapefruit, adored the mixed jar, finding it more appealing than plain mandarins. This clearly illustrates that taste is subjective, and experimentation is encouraged!
Essential Ingredients for Canning Oranges
To prepare a canner batch of 7 quarts (or 14 pints) of delicious home-canned oranges, you will need just a few simple ingredients:
- Fresh Oranges: Approximately 15 pounds for 7 quarts or 13 pounds for 9 pints.
- Water: For syrup preparation.
- Sugar: Used for creating a flavorful syrup, or can be omitted.
- Pectic Enzyme Liquid: (Optional, but highly recommended) A few drops to a teaspoon for a large batch.
Oranges can be processed in plain water, various sugar syrups (from extra light to heavy), or even fruit juices like orange, pineapple, cranberry, or apple. While some prefer plain water or extra light syrup to reduce sugar intake, I’ve found that oranges, being quite acidic, truly benefit from a light syrup. This touch of sugar helps their natural flavor “pop” and prevents them from tasting washed out, which can happen with plain water or very thin syrups. If you are avoiding cane sugar, fruit juice is an excellent alternative that adds natural sweetness and flavor depth.
The Magic of Pectic Enzyme: Achieving Perfect Segments
For those seeking impeccably clean and vibrant orange segments, free from bitter pith, pectic enzyme is a game-changer. This natural enzyme is widely used in winemaking to clarify fruit wines by breaking down pectin. In canning, it works wonders by dissolving the white membranes and pith without affecting the fruit segments themselves, as they are composed of different plant materials.
Using pectic enzyme is surprisingly simple and requires very little product. Just a small bottle of liquid pectic enzyme will suffice for numerous canning sessions. Its application significantly eases the process of peeling and membrane removal, leading to visually appealing, cleaner, and ultimately tastier orange segments.
How to Use Pectic Enzyme:
- Prepare the Solution: Dissolve about one teaspoon of liquid pectic enzyme in one gallon of cool water.
- Soak the Oranges: After peeling and separating your orange segments, submerge them completely in the enzyme solution.
- Refrigerate: Place the bowl in the refrigerator and let the segments soak for several hours, ideally overnight.
- Check Progress: Periodically, check the oranges (every hour or so) to see if the pith has softened and can be easily rinsed or wiped away. The enzyme won’t completely dissolve the pith into nothingness, but it will loosen it considerably, making removal effortless.
- Rinse and Prepare: Once the pith can be easily removed, gently rinse the segments under cool running water to wash away any remaining white bits.
This crucial step prevents any bitterness from extra pith from leaching into your canned oranges, enhancing both flavor and texture. It’s a highly recommended technique for a superior home-canned product.
Preparing Oranges for Canning
Proper preparation is key to achieving delicious and safely canned oranges. Follow these steps for the best results:
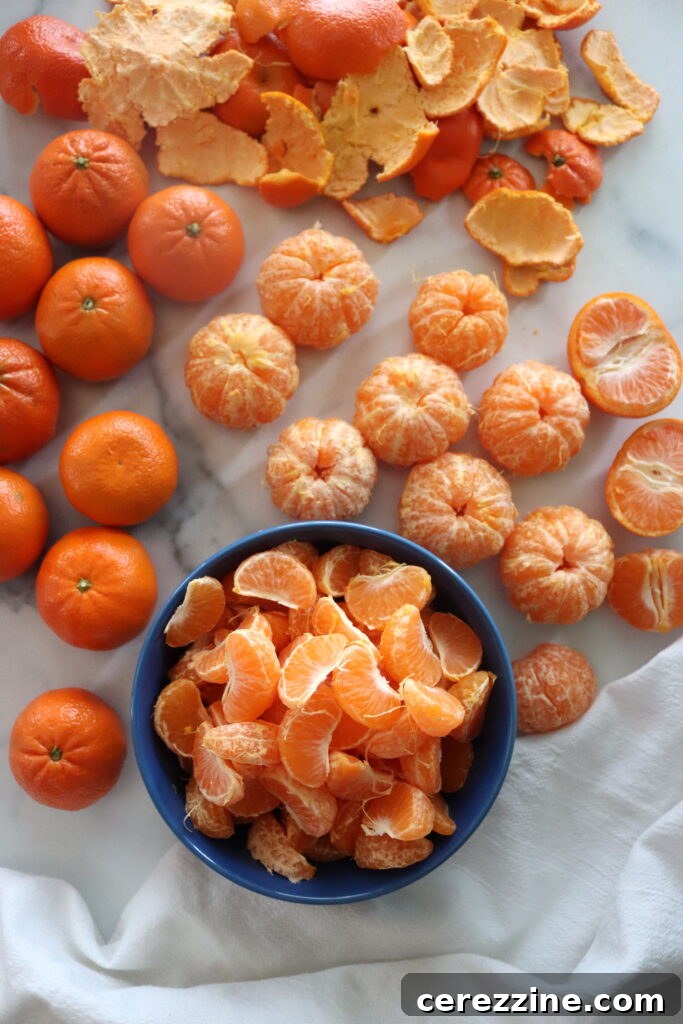
- Wash Thoroughly: Begin by washing your fresh oranges thoroughly under running water to remove any dirt or residues.
- Peel and Remove Pith: Carefully peel the oranges. The goal is to remove as much of the white pith as possible, as it can impart a bitter taste.
- Separate Segments: Gently separate the orange into individual segments. Remove any seeds you encounter.
- Membrane Removal (Optional): If you desire an exceptionally soft texture, you can also remove the individual membranes from each segment. However, be aware that this can make the segments very delicate and prone to breaking apart during processing. For most purposes, removing only the pith is sufficient.
- Pectic Enzyme Soak (Recommended): Place the prepared orange segments in a large bowl. Cover them with the pectic enzyme solution (1 teaspoon of pectic enzyme per gallon of water). Allow them to soak for at least 3 hours, or ideally overnight, in the refrigerator. Stir occasionally to ensure even exposure. The enzyme will loosen the pith, making it easier to remove.
- Rinse: After soaking, gently rinse the segments under cool water. You will find that any remaining pith and membranes can now be easily wiped or washed away, leaving clean, bright segments.
Once your oranges are meticulously prepared, they are ready for packing into jars and joining your chosen canning liquid.
Crafting Your Canning Syrup
Choosing the right syrup for your canned oranges can greatly impact their final flavor and texture. While oranges can be canned in plain water or fruit juice, a light sugar syrup is often preferred for enhancing sweetness and preserving quality. Below are the sugar-to-water ratios for various syrup strengths:
Syrup Amounts for a 9-Pint Canner Batch:
- Extra-light syrup: 3/4 cups sugar to 6 1/2 cups water
- Light syrup: 1 1/2 cups sugar to 5 3/4 cups water (Recommended)
- Medium syrup: 2 1/4 cups sugar to 5 1/4 cups water
- Heavy syrup: 3 1/4 cups sugar to 5 cups water
- Extra-Heavy Syrup: 4 1/4 cups sugar to 4 1/4 cups water
Syrup Amounts for a 7-Quart Canner Batch:
- Extra-light syrup: 1 1/4 cups sugar to 10 1/2 cups water
- Light syrup: 2 1/4 cups sugar to 9 cups water (Recommended)
- Medium syrup: 3 3/4 cups sugar to 8 1/4 cups water
- Heavy syrup: 5 1/4 cups sugar to 7 3/4 cups water
- Extra-Heavy Syrup: 6 3/4 cups sugar to 6 1/2 cups water
To prepare your chosen syrup, simply combine the sugar and water in a saucepan. Bring the mixture to a boil over high heat, stirring continuously until all the sugar has completely dissolved. Keep the syrup hot as you proceed with the canning process.
Canning Oranges: The Water Bath Method
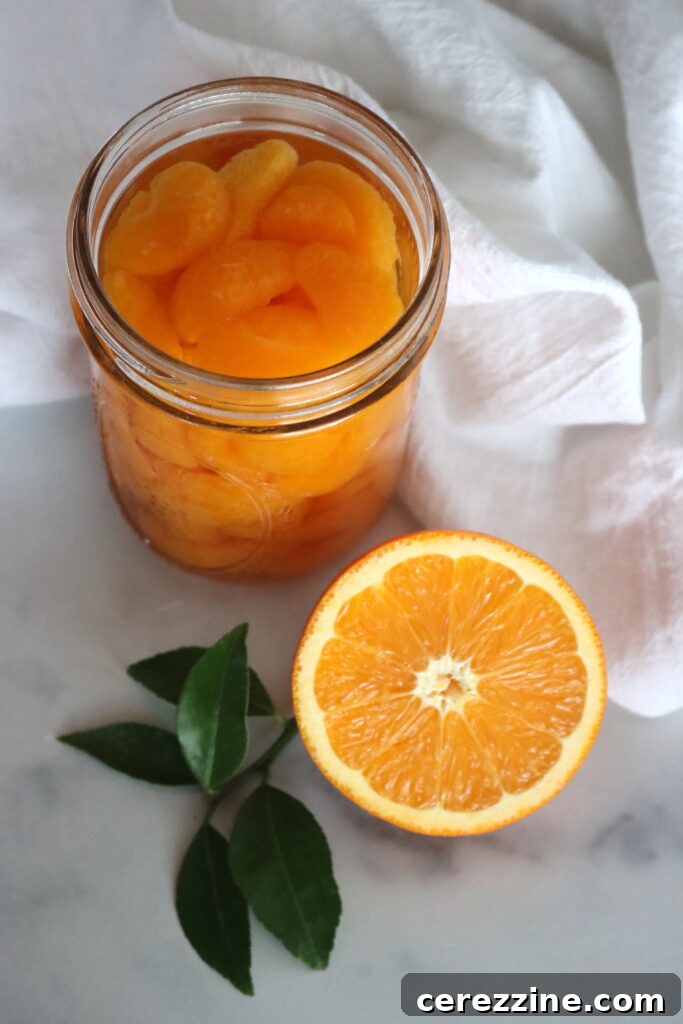
Before you begin packing your oranges, ensure your water bath canner and canning jars are properly sterilized and ready. This recipe is designed for safe and delicious preservation using the boiling water bath method.
- Prepare Jars: Sterilize your pint or quart-sized canning jars and keep them hot.
- Pack Oranges: Carefully pack the prepared orange segments into the hot jars, leaving a consistent half-inch of headspace at the top. Pack them as tightly as possible without crushing the fruit.
- Add Liquid: Pour the hot syrup, plain water, or fruit juice over the packed oranges, ensuring the half-inch headspace is maintained.
- Remove Air Bubbles: Insert a non-metallic spatula or a bubble wand along the inside of each jar to release any trapped air bubbles. Add more liquid if necessary to restore the half-inch headspace.
- Clean Rims: Wipe the rims of the jars clean with a damp cloth. This ensures a proper seal.
- Apply Lids and Bands: Place the canning lids on the jars, followed by the screw bands. Tighten the bands finger-tight – just enough to hold the lid in place, but not overly tight.
- Process in Water Bath: Carefully place the filled jars into your boiling water bath canner, ensuring they are fully submerged by at least one inch of water. Bring the canner back to a rolling boil.
- Process Time: Process both pint and quart jars for 10 minutes, making sure to adjust the processing time based on your altitude (refer to the altitude adjustment chart below).
- Cool and Seal: Once the processing time is complete, turn off the heat and let the jars sit in the canner for 5 minutes before carefully removing them with a jar lifter. Place the hot jars on a towel-lined surface, ensuring they are not touching, and let them cool undisturbed for 12 to 24 hours.
- Check Seals: After cooling, check the seals. The center of each lid should be concave and not flex when pressed. If a lid does not seal, refrigerate that jar and consume its contents within a few days.
- Store: Store properly sealed jars in a cool, dark pantry for up to a year.
Jar Sizes and Processing Times
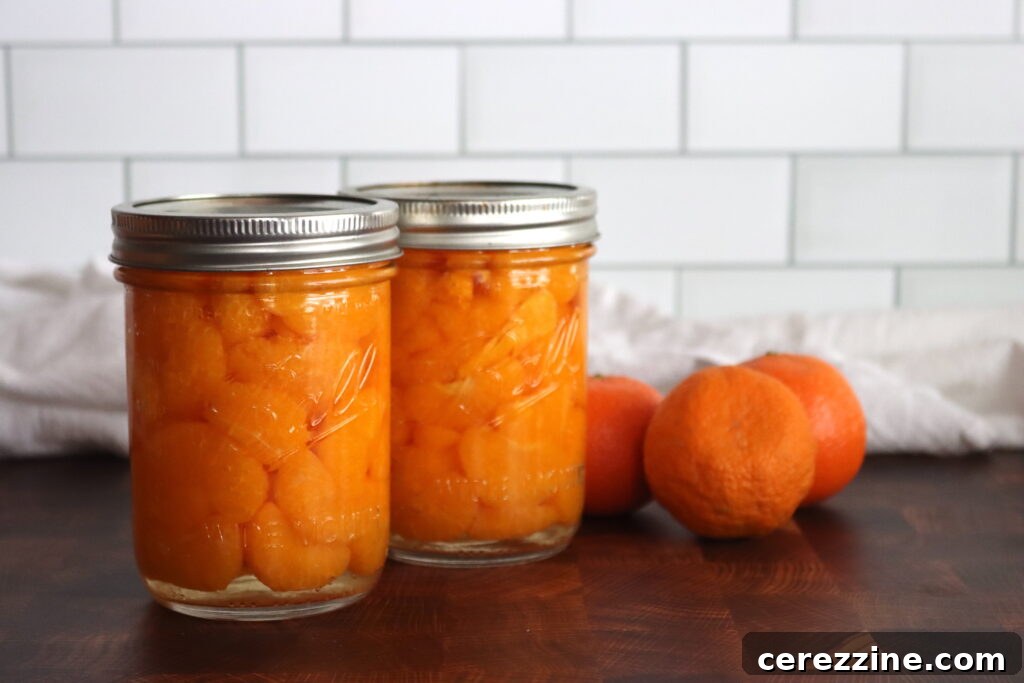
For canning oranges, both pint-sized and quart-sized jars are suitable and safe to use. The recommended processing time in a boiling water canner for both jar sizes is consistently 10 minutes. It is critical, however, to account for your altitude to ensure the safety and longevity of your canned goods.
Altitude Adjustments for Water Bath Canning:
Due to the lower boiling point of water at higher altitudes, processing times must be increased to achieve the necessary sterilization. Consult the chart below and adjust your processing time accordingly:
- 0 – 1,000 ft: 10 minutes
- 1,001 – 3,000 ft: 15 minutes
- 3,001 – 6,000 ft: 20 minutes
- Above 6,000 ft: 25 minutes
Canning Oranges Recipe
Home-canned oranges are a delightful way to preserve seasonal citrus, perfect for snacks, desserts, or adding a bright touch to any meal.
Canning Oranges
Home canned oranges are the perfect way to preserve citrus in season.
- Prep Time: 3 hours (including pectic enzyme soak)
- Cook Time: 10 minutes
- Yield: 9 pints (yield varies, see notes)
Equipment
- Water Bath Canner
- Wide Mouth Pint Mason Jars (or Quart Jars)
- Wide Mouth Canning Lids
- Canning Funnel
- Jar Lifter
- Large bowls
- Saucepan
- Non-metallic spatula or bubble remover
Ingredients
- Oranges: About 13 lbs for a 9-pint canner batch, or 15 lbs for a 7-quart batch.
- Sugar: 1 1/2 cups for light syrup (for 9 pints), or 2 1/4 cups for light syrup (for 7 quarts). See notes for other syrup types.
- Water: 5 3/4 cups water for light syrup (for 9 pints), or 9 cups water for light syrup (for 7 quarts).
- Pectic Enzyme Liquid: Optional, but recommended for easier pith removal and clearer segments.
Instructions
- Wash oranges thoroughly. Peel and remove as much white pith as possible.
- Separate the segments and remove any seeds.
- If using pectic enzyme, place the orange segments in a bowl and cover with a solution made from 1 tsp pectic enzyme and 1 gallon of water. Allow the segments to soak for 3 hours, or overnight, stirring gently occasionally to check on the progress of the enzyme. When the pith wipes away easily, rinse the segments to remove the remaining pith.
- Prepare a water bath canner and sterilize jars. Keep jars hot.
- If using syrup, combine water and sugar in a saucepan and heat until dissolved, bringing to a boil. Keep hot.
- Pack the hot, sterilized jars with prepared orange segments, leaving ½ inch of headspace.
- Pour hot syrup, water, or juice over the fruit, maintaining the ½ inch headspace.
- Run a non-metallic spatula around the inside of the jar to remove air bubbles. Adjust liquid level if needed to maintain headspace.
- Wipe jar rims clean with a damp cloth. Secure lids and screw bands finger-tight.
- Place filled jars in a boiling water canner, ensuring they are fully submerged. Bring water to a rolling boil and process for 10 minutes, adjusting for altitude (see notes below).
- Once processing is complete, turn off heat, remove canner lid, and let jars sit for 5 minutes. Carefully remove jars with a jar lifter and place them on a towel-lined surface to cool for 12-24 hours.
- After cooling, check seals. Store properly sealed jars in a cool, dark place. Refrigerate unsealed jars and consume within a few days.
Notes
- Yield: On average, 15 pounds of oranges are required for a canner load of 7 quarts, and 13 pounds are needed for a canner load of 9 pints. Generally, about 2 pounds of oranges yield 1 quart of canned fruit.
- Altitude Adjustments: The recommended processing time for both pint and quart jars is 10 minutes in a boiling water canner. Adjust this time based on your altitude:
- 0 – 1,000 ft: 10 minutes
- 1,001 – 3,000 ft: 15 minutes
- 3,001 – 6,000 ft: 20 minutes
- Above 6,000 ft: 25 minutes
- Syrups for Canning Oranges: I recommend a light syrup for optimal flavor, but you can choose any syrup strength. The sugar amounts for various canning batches are detailed above in the “Crafting Your Canning Syrup” section.
Nutrition Information (Approximate per serving)
- Calories: 16 kcal
- Carbohydrates: 4 g
- Protein: 0.3 g
- Fat: 0.02 g
- Saturated Fat: 0.002 g
- Polyunsaturated Fat: 0.003 g
- Monounsaturated Fat: 0.003 g
- Sodium: 2 mg
- Potassium: 57 mg
- Fiber: 1 g
- Sugar: 3 g
- Vitamin A: 551 IU
- Vitamin C: 14 mg
- Calcium: 5 mg
- Iron: 0.1 mg
Nutrition information is automatically calculated and should only be used as an approximation.
Uses for Home Canned Oranges
Once you’ve successfully canned your oranges, a world of culinary possibilities opens up! These versatile segments are far more than just a snack straight from the jar (though they are excellent for that too). Here are some ideas to incorporate your home-canned oranges into your daily meals and special occasions:
- Dessert Topping: Spoon over ice cream, yogurt, panna cotta, or cheesecake for a burst of fresh, sweet citrus flavor.
- Breakfast Booster: Add to oatmeal, granola, or pancakes and waffles as a delicious, naturally sweet topping. The syrup can even be used as a pancake syrup!
- Salads: Incorporate into fruit salads or green salads for a bright, tangy contrast. They pair wonderfully with spinach, nuts, and a light vinaigrette.
- Baked Goods: Fold into muffin batter, cake mixes, or use as a filling for tarts and pies. The soft texture and sweet-tart flavor are perfect for baking.
- Savory Dishes: Surprising as it may seem, canned oranges can complement savory dishes. Think glazes for poultry (like duck or chicken), or as an accompaniment to pork.
- Drinks: Use the segments and their syrup in cocktails, mocktails, or infuse water for a refreshing, flavorful drink.
- Snack: Simply enjoy them chilled as a healthy, convenient snack anytime.
The delicious syrup leftover in the jar is also a treasure trove of citrusy flavor. Don’t discard it! It can be used in smoothies, as a sweetener in tea, or as a light glaze. However, it’s not recommended for re-using to can more oranges, as the flavor can become bitter over time. Always prepare a fresh syrup for each new canning batch.
Frequently Asked Questions About Canning Oranges
Canning whole oranges has not been specifically tested or recommended by canning authorities. It’s generally advised to can oranges in segments. Whole oranges are much harder to pack efficiently into jars, which can lead to uneven heating during processing, potentially compromising safety and quality. Furthermore, removing the pith and membranes, which greatly improves the texture and taste of canned oranges, is significantly more challenging with whole fruit. By segmenting, you can also fit approximately twice as many oranges into each jar.
No, using sugar is completely optional. You can safely can oranges in plain water or natural fruit juice if you prefer to avoid added sugars. While sugar syrup does contribute to preserving the texture, color, and sweetness of the fruit, it is not essential for safety because oranges are naturally high in acid. Adjust your canning liquid to suit your dietary needs and taste preferences.
When properly canned and stored in a cool, dark place (like a pantry or cellar), home-canned oranges can maintain their peak quality for 12 to 18 months. They remain safe to eat as long as the jar’s seal is intact. Once a jar is opened and its seal is broken, the contents should be refrigerated and consumed within approximately one week for optimal freshness and safety.
Floating fruit is a very common occurrence in home canning and is usually nothing to worry about. Oranges naturally contain air within their cellular structure. During the heating process, this trapped air escapes and causes the fruit to become lighter than the surrounding syrup, making it float to the top of the jar. To help minimize floating, you can try packing the segments as tightly as possible without crushing them and allowing them to settle for a few minutes before sealing the jars.
Absolutely! The leftover liquid from your canned oranges is packed with delicious citrusy flavor. It can be creatively used in various ways: add it to smoothies, use it as a base for cocktails or mocktails, or even drizzle it over pancakes and waffles as a light, flavorful syrup. However, it is not recommended to reuse this liquid for canning another batch of oranges, as its acidity and flavor profile can change after the initial canning and storage, potentially becoming bitter.
While technically possible, pressure canning oranges is not necessary and generally not recommended. Oranges are high-acid foods, meaning they can be safely processed using the simpler and less intensive boiling water bath method. Pressure canning operates at higher temperatures, which could potentially lead to an overly mushy texture for the delicate orange segments without offering additional safety benefits for this particular fruit.
Based on extensive testing and popular opinion, mandarin oranges and clementines are consistently the top choices for canning. They retain their shape, texture, and bright flavor exceptionally well. However, other varieties like Navel, Cara Cara, and Blood Oranges also perform admirably, offering slightly different flavor profiles and beautiful colors in the jar. Ultimately, you can achieve good results with most orange varieties.