Mastering Home Canning: Preventing Siphoning and Liquid Loss for Perfectly Sealed Jars
Home canning is a rewarding endeavor, allowing you to preserve the bounty of your garden and kitchen. However, one of the most common and often frustrating issues home canners face is siphoning – the undesirable loss of liquid from jars during or after the canning process. This phenomenon can leave your beautifully preserved foods looking dry, discolored, or uneven, diminishing their appeal and potentially their shelf life.
If you’ve ever opened your canner to find jars with significantly less liquid than when they went in, you’ve witnessed siphoning firsthand. While a minor amount of liquid loss generally won’t compromise the safety of your food (assuming proper processing and a secure seal), it can certainly impact the overall quality, appearance, and shelf stability of your preserves. The good news is that most instances of siphoning are preventable with a few simple yet crucial adjustments to your canning techniques, particularly regarding temperature and pressure management during heating and cooling.
Understanding the underlying causes of siphoning is the first step toward preventing it. This comprehensive guide will delve into the science behind liquid loss, explore its common culprits, and provide actionable strategies for both water bath and pressure canning to help you achieve consistently perfect, liquid-filled jars every time. Even seasoned canners experience siphoning occasionally, but with the right knowledge, you can minimize its occurrence and ensure your efforts yield the best possible results.
Quick Solutions for Preventing Siphoning in Canning
Before we dive into the detailed explanations, here are the most common solutions for preventing siphoning, tailored for both water bath and pressure canning:
For Water Bath Canning: Gradual Cooling is Key
In water bath canning, especially for items like jams, jellies, pickles, and pie fillings, siphoning often occurs when jars are removed from the hot water too quickly. The abrupt temperature change causes the contents to boil over. To prevent this, simply leave the jars in the canning water for 5 to 10 minutes after the processing time is complete and you’ve turned off the heat. This allows the jars to cool slightly and gradually within the warmth of the canner, equalizing internal pressure with the external environment. This single step alone can prevent approximately 90% of siphoning issues in water bath canned goods.
For Pressure Canning: Patience with Pressure Release
Pressure canning introduces an additional variable: fluctuating pressure. Most siphoning in pressure canning is a direct result of rapid pressure fluctuations or cooling the canner too quickly. To effectively prevent it, always exercise patience during the depressurization phase. Allow the pressure in your canner to drop to zero naturally; never attempt to speed up this process by using cold water, fans, or lifting the weight early. Once the gauge reads zero, wait an additional 5–10 minutes before removing the weight or opening the lid. When you do open the canner, tilt the lid slightly away from you to release residual steam gradually, and then let the jars rest inside the open canner for another 5 minutes before transferring them. This extended, gradual cooling period is critical for allowing the pressure inside the jars to fully equalize with the canner, thereby preventing liquid from being forced out. Even a small rush of steam upon opening indicates the canner isn’t quite ready, emphasizing why patience truly pays off in pressure canning.
By prioritizing a slow and steady cooling process in both canning methods, you will dramatically reduce or eliminate nearly all siphoning issues, ensuring your jars maintain their optimal liquid levels.
What Is Siphoning in Canning?
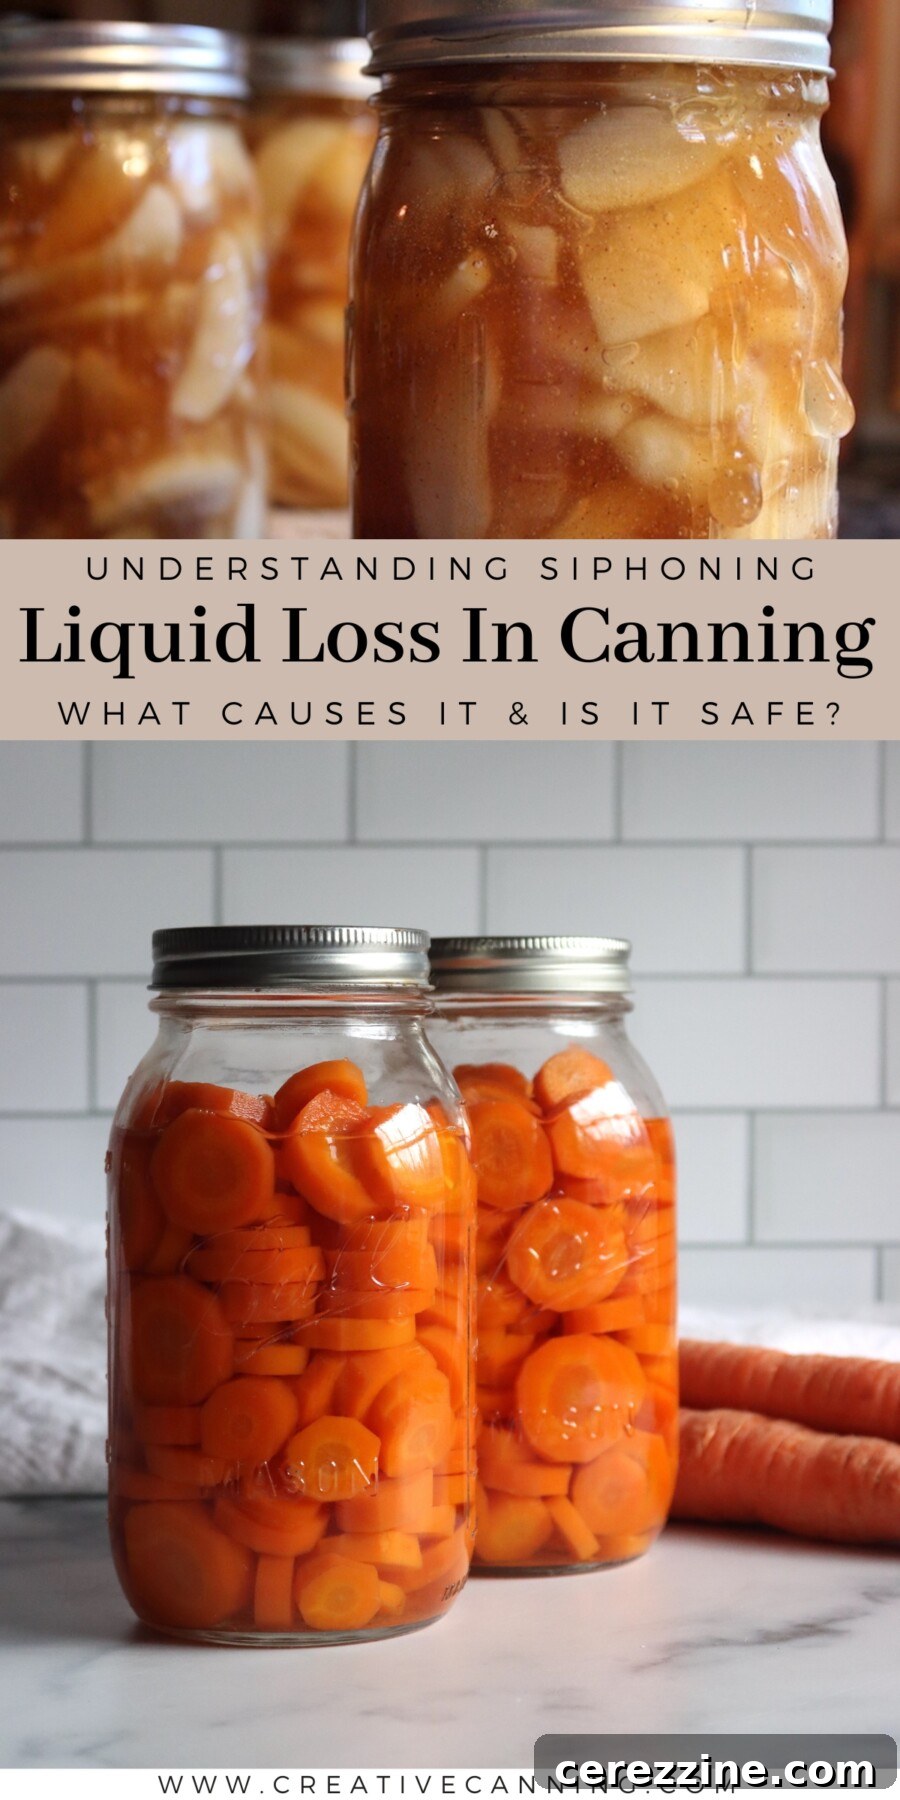
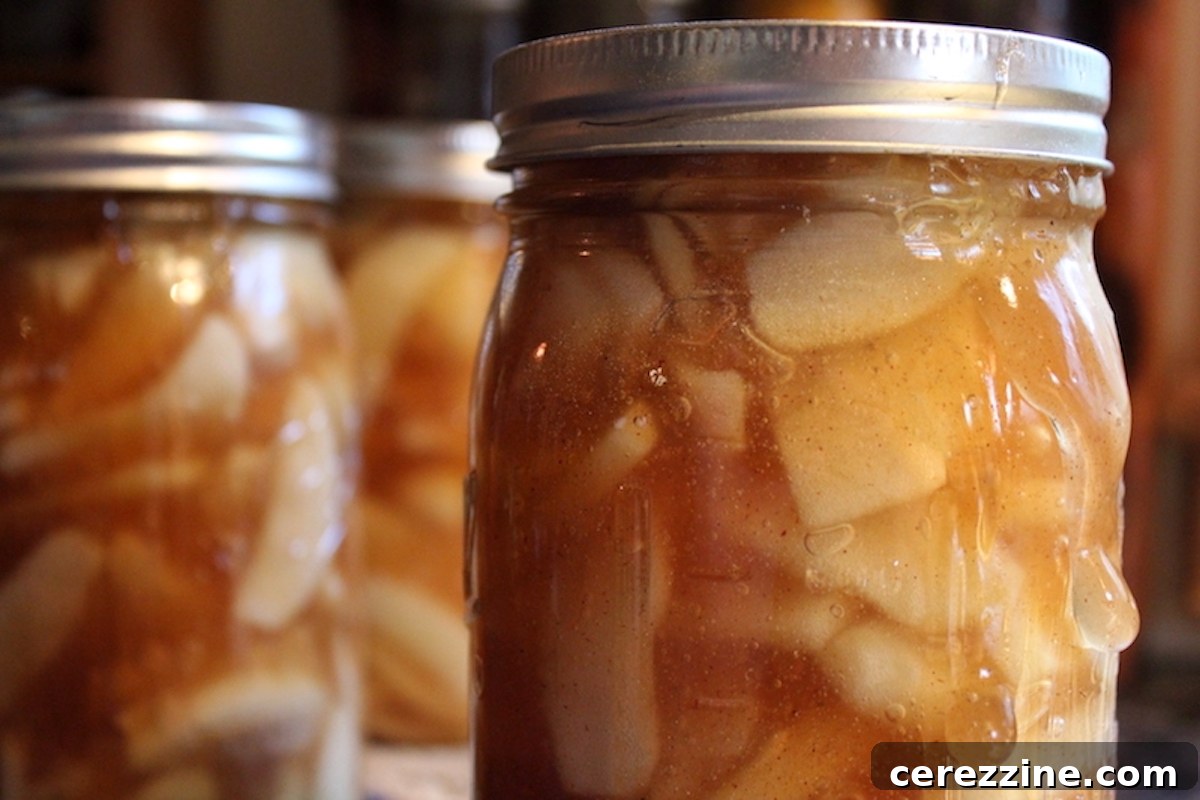
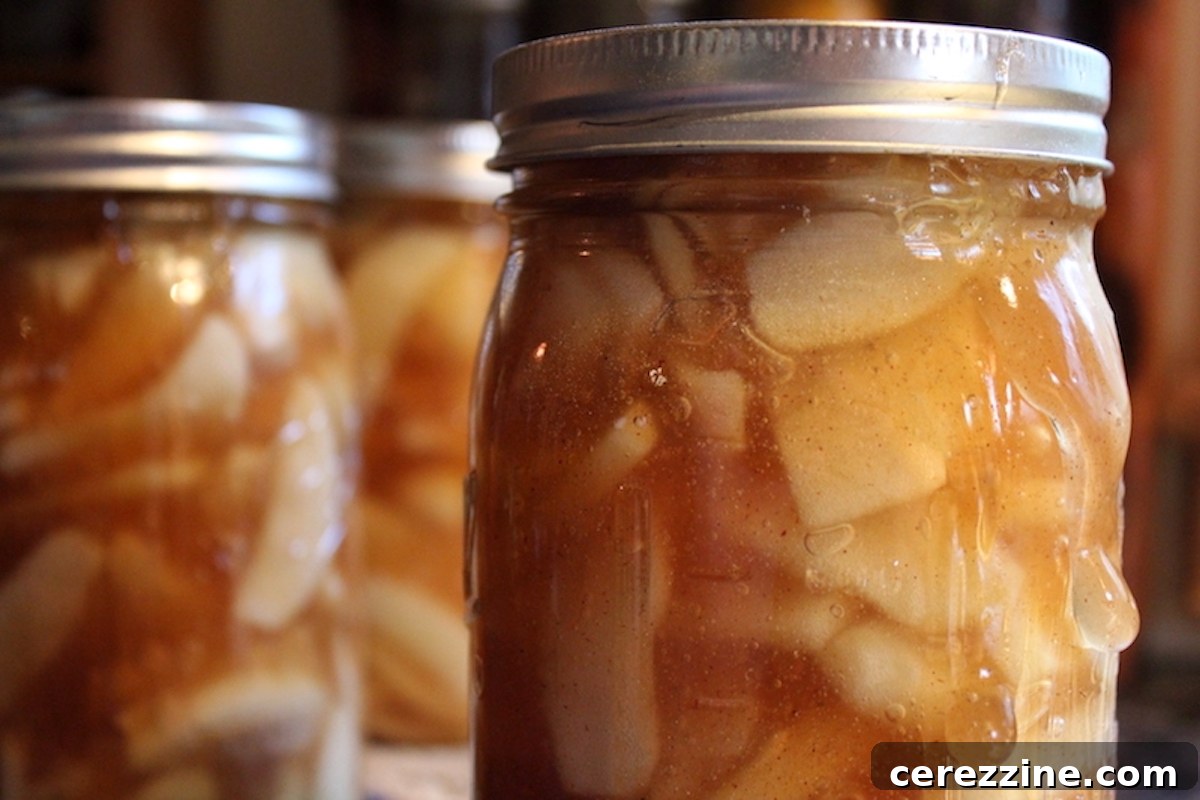
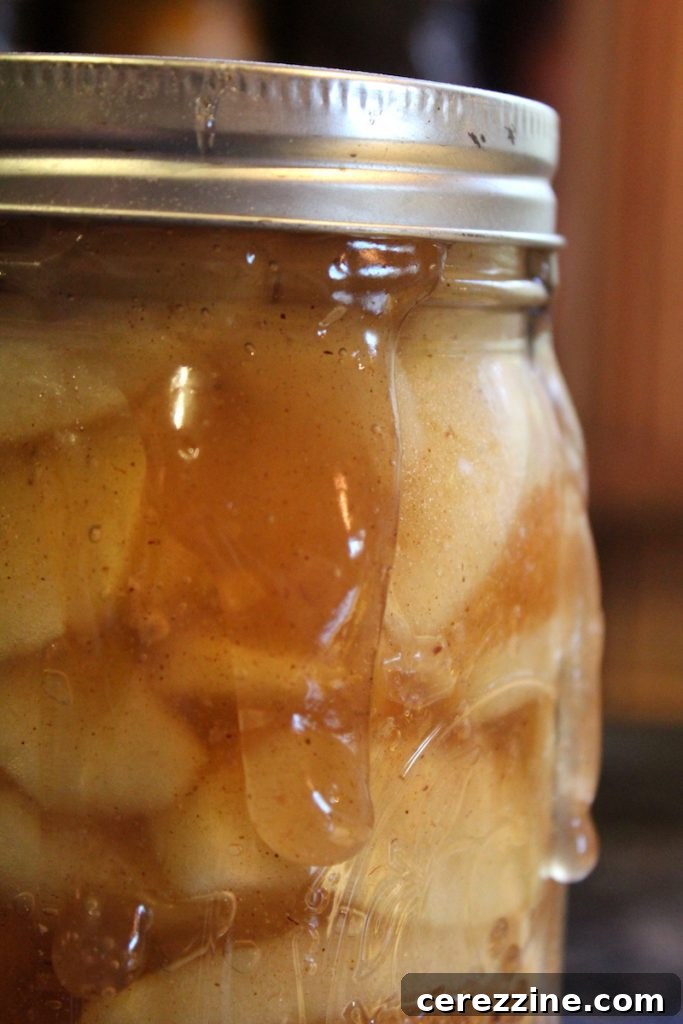
Siphoning, in the context of home canning, refers to the undesirable process where liquid is forced out of the canning jars during or immediately after processing. It’s an issue rooted in pressure and temperature differentials. While it might be more visually striking and common in pressure canning, it can absolutely occur in water bath canning, particularly with dense fruits, vegetables, or pickles packed tightly in liquid. From my experience, it’s often observed in water bath canned goods that are thick, such as homemade pie filling, or in broth-heavy pressure canned items like soup canning recipes.
The mechanism behind siphoning begins as jars heat up during processing. The contents inside, along with any trapped air, expand. This expansion pushes air out of the headspace—the empty space between the food and the lid. If the temperature or pressure inside the jar changes too rapidly or drastically—whether during the heating phase, the processing time, or especially during the cooling phase—steam and liquid can be forcibly expelled past the sealing compound of the lid before a complete vacuum seal is formed. This escaping liquid is precisely what we refer to as siphoning.
Is It Dangerous When Liquid Escapes Canning Jars? Understanding Safety vs. Quality
This is a common concern among home canners, and the good news is that siphoning does not automatically render a jar unsafe for consumption. As long as the jar achieves a proper, secure seal and the food was processed for the full, tested time according to a reliable recipe, it remains safe for long-term storage and use. The primary concern with siphoning revolves around food quality rather than immediate safety.
The Impact of Liquid Loss on Food Quality
While generally safe, significant liquid loss can lead to several quality issues:
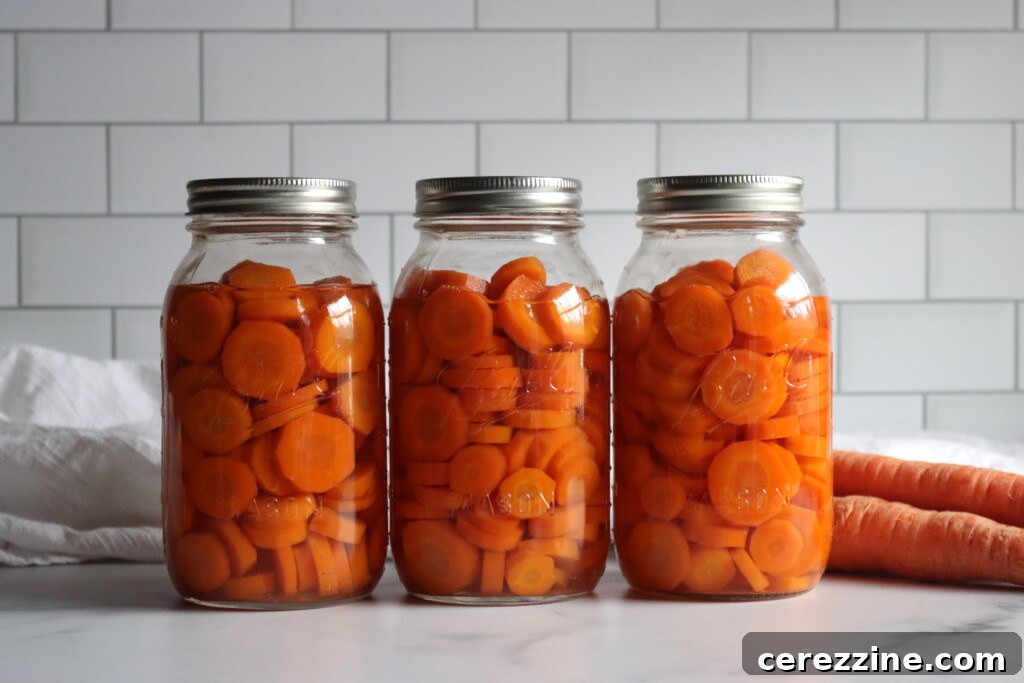
- Food discoloration and drying: Any food that rises above the liquid line becomes exposed to air within the jar. Over time, this exposed food can darken, dry out, or become discolored, losing its appealing appearance.
- Shorter shelf life: Exposed food deteriorates faster due to oxidation and contact with residual air. While still safe, its quality may degrade more quickly than food fully submerged in liquid, meaning it should be consumed sooner.
- Texture changes: Exposed food can become tough or mushy. In items like soups or beans, significant liquid loss can lead to starch thickening or sediment accumulation at the bottom of the jar, affecting texture and consistency.
- Flavor alteration: The prolonged exposure to air can sometimes lead to off-flavors or a diminished overall taste profile.
Assuming the jar has sealed correctly, it is still safe to use after canning. The main takeaway here is that quality may degrade more rapidly, and it’s generally best to prioritize using these siphoned jars before other, perfectly sealed jars from the same batch that did not experience liquid loss. Again, this is predominantly a quality issue, not a safety issue for properly sealed jars.
When Siphoning Might Affect Safety
There are two critical scenarios where siphoning can indirectly impact safety:
- Unsealed Jars: If a jar siphons excessively and, as a result, doesn’t seal properly, then it is indeed unsafe for pantry storage. Any unsealed jar, regardless of whether it siphoned, must be refrigerated and consumed within a few days or reprocessed immediately if appropriate (and within 24 hours). Liquid escaping during siphoning can deposit food particles or residue on the jar rim, interfering with the lid’s ability to form a strong vacuum seal. Therefore, seal failures are a bit more common when jars experience siphoning. Always check the seals on siphoned jars with extra vigilance.
- Excessive Liquid Loss: The National Center for Home Food Preservation (NCHFP) cautions that “excessive” liquid loss *may* pose a safety problem. While they are somewhat vague on the definition of “excessive,” the primary concern is that a drastic and rapid loss of liquid could mean there wasn’t enough moisture circulating within the jar to facilitate proper heat penetration and effectively process (sterilize) the food. Water transfers heat far more efficiently than air, so a lack of liquid could lead to under-processed food. General guidance often suggests that “excessive” means jars losing more than half of their liquid, placing the water line at or below the halfway point up the side of the jar. In such rare cases, the NCHFP recommends refrigerating these jars and treating them as you would unsealed jars. However, in my 20+ years of canning thousands of jars, I’ve very rarely encountered jars losing that much liquid, and instances of this online are also infrequent. Most often, the loss is minor, exposing only some solids at the top, which is typically not a safety concern for sealed jars.
Why Siphoning Happens: The Science Behind Liquid Loss
Liquid loss during canning is primarily a consequence of rapid and uneven temperature or pressure changes within the jar relative to its surrounding environment. When the pressure inside the jar shifts faster than the external pressure can equalize, the contents—specifically steam and liquid—are literally forced or “pulled” out through the small vent channel of the lid before the vacuum seal is permanently established. This delicate balance of pressure is crucial for successful canning.
There are three main phases during the canning process where this imbalance can lead to siphoning:
- During Rapid Heating in the Canner: If jars are introduced to a canner that is too hot, or if the heat is increased too quickly, the contents inside the jars expand very rapidly. This rapid expansion occurs faster than the air and steam can properly vent through the lid’s sealing compound, leading to an immediate pressure build-up. When the internal pressure exceeds the external pressure too quickly, liquid is forcefully pushed out.
- During Pressure Fluctuations in Pressure Canning: In pressure canning, maintaining a consistent, steady pressure is paramount. Each time the canner’s pressure spikes or drops, even slightly, it creates an aggressive boiling action within the jars. This intermittent boiling and settling can repeatedly force liquid and steam out of the jars. Imagine a boiling pot on a stove: if you repeatedly adjust the heat up and down, the contents will bubble erratically, often boiling over. The same principle applies inside your canner.
- During Rapid Cooling After Processing: This is arguably the most common cause of siphoning. When jars are removed from the canner (especially a hot pressure canner or water bath) and exposed to significantly cooler ambient air too quickly, a dramatic temperature and pressure differential is created. The sudden drop in external temperature causes the air and contents inside the jar to contract rapidly. However, because the lid hasn’t fully sealed yet, the internal pressure can’t equalize fast enough, and the remaining steam and liquid inside continue to escape until the vacuum seal finally forms. This is essentially a “thermal shock” effect.
It’s also worth noting that jars containing starchy foods like dry beans, pasta, or certain soups can sometimes *appear* to have siphoned or lost liquid, when in reality, the food itself has absorbed a significant portion of the liquid during processing. While technically not siphoning, the outcome is similar: some food may be left exposed above the liquid line. The results are the same in terms of quality degradation, and any food above the liquid line is more susceptible to drying out or discoloring faster than food submerged in liquid. Again, this is a quality concern, not typically a safety issue for properly processed and sealed jars. Just be sure to use these jars first from your pantry. And, as a good practice, always remove canning rings and thoroughly wash the outside of your jars after they’ve cooled and sealed, especially if there’s any sticky residue from siphoned liquid, to keep your pantry clean and prevent mold growth on the jar exterior.
Common Causes of Liquid Loss and How to Prevent Them
Siphoning is often a symptom of one or more specific canning practices that can be easily rectified. By identifying these common causes, you can take proactive steps to prevent liquid loss in your future canning batches.
1. Fluctuating Pressure or Temperature
In pressure canning, erratic pressure is the leading cause of siphoning. If your canner’s pressure gauge fluctuates significantly—dipping and spiking during the processing time—it causes the contents of the jars to boil aggressively and then calm, repeatedly pushing liquid out. This inconsistency prolongs the time it takes for the internal temperature to recover, making the process less efficient and more prone to liquid loss.
How to Prevent It:
- Maintain Steady Heat: Once your canner reaches the target pressure, adjust your burner to the lowest possible setting that still maintains that steady pressure. Avoid large, sudden adjustments.
- Adjust Gradually: When correcting pressure, make very small, gradual adjustments to your heat source. Think in terms of tiny nudges rather than large turns of the knob.
- Stay Attentive: Avoid walking away from your pressure canner or multitasking during processing. Small fluctuations matter, and consistent monitoring allows for immediate, subtle adjustments.
2. Improper Headspace (Overfilled or Underfilled)
Headspace—the empty space between the top of the food and the inside of the jar lid—is critical for successful canning. It allows for the natural expansion of food during heating and for the formation of a strong vacuum seal. Incorrect headspace can directly contribute to siphoning.
- Too Little Headspace: If jars are overfilled, there isn’t enough room for the food to expand, forcing liquid out during heating and processing. This is a very common cause of liquid loss.
- Too Much Headspace: Conversely, excessive headspace can trap too much air inside the jar, which can interfere with the vacuum seal formation. While less directly a cause of siphoning, it can lead to weaker seals or even seal failures.
How to Prevent It:
- Follow Recipe Guidelines Precisely: Always adhere to the specific headspace instructions provided in your tested canning recipe. General guidelines include:
- ¼ inch for jams, jellies, and juices. This minimal space is sufficient for these dense, gelled products.
- ½ inch for fruits, tomatoes, and pickles. This allows for slight expansion and adequate vacuum formation.
- 1 inch for most vegetables, especially those packed raw, like corn or green beans, and also for meat. This provides ample room for expansion and ensures proper heat penetration.
- 1 to 1¼ inches for meats with broth, soups, and pie fillings. These items often expand considerably or have components that need more room for proper processing.
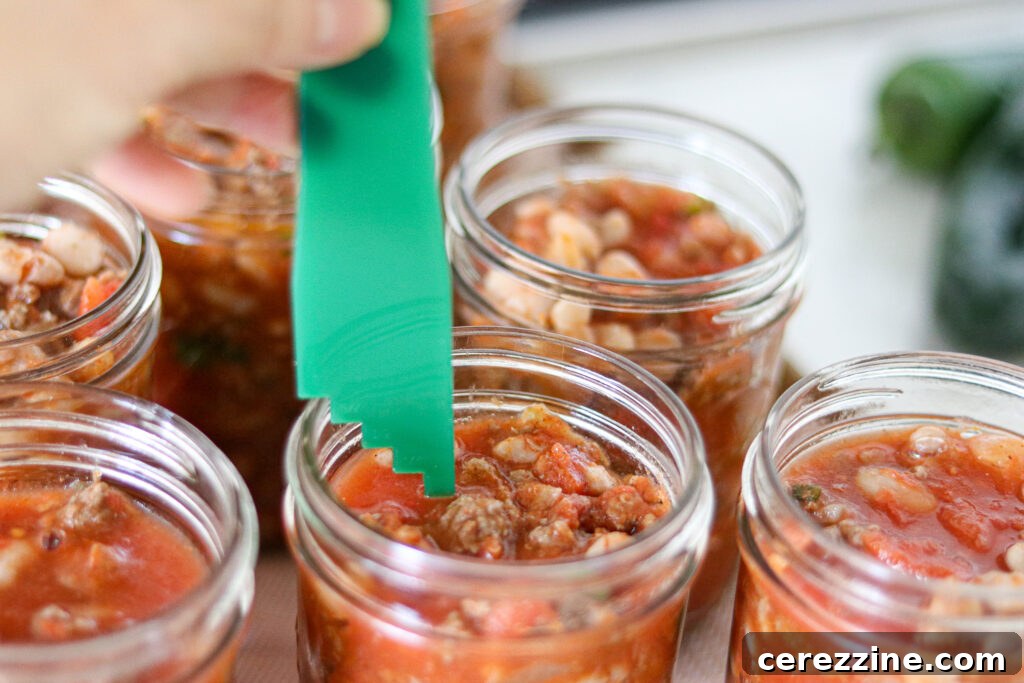
- Remove Air Bubbles: Before placing lids, run a plastic spatula or a specialized debubbling tool along the inside of the jar to release any trapped air bubbles. This step is crucial, as trapped air can lead to false headspace readings and interfere with proper sealing.
3. Rapid Temperature Changes (Heating and Cooling)
Sudden temperature shifts create dramatic pressure changes within the jars, leading to liquid being forced out. This “thermal shock” can occur at both the beginning and end of the canning process.
- Rapid Heating: Placing cold jars into a rapidly boiling canner (especially a water bath) or bringing a pressure canner to pressure too quickly can cause the contents to expand suddenly and violently.
- Rapid Cooling: Removing hot jars from the canner immediately after processing, exposing them to significantly cooler air, is a primary cause of siphoning. The internal pressure drops too quickly before the seal is fully formed.
How to Prevent It:
- Match Temperatures: Always warm your jars before filling them if your food or canner water is hot. Similarly, fill a water bath canner with water that is approximately the same temperature as your filled jars.
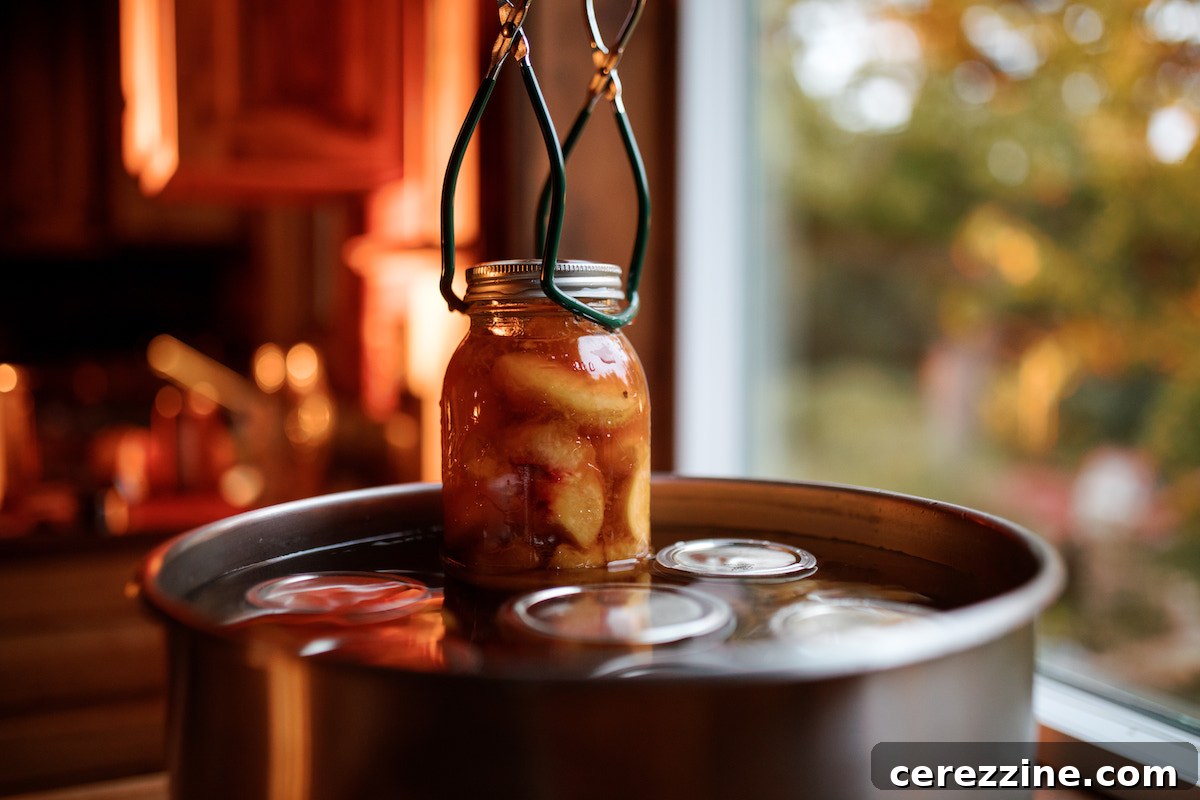
- Gradual Cooling in Canner: As mentioned in the quick solutions, allow jars to rest in the canner for 5–10 minutes after processing. Turn off the heat and, for pressure canners, crack the lid slightly to let the environment normalize.
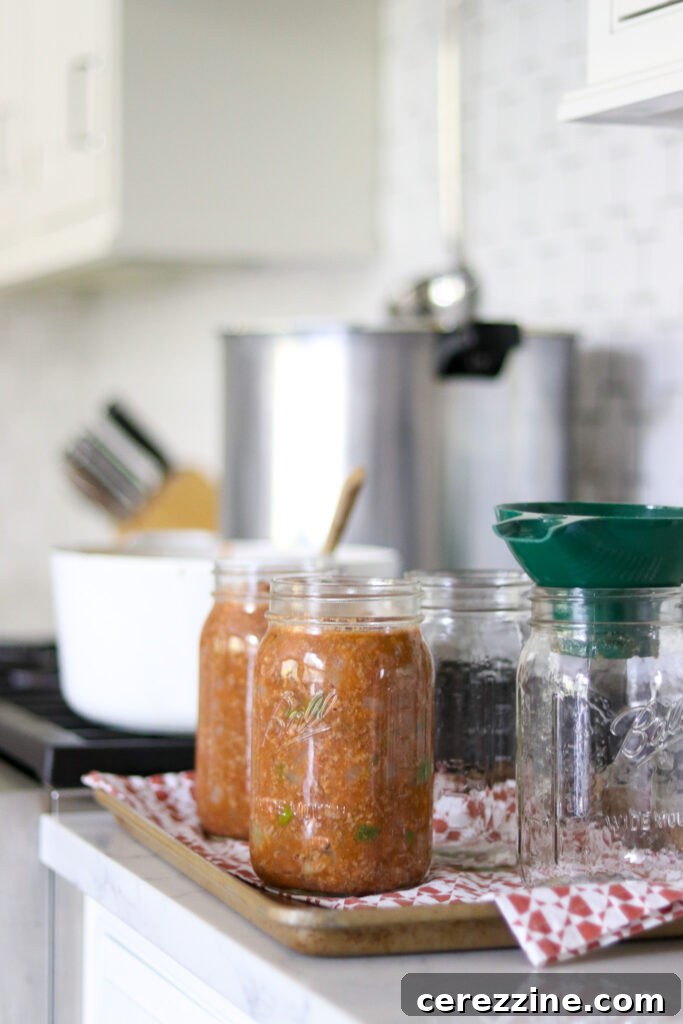
- Proper Resting Surface: Once removed, never place hot jars directly onto cold countertops, metal surfaces, or in a cold draft. Instead, place them on a towel, a wooden cutting board, or a wire rack to allow them to cool slowly and evenly.
4. Uneven Jar Cooling After Processing
Even after being removed from the canner, jars continue to cool and seal for several hours. If they are exposed to uneven cooling conditions—such as a strong draft, air conditioning, or direct sunlight—the temperature inside can drop suddenly or unevenly. This rapid internal pressure drop can cause further liquid loss before the vacuum seal has fully solidified.
How to Prevent It:
- Cool Undisturbed: Place jars in a quiet, stable, and draft-free area of your kitchen or pantry. Allow them to cool undisturbed for a full 12–24 hours.
- Avoid Extremes: Keep cooling jars away from open windows, air conditioning vents, heating vents, or direct sunlight, which can create temperature fluctuations.
- Don’t Tighten Rings: Never tighten screw bands (rings) immediately after processing. The vacuum seal needs to form naturally, and tightening the bands can interfere with this process, potentially creating a false seal or preventing proper air expulsion.
5. Incorrect Packing Density
The way food is packed into jars can significantly influence siphoning. Overpacking jars, especially with solid, dense foods like dry beans, corn, chunks of meat, or firm fruits, leaves very little interstitial space for liquid. As steam expands during heating, this lack of cushioning and liquid volume forces the liquid that *is* present out of the jar.
How to Prevent It:
- Follow Packing Instructions: Adhere strictly to recipe instructions regarding raw-pack (cold food into jars, then hot liquid) or hot-pack (hot food into jars, then hot liquid) techniques. Both methods have specific liquid requirements.
- Ensure Sufficient Liquid: When pressure canning dense foods, always add the specified amount of hot liquid (water, broth, or syrup) to ensure proper heat penetration throughout the jar. This liquid acts as a medium for heat transfer and helps reduce aggressive boiling and subsequent liquid expulsion. Don’t “cram” jars full; allow space for liquid to circulate.
6. Sudden Pressure Release (Pressure Canning Specific)
After a pressure canner has completed its processing time, the temptation to speed up the depressurization process is strong. However, rapid depressurization is a guaranteed way to induce siphoning. If the pressure inside the canner drops too quickly, the contents of the jars, which are still under significant pressure themselves, will erupt and spill out as they try to equalize with the suddenly lower external pressure.
How to Prevent It:
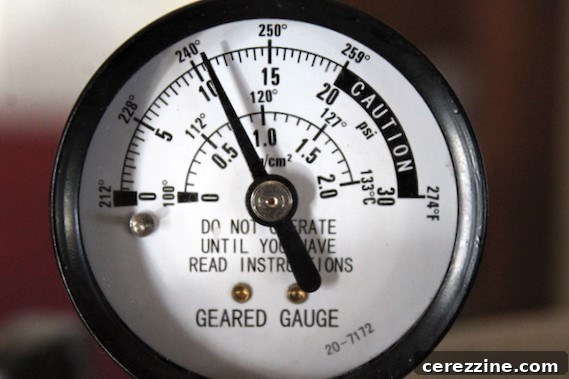
- Natural Depressurization: Always turn off the heat and allow the pressure canner to return to zero naturally. This process can take anywhere from 20 minutes to over an hour, depending on the canner size and amount of food.
- Wait After Zero: Once the pressure gauge reads zero, wait an additional 10 minutes before attempting to remove the weighted gauge or open the lid. This extra time allows for crucial internal pressure stabilization.
- Gradual Steam Release: When opening the canner, tilt the lid slightly away from your face to allow any residual steam to escape gradually, not all at once.
7. Altitude Misadjustment
Altitude plays a critical role in canning because atmospheric pressure changes with elevation. At higher altitudes, lower atmospheric pressure means water boils at a lower temperature. If processing times or pressures aren’t correctly adjusted for your specific elevation, it can lead to under-processing (a safety risk) and also increase the risk of siphoning due to improper boiling conditions and pressure differentials.
How to Prevent It:
- Know Your Altitude: Determine your precise elevation above sea level.
- Adjust Accordingly: Always consult reliable canning charts (like those from the NCHFP or extension offices) and adjust your processing parameters:
- For water bath canning, you will need to increase the processing time.
- For pressure canning, you will need to increase the pressure (PSI).
Addressing Liquid Loss: Practical Guidelines
Even with the best techniques, a little liquid loss can sometimes occur. Knowing how to evaluate and respond to it is crucial for safe food preservation.
How Much Liquid Loss Is Acceptable?
A small amount of liquid loss—typically up to an inch below the original liquid line—is quite common and generally considered normal. As long as the jar has achieved a proper, concave seal and the food remains mostly submerged by liquid, it does not affect the safety of the product. These jars can be safely stored on your pantry shelf. Prioritize using these jars first from your stored preserves, as their quality may degrade slightly faster over time compared to jars with full liquid levels.
As previously mentioned, the National Center for Home Food Preservation (NCHFP) advises caution regarding “excessive” liquid loss. While they don’t provide a precise measurement for “excessive,” the main concern is that if too much liquid is lost too quickly, there might not have been enough moisture to properly circulate heat and process the food adequately. Water is a much more efficient heat conductor than air, so a significant reduction in liquid could potentially lead to under-processed food. A common interpretation of “excessive” is when a jar loses more than half of its liquid, meaning the liquid line drops to or below the halfway mark up the side of the jar. In such rare instances, the NCHFP suggests treating these jars as if they were unsealed: refrigerate them and use them within a few days. However, such extreme liquid loss is very uncommon in practice.
It’s important to differentiate this from jars that didn’t seal at all. An unsealed jar is never safe for pantry storage, regardless of liquid loss. Always confirm a good seal by checking that the lid is concave and does not flex when pressed.
Can You Refill Liquid After Siphoning?
No, absolutely not. Once a jar has been processed and has formed a vacuum seal, you should never attempt to open it and add more liquid. Doing so will break the hermetic seal, compromise the sterile environment inside the jar, and introduce contaminants, thereby making the food unsafe for pantry storage. The integrity of the seal is paramount for food safety.
If the liquid loss is minor and the food is still adequately covered, the jar is fine as is. If the liquid loss is extreme (e.g., more than half) and you are concerned about food drying out, discoloration, or potential under-processing, the safest course of action is to refrigerate the jar and consume its contents within a few days. Do not attempt to reprocess food that has already sealed and then been opened.
Does Siphoning Mean You Processed Incorrectly?
Not necessarily. While siphoning is often a sign that adjustments could be made to your technique, it doesn’t automatically mean you made a critical error. Even highly experienced canners occasionally observe some liquid loss. Pressure canning, in particular, involves significant boiling and expansion within the jars, especially during longer processing times, making minor siphoning a somewhat natural side effect. The objective is to minimize it, not to eliminate it entirely, as some minimal loss is sometimes unavoidable.
However, if you consistently experience significant liquid loss across multiple jars or batches, it’s a strong indicator that you should revisit your canning steps. Pay particular attention to your cooling practices and pressure management. The most common culprit for recurrent siphoning issues is removing jars too quickly from the canner after the heat has been turned off, especially during pressure canning.
Your Ultimate Checklist for Preventing Siphoning in Future Canning Batches
To help you achieve optimal results and minimize liquid loss, keep this practical checklist in mind for your next canning session:
- Temperature Match: Ensure jars and food are warmed to similar temperatures before filling and loading into the canner. Avoid putting cold jars into a hot canner.
- Accurate Headspace: Always use the correct amount of headspace as specified by your recipe, and diligently remove all air bubbles before placing lids.
- Slow and Steady Pressure Rise: Bring your canner to pressure slowly and gradually. Avoid aggressive heat that causes rapid pressure spikes.
- Maintain Consistent Pressure: During the entire processing time, monitor your canner’s pressure gauge (or weighted gauge) and maintain a steady, unfluctuating pressure.
- Natural Depressurization: After processing, turn off the heat and allow the pressure canner to return to zero pressure naturally. Do not rush this step.
- Post-Zero Wait Time: Once the gauge reads zero, wait an additional 5–10 minutes before removing the weighted gauge or opening the canner lid.
- Rest Jars in Canner: For both water bath and pressure canning, let the jars rest inside the opened canner for another 5–10 minutes before carefully removing them.
- Slow, Draft-Free Cooling: Place removed jars on a padded surface (like a towel or wooden board) in a draft-free area, allowing them to cool completely and undisturbed for 12–24 hours.
- Adjust for Altitude: Always consult and apply the necessary processing time or pressure adjustments for your specific altitude.
These seemingly small steps collectively make a significant difference in maintaining jar quality, preserving liquid levels, and ultimately ensuring the success of your home canning efforts.
Remember, a small amount of liquid loss in canning is not the end of the world; it’s a natural and sometimes unavoidable side effect of the complex heating and cooling processes involved. What truly matters is that your jars form a proper, airtight seal and that the food inside remains safely preserved according to tested methods. Siphoning is almost always preventable through meticulous attention to detail, maintaining steady pressure, respecting the critical cooling times, and, above all, avoiding any urge to rush the process. The hallmark of the best canning results is patience—slow heating, slow cooling, and consistent, steady pressure from start to finish.
If you occasionally encounter a jar that lost a bit of liquid but sealed properly, don’t worry. Label it for quicker consumption, store it alongside your other preserves, and simply make a mental note for your next batch. Each canning session offers a valuable opportunity to refine your technique, and with practice and adherence to these guidelines, you’ll soon find that your jars emerge nearly perfect, brimming with delicious, safely preserved food, liquid and all.
Frequently Asked Questions About Canning Jar Liquid Loss (Siphoning)
Siphoning refers to the loss of liquid from jars during or immediately after the canning process. It is caused by rapid changes in temperature or pressure inside the jar relative to the canner, which forces liquid out before the lid can form a complete vacuum seal.
Generally, no. If the jar sealed properly and the food was processed for the full, tested time according to a reliable recipe, it remains safe for storage and consumption, even if the liquid level has dropped. However, significant liquid loss can impact food quality, appearance, and shelf life. If you experience excessive liquid loss (e.g., more than half the liquid), it’s recommended to refrigerate those jars and treat them like unsealed items. Otherwise, jars with moderate liquid loss are safe for pantry storage as long as they are securely sealed.
A small amount of liquid loss, typically up to an inch, is common and generally acceptable. While it can affect the long-term quality and appearance of food (especially if food is exposed above the liquid line), it does not necessarily indicate spoilage if the jar has sealed correctly and was processed properly.
To prevent siphoning, maintain steady pressure during processing, avoid rapid heating and cooling (especially after processing), use the correct amount of headspace, ensure proper packing density, and allow jars to rest in the canner for several minutes after the heat is turned off before removing them for final cooling.
No. You should never open sealed jars to add more liquid. Doing so will break the vacuum seal, compromise the sterility of the jar’s contents, and make the food unsafe for pantry storage. If liquid loss is severe, refrigerate and consume the food promptly rather than attempting to add liquid.