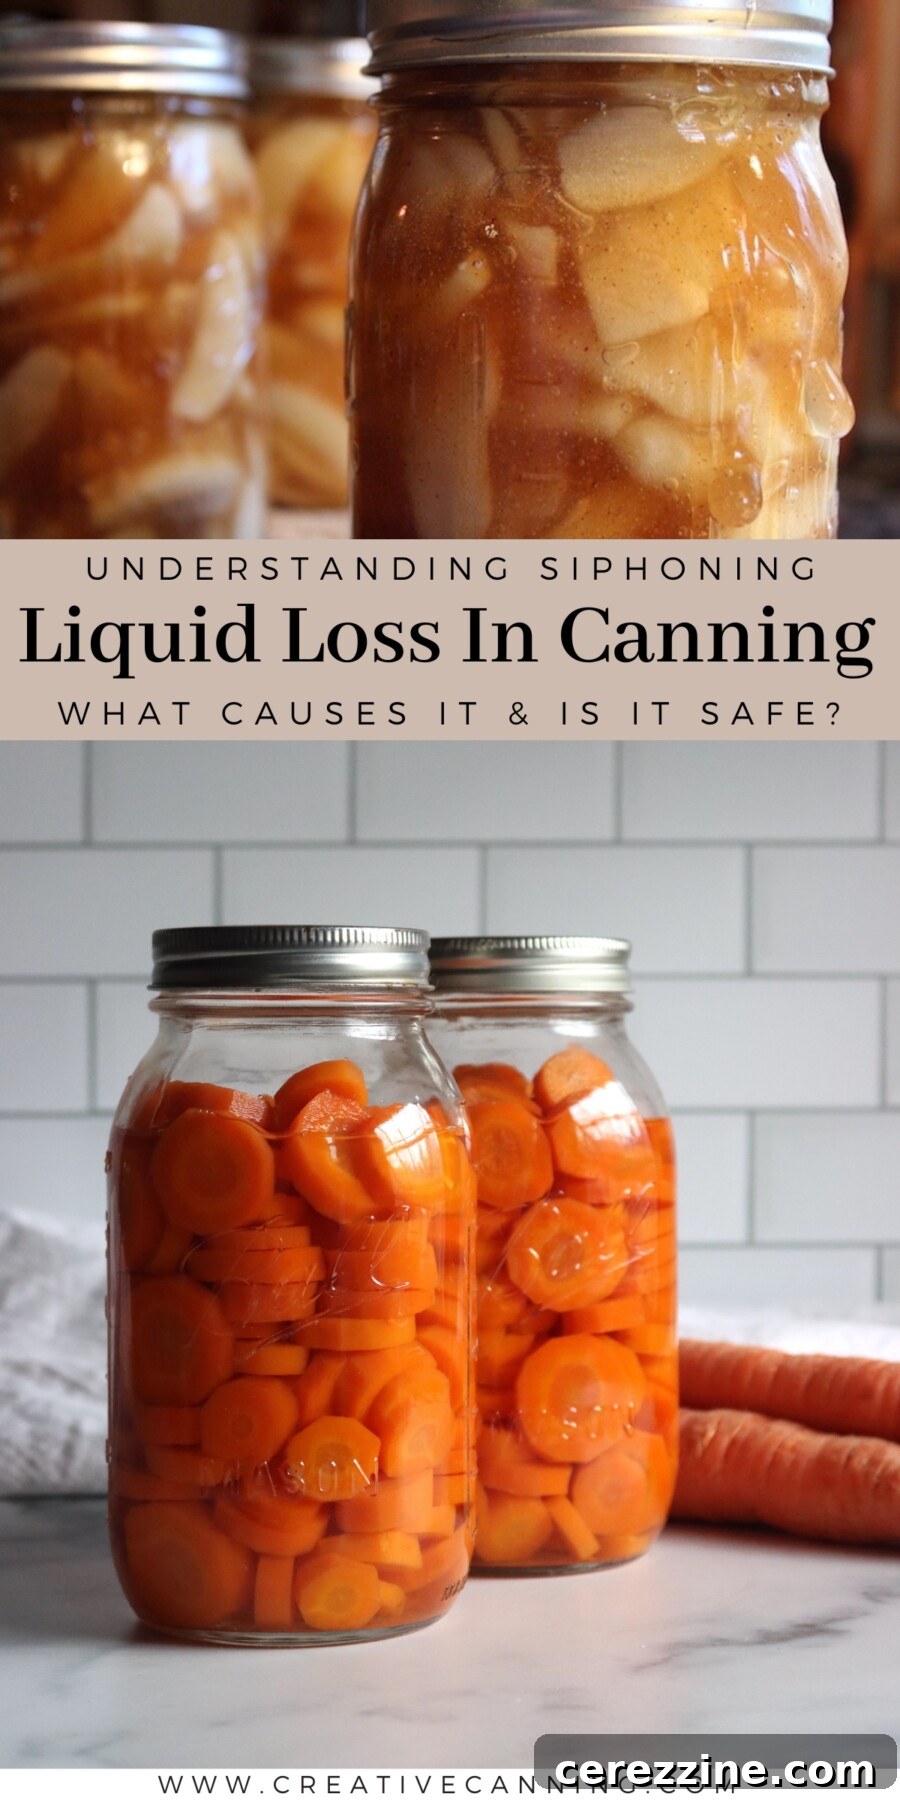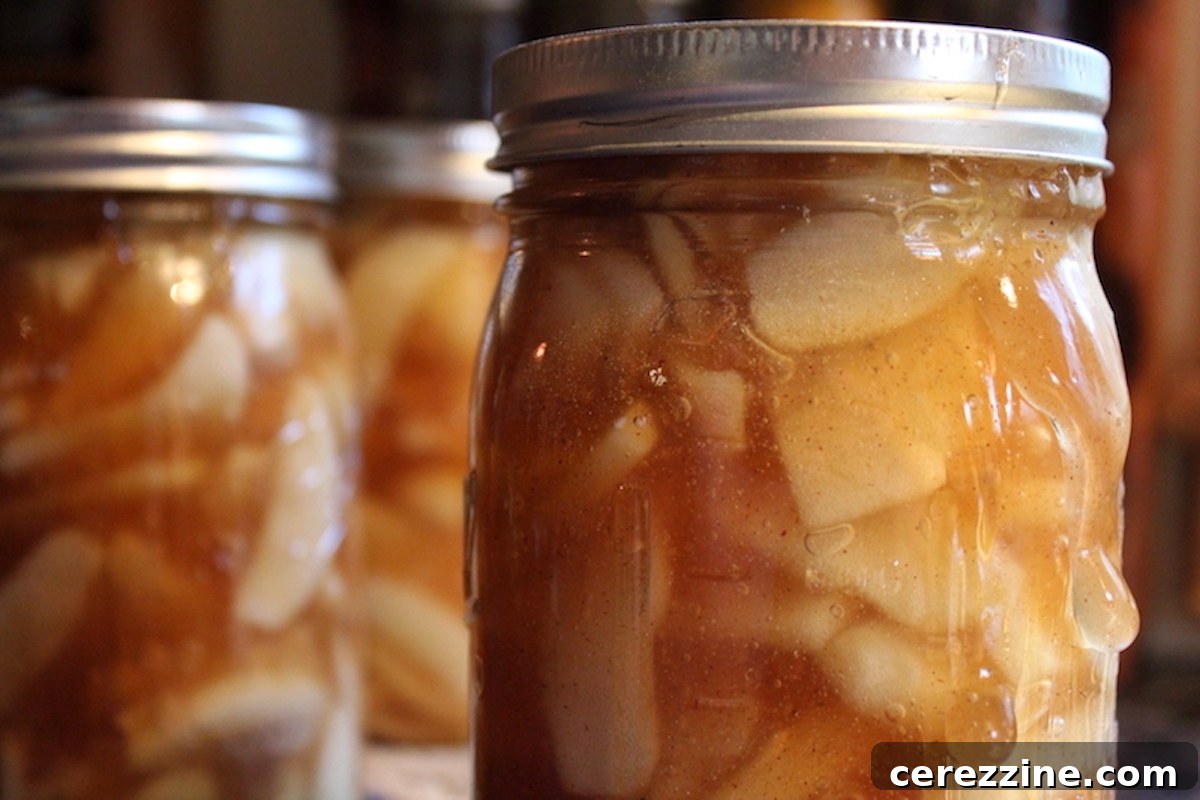
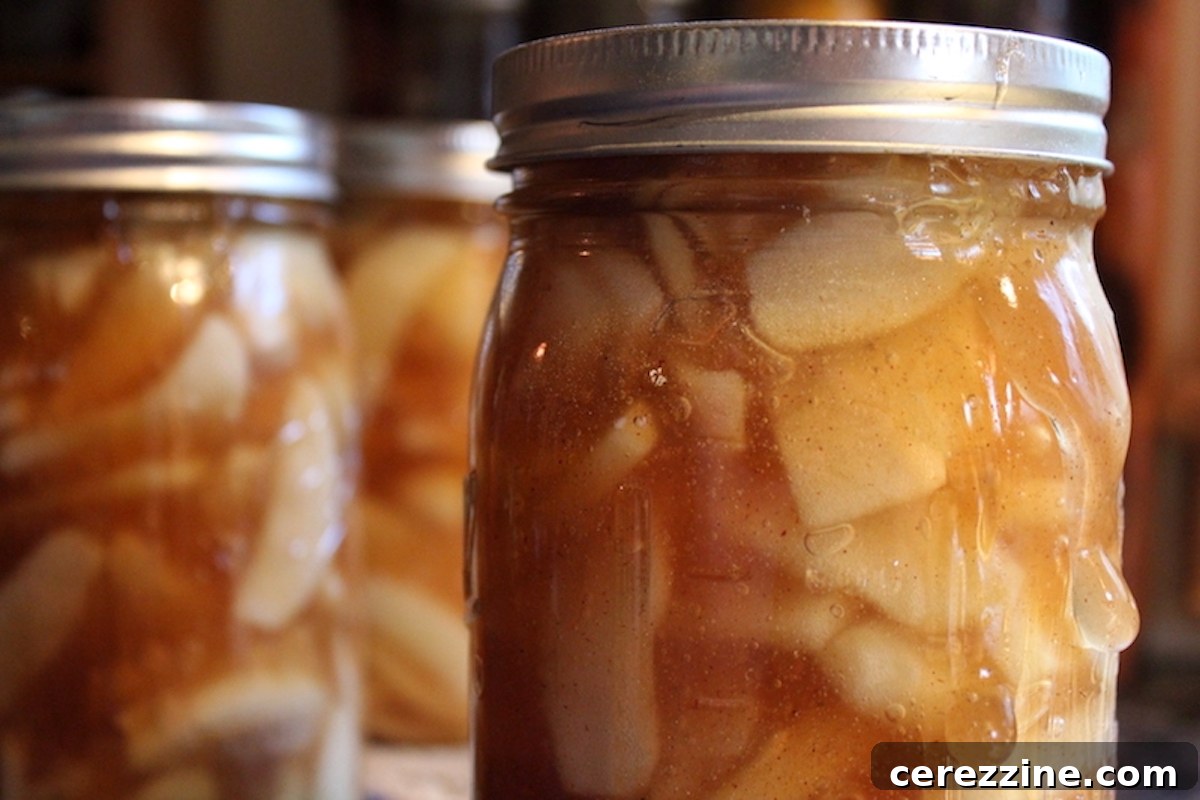
Liquid loss from jars during canning, commonly known as siphoning, is a frequent and often frustrating issue for home canners. This phenomenon leaves food looking dry, uneven, or partially exposed within the jar, detracting from its appeal and potentially impacting its longevity. The good news is that siphoning is almost always preventable with a clear understanding of its causes and a few mindful adjustments to your canning and cooling techniques.
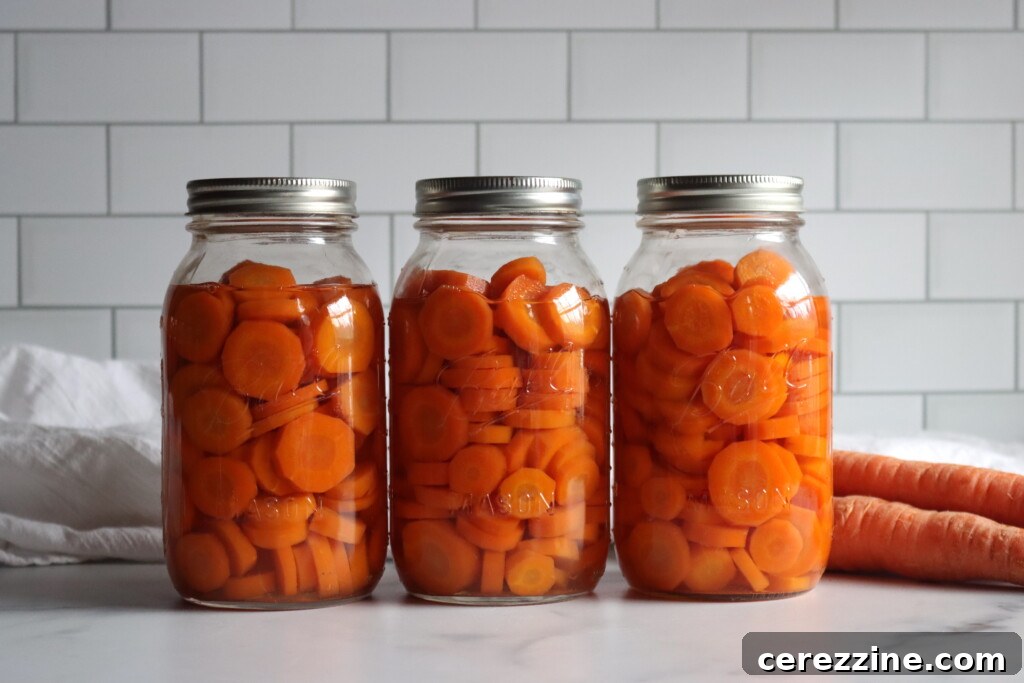
If you’ve ever opened your canner to find jars with noticeably less liquid than when they started, you’ve witnessed siphoning. This loss of liquid can occur during or immediately after the processing stage. It stands as one of the most prevalent challenges in canning, particularly for those new to the practice. While minor liquid loss does not typically compromise the safety of your food, it can significantly affect its quality, shelf life, and overall appearance. By understanding the underlying reasons behind siphoning and implementing effective preventive measures, you can ensure consistently better results with every batch of preserved goods.
Generally, siphoning primarily impacts food quality rather than canning safety, provided the jar seals properly. It’s a natural aspect of the canning process, and even seasoned canners encounter it occasionally. The objective isn’t to eliminate it entirely, but rather to minimize its occurrence, recognizing that some degree of siphoning may be inevitable with regular canning.
While we will delve into all potential causes of liquid loss, in most home canning scenarios, the solutions are remarkably straightforward:
For Water Bath Canning: The vast majority of siphoning in water bath canning can be prevented by a simple, yet crucial step: leave the jars in the canning water for 5 to 10 minutes after the processing time is complete and the heat has been turned off. This allows the jars and their contents to cool gradually and uniformly before being exposed to the significantly cooler ambient air. This single technique alone can prevent approximately 90% of siphoning incidents in products like jams, jellies, pickles, and fruit pie fillings.
For Pressure Canning: Most siphoning during pressure canning stems from abrupt pressure fluctuations or cooling the canner too rapidly. To prevent this, always allow the canner’s pressure to return to zero naturally. Resist the urge to accelerate this process by applying cold water, using fans, or lifting the weighted gauge prematurely. Once the pressure gauge reads zero, wait an additional 5–10 minutes before attempting to remove the weighted gauge or open the lid. When you do open the canner, tilt the lid slightly away from your face to allow any residual steam to escape safely, and let the jars rest inside the open canner for another 5 minutes before transferring them out. This extended, gradual cooling period is essential. It permits the internal pressure within the jars to slowly equalize with the pressure inside the canner, thereby preventing liquid from aggressively boiling out of the jars. Even a small rush of steam upon opening the pressure vent indicates that the canner might not be fully ready, highlighting how patience at this stage is truly rewarded. By adhering to these careful depressurization and cooling steps, you will effectively eliminate almost all siphoning issues.
What Exactly Is Siphoning in Canning?
Siphoning is the process by which liquid is forcibly expelled from a canning jar during or immediately after the processing stage. While often more apparent in pressure canning, it can also occur in water bath canning, particularly with densely packed foods like fruits or pickles suspended in liquid. In practice, it’s most frequently observed in thick, dense water bath canned goods such as pie filling recipes or hearty, broth-based pressure canned items like soup canning recipes.
The mechanism behind siphoning involves the expansion and contraction of contents within the jar. As jars heat up in the canner, the food and liquid inside expand, pushing air out of the headspace. If the temperature or pressure inside the jar changes too abruptly—either during the heating cycle or, more commonly, during cooling—steam and liquid can be forced past the lid’s rubber sealing compound before a proper vacuum seal has formed. This escaping liquid is precisely what is referred to as siphoning.
Is Liquid Loss from Canning Jars a Safety Concern?
Here’s the reassuring news: siphoning does not automatically render a jar of food unsafe. As long as the jar achieves a proper seal and the food was processed for the full, tested duration recommended by a reputable recipe, it is still safe for pantry storage and subsequent consumption. The canning process’s primary goal is to destroy harmful microorganisms and create a vacuum seal that prevents spoilage. If these conditions are met, the food remains safe.
However, significant liquid loss can lead to several quality issues:
- Exposure and Discoloration: Food situated above the liquid line can darken, dry out, or oxidize over time, leading to an unappetizing appearance.
- Reduced Shelf Life: Exposed food deteriorates faster than submerged food, potentially shortening the effective storage period.
- Textural Changes: In items like soups or beans, substantial liquid loss can result in increased starch thickening or the formation of sediment at the bottom of the jar.
Assuming the jar successfully sealed, the contents are safe to consume. The primary consideration is that quality may degrade more rapidly. Therefore, it’s advisable to prioritize consuming siphoned jars before other, un-siphoned jars from the same batch. To reiterate, this is a quality concern, not a safety issue.
A more serious problem arises if a jar fails to seal after experiencing siphoning. In such cases, the food must be refrigerated and used within a few days, or reprocessed immediately if done within 24 hours (with fresh lids and proper technique). True safety issues stem from unsealed jars, irrespective of whether siphoning occurred. However, it’s worth noting that seal failures are somewhat more common with siphoned jars because escaping liquid can sometimes interfere with the sealing surface, preventing a proper vacuum from forming. Consequently, it’s crucial to inspect the seals on any siphoned jars with extra diligence.
The Science Behind Liquid Loss in Canning (Siphoning)
Liquid loss during canning is fundamentally driven by rapid and uneven changes in temperature or pressure. When the pressure inside the jar shifts faster than it can equalize with the surrounding environment (the canner), the contents are literally forced out through the lid’s vent as the vacuum forms. This happens because the jar’s contents behave according to gas laws: heating causes expansion, and cooling causes contraction.
There are three primary moments during the canning process when this pressure differential can lead to siphoning:
- Abrupt Heating of Jars in the Canner: If cold jars are introduced into an already hot canner, or if the temperature rises too quickly, the contents inside the jars expand rapidly. This rapid expansion pushes liquid out before the air can properly vent, causing overflow.
- Pressure Fluctuations During Processing: In pressure canning, inconsistent heat application can lead to the canner’s internal pressure rising and falling. Each noticeable spike or drop in pressure causes the liquid inside the jars to boil aggressively, then momentarily subside, effectively “pumping” liquid out past the lid.
- Rapid Cooling of Jars After Processing: This is arguably the most common cause of siphoning. When jars are removed from the canner too quickly, the sudden drop in external temperature or pressure (from a hot, steamy environment to cooler room air) causes the liquid and contents inside the jar to contract rapidly. Before the lid can fully seal and create a stable vacuum, this sudden contraction creates a strong pressure differential, pulling liquid out.
It’s important to distinguish between actual siphoning and apparent liquid loss caused by food absorption. Jars containing starchy foods like beans, rice, or pasta may sometimes appear to have siphoned or lost liquid, when in reality, the food itself has absorbed a significant portion of the packing liquid. While not true siphoning, the outcome is similar: any food extending above the liquid line is prone to faster quality degradation than food fully submerged. Again, this is a quality issue, not a safety concern, but such jars should be prioritized for consumption.
Always remember to remove canning rings and thoroughly wash off the exterior of jars after they have completely cooled and sealed, and before storage. Any sticky residue or food particles on the outside of the jars can attract pests and create an unhygienic pantry environment.
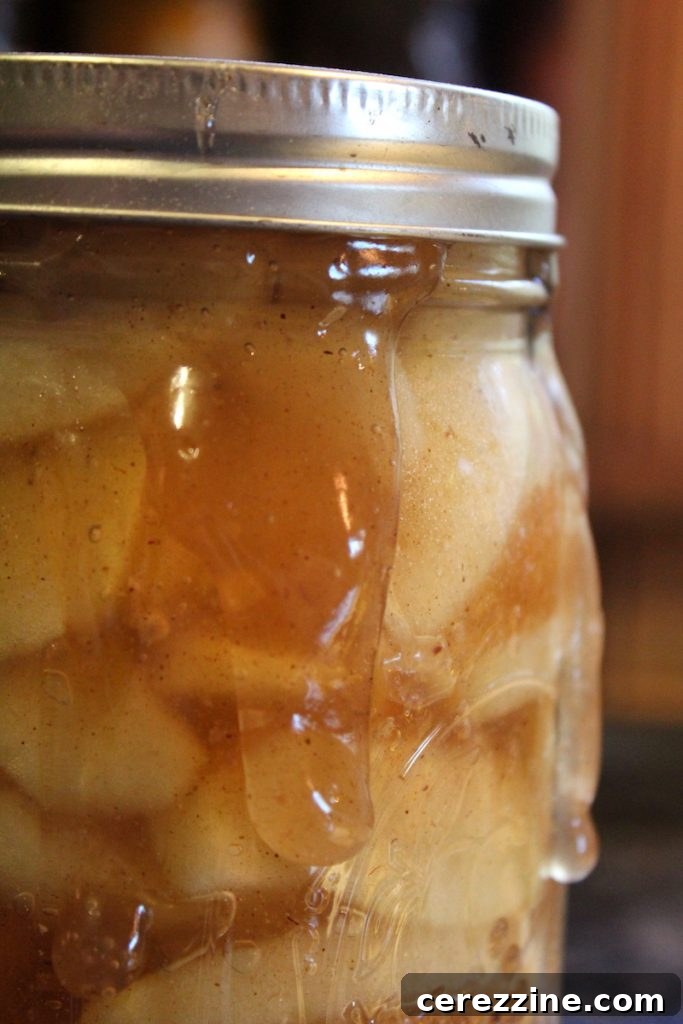
Common Causes of Liquid Loss (Siphoning) and Effective Prevention Strategies
Understanding the specific triggers for siphoning is the first step towards preventing it. Here’s a breakdown of common causes and their corresponding solutions:
1. Fluctuating Pressure or Temperature
Inconsistent pressure is a leading cause of siphoning, particularly in pressure canning. Even slight dips or surges in canner pressure during processing can disrupt the equilibrium within the jars. These fluctuations cause the contents to boil more aggressively, forcing liquid out past the lids.
How to Prevent It:
- Maintain Steady Heat: Apply consistent heat to your canner throughout the entire processing time.
- Gradual Adjustments: If you need to correct the pressure (e.g., if it’s too high or too low), adjust your burner’s heat setting very gradually, allowing time for the canner to stabilize.
- Focused Attention: Avoid distractions or multitasking while pressure canning. Small, unnoticed fluctuations can have significant consequences. Stay near your canner and monitor the gauge closely.
2. Incorrect Headspace (Overfilled or Underfilled)
Proper headspace—the empty space between the food surface and the rim of the jar—is critical. This space allows for the natural expansion of food and liquid during heating and also facilitates the venting of air. Insufficient headspace means there’s no room for expansion, leading to liquid being pushed out. Conversely, too much headspace can trap excessive air, which can interfere with proper sealing and allow more food to be exposed to air after sealing.
How to Prevent It:
- Follow Recipe Guidelines Precisely: Always adhere strictly to the headspace instructions provided in your canning recipe. General guidelines typically include:
- ¼ inch for jams, jellies, and fruit juices.
- ½ inch for most fruits, tomatoes, and pickles.
- 1 inch for most low-acid vegetables, such as green beans and corn.
- 1 to 1¼ inches for meats, soups, and pie fillings.
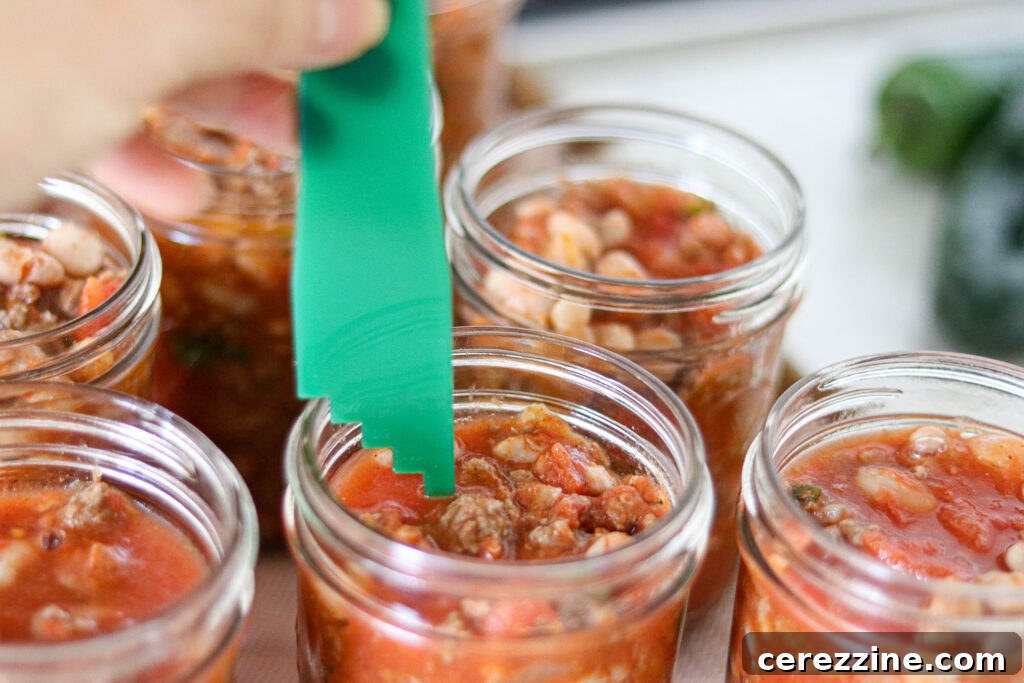
- Remove Air Bubbles: Before placing lids, run a plastic spatula or de-bubbling tool along the inside of each jar to release any trapped air bubbles. This helps ensure accurate headspace and better heat penetration.
3. Rapid Heating or Cooling of Jars
Introducing cold jars into a hot canner, or removing hot jars too quickly into a cold environment, creates abrupt temperature and pressure differentials. This sudden thermal shock causes the jar contents to expand or contract violently, leading to liquid expulsion.
How to Prevent It:
- Temperature Matching: If you are filling jars with hot food, ensure your canner water is also hot. If filling with cold food, your canner water should be warm. This prevents thermal shock.
- Gradual Cooling in Canner: After processing, turn off the heat and allow jars to remain in the canner for 5–10 minutes with the lid cracked (for water bath) or completely off (for pressure canning after depressurization). This crucial step allows for a slow, gentle temperature transition.
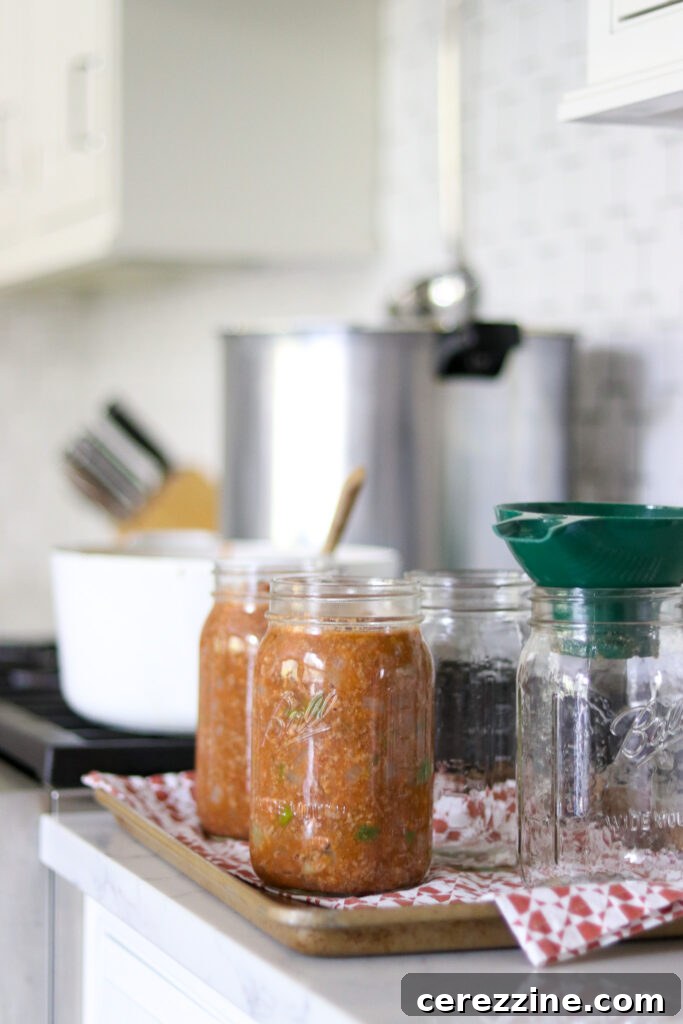
- Cool on Insulated Surfaces: Never place hot jars directly onto cold countertops. Always set them on a towel, wooden cutting board, or cooling rack to facilitate slow and even cooling.
4. Uneven Jar Cooling After Processing
The cooling and sealing process continues even after jars are removed from the canner. Exposing them to drafts, cold air currents (like air conditioning vents), or direct sunlight too quickly can cause the internal pressure to drop abruptly and unevenly, resulting in further liquid loss.
How to Prevent It:
- Undisturbed Cooling: Allow jars to cool completely undisturbed for 12–24 hours on a flat surface.
- Avoid Environmental Extremes: Keep cooling jars away from drafts, open windows, air conditioning units, or direct, intense sunlight.
- No Immediate Ring Tightening: Do not tighten screw bands immediately after removing jars from the canner. The vacuum seal needs to form naturally as the jars cool; tightening rings can interfere with this process or create false seals.
5. Incorrect Packing Density
Overpacking jars, particularly with solid foods such as beans, corn kernels, or cuts of meat, reduces the amount of free liquid between food pieces. As the contents expand and steam generates, the lack of adequate cushioning and space for liquid movement can force the liquid out of the jar.
How to Prevent It:
- Adhere to Packing Methods: Never cram jars full. Follow the specific “raw-pack” or “hot-pack” instructions outlined in your tested canning recipe.
- Sufficient Liquid: When pressure canning dense foods, always add the required amount of liquid as specified by the recipe. This ensures proper heat penetration throughout the jar and helps minimize aggressive boiling and liquid expulsion.
6. Sudden Pressure Release (Pressure Canning)
When pressure canning, it’s often tempting to hasten the depressurization process once the processing time is complete. However, a rapid release of pressure is a near-guarantee for siphoning. As the canner’s internal pressure drops too quickly, the superheated contents of the jars essentially “erupt,” causing substantial liquid to spill out.
How to Prevent It:
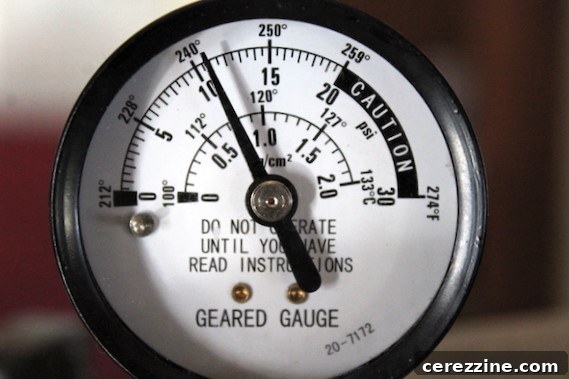
- Natural Depressurization: Always allow the pressure in the canner to return to zero naturally, without any external intervention.
- Post-Zero Wait Time: Once the pressure gauge reads zero, wait an additional 10 minutes before attempting to remove the weighted gauge or unlatch the lid.
- Gradual Lid Opening: When finally opening the canner, tilt the lid slightly away from you to allow any remaining steam to escape gradually, preventing a sudden pressure differential.
7. Altitude Misadjustment
At higher altitudes, atmospheric pressure is lower. This lower pressure affects boiling points and the internal dynamics of the canning process, significantly increasing the risk of siphoning if processing times or pressures are not correctly adjusted for your elevation.
How to Prevent It:
- Consult Altitude Charts: Always consult reliable altitude adjustment charts (e.g., from the National Center for Home Food Preservation) and adjust your processing parameters accordingly.
- For water bath canning, this typically means increasing the processing time.
- For pressure canning, this usually involves increasing the pressure (PSI).
How Much Liquid Loss Is Acceptable?
A small amount of liquid loss—typically up to an inch—is considered normal and does not compromise safety if the jar has sealed correctly. If the solid food within the jar remains covered by liquid, you can confidently store it on your pantry shelf.
The National Center for Home Food Preservation (NCHFP) advises that “excessive” liquid loss might indicate a safety concern. However, their definition of “excessive” remains somewhat open to interpretation. The primary worry is that if a jar loses a significant volume of liquid too rapidly, there might not have been enough moisture within the jar to facilitate proper heat circulation and ensure the food was adequately processed. Water is far more efficient at transferring heat than air, making it crucial for sterilizing jar contents effectively.
General guidance suggests that “excessive” liquid loss occurs when jars lose more than half of their original liquid, meaning the liquid line drops to or below the halfway point up the side of the jar. In such rare instances, the NCHFP recommends treating these jars like unsealed jars and storing them in the refrigerator, consuming them within a few days.
From personal experience, having canned for over 20 years and preserved thousands of jars, I have never encountered a jar losing that much liquid. Such extreme examples are also very rare to find discussed online. Most commonly, liquid loss is minor, exposing only some solids at the very top. In these cases, it’s not a safety issue, and the jars can simply be used first from your pantry. But it is important to be aware of the NCHFP’s recommendation for refrigerator storage if you do experience exceptionally severe liquid loss.
(It goes without saying that if jars fail to seal properly—regardless of siphoning—they are never safe for pantry storage and must be refrigerated or reprocessed.)
Can You Add More Liquid After Siphoning Has Occurred?
No. Once a jar has successfully sealed, you should never attempt to open it and add more liquid. Doing so will break the vacuum seal, introduce potential contaminants, and compromise the safety and sterility of the preserved food.
If the liquid loss is minor and the remaining food is below the jar’s rim, the jar is generally fine as is. If the liquid loss is extreme (e.g., more than half the liquid is gone) and you are concerned about potential drying or discoloration of the food, it is safer to refrigerate that jar and consume its contents promptly rather than attempting to reprocess or refill it.
Does Siphoning Indicate Incorrect Processing?
Not necessarily. Even highly experienced canners will occasionally observe some liquid loss in their jars. Pressure canning, by its very nature, involves significant bubbling and expansion, especially during longer processing times. The primary goal is to minimize siphoning, not to eliminate it entirely, as some minimal loss can be unavoidable.
However, if siphoning occurs regularly across multiple batches, it’s a strong indicator that you should review and refine your canning steps—with particular attention to your cooling practices. The most common culprit for recurring siphoning issues is typically removing jars from the canner too soon after the heat has been turned off.
Comprehensive Checklist to Prevent Siphoning in Future Canning Batches
To achieve consistently full, beautiful jars with minimal liquid loss, integrate this checklist into your canning routine:
- Temperature Harmony: Ensure your jars and the food you’re filling them with are at similar temperatures before loading them into the canner. This prevents thermal shock.
- Precision Headspace: Always use the correct amount of headspace as specified by your recipe, and diligently remove any trapped air bubbles before sealing.
- Controlled Heating: Bring the canner up to pressure (or boiling point for water bath) slowly and steadily, avoiding any sharp or sudden fluctuations in temperature.
- Consistent Processing: Maintain a steady, even pressure or boil throughout the entire processing time, monitoring your canner closely.
- Natural Depressurization (Pressure Canning): For pressure canning, always allow the pressure to return to zero naturally, then wait an additional 10 minutes before attempting to open the lid.
- In-Canner Rest Period: After processing and depressurization, let jars rest inside the canner for 5–10 minutes before carefully removing them. This gradual transition is key.
- Undisturbed Cooling: Place removed jars on an insulated surface (like a towel) in a draft-free area and allow them to cool slowly and completely undisturbed for 12-24 hours.
These seemingly small adjustments collectively make a significant difference in preserving both the quality and the liquid level of your home-canned goods.
A little liquid loss during canning is not the end of the world; it’s an inherent side effect of the dynamic heating and cooling processes jars undergo. What truly matters is that your jars achieve a secure seal and that the food remains safely preserved according to tested methods. Siphoning is almost always avoidable through diligent attention to detail, maintaining steady pressure, respecting the vital cooling times, and, above all, avoiding any attempts to rush the canning process. The most superior canning results are a direct outcome of patience—slow, controlled heating, gradual, gentle cooling, and consistently steady pressure from the moment you start to the very end of the process.
Should you discover a jar that has experienced some liquid loss but has otherwise sealed properly, do not fret. Simply label it clearly, store it alongside your other jars, and make a mental note to apply these preventive techniques more rigorously for your next batch. Every canning session offers a valuable opportunity to refine your skills, and with consistent practice, you’ll soon find that your jars emerge nearly perfect, liquid levels intact and food beautifully preserved.
Canning Jar Liquid Loss: Frequently Asked Questions (FAQ)
Siphoning refers to the loss of liquid from canning jars, either during or immediately after processing. It’s caused by rapid or uneven changes in temperature or pressure within the jar, forcing liquid out before a stable vacuum seal forms.
Generally, no. If the jar sealed correctly and the food was processed for the full, tested time, it remains safe for pantry storage and consumption, even with some liquid loss. However, if liquid loss is excessive (more than half the liquid), the NCHFP suggests refrigerating those jars and treating them like unsealed items. For moderate liquid loss, sealed jars are fine for pantry storage, though quality might degrade faster.
A minor amount, typically up to an inch of liquid loss, is common and generally acceptable. Larger losses or instances where food is significantly exposed above the liquid line can affect food quality and shelf life, but do not automatically indicate spoilage if the seal is good.
Key prevention strategies include: maintaining steady pressure (for pressure canning), avoiding rapid heating or cooling of jars, ensuring correct headspace, and allowing jars to rest inside the canner for several minutes after processing before removal. Patience and gradual transitions are crucial.
No. Once a jar has sealed, you should never open it to add liquid. Doing so will break the critical vacuum seal, compromise the food’s safety, and potentially introduce contaminants.