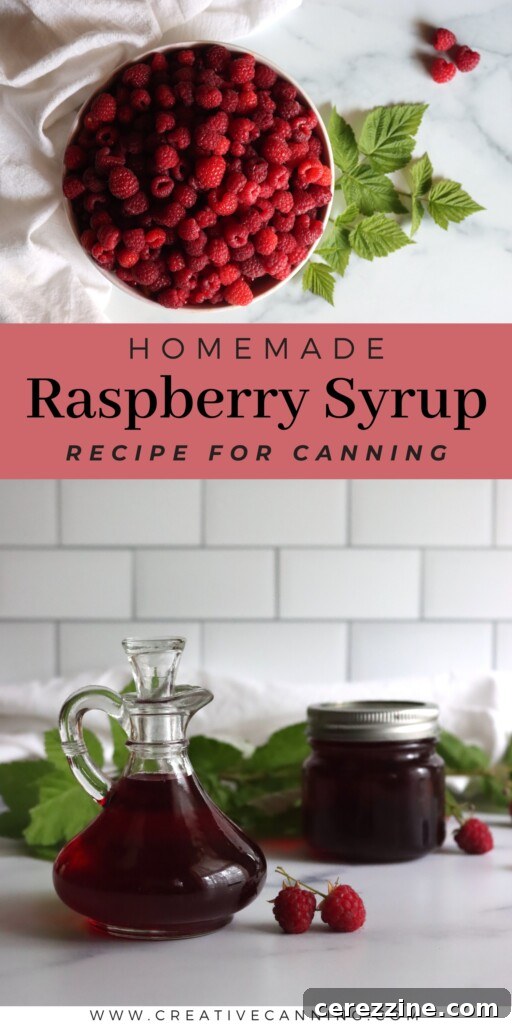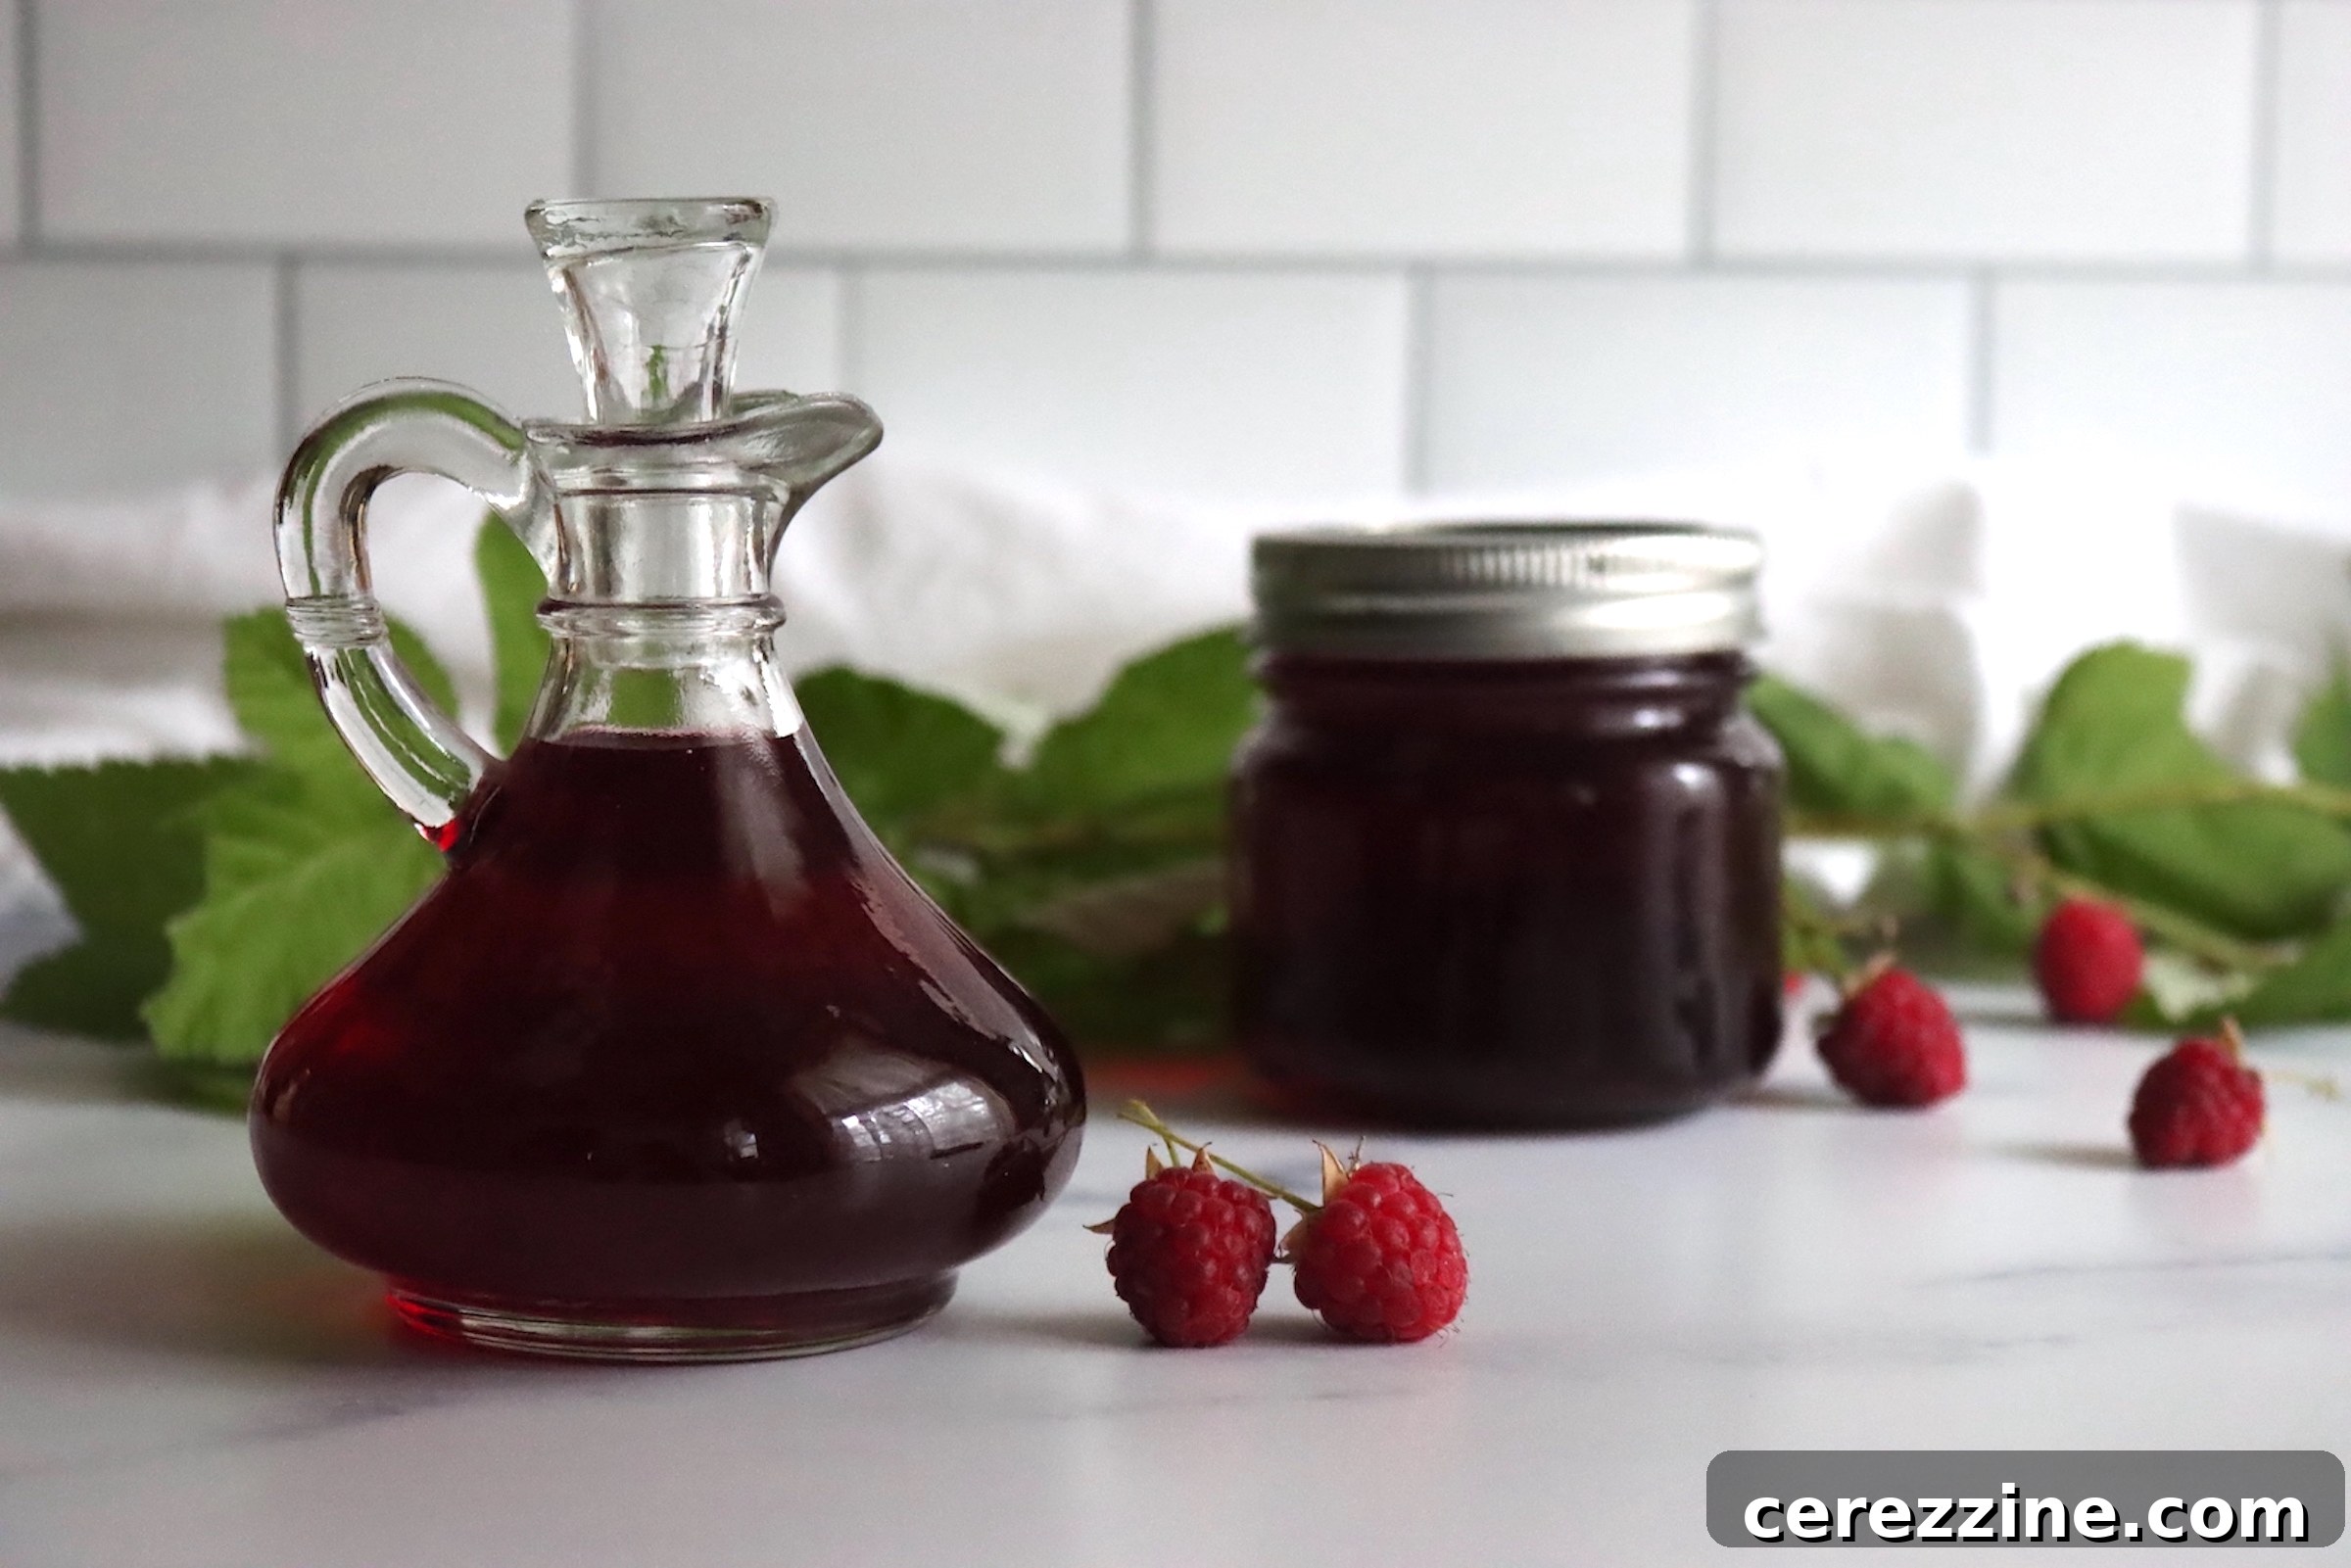
There’s nothing quite like the vibrant burst of summer berries, and homemade raspberry syrup is one of the most exquisite ways to bottle that sunshine for year-round enjoyment. This luscious, sweet-tart elixir effortlessly elevates everything it touches, from breakfast staples like fluffy pancakes and golden waffles to sophisticated desserts and refreshing beverages. Imagine drizzling its rich color and intense flavor over a scoop of vanilla bean ice cream, stirring it into sparkling water for a homemade soda, or adding a touch of elegance to your favorite cocktail. With its incredible versatility and a shelf-stable quality when properly canned, this raspberry syrup recipe is a true kitchen gem.
Why Craft Your Own Raspberry Syrup?
Making raspberry syrup at home offers a multitude of advantages over store-bought versions. Firstly, you control every ingredient, ensuring a product free from artificial flavors, colors, or excessive preservatives. This allows the pure, unadulterated taste of fresh raspberries to shine through. Secondly, it’s an incredibly satisfying way to preserve the bounty of a summer harvest, especially when raspberries ripen faster than you can consume them. Many home canners appreciate the flexibility of using frozen berries, setting aside the task for cooler days when heating the kitchen with a canner is more appealing. Whether you have an abundance of fresh berries from your garden or have stocked up on frozen ones, this recipe seamlessly adapts, making it accessible for everyone.
Unlike some other fruit preserves like jams and jellies, raspberry syrup doesn’t require pectin or complicated set-time testing. This simplifies the process considerably, making it an excellent project for both novice and experienced canners. The magic lies in the simple act of extracting the vibrant juice, simmering it with sugar and a touch of lemon, and then either refrigerating for immediate indulgence or processing in a water bath for long-term storage. It’s a rewarding culinary endeavor that fills your pantry with the taste of summer and offers countless ways to brighten your meals and drinks.
Selecting the Perfect Raspberries for Your Syrup
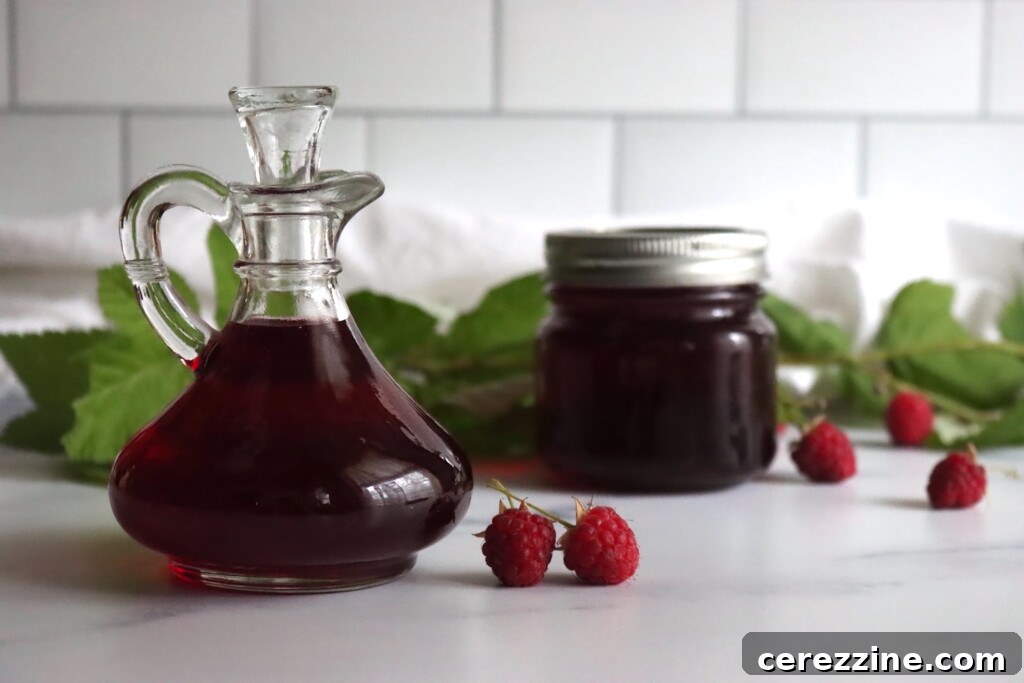
The foundation of an exceptional raspberry syrup begins with quality fruit. You’ll need approximately 3½ quarts of raspberries to yield enough juice for a batch of this delicious syrup. This translates to roughly 14 cups of berries.
Fresh vs. Frozen Raspberries: Both are Excellent Choices
- Fresh Raspberries: When raspberries are in season, using fresh berries offers the most intense and immediate flavor. Look for plump, firm berries with a deep, consistent color. Avoid any that are bruised, moldy, or mushy. Gently rinse them just before use to remove any debris.
- Frozen Raspberries: Don’t underestimate the power of frozen raspberries! They work just as beautifully in this recipe, often being more convenient and available year-round. If you’ve frozen your own berries from a summer harvest, you’re ahead of the game. Otherwise, grab about four 16-ounce bags from your local grocery store. There’s no need to thaw them beforehand; you can use them directly from the freezer. In fact, using frozen berries can sometimes make the juice extraction process slightly easier as the freezing and thawing breaks down cell walls, releasing more liquid.
Red vs. Black Raspberries: A Flavorful Decision
- Red Raspberries: These are the most common choice, offering a classic sweet-tart profile that is bright and universally loved. Their vibrant red hue translates into a beautiful, jewel-toned syrup.
- Black Raspberries: If you’re looking for a deeper, more intense flavor with earthy undertones, consider using black raspberries. These berries are typically drier and seedier than their red counterparts, so you might need a slightly larger quantity to achieve the same juice yield. The resulting syrup will have a darker, richer color and a more complex taste that’s fantastic for special applications.
Ultimately, the best raspberries are the ones you have on hand and love. Both fresh and frozen, red and black varieties will create a wonderfully flavorful syrup.
Step-by-Step Guide to Homemade Raspberry Syrup
Part 1: Extracting Pure Raspberry Juice
The first crucial step to a clear and delicious raspberry syrup is extracting the juice. This process is straightforward but requires a little patience.
- Prepare the Berries: If using fresh raspberries, gently rinse them. If using frozen, you can proceed directly. Place all 3½ quarts of raspberries into a large, heavy-bottomed saucepan.
- Crush and Simmer: Using a potato masher or a sturdy spoon, gently crush the berries. This helps release their juices more effectively. Bring the crushed berries to a gentle simmer over medium heat, stirring frequently to prevent sticking and ensure even heating.
- Infuse and Cool: Once simmering, reduce the heat to low, cover the saucepan, and continue to simmer for 5 minutes. This brief cooking period further breaks down the fruit and extracts maximum flavor. After 5 minutes, remove the pan from the heat, keep it covered, and let it sit for about 15 minutes. This allows the fruit to cool slightly and continue releasing its aromatic juices.
- Initial Strain: Carefully pour the warm fruit mixture through a fine-mesh sieve set over a large bowl or pot. Use the back of a spoon to press down on the solids, extracting as much juice as possible. The goal here is to separate the majority of the seeds and pulp from the liquid.
- Achieve Clarity (Optional but Recommended): For a truly smooth and clear syrup, strain the juice a second time through 3–4 layers of dampened cheesecloth or a clean jelly bag. This step removes any remaining fine particles, resulting in a beautifully translucent syrup. Discard the strained pulp and seeds.
- Measure Your Juice: You should aim to end up with approximately 4 cups of raspberry juice. The exact yield can vary depending on the juiciness of your berries.
- Adjusting for Juice Yield: If you find yourself with slightly more or less than 4 cups of juice, don’t worry! The beauty of this recipe is its adaptability. Simply adjust the amount of sugar proportionally: you need 1 cup of sugar for every 1 cup of raspberry juice. This ensures the correct balance of sweetness and preserves the syrup effectively.
Part 2: Simmering Your Syrup to Perfection
Once you have your perfectly extracted raspberry juice, the syrup comes together quickly. If you plan on canning your syrup for long-term storage, now is the time to prepare your water bath canner and sterilize your jars and lids according to standard canning practices.
- Combine Ingredients: In a clean, medium-sized saucepan, combine your measured 4 cups of raspberry juice, 4 cups of granulated sugar, and ½ cup of fresh lemon juice. The lemon juice is optional but highly recommended. It brightens the raspberry flavor, adds a lovely tang, and also contributes to the syrup’s preservation.
- Bring to a Boil: Place the saucepan over medium-low heat. Stir gently until the sugar completely dissolves. Once dissolved, increase the heat slightly and bring the mixture to a full rolling boil.
- Simmer and Skim: Once boiling, reduce the heat to maintain a gentle simmer. Continue to simmer for 15 minutes, stirring occasionally to prevent sticking and ensure even cooking. As the syrup simmers, foam may rise to the surface. For a smooth, clear finished syrup, use a clean spoon or shallow ladle to skim off and discard this foam. This step isn’t strictly necessary for flavor or safety but greatly improves the syrup’s appearance.
- Check Consistency: After 15 minutes, the syrup should have thickened slightly. It will continue to thicken as it cools. You can test the consistency by dipping a cold spoon into the syrup; it should lightly coat the back of the spoon.
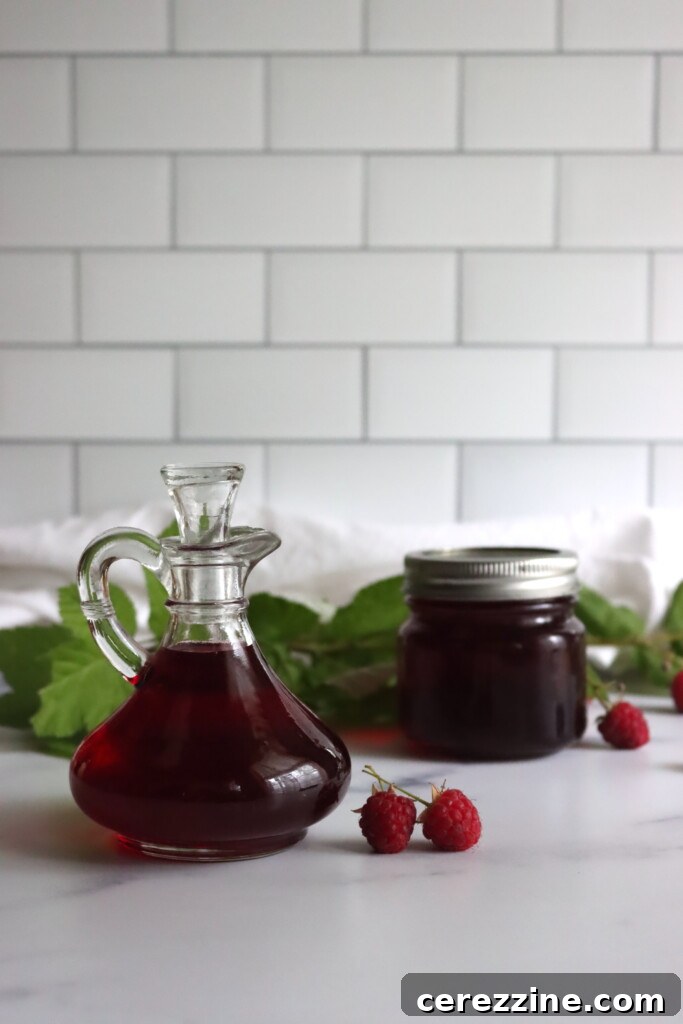
At this stage, your raspberry syrup is ready! You can either pour it into clean bottles and refrigerate it for immediate use, or proceed with water bath canning for extended, shelf-stable storage.
Preserving Your Raspberry Syrup: Refrigeration or Canning?
Quick Refrigeration Method
If you’ve made a small batch or plan to use your syrup within a few weeks, simple refrigeration is perfectly adequate. Pour the hot syrup into clean, sterilized bottles or jars, cap them tightly, and allow them to cool completely on the counter before transferring to the refrigerator. This simple syrup will maintain its peak quality in the refrigerator for up to 3-4 weeks. It’s a fantastic option for impromptu cocktails, a weekend breakfast treat, or as a quick gift.
Water Bath Canning for Extended Shelf Life
For those who want to enjoy the taste of summer much longer, water bath canning is the ideal method. This process ensures your raspberry syrup remains shelf-stable for months, even years, making it a perfect addition to your pantry.
- Prepare Canner and Jars: Ensure your water bath canner is filled with water and heating. Sterilize your pint or half-pint canning jars and their two-part lids (new lids are recommended for best seals). Keep them hot until ready to fill.
- Fill Jars: Carefully ladle the hot raspberry syrup into the hot, clean canning jars, leaving precisely ¼ inch headspace from the rim. This headspace is crucial for proper sealing and to prevent liquid from boiling out during processing.
- Clean Rims and Apply Lids: Wipe the rims of the jars thoroughly with a clean, damp cloth to remove any sticky residue. Any syrup on the rim can prevent a proper seal. Center the warm flat lid on each jar, then screw on the band fingertip tight. Do not overtighten.
- Process in Water Bath Canner: Gently lower the filled jars into the simmering water bath canner, ensuring they are fully submerged by at least 1 inch of water. Bring the water back to a full, rolling boil.
- Processing Times:
- For both pint and half-pint jars, process for 10 minutes at sea level.
- For higher elevations, adjust the processing time:
- 1,000 to 6,000 feet: Increase canning time to 15 minutes.
- Above 6,000 feet: Increase canning time to 20 minutes.
- Cool and Check Seals: Once the processing time is complete, turn off the heat and carefully remove the canner lid. Let the jars sit in the hot water for 5 minutes before carefully removing them to a towel-lined counter or a wire rack. Allow them to cool undisturbed for 12–24 hours.
- Confirm Seal and Store: After cooling, check the seals. The center of the lid should be concave (curved inward) and not flex when pressed. If a jar hasn’t sealed, refrigerate it and use it within a few weeks, or re-process with a new lid (after checking for issues). Properly sealed jars should be labeled with the contents and date, then stored in a cool, dark, dry place for up to 18 months. Once opened, always refrigerate the syrup and use within 3–4 weeks.
Unlock the Versatility: Delicious Ways to Enjoy Raspberry Syrup
Homemade raspberry syrup is more than just a topping; it’s a versatile ingredient that can transform ordinary dishes and drinks into something extraordinary. Its bright, fruity notes and beautiful color make it a favorite for many culinary applications:
- Breakfast Bliss: The classic choice! Drizzle generously over pancakes, waffles, French toast, or crepes. Stir a spoonful into your oatmeal or yogurt for a flavorful start to the day.
- Sweet Treats and Desserts:
- Ice Cream & Sorbets: Pour over vanilla ice cream, chocolate ice cream, or homemade sorbet for an instant upgrade.
- Cheesecake & Puddings: Spoon over slices of cheesecake, panna cotta, rice pudding, or custard.
- Cakes & Pastries: Use it as a glaze for pound cake, soak cake layers for added moisture and flavor, or drizzle over scones and muffins.
- Fruit Salads: Toss fresh fruit salads with a splash of raspberry syrup for a cohesive, sweet dressing.
- Refreshing Beverages:
- Sparkling Water & Lemonade: Stir into plain sparkling water for a homemade raspberry soda, or add a delightful twist to your freshly squeezed lemonade.
- Iced Tea: Sweeten unsweetened iced tea with raspberry syrup for a fruity refreshment.
- Cocktails & Mocktails: A fantastic mixer for adult beverages! Use it in place of simple syrup for raspberry margaritas, gin fizzes, or vodka sours. For a virgin option, mix with lime juice and soda water for a vibrant mocktail.
- Savory Adventures (Unexpected but Delicious):
- Marinades: A touch of raspberry syrup can add sweetness and complexity to marinades for chicken, pork, or duck, especially when paired with balsamic vinegar or soy sauce.
- Salad Dressings: Whisk into vinaigrettes for green salads, particularly those with goat cheese, nuts, or other berries.
Don’t be afraid to experiment! The delightful flavor of raspberry syrup can inspire countless creative uses in your kitchen.
64
servings, 4 half pint jars
Raspberry Syrup
This raspberry syrup is bursting with the sweet-tart flavor of fresh or frozen raspberries, balanced with just a touch of lemon. It’s perfect for drizzling over pancakes, stirring into drinks, or pouring over desserts—and it cans beautifully for shelf-stable storage. With no need for pectin or gel testing, it’s an easy and delicious way to preserve the season.
30
15
10
55
Equipment
-
Water Bath Canner
Ingredients
To Make Juice:
- 3½ quarts raspberries, fresh or frozen, about 14 cups
To Make Syrup:
- 4 cups raspberry juice, extracted from berries
- 4 cups sugar
- ½ cup lemon juice, optional, fresh or bottled
Instructions
-
Extract the Juice: In a large saucepan, bring crushed raspberries to a simmer over medium heat, stirring frequently. Reduce heat, cover, and simmer for 5 minutes. Remove from heat, keep covered, and let sit for 15 minutes. Strain through a fine mesh sieve, then again through 3–4 layers of dampened cheesecloth for a clear syrup. Discard the pulp and seeds.
-
Make the Syrup: In a medium saucepan, combine 4 cups of raspberry juice, sugar, and lemon juice. Bring to a boil over medium-low heat. Reduce heat and simmer for 15 minutes, skimming off any foam.
-
Canning Instructions (Optional): Ladle hot syrup into prepared jars, leaving ¼ inch headspace. Wipe rims, apply lids, and process in a boiling water bath canner for 10 minutes for both half-pints and pints. Increase to 15 minutes for 1,000-6,000 feet, and 20 minutes over 6,000 feet in elevation.
-
Cool and Store: Remove jars to a towel-lined counter and cool for 12–24 hours. Check seals, label, and store in a cool, dark place. Refrigerate after opening.
Notes
Using Frozen Berries: Frozen raspberries work just as well as fresh for this recipe. You’ll need about four 16-ounce bags to yield enough juice for one batch of syrup. There’s no need to thaw them first—just crush slightly and proceed with the juice extraction.
Juice Yield: The amount of juice you get can vary based on how juicy or seedy the berries are. Expect to get about 4 cups of juice from 3½ quarts of raspberries, but it’s fine to scale the syrup ingredients proportionally if you get slightly more or less.
Black Raspberry Option: Black raspberries can be used in place of red raspberries for a deeper, earthier flavor. They’re usually drier and seedier, so you may need more fruit to get the same juice yield.
Foam Removal: Skimming the foam after simmering helps create a smooth, clear syrup. It’s not strictly necessary, but it improves the finished appearance.
Serving Ideas: Try this syrup over pancakes, waffles, ice cream, or pound cake. It also makes a delicious addition to lemonade, sparkling water, or cocktails.
Storage: Once opened, store the syrup in the refrigerator and use within 3–4 weeks. Properly canned jars will keep at room temperature for up to 18 months.
Nutrition
Nutrition information is automatically calculated, so should only be used as an approximation.
More Syrup Canning Recipes
Fruit syrups are undeniably one of the easiest and most gratifying preserves to create. They offer a simple yet elegant way to infuse your breakfasts, desserts, and beverages with seasonal fruit flavors. Once mastered, you’ll find yourself eager to experiment with other fruits. Here are some other delightful syrup canning recipes to expand your pantry:
- Strawberry Syrup – Capture the essence of peak summer strawberries. This sweet and vibrant syrup is perfect for shortcakes, pancakes, or a refreshing glass of strawberry milk.
- Blueberry Syrup – Indulge in the deep, rich, and slightly tart notes of blueberry syrup. It pairs exquisitely with fluffy waffles, lemon ricotta pancakes, or a dollop of vanilla ice cream.
- Blackberry Syrup – Experience the bold and tangy flavor of juicy blackberries in this versatile syrup. It’s excellent stirred into cocktails, drizzled over cheesecake, or even as a unique topping for grilled meats.
- Peach Syrup – Enjoy the smooth, mellow sweetness of ripe peaches. This syrup boasts a beautiful balance of sweetness and subtle fruit notes, making it perfect for glazing cakes, stirring into iced tea, or enhancing a summer sangria.
These diverse syrup recipes offer wonderful ways to make the most of seasonal fruit and ensure your canning shelves are stocked with flavorful homemade goodness.
Raspberry Canning Recipes
Raspberries stand out as one of the most flavorful and adaptable berries for preservation. Their distinctive sweet-tart profile makes them a star ingredient in a wide array of canning recipes. If you’ve got a bumper crop of raspberries, whether cultivated or wild, these recipes will help you enjoy their exquisite taste long after the growing season concludes:
- Raspberry Jam – A timeless classic, this jam delivers a bright, tangy flavor with a delightful soft set. It’s perfect slathered on toast, nestled in thumbprint cookies, or served alongside a cheese board.
- Raspberry Jelly – For those who adore raspberry flavor but prefer to avoid the seeds, this smooth and clear jelly is an ideal choice. Its pristine texture makes it wonderful for delicate pastries or as a glaze.
- Raspberry Lemonade Concentrate – A brilliant and refreshing way to preserve raspberries, ready to be transformed into a vibrant summer drink. Simply add water and ice for an instant taste of sunshine.
- Raspberry Pie Filling – Prepare a thick, canning-safe filling that will allow you to bake delicious raspberry pies, crisps, and cobblers any time of year. This pre-made filling saves time and ensures a consistent, fruity dessert.
From jams to concentrates, these raspberry canning recipes provide creative and delicious solutions for utilizing your harvest and savoring the unique flavor of raspberries throughout the entire year.