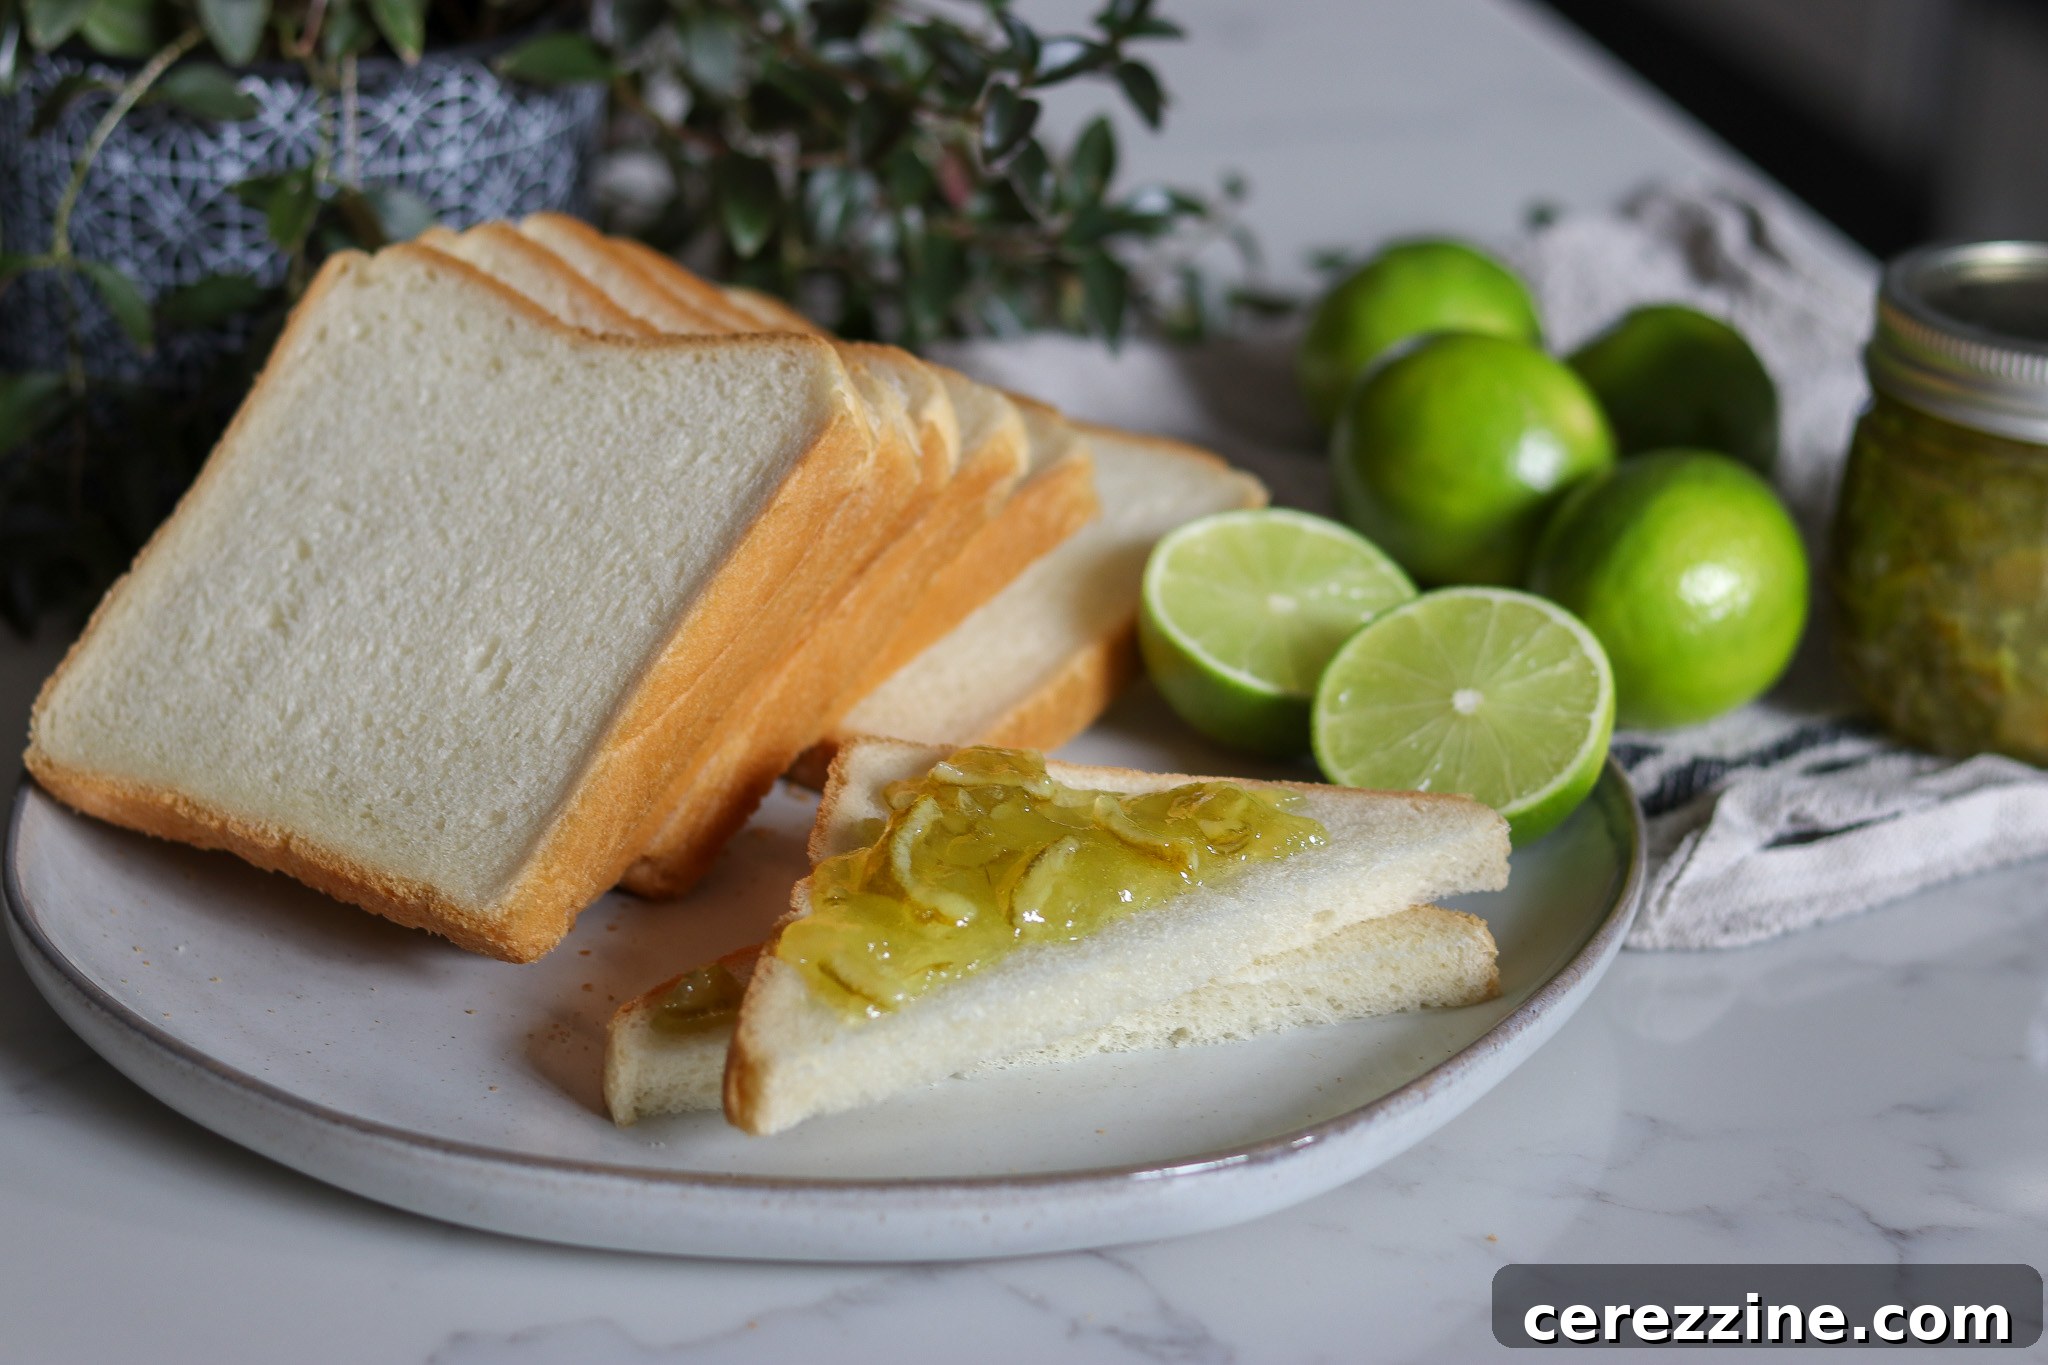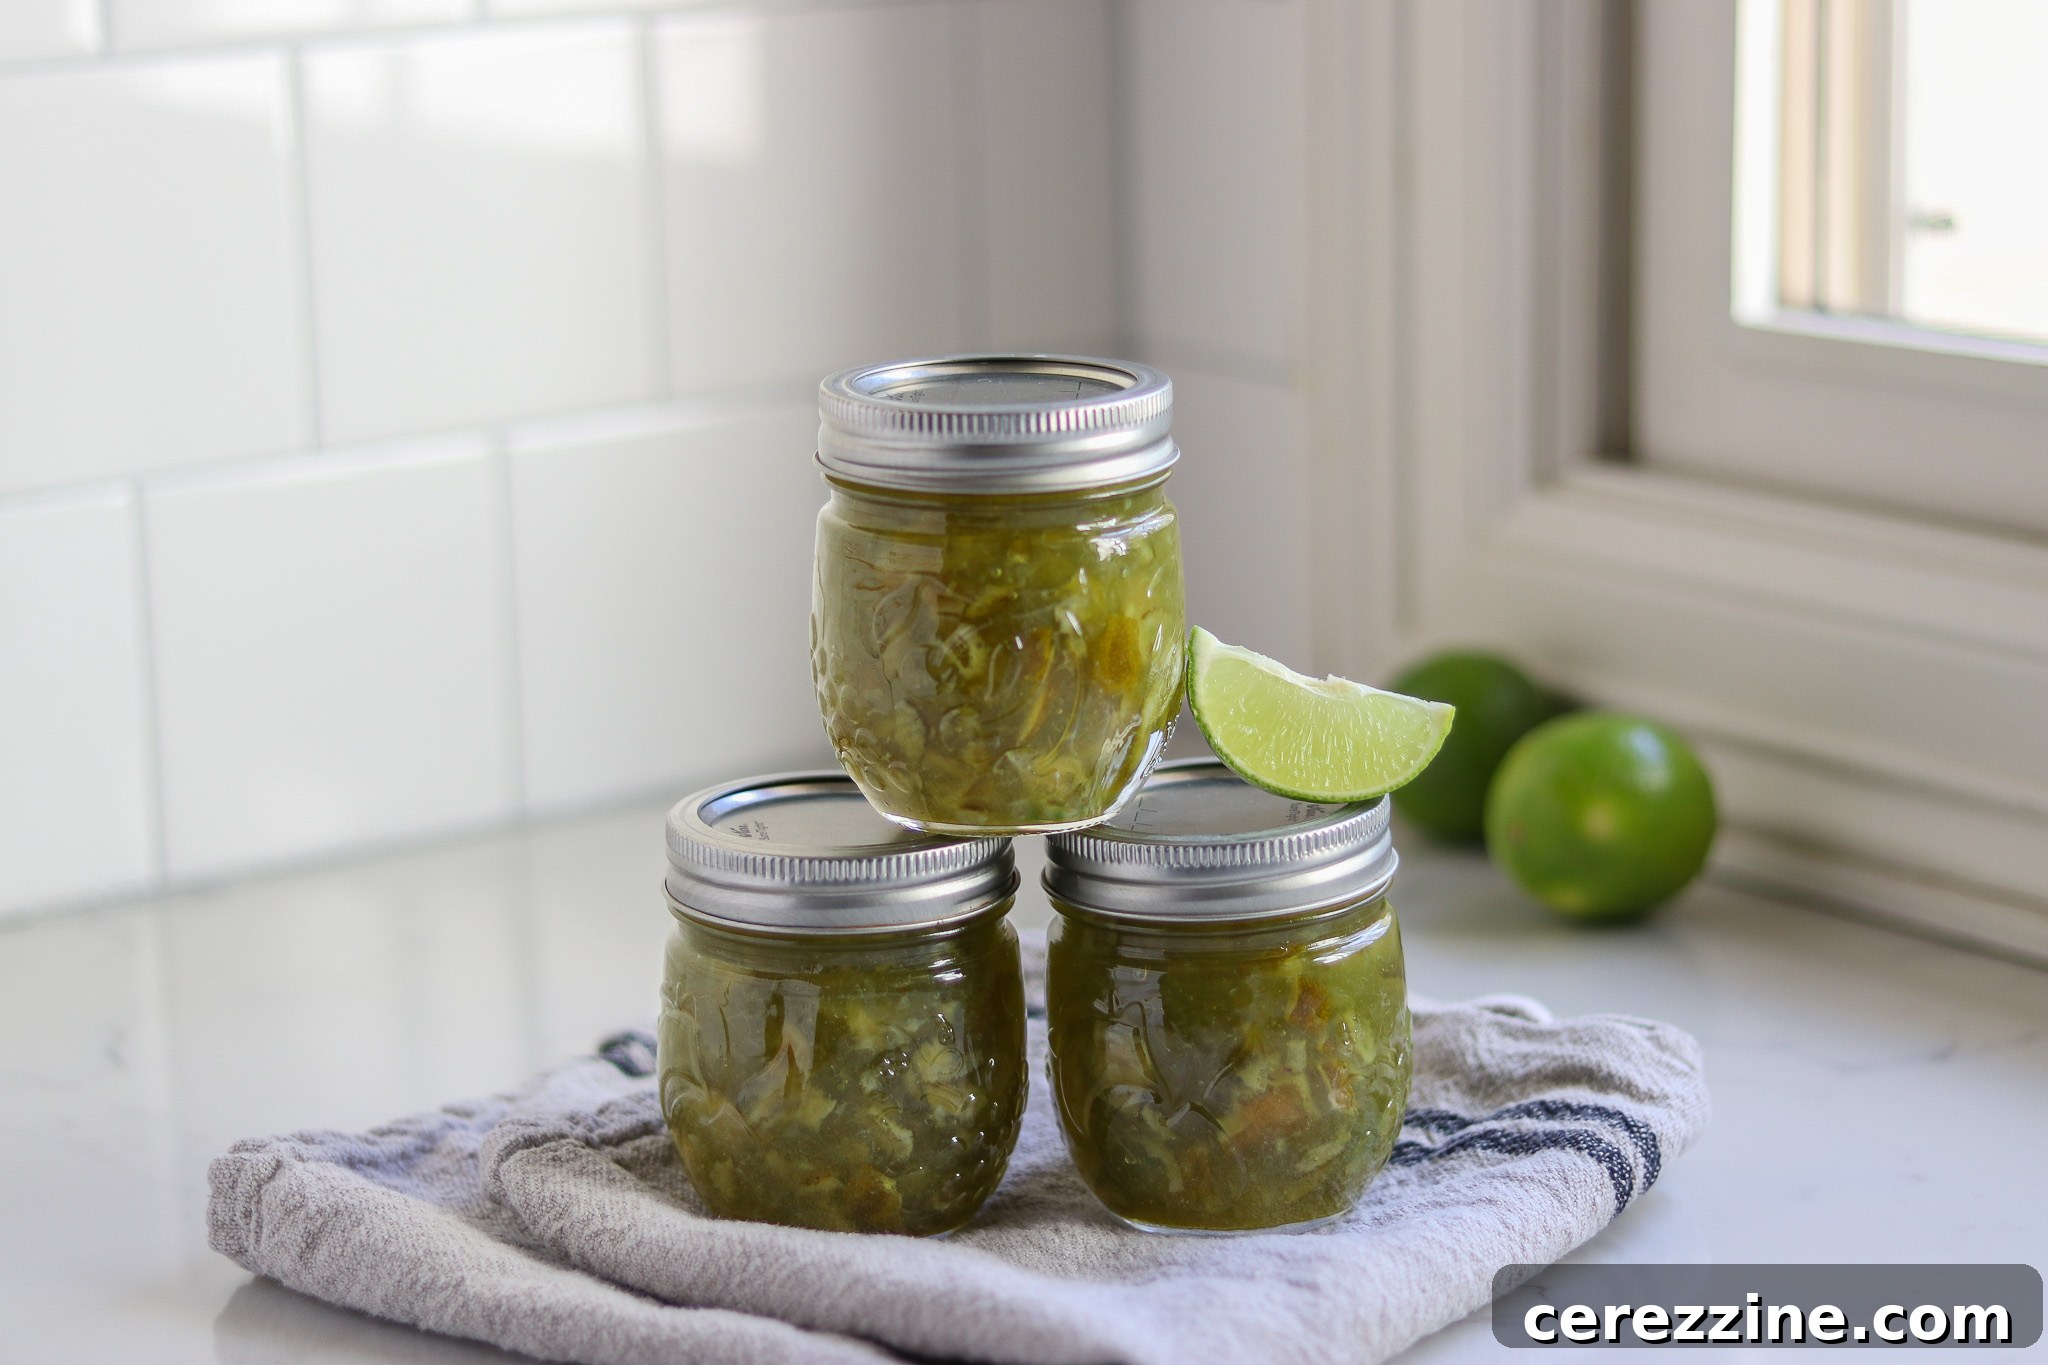
Handcrafted Lime Marmalade: A Timeless Recipe Without Added Pectin
Embark on a culinary journey to create a truly exceptional lime marmalade, a vibrant citrus spread that promises to be a lime lover’s ultimate delight. This cherished recipe revives the authentic, old-fashioned method, eschewing commercial boxed pectin for the natural gelling power of fresh limes. While this traditional approach requires a little more patience and extends over a few days, the resulting depth of flavor, nuanced texture, and unparalleled quality are undeniably worth every moment spent. Prepare to transform simple limes into a gleaming, jewel-toned preserve that captures the very essence of citrus sunshine.
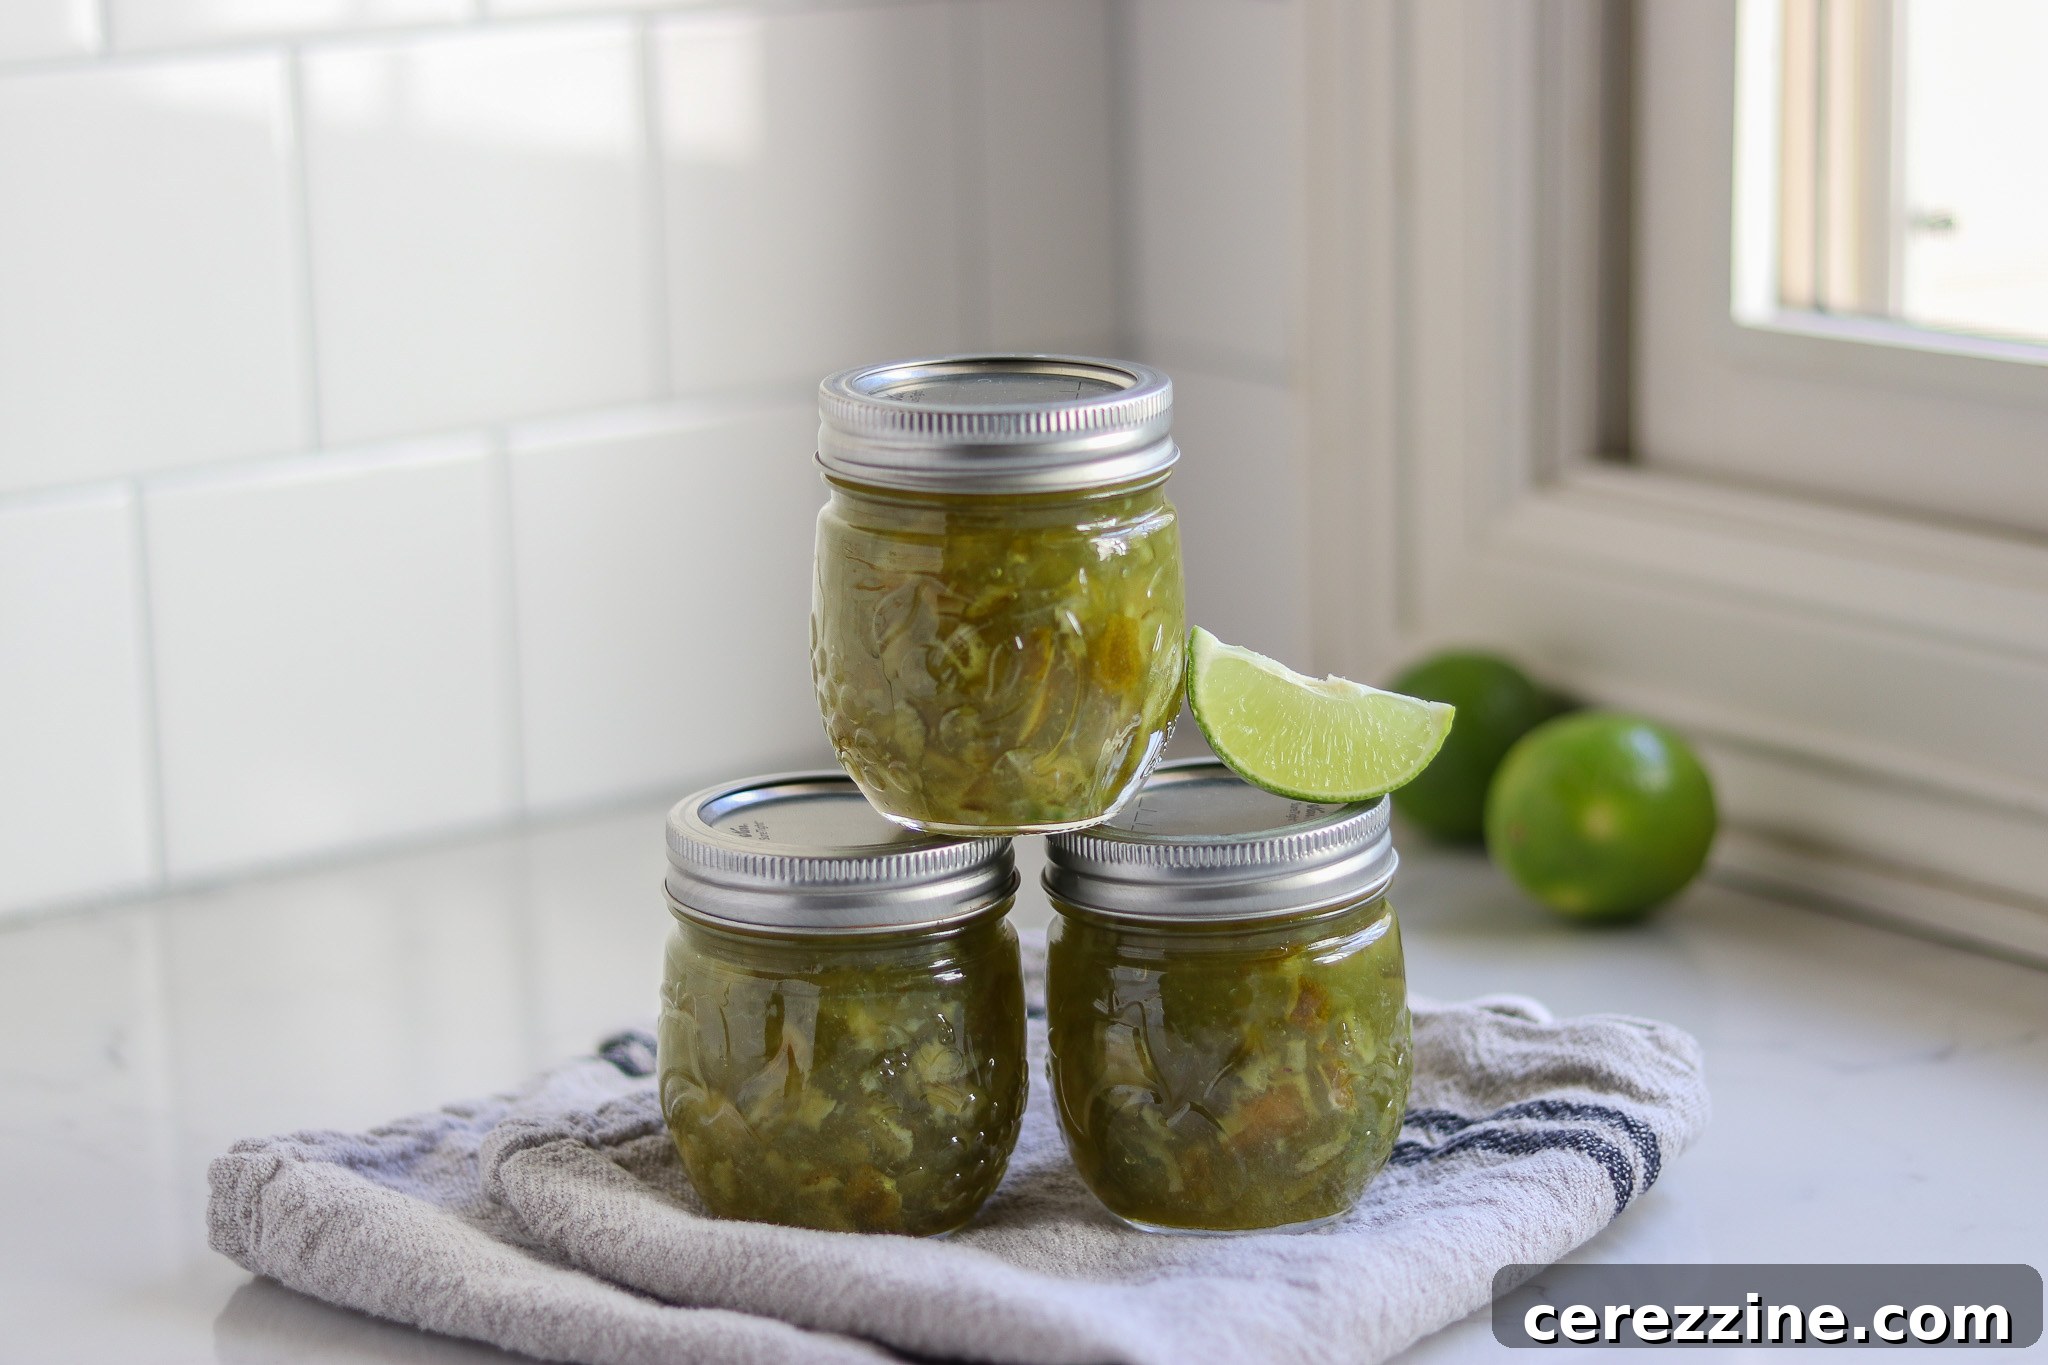
Why Choose Old-Fashioned Lime Marmalade? The Pectin-Free Difference
For those who truly appreciate the bright, zesty character of limes, a homemade lime marmalade made without added pectin is a revelation. My husband, a self-proclaimed lime enthusiast, consistently gravitates towards lime-infused treats, whether it’s a refreshing lime pie, tangy lime bars, or a glass of homemade limeade on a warm summer day. Discovering a recipe for lime marmalade in Joyce Goldstein’s revered canning book, Jam Session, immediately sparked my interest, knowing it would be a perfect fit for his palate.
What sets this recipe apart is its commitment to the traditional technique, relying solely on the natural pectin abundant in lime peels. In an era where quick-set pectins offer a shortcut, finding an added-pectin-free marmalade recipe is becoming increasingly rare. These time-honored methods demand patience, but they yield a superior product with a more complex flavor profile and a wonderfully tender peel texture. Unlike marmalades rushed with commercial pectin, where peels can sometimes remain tough, this natural process ensures every part of the lime contributes to a smooth, harmonious preserve.
Beyond the enhanced taste and texture, opting for a pectin-free recipe also presents a significant cost-saving. Boxed pectin can add a dollar or more to the cost of each jar, making the traditional method not only more delicious but also more economical. It’s a return to artisanal preserving, celebrating the inherent qualities of the fruit itself.
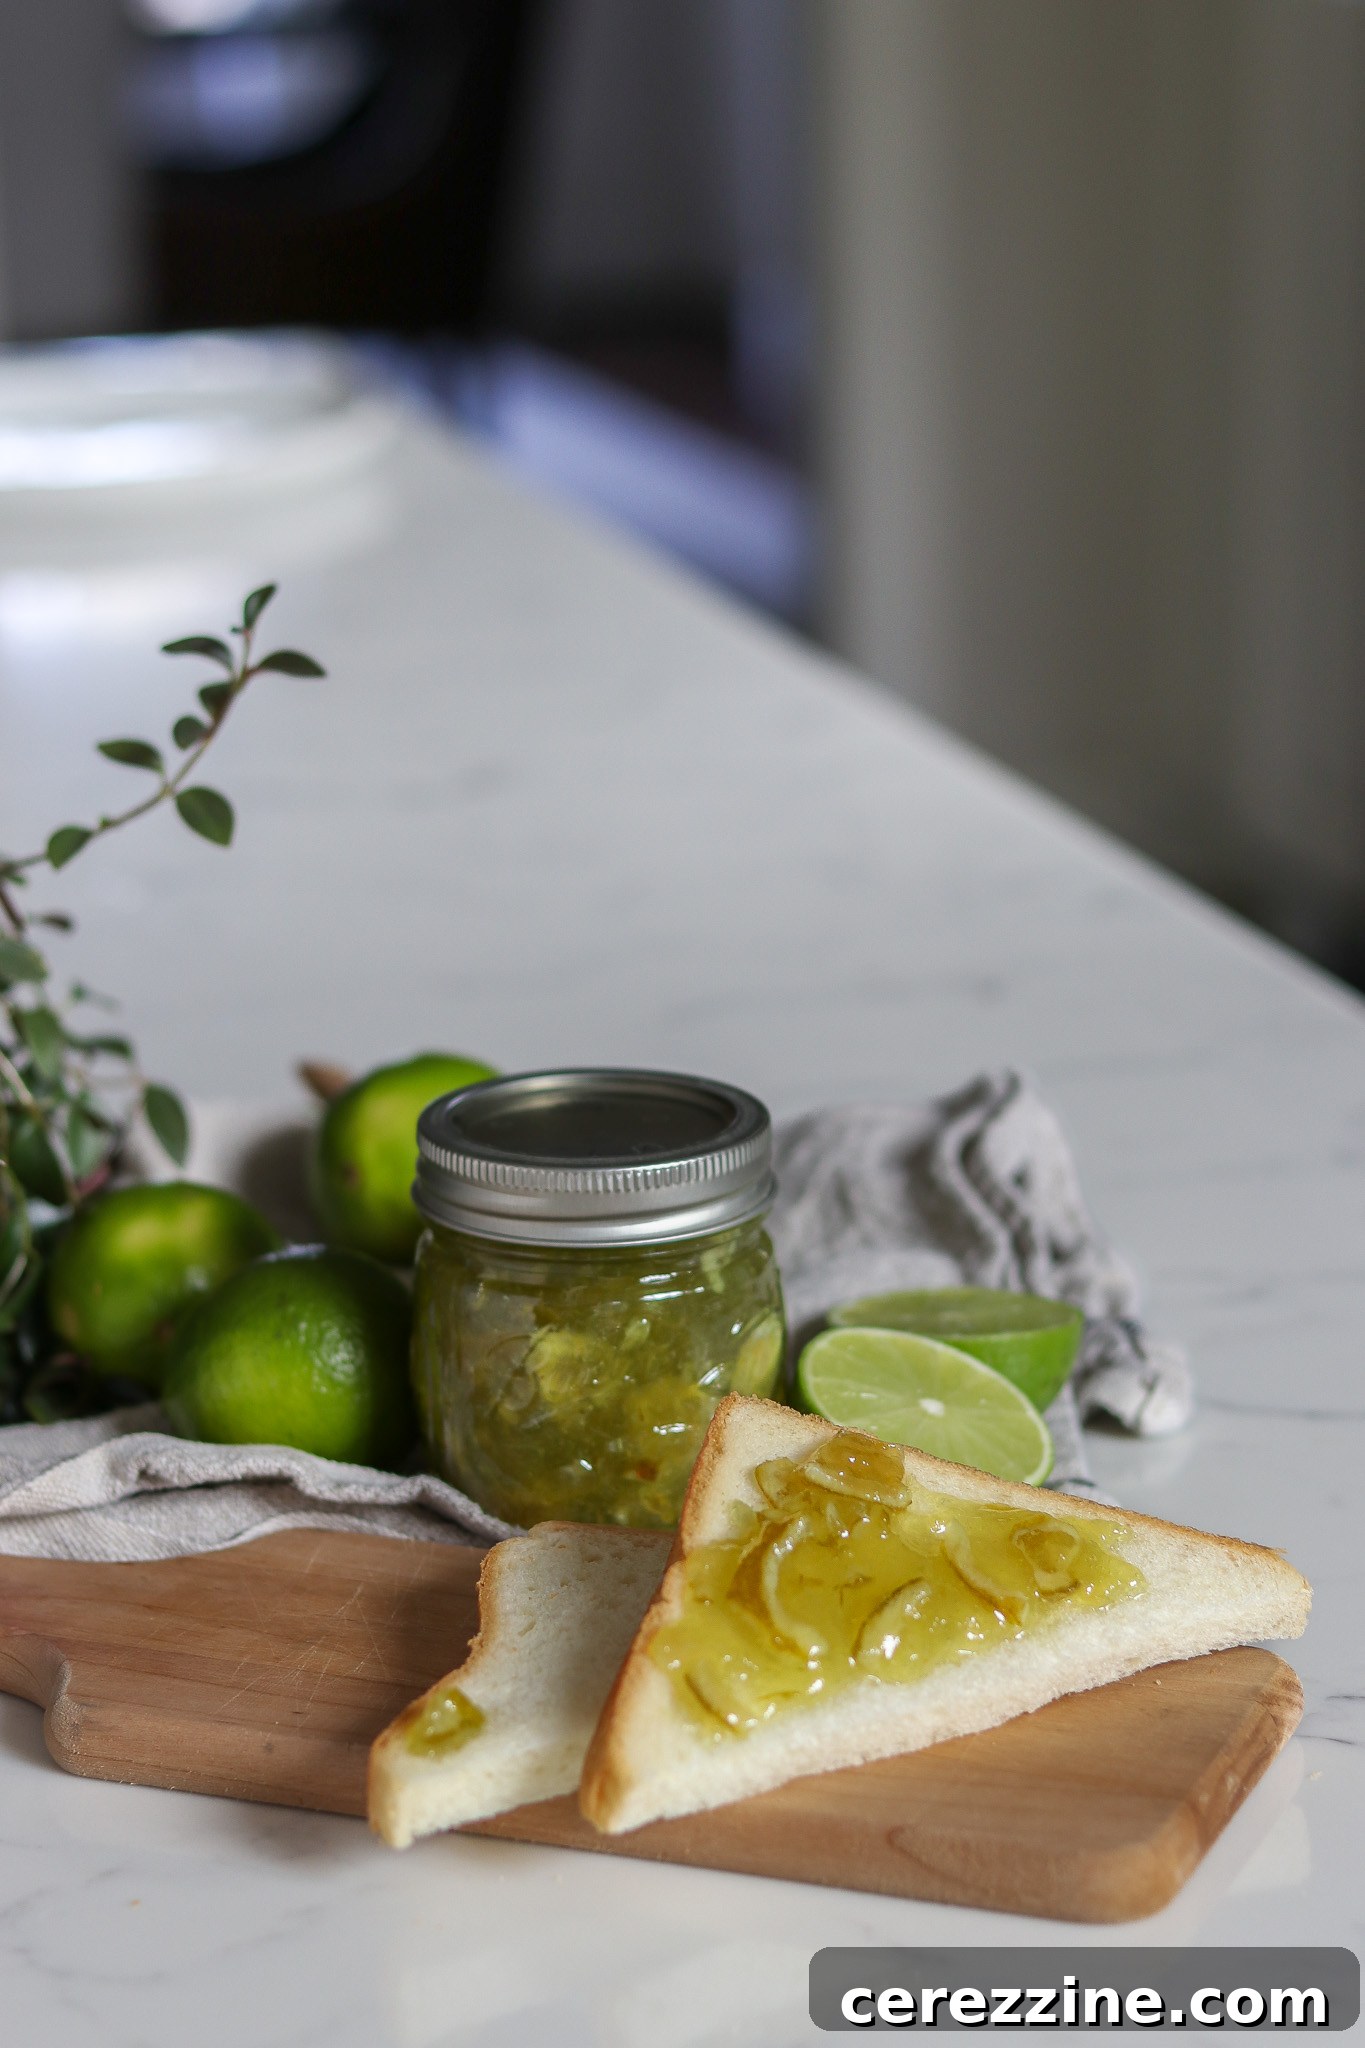
The Three-Day Journey to Perfect Marmalade
Crafting this exquisite lime marmalade is a deliberate, multi-day process designed to coax out the maximum flavor and pectin from the limes. While it can be condensed into a two-day schedule if you start early, the three-day method offers a more relaxed pace and often superior results. Here’s a breakdown of what each day entails:
Day 1: Preparation & Soaking for Pectin Release
The initial phase involves meticulously slicing or finely chopping your limes, then submerging them in water. This overnight soak is a critical step; it not only thoroughly softens the usually firm lime peels but, more importantly, conditions them to gradually release their natural pectin into the surrounding liquid. This natural pectin is the key to achieving that perfect gelled consistency without any artificial thickeners. If you prefer a two-day process, simply begin this step in the morning, allowing the limes to soak for 6 to 8 hours before proceeding to Day 2’s cooking phase in the evening.
Day 2: Cooking, Sweetening & Further Infusion
On the second day, the softened limes and their soaking water are gently cooked, initiating a deeper extraction of pectin and flavor. Following this, sugar is introduced, transforming the mixture into a nascent marmalade. The mixture is then set aside to rest once more, ideally overnight. This second resting period is vital: it allows the lime peels to further tenderize and ensures that as much natural pectin as possible is thoroughly released and infused into the sugary liquid, developing a richer, more profound flavor.
Day 3: Setting the Gel & Preserving for Longevity
The final day culminates in bringing the marmalade to its ultimate gel stage. The mixture is reheated and carefully cooked until it reaches the ideal setting point. Once achieved, this liquid gold can then be carefully ladled into jars. For extended shelf stability, it’s processed in a water bath canner, a time-honored preservation technique. Alternatively, for quicker use, it can simply be jarred and stored in the refrigerator or freezer, ready to be enjoyed at your leisure.
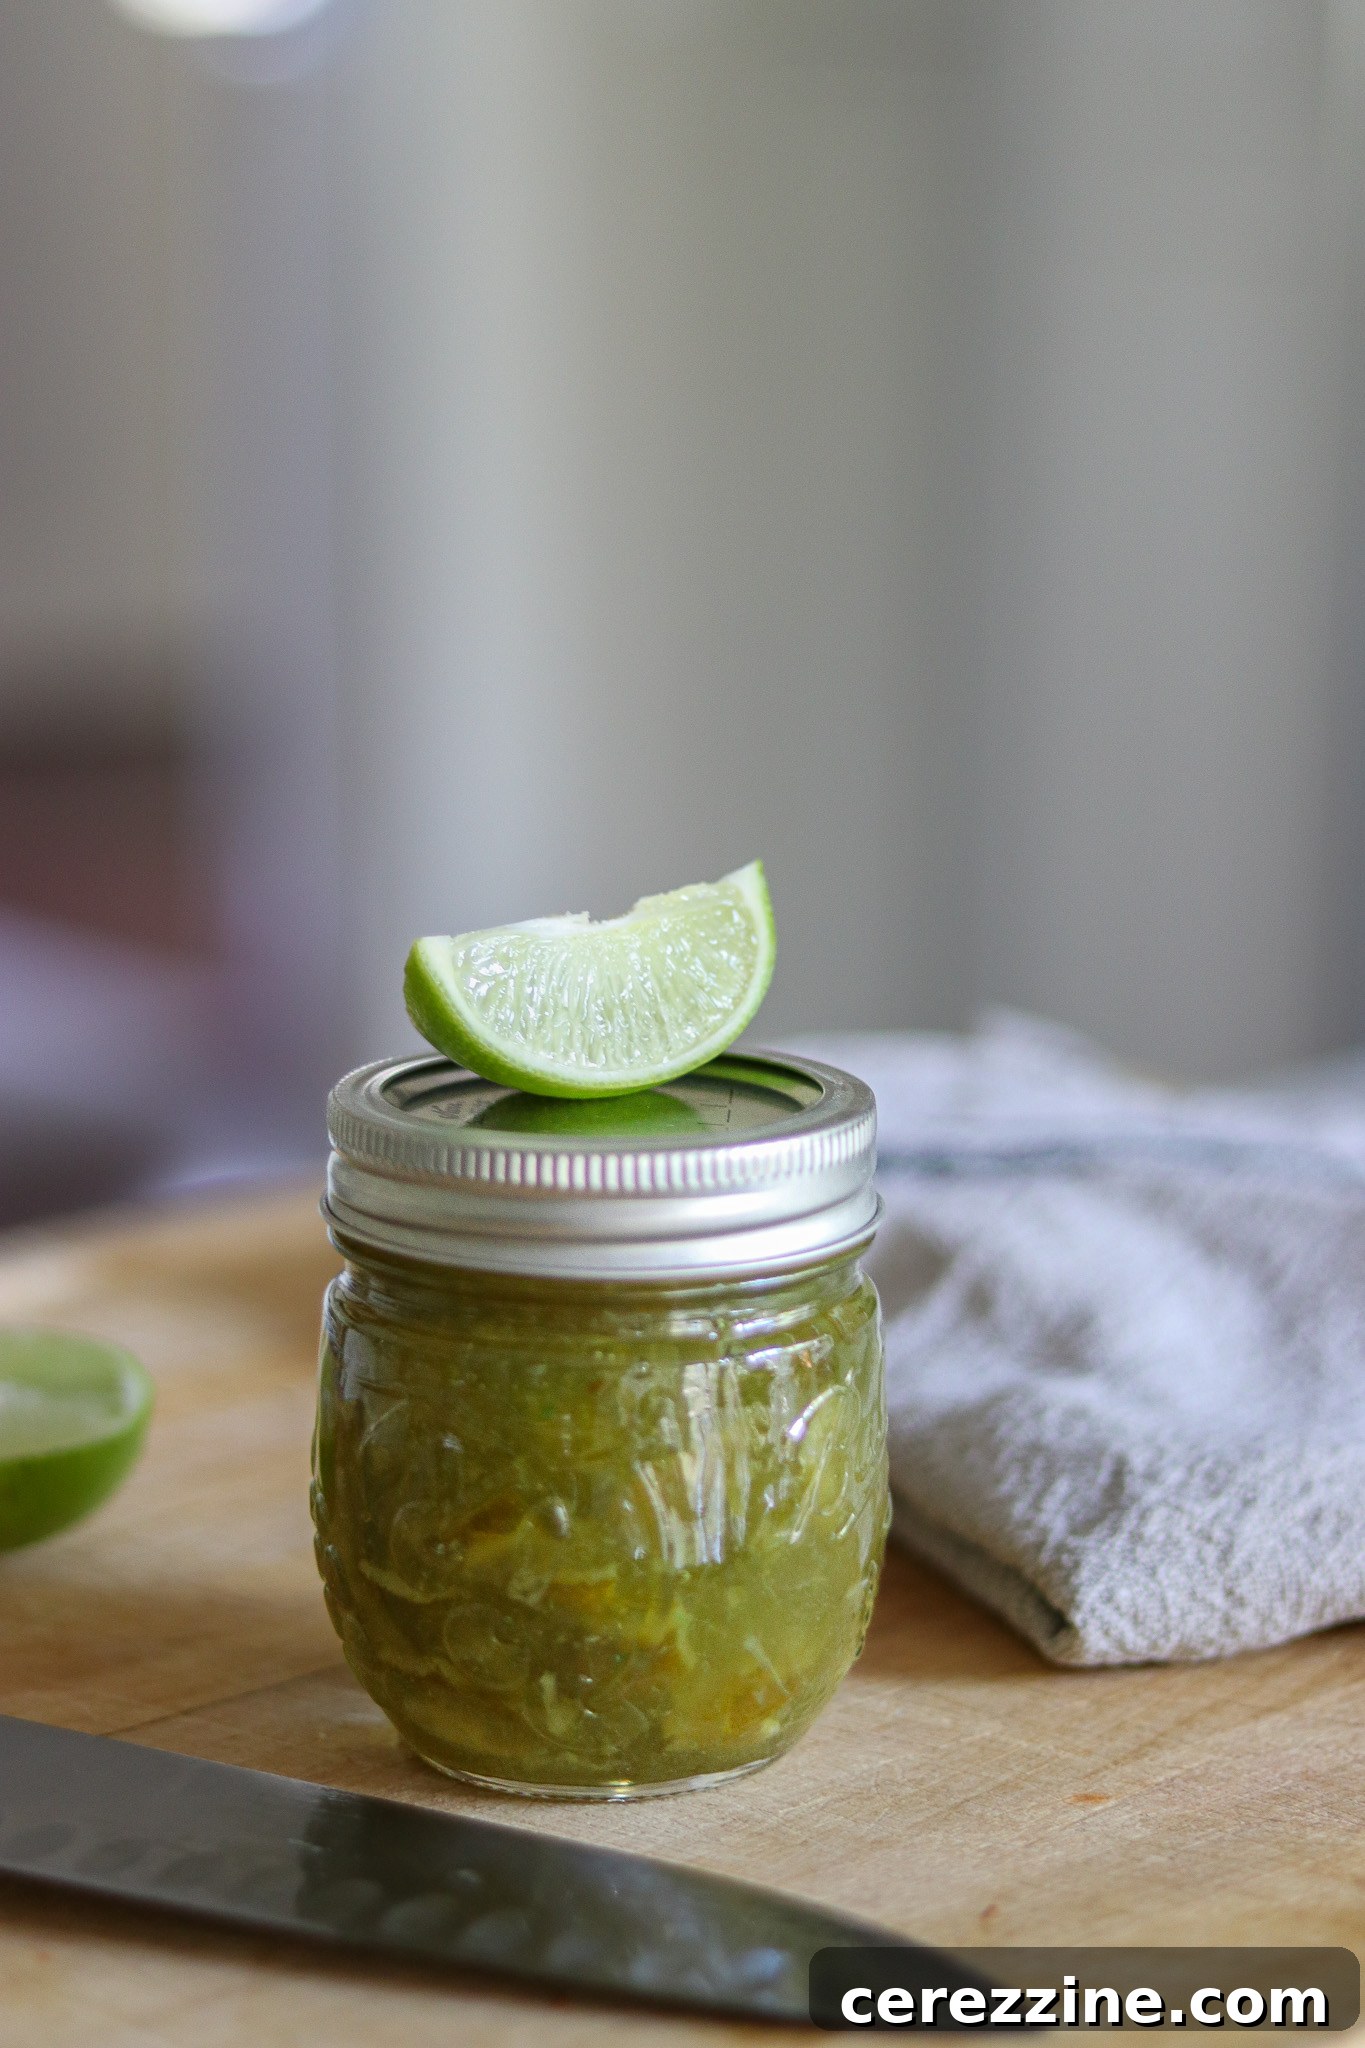
Essential Ingredients for Your Homemade Lime Marmalade
Crafting a batch of this vibrant lime marmalade requires surprisingly few ingredients, emphasizing the natural goodness of the fruit. To yield a generous batch of approximately 10 to 12 eight-ounce jars – perfect for sharing with friends or stocking your pantry – you will need:
- 2 lbs limes (roughly 12 to 14 medium-sized limes)
- 8 cups water
- 6 to 7 cups granulated sugar
- Juice of 1 to 2 fresh lemons (optional, but highly recommended for flavor balance)
- A few drops of green food coloring (optional, for visual appeal)
This recipe is designed for a sizable yield, but you can easily halve the quantities to produce a smaller batch of about 6 jars if preferred. However, considering the multi-day effort involved, making a larger batch often makes more sense, allowing you to enjoy this delightful preserve for longer and share its unique flavor with loved ones. There’s a special satisfaction in gifting homemade preserves, especially one made with such care.
Choosing the Best Limes
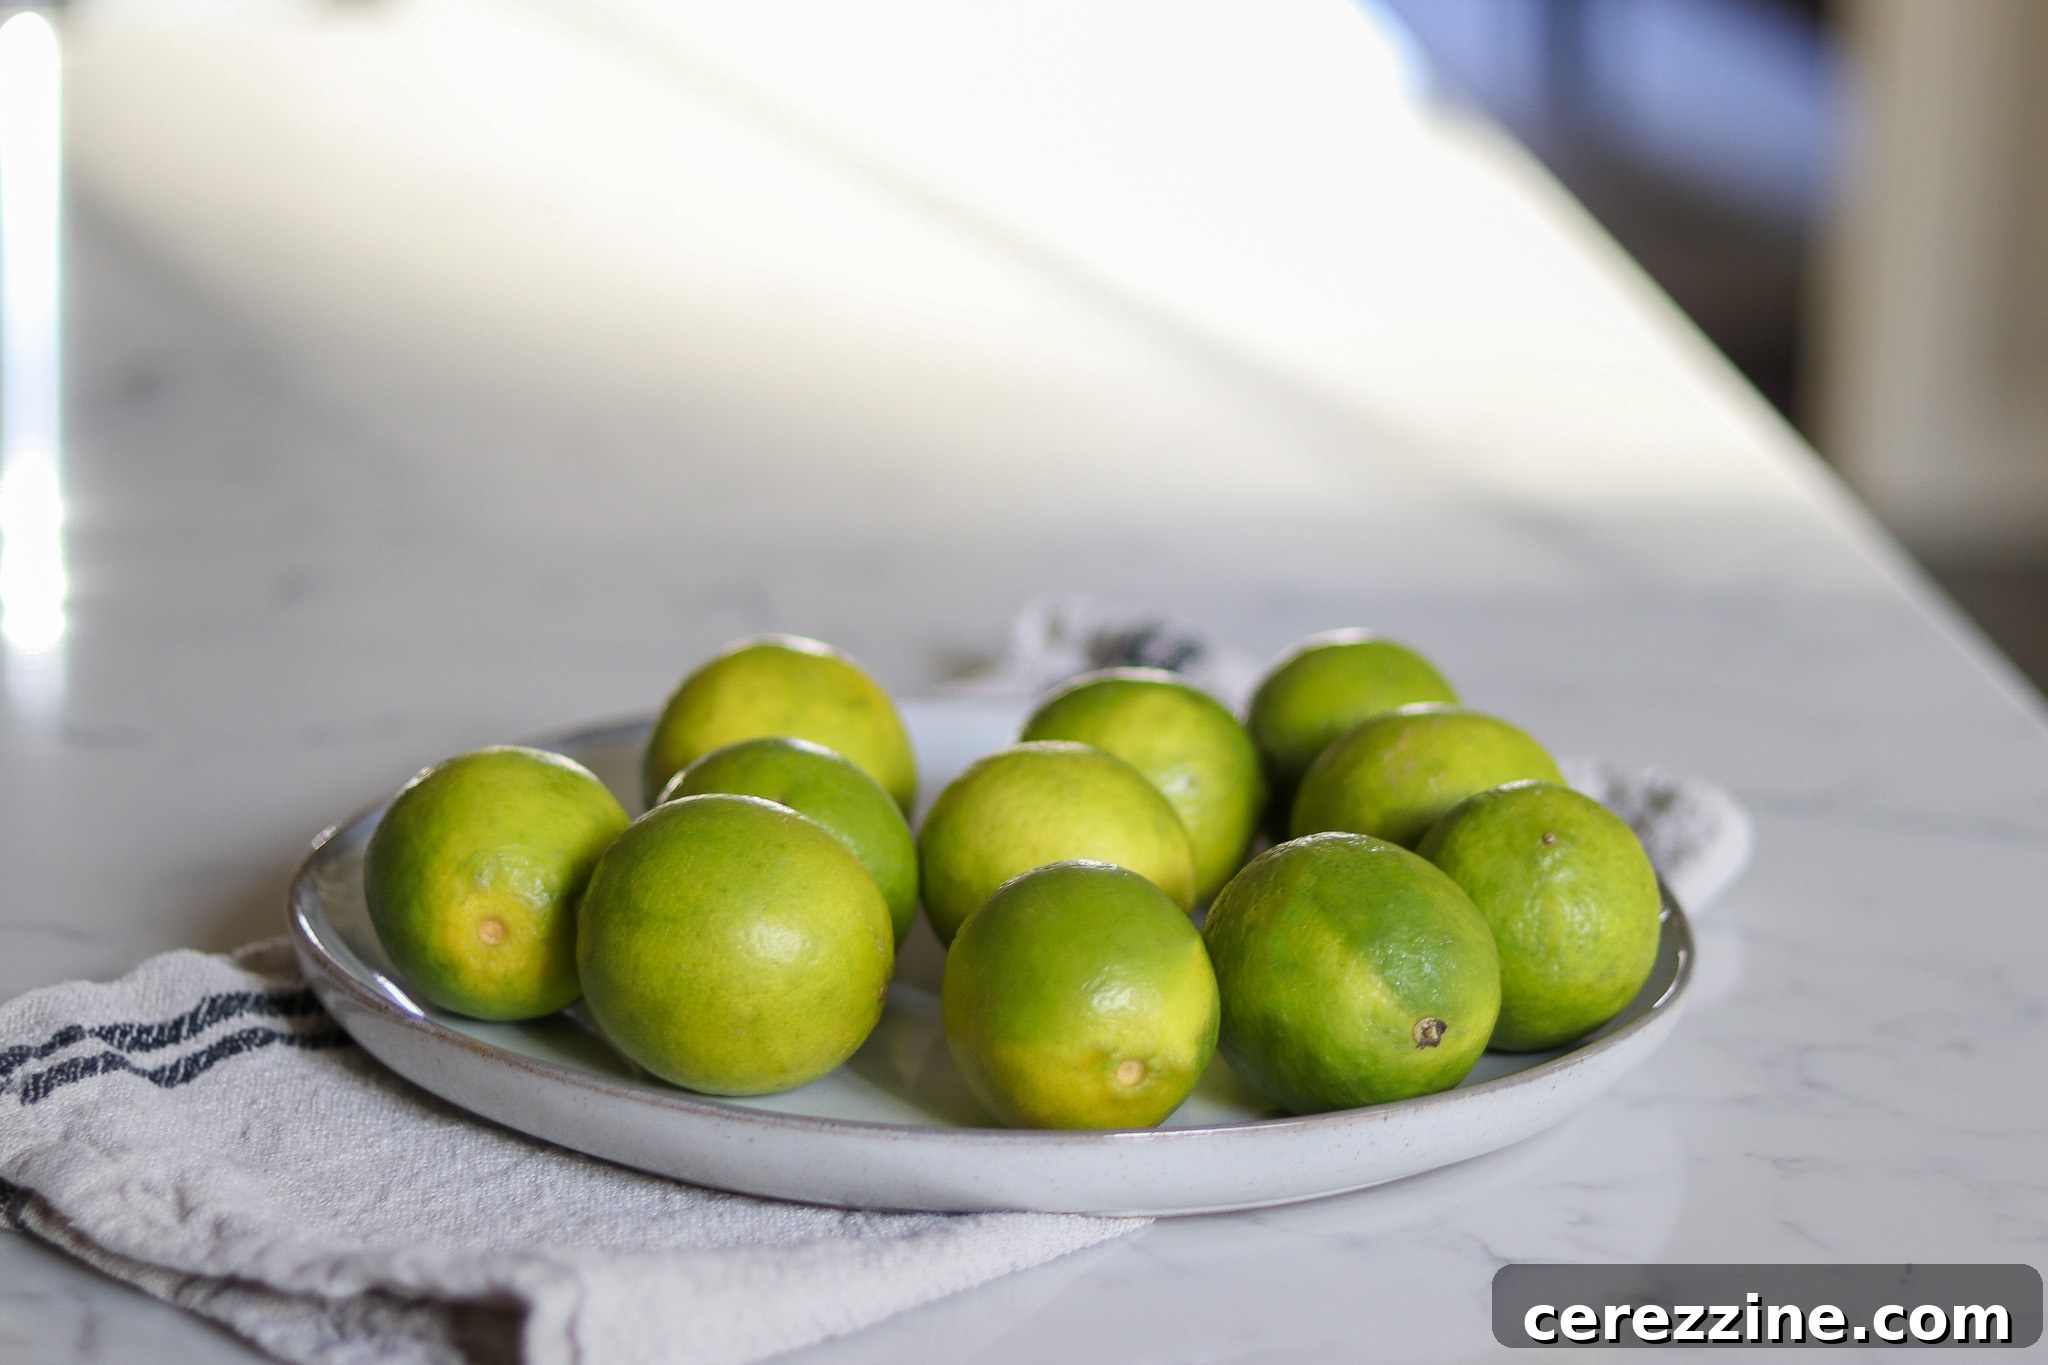
The foundation of exceptional lime marmalade is, naturally, high-quality limes. Limes are inherently rich in natural pectin, making them an ideal fruit for pectin-free marmalade. This inherent quality is why adhering to the precise steps and practicing patience is paramount. While commercial pectin offers a swift route to jam, the traditional method patiently extracts pectin directly from the peels, allowing them to soften to an exquisite tenderness that elevates the finished marmalade’s texture.
Opting for the old-fashioned way consistently, in my experience, leads to a superior product. The peels, having undergone a gradual softening and pectin release, integrate beautifully into the marmalade, providing a pleasant chew without being tough. This natural approach not only enhances the gastronomic experience but also eliminates the additional cost of store-bought pectin, making it a more economical choice.
Optional Enhancements: Lemons and Food Coloring
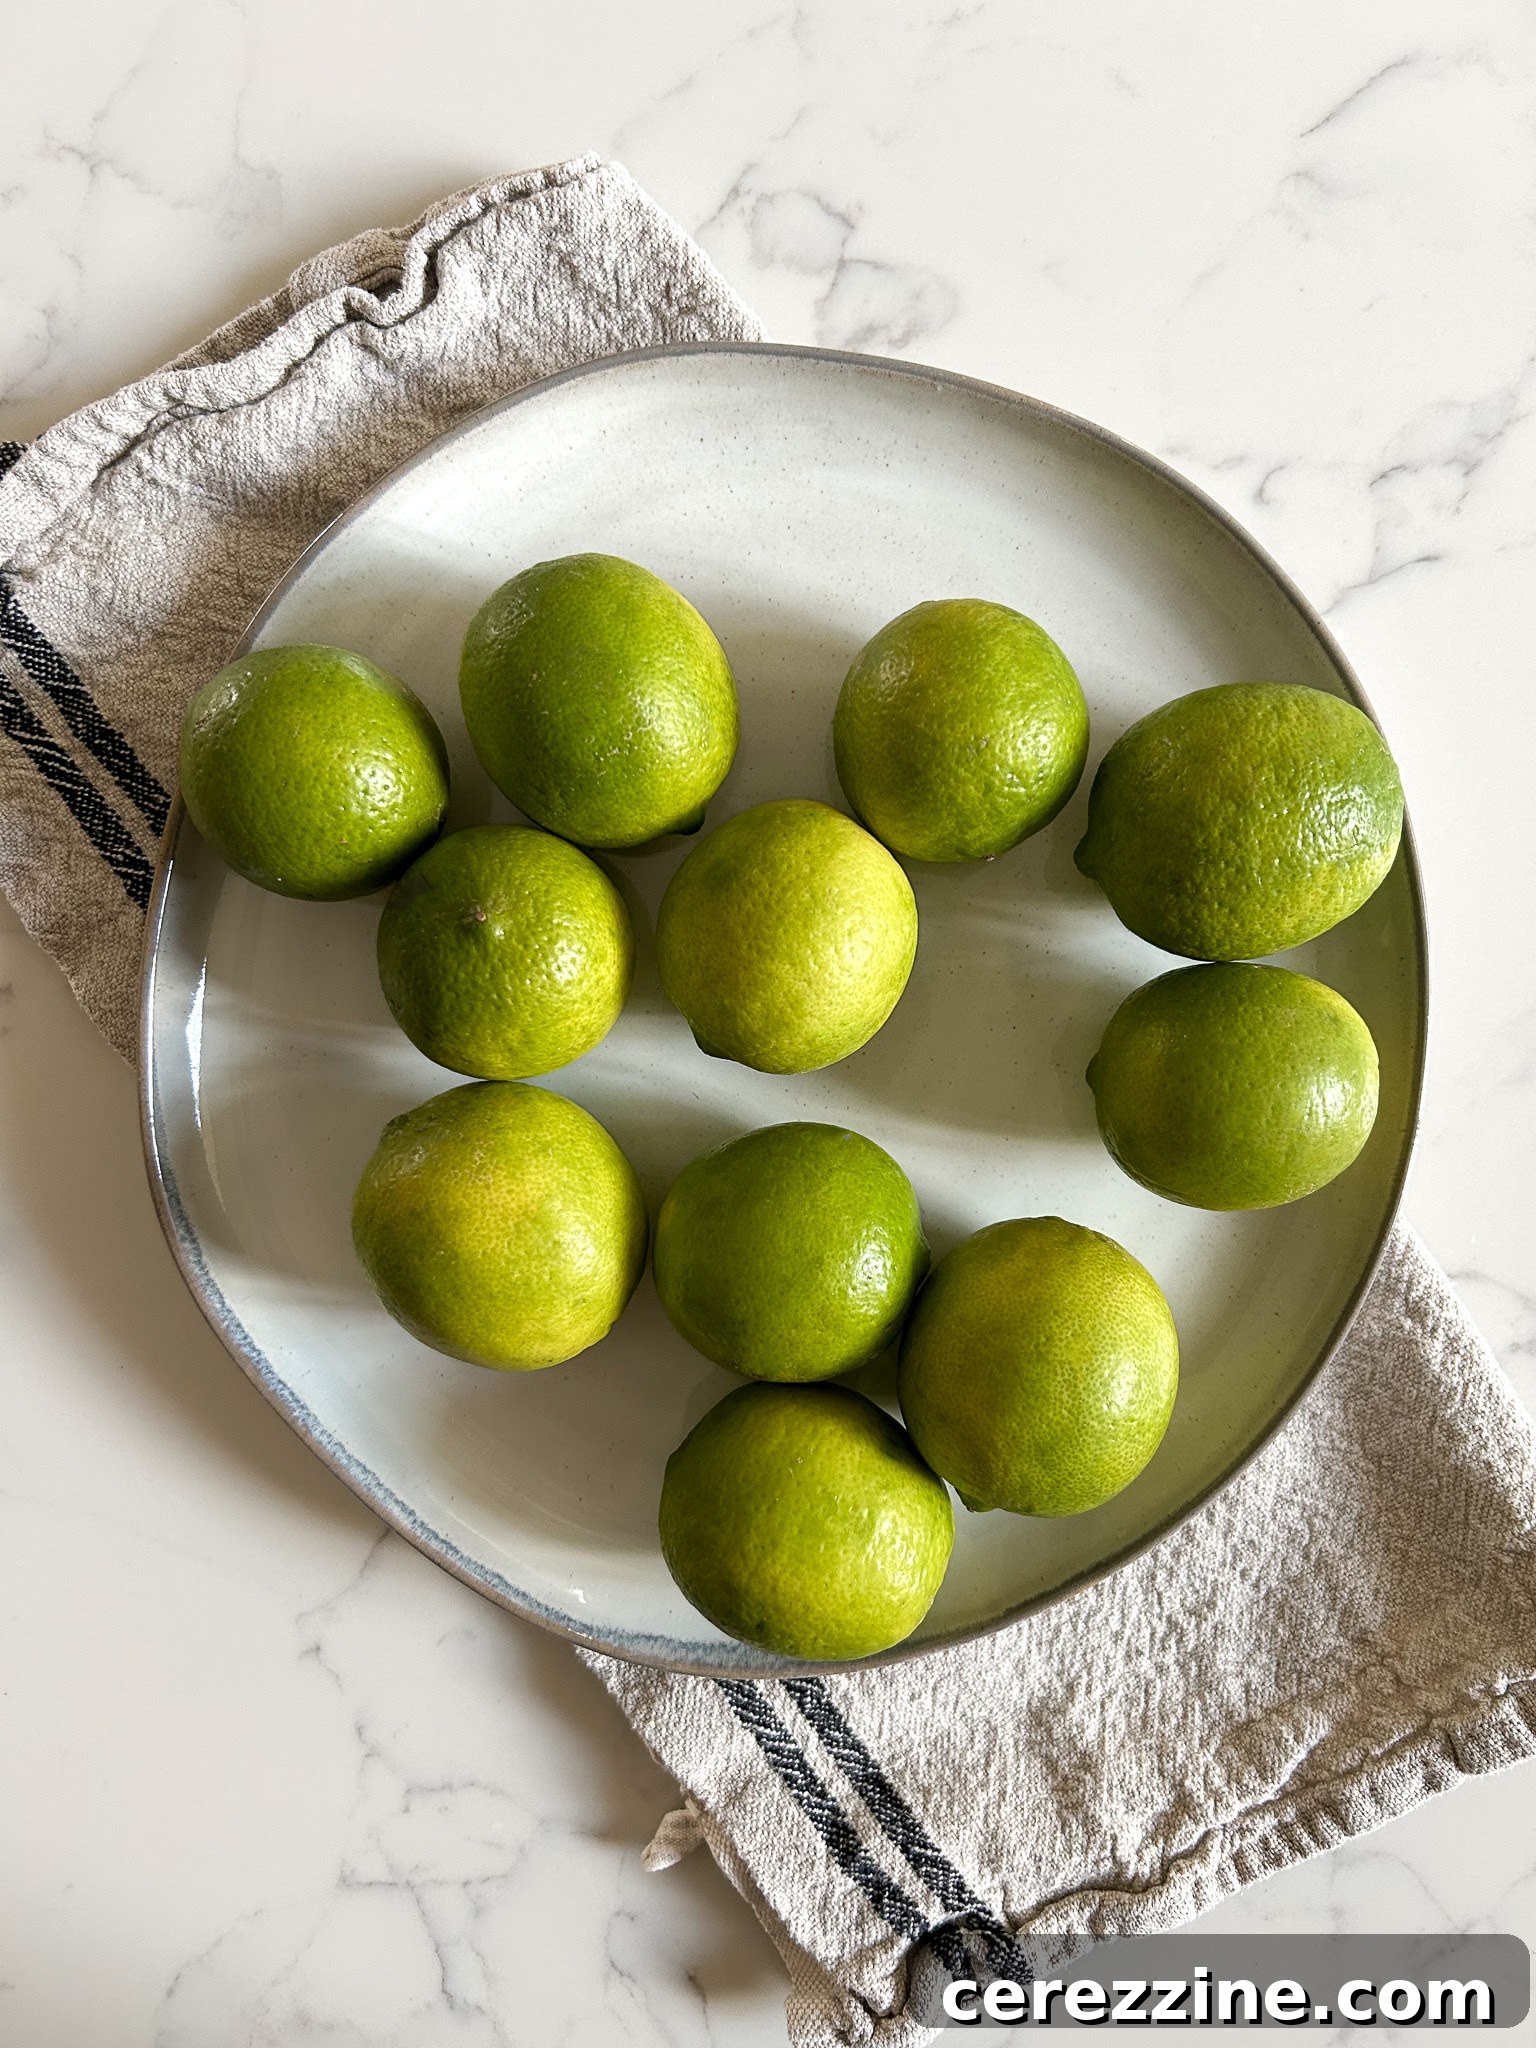
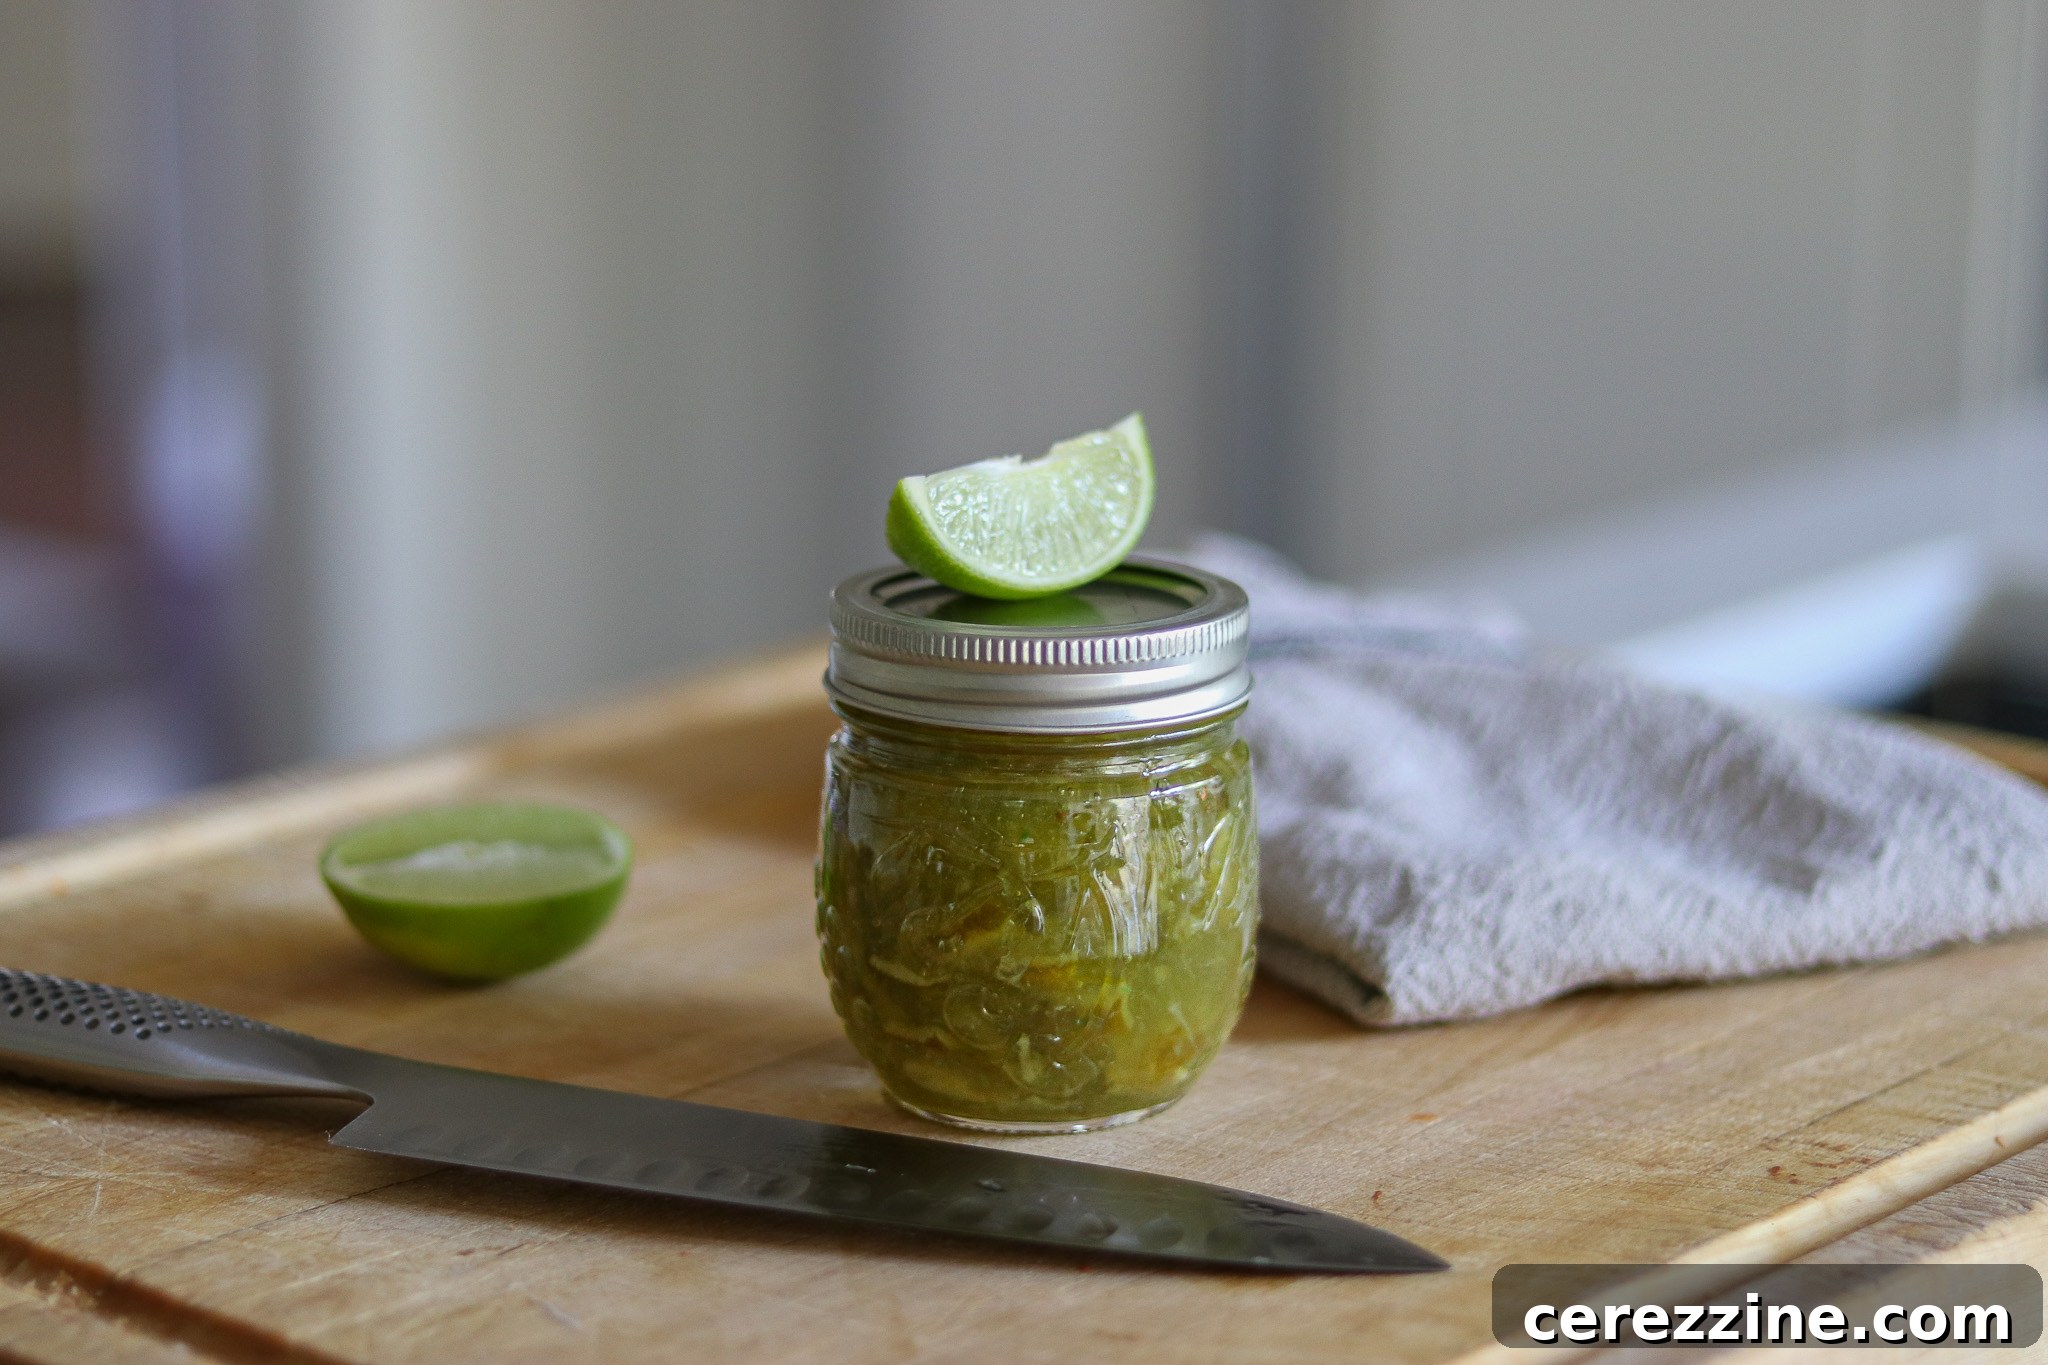
While the natural color of lime marmalade is a beautiful golden amber, it can sometimes appear a bit muted. A few drops of green food coloring can enhance its visual appeal, making it look as vibrant as it tastes. I personally favor using an all-natural, plant-based green food coloring for a more wholesome option. The addition of fresh lemon juice at the end is also optional but highly recommended. It subtly brightens the flavor, balancing the intense tang of the limes and adding another layer of citrus complexity.
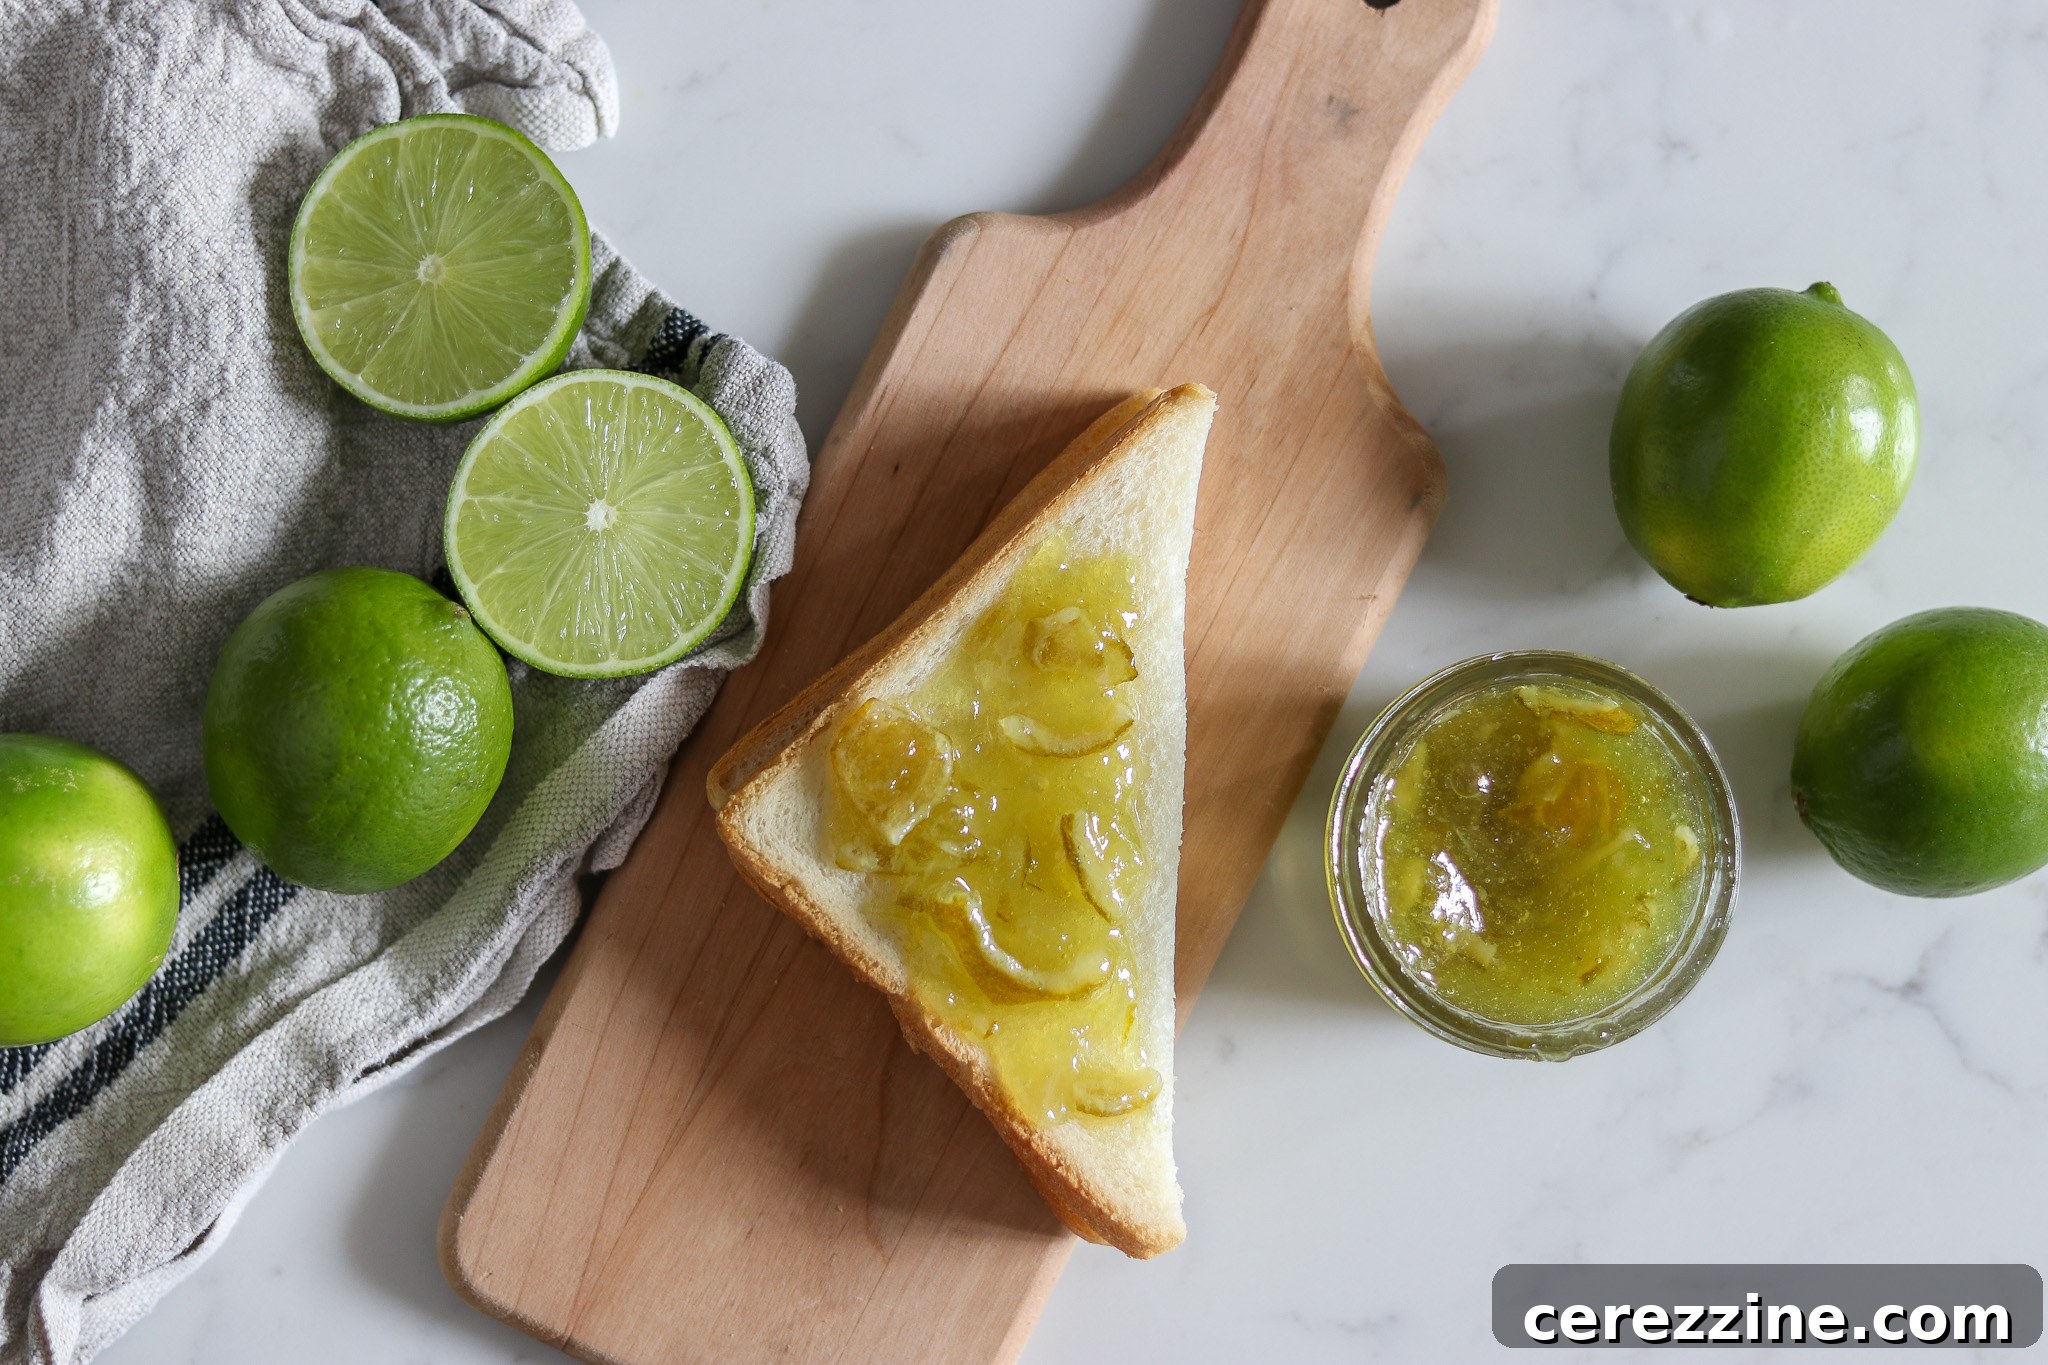
Preparing Your Limes: Methods for Success
The preparation of your limes is a foundational step that significantly impacts the final quality of your marmalade. Since you’ll be utilizing the entire fruit, including the peel, thorough cleaning is essential, and careful slicing or chopping will determine the texture of your preserve.
Thorough Washing Techniques
Limes, like many citrus fruits, are often treated with pesticides. It is paramount to wash them as thoroughly as possible. Whenever feasible, I strongly advocate for sourcing organic or locally grown limes that are free from pesticides to ensure the purest flavor and avoid unwanted chemicals. The USDA advises against using soap, detergent, or commercial produce washes, as rinsing and scrubbing with your hands under running water is equally effective. A clean vegetable brush can be used for a gentle yet effective scrub.
For an extra layer of reassurance, particularly if organic limes aren’t available, consider a simple but effective alternative: mix two tablespoons of baking soda into one cup of water. Rub your limes with this solution, then rinse them thoroughly with clean water. The alkaline properties of baking soda are known to neutralize many common pesticides and chemicals found on fruit. Furthermore, baking soda possesses the beneficial side effect of helping citrus peels soften, which will contribute positively to the marmalade-making process later on.
Precision Slicing vs. Food Processor Chopping
Once your limes are sparkling clean, it’s time to prepare them for cooking. You have two primary methods for breaking down the fruit: using a food processor for chopping or hand-slicing. Having experimented with both, I find that finely slicing the limes, either manually with a very sharp knife or using a mandoline, consistently yields the most aesthetically pleasing and texturally superior lime marmalade. The uniformly thin strips create a more elegant appearance and a delicate chew in the finished product.
Food Processor Method
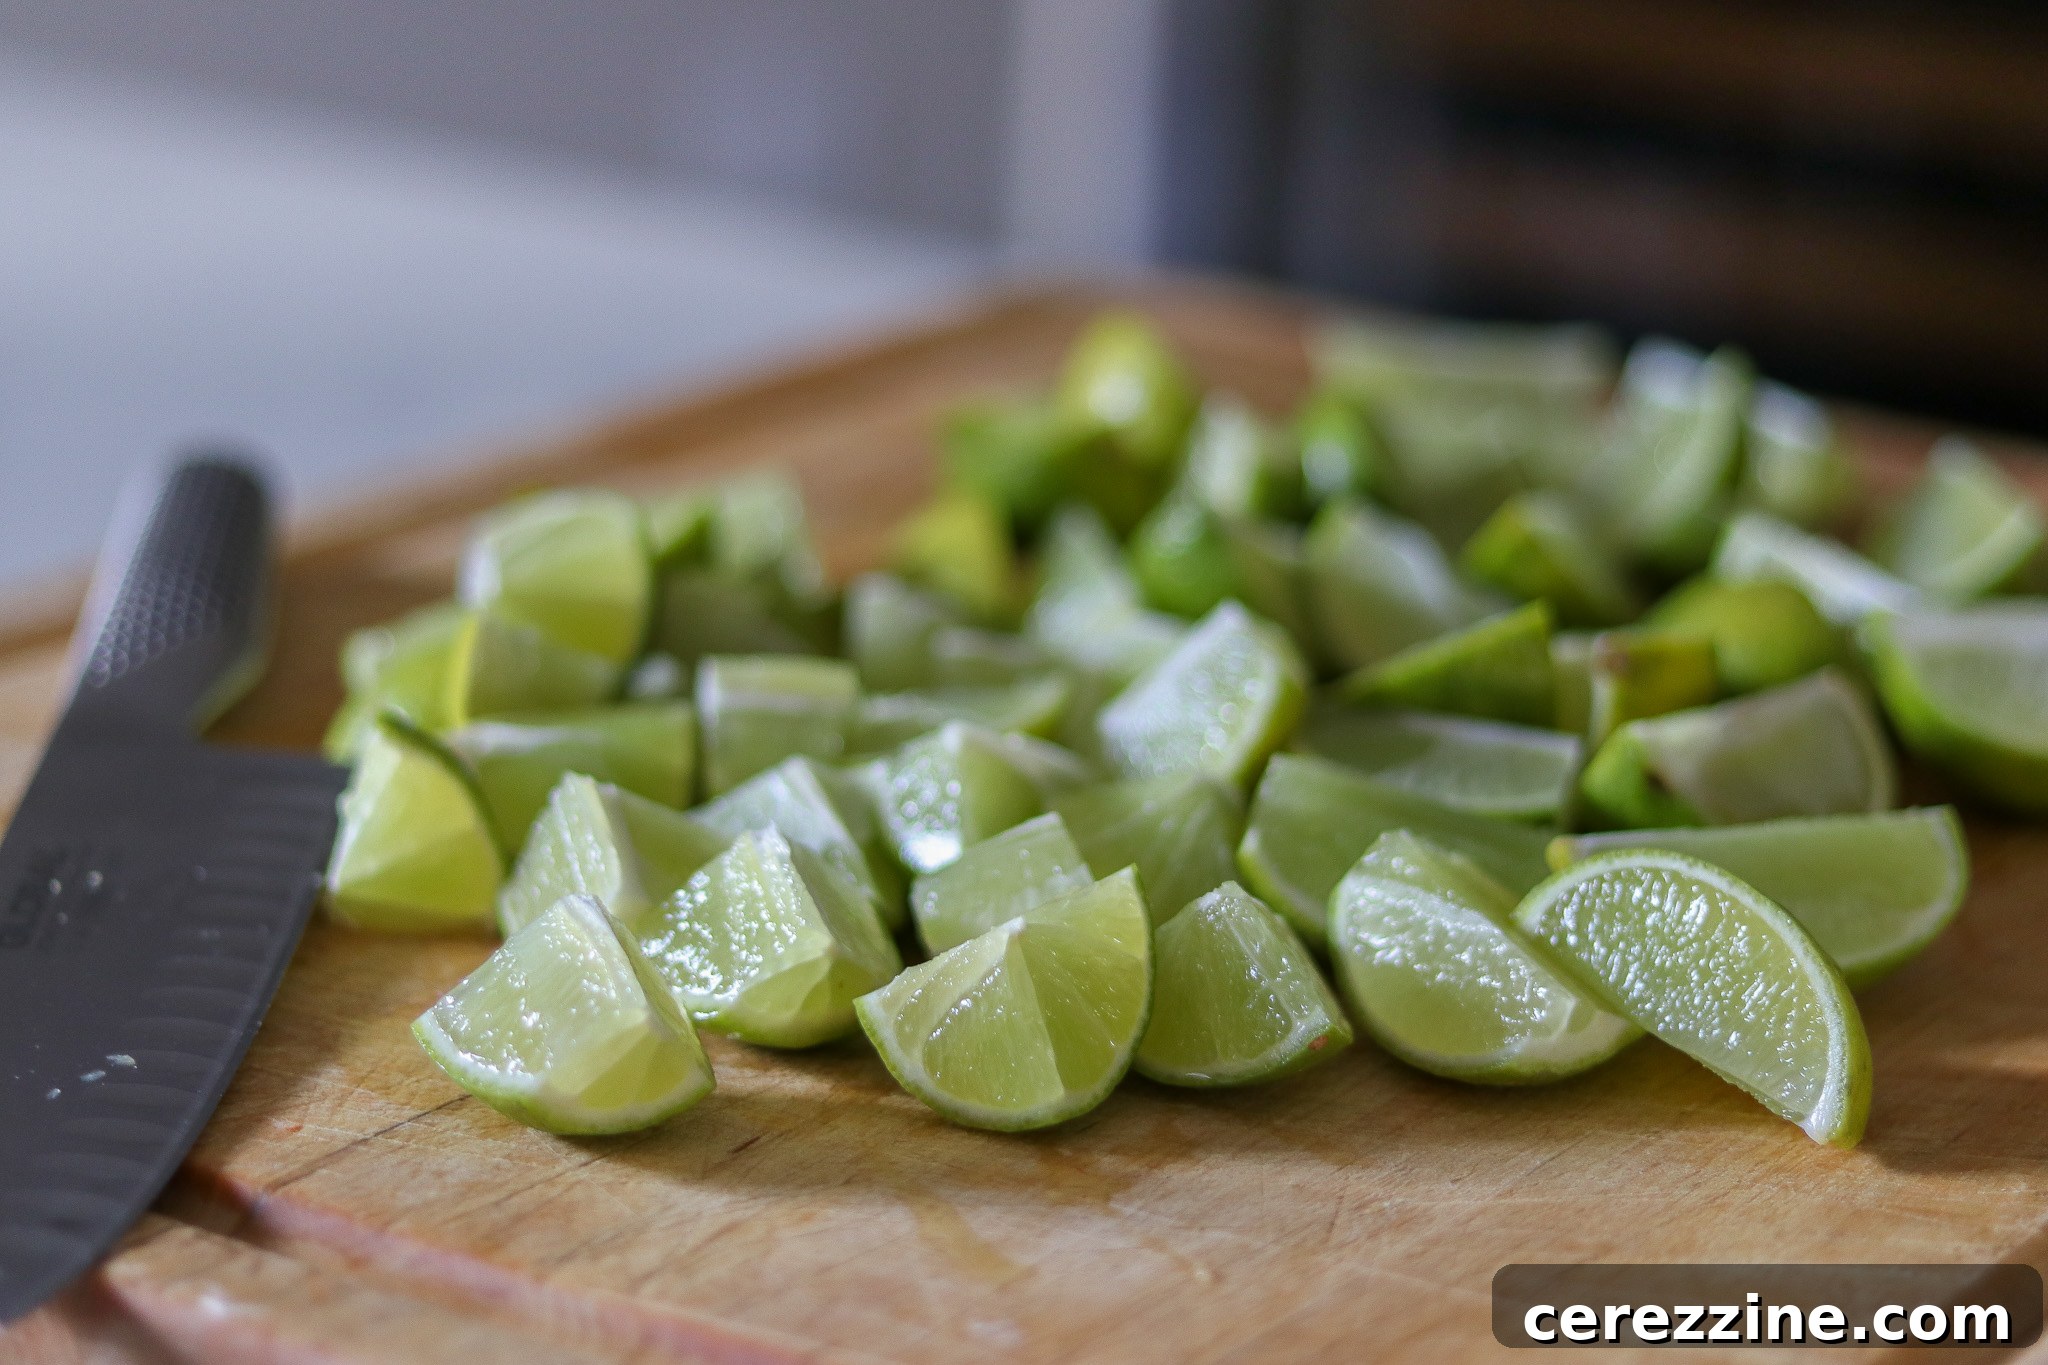
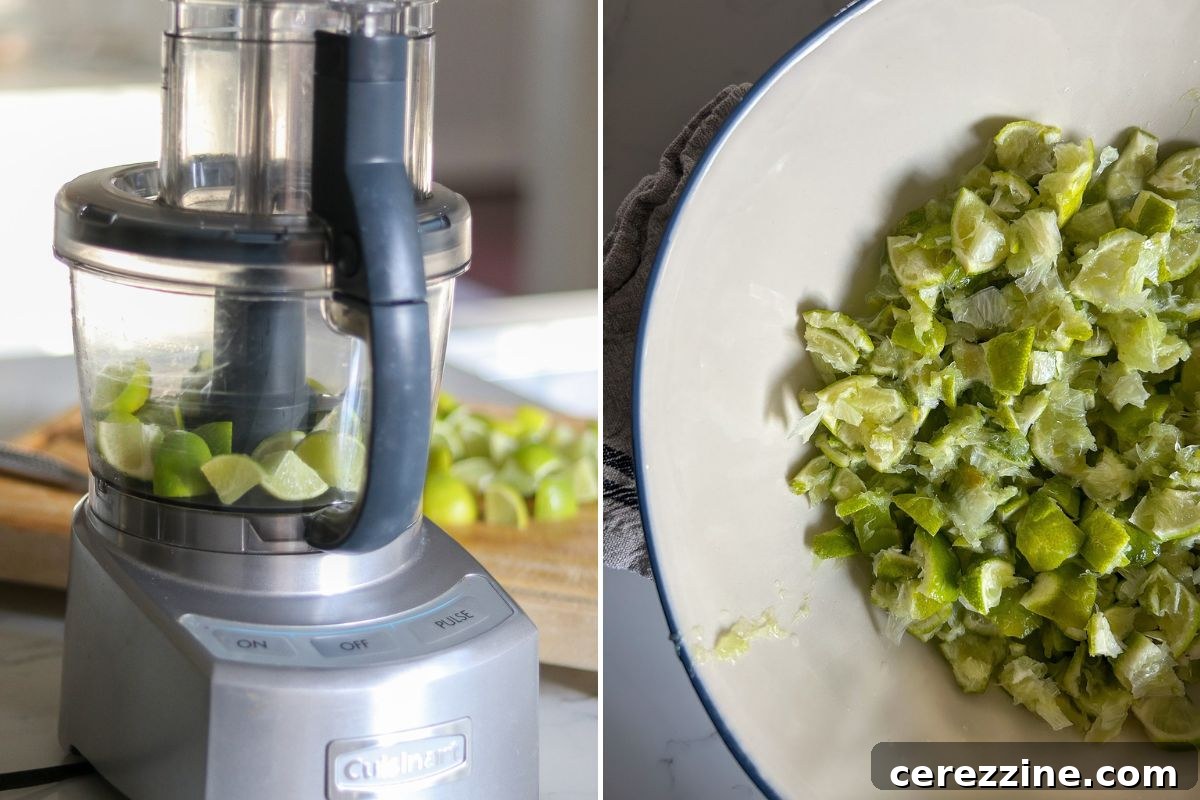
If time is of the essence or you prefer a slightly less structured peel, the food processor is a viable option. Begin by cutting each lime into quarters and carefully remove as many seeds as possible. Also, trim off any tough stem-end parts, as these can remain firm even after extensive cooking. Aim for the softest rind possible to ensure a fantastic final marmalade texture. After deseeding and trimming, cut the lime quarters into smaller, manageable pieces, then pulse them in your food processor. Work in small batches, pulsing about a dozen times until the limes are evenly chopped. The goal is a uniform chop, not a fine or mushy paste. Once all limes are processed, you should have approximately 7 to 8 cups of chopped fruit.
Hand Slicing Method
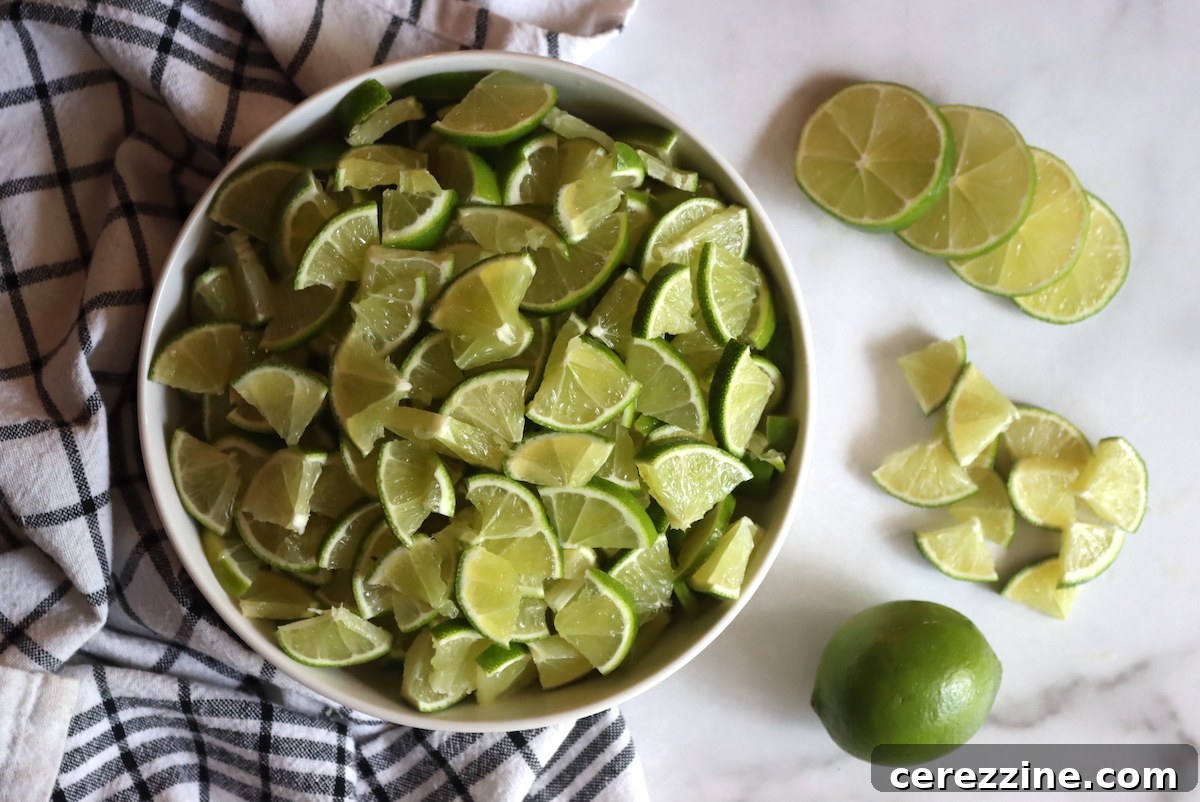
For those seeking the classic marmalade appearance with distinct, delicate peel sections, hand slicing or using a mandoline is the preferred method. This technique results in uniform, beautiful strips of lime rind that are both tender and visually appealing. To execute this, thinly slice the limes using a mandoline set to its thinnest setting, or carefully slice them by hand with a very sharp knife. Aim for slices that are as translucent as possible. Once sliced, quarter each round slice, creating delicate little crescents of lime peel that will elegantly suspend throughout your finished marmalade.
Mastering the Marmalade Making Process
Regardless of your chosen lime preparation method, the subsequent steps for crafting this exquisite lime marmalade without added pectin remain consistent. This multi-day process ensures maximum flavor extraction and perfect gel formation.
Soaking for Optimal Pectin Extraction
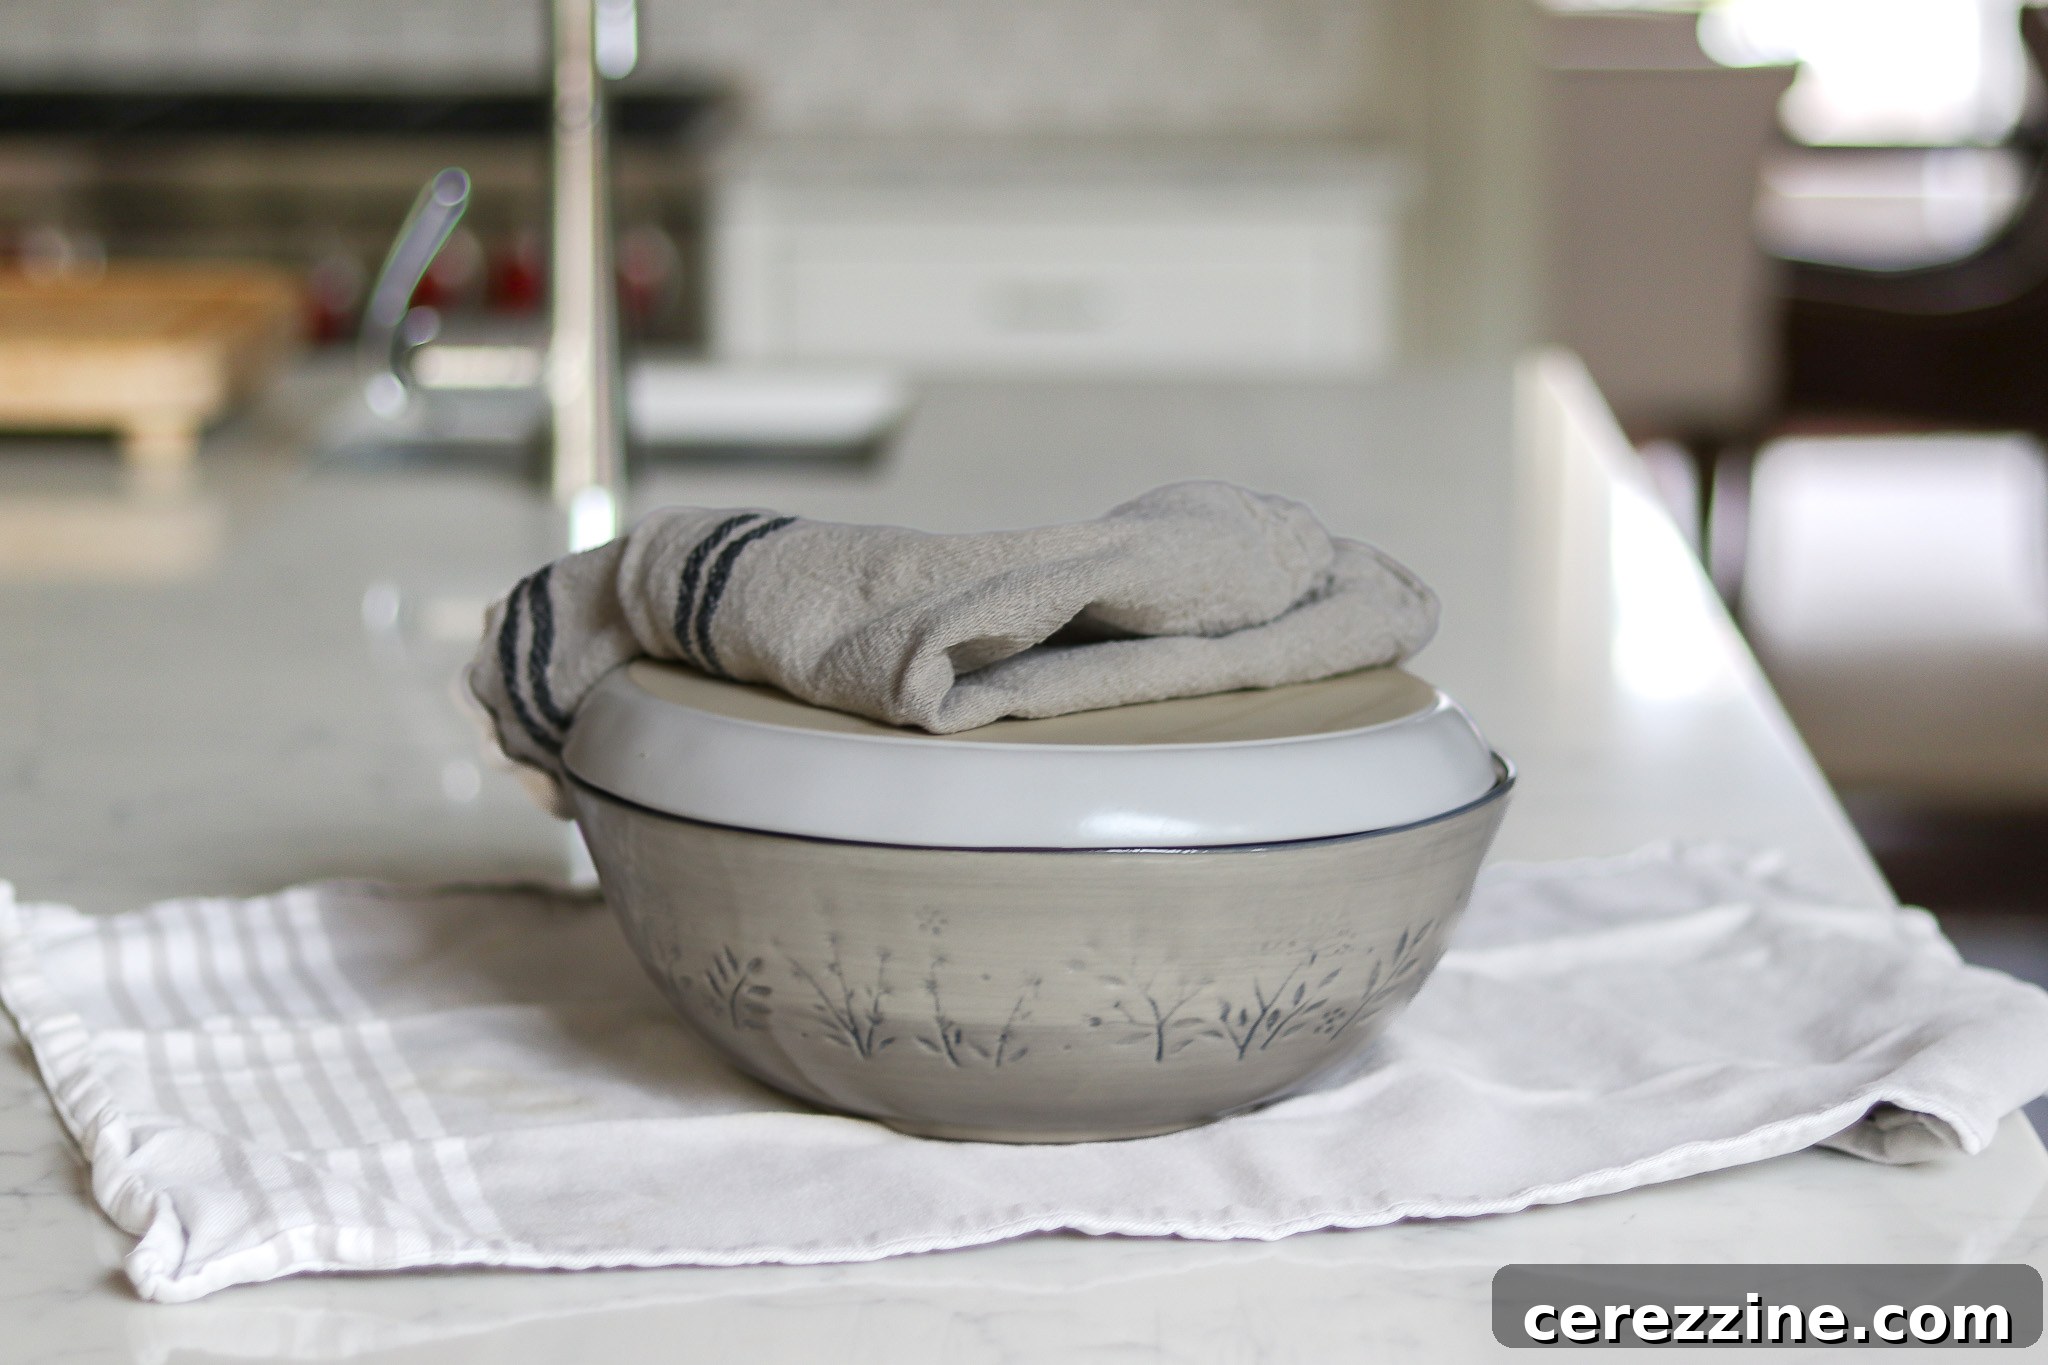
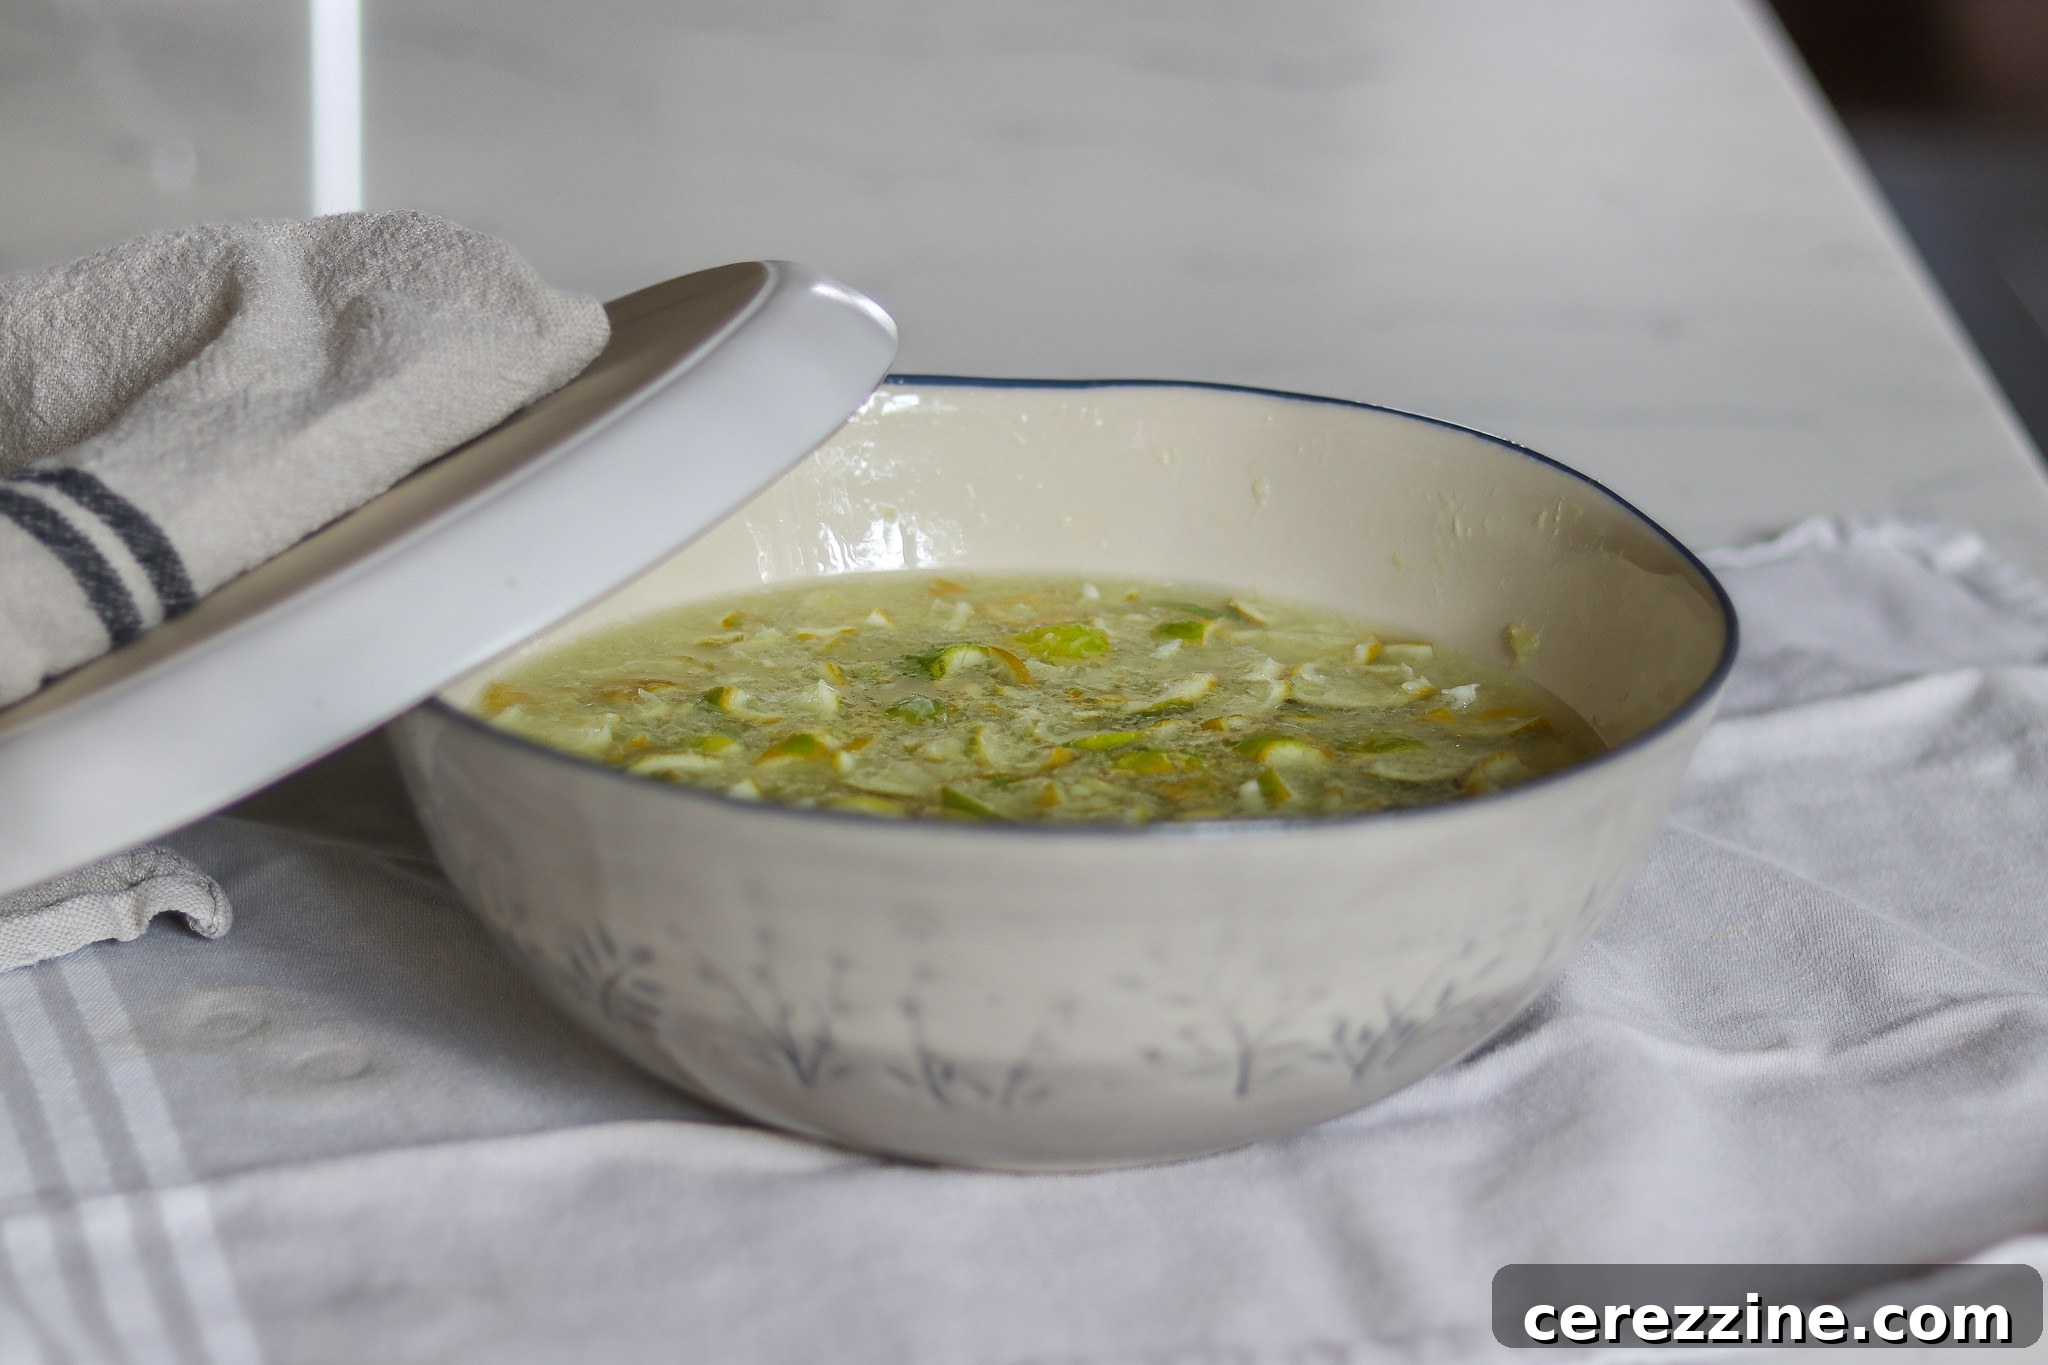
Transfer your prepared limes into a non-reactive container large enough to comfortably hold them along with 8 cups of water. Pour the water over the limes, give it a gentle stir to ensure all pieces are submerged, then cover the container to keep it clean and prevent contamination. Allow this mixture to sit overnight, or for a minimum of 6 hours. This extended soak is paramount as it softens the lime peels, making them tender, and, crucially, encourages the natural pectin within the fruit to release into the water, setting the stage for a beautifully gelled marmalade.
Simmering to Perfection
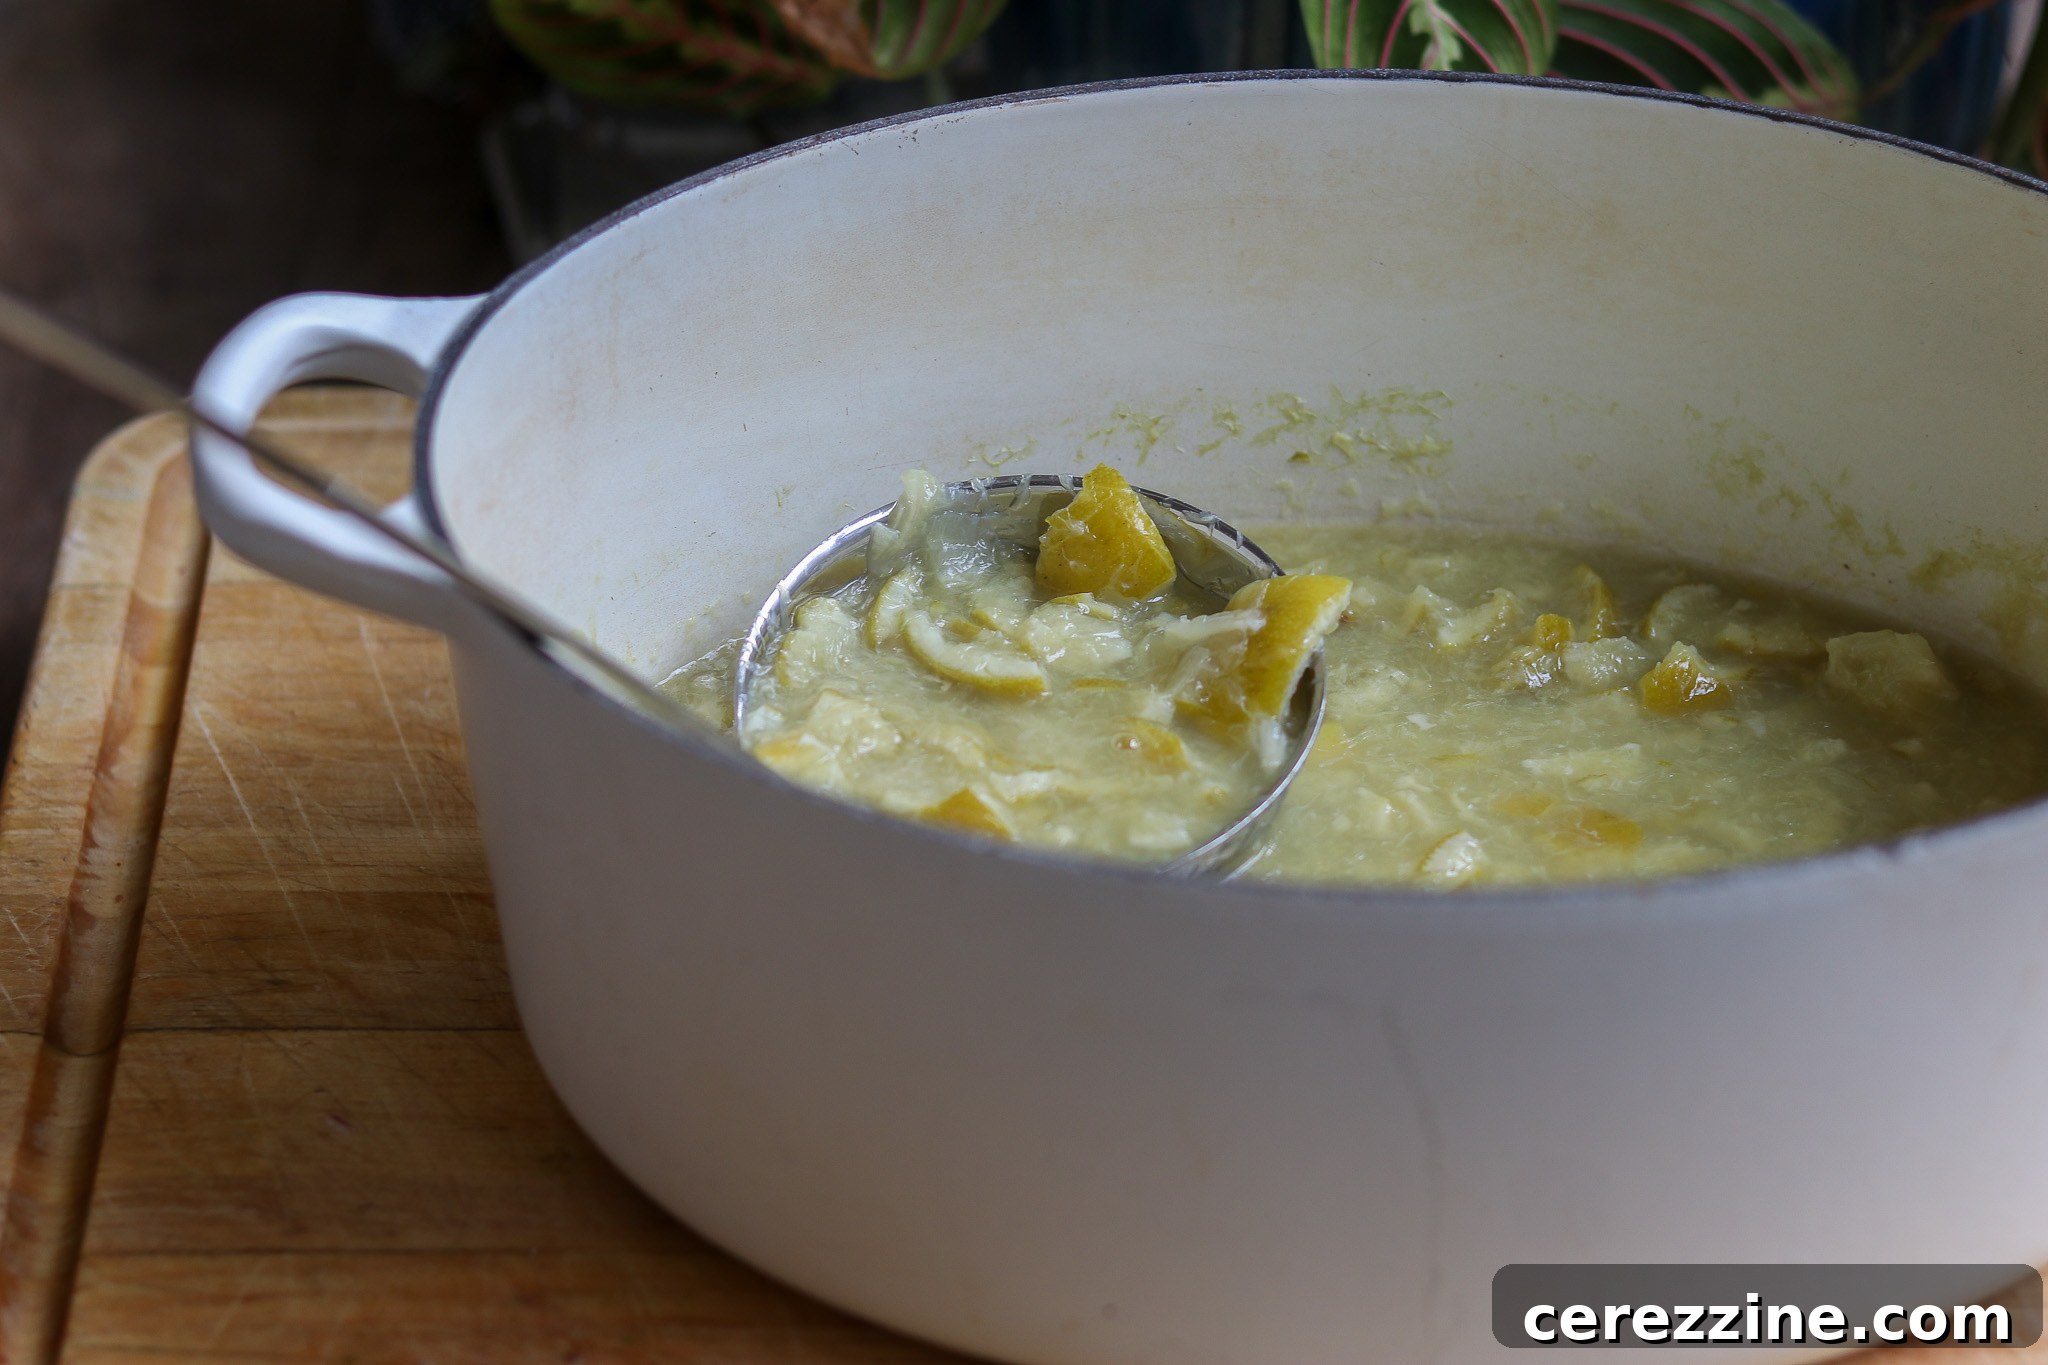
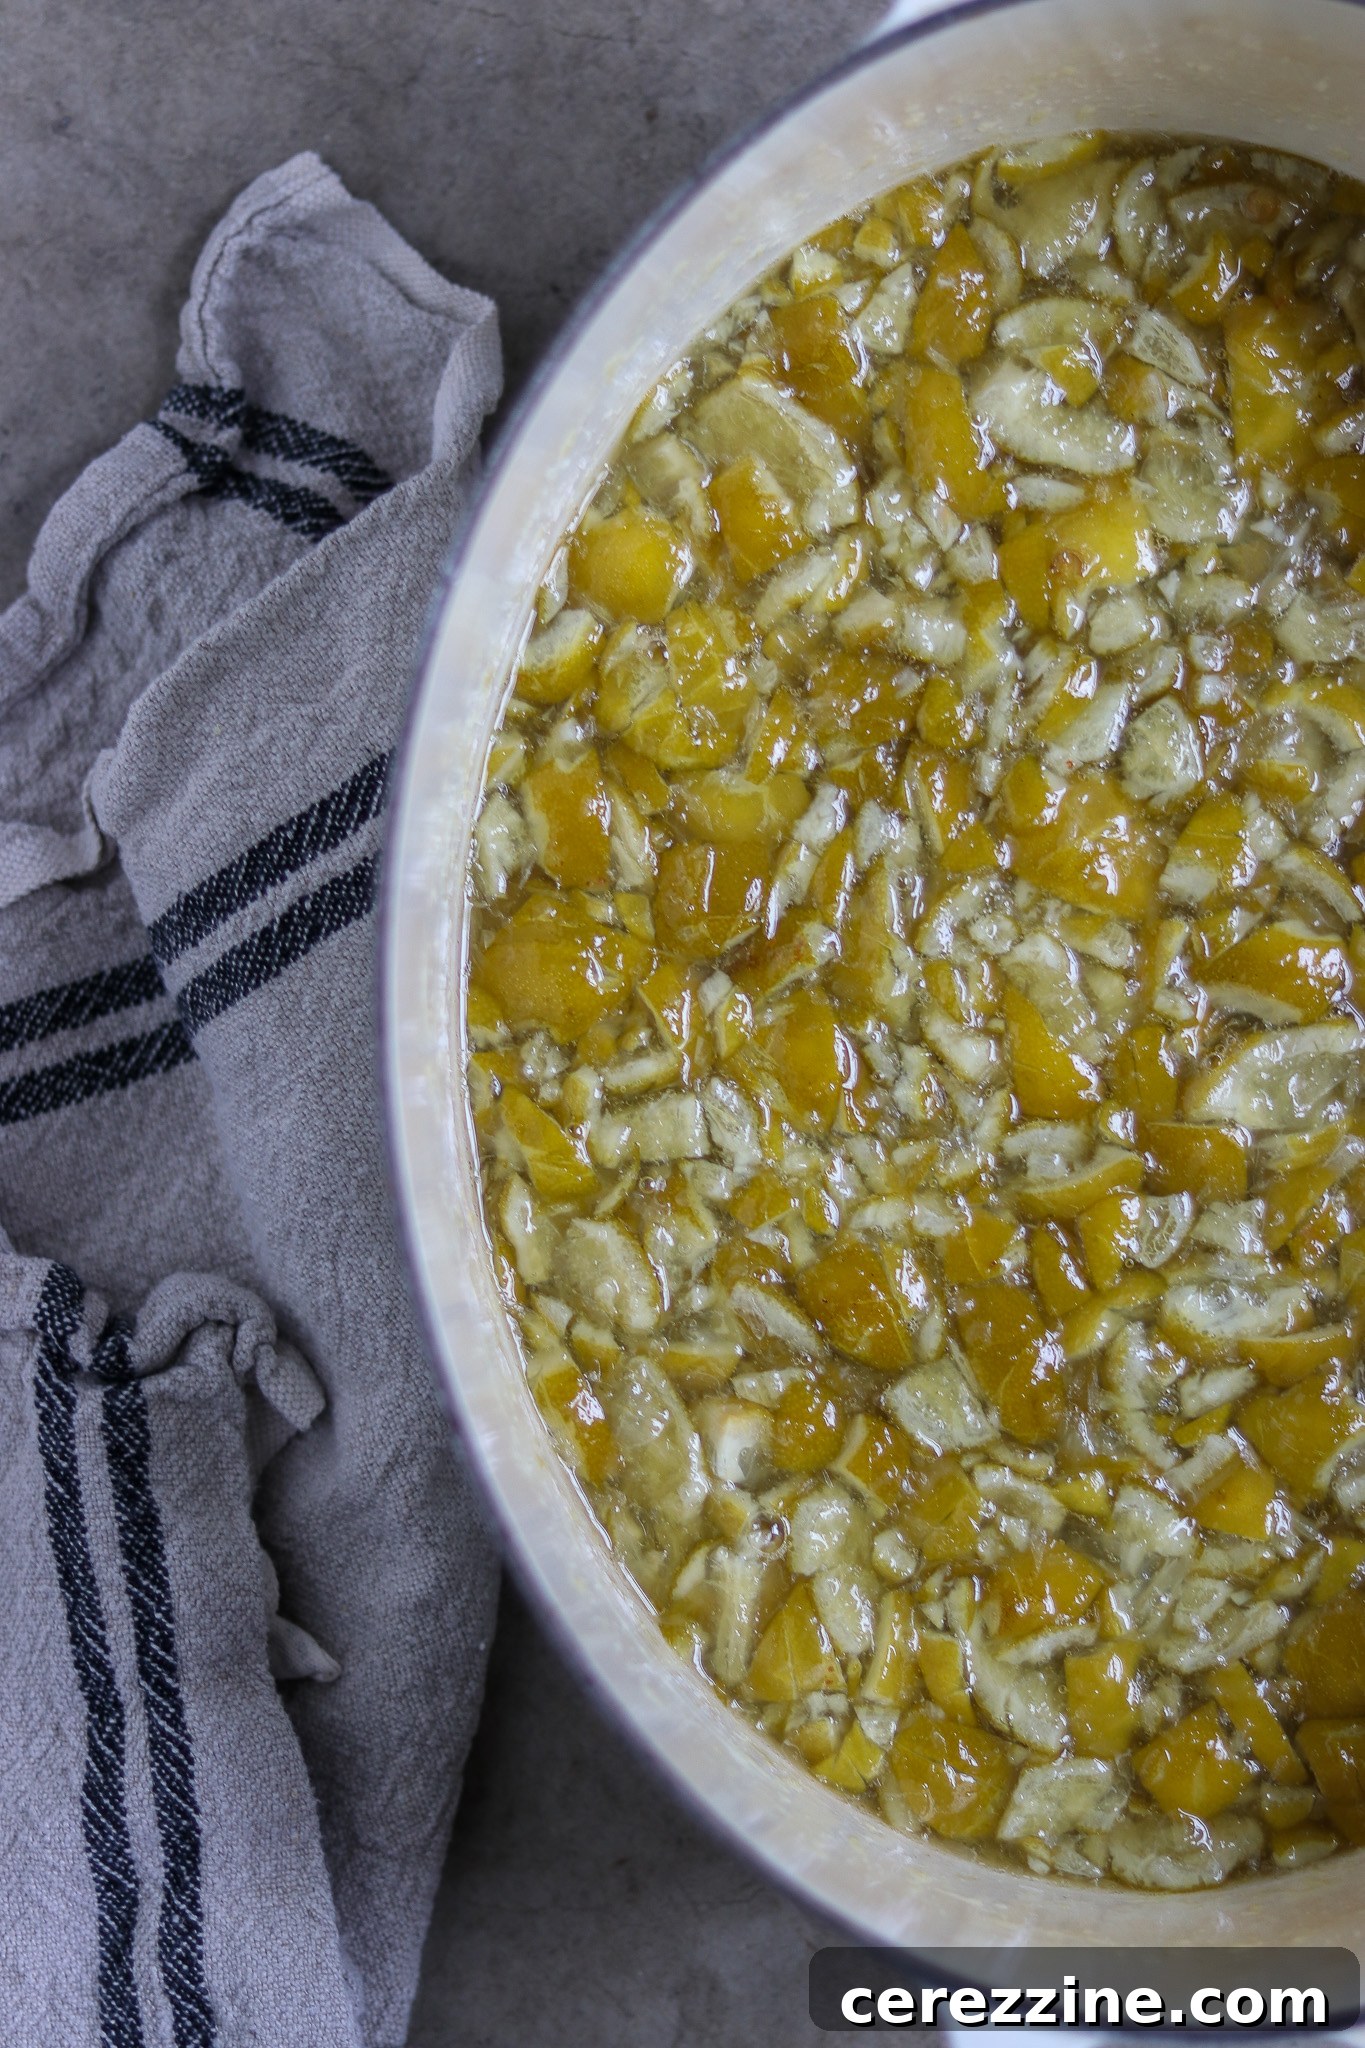
After the overnight soak, transfer the lime and water mixture into a large, heavy-bottomed pot or a dedicated jam pot. Bring the mixture to a boil over medium-high heat. Once boiling, reduce the heat slightly to maintain a gentle, low boil, leaving the pot uncovered. Continue to cook for approximately 40 minutes. This extended simmering time is crucial for two reasons: it further softens the lime peels to a desirable tenderness and facilitates the continued extraction of pectin from the fruit, ensuring a robust natural gel.
Incorporating Sugar and Resting
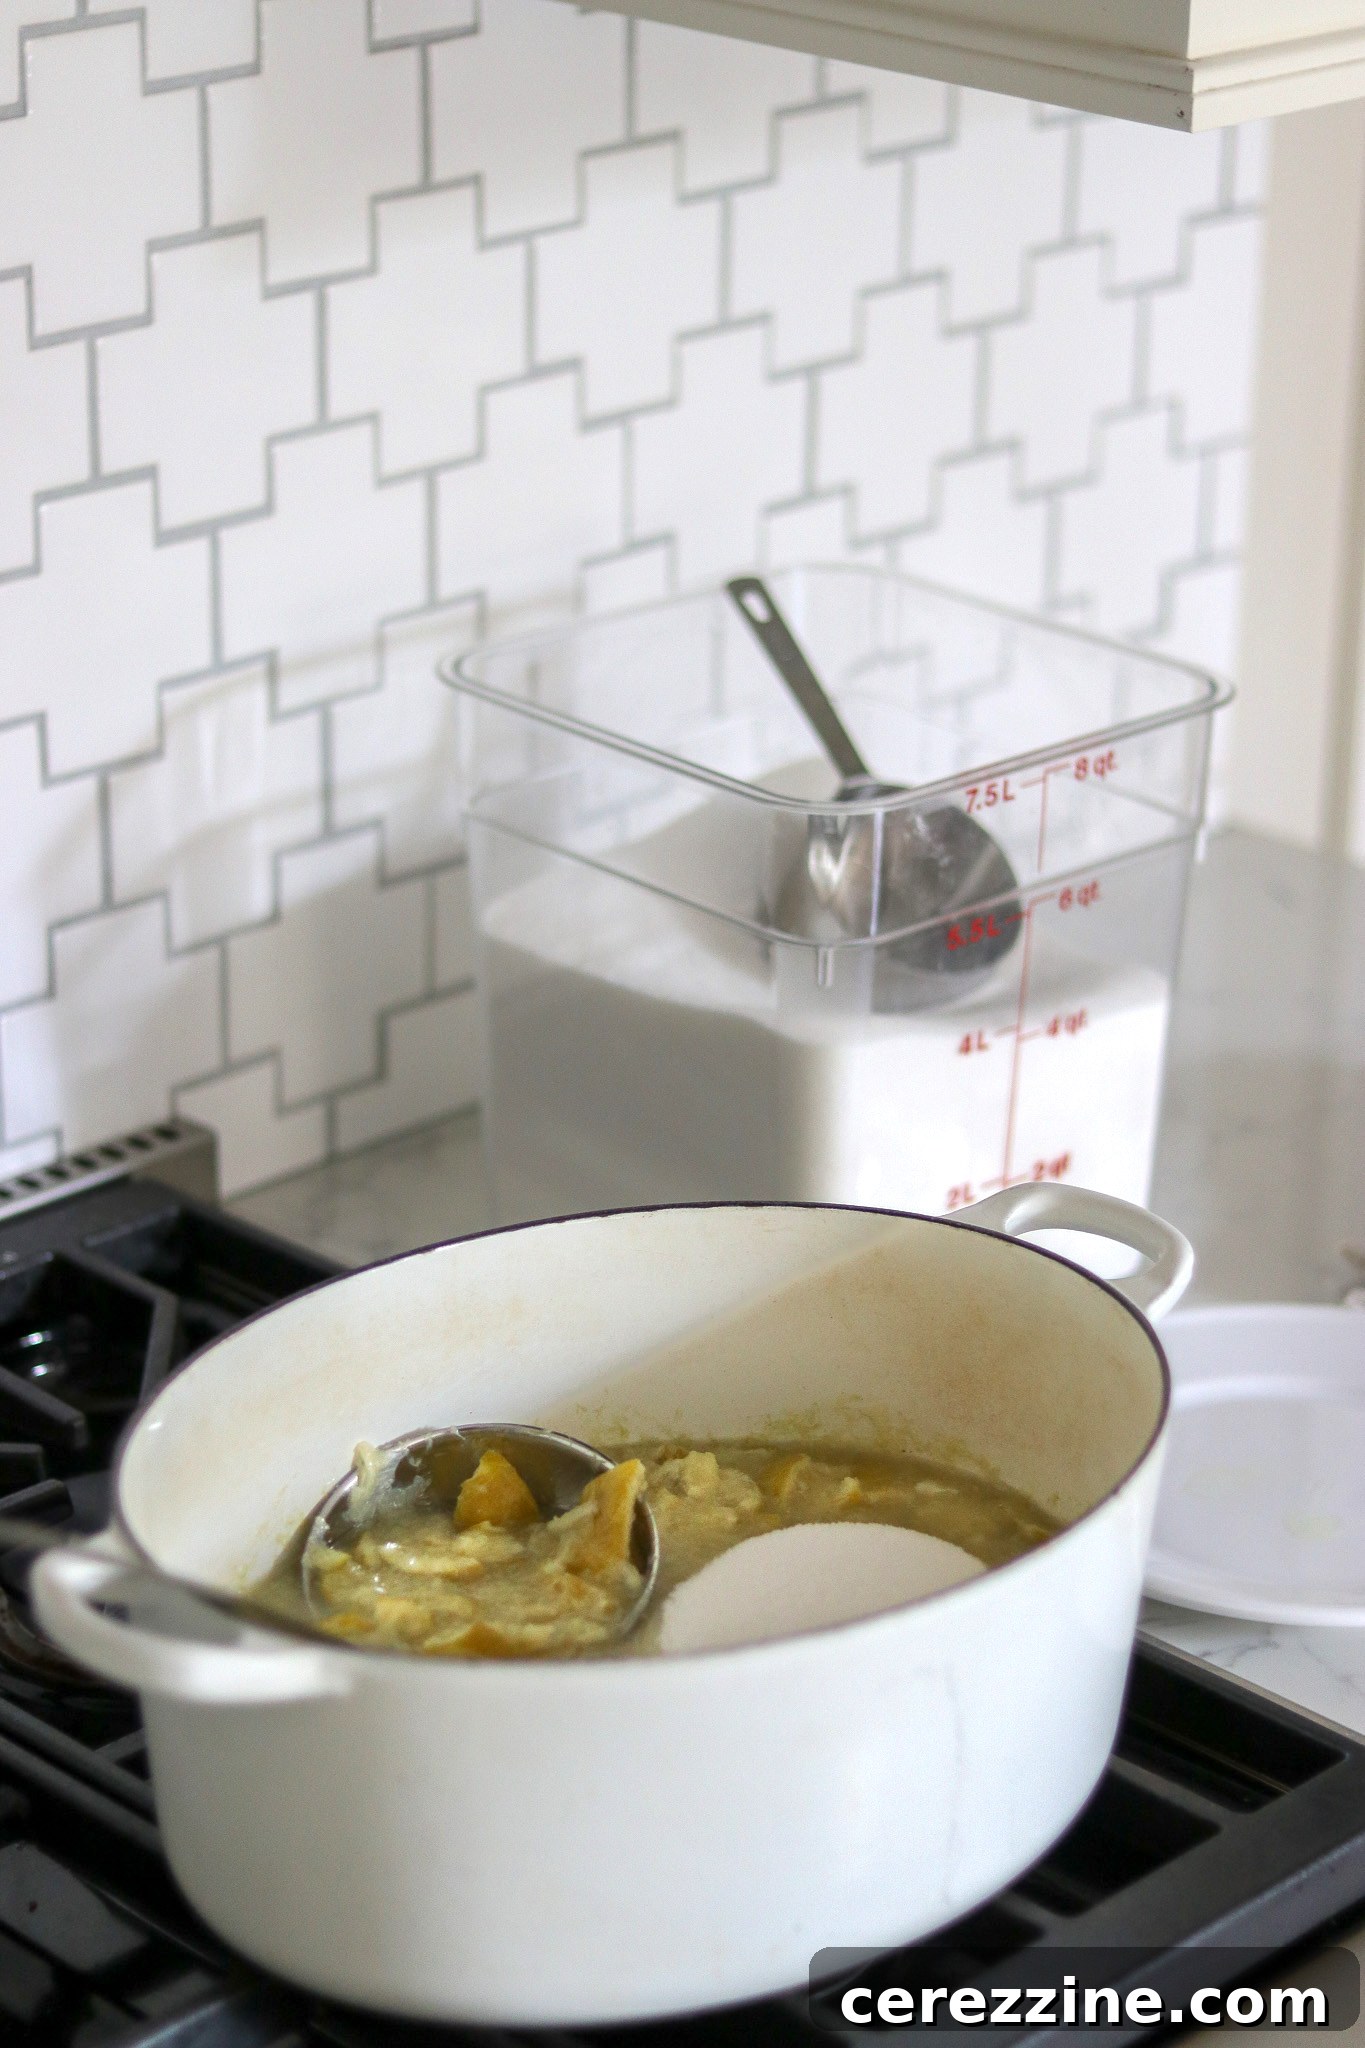
Once the peels are adequately softened, it’s time to introduce the sugar. Gradually stir in 6 cups of granulated sugar, adding it slowly and continuously stirring until every crystal is fully dissolved. This gradual addition prevents the sugar from scorching and ensures even integration. As you stir, keep an eye out for any stray seeds that may have escaped earlier preparation and remove them as you find them. Once the sugar has completely dissolved, carefully dip a spoon into the mixture and taste it, being extremely cautious as the marmalade will be very hot. If you prefer a sweeter profile, you may add the remaining 1 cup of sugar gradually, stirring until dissolved. Remove the pot from the heat, cover it, and allow the mixture to cool and rest for several hours or, ideally, overnight. This resting period further tenderizes the peels and promotes maximum pectin release.
Achieving the Perfect Set: The Cold Plate Test
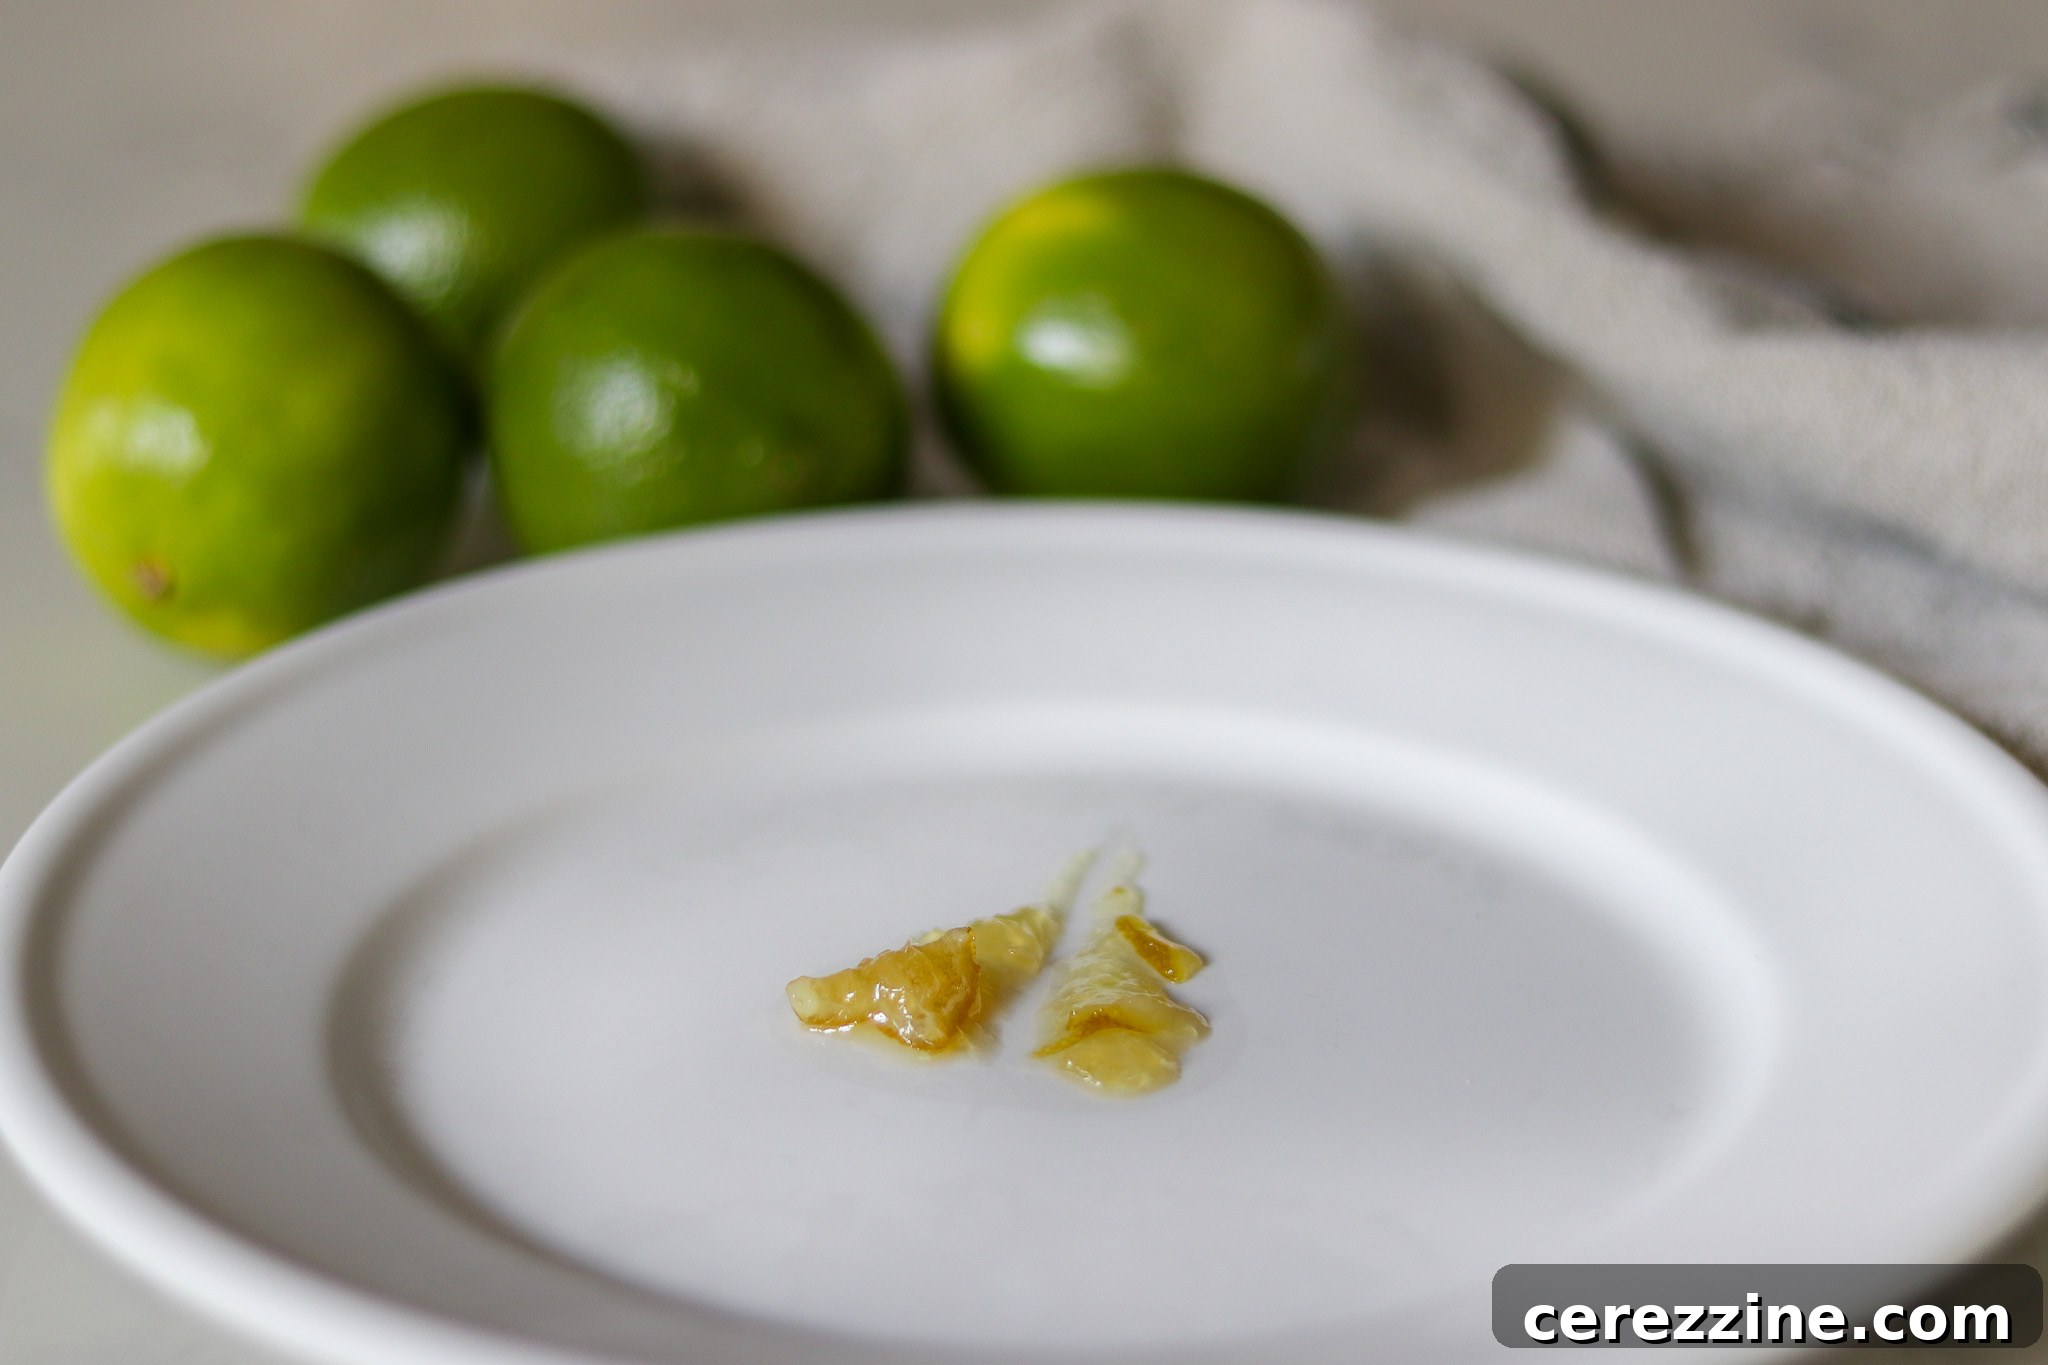
On the third day (or later the following afternoon), it’s time to bring your marmalade to its final glorious set. If you plan to preserve your marmalade through canning, now is the ideal moment to prepare your water bath canner and sterilize your jars. Crucially, place 3 or 4 small ceramic plates in your freezer; these will be indispensable for conducting the “cold plate test” to determine when your marmalade has reached its perfect gel stage.
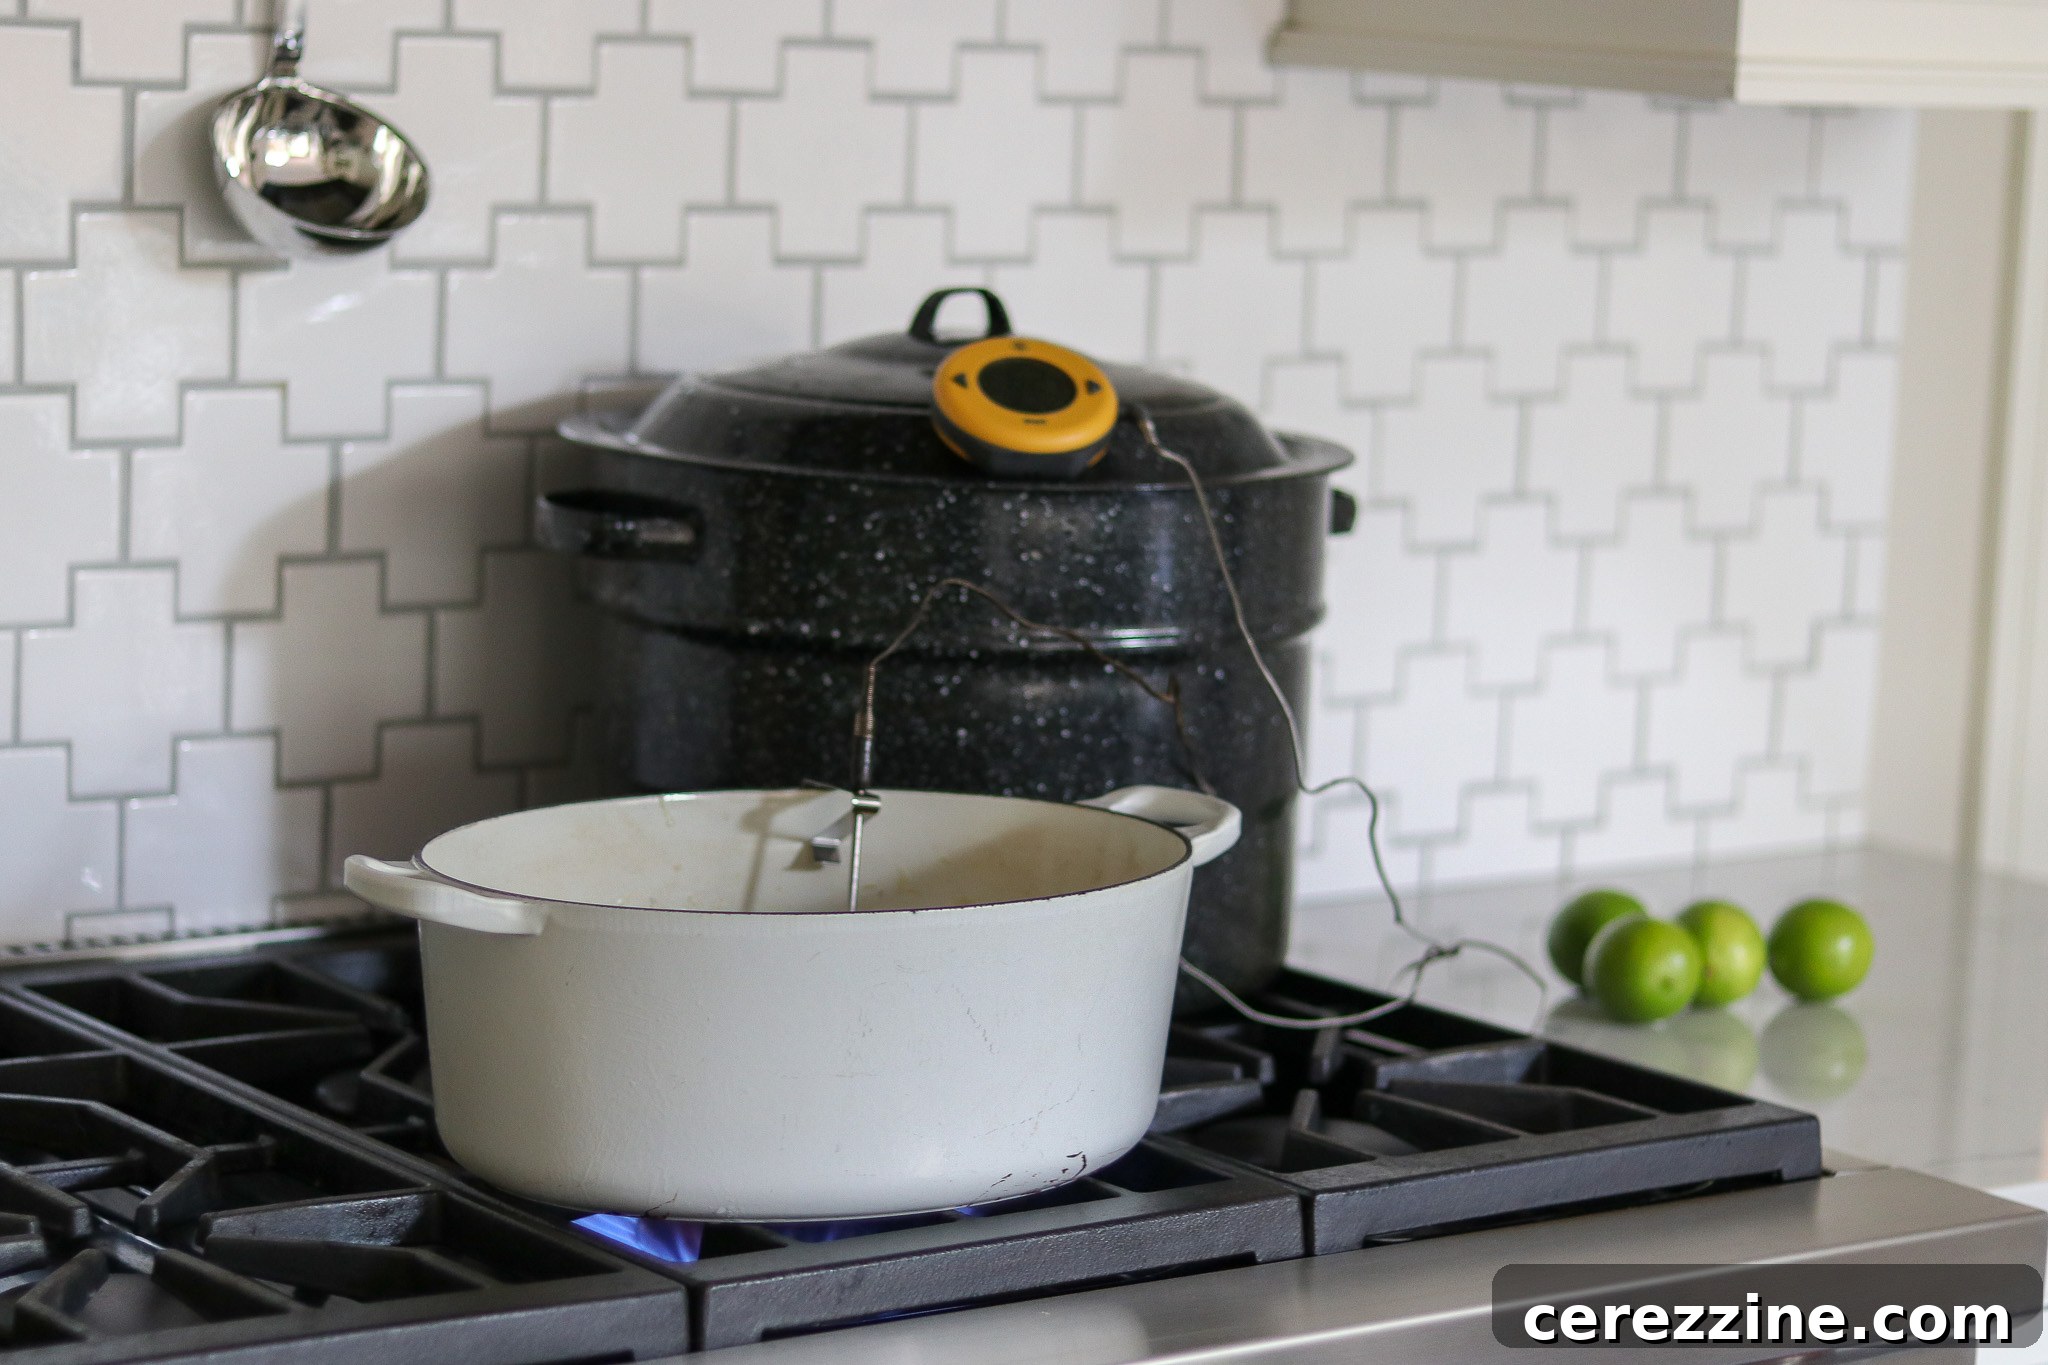
Return the lime mixture to the stove over high heat, stirring frequently to prevent scorching, and bring it to a rolling boil. Once it reaches a vigorous boil, retrieve one of your frozen plates. Carefully drop about a tablespoon of the boiling marmalade onto the cold plate, then return the plate to the freezer for 1 to 2 minutes. After this brief chilling, remove the plate and gently push or “nudge” the dollop of marmalade with your fingertip. If the marmalade has formed a distinct “skin” on top that wrinkles and resists when nudged, it has reached its set point.
If your finger slides easily through the marmalade without wrinkling, it needs more cooking time. Continue boiling the mixture and repeat the cold plate test every few minutes until you achieve the desired gel. To prevent overcooking while testing, it’s wise to temporarily remove the pot from the heat as you conduct each cold plate test. As an alternative or supplementary method, you can use a candy thermometer. The ideal setting temperature for this marmalade is typically between 216 and 218 degrees Fahrenheit. It’s important to note that while many jams cook to 220°F, this lime marmalade tends to firm up considerably in the jars after a few days as more pectin is released. Aim for a soft set initially, allowing it to firm further as it cools and rests.
Final Touches and Distribution
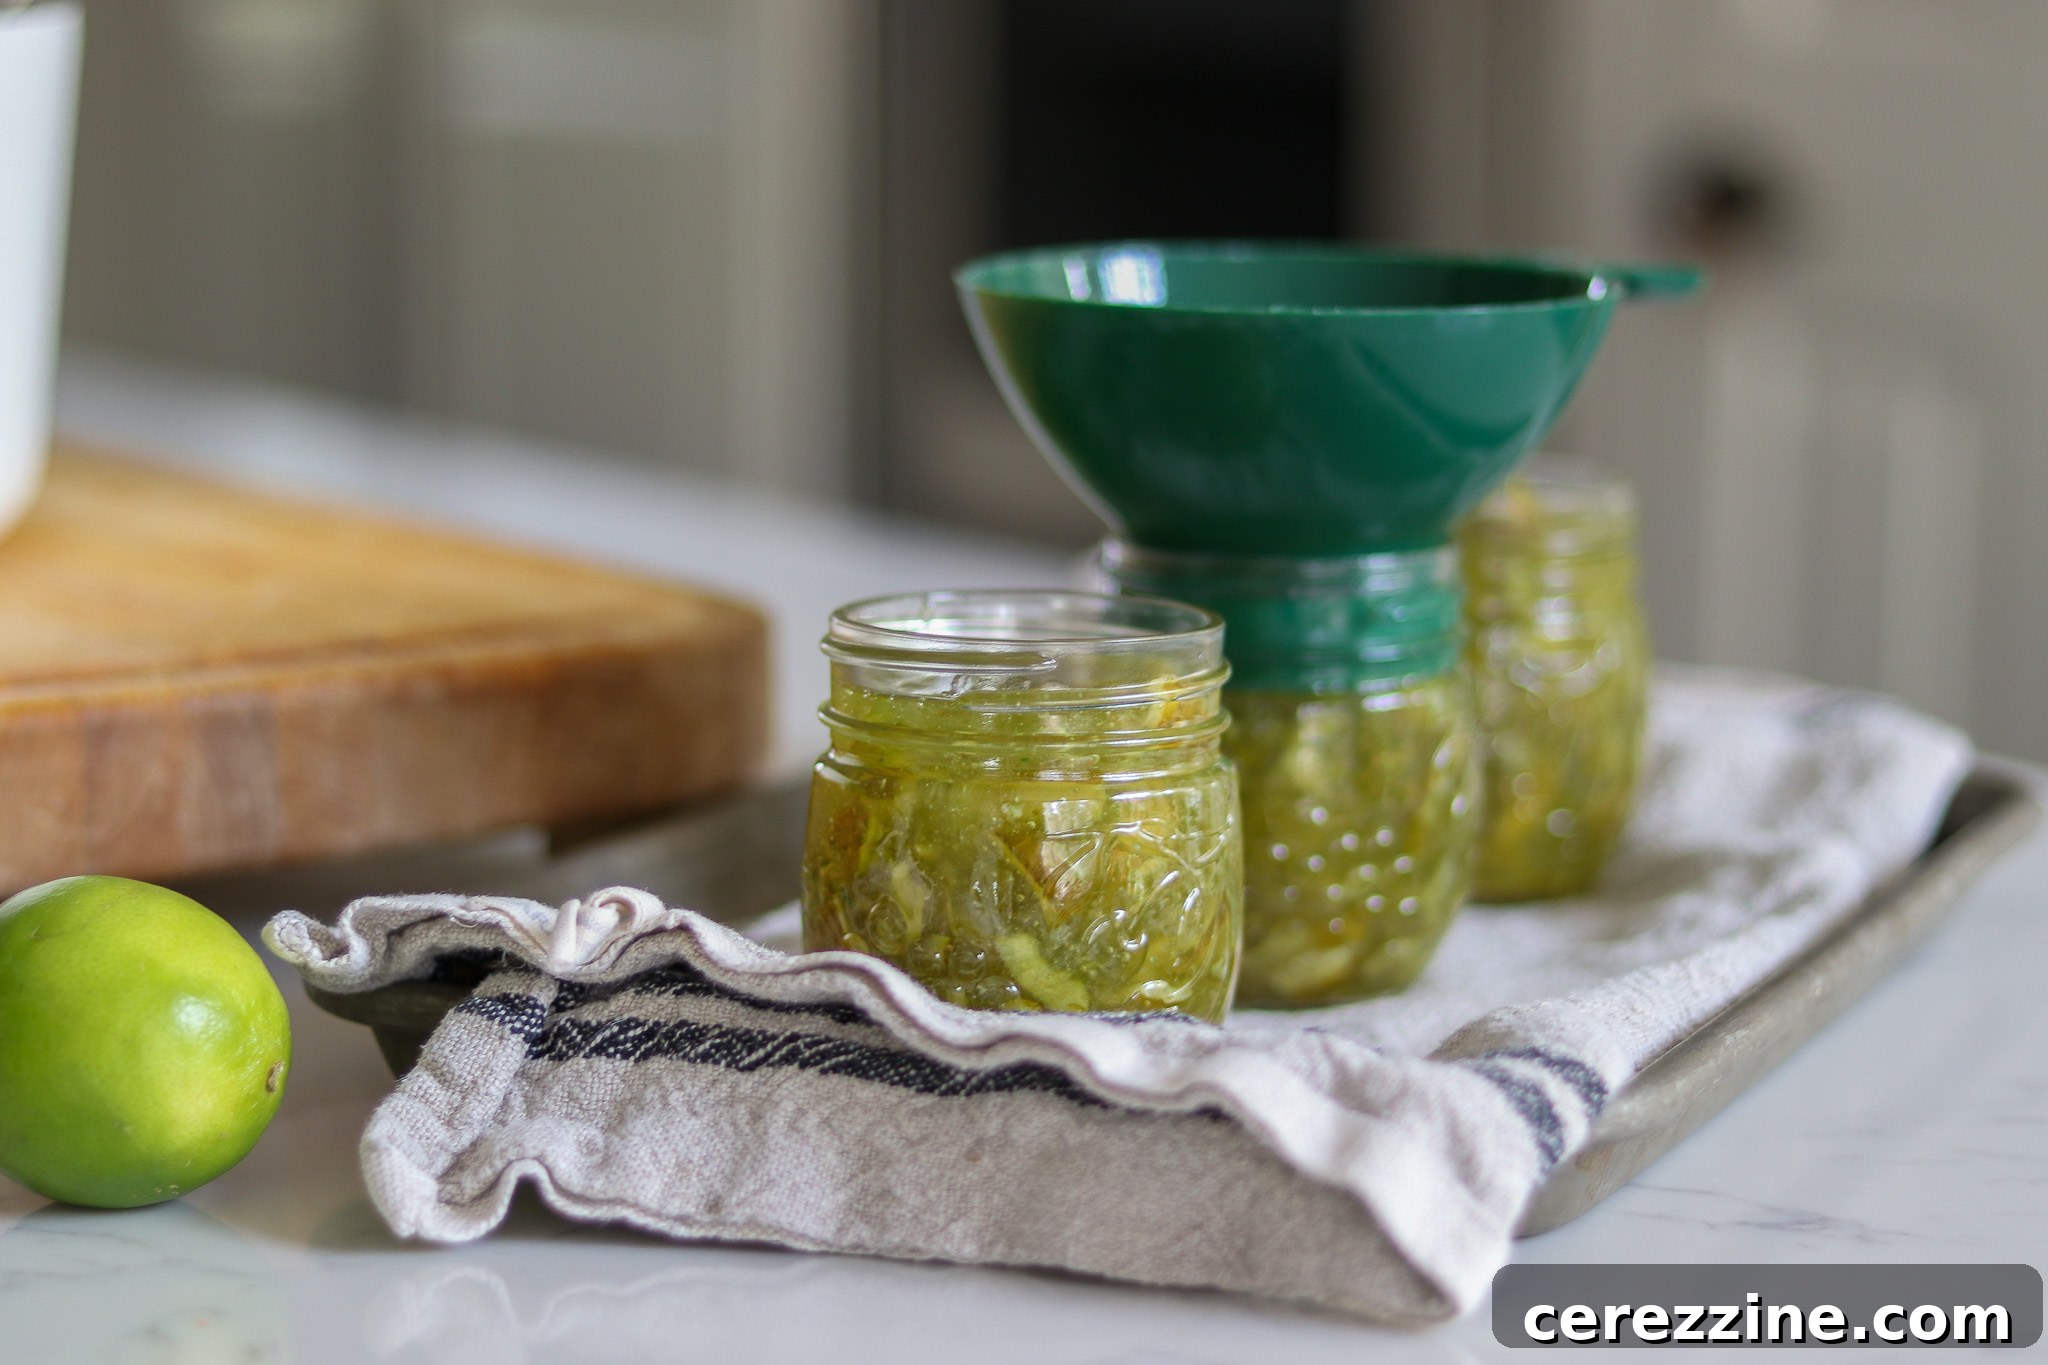
Once your marmalade has achieved the optimal set (either by temperature or the cold plate test), remove it from the heat. Now is the time to taste it once more and, if desired, stir in the freshly squeezed lemon juice to subtly mellow the intense limey tang. If you opted for green food coloring, add a few drops at this stage to achieve your desired vibrant hue. Allow the marmalade to rest off the heat for about 10 minutes. This brief cooling period is crucial; it allows the fruit peels to suspend evenly throughout the mixture rather than floating to the top once jarred. After resting, give the marmalade a final stir to ensure the peels are uniformly distributed. Carefully ladle or pour the hot marmalade into your prepared jars, leaving ¼ inch of headspace if you plan to can it, or 1 inch of headspace if you intend to freeze it.
Preserving Your Homemade Lime Marmalade
Once your delectable lime marmalade is prepared, the next crucial step is proper preservation to ensure its longevity and safety. You have several options, with water bath canning being the most popular for shelf-stable storage.
Water Bath Canning: A Safe and Reliable Method
Before you even begin the final cooking stage of your marmalade, ensure your water bath canner and jars are thoroughly prepared. If you are new to water bath canning, I highly recommend reviewing a beginner’s guide to water bath canning to familiarize yourself with the process and safety protocols. Safety is paramount when preserving food.
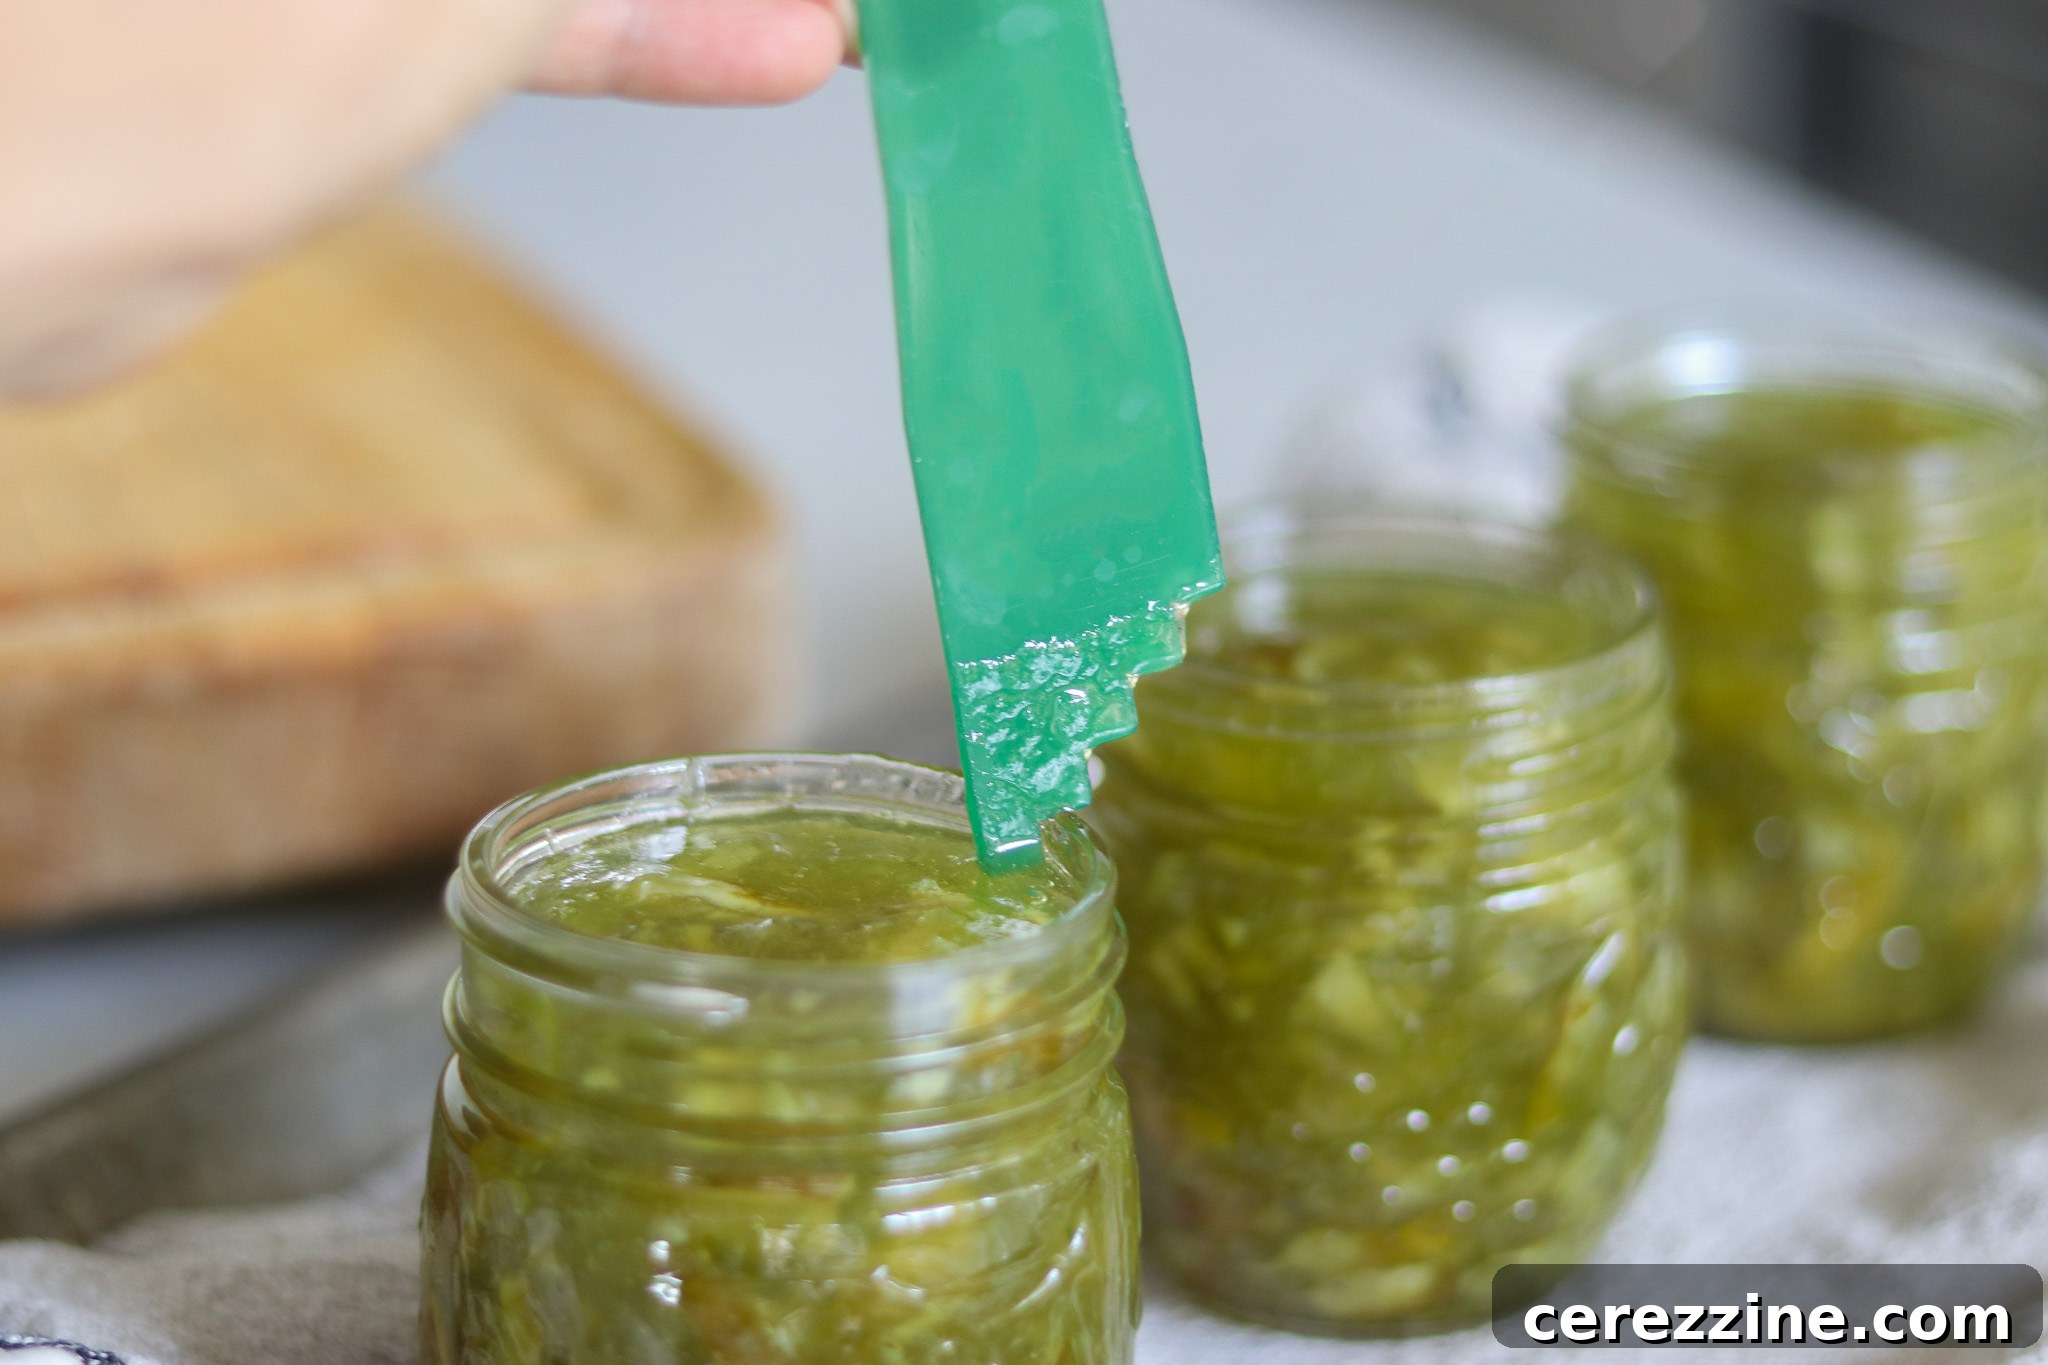
Once your marmalade has reached its perfect set point, carefully ladle the hot mixture into your hot, sterilized jars, maintaining exactly ¼ inch of headspace at the top of each jar. Avoid overfilling. A canning funnel with headspace measurements can greatly simplify this step, ensuring precision. Wipe the rims of the filled jars meticulously with a clean, damp cloth to remove any sticky residue, then affix the two-part canning lids (flat lid and screw band) securely.
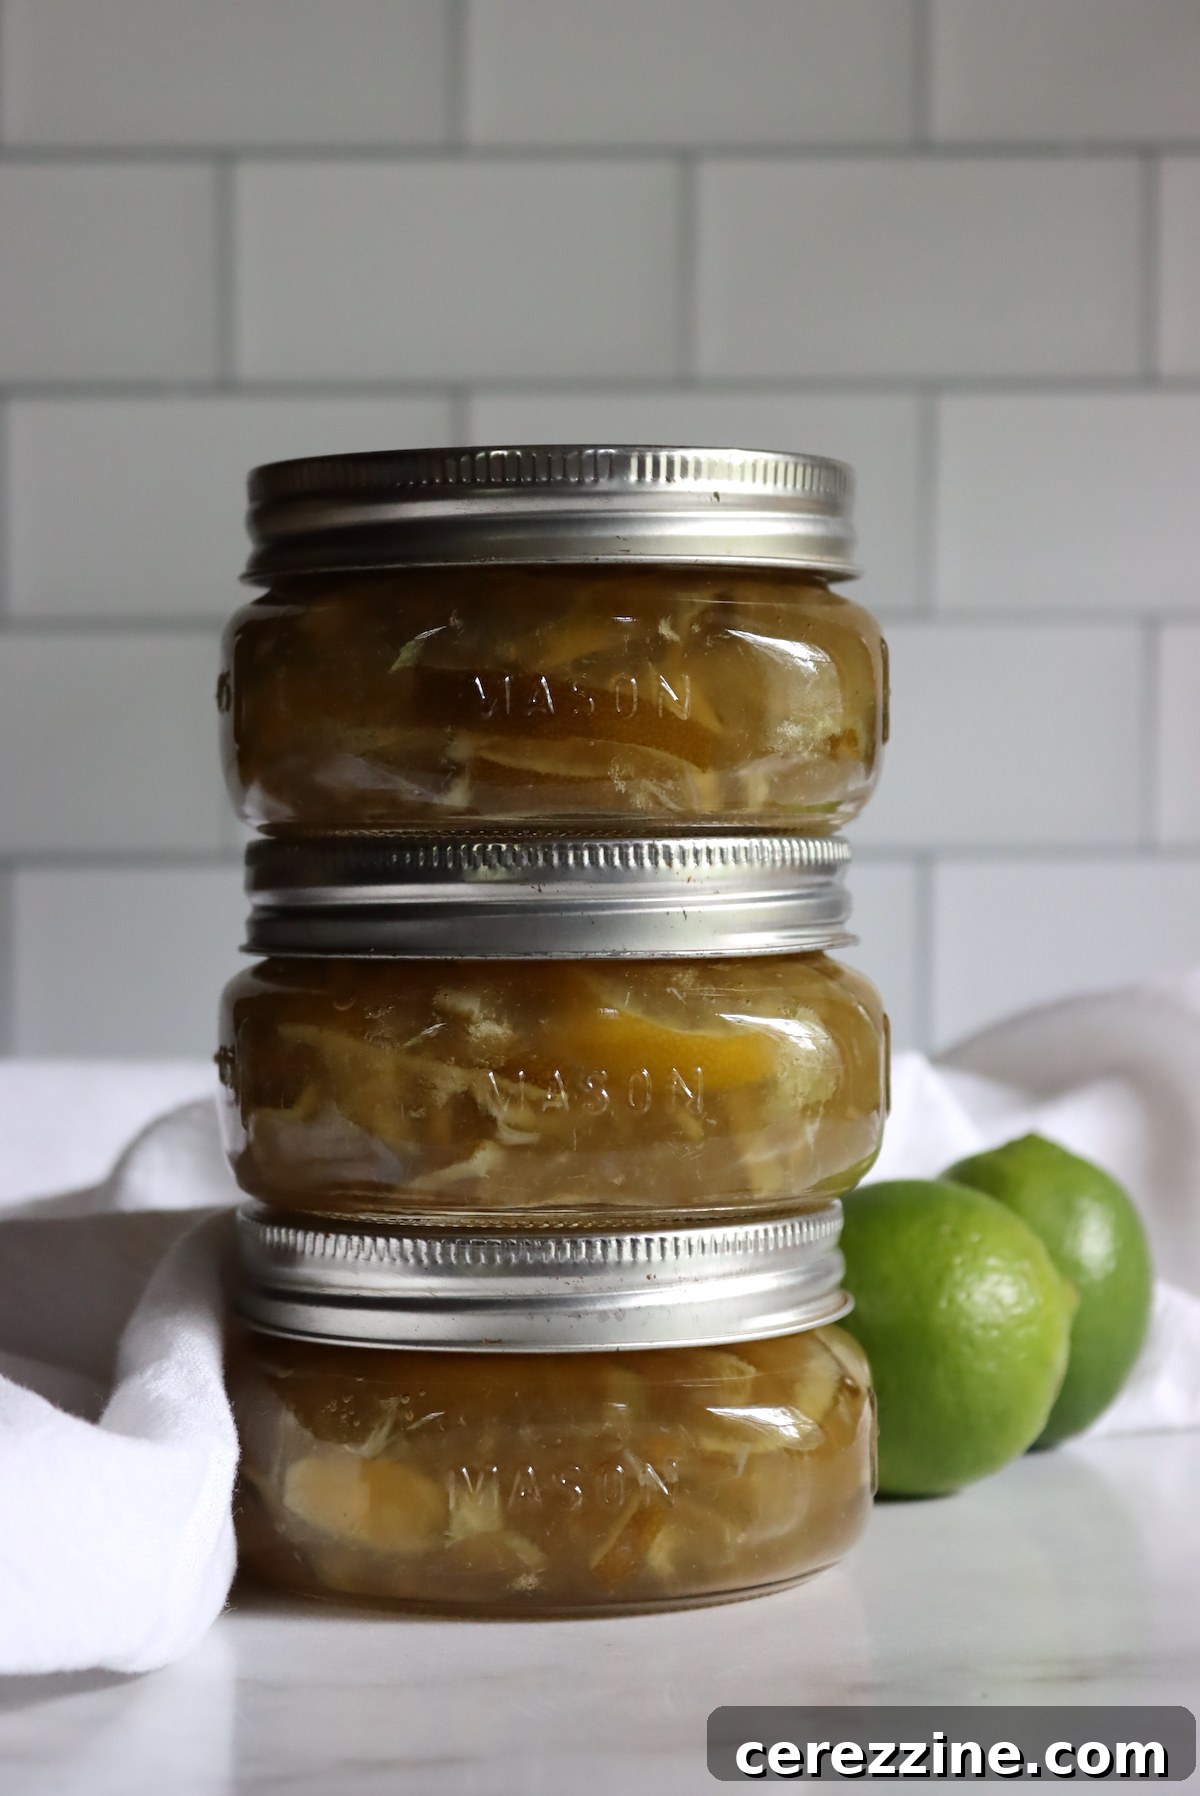
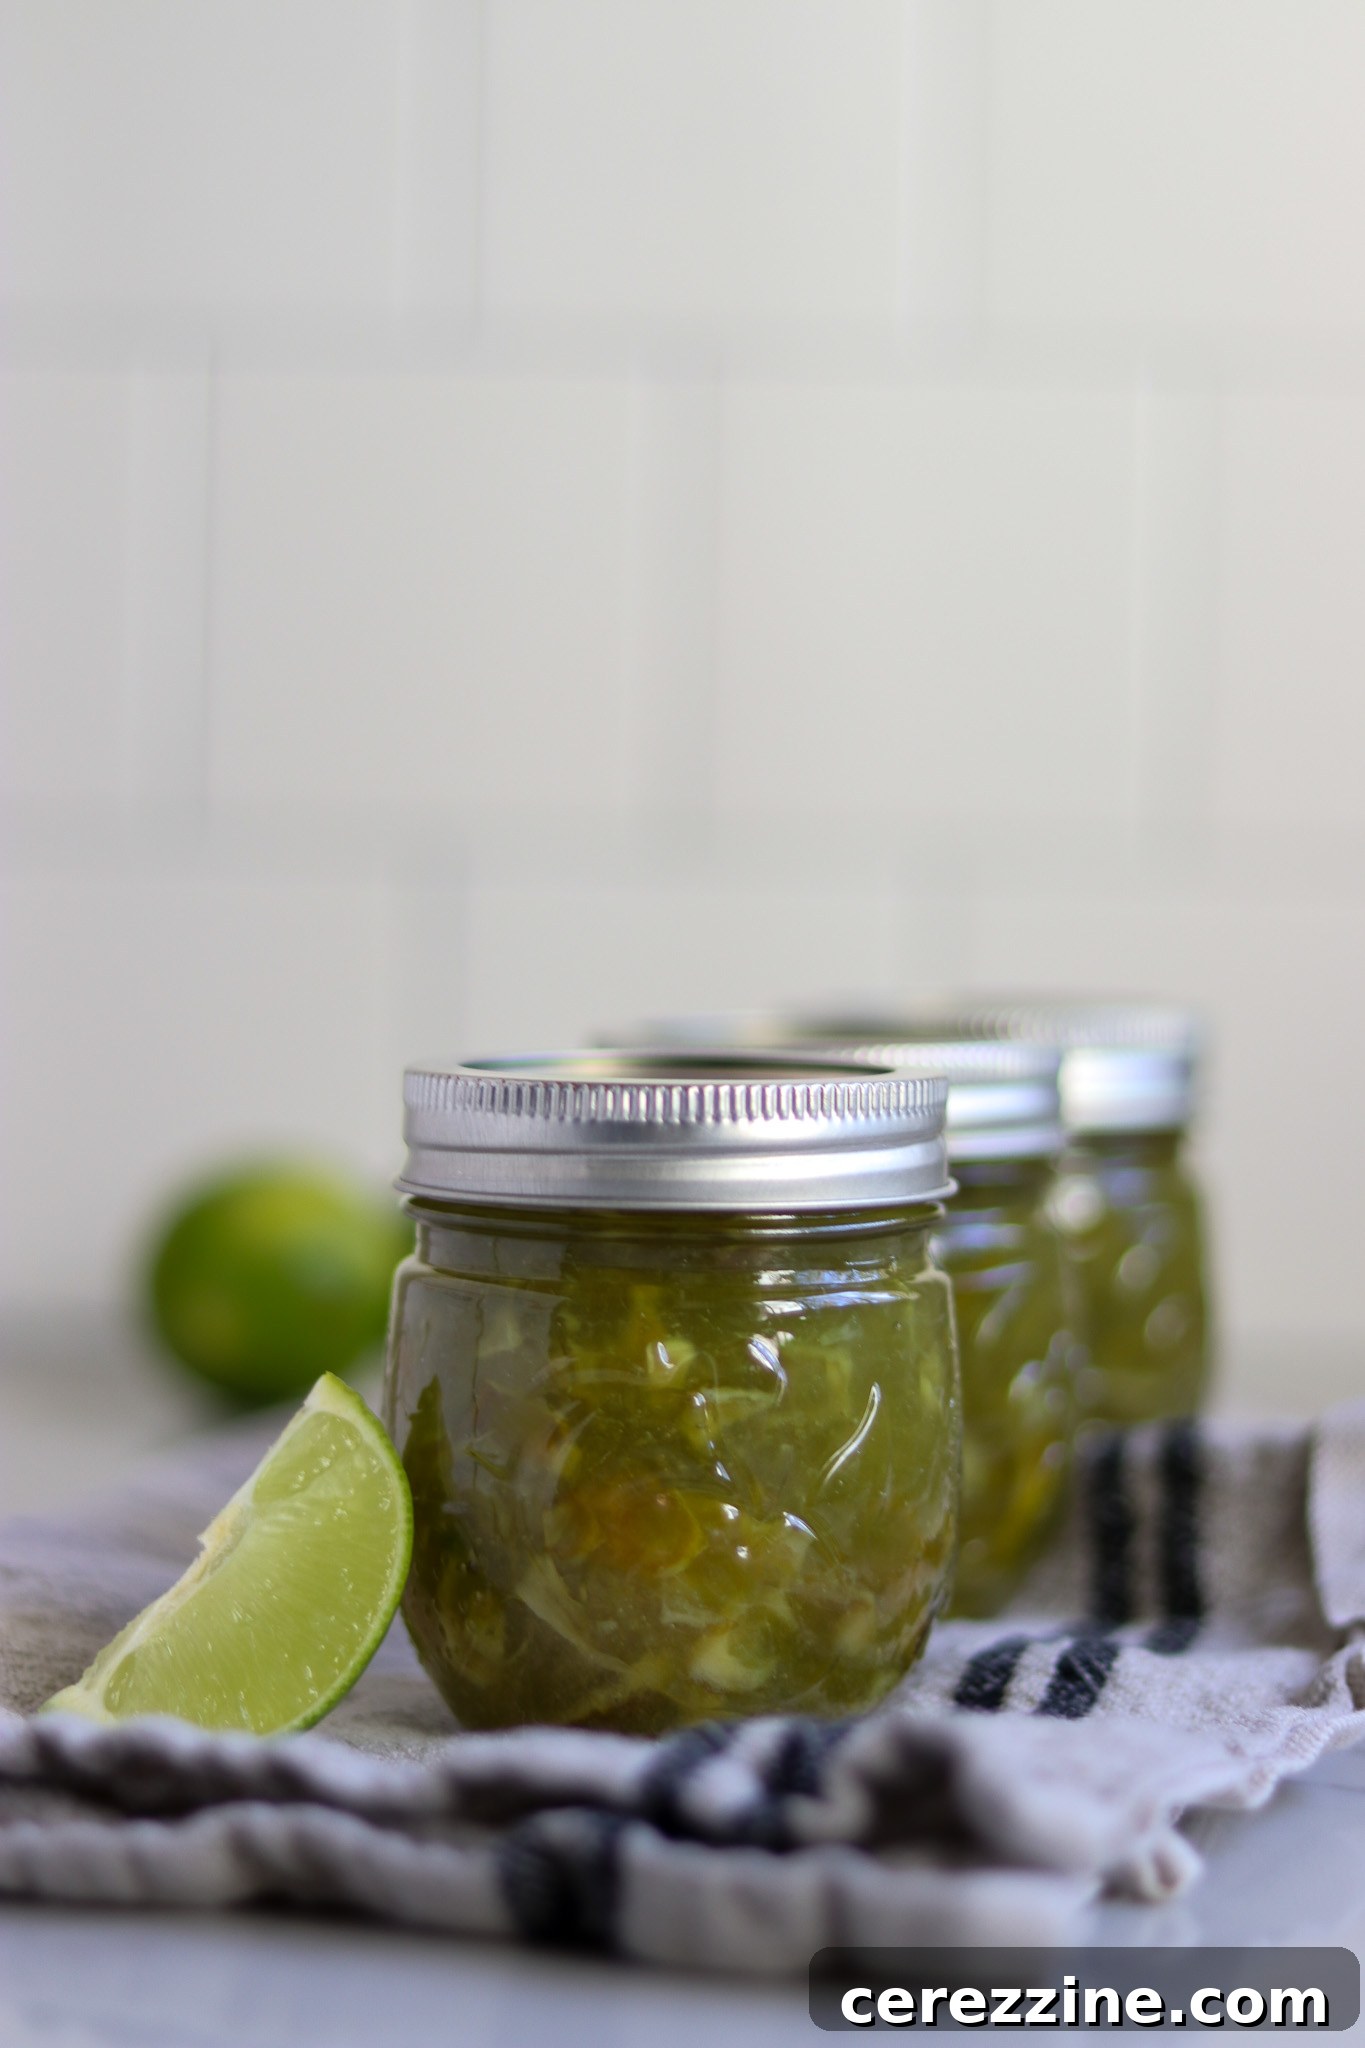
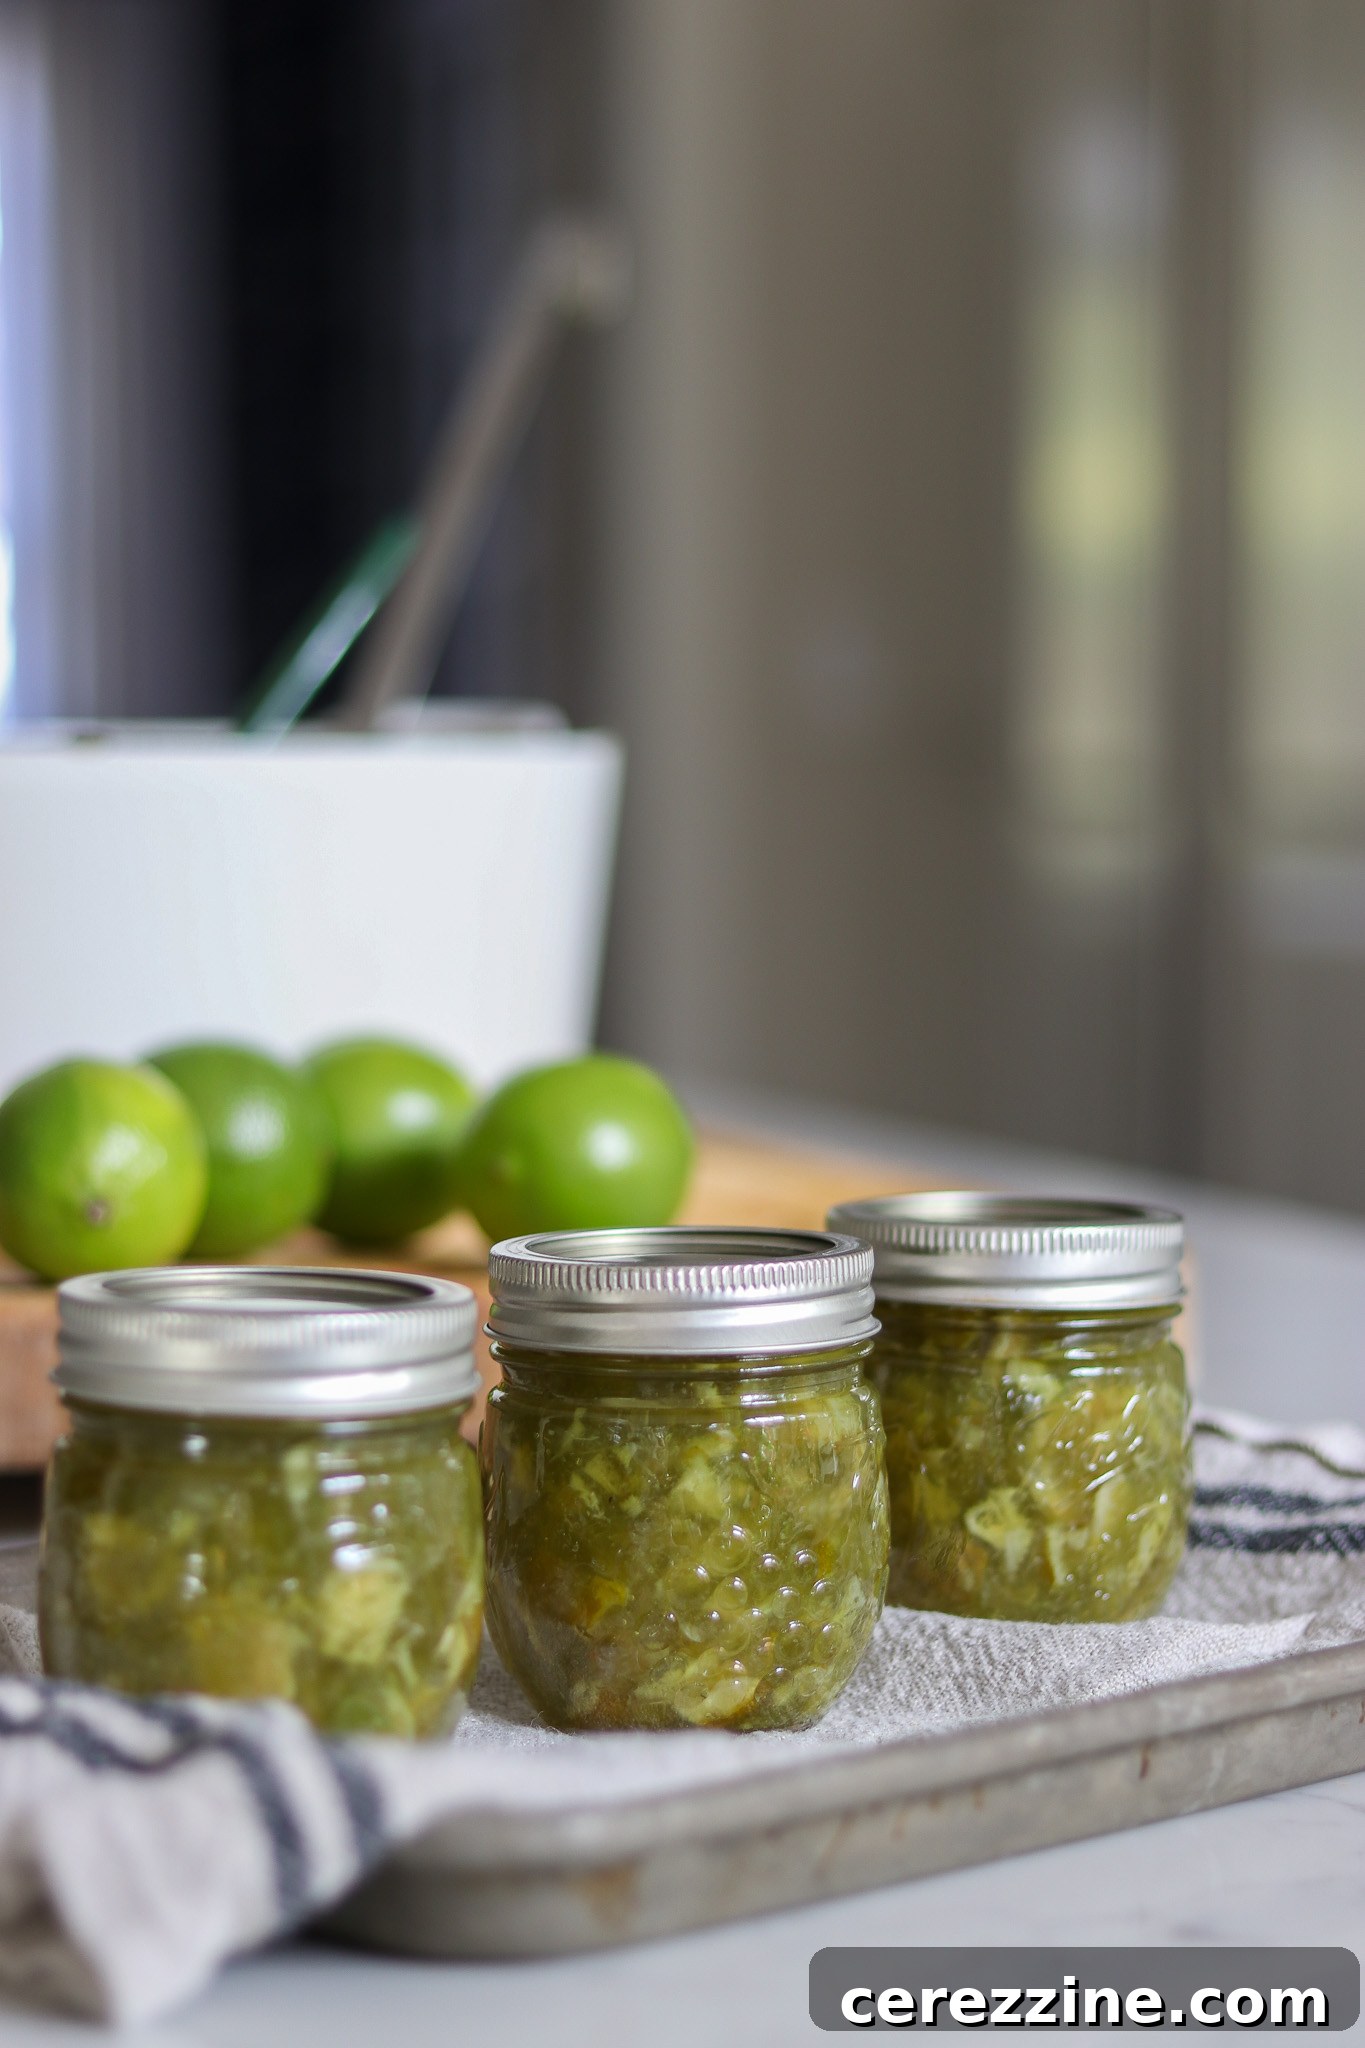
Carefully load the filled and lidded jars into your preheated water bath canner. Ensure the jars are fully submerged in water by at least an inch. Bring the canner to a full, rolling boil. Once the rolling boil is achieved, begin timing the process. For altitudes up to 6,000 feet, process the jars for 10 minutes. If you are at an elevation above 6,000 feet, increase the processing time to 15 minutes to account for the lower boiling point of water. After the processing time is complete, carefully use a jar lifter to remove the jars from the canner. Place them on a clean towel on your countertop, ensuring they are not touching, and allow them to cool undisturbed for 12 to 24 hours. During this cooling period, you should hear the satisfying “ping” as the lids seal. After 24 hours, check the seals by pressing on the center of each lid; if it doesn’t flex, the jar is sealed. Any jars that have not sealed properly should be stored in the refrigerator for immediate consumption. Properly canned and sealed jars of lime marmalade will maintain their peak quality on the pantry shelf for approximately 18 months, though they remain safe to eat indefinitely as long as the seal is intact. Remember to remove the canning rings before storing your jars to prevent false seals or rust. Once opened, always refrigerate the marmalade.
Refrigerator & Freezer Storage
If you prefer not to can your marmalade, it can be easily stored in the refrigerator or freezer. After filling your jars or containers (leaving 1 inch headspace for freezing to allow for expansion), let the marmalade cool completely at room temperature for several hours until the jars are cool enough to handle without hot pads. Once cool, label your containers with the date and transfer them to the refrigerator for use within six weeks, or to the freezer for up to one year of delicious enjoyment.
Lime Marmalade Variations & Serving Suggestions
While this classic lime marmalade is a star on its own, its bright flavor profile makes it a fantastic base for creative variations and versatile serving applications. Don’t be afraid to experiment and make it your own!
Flavorful Twists
For additional variety, consider blending limes with other citrus fruits. Substituting some of the limes with lemons can create a delightful lemon-lime marmalade, offering a slightly softer tang. Introducing sweet oranges yields a wonderfully balanced preserve, boasting a harmonious blend of sweet and tart notes. Beyond other citrus, experiment with aromatic additions: a hint of fresh ginger, a pinch of cardamom, or a vanilla bean can add intriguing complexity. For a truly unique and sophisticated twist, infuse your marmalade with edible flowers such as fresh lavender or hibiscus. The vibrant zing of limes beautifully complements sweet floral undertones, creating an unexpected and delightful flavor experience.
Enjoying Your Marmalade
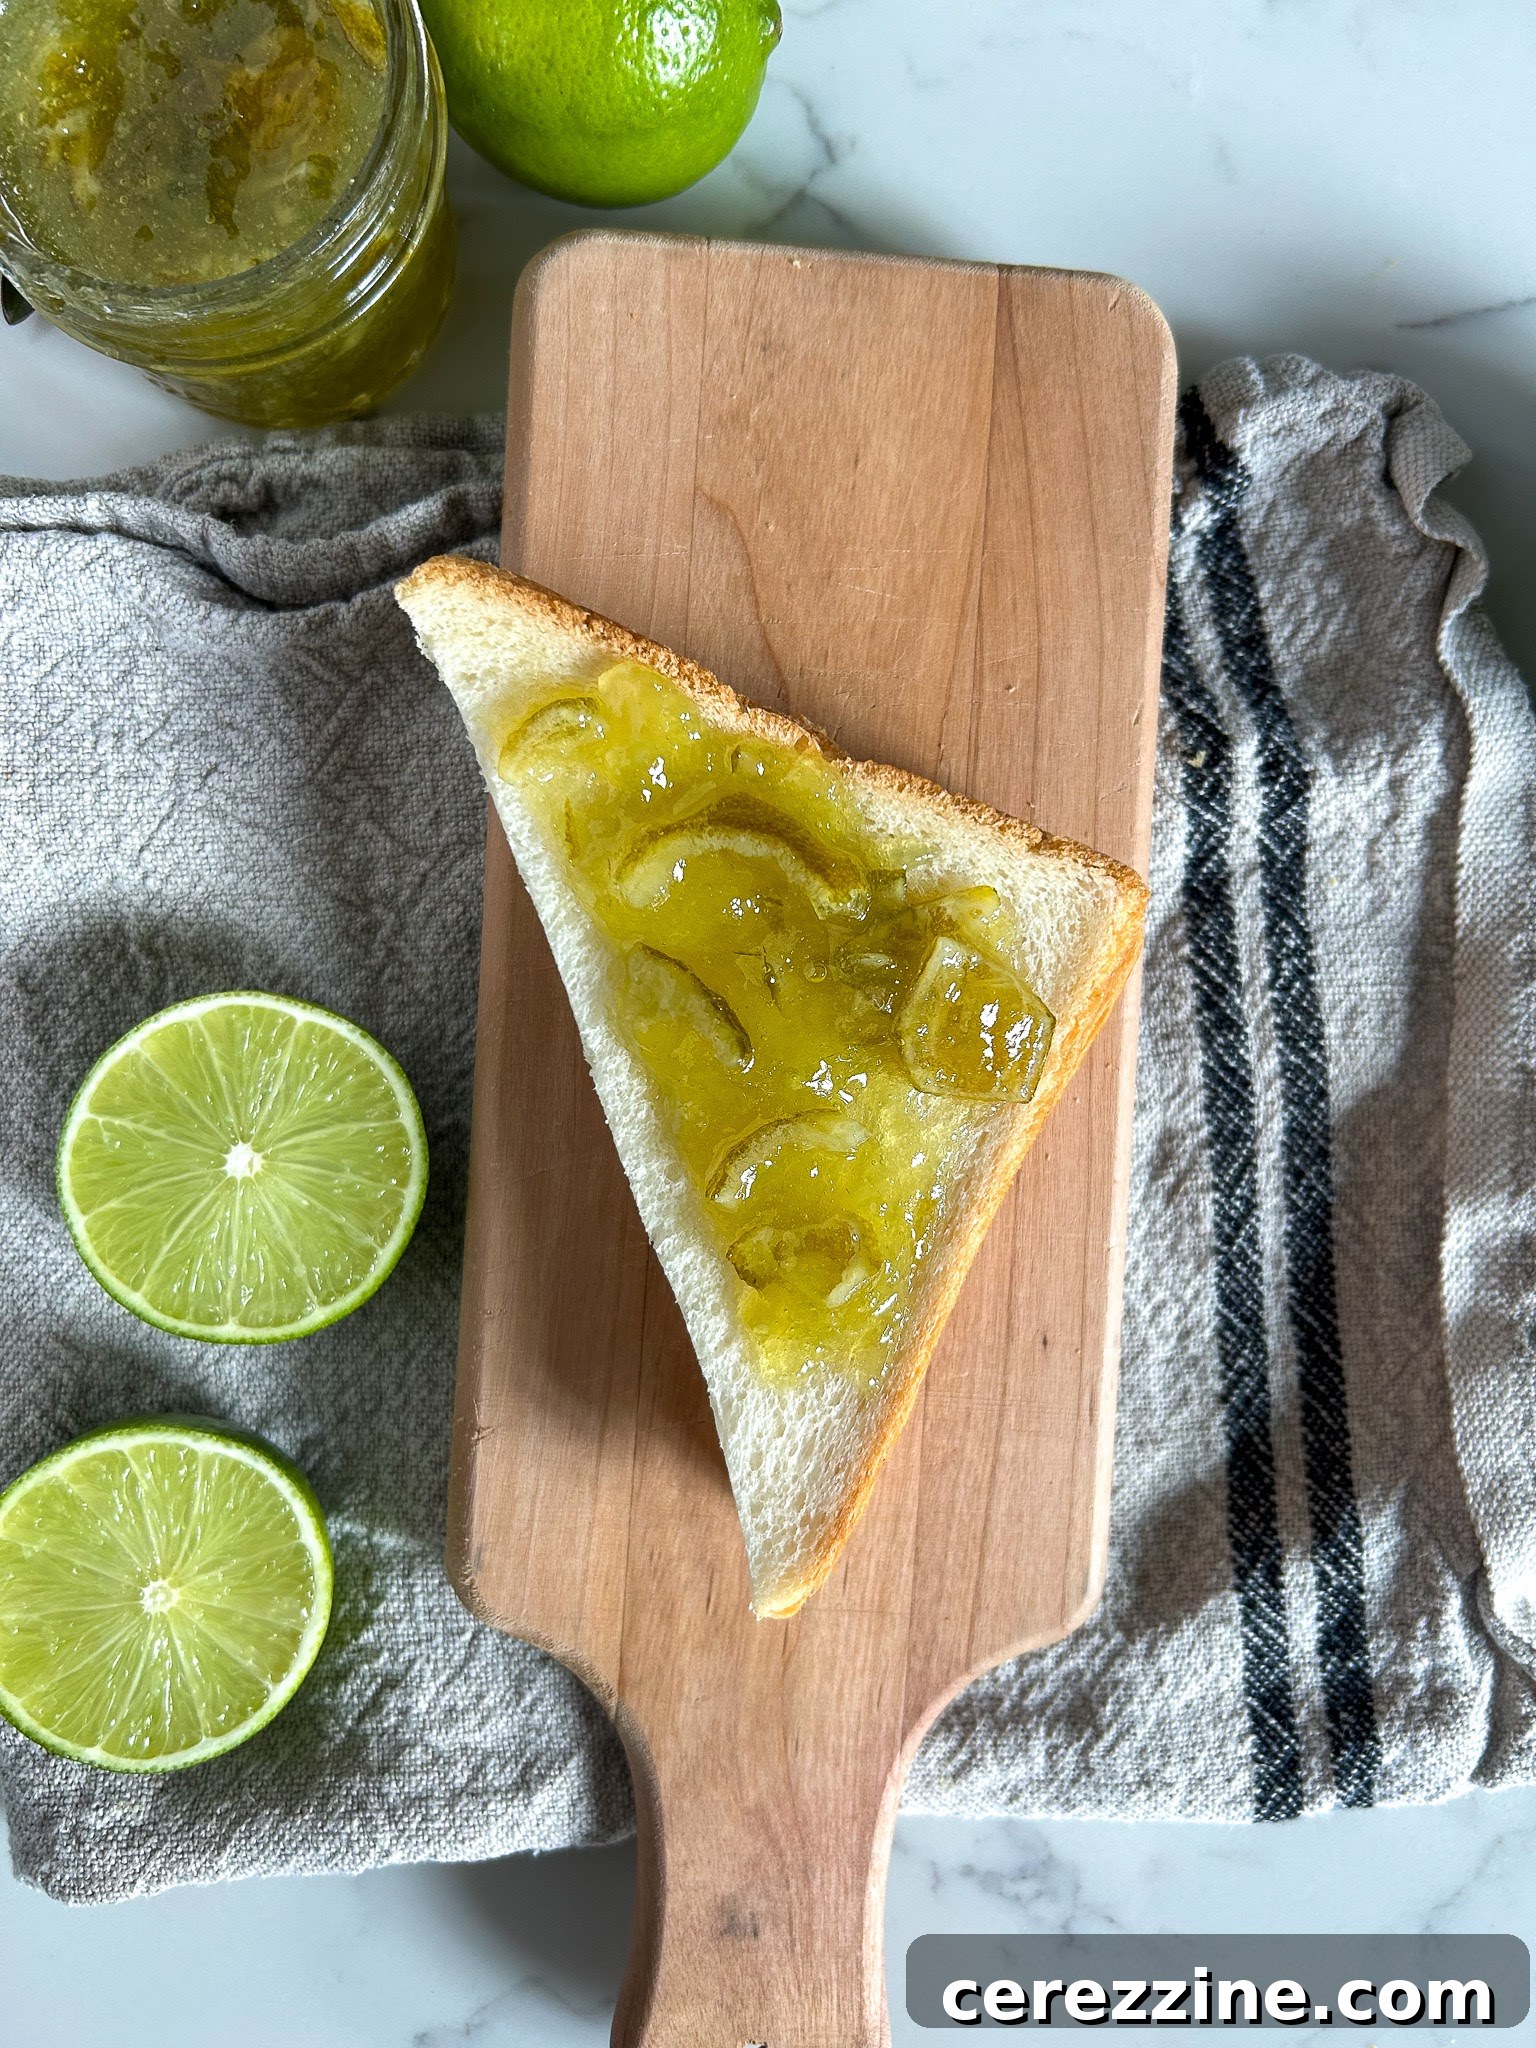
This exquisite lime marmalade is much more than a breakfast condiment. While it undeniably elevates your morning toast, scone, or biscuit alongside a cup of tea, its culinary potential extends far beyond. It makes a phenomenal filling for desserts: imagine it layered between sponges of a delicate coconut cake, or as a vibrant substitute for raspberry jam in a raspberry crumble bar recipe. Its tangy sweetness also makes it a superb glaze for roasted poultry or pork, adding a bright, zesty counterpoint to savory dishes. For a simple yet elegant appetizer, pair it with soft cheeses and crackers, or dollop it onto Greek yogurt for a refreshing snack. The possibilities are truly endless, limited only by your imagination.

Rated 4.86 from 7 votes
80
servings, 10 to 12 Jars (8 oz each)
Lime Marmalade (Old Fashioned Recipe without Added Pectin)
Ashley Adamant
2 days
50 minutes
10 minutes
2 days
1 hour
Pin Recipe
Ingredients
- 2 lbs limes, about 12 to 14 medium limes
- 8 cups water
- 6 to 7 cups granulated sugar
- Juice of 1 to 2 fresh lemons, optional, but recommended
- A few drops green food coloring, optional
Instructions
Day 1: Preparing and Soaking Limes
-
Wash the limes thoroughly using your preferred method (water scrub or baking soda solution).
-
Chop off and discard the blossom and stem ends from each lime.
-
Slice limes into very thin pieces using a sharp knife or mandoline, then chop each slice into quarters. (Alternatively, quarter the limes and pulse them in a food processor until evenly chopped, avoiding a mushy consistency.)
-
Combine the processed limes with 8 cups of water in a large, non-reactive container. Stir, cover, and let the mixture sit overnight (or at least 6-8 hours).
Day 2: Cooking and Sweetening
-
In a large saucepan or jam pot, bring the lime mixture to a boil. Reduce heat to a low boil and continue cooking uncovered for 40 minutes, or until the lime peels are very soft.
-
Gradually add 6 cups of granulated sugar to the simmering lime mixture, stirring continuously until the sugar is completely dissolved. Taste and add up to 1 more cup of sugar if desired, stirring until dissolved. Remove any visible seeds.
-
Remove the mixture from heat, cover, and let it sit for 6 hours or overnight.
Day 3: Setting the Marmalade and Preserving
-
Prepare your jars or containers. If canning, prepare a hot water bath canner and sterilize jars. Place 3-4 small plates in the freezer for the cold plate test.
-
Return the lime mixture to the stove over high heat, bringing it to a rolling boil. If the mixture has set too firmly overnight, you may need to add a small amount of water to achieve the desired consistency for boiling.
-
Stir continuously to prevent scorching.
-
Perform the cold plate test: spoon a small amount onto a frozen plate, return to freezer for 1-2 minutes, then nudge with your finger. If it wrinkles, it’s ready. Alternatively, cook the marmalade to 216-218 degrees Fahrenheit, then verify with the cold plate test for a soft set.
-
When the marmalade has reached its set point, remove from heat. Taste and add freshly squeezed lemon juice if desired to balance the tang. If using green food coloring, add a drop or two now.
-
Allow the marmalade to sit off the stove for 10 minutes. This helps the peels distribute evenly.
-
Stir the marmalade well to ensure even distribution of peels. Ladle or pour into prepared jars or containers. Leave ¼ inch headspace for canning, or 1 inch for freezing (using freezer-safe jars).
-
Preserve the marmalade either by water bath canning or by storing it in the refrigerator/freezer once cooled.
-
If canning: process jars in a hot water bath canner for 10 minutes (or 15 minutes if above 6,000 feet elevation). Remove jars and let cool for 24 hours before checking seals. Refrigerate any unsealed jars for immediate use. Properly canned jars maintain peak quality for about 18 months on the pantry shelf. Refrigerate after opening.
Notes
Food coloring is optional, but the color on the marmalade comes out a bit drab on its own. It can help to add a few drops of green food coloring so that it looks as good as it tastes. I use an all-natural green food coloring that’s plant-based.
Nutrition
Carbohydrates: 16g,
Protein: 0.1g,
Fat: 0.1g,
Saturated Fat: 0.003g,
Polyunsaturated Fat: 0.01g,
Monounsaturated Fat: 0.002g,
Sodium: 2mg,
Potassium: 12mg,
Fiber: 0.3g,
Sugar: 15g,
Vitamin A: 6IU,
Vitamin C: 3mg,
Calcium: 5mg,
Iron: 0.1mg
Nutrition information is automatically calculated, so should only be used as an approximation.
Like this? Leave a comment below!
Explore More Citrus Canning Recipes
Once you’ve mastered this delightful tangy treat, the world of citrus preservation truly opens up! Why limit yourself to just limes when so many other vibrant fruits await their turn in a jar? Expanding your repertoire of marmalades and other citrus preserves is a rewarding journey for any home canner.
For a timeless classic, try your hand at Orange Marmalade, known for its comforting sweetness and slight bitterness. If you prefer a more pronounced bittersweet flavor profile, Grapefruit Marmalade offers a sophisticated twist. Feeling adventurous? Our Kumquat Marmalade recipe is an excellent way to utilize these unique, tiny fruits, preserving their distinct sweet-tart essence. And for ultimate creative freedom, the Marmalade with Any Citrus recipe provides a versatile guide for endless experimentation, allowing you to combine different citrus varieties to create your signature blend. Don’t overlook the delicate and wonderfully aromatic Meyer Lemon Marmalade, which offers a sweeter, less acidic alternative to traditional lemon preserves.
Beyond marmalades, there are many other delightful ways to capture the brightness of citrus in a jar for year-round enjoyment. Consider these other fantastic citrus canning recipes:
- Canning Lemonade (And Lemonade Concentrate): Perfect for quick, refreshing drinks.
- Canning Strawberry Lemonade Concentrate: A fruity twist on a summer favorite.
- Canning Oranges: Preserve segmented oranges for salads, desserts, or snacking.
- Canning Grapefruit Sections: Enjoy the refreshing taste of grapefruit year-round.