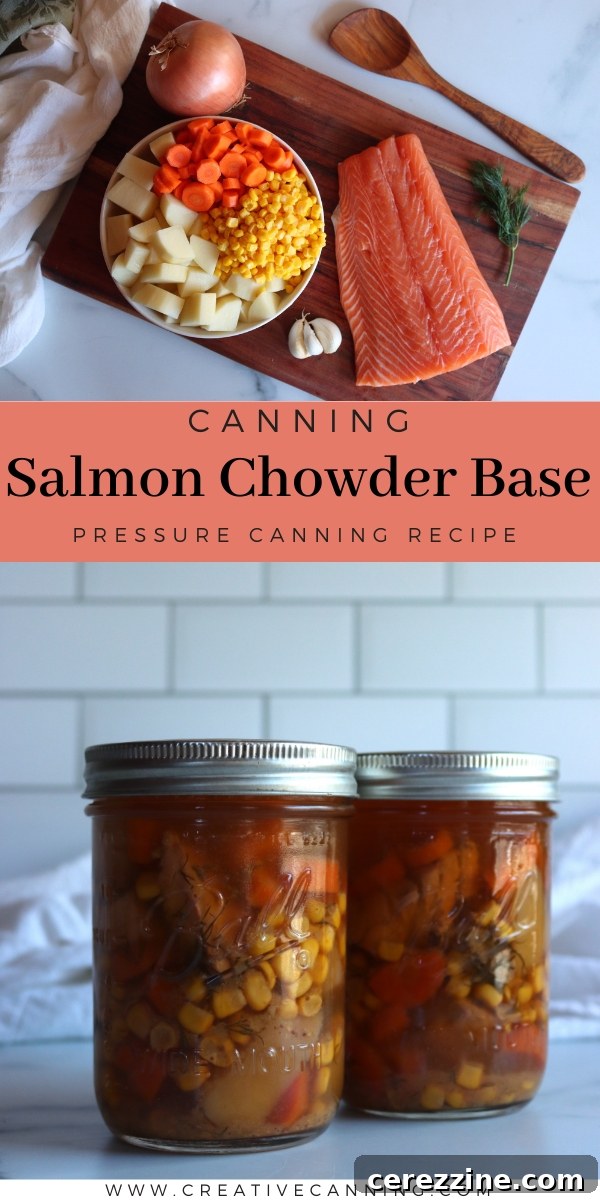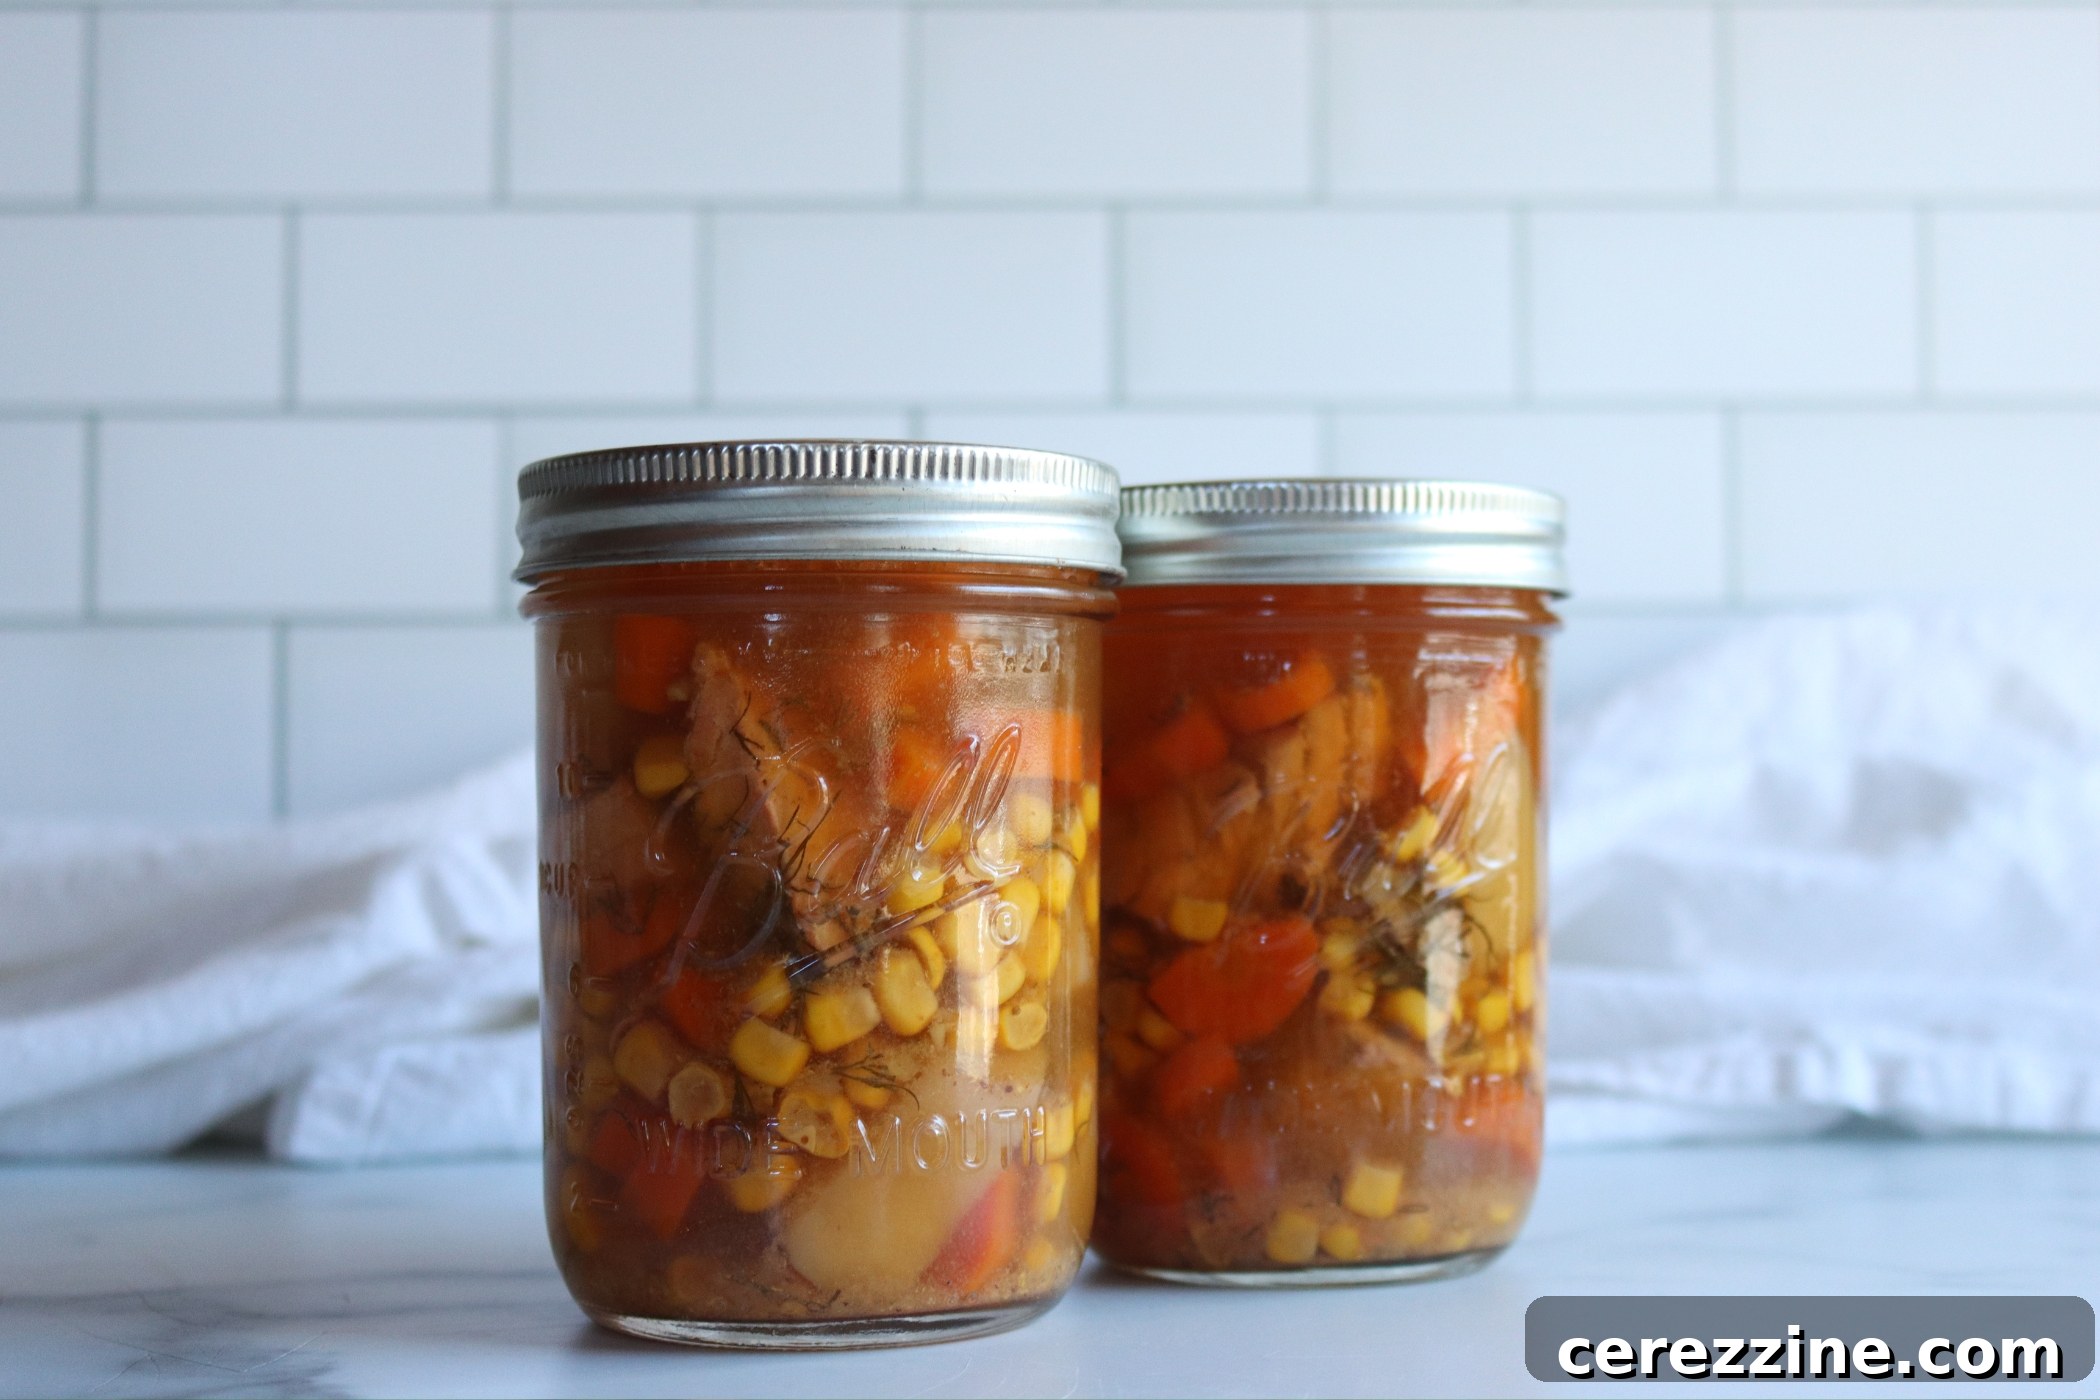
Welcome to the rewarding world of home canning! If you’re searching for a way to enjoy wholesome, homemade meals with minimal effort, you’ve landed in the right place. This guide focuses on a true culinary gem: a rich, satisfying salmon chowder base designed for pressure canning. Imagine having the comforting taste of homemade salmon chowder always within reach, ready to transform into a delightful meal in mere minutes. This simple yet effective pressure canning recipe for salmon chowder base ensures your pantry is stocked with flavor, allowing you to simply warm it and add a touch of cream or other finishing touches before serving.
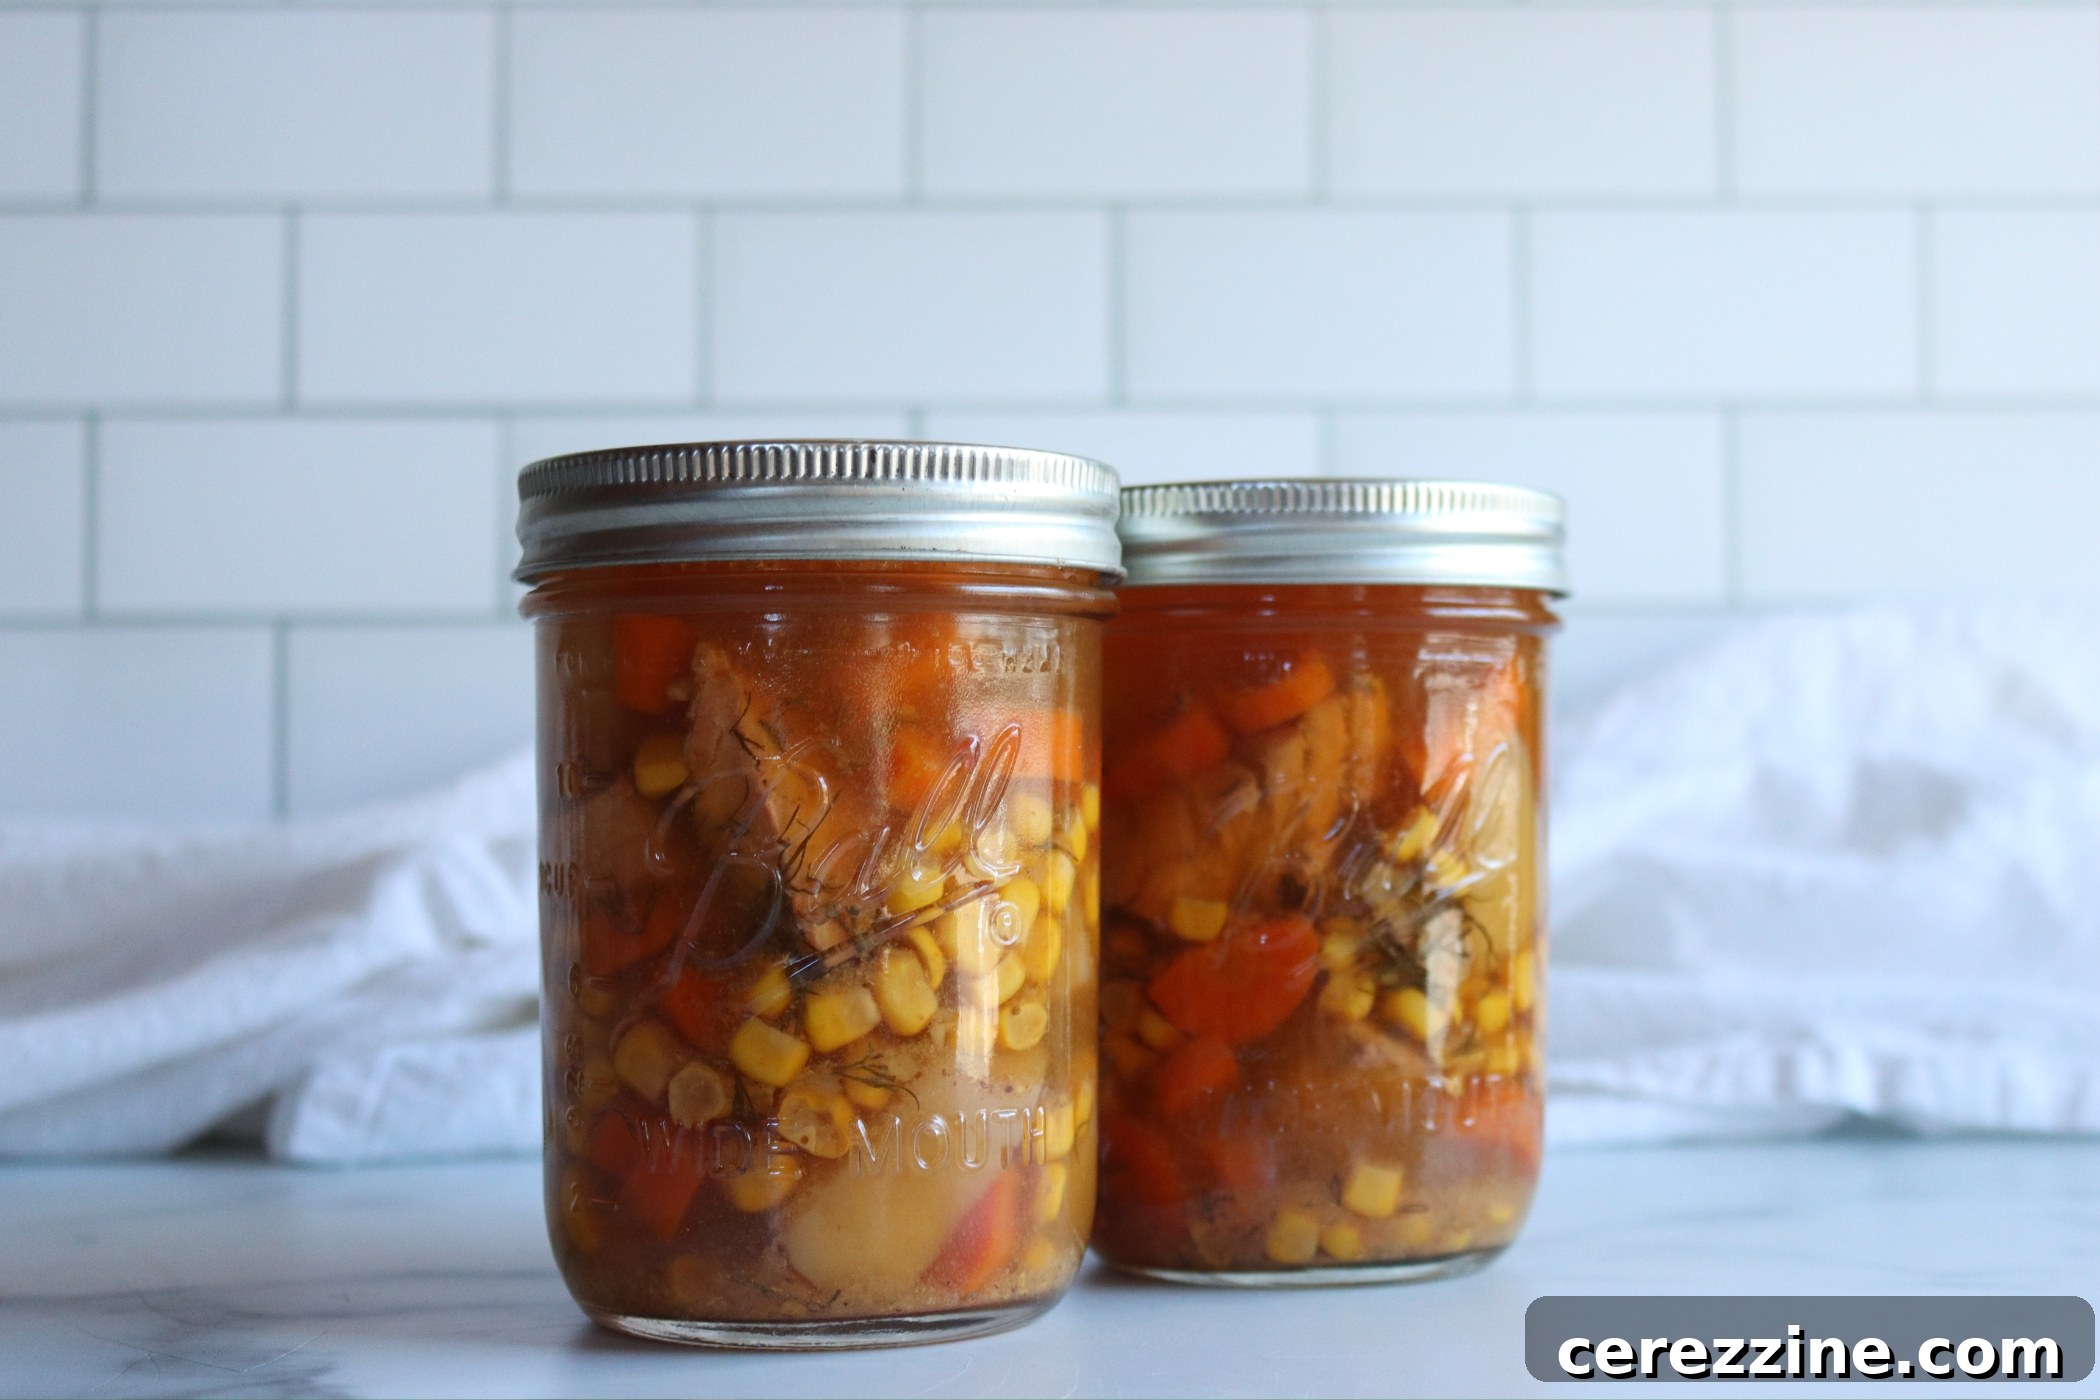
There’s a unique satisfaction that comes from a homemade meal, especially one that tastes like it took hours to prepare, but actually came together in minutes. Restaurant-quality chowders often begin with a deeply flavorful base, a secret weapon that elevates their taste profile. What if you could replicate that culinary magic in your own kitchen and have it ready anytime? This is precisely what canning your own salmon chowder base allows you to achieve.
Canned salmon chowder base is a game-changer for anyone who values convenience, health, and flavor. Picture this: you arrive home after a demanding day, weary but craving something nourishing. Instead of resorting to fast food or complex cooking, you simply reach for a jar of your expertly canned salmon chowder base. A quick reheat, a splash of dairy, and perhaps some fresh herbs, and a hearty, delicious dinner is served. It’s not just a meal; it’s a testament to smart meal prep and self-sufficiency.
Beyond the undeniable convenience, this homemade chowder base offers significant health advantages. Salmon is celebrated for its abundant omega-3 fatty acids, crucial for heart health, cognitive function, and reducing inflammation. The vibrant vegetables incorporated into the base provide essential fiber, vitamins, and minerals. By preparing this base yourself, you maintain complete control over the ingredients, ensuring no artificial preservatives, excessive sodium, or unwanted additives make their way into your food. This is pure, unadulterated goodness, crafted by your hands.
Economically, making your own canned goods is a savvy choice. Store-bought premium soups can quickly deplete your grocery budget. Home canning, while requiring an initial investment in equipment, offers substantial savings in the long run. Moreover, the quality of your homemade chowder base will far surpass most commercial options. When properly pressure canned, your salmon chowder base can safely last for up to a year on your pantry shelf. That’s a full year of delicious, stress-free meals, waiting patiently for you.
In this comprehensive guide, you will master the art of making and safely pressure canning your own salmon chowder base. We will meticulously cover every step, from selecting the freshest ingredients and understanding the science of safe canning practices, to offering creative serving suggestions that will make your chowder experience truly unforgettable. Get ready to embark on a culinary journey that promises both delicious rewards and invaluable self-reliance. Let’s dive in and transform your pantry!
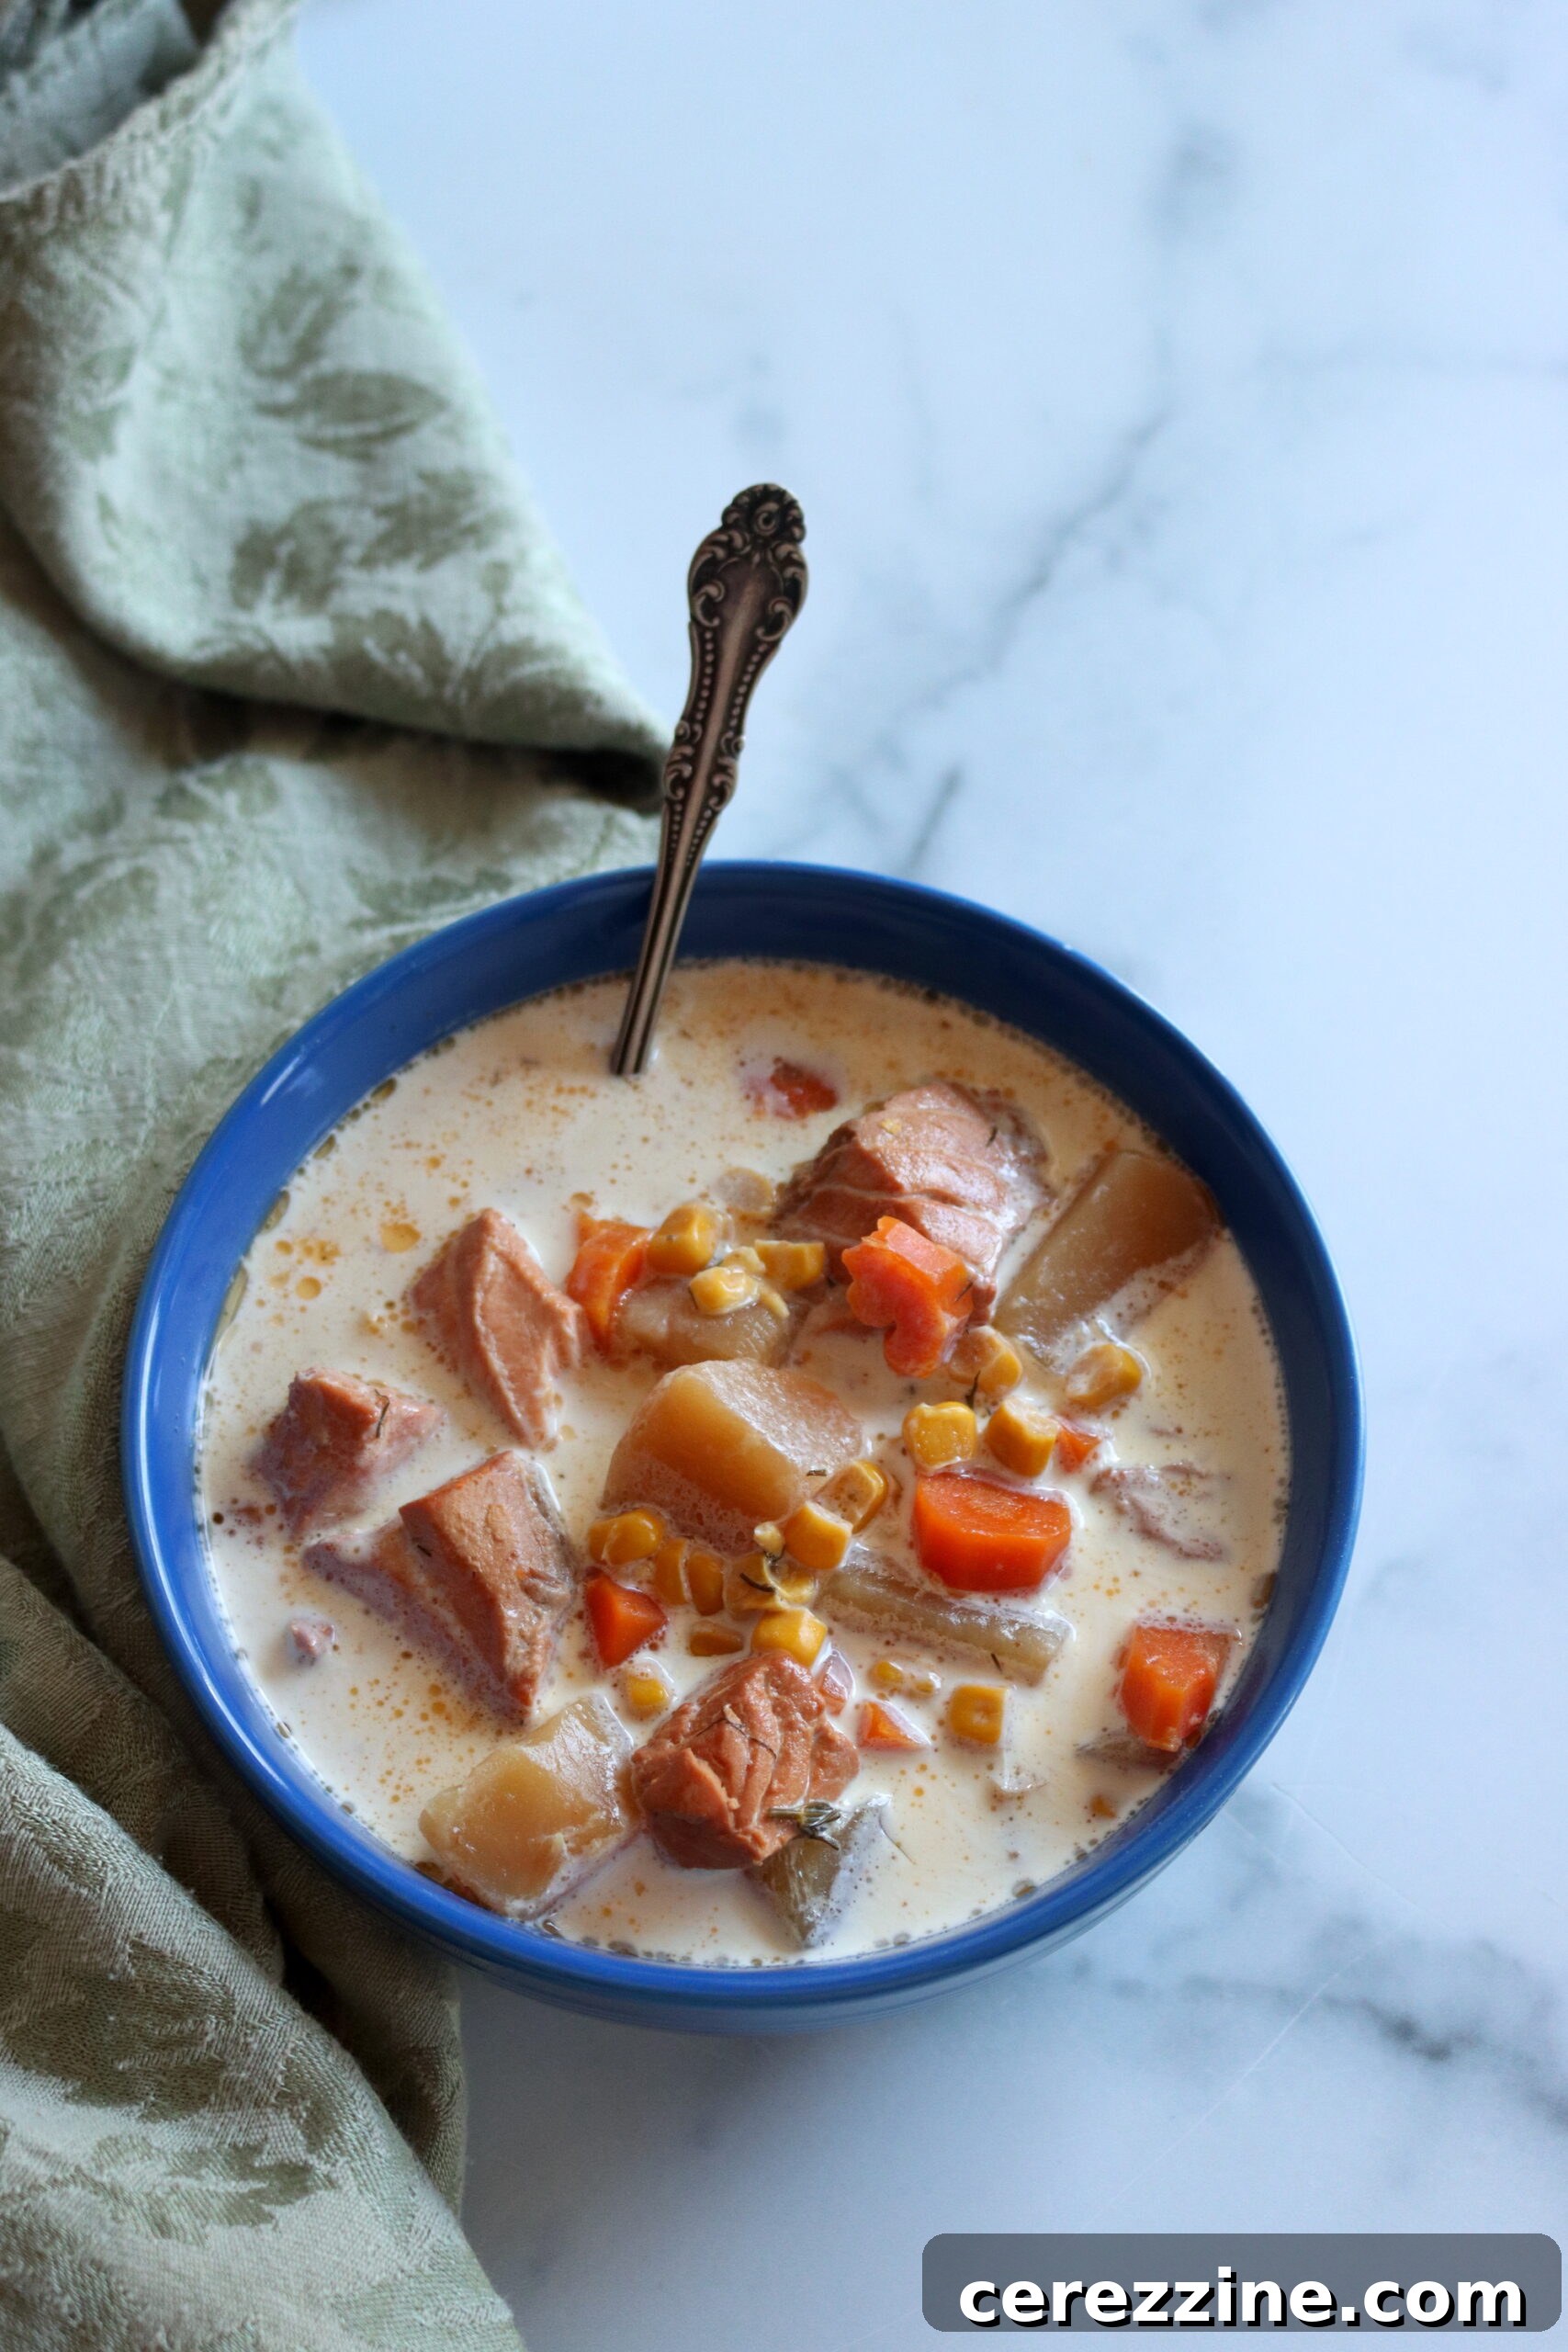
Ingredients for Your Homemade Salmon Chowder Base
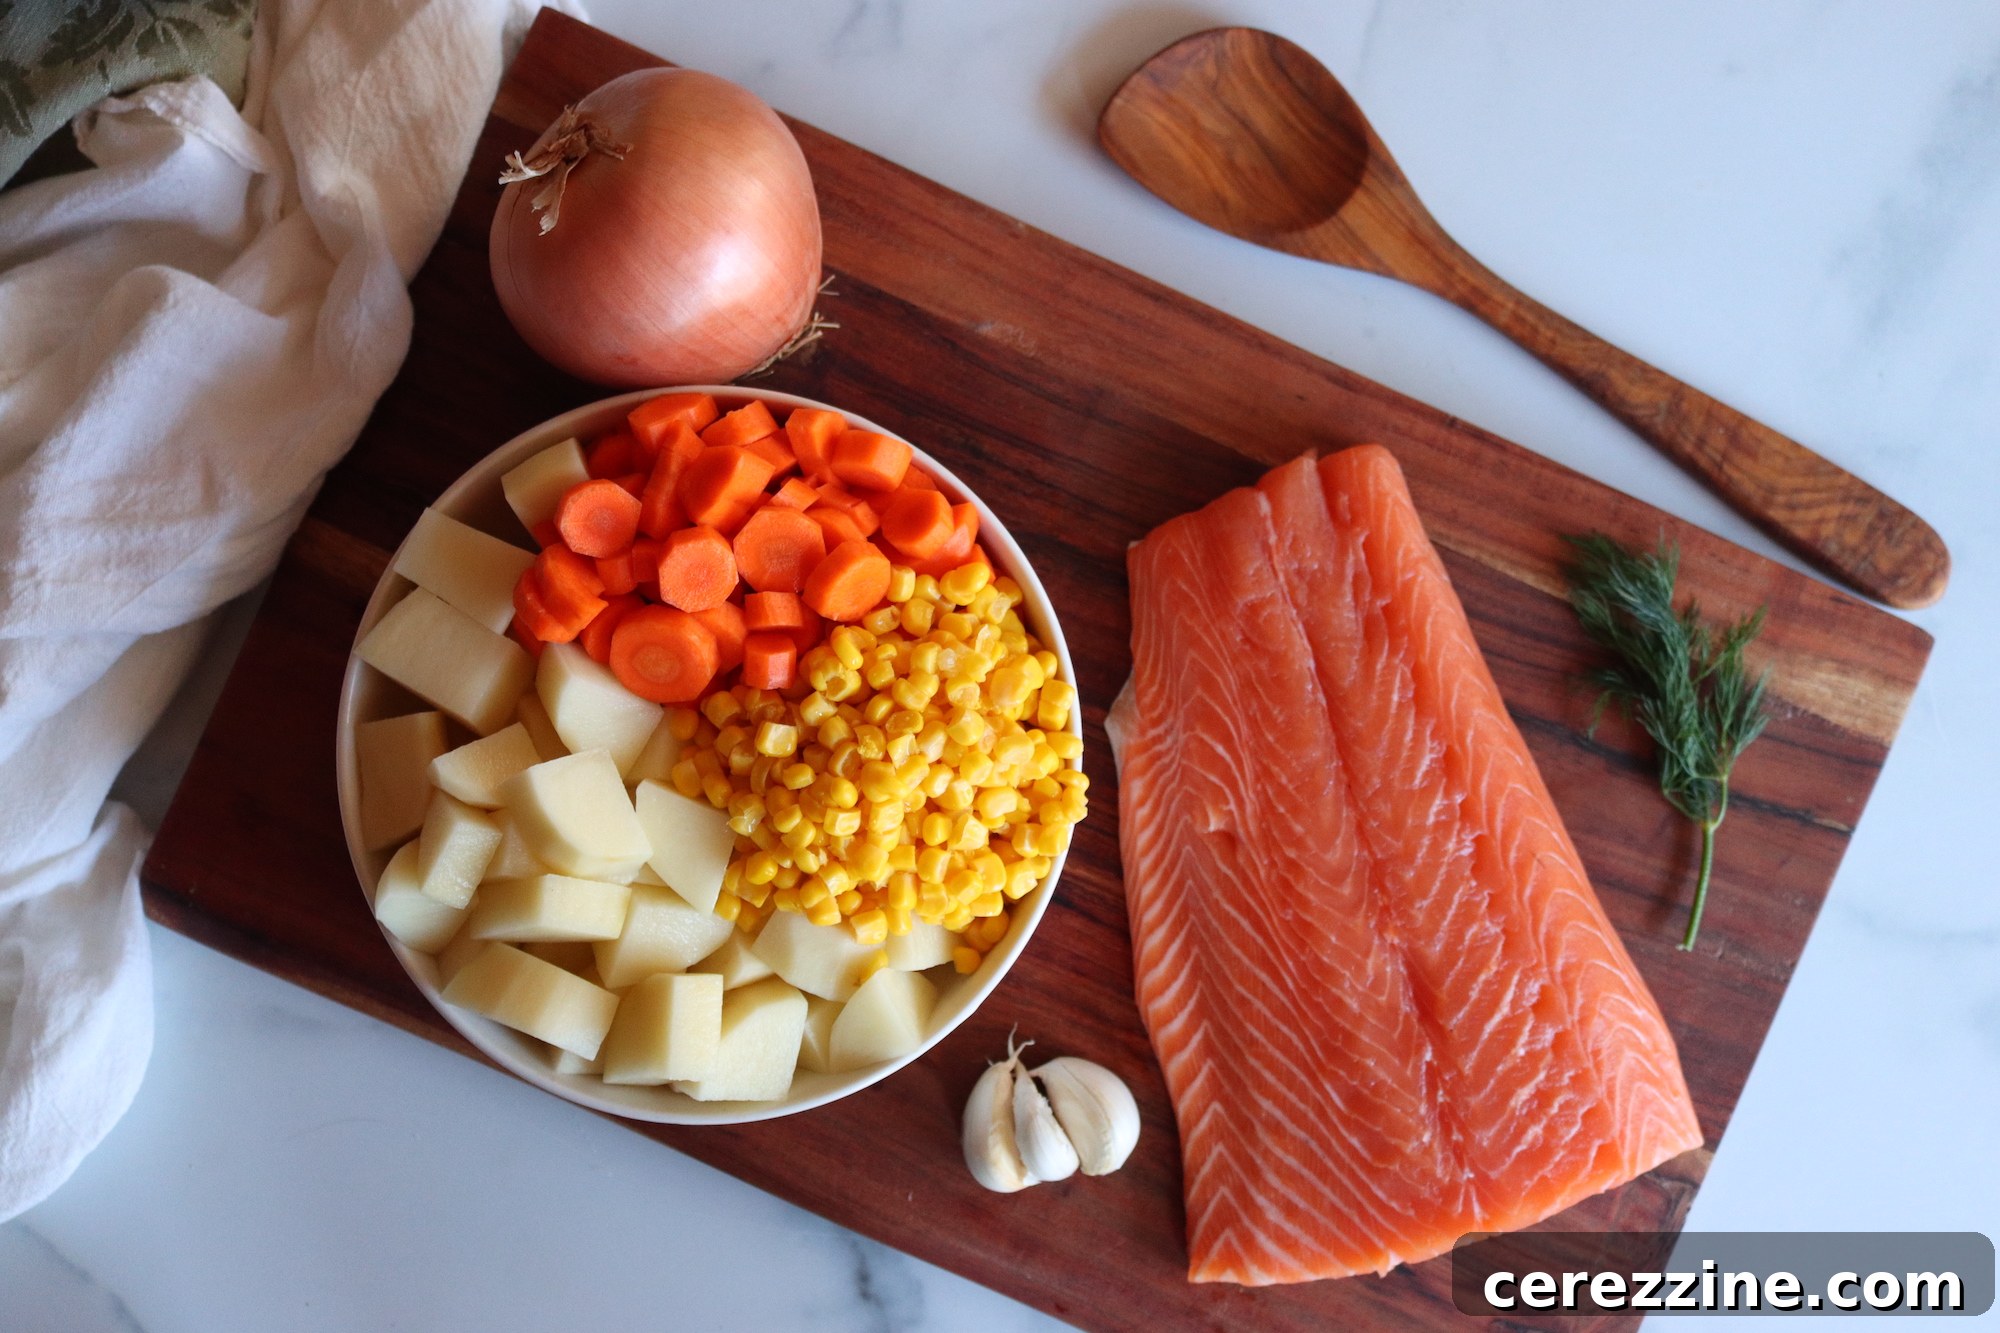
Crafting a delectable and safe salmon chowder base begins with high-quality ingredients and adherence to tested canning protocols. This recipe is meticulously based on the University of Alaska’s reliable Hearty Soup canning guidelines. These guidelines empower home canners to formulate their own soup recipes, provided they strictly follow specific parameters for ingredient quantities, processing times, and pressure levels. For a canner batch yielding approximately six pint jars of this fantastic base, you will need the following:
- 1 lb fresh salmon fillets (skin on or off, bones can be left in as they soften during canning)
- 3 cups (approximately 1 lb) potatoes, peeled and uniformly diced
- 1 1/2 cups corn (fresh, frozen, or about 1 standard can, drained)
- 1 cup carrots, peeled and finely chopped
- 1 cup onion, peeled and finely diced
- 2 tsp Old Bay seasoning (for that classic seafood flavor)
- 2 tsp canning salt (non-iodized, for purity and proper preservation)
- 1 tbsp fresh dill, finely chopped (or 1 tsp dried dill)
- ½ tsp garlic powder
- 7 cups fish stock, high-quality chicken broth, or vegetable broth
- 1 cup dry white wine (such as Sauvignon Blanc or Pinot Grigio), or additional broth for a non-alcoholic option
It is crucial to remember that certain ingredients should only be added *after* the canning process, when you are ready to heat and serve the soup. Rich additions like bacon, heavy cream, or other dairy products cannot be safely included in the canning jars due to their fat content and density, which can interfere with heat penetration during pressure canning. However, a vibrant squeeze of fresh lemon juice can be added either before canning for a subtle zest or after for a brighter finish. The beauty of canning a base lies in its versatility; once preserved, you can customize each serving with fresh ingredients and flavor enhancements to suit your preference, ensuring both safety and culinary creativity.
The Art of Pressure Canning Salmon Chowder Base
Pressure canning, when done correctly, is a reliable method for preserving low-acid foods like this salmon chowder base, ensuring its safety and extending its shelf life for many months. Follow these detailed steps carefully to achieve a perfectly canned product.
- Prepare Your Ingredients: Begin by preparing the star of our dish: the salmon. Cut the salmon fillets into uniform bite-sized pieces. Don’t be concerned about small bones; the intense heat and pressure of the canning process will soften them to the point where they are virtually unnoticeable and perfectly safe to consume. Next, meticulously peel and dice the potatoes, ensuring they are rinsed thoroughly to remove excess starch, which can contribute to cloudy liquid in the jars. Chop the carrots and onions to match the size of your potatoes and salmon, promoting even cooking and an appealing texture.
- Combine and Pre-Cook: In a large, sturdy stockpot, combine all your prepared ingredients: salmon, potatoes, corn, carrots, and onions. Pour in the fish stock (or broth) and dry white wine (if using) until all solid ingredients are adequately covered. Bring this mixture to a rolling boil and maintain it for five minutes. This pre-cooking step, known as hot packing, is essential for reducing air content and ensuring optimal fill of your jars. During this time, add your salt, fresh dill, and garlic powder. Remember that flavors intensify during canning, so season judiciously to taste.
- Fill Canning Jars: While your chowder base is pre-cooking, ensure your pint-sized canning jars are hot and thoroughly cleaned. Using a ladle and a canning funnel, carefully fill the hot jars with the simmering chowder base, leaving precisely one inch of headspace from the rim of the jar. This headspace is critical for proper sealing and to prevent food from siphoning out during processing. Wipe the rims of the jars clean with a damp cloth to ensure a perfect seal, then apply your warmed lids and screw bands until finger-tight.
- Prepare the Pressure Canner: Place the filled jars onto the rack in your pressure canner, ensuring they are not touching. Add the specified amount of water to your canner as per your canner’s manufacturer instructions (usually 2-3 inches). Secure the canner lid, making sure it’s properly locked into place.
- Vent the Canner: Turn up the heat to high. Allow the canner to heat up and steam to freely vent from the vent pipe for a full 10 minutes. This crucial step removes all air from the canner, preventing inaccurate pressure readings. After 10 minutes, place the weighted gauge or close the petcock (for dial gauge canners).
- Process the Jars: Once the canner reaches the target pressure, begin timing. Process the filled jars for 100 minutes. For dial gauge canners, maintain 11 lbs of pressure. For weighted gauge canners, maintain 10 lbs of pressure. It is absolutely essential to adjust your pressure based on your altitude, as outlined in the “Altitude Adjustments” section below. If the pressure drops below the required level at any point, bring it back up to pressure and restart the timing from zero.
- Cool Down and Depressurize: After the 100-minute processing time is complete, turn off the heat and allow the pressure canner to depressurize naturally. Do not attempt to force-cool the canner, as this can lead to siphoning and seal failures. Wait until the pressure gauge reads zero, then wait an additional 10 minutes before carefully removing the canner lid. This waiting period allows the jar contents to settle and reduces the risk of liquid loss.
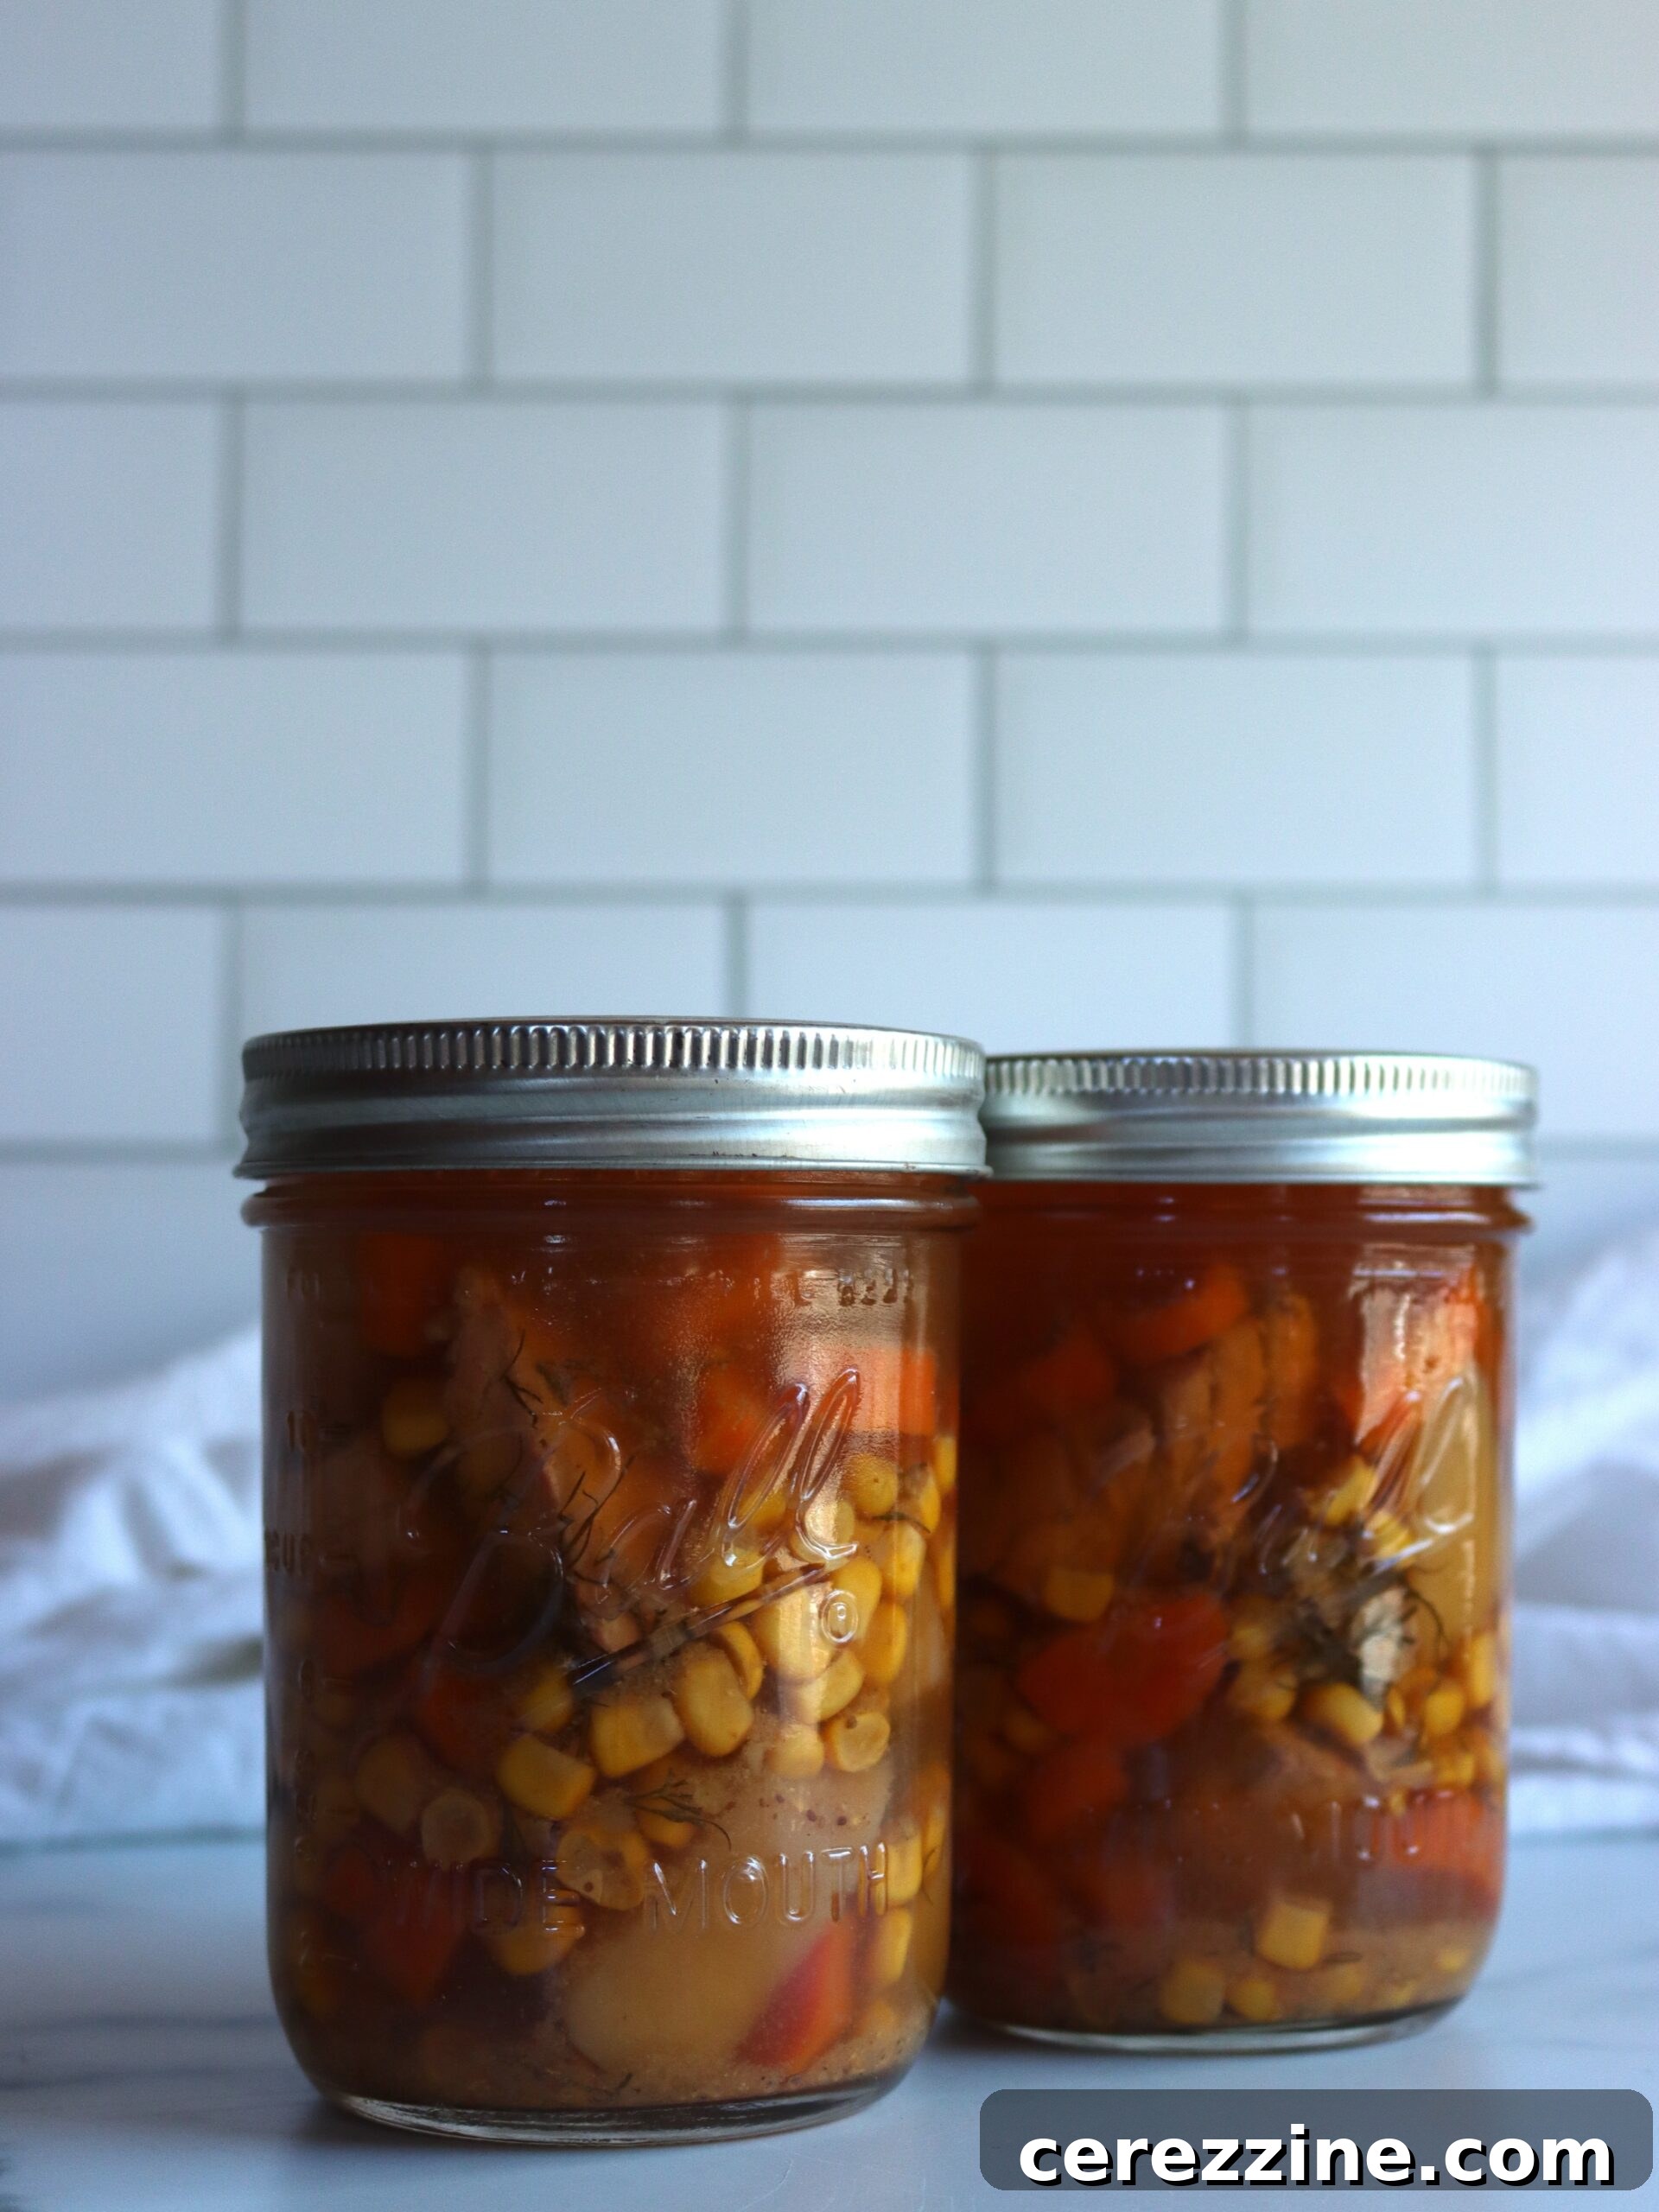
- Final Steps: Remove the hot jars from the canner using a jar lifter and place them on a clean towel or cooling rack, ensuring they are not touching each other. Let them cool undisturbed at room temperature for 12-24 hours. After this period, check each jar for a proper seal. The lid should be concave and not flex when pressed. Remove the screw bands, wipe down the jars, label them with the contents and date, and store them in a cool, dark, dry place.
A note on aesthetics: Sometimes, due to the starch released by potatoes, the liquid in your jars might appear slightly cloudy after canning. While this might not look as appealing, it is generally not a safety concern, provided all canning guidelines were strictly followed. Thoroughly rinsing your diced potatoes before adding them to the base can help minimize this effect.
Altitude Adjustments for Pressure Canning
Altitude plays a critical role in pressure canning. As elevation increases, the boiling point of water decreases, meaning a higher pressure is required to reach the same temperature for safe food preservation. While the processing times remain constant at higher altitudes, the required pressure settings must be adjusted. It is imperative to consult and apply the correct altitude adjustments for your location to ensure the safety and longevity of your canned salmon chowder base.
For dial gauge pressure canners:
- 0 to 2,000 feet in elevation – Maintain 11 lbs pressure
- 2,001 to 4,000 feet in elevation – Maintain 12 lbs pressure
- 4,001 to 6,000 feet in elevation – Maintain 13 lbs pressure
- 6,001 to 8,000 feet in elevation – Maintain 14 lbs pressure
For weighted gauge pressure canners:
- 0 to 1,000 feet in elevation – Use a 10 lbs weight
- Above 1,000 feet – Use a 15 lbs weight
Elevating Your Canned Salmon Chowder Base
Once your delectable salmon chowder base is safely preserved and resting on your pantry shelf, transforming it into a gourmet meal is wonderfully effortless. This versatile base isn’t just for quick weeknight dinners; it’s also an ideal companion for camping trips, picnics, or as a crucial component of your emergency food supply. Its ready-to-go nature means a warm, comforting meal is never far away, no matter where your adventures take you.
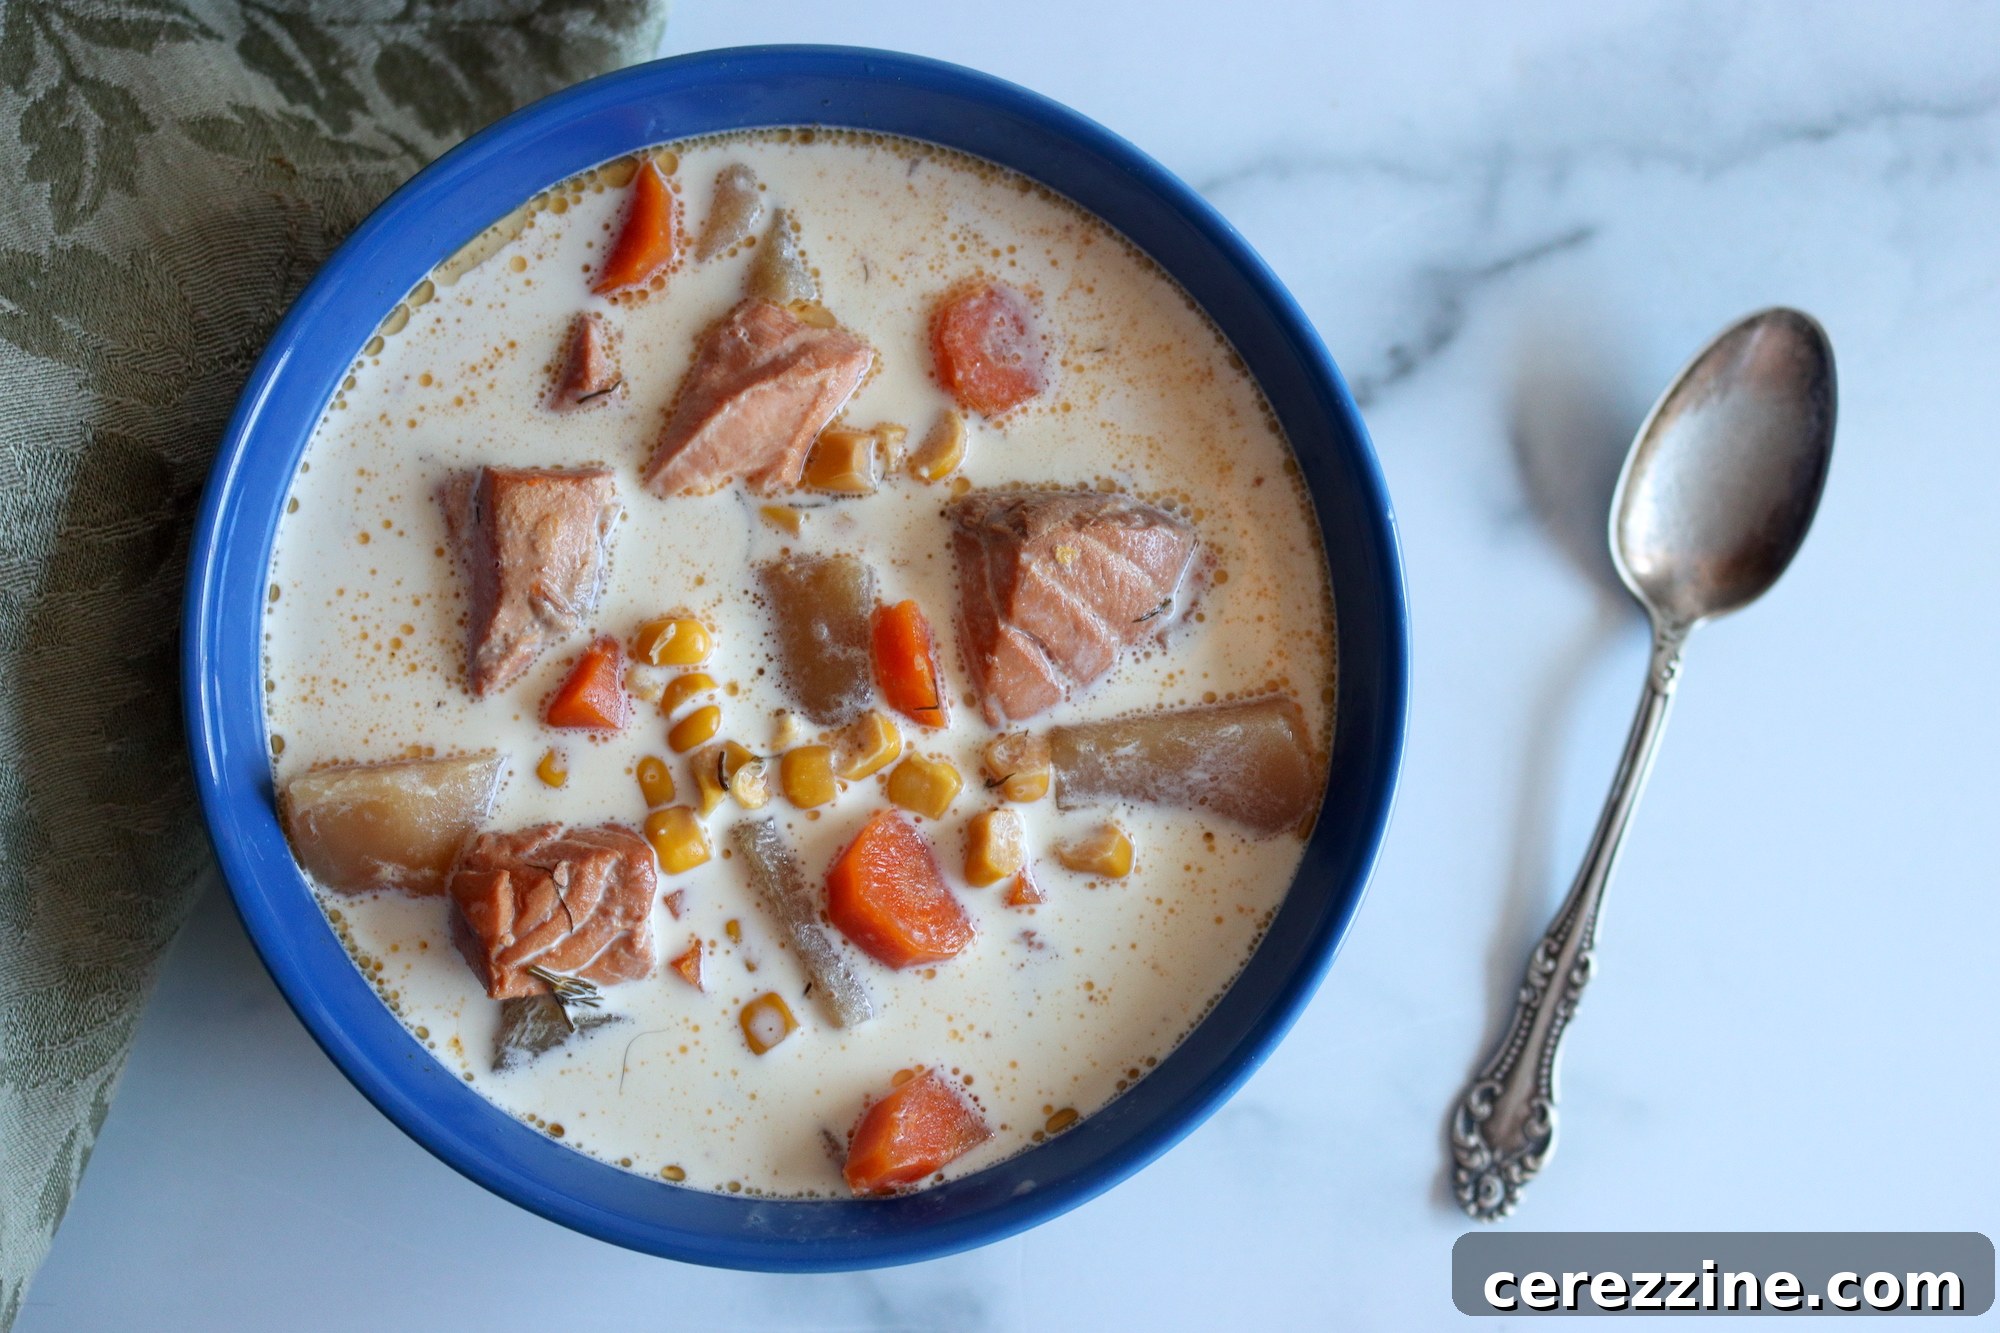
While the chowder base is delicious on its own, its true potential shines when enhanced with a few simple additions. A common recommendation is a generous splash of heavy cream or half-and-half, stirred in during the final minutes of heating, to achieve that signature creamy chowder consistency. Fresh dill, added just before serving, provides a bright, aromatic counterpoint to the richness of the salmon. Here are even more ideas to elevate your serving experience and customize each bowl:
- Fresh Herb Explosion: Beyond dill, garnish your hot chowder with a sprinkle of freshly chopped parsley, chives, or even a hint of tarragon for an invigorating burst of color and herbaceous flavor.
- Crispy Bacon Indulgence: For an irresistible smoky crunch, cook a few strips of bacon until perfectly crispy, crumble them, and sprinkle generously over each serving.
- Cheesy Goodness: Stir in a handful of shredded sharp cheddar cheese, gruyere, or a spoonful of grated Parmesan until melted and creamy, adding a rich, savory depth.
- A Touch of Heat: If you enjoy a little spice, a tiny pinch of cayenne pepper, a dash of hot sauce, or a finely diced jalapeño can add a welcome kick.
- Extra Vegetable Boost: Enhance the nutritional profile and texture by stirring in some quickly sautéed bell peppers (red or green), a handful of sweet peas, or blanched asparagus tips just before serving.
- Luxurious Olive Oil Finish: A delicate drizzle of high-quality extra virgin olive oil over the finished chowder can heighten its richness and add a silky mouthfeel.
- Amplify Marine Flavors: If you have it on hand, consider using seafood stock instead of chicken or vegetable broth to intensify the oceanic notes of the chowder.
- Crouton Crunch: Top with homemade or store-bought crunchy croutons for a delightful textural contrast to the creamy soup.
- Lemon Zest Brightness: A final squeeze of fresh lemon juice or a sprinkle of lemon zest can cut through the richness and brighten all the flavors.
The versatility of this salmon chowder base extends to its pairings. It’s truly a blank canvas for your culinary imagination. Serve it traditionally with classic saltine or oyster crackers, perfect for dipping and soaking up the rich broth. A soft, savory dinner roll or a slice of crusty artisan bread is also an excellent choice. For a balanced meal, a crisp, fresh green salad with a light vinaigrette makes a wonderful accompaniment. My family, especially the children, finds this chowder to be an absolute favorite when paired with a fresh batch of warm, buttery homemade biscuits!
Beyond Chowder: More Fish and Seafood Canning Recipes
Having mastered the art of canning salmon chowder base, you might be inspired to explore more ways to preserve your favorite catches for your pantry shelf. Expanding your repertoire of home-canned fish and seafood recipes opens up a world of convenient, healthy meal options. Discover these additional tested recipes to keep your pantry well-stocked with ocean-fresh flavors:
- Canning Plain Salmon: A fundamental skill for any seafood lover, allowing for versatile use in countless dishes.
- Canning Tuna: Perfect for sandwiches, salads, or quick protein additions.
- Canning Nordic Salmon Soup: Explore another delightful salmon soup option with a different flavor profile.
- Canning Fish Chowder Base: A broader approach to chowder bases, allowing for various fish types.
- Canning Crab: A luxurious addition to your canned goods, perfect for special occasions.
- Canning Shrimp: Ideal for quick additions to pasta, salads, or stir-fries.
For a comprehensive list and further inspiration, explore the full collection of Fish Canning Recipes.
Canning Salmon Chowder Base
By Ashley Adamant
Salmon chowder is a rich, satisfying homemade soup, and this simple pressure canning recipe for salmon chowder base allows you to keep it ready to heat and eat right on your pantry shelf. Simply warm it and add some cream to finish it before serving.
- Servings:
- 12 servings, Makes 6 Pints
- Prep Time:
- 10 mins
- Cook Time:
- 10 mins
- Canning Time:
- 1 hr 40 mins
- Total Time:
- 2 hrs
Equipment
- Pressure Canner
Ingredients
- 1 lb salmon
- 3 cups potatoes, diced, about 1 lb
- 1 1/2 cup corn, about 1 can
- 1 cup carrots, peeled and chopped
- 1 cup onion, peeled and diced
- 2 tsp old bay
- 2 tsp salt
- 1 tbsp fresh dill
- ½ tsp garlic powder
- 7 cups fish stock, or chicken broth
- 1 cup dry white wine, or more broth
Instructions
- Cut salmon into bite-sized pieces, not worrying about small bones as they will soften during canning.
- Peel and dice potatoes, and chop carrots and onions.
- Combine all ingredients in a large pan and cover with hot water, broth, or wine.
- Boil for five minutes and add salt, herbs, and spices to taste.
- Fill hot, clean canning jars, leaving one inch of headspace.
- Heat up the canner and vent steam for 10 minutes.
- Process filled jars for 100 minutes at 11 lbs pressure in a dial gauge canner or 10 lbs in a weighted gauge canner, adjusting the pressure to your altitude.
- Turn off heat after canning time, let canner depressurize naturally.
- Wait for zero pressure, then an additional 10 minutes before removing jars.
- Cool jars at room temperature for 24 hours, check seals, label, and store properly.
Notes
This recipe is based on the University of Alaska’s Hearty Soup canning protocol. That guidance allows you to create your own soup canning recipe, provided you use their specific guidelines, times, and pressures. Fish and recipes that include fish aren’t approved for canning in quart jars, so stick with pint jars for this recipe.
Altitude Adjustments
With pressure canning, the processing times stay the same at higher altitudes, but the pressures change. Here are the altitude adjustments for pressure canning salmon chowder base:
For dial gauge pressure canners:
- 0 to 2,000 feet in elevation – 11 lbs pressure
- 2,001 to 4,000 feet in elevation – 12 lbs pressure
- 4,001 to 6,000 feet in elevation – 13 lbs pressure
- 6,001 to 8,000 feet in elevation – 14 lbs pressure
For weighted gauge pressure canners:
- 0 to 1,000 feet in elevation – 10 lbs pressure
- Above 1,000 feet – 15 lbs pressure
Nutrition
Calories: 147kcal, Carbohydrates: 18g, Protein: 10g, Fat: 3g, Saturated Fat: 0.4g, Polyunsaturated Fat: 1g, Monounsaturated Fat: 1g, Cholesterol: 21mg, Sodium: 965mg, Potassium: 520mg, Fiber: 2g, Sugar: 4g, Vitamin A: 2152IU, Vitamin C: 13mg, Calcium: 24mg, Iron: 1mg
Nutrition information is automatically calculated, so should only be used as an approximation.
Delightful Soup Canning Recipes
If you’ve enjoyed the process of creating your own salmon chowder base, you’ll be thrilled to discover the vast array of other easy homemade soup-in-a-jar canning recipes available. Expanding your canning skills to include more soups ensures your pantry is brimming with comforting, ready-to-heat meals for any season. Explore these fantastic options to keep your family warm and well-fed:
- Canning Carrot Soup: A sweet and savory classic, perfect for a light lunch or appetizer.
- Canning Split Pea Soup: A hearty and filling option, rich in fiber and flavor.
- Canning Sausage, Potato and Kale Soup: A robust and satisfying meal, packed with wholesome ingredients.
- Canning Chicken Soup: The ultimate comfort food, always a pantry essential.
For an extensive collection of ideas and guidance, visit our comprehensive guide to Soup Canning Recipes.
Innovative Soup Base Canning Recipes
Sometimes, the desire for certain textures and ingredients in your soup means you can’t put everything into a jar for safe canning. This is where the brilliance of canning soup bases comes in. Recipes that incorporate thickeners like flour or cornstarch, or creamy elements like milk or heavy cream, are typically not safe for direct pressure canning. Instead, you can preserve a rich and flavorful base, which can then be quickly finished on the stovetop with your chosen fresh additions. This method offers the best of both worlds: the convenience of a ready-made foundation and the fresh taste of a newly prepared soup. Try your hand at these delicious, time-saving soup bases to expand your canning horizons:
- Canning Mushroom Soup Base: A versatile base for creamy mushroom soups, gravies, or casseroles.
- Canning Butternut Squash Soup Base: A naturally sweet and earthy base, perfect for autumn flavors.